

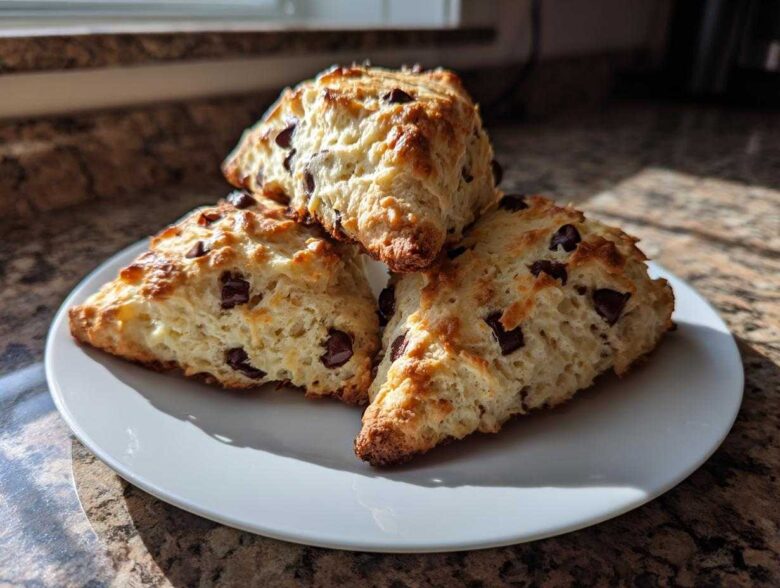
If you’ve ever walked into a fancy little bakery, grabbed a warm scone, and thought, “Why can’t mine ever taste this good?”—oh honey, I get it! For years, my baking disasters always ended up too tough or too dry. I swear, perfecting that light, buttery, flaky texture felt like chasing a ghost. But I cracked the code, seriously! After way too many batches, I finally landed on the absolute best recipe for chocolate chip scones. The best part? They come together faster than you can make coffee, meaning you get that amazing, bakery-style result in under 40 minutes total. Trust me, this recipe is my go-to for busy mornings or when I need a real treat fast. Check out my adventures over at the main food blog if you want to see how I perfect these things!
Why You Will Make These Chocolate Chip Scones Again and Again
Listen, I know there are a million scone recipes out there floating around the internet, but this one solves all the common disasters. You won’t waste your Saturday morning! These are the scones you’ll keep coming back to because they are unbelievably fast and truly deliver that melt-in-your-mouth experience.
- Speedy Baking Alert: We’re talking 15 minutes of prep time, folks! You can absolutely whip these up on a Tuesday morning before work. Total time is under 40 minutes. How great is that for a *quick scone recipe*?
- The Texture Secret: The cold butter and heavy cream work magic here. You get that gorgeous, flaky layering that you usually only find at expensive coffee shops. They’re tender, never crumbly or dry.
- Buttery Richness: Because we don’t skimp on the butter and use heavy cream, every bite is genuinely decadent. It tastes like you spent hours slaving away when you really just blitzed a few things together. Divine!
- Perfect for Any Time: While they are amazing for *brunch baking ideas*, these are equally satisfying as a sweet afternoon snack with tea. They hold up well without drowning in a heavy glaze, too.
- Minimal Cleanup: Because the mixing process is so fast and gentle, you aren’t wrestling with a sticky, overworked dough. Less mess equals more enjoyment, which is always my top priority!

Essential Ingredients for Perfect Chocolate Chip Scones
Okay, you can’t fake good scones, and that starts right here at the ingredient list. I’ve tried cutting corners, and trust me, it always leads to sadness. The key to those gorgeous, flaky **chocolate chip scones** is keeping things COLD. Seriously, frigid! That’s what creates those pockets of steam in the oven that make the layers separate beautifully.
You’ll need the following basics:
- Two cups of regular all-purpose flour—nothing fancy needed here.
- About a quarter cup of sugar. We want these sweet, but not dessert-level sweet, since they are meant for breakfast, right?
- One tablespoon of baking powder. That’s our lift!
- Half a teaspoon of salt to balance everything out.
- The star of the texture show: half a cup (that’s one full stick, folks) of unsalted butter. And I mean *cold*, cut into tiny little cubes before you even start mixing.
- One full cup of semi-sweet chocolate chips. Don’t skimp!
- Three-quarters of a cup of heavy cream. This is the liquid gold that ties the butter pieces together without melting them down into oily messes.
- And finally, for the top shine, one large egg mixed with one tablespoon of milk for our egg wash.
If you want to see more amazing breakfast ideas like this one, feel free to browse my whole breakfast category!
Ingredient Notes and Substitutions for Your Chocolate Chip Scones
Now for the expert chat! Since we all run out of things sometimes, let’s talk swaps. If you are fresh out of heavy cream—and trust me, it happens—you can use cold buttermilk instead. It adds a little welcome tang, too! Just make sure whatever substitute you pick is ice-cold.
Regarding the chocolate, I stick to semi-sweet chips because they give a great balance, but if you’re feeling dark and decadent, go for a bittersweet blend. Some people even mix in half a cup of chips and half a cup of dark chocolate chunks. Also, don’t be afraid to stir in a teaspoon of lemon or orange zest with the dry ingredients for a little surprise brightness!
Step-by-Step Instructions for Quick Scone Recipe Success
This is where the magic happens, and it moves fast! Remember, we are aiming for speed and flakiness, so speed is key. First thing, get that oven cranked up to 400°F (200°C) and line a baking sheet up with parchment paper. Don’t ever skip the parchment; it makes cleanup a dream, especially with all those chocolate chips.
In your biggest bowl, whisk together all your dry stuff: the flour, sugar, baking powder, and salt. Now, grab that ice-cold butter. We need to ‘cut’ it into the flour until it looks like coarse crumbs with some butter pieces still visible—think small peas. This is non-negotiable for getting those tender **chocolate chip scones**! Once that looks right, toss in your chocolate chips and stir them in.
Next? The liquid! Pour that cold heavy cream in all at once. Use a fork, not a mixer, and just *gently* combine everything until it just holds together. I mean it—it should look shaggy and a little messy. If you overmix here, oops! You’ve just made biscuits, not flaky scones.
Turn that shaggy dough onto a lightly floured surface. Pat it gently into a circle or square, about three-quarters of an inch thick. Don’t knead it, just pat! Then cut it into eight wedges, like you’re slicing a pizza. Whisk your egg and milk for the wash and brush it lightly over the top. Bake for 15 to 18 minutes until golden brown. Quick cleanup tip: check out my mug cake recipe if you need something even faster next time!
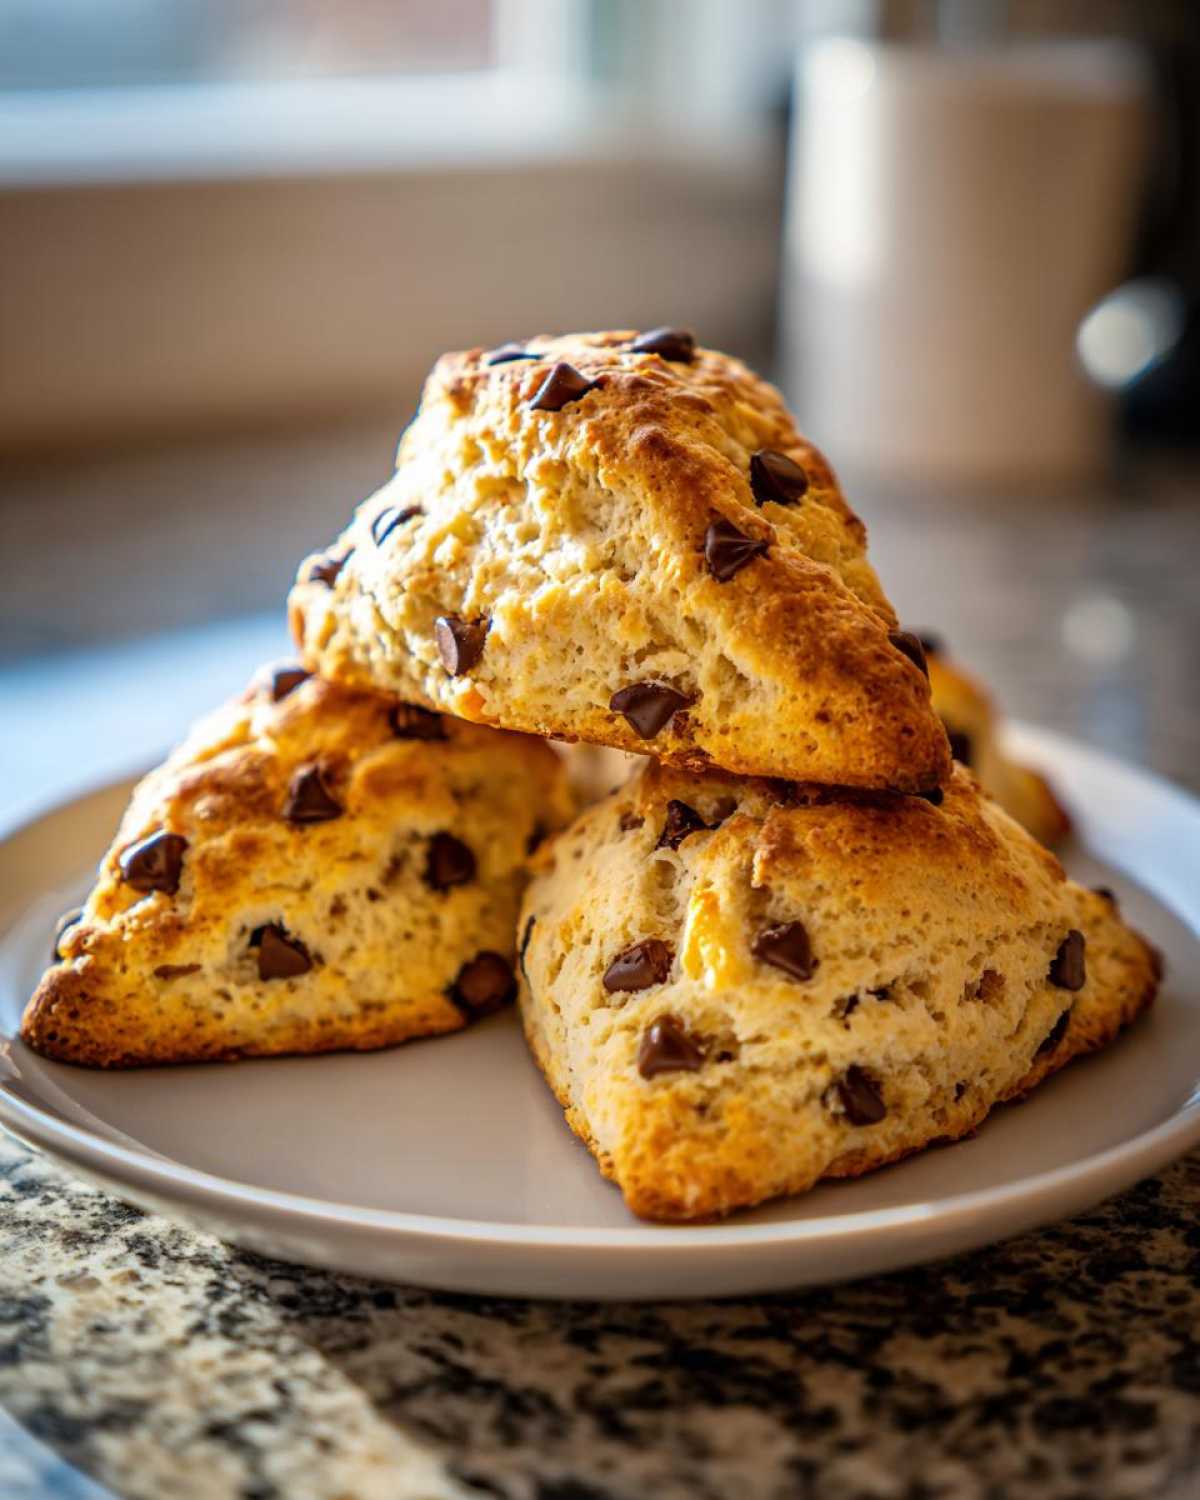
Achieving Bakery Style Scones Texture
I cannot stress this enough: the difference between tough scones and café-quality *bakery style scones* is temperature and handling. We are trying to keep those little butter pieces intact as long as possible. When you cut the butter into the flour, those little bits are trapped. When they hit the oven heat, that butter melts and creates steam which forces the layers apart—that’s your flakiness!
So, when you go to pat the dough out, be gentle! Use very light, quick motions. You aren’t developing bread dough here; you are just coaxing it into shape. Think of it like handling expensive silk. If the dough starts feeling warm at all while you’re cutting the wedges, just pop the whole sheet into the freezer for five minutes before baking. That little chill keeps everything crisp and ready for that beautiful layered lift.
Tips for Success When Baking Flaky Scones Tutorial
Even though these are my *easy scones* recipe, there are a few insider tricks I learned after making hundreds of batches that guarantee you nail that perfect lift every single time. Pay attention to these, and you’ll be serving up *tender scones* that people beg you for the recipe for!
Here are my top four crucial tips for that perfect bake:
- Keep Your Freezer Handy: If you have time, do what I mentioned in the notes—cut your butter and then toss those cubes into the freezer for about ten minutes before you even start combining ingredients. This makes them rock hard, which is exactly what we want when we start cutting them into the flour. It’s a small step that makes a huge difference in preventing a greasy mess.
- Don’t Trust Your Oven Thermometer (Sometimes!): Ovens lie! If your oven runs cold at 400°F, your scones will look pale and won’t rise right. If your oven runs hot, they’ll burn fast. If you’ve baked before and know your oven runs 25 degrees hot, adjust accordingly, or better yet, get one of those cheap oven thermometers so you know exactly what temperature you’re actually hitting.
- The Golden Rule: Never Knead: I know we’re taught to knead bread, but scones are the opposite! Once that heavy cream goes in, stop stirring the second you don’t see any more dry flour streaks. Overworking the dough develops gluten, and gluten is the enemy of flakiness. It gives you that tough, chewy result, which is the opposite of the *moist scone recipe* we are aiming for!
- Brushing on the Wash: When you brush on that egg wash, make sure you get the top surfaces, but try to avoid letting it drip down the sides too much, especially where the wedges meet. If the wash drips down and coats the sides, it essentially seals them shut before they can rise properly, which kinda glues your scone together into one hard block instead of letting it split into flaky layers. Be light and quick with that brush!
Variations for Your Homemade Chocolate Chip Treats
Once you nail the base recipe for these *chocolate chip scones*, you’ll be itching to mix it up, right? I love having a trusty base that I can customize depending on what I’m craving or what I happen to have in the pantry. Since the basic dough is so simple and buttery, it really takes on any addition beautifully.
Here are a couple of easy ways I like to switch things up so you never get bored:
Citrus Zing: This is my favorite way to brighten things up! If you’re looking for a slightly more complex flavor profile—especially for a nice afternoon tea snack—add the zest of one full orange or lemon to your dry ingredients when you mix in the flour and sugar. The citrus oil blends in perfectly with the butter and makes the flavor pop against the rich chocolate. It’s unbelievable how much difference a little zest makes!
Switch Up the Chips: If you’re sick of the standard chocolate chips, try using white chocolate chips in combination with macadamia nuts. The crunch from the nuts pairs so well with the creamy white chocolate. Or, for a truly deep, complex flavor, use butterscotch chips instead of all the chocolate chips. They bake up gorgeous when they catch a little caramelization on top!
Dried Fruit Twist: Sometimes I’ll swap out half the chocolate chips for dried cherries or cranberries. Just remember what I said about soaking dried fruit! If you toss them in dry, they can steal moisture from your dough. If you use dried fruit, soak it in a tablespoon of hot water or even a splash of orange juice for about ten minutes before patting the dough out, then pat them dry with a paper towel before stirring them in near the end.
If you’ve found yourself spiraling into a chocolate chip vortex lately, check out my chocolate chip zucchini bread for more ways to use up those bags of chips sitting in your cupboard. It’s another fantastic, quick bake!
Serving Suggestions for Buttery Breakfast Baking
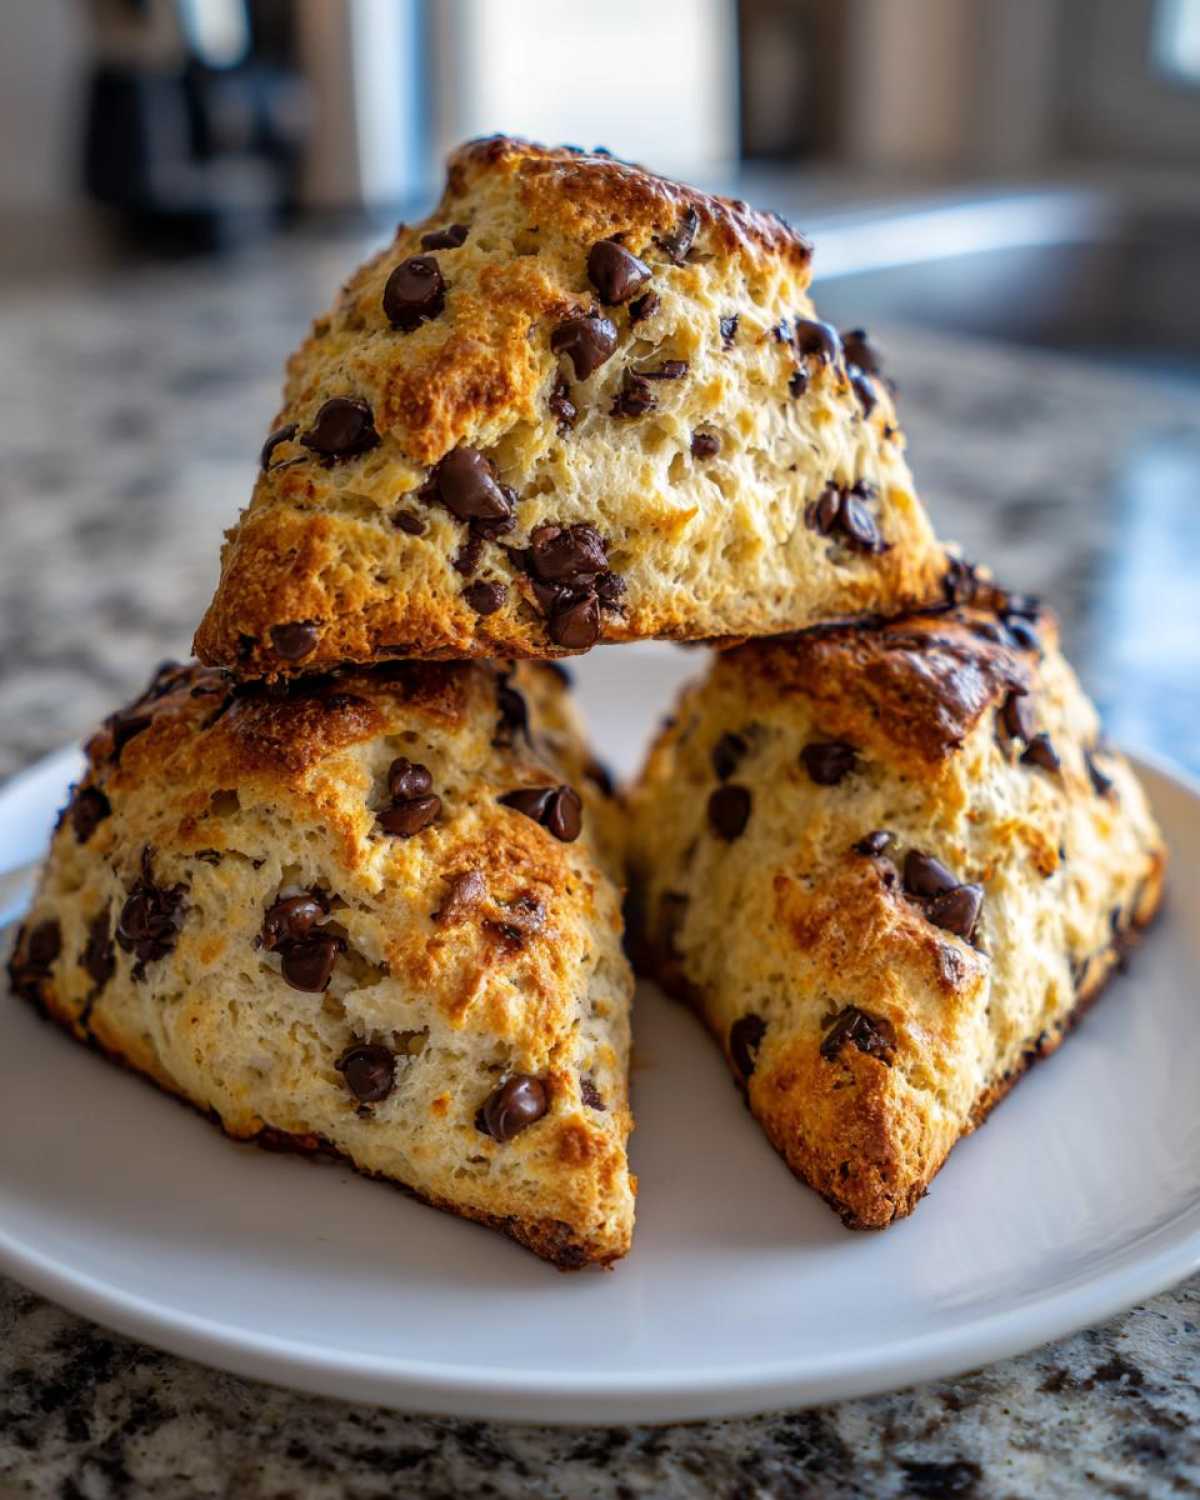
We did it! We made beautiful, tender **chocolate chip scones** that came out of the oven looking like they belong in a glass case. But let’s talk about what happens next, because eating them warm is non-negotiable, of course. These pastries are so versatile; they work for a quick weekday breakfast, a lovely weekend brunch spread, or even a sophisticated little tea party.
Since these **buttery breakfast baking** beauties are already rich and sweet from the chips, they don’t need much fuss, but a little something extra always elevates the experience, doesn’t it?
For Coffee Lovers: Honestly, these are designed to be dipped! A simple, strong cup of black coffee is fantastic, but if you want to lean into that cozy morning vibe, you have to try pairing them with a truly special sweet coffee drink. I recently perfected my Caramel Brown Sugar Latte, and let me tell you, the salty-sweet notes of the latte together with the warm chocolate chip scone? It’s heaven. You simply won’t need any other pastry.
For Tea Time: If you’re serving these when friends come over, go traditional! A nice cup of Earl Grey sets the scene perfectly. Instead of serving jam or clotted cream (which honestly tries to fight the chocolate chips), I suggest serving them plain with the option for the glaze.
That Glaze Option: Remember I mentioned you *could* add a glaze? Well, if you want to make things feel extra special, whip up a quick vanilla glaze to drizzle over them once they’ve cooled slightly. It adds that extra touch of sweetness and that nice crackly exterior you look for in pastries. But honestly, even plain, fresh out of the oven, they are perfect.
Fresh Fruit Balance: Because we have so much butter and chocolate going on, sometimes you need something a little tart to cut through the richness. A simple side of sliced fresh strawberries or raspberries does the trick perfectly. It just brightens up the whole plate and makes it feel like a balanced brunch instead of just a sugar bomb!
Storage and Reheating Instructions for Tender Scones Best Recipe
So, you actually managed to have leftovers? Wow! That means you either made an enormous batch or you have amazing self-control, which I definitely do not possess around these **chocolate chip scones**. Storing them correctly is important because the whole point of this recipe is that tender, buttery texture, and we don’t want them going stale on us.
If you manage to save any, the absolute best way to keep them fresh is simple airtight storage at room temperature. Why room temp? Because putting scones in the fridge tends to dry them out faster, making them hard instead of delightfully tender. Just place them in a sturdy container or a zip-top bag. If they are sticking together, I usually lay a small sheet of parchment or wax paper between the layers. They stay great like this for about two or three days—though honestly, if they last that long, you’re doing better than I ever do!
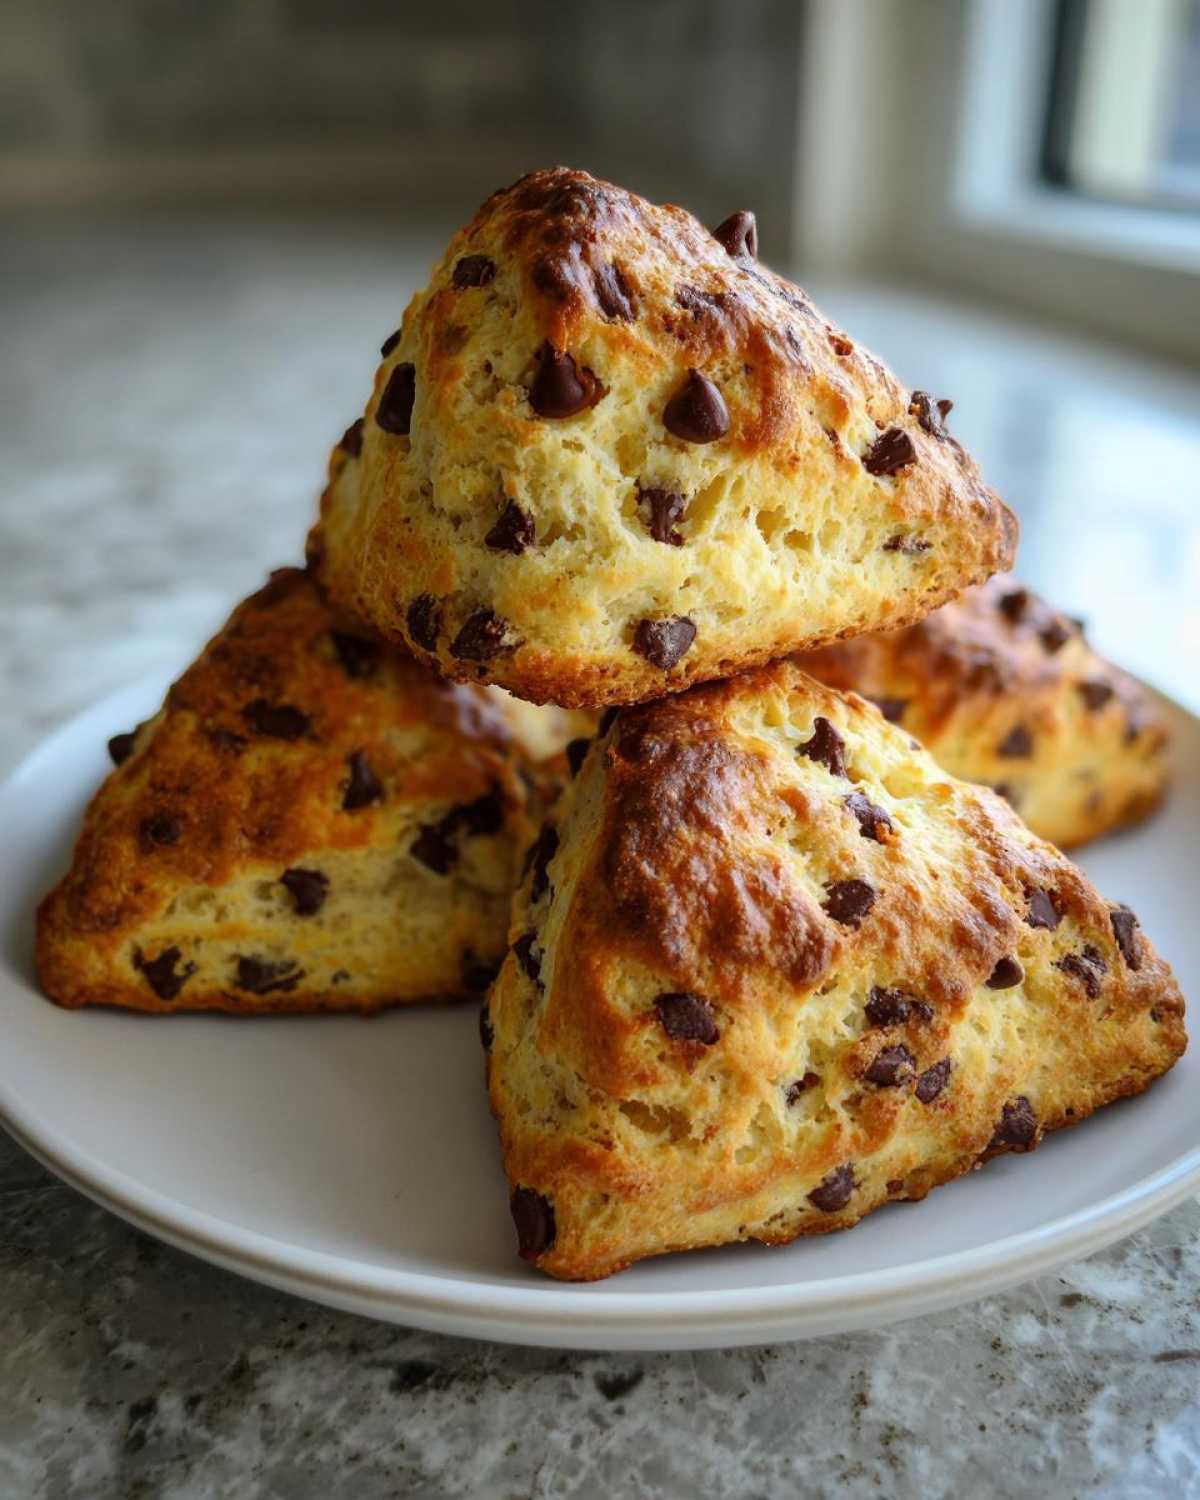
Now, let’s talk about reviving them, because that first-bite warmth is irreplaceable. If you want to bring these **tender scones best recipe** batch back to life, you definitely want to avoid the microwave. Microwaves make things rubbery, and nobody wants a chewy scone, right?
Instead, the oven is your best friend here. Preheat a small baking sheet to about 350°F (175°C). Carefully place your leftover scone right on the sheet and let it warm up for just five to seven minutes. This gentle heat warms the butter back up just a touch, softening the crumb and making it feel almost freshly baked again. It works like a charm!
Trust me on this one—that little five-minute trip back into the warmth is all you need to turn an okay leftover treat into a fantastic, quick morning snack again. Happy saving, if you can manage it!
Frequently Asked Questions About Chocolate Chip Scones
Why did my chocolate chip scones turn out tough instead of flaky?
Oh, I’ve been there more times than I care to admit! Tough scones almost always come down to one thing: overworking the dough. Remember when I talked about keeping the dough shaggy? That’s the secret to getting those lovely layers in this *quick scone recipe*. If you mix too much after adding the heavy cream, you develop gluten, which turns soft dough into firm, chewy dough. Also, make sure your butter was totally frozen or ice-cold! If the butter melts before it hits the oven, you lose the steam pockets needed for lift.
Can I use regular milk instead of heavy cream for this beginner scone baking?
You can, but you might lose a little bit of that luxurious, tender quality we’re aiming for. Heavy cream has a much higher fat content than whole milk, and that fat contributes hugely to the buttery richness and delicate crumb of our *bakery style scones*. If you only have milk, use it, but maybe roll your dough out just a tiny bit thicker, and definitely use the egg wash on top for extra color, because the structure might be slightly less sturdy.
Can I substitute the chocolate chips with frozen berries or other fruit?
Absolutely! Using frozen fruit is actually a fantastic idea, especially if you want to make a non-chocolate version! If you use frozen berries, treat them exactly the way you treat that cold butter: don’t let them thaw! Toss them right into the dry ingredients along with the flour and sugar. They help keep the dough cool while you work, and trust me, you’ll get amazing bursts of tartness with those *homemade chocolate chip treats*—or fruit treats, in this case!
How far in advance can I prepare the dough for easy scones?
That’s a great question if you’re planning a big brunch! Since these rely on cold ingredients, you can totally prep the dough ahead of time. After you cut the wedges, arrange them on your parchment-lined baking sheet, cover the whole thing tightly with plastic wrap (make sure it’s not touching the top of the dough!), and put it right in the fridge. I find they are best baked within about 12 hours. If you need longer, freezing them works even better, as detailed on my beginner baking guide. Just go straight from the freezer to the hot oven!
Do I really need to use an egg wash for the best results?
I’m going to be honest, if you’re in a huge rush, you *can* skip it, but you’ll miss out on that gorgeous golden-brown sheen! The egg wash (just egg and a splash of milk) is what makes them look like they came straight from the professional oven. It gives you a beautiful color and a slight, lovely crust on top. If you skip it, you might want to brush them with a tiny bit of leftover heavy cream instead for some color, but the egg wash is the winner for that classic sugary topping look.
Nutritional Estimates for Your Quick Scone Recipe
Okay, let’s talk real talk for a second. We bake these *chocolate chip scones* because they taste absolutely heavenly and make the house smell incredible, right? But since we’re using real butter and plenty of delicious chocolate chips, they aren’t exactly a diet food! It’s important to know what you’re getting into, especially if you’re making these for a regular *buttery breakfast baking* session.
What follows are the general nutritional estimates for *one* scone, based on the exact ingredients and measurements listed in the recipe above. Remember, these are just ballpark figures, so please don’t hold me to the exact decimal points!
Here’s a quick breakdown per serving:
- Serving Size: 1 scone
- Calories: Approximately 350
- Total Fat: Around 20 grams (Don’t forget, a good chunk of that is the wonderful butter!)
- Saturated Fat: About 12 grams
- Carbohydrates: Roughly 38 grams
- Sugar: Approximately 12 grams (This comes from the sugar we add plus the natural sweetness of the chips)
- Protein: About 5 grams
- Cholesterol: Around 65 milligrams
I always say, if you’re going to indulge, make sure it’s worth it, and these *easy scones* are definitely worth it! Just know that if you swap out semi-sweet chips for milk chocolate, or switch to a lower-fat cream substitute, those numbers are going to shift. For more details on how we handle nutrition stats on the site, you can always check out the official nutritional disclaimer page. Enjoy every buttery bite!
PrintEasy Bakery-Style Chocolate Chip Scones

Make tender, buttery, and flaky chocolate chip scones quickly. This recipe yields bakery-quality results perfect for breakfast or tea time.
- Prep Time: 15 min
- Cook Time: 18 min
- Total Time: 33 min
- Yield: 8 servings
- Category: Breakfast
- Method: Baking
- Cuisine: American
- Diet: Vegetarian
Ingredients
- 2 cups all-purpose flour
- 1/4 cup granulated sugar
- 1 tablespoon baking powder
- 1/2 teaspoon salt
- 1/2 cup (1 stick) cold unsalted butter, cut into small pieces
- 1 cup semi-sweet chocolate chips
- 3/4 cup cold heavy cream
- 1 large egg, lightly beaten (for egg wash)
- 1 tablespoon milk (for egg wash)
Instructions
- Preheat your oven to 400°F (200°C). Line a baking sheet with parchment paper.
- In a large bowl, whisk together the flour, sugar, baking powder, and salt.
- Cut the cold butter into the dry ingredients using a pastry blender or your fingertips until the mixture resembles coarse crumbs with some pea-sized pieces of butter remaining.
- Stir in the chocolate chips.
- Pour in the cold heavy cream all at once. Mix gently with a fork until just combined. Do not overmix; the dough will be shaggy.
- Turn the dough out onto a lightly floured surface. Gently pat the dough into a 3/4-inch thick circle or square.
- Cut the dough into 8 equal wedges (like a pizza). Place the wedges onto the prepared baking sheet, spacing them about 1 inch apart.
- In a small bowl, whisk the egg and milk together to make an egg wash. Brush the tops of the scones lightly with the wash.
- Bake for 15 to 18 minutes, or until the tops are golden brown.
- Let the scones cool on the baking sheet for 5 minutes before moving them to a wire rack to cool completely.
Notes
- For extra flakiness, freeze the cut butter pieces for 10 minutes before using.
- If you prefer a sweeter scone, you can drizzle a simple vanilla glaze over the cooled scones.
Nutrition
- Serving Size: 1 scone
- Calories: 350
- Sugar: 12
- Sodium: 250
- Fat: 20
- Saturated Fat: 12
- Unsaturated Fat: 8
- Trans Fat: 0
- Carbohydrates: 38
- Fiber: 2
- Protein: 5
- Cholesterol: 65
