

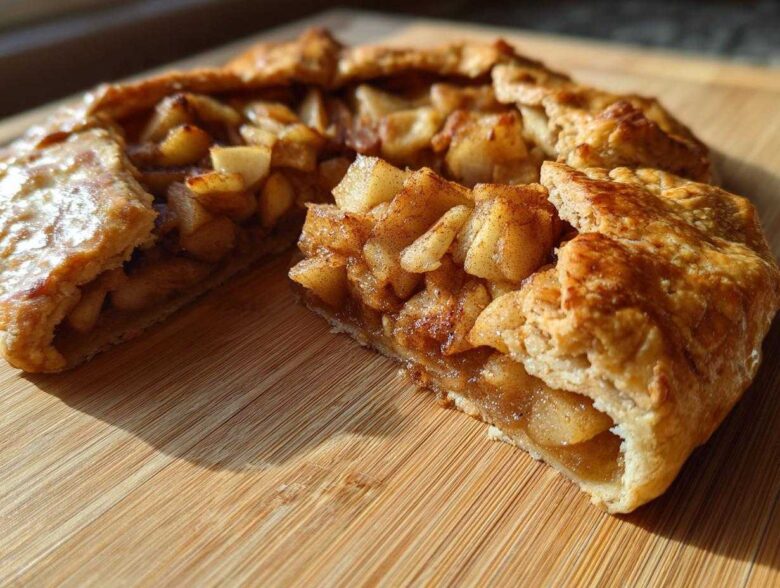
Oh, darling, let me tell you about my absolute favorite way to sneak a taste of France into my kitchen without needing three days, a pastry brush, and a lifetime of practice. We’re talking about the apple galette—my go-to for any simple fall baking project that needs to look wildly impressive but actually takes less than an hour! Forget finicky pie dishes; this free-form tart proves that the most beautiful things are often the most imperfect.
I spent years convinced that flaky pastry was reserved for professional bakers. I’d watch videos and see butter shattering into a million perfect flakes, and I’d just sigh and buy a store-bought crust. That ended the day I realized that for a rustic dessert, a perfectly messy fold is *better* than a machine-cut edge. This recipe ensures you get that incredible, buttery pastry texture but without the drama. Trust me, mastering this easy apple galette is such a confidence booster!
Why This Easy Apple Galette is Your New Favorite French Apple Dessert
Honestly, this *Easy Apple Galette* became famous in our house because it’s the perfect weeknight dessert that looks like it took all afternoon. It ticks every box for a cozy, beautiful bake. You get that satisfying crunch and melt-in-your-mouth quality without needing a single pie plate. If you’ve ever tried my peach cobbler recipe, you know I love deceptively simple desserts!
- It’s stunningly rustic – no perfect crimping required!
- Total time from start to finish is under two hours for this *French Apple Dessert*.
- The buttery pastry melts around the warm, spiced apples.
- It’s much faster than rolling out a double-crust pie.
This is the kind of dessert everyone asks for when you host impromptu gatherings. It’s simple, seasonal, and always a crowd-pleaser.
Achieving a Flaky Crust Pastry Every Time
The secret here is keeping things cold and not fussing too much! When you work the butter into the flour, you want those little pea-sized chunks—I call those the ‘flavor pockets.’ Those pockets are what create steam in the oven, resulting in that incredible, layered look in your *Flaky Crust Pastry*. Don’t overwork it; just mix until it starts to cling together. That cold butter is your best friend!
The Perfect Cinnamon Apple Galette Filling
This filling is pure autumn magic! I love using tart Granny Smiths because they hold up beautifully and don’t turn to total mush when baked. The brown sugar, cinnamon, and that whisper of nutmeg create that deeply comforting aroma. Plus, the little bit of cornstarch thickens up any juice from the apples, so you don’t end up with a soupy bottom on your *Cinnamon Apple Galette Recipe*. It’s such a satisfying blend of flavors.
Gathering Ingredients for Your Rustic Apple Tart
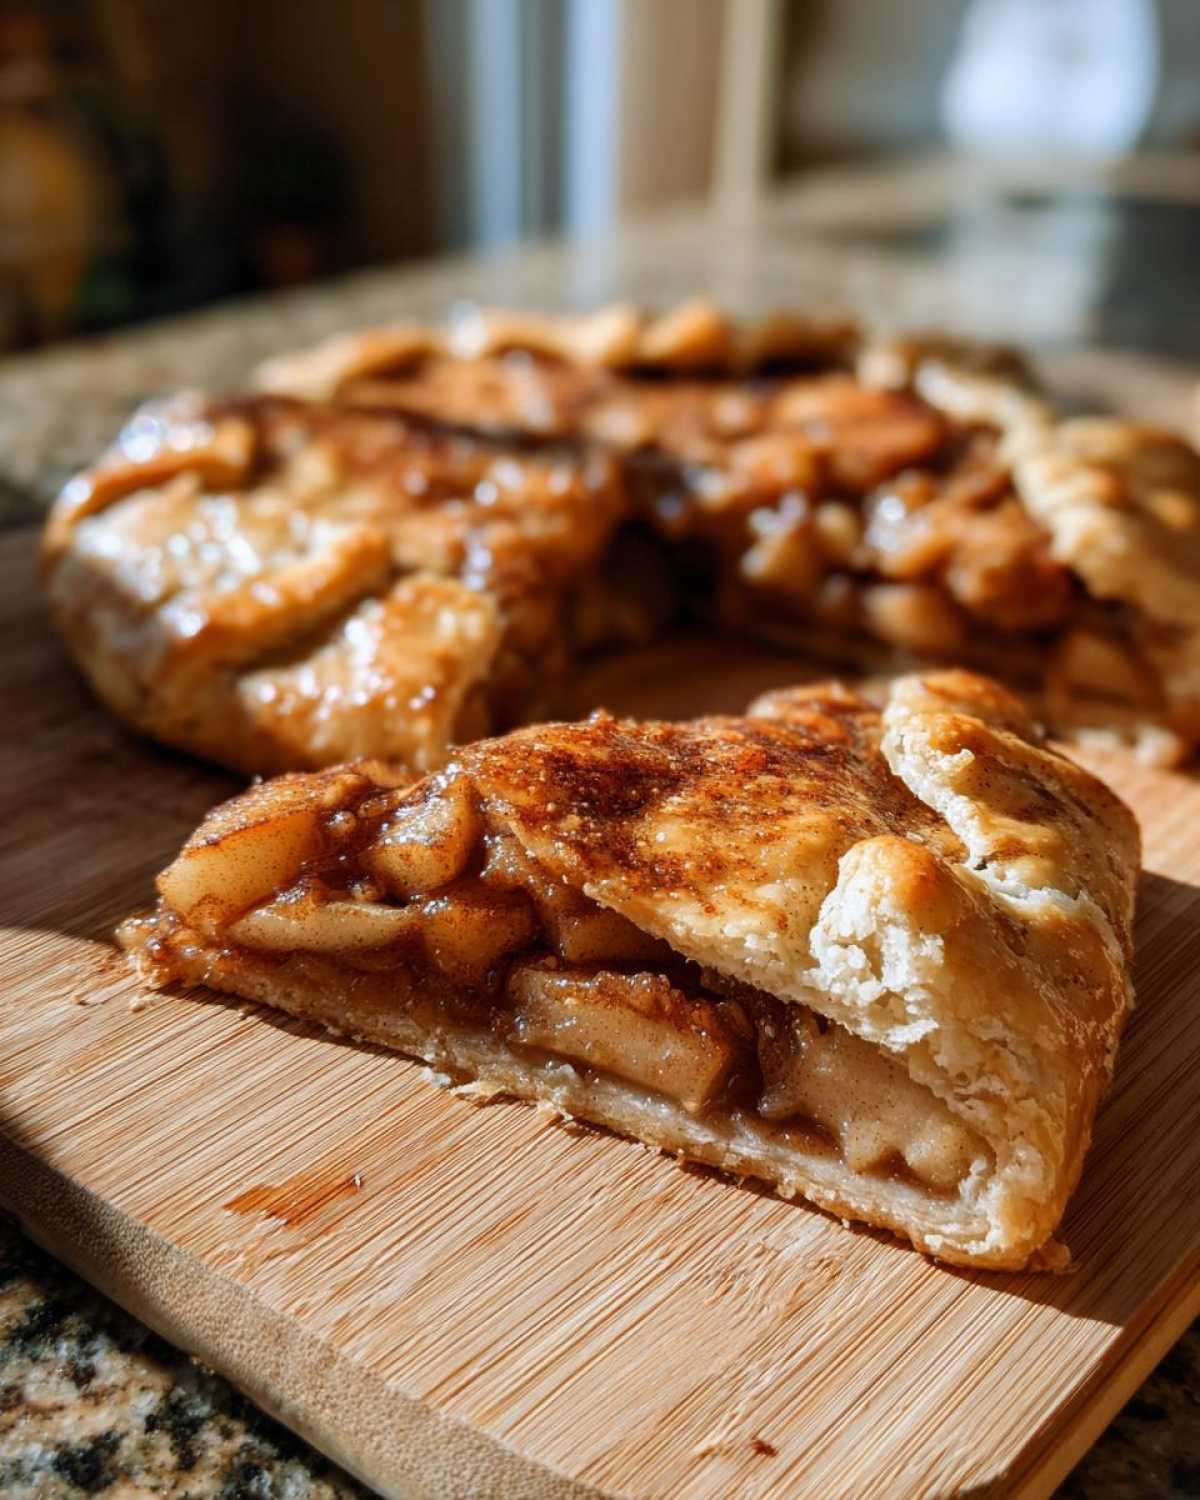
Okay, you can’t make a stunning *Rustic Apple Tart* without the right players! This recipe is surprisingly simple, which means the quality of what you put in really shines through. Remember, we are aiming for that *Buttery Pastry Tart* experience, so the butter situation is non-negotiable.
You’ll need two main groups of things: the dough components and the filling components. Look for nice firm apples—Granny Smith or Honeycrisp are my usual go-tos because they stay bright and hold their shape well instead of turning into applesauce, which is crucial for a *Family Friendly Dessert* like this.
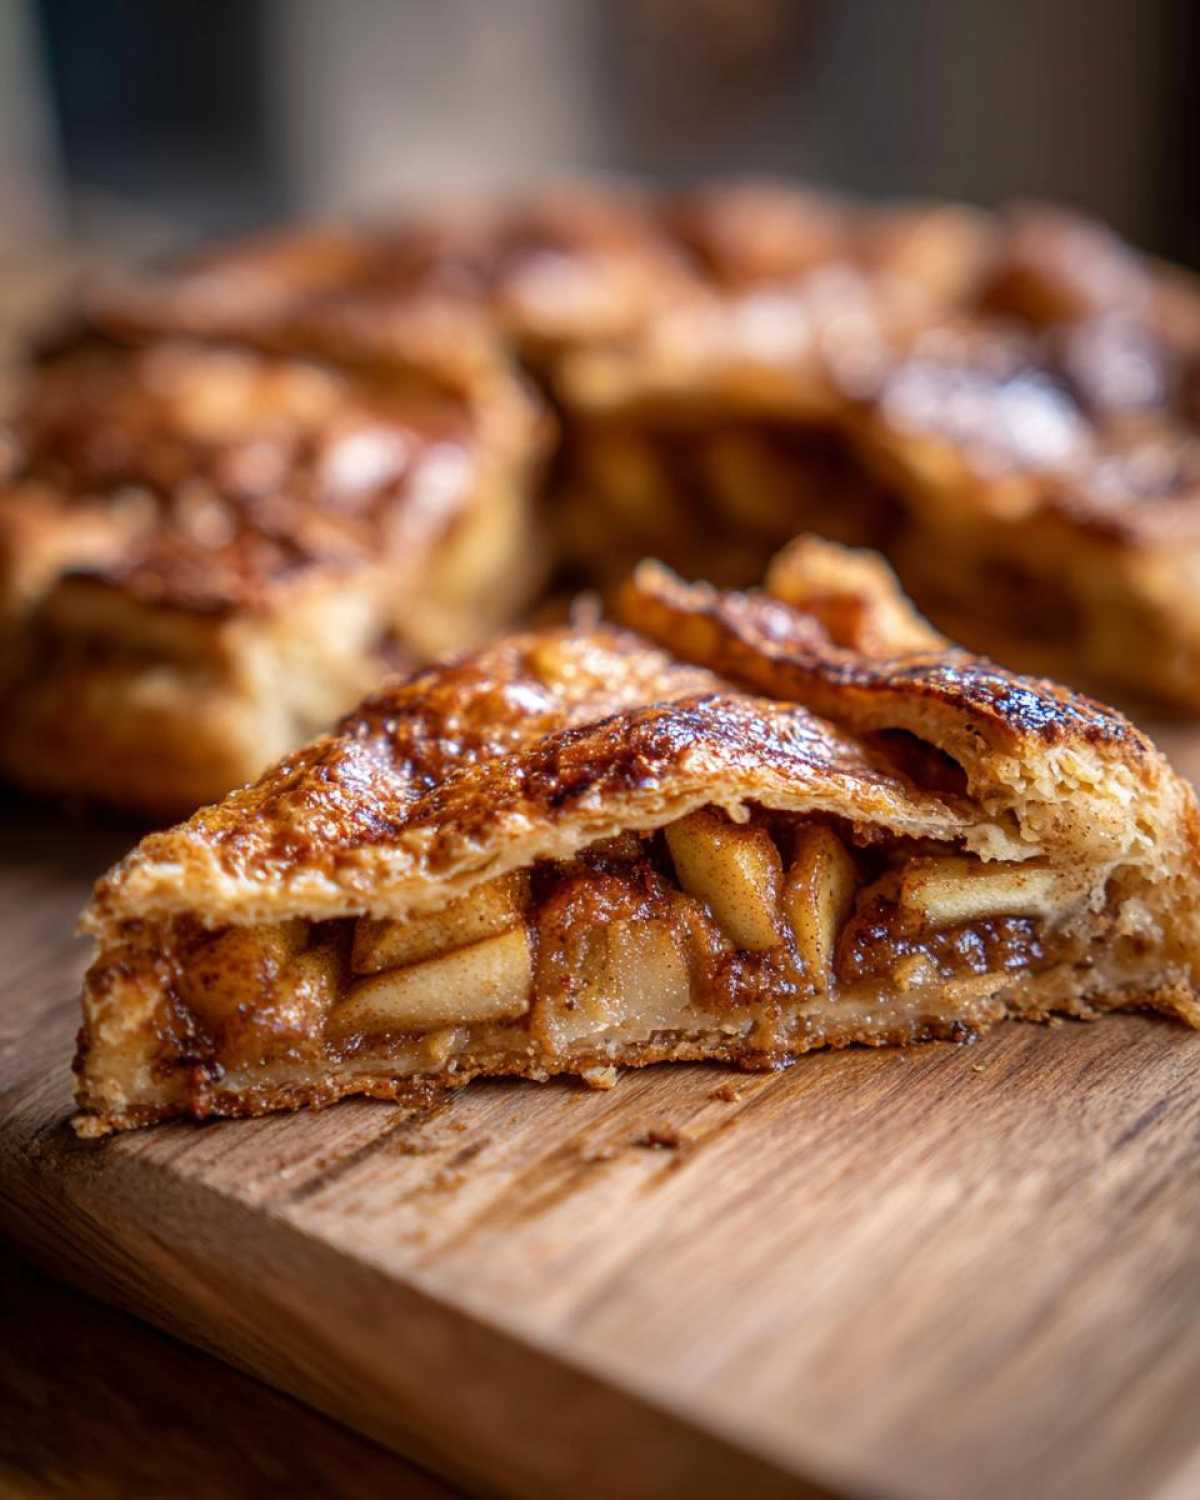
Don’t forget the egg wash and the coarse sugar for the top; that crunch is just as important as the flaky pastry underneath! If you enjoyed making my apple cinnamon rolls, you’ll appreciate how these simple ingredients combine into something spectacular here!
- For the Dough: 1 1/2 cups all-purpose flour, 1/2 teaspoon salt, 1 tablespoon granulated sugar, 1/2 cup (1 stick) cold unsalted butter (cubed!), and 4 tablespoons ice water.
- For the Filling: 4 medium apples (peeled, cored, sliced thin), 1/4 cup brown sugar, 1 teaspoon ground cinnamon, 1/4 teaspoon nutmeg, 1 tablespoon lemon juice, 1 tablespoon cornstarch.
- For the Finish: 1 large egg (beaten) and 1 tablespoon coarse sugar.
Step-by-Step Instructions: How to Make Apple Galette
Alright, this is where the magic actually happens! Don’t let the pastry scare you; when you’re making this *How to Make Apple Galette* recipe, we’re aiming for easy and beautiful, not magazine perfection. We start with the dough because it needs a little downtime in the fridge to firm up, which is essential for handling later.
Make sure your oven is warming up to 400°F (200°C) while you assemble everything. We bake this galette hot and fast to make sure the crust gets those beautiful golden spots before the apples release too much liquid. Lining your baking sheet with parchment paper is a must—it saves cleanup time later!
Making the Flaky Buttery Pastry Tart Dough
First things first: cold, cold, cold! You need ice water, and your butter needs to be straight from the freezer, cut into tiny cubes. Use your fingers or a pastry blender to work that butter into the flour until it looks like coarse cornmeal with some little lima-bean-sized chunks of butter still floating around. Those chunks are the steam pockets we are relying on! If you’ve ever made my apple cinnamon rolls, you know how important cold butter is!
Then, drizzle in your ice water, one tablespoon at a time. I stop mixing the absolute second the dough starts holding together when I squeeze a bit. Don’t knead it! Just pat it into a flat disk, wrap it tight, and tell it to chill out in the fridge for at least 30 minutes. If the dough feels sticky when you take it out, it’s too warm, so pop it back in for five minutes.
Assembling the Free Form Apple Pie
Once chilled, put that dough onto a lightly floured surface. Roll it out into a rough 12-inch circle. Seriously, don’t pull out a ruler! If it looks wiggly or slightly lopsided, you are doing great—that’s how you get that lovely *Free Form Apple Pie* look.
Carefully slide that disc onto your parchment-lined baking sheet. Now, mix up your apple filling (brown sugar, cinnamon, nutmeg, lemon, cornstarch—toss it all together gently!). Pile those sweet, spiced apples right in the middle, leaving about two inches empty around the edge. This border is important! You can find more ideas for spiced apples here: baked cinnamon spiced apples recipe.
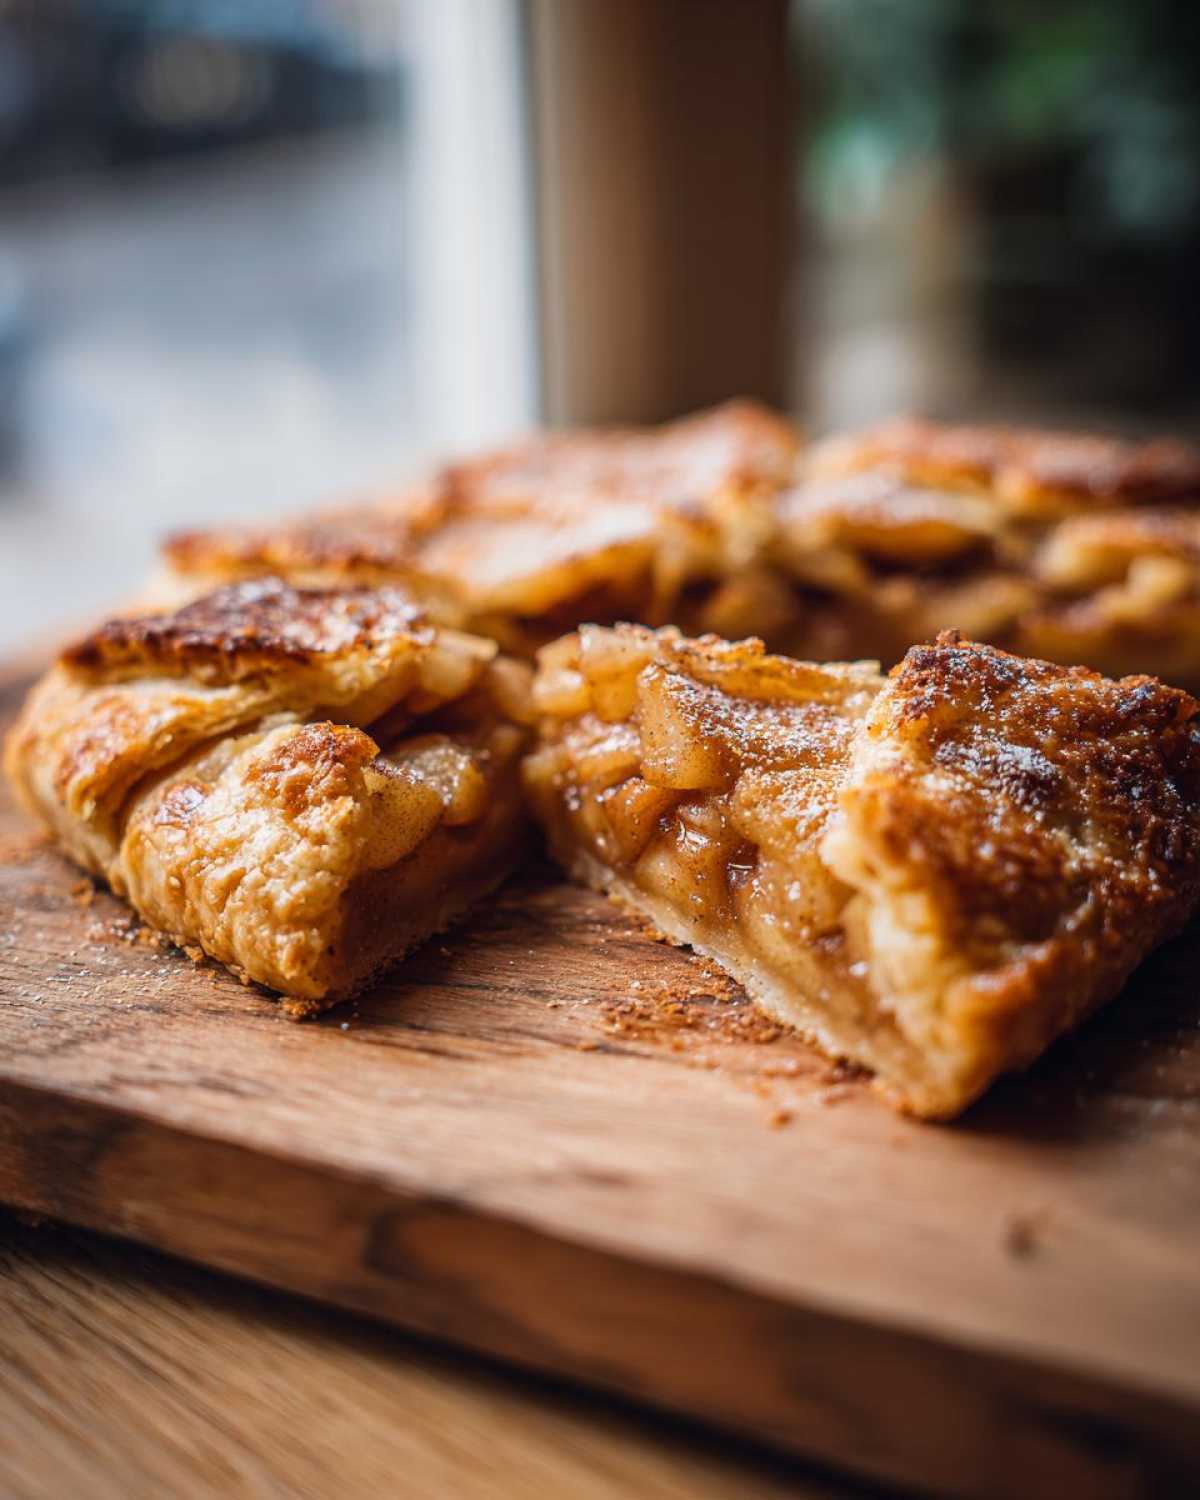
This is the fun part: pull the edges of the dough up and fold them over the apples. You’re just pleating it—tuck, fold, tuck, fold—until the whole pile is surrounded by dough. Brush that exposed crust generously with your beaten egg wash (this gives you that gorgeous shine) and sprinkle it with coarse sugar for extra crackle. Into the hot oven it goes for about 35 to 45 minutes until it’s golden brown and bubbly. Let it cool just slightly before slicing!
Tips for the Best Apple Galette Recipe Success
Even though this is an easy dessert, there are just a couple of little secrets I’ve learned over the years to make sure your *Best Apple Galette Recipe* comes out looking flawless and tasting incredible every single time. We are trying to avoid that dreaded soggy bottom, and that’s just a matter of physics, really!
My absolute number one tip is related to the filling you just mixed. See that tablespoon of cornstarch? Do not skip it! That cornstarch, combined with the tartness of the lemon juice, acts like insurance for your crust. It grabs all that delicious apple juice that bubbles out while baking and turns it into a beautiful, thick syrup rather than letting it soak into the bottom pastry layer. You’ll thank me when you cut into a clean slice!
Also, remember what I said about the apples? Make sure they are thinly sliced—think about a quarter-inch thick or even a little thinner. If your slices are too chunky, they won’t soften evenly in that shorter baking window, and you’ll end up with half-cooked, under-tender fruit, which is never fun in a *Simple Fall Baking* treat.
Sweet Apple Filling Ideas and Variations
Once you’ve mastered the base *Cinnamon Apple Galette Recipe*, you absolutely have permission to play around with the filling! That’s what makes home baking so much fun. Think about pairing this with something salty to cut through the sweetness of the brown sugar. My favorite thing to do after the galette cools down a bit is to drizzle it with the thinnest layer of salted caramel. It’s just divine.
If you are feeling adventurous with your *Sweet Apple Filling Ideas*, try adding a teaspoon of finely chopped crystallized ginger to the spice mix. It adds a little kick that everyone seems to love! Or, if you don’t have cinnamon, nutmeg, and brown sugar, you could try substituting them with a teaspoon of maple extract and a tablespoon of chopped pecans. It tastes totally different but still manages to feel incredibly comforting. Don’t forget, if you loved the spice profile here, you might adore my apple cinnamon rolls recipe too!
Storage & Reheating Instructions for Your Apple Galette
So, you have leftovers! Lucky you. Because this is a *Buttery Pastry Tart*, we need to treat it a little differently than a standard pie when it comes to storage. If you manage to save any of this *Comfort Food Dessert* overnight—which I honestly struggle to do—here’s how to keep it tasting fresh.
If you plan on eating the rest before the next evening, leave the slices right on the counter at room temperature, tightly covered with foil or tucked into an airtight container. The butter in that flaky crust can get hard and greasy in the fridge, and honestly, an apple galette is best enjoyed the day it’s made.
However, if you need to keep it for two or three days, then the fridge is necessary. Just make sure it’s well wrapped so it doesn’t absorb any weird smells. When it comes to reheating, this is crucial for bringing back that crispness we worked so hard for!
Skip the microwave entirely; it just turns the crust sad and chewy. The best way to bring back the golden glow is to use the oven or an air fryer. Pop a slice onto a baking sheet at about 300°F (150°C) for about 8 to 10 minutes. You want the apples warm and the pastry edges sizzling again. Trust me on this one; refreshing it this way makes it taste like you just pulled the whole *Easy Apple Galette* fresh from the oven!
Serving Suggestions for This Comfort Food Dessert
Oh, now for the best part: how to eat this gorgeous, rustic creation! Nothing beats an apple galette warm from the oven, and the way you serve it simply elevates this *Comfort Food Dessert* from great to unforgettable. Because we’ve got that warm pastry and rich, gooey filling going on, the pairings have to be just right—something cold or something salty is always my rule of thumb.
First up, the classic move: vanilla bean ice cream. The contrast between the warm, spiced apples and that cold, creamy scoop melting slowly down the side? That’s happiness right there. It’s simple, it’s perfect, and it always satisfies that craving for a proper *Homemade Apple Pie Alternative*.
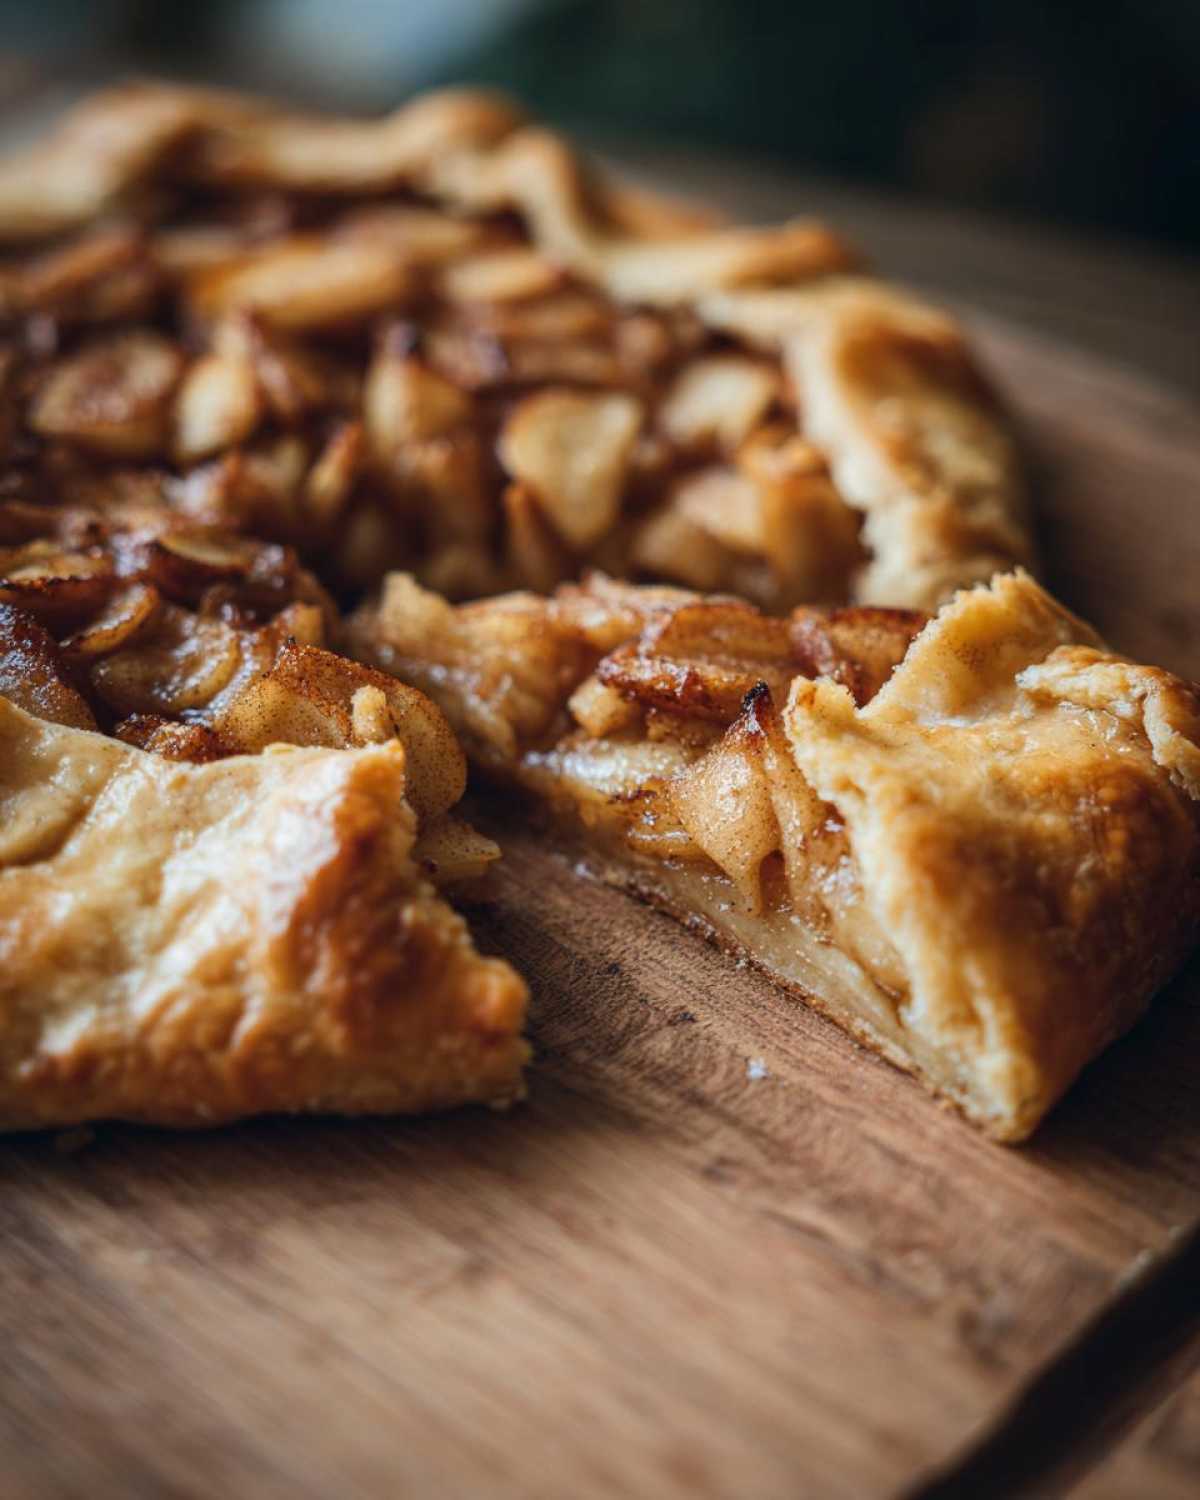
But if you want to get really fancy—and I mean “fancy” in a cozy, farmhouse way—you have to try sharp cheddar cheese. I know, I know, cheese on dessert sounds wild if you haven’t done it, but trust me! A thin slice of sharp, aged cheddar melts just slightly onto the warm fruit, and that salty tang balances the brown sugar beautifully. It’s a very traditional way to serve apple desserts in some regions, and it just clicks perfectly with that cinnamon spice.
For simpler occasions, a big dollop of slightly sweetened whipped cream is lovely. You can even fold a little bit of Calvados or a splash of bourbon into the cream if you’re making this for an adult-only evening. If you loved the spice blend here, you really should check out my apple cinnamon rolls recipe; it uses a similar warming spice profile!
Frequently Asked Questions About Making an Apple Galette
I get so many questions every time I post pictures of this beautiful *Easy Apple Galette*! It’s funny how we all want that rustic look without the work, right? Here are the things I hear most often from folks trying this out for the first time. Honestly, don’t worry if this is one of your first weekend baking projects; this recipe is forgiving!
Can I use store-bought pie dough for this apple galette?
Oh, bless your heart for asking! While I truly believe rolling out this *Flaky Crust Pastry* yourself is where half the fun is—it’s seriously so fast—the answer is yes, you totally can use store-bought pie dough if you are in a real pinch! That’s the beauty of the galette format; it’s so flexible.
Here’s my honest take: If you use the pre-made stuff, make sure it’s all-butter, if possible. And here’s the key: when you unroll it, don’t try to smooth out every single fold or crack. That dough is already a bit overworked compared to what we make fresh. Embrace the cracks! A slightly rougher edge on store-bought dough is actually a good thing because it makes your *Easy Apple Galette* look even more homemade and rustic. Just make sure you still chill it for that 30 minutes before you roll it out further.
What is the best apple to use for a Cinnamon Apple Galette Recipe?
Choosing the right apple is the backbone of a great filling! If you use something too soft, like a Red Delicious, your apples will turn into sweet mush swimming in liquid, and that defeats the purpose of our stabilizing cornstarch. For the best structure in this *Cinnamon Apple Galette Recipe*, you want apples that stay firm when baked.
My absolute favorite combo is Granny Smith mixed with Honeycrisp. Granny Smith brings the necessary tartness to cut through all that brown sugar, and Honeycrisp is sweet but stays delightfully chewy. If you can only find one type, aim for at least two different kinds! Variety in texture and flavor is what makes the filling really sing. Make sure they are sliced consistently thin—if they are too thick, they won’t soften at the same rate as the pastry cooks.
If you ever want to branch out into other spiced desserts, remember the spice ratio here translates really well to my apple cinnamon rolls recipe next time you’re craving something cozier!
Nutritional Estimate for One Serving of Apple Galette
I always pull screenshots of my macros when I bake, but remember, because this is homemade, your numbers can change wildly depending on how thick you roll that pastry or how much sugar you sprinkle on top! This is just a rough guide for our standard six-serving recipe.
- Serving Size: 1 slice
- Calories: 320
- Sugar: 22g
- Sodium: 150mg
- Fat: 16g
- Saturated Fat: 10g
- Carbohydrates: 43g
- Protein: 4g
Keep in mind that the fat content comes mostly from that wonderful, cold, delicious butter we used in the crust, so it’s worth every single bite! These are just estimates, so please take them with a grain of salt!
Share Your Homemade Apple Galette Creation
I genuinely love seeing your beautiful, messy, perfectly rustic bakes! Seriously, if you made this apple galette and are proud of how it turned out—especially that free-form edge—please snap a picture and share it! Tag me on social media or leave a rating right here on the recipe card. Your feedback is what actually helps me know what recipes to keep tweaking and what new ideas to try next for you all.
Hearing from you folks who tried this recipe—especially those of you who thought you couldn’t handle pastry before—makes my day. Good baking stories deserve to be told, so don’t be shy about sharing your success in the comments below! If you’re looking for more of my favorite recipes, check out the main blog page!
Nutritional Estimate for One Serving of Apple Galette
I always pull screenshots of my macros when I bake, but remember, because this is homemade, your numbers can change wildly depending on how thick you roll that pastry or how much sugar you sprinkle on top! This is just a rough guide for our standard six-serving recipe.
- Serving Size: 1 slice
- Calories: 320
- Sugar: 22g
- Sodium: 150mg
- Fat: 16g
- Saturated Fat: 10g
- Carbohydrates: 43g
- Protein: 4g
Keep in mind that the fat content comes mostly from that wonderful, cold, delicious butter we used in the crust, so it’s worth every single bite! These are just estimates, so please take them with a grain of salt!
Share Your Homemade Apple Galette Creation
I genuinely love seeing your beautiful, messy, perfectly rustic bakes! Seriously, if you made this apple galette and are proud of how it turned out—especially that free-form edge—please snap a picture and share it! Tag me on social media or leave a rating right here on the recipe card. Your feedback is what actually helps me know what recipes to keep tweaking and what new ideas to try next for you all.
Hearing from you folks who tried this recipe—especially those of you who thought you couldn’t handle pastry before—makes my day. Good baking stories deserve to be told, so don’t be shy about sharing your success in the comments below! If you’re looking for more of my favorite recipes, check out the main blog page!
PrintEasy Rustic Cinnamon Apple Galette

Make this simple, free-form French apple tart featuring a flaky, buttery crust and a sweet, cinnamon-spiced apple filling.
- Prep Time: 20 min
- Cook Time: 40 min
- Total Time: 60 min
- Yield: 6 servings
- Category: Dessert
- Method: Baking
- Cuisine: French
- Diet: Vegetarian
Ingredients
- 1 1/2 cups all-purpose flour
- 1/2 teaspoon salt
- 1 tablespoon granulated sugar
- 1/2 cup (1 stick) cold unsalted butter, cut into small cubes
- 4 tablespoons ice water
- 4 medium apples (like Granny Smith or Honeycrisp), peeled, cored, and thinly sliced
- 1/4 cup brown sugar, packed
- 1 teaspoon ground cinnamon
- 1/4 teaspoon ground nutmeg
- 1 tablespoon lemon juice
- 1 tablespoon cornstarch
- 1 large egg, beaten (for egg wash)
- 1 tablespoon coarse sugar (for sprinkling)
Instructions
- Prepare the crust: In a large bowl, whisk together the flour, salt, and 1 tablespoon of sugar. Cut in the cold butter using a pastry blender or your fingers until the mixture resembles coarse crumbs with some pea-sized pieces of butter remaining.
- Gradually add the ice water, one tablespoon at a time, mixing until the dough just comes together. Form the dough into a disk, wrap it in plastic wrap, and chill for at least 30 minutes.
- Prepare the filling: In a separate bowl, gently toss the sliced apples with the brown sugar, cinnamon, nutmeg, lemon juice, and cornstarch until the apples are evenly coated.
- Preheat your oven to 400°F (200°C). Line a baking sheet with parchment paper.
- On a lightly floured surface, roll the chilled dough into a rough 12-inch circle. It does not need to be perfect; rustic is the goal.
- Carefully transfer the dough circle to the prepared baking sheet.
- Arrange the apple mixture in the center of the dough, leaving a 2-inch border around the edge. Pile the apples slightly higher in the center.
- Fold the dough border up and over the edges of the apple filling, pleating the dough as you go to create a free-form crust.
- Brush the exposed crust with the beaten egg wash and sprinkle generously with coarse sugar.
- Bake for 35 to 45 minutes, or until the crust is golden brown and the apples are tender and bubbly.
- Let the galette cool on the baking sheet for at least 15 minutes before slicing and serving.
Notes
- For extra flavor, mix 1/2 teaspoon of flaky sea salt into the coarse sugar before sprinkling it on the crust.
- If you prefer a richer crust, substitute 1 tablespoon of the flour with cornmeal for a slightly textured pastry.
- Serve warm with vanilla ice cream or a dollop of whipped cream.
Nutrition
- Serving Size: 1 slice
- Calories: 320
- Sugar: 22
- Sodium: 150
- Fat: 16
- Saturated Fat: 10
- Unsaturated Fat: 6
- Trans Fat: 0
- Carbohydrates: 43
- Fiber: 3
- Protein: 4
- Cholesterol: 55
