

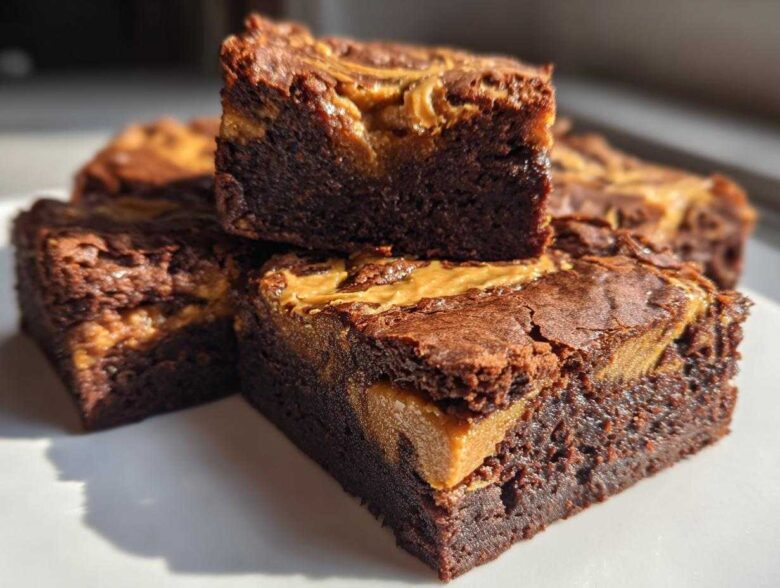
Oh my gosh, if you think you have to give up that decadent, fudgy texture when you go gluten-free, you are seriously mistaken! I spent way too much time trying to get a decent, non-crumbly, non-cakey brownie base once my doctor told me I needed to cut the wheat. It felt impossible until I finally nailed this recipe: Gluten-Free Chocolate Peanut Butter Swirl Brownies. Seriously, people rave about these when I bring them to potlucks, and nobody ever guesses they are allergy-friendly! The peanut butter swirl just sends them over the top. It took me about four test batches to figure out how to warm the PB just right so it didn’t sink to the bottom like a sad, heavy layer, but trust me—we figured it out. You can read more about my baking journey over on my main blog home. Get your parchment paper ready because these are going to disappear fast!
Why You Will Love These Gluten-Free Chocolate Peanut Butter Swirl Brownies
I know what you’re thinking: another gluten-free recipe that tastes like cardboard, right? Absolutely not! When I make these, they are gone before anything else. They are everything I want in a dessert, and they tick all the necessary boxes. If you need help getting started with allergy-friendly desserts, this batch is a fantastic entry point. You can see some of my other simple tips for easy gluten-free baking right here!
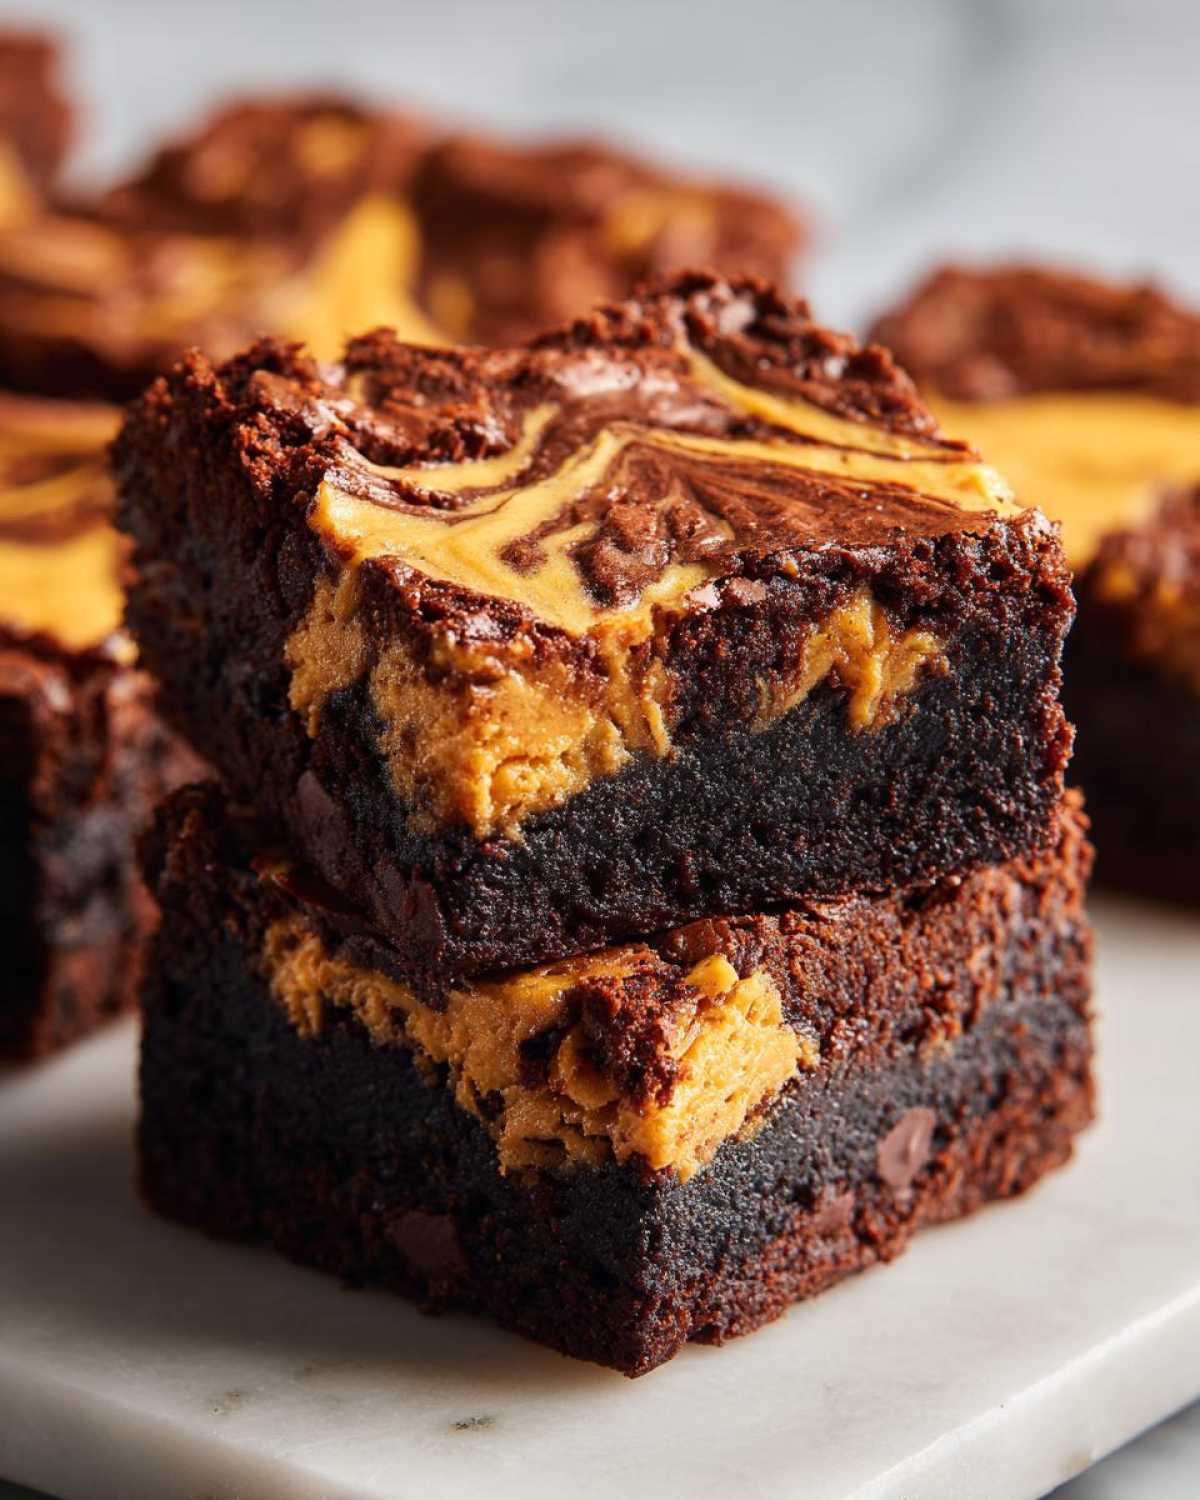
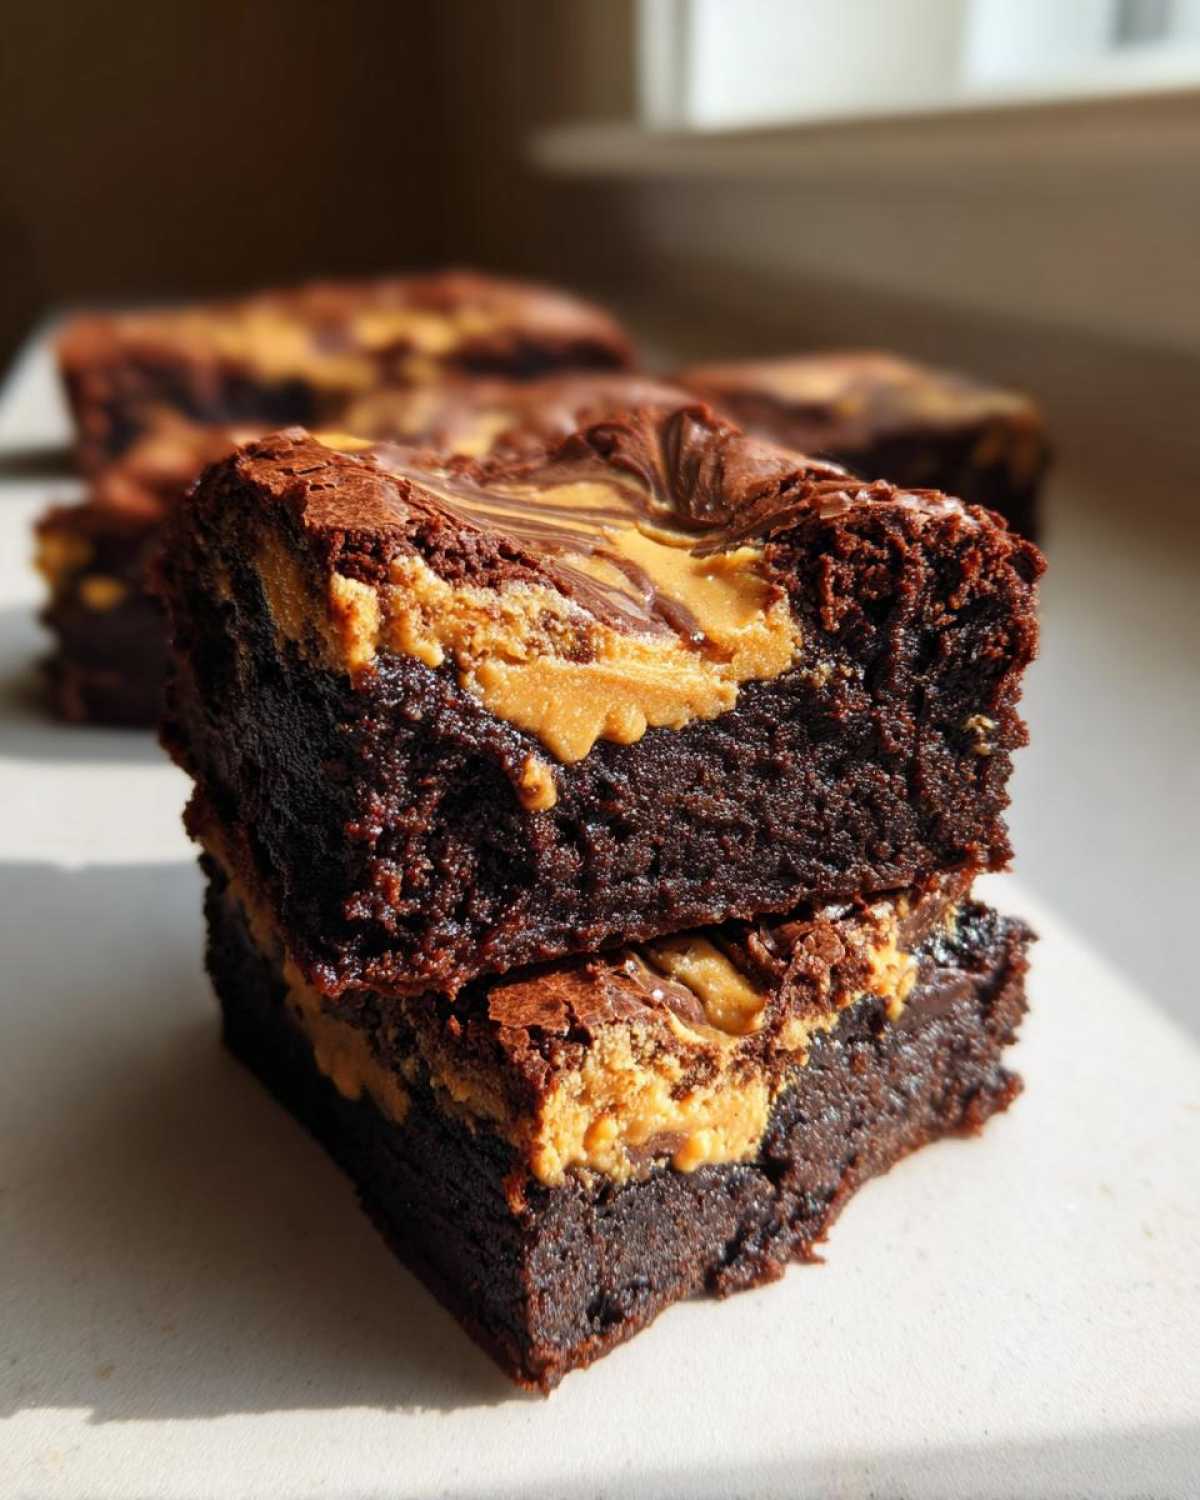
- Perfectly Fudgy Texture: Forget dry, crumbly edges! Because we skip traditional flour and rely on the sugar and egg ratio, these bake up dense, rich, and gloriously fudgy right in the center. It’s the best texture for a brownie, honestly.
- Ultimate Flavor Combo: Chocolate and peanut butter are BFFs, and in this treat, they play so nicely together. The dark cocoa makes the chocolate layer deep and rich, while the swirl adds that salty, creamy sweetness we all crave.
- Completely Gluten-Free: These are truly celiac-safe (assuming your ingredients are certified, of course). They are fantastic for guests with sensitivities or allergies, but truly, everyone will want a piece.
- Surprisingly Quick: Even with the swirl element, the prep time is super short—like fifteen minutes max. The hardest part of this whole recipe is waiting for them to cool down!
- Bakery-Style Appearance: That magnificent swirl on top makes them look like something you’d pay a fortune for at a fancy bakery. They look complicated, but they are so simple to achieve!
Essential Ingredients for Perfect Gluten-Free Chocolate Peanut Butter Swirl Brownies
Okay, when you’re baking without wheat, the ingredients matter more than ever! We need things that give us structure and moisture back, which is why these ingredients are non-negotiable for this recipe. I’ve listed everything out here. Make sure you have that special flour blend ready to go. If you want to see what else I bake with this specific blend, check out my gluten-free chocolate chip muffins!
- The Fats & Sweeteners: You’ll need 1 cup of melted unsalted butter. Don’t skimp here! We pair that with 1 1/2 cups of granulated sugar and a full cup of packed light brown sugar for deep richness.
- The Structure: Four large eggs bring everything together, plus 1 teaspoon of vanilla extract.
- The Gluten-Free Base: This is crucial! We use 1 cup of a **gluten-free all-purpose flour blend that already contains xanthan gum**. If yours doesn’t, don’t worry, we’ll talk about that later!
- Chocolate Power: Use 3/4 cup of unsweetened cocoa powder and 1/2 cup of semi-sweet chocolate chips folded into the batter for extra gooey pockets.
- For the Swirl: You need 1 cup of creamy peanut butter, which you’ll warm slightly. Then, mix that with 1/4 cup of powdered sugar and just 1 tablespoon of milk or water to make it spreadable.
Step-by-Step Instructions for Fudgy Gluten-Free Chocolate Peanut Butter Swirl Brownies
Alright, let’s get baking! We aren’t just throwing ingredients in a bowl here; we are building deep, fudgy flavor. The process is straightforward, but the timing on that swirl is key. Remember to keep your oven hot at 350°F (175°C) and make sure you’ve greased and lined that 9×13 inch pan with parchment paper, making sure you leave an overhang. That overhang is my best friend—it lets me lift the whole thing out in one piece later! Before we dive in, if you’ve ever made my fudge swirl brownie trifle, you know how much I love layering flavors, and this is the foundation for that!
Preparing the Brownie Batter Base
First thing’s first: always tackle your wet ingredients before the dry ones. Whisk together that melted butter with both sugars until they look nice and happy together. Then beat in your eggs one by one—you need each one fully incorporated before adding the next one. Once that’s smooth, bring in the vanilla. Now for the dry stuff! In a separate bowl, whisk your gluten-free flour blend, cocoa powder, and salt. When adding the dry mix to the wet, go slow and mix only until you *just* don’t see streaks of flour anymore. Stop mixing right there! Overmixing GF batter is the fastest way to end up with a crumbly, cakey mess instead of a fudge bomb.
Creating the Peanut Butter Swirl Mixture
This little step is what makes these the *best* brownies. You want your creamy peanut butter to be very easy to work with. Take your cup of PB, put it in a small bowl, and warm it up for about 15-20 seconds in the microwave. It doesn’t need to be hot, just runny enough to drop dollops. Whisk in your powdered sugar and the tablespoon of milk or water until it’s smooth and pourable, almost like a thick glaze. Warming it liquefies the fats just enough so it doesn’t stubbornly sink right through the brownie batter when you layer it.
Swirling and Baking Your Gluten-Free Chocolate Peanut Butter Swirl Brownies
Pour all that rich chocolate batter into your prepared pan and smooth it out. Now, drop spoonfuls of your warm peanut butter mix all over the top. Don’t try to be too perfect; bigger dollops are fine! Take a knife—an offset spatula works great too—and gently drag it through the batter in an S-shape, or figure-eights. Be gentle! The trick to keeping that beautiful two-tone look is to lift the knife out frequently. You are trying to marble, not obliterate the layers. Bake these puppies for about 30 to 35 minutes. Test them near the edge; you want moist crumbs clinging to the toothpick, not wet batter. Then, the really hard part: let them cool completely on a rack before you even *think* about slicing them!
Tips for the Best Peanut Butter Swirl Desserts
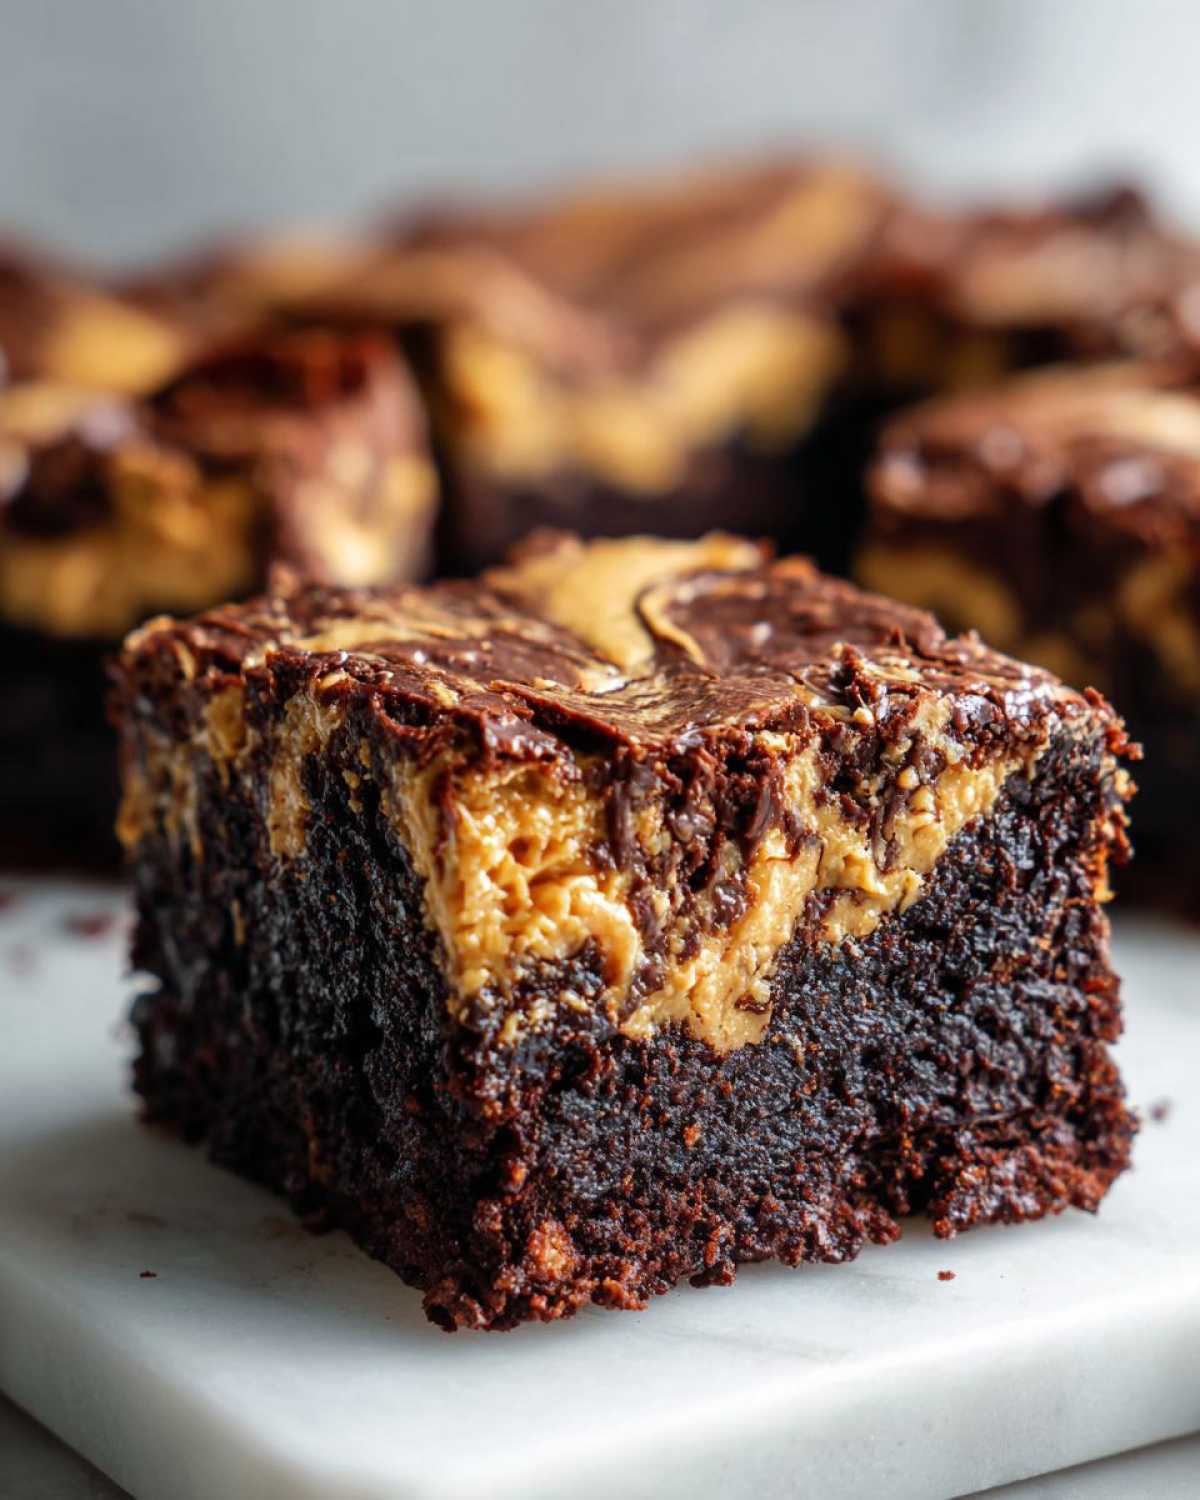
Listen, swirling is an art form, but it doesn’t have to involve a trip to art school! When you’re making layered treats like these Gluten-Free Chocolate Peanut Butter Swirl Brownies, technique makes all the difference between a beautiful pattern and a muddy mess. If you’ve ever made my famous cream cheese coffee cake, you know I have strong opinions on how swirls should look. Here are my absolute best secrets for nailing this look every single time you make any of your favorite peanut butter swirl desserts.
- Warm It Up, But Don’t Boil It: I mentioned this before, but it bears repeating! If your peanut butter mixture is cold or too thick, it will just sit on top and maybe even break through the batter in one big blob. If it’s too hot? It sinks instantly to the bottom. You are aiming for the consistency of thick honey—warmed gently in the microwave for just a few seconds until it drizzles slowly off a spoon.
- The 80/20 Rule for Overlap: When you drop those dollops onto the chocolate base, try to keep about 80% of the peanut butter sitting *on top* of the batter and only 20% touching the batter underneath. If you let the chocolate batter touch the sides of the pan near the peanut butter, the peanut butter acts like a weight, and it will pull the heavier chocolate batter down, causing the PB layer to sink.
- The Gentle Zig-Zag: When you take your knife or skewer for the actual swirling, don’t stab down deep into the batter! Treat it like you are drawing on the surface with a light hand. A quick, shallow zig-zag motion across the top surface is all you need to blend the two colors just slightly. Pull the tool out after every pass. If you keep dragging it through the same area, you are going to combine the colors completely into a single tan layer, which defeats the whole purpose of this epic two-tone bake!
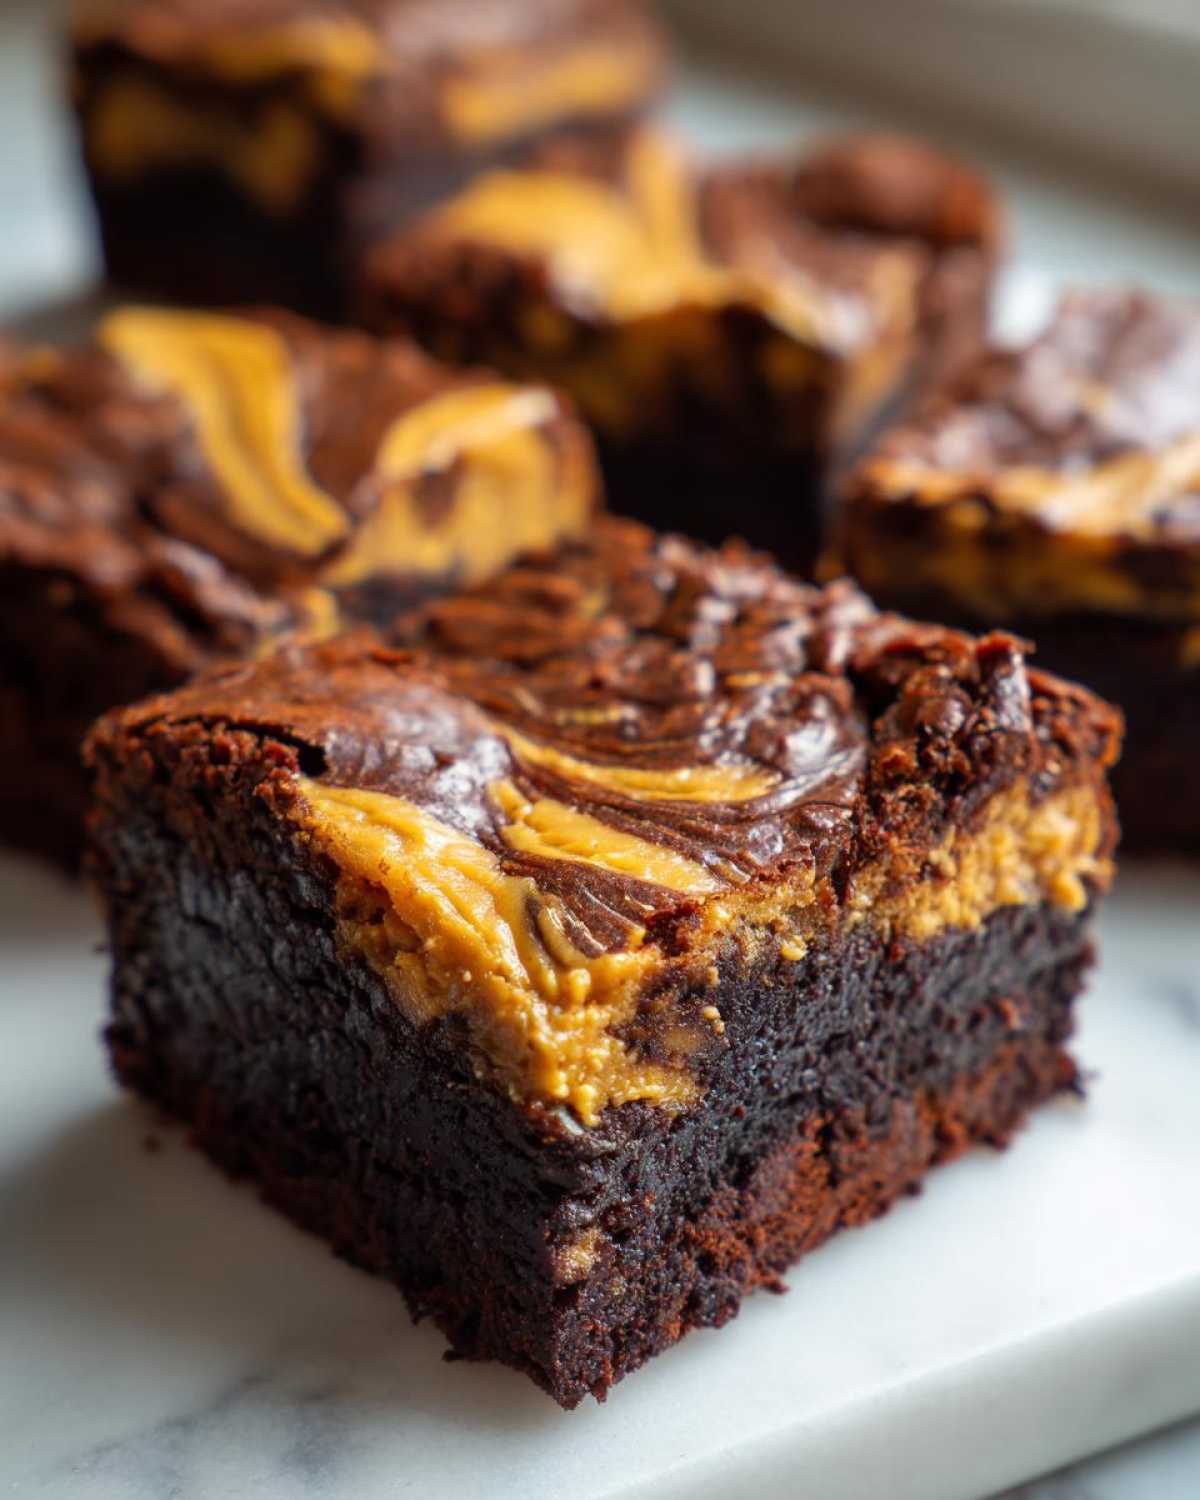
Keep these easy techniques in mind, and your baked goods will look professional in no time. You can check out more ideas for layering flavor on my post about cream cheese coffee cake swirls too!
Ingredient Notes and Substitutions for Gluten-Free Chocolate Peanut Butter Swirl Brownies
I always say that when you switch to gluten-free baking, you have to become a little bit of an ingredient detective. It’s not always a 1:1 swap, and understanding *why* we use certain things is how you build that baking authority! We already talked about the importance of the right GF flour blend, but let’s nail down a couple of substitutions you might need for your pantry or for allergy adjustments. If you’re looking for other ways to adapt recipes, I have lots of notes over on my gluten-free zucchini muffins post!
First, let’s talk **xanthan gum**. If the all-purpose blend you grabbed didn’t have it already listed in the ingredients, you absolutely must add 1/2 teaspoon to your dry ingredients. Xanthan gum is essentially gluten’s best friend replacement; it provides the stretch and structure that keeps the brownie tender instead of letting it crumble into dust when you try to cut it. Seriously, don’t skip it if your blend is “plain.”
For the main flour swap, if you don’t have a good 1:1 blend on hand, you can try using 3/4 cup of almond flour mixed with 1/4 cup of oat flour. Almond flour is heavy with fat, so these brownies will become even richer, almost approaching that super-fudgy, dense texture of an old-fashioned flourless cake. They might need an extra minute or two in the oven, so watch that toothpick!)
Now, what if you have a terrible peanut allergy, or you just ran out of PB? You have options! Sunflower seed butter or Tahini make fantastic substitutes in the swirl. The flavor profile changes a bit—tahini adds a wonderfully earthy note—but the texture works almost identically. Just warm it up gently like we did with the peanut butter, and you’ll still get that gorgeous swirl on top of your Gluten-Free Chocolate Peanut Butter Swirl Brownies.
Storing and Reheating Your Gluten-Free Chocolate Peanut Butter Swirl Brownies
Don’t worry, these fudgy treats keep beautifully! For the best flavor and texture, keep them stored airtight at room temperature for up to three days. If you need them to last longer, pop them into the fridge; they firm right up, which is actually delicious if you like a chilled brownie. Want to freeze them? Yes! Wrap individual squares tightly in plastic wrap, then slip them into a freezer-safe bag. They freeze great for about three months. To thaw, just leave them on the counter, still wrapped, for an hour. I found that keeping them wrapped prevents condensation, which keeps that beautiful peanut butter swirl looking perfect!
If you want a little inspiration for future bakes, check out my recipe for chocolate chip zucchini bread, which also freezes really well.
Frequently Asked Questions About Gluten Free Brownies Recipe
I get so many great questions about making these Gluten-Free Chocolate Peanut Butter Swirl Brownies safe for everyone, or how to get that fudgy texture just right. Since these are technically Gluten Free Brownies Recipe variations, the rules for traditional baking change a bit! Here are a few things people always ask me.
Can I make these brownies dairy-free?
Yes, you absolutely can, which is great for creating allergy friendly brownies! The only dairy comes from the butter and the chocolate chips. You can substitute the butter with a good quality vegan butter stick—make sure it’s one that bakes up solid, not one that’s too oily. For the semi-sweet chips, there are tons of amazing dairy-free brands out there now, or you can just use chopped dairy-free dark chocolate instead. Your swirl will remain perfect since the peanut butter mixture doesn’t use dairy!
How can I guarantee these are extra fudgy?
If you want them to lean into the fudgy side versus the cakey side (which can happen easily with gluten-free flour), you need to focus on two things. First, don’t overbake! I mean it! Pull them out when the toothpick has moist crumbs, not when it’s totally clean. Second, I use a dark cocoa powder for these; it adds depth and helps mimic that dense texture. Check out my notes on oatmeal chocolate chip muffins; the dark cocoa principle applies there too!
I can’t use peanut butter. What’s the best substitute for the swirl?
This is a common concern for folks making Celiac safe desserts! As I mentioned before, sunflower seed butter works beautifully if you have a nut allergy. Almond butter is also a direct swap if you are okay with other tree nuts. The key thing is consistency. Whatever you use, make sure you warm it gently so it mixes easily with the powdered sugar, because a stiff swirl layer is what sinks!
How do I keep the swirl visible and prevent it from sinking?
This is the million-dollar question for all Two Tone Brownies Recipe creations! It all comes down to temperature and mixing technique. Make sure your peanut butter mixture is slightly warm so it sits comfortably on the cold batter—not hot, otherwise it melts right through. Then, when you swirl it, use a light hand, almost just feathering the very top layer. Don’t poke deeply, or you’ll just mix the two batters together into a single flavor profile!
Serving Suggestions for Rich Chocolate Peanut Butter Desserts
Because these Gluten-Free Chocolate Peanut Butter Swirl Brownies are so decadent on their own—so fudgy and rich—sometimes just a square on a plate feels a little plain! When I serve these, especially when I want to turn them into a proper dessert course instead of just a grab-and-go treat, I love pairing them with something that brings temperature or texture contrast. These are some of my favorite ways to dress up a batch of Rich Chocolate Peanut Butter Desserts.
- The Classic Scoop: You absolutely cannot go wrong with a scoop of good quality vanilla bean ice cream melting slowly over the warm square. The creamy, cold vanilla is the perfect counterpoint to the dense chocolate, and the ice cream always melts down perfectly into the peanut butter swirl a little bit. Heaven!
- A Little Crunch On Top: If you are feeling fancy, melt a tablespoon of peanut butter separately and drizzle it over the top (I know, more peanut butter, I can’t help it!). Then, sprinkle on a tiny pinch of flaky sea salt right over that drizzle. That salty crunch brings out the sweet flavor in the brownie so brilliantly.
- Elevated Coffee Treat: If you’re serving these after dinner with coffee, try pairing them with something slightly tart or slightly creamy, like a dollop of mascarpone or a small side of slightly tart fruit, like raspberries. I love pairing strong chocolate with an iced cappuccino mascarpone mousse—it’s a wonderful, sophisticated pairing that cuts through the richness of the chocolate and peanut butter combo perfectly!
Nutritional Estimates for Gluten-Free Chocolate Peanut Butter Swirl Brownies
Before you dive headfirst into that gooey, swirled goodness, let’s quickly look at the numbers. Since these are rich, decadent treats, they definitely aren’t “diet food,” but knowing what you are eating is always smart, right? I always keep track of this stuff, especially when I’m baking for friends who have specific goals. These figures are based exactly on the recipe card I shared, so they should be super accurate!
Here is a snapshot of what you’re looking at for just one brownie square, assuming you slice the pan evenly into sixteen pieces. Remember, if you cut them into smaller bites (which is tempting!), these numbers per square will obviously go down. If you used almond flour or a different nut butter in the swirl, these estimates will shift a bit!
- Serving Size: 1 brownie square
- Calories: 280
- Sugar: 28g (Yes, they are sweet, but that’s the joy of dessert!)
- Fat: 17g (This is where most of that satisfying fudginess comes from!)
- Saturated Fat: 8g
- Carbohydrates: 30g
- Protein: 6g
- Sodium: 150mg
- Cholesterol: 75mg

I always like to pair a square with a nice strong cup of tea or maybe one of my apple cinnamon rolls the next morning—just kidding! Mostly. Seriously though, take these numbers with a grain of salt (pun intended!). If you swap the brand of cocoa powder or use natural peanut butter instead of creamy processed PB, the exact fat and sodium content is going to change. These are fantastic estimates for planning, but they won’t be lab-perfect. Enjoy every single bite!
PrintGluten-Free Chocolate Peanut Butter Swirl Brownies
Make rich, fudgy brownies that are completely gluten-free and feature a decadent peanut butter swirl topping.
- Prep Time: 15 min
- Cook Time: 35 min
- Total Time: 50 min
- Yield: 16 servings
- Category: Dessert
- Method: Baking
- Cuisine: American
- Diet: Gluten Free
Ingredients
- 1 cup (2 sticks) unsalted butter, melted
- 1 1/2 cups granulated sugar
- 1 cup packed light brown sugar
- 4 large eggs
- 1 teaspoon vanilla extract
- 1 cup gluten-free all-purpose flour blend (with xanthan gum)
- 3/4 cup unsweetened cocoa powder
- 1/2 teaspoon salt
- 1/2 cup semi-sweet chocolate chips
- 1 cup creamy peanut butter, slightly warmed
- 1/4 cup powdered sugar
- 1 tablespoon milk or water
Instructions
- Preheat your oven to 350°F (175°C). Grease and line a 9×13 inch baking pan with parchment paper, leaving an overhang for easy removal.
- In a large bowl, whisk together the melted butter, granulated sugar, and brown sugar until combined.
- Beat in the eggs one at a time, mixing well after each addition. Stir in the vanilla extract.
- In a separate bowl, whisk together the gluten-free flour blend, cocoa powder, and salt.
- Gradually add the dry ingredients to the wet ingredients, mixing until just combined. Do not overmix. Fold in the chocolate chips.
- Pour the brownie batter into the prepared pan and spread evenly.
- In a small bowl, mix the warmed peanut butter, powdered sugar, and milk or water until smooth and pourable.
- Drop spoonfuls of the peanut butter mixture evenly over the brownie batter.
- Use a knife or skewer to gently swirl the peanut butter mixture into the batter. Do not over-swirl, or the colors will blend completely.
- Bake for 30 to 35 minutes. A toothpick inserted near the edge should come out with moist crumbs, not wet batter.
- Let the brownies cool completely in the pan on a wire rack before lifting them out using the parchment paper overhang and cutting into squares.
Notes
- For the best swirl, slightly warm the peanut butter mixture so it flows easily over the batter.
- If your gluten-free flour blend does not contain xanthan gum, add 1/2 teaspoon to the dry ingredients.
- For extra fudginess, use a dark chocolate cocoa powder.
Nutrition
- Serving Size: 1 brownie square
- Calories: 280
- Sugar: 28
- Sodium: 150
- Fat: 17
- Saturated Fat: 8
- Unsaturated Fat: 9
- Trans Fat: 0
- Carbohydrates: 30
- Fiber: 2
- Protein: 6
- Cholesterol: 75
