

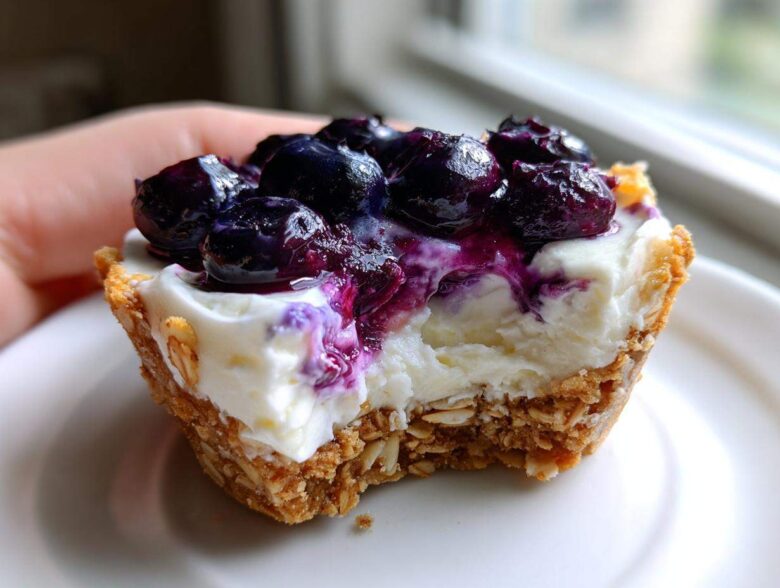
Oh man, are you ready for the ultimate lazy baker dream? Seriously, if the thought of turning on the oven right now makes you break into a sweat, I completely get it. We’ve all been there when summer hits or when you just want a treat *now* and not in three hours of waiting for something to cool down. That’s why I’m buzzing to share my recipe for **No-Bake Blueberry Cheesecake Oat Cups**!
These little gems are my secret weapon for when company shows up unannounced or when the craving hits mid-afternoon. They require zero baking, they’re perfectly portion-controlled—no cutting messy slices here—and they taste just as rich and dreamy as a full cheesecake. Trust me, using rolled oats for the crust makes these **No-Bake Blueberry Cheesecake Oat Cups** almost guilt-free. I adore making these because I can whip them up while the coffee brews and then forget about them until dessert time. It’s pure magic!
If you’re looking for more super speedy kitchen wins, check out my main baking directory right here: all my best recipes.
Why You Need These No-Bake Blueberry Cheesecake Oat Cups Today
Why bother with all that oven fuss when you can have something this delicious ready to go? These cups are everything you want in a dessert without any of the heat or heavy lifting. They are so fast to assemble, you’ll wonder why you didn’t start making them years ago!
I toss these together anytime I need an emergency dessert or just a little something sweet after dinner. You should definitely check out my post on quick and easy chocolate mug cake if you need something even faster, but these cups offer a bit more polish!
Perfectly Portion Controlled Snacks
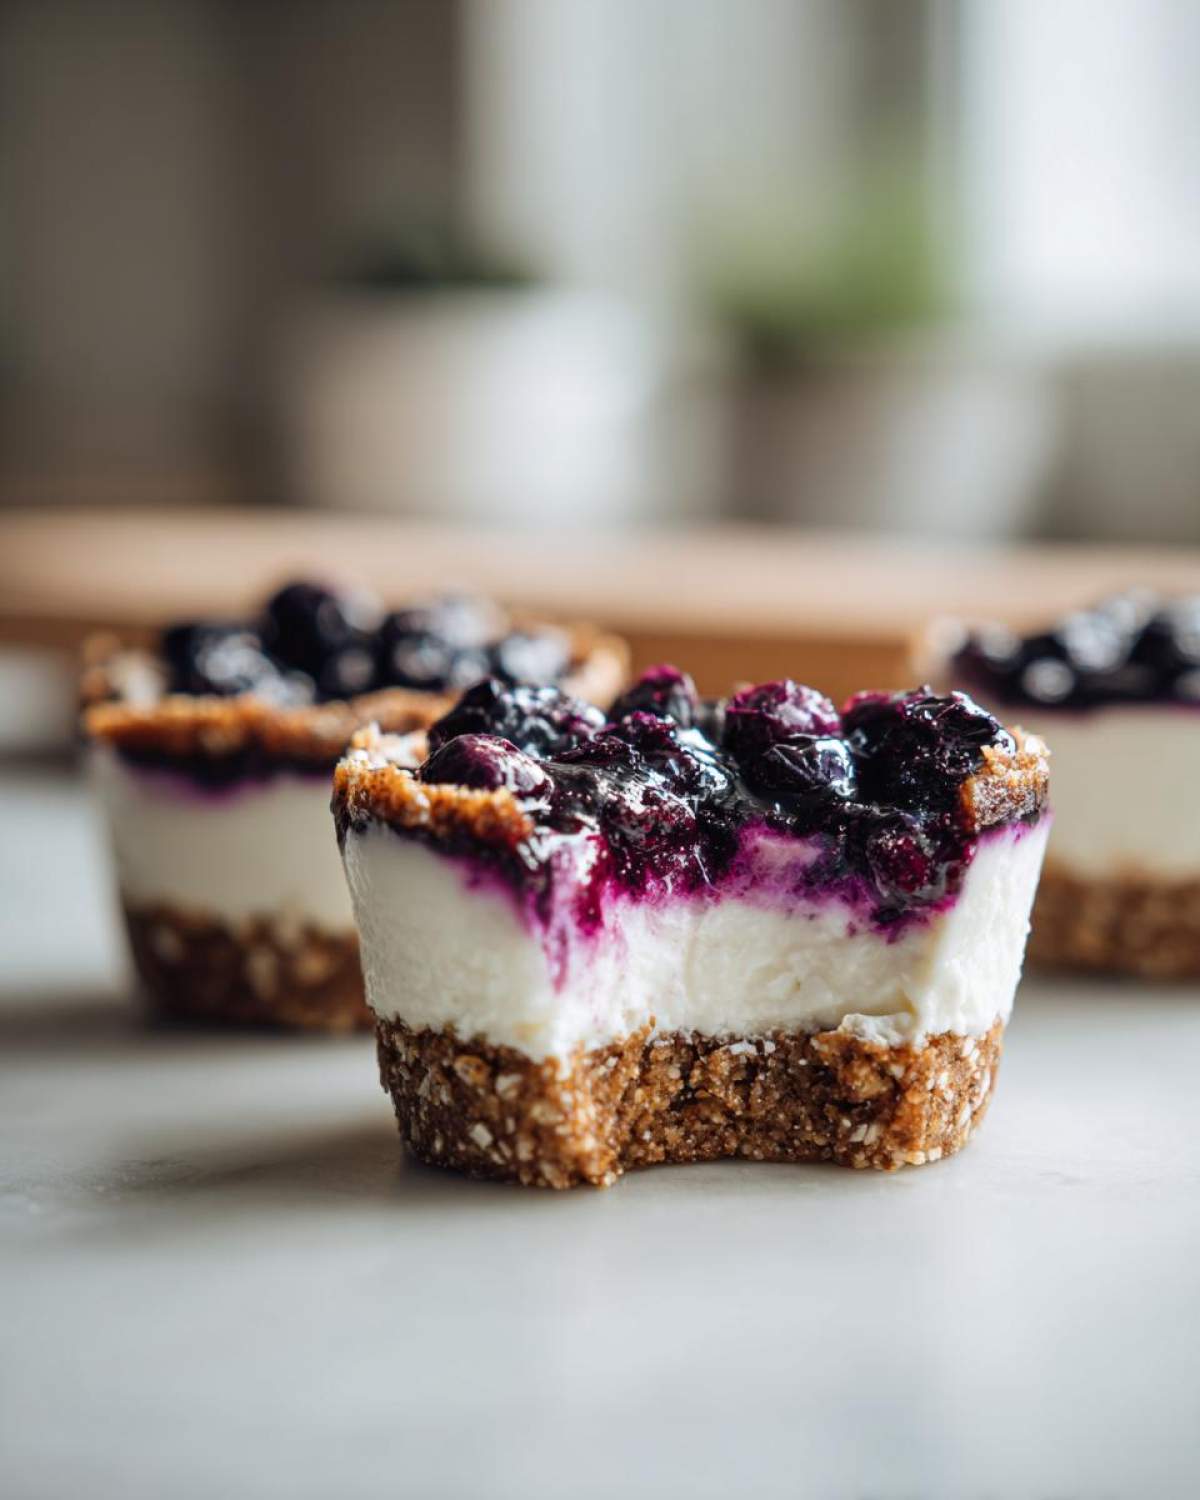
Seriously, this is my favorite part! Because they are made right in the muffin tin liners, you don’t have to worry about slicing or serving sizes. Each person gets their own perfect little dessert tower. It’s a game-changer for mindful snacking and serving up dessert beautifully after a big meal.
The Ultimate Minimal Effort Recipes Experience
The active time commitment here is tiny—maybe 20 minutes total before they go into the fridge. That’s it! You are basically mixing three things, pressing them down, and letting the refrigerator do the heavy lifting. It truly is the pinnacle of minimal effort recipes because your oven stays blissfully off!
Gathering Ingredients for Your No-Bake Blueberry Cheesecake Oat Cups
Okay, gathering the goods for these **No-Bake Blueberry Cheesecake Oat Cups** is almost as fun as eating them, and it’s so straightforward! You don’t need fancy extracts or obscure flours; just good, simple stuff. I always organize my ingredients before I start mixing, which prevents that panicked realization that I forgot the salt halfway through. Since we are going for that lighter, healthier vibe, notice how we use Greek yogurt alongside the cream cheese. It just adds a lovely tang and cuts the richness perfectly.
If you want to see how I adapted a full cheesecake recipe to be healthier, you should definitely take a peek at my protein cheesecake recipe for comparison!
For the Oat Crust Recipes Base
For our sturdy little base, we’re keeping it classic. You need 1 cup of good, old-fashioned rolled oats—none of that instant stuff, please! We bind it together with 1/4 cup of melted coconut oil (which helps it firm up nicely in the cold) and 2 tablespoons of maple syrup for sweetness. And don’t forget that tiny hit of flavor from 1/4 teaspoon of salt to balance everything out. These simple elements create the best oat crust recipes for No-Bake Desserts!
For the Healthy No Bake Cheesecake Filling
This is where the creaminess comes from! Grab 8 ounces of cream cheese—make sure it’s softened up on the counter first, or you’ll end up with lumps, trust me. Mix that with 1/2 cup of plain Greek yogurt. Then, we whip in 1/4 cup of powdered sugar—don’t use granulated here, we want it smooth! Finally, 1 teaspoon of vanilla extract bumps up that cozy flavor.
For the Blueberry Topping
Keep it fresh and simple here! All you need is 1 cup of lovely fresh blueberries sprinkled right on top of the filling before they chill. They look beautiful, and that little pop of tartness when you bite in is just heavenly.
Ingredient Notes and Substitutions for No-Bake Blueberry Cheesecake Oat Cups
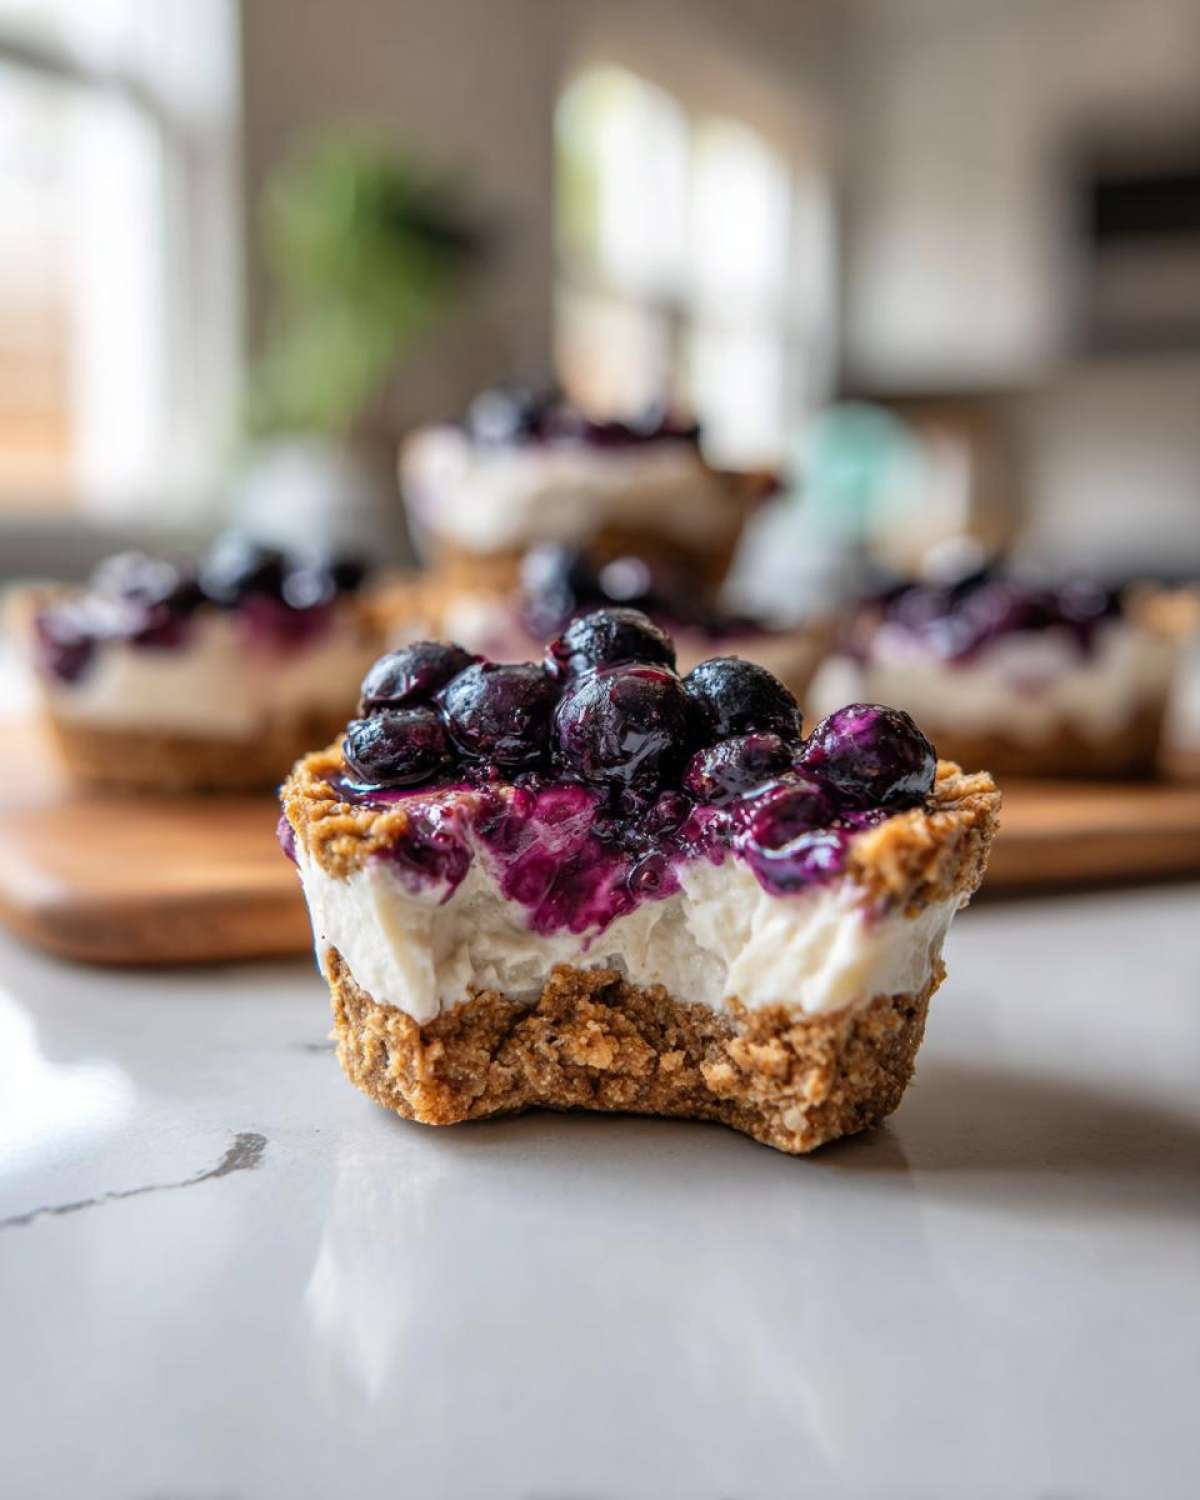
When we talk about making these **Cream Cheese Dessert Cups**, I always stress quality because there are so few ingredients doing all the heavy lifting! Since there’s no baking to hide behind, every choice counts. I pulled out my notes from when I first created these, and a couple of things absolutely make or break the final texture. Pay close attention to the yogurt and the oats, and you’ll nail this recipe every single time!
If you’re diving deep into gluten-free baking, make sure you look at my post on gluten-free chocolate chip muffins; I share tons of tips there about cross-contamination I’ve learned over the years!
Achieving Gluten Free No Bake Option
The biggest potential pitfall for anyone needing a **Gluten Free No Bake Option** is the oats! You absolutely must check the packaging on your rolled oats to ensure they are certified gluten-free. Regular oats are often processed on shared equipment with wheat, and even a tiny trace can cause issues for sensitive folks. Treat your crust seriously; using the right oats guarantees these cups stay safe for everyone at your gathering while still giving you that perfect crumbly base.
Sweetener Swaps and Yogurt Choices
Maple syrup is my go-to because it brings a lovely depth of flavor that white sugar just can’t match in a no-bake treat. But please know you can totally swap it out for honey if that’s what you have on hand! Same goes for the Greek yogurt in the filling. If you want a richer, tangier flavor that really sings against the sweet berries? Go for the full-fat Greek yogurt. If you’re watching fat content, low-fat works fine, but just be aware it won’t have that same sharp ‘cheesecake’ zing!
Step-by-Step Instructions for No-Bake Blueberry Cheesecake Oat Cups
Okay, let’s get these gorgeous little **No-Bake Blueberry Cheesecake Oat Cups** assembled! Since we’re working with chilled elements, speed is your friend once you start mixing the filling. I always pull my cream cheese out early so it’s super soft. When you’re done, these are fantastic **refrigerator desserts** that you can just grab and go!
If you’re looking for more recipes that rely on the fridge instead of the oven, check out my absolute favorite collection of refrigerator desserts—there are some gems there!
Preparing the Tin and Crust for Your Oatmeal Dessert Recipes
First things first, grab your muffin tin and line it with 8 paper liners. We need those liners for easy removal later! For the crust, toss together your rolled oats, melted coconut oil, maple syrup, and salt until everything is evenly coated. You want it damp, not soupy. Then, take about 1.5 tablespoons of that mixture and press it down firmly into the bottom of each liner—I use the back of a little spoon for this. Don’t be shy; press it tight! Pop that whole tin into the freezer for just 10 minutes to get that oat crust nice and set.
Creating the Creamy Cheesecake Filling
While the crust is chilling, make the filling for your **Oatmeal Dessert Recipes**. In a separate bowl, beat that softened cream cheese until it is totally smooth—I mean *absolutely* no lumps. That’s the secret to a professional-looking cup! Once it’s slick, gently fold in the Greek yogurt, powdered sugar, and vanilla extract. Mix only until everything is perfectly combined and creamy. Stop as soon as it’s uniform; you don’t want to over-mix!
Assembling and Chilling Your Blueberry Dessert Cups
Now, bring that crust out of the freezer. Spoon or pipe that beautiful cheesecake filling evenly over the chilled oat bases. Make them look pretty! Then, just rain those fresh blueberries right over the top of each cup. This is the crucial step for these **No-Bake Blueberry Cheesecake Oat Cups**: They need to chill. Pop the whole tray back into the refrigerator for a minimum of 3 hours. This gives the filling time to firm up completely—don’t rush it, or you’ll end up with a delicious, messy puddle!
Tips for Success When Making No-Bake Blueberry Cheesecake Cups
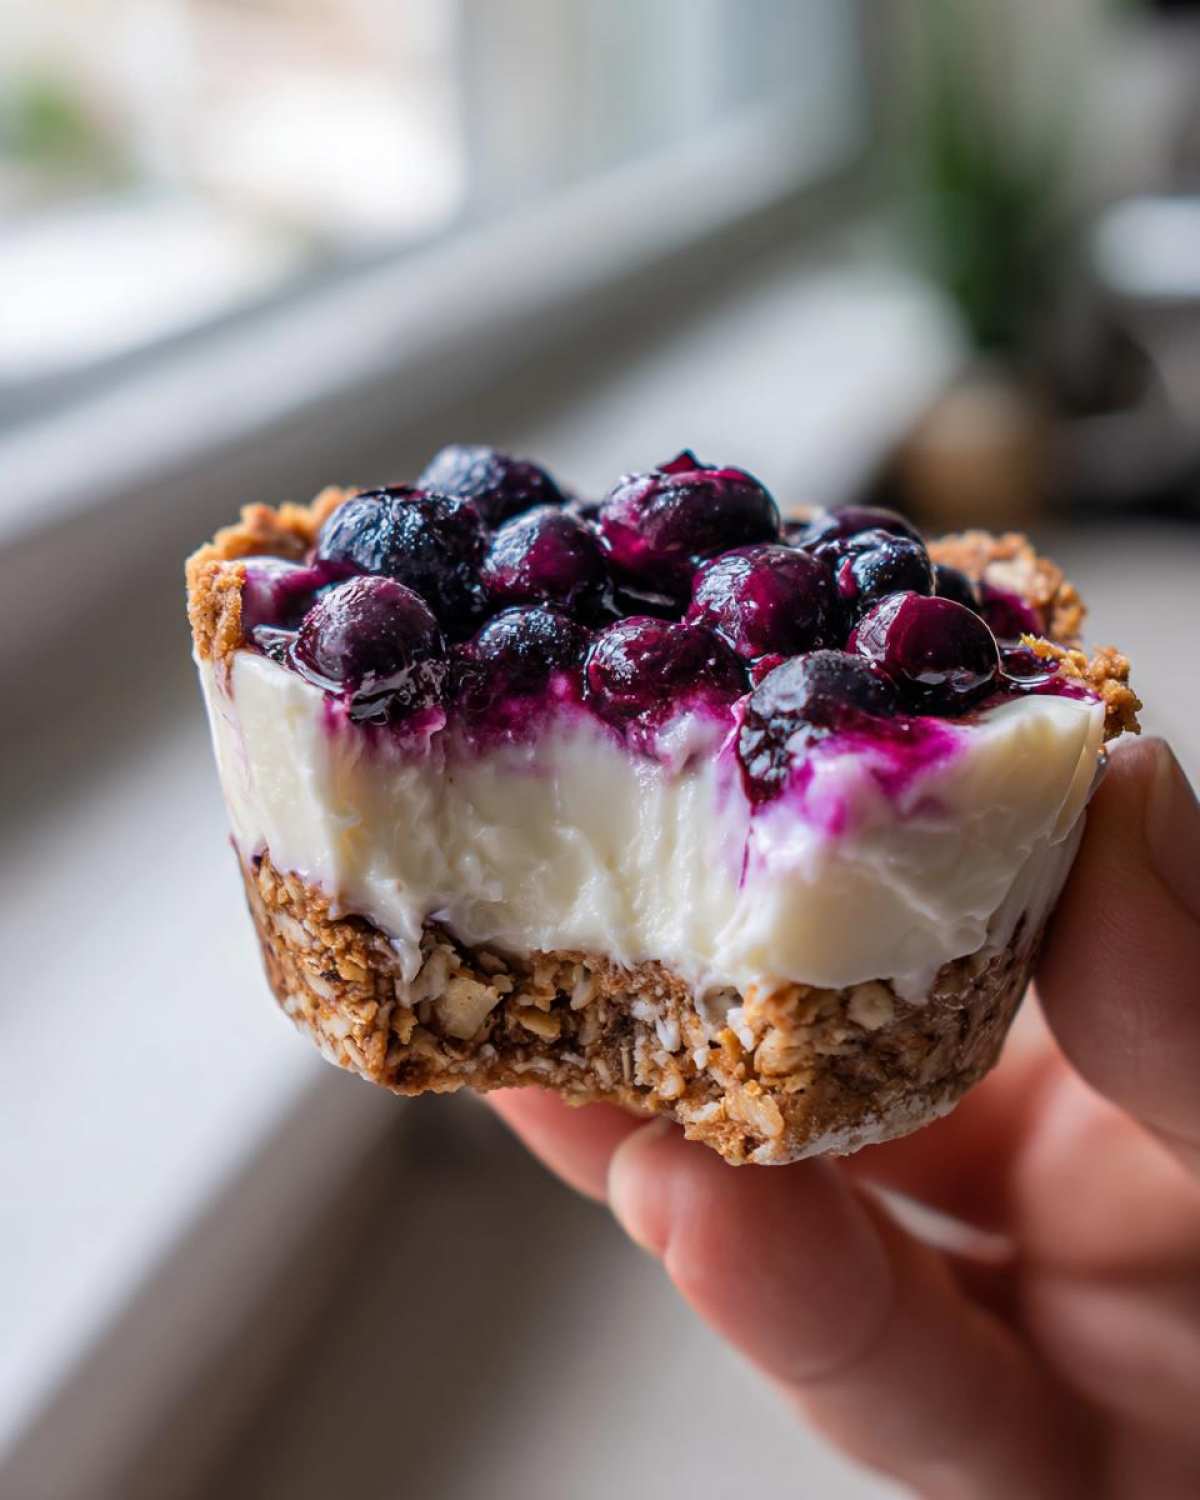
Listen, these **Blueberry Cheesecake Cups** are forgiving, but a few tiny tricks will take them from good to absolutely unbelievable. Because we aren’t using heat to set things, temperature and patience are our main tools here. If you follow these little bits of wisdom, you’ll have perfect, firm cups every time!
I learned the hard way that rushing the chilling process is the kiss of death for any no-bake recipe, especially these! If you’re planning these for a picnic or a summer party, make sure you check out my tips for easy summer treats that hold up well under warm conditions.
- Ensure Ingredients Are Truly Softened: I cannot stress this enough for the filling! If your cream cheese is even slightly cold, it won’t whip up velvety smooth with the yogurt. You want that filling looking like soft-serve ice cream before you pipe it onto the crust. Lumpy cream cheese equals lumpy cheesecake flavor, and nobody wants that!
- Press That Crust Down Hard: Your oat crust is what holds the whole magnificent tower together. Use the bottom of a measuring cup or a flat glass to really compress that oat mixture against the bottom of the liner. A loose crust means the filling will wobble right off when you try to remove the paper liner.
- Resist the Urge to Peek During Chilling: That 3-hour minimum refrigeration time is essential, not optional! When you stick them in the fridge, don’t keep opening the door every 30 minutes to check them. Every time the temperature drops, you slow down the setting process. Stick them in, set a timer, and go do something else! They need that deep, steady cold to firm up properly.
Storage and Make Ahead Desserts for No-Bake Blueberry Cheesecake Oat Cups
One of the best parts about having these **No-Bake Blueberry Cheesecake Oat Cups** in your rotation is how wonderful they are for planning ahead. Seriously, these are the definition of **Make Ahead Desserts**. Since they need to sit in the cold to set up anyway, you might as well make them when you have a spare moment!
I often bake a batch on Sunday afternoon, and they are perfect for grabbing all week long. If you’re struggling to find desserts that hold up well for meal prep, definitely check out my chilled iced cappuccino mousse recipe—it uses similar principles!
Here’s the lowdown on keeping these dreamy **Refrigerator Desserts** tasting fresh:
- Refrigeration is Key: These cups need to stay chilled from the moment they firm up until you serve them. Keep them tightly covered in an airtight container in the fridge. This keeps the oat crust from getting too soft and keeps the cream cheese filling perfectly firm. They usually last beautifully for about 3 to 4 days. Any longer and the fresh blueberries start to weep a little, which isn’t ideal for texture.
- Freezing Caution: While you *can* freeze them, I don’t recommend it for these particular cups. The texture of the cream cheese/yogurt filling doesn’t always thaw perfectly smooth, and the oats in the crust can get a little soggy once they start to defrost. They are truly best enjoyed within a few days of chilling.
- Serving Tip: If you made them a day ahead, pull them out about 10 minutes before serving. That little bit of warmth takes the chill off the filling and just makes the texture softer and creamier right when you bite into it. They are ready to serve straight from the fridge, but 10 minutes makes them better!
Serving Suggestions for Individual Cheesecake Bites
Even though these **Individual Cheesecake Bites** are so easy and require zero fancy baking skills, presentation is still everything, right? They look so adorable sitting in their little paper cups, but a few finishing touches can really make them look like they came from a fancy bakery display. I keep thinking about the amazing little tartlets I made last year; if you want to see how I elevate presentation sometimes, check out my mini citrus curd tartlets recipe for inspiration!
Since these **No-Bake Blueberry Cheesecake Oat Cups** are so simple, a little garnish goes a long way to making them feel special, especially if you’re serving them after a nice dinner.
- A Bright Citrus Kiss: This is my absolute favorite trick! Take a microplane zester and grate just a tiny bit of fresh lemon or orange zest right over the top of the blueberries just before serving. The fragrance alone makes these! The citrus oil really brightens up the richness of the cream cheese and the sweetness of the berries.
- The Mint Touch: If you have fresh mint growing or handy, just pluck one tiny, perfect little leaf and nestle it right next to the berries on top of each cup. It adds a pop of vibrant green, which looks incredible against the deep blue of the blueberries. It makes them feel instantly summery and fresh.
- A Light Dusting: Before you serve them, you can peel the paper liner halfway down the cup. If you want a bit more texture, gently dust the exposed cheesecake filling part with a *very* light shower of powdered sugar. Don’t overdo it, or it looks messy, but a whisper of white over the blue looks stunning.
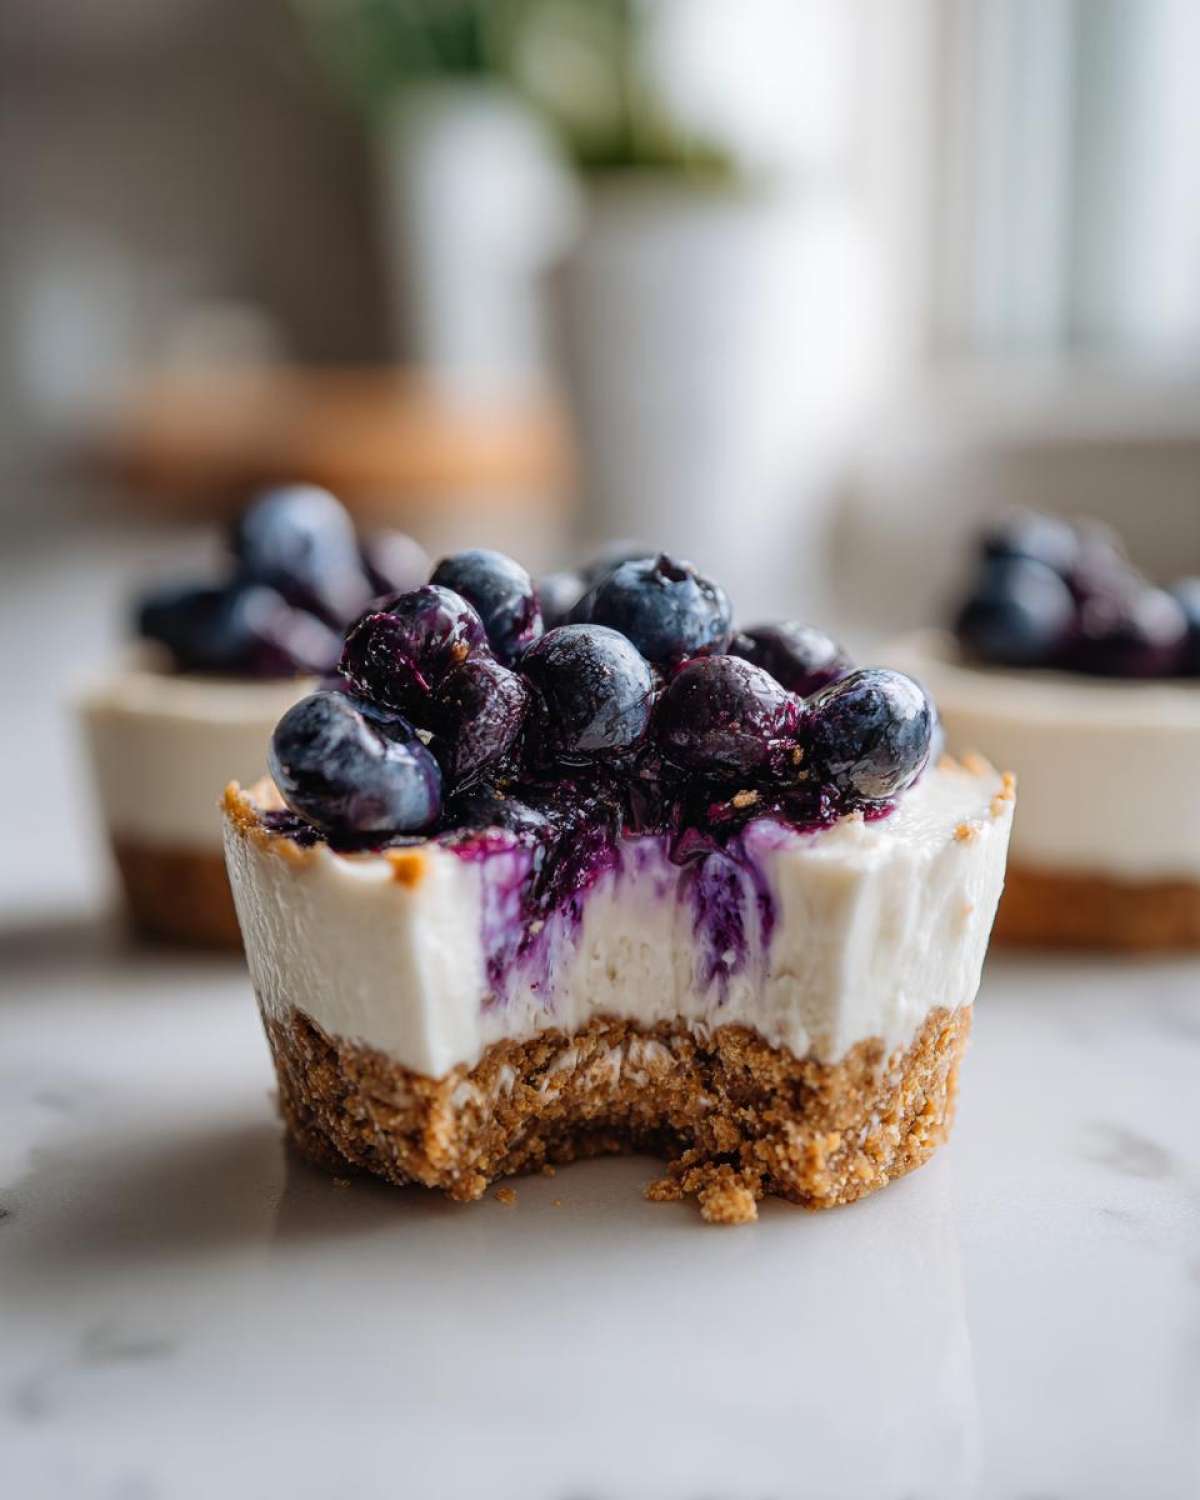
Honestly, whether you serve them as is or dress them up, these little **Blueberry Cheesecake Cups** disappear quickly because they are just perfectly portioned and incredibly refreshing!
Frequently Asked Questions About No Bake Desserts
I’ve gathered a few questions that always pop up when I share this recipe, especially from folks who are dipping their toes into **No Bake Desserts** for the first time. Don’t worry if you’re unsure about timing or ingredients; that’s what this section is for! We want your experience making these **No-Bake Blueberry Cheesecake Oat Cups** to be flawless from start to finish.
If you’re looking for more chilly treats that require zero oven time, you have to check out my recipe for no-bake turtle pie—it’s rich, decadent, and equally simple!
Can I use frozen blueberries instead of fresh for these No Bake Desserts?
That’s a great question! Since these are **No Bake Desserts** and we aren’t baking the fruit, fresh blueberries are definitely superior here because they keep their shape and pop beautifully when you bite into them. If you only have frozen ones, you need to work quickly! You absolutely must thaw them completely first, and here’s the tricky part: drain off every single drop of excess liquid in a sieve. If you add even slightly watery berries, that moisture will seep into the cheesecake filling and stop it from setting properly. I highly recommend fresh if you can swing it for the best results!
How long can I keep these No-Bake Blueberry Cheesecake Oat Cups refrigerated?
Because we are dealing with fresh fruit and a creamy component, these are best enjoyed fresh, but they hold up really well! You can safely store these **No-Bake Blueberry Cheesecake Oat Cups** in an airtight container in the refrigerator for up to four days. I find that Day 2 is when they taste the absolute best because the oat crust has had time to fully meld with the filling. Always keep them covered so they don’t pick up any funky fridge smells!
Can I make the oat crust ahead of time for these Quick Dessert Ideas?
Yes, you absolutely can, and I often do this when I’m meal prepping! Making the crust ahead helps break up the work. Once you press the oat mixture into the liners, pop that muffin tin into the freezer for about an hour until it’s rock solid. Then, you can transfer the frozen crust discs into a freezer bag. They will keep perfectly for about two weeks this way! When you are ready to assemble, just pull them out, add the filling, and go straight into the 3-hour chilling time. This makes them one of my favorite **Quick Dessert Ideas** for entertaining!
Estimated Nutritional Profile for No-Bake Blueberry Cheesecake Oat Cups
Okay, so when you’re making something sweet and delicious like these **No-Bake Blueberry Cheesecake Oat Cups**, you definitely want a general idea of what you’re dipping into, even though the focus here is purely on joy and ease! Because these are **Easy Summer Treats**, I know people are often curious about how they stack up compared to a classic baked dessert.
Here is a quick breakdown of what you can generally expect per serving, based on my testing and standard ingredient tracking. Please remember, this is just an estimate, because if you use super-sweet blueberries or switch honey for maple syrup, those numbers will shift slightly!
- Calories: Around 250 per cup
- Total Fat: Near 15 grams
- Total Carbohydrates: About 23 grams
- Sugars: Approximately 18 grams (I try to keep this number low by not over-sweetening the cheesecake layer!)
- Protein: A nice little boost of about 7 grams, thanks to that Greek yogurt!
This profile is actually pretty fantastic for a cheesecake dessert, especially considering how satisfying these **Portion Controlled Snacks** are! I always feel good knowing I’ve got that oat base and protein helping me out. If you want to see more surprisingly light desserts, check out my other easy summer treats collection!
PrintNo-Bake Blueberry Cheesecake Oat Cups
Make these simple, portion-controlled dessert cups using oats for the crust and a creamy, no-bake cheesecake filling topped with fresh blueberries. These require no oven time.
- Prep Time: 20 min
- Cook Time: 0 min
- Total Time: 200 min
- Yield: 8 servings
- Category: Dessert
- Method: No Bake
- Cuisine: American
- Diet: Vegetarian
Ingredients
- 1 cup rolled oats
- 1/4 cup melted coconut oil
- 2 tablespoons maple syrup
- 1/4 teaspoon salt
- 8 ounces cream cheese, softened
- 1/2 cup Greek yogurt, plain
- 1/4 cup powdered sugar
- 1 teaspoon vanilla extract
- 1 cup fresh blueberries
Instructions
- Line a muffin tin with 8 paper liners.
- Prepare the crust: In a bowl, mix the rolled oats, melted coconut oil, maple syrup, and salt until combined.
- Press about 1.5 tablespoons of the oat mixture firmly into the bottom of each liner to form the crust. Place the tin in the freezer for 10 minutes.
- Prepare the filling: Beat the softened cream cheese until smooth. Add the Greek yogurt, powdered sugar, and vanilla extract. Mix until the filling is creamy and uniform.
- Spoon or pipe the cheesecake filling evenly over the chilled oat crusts in each cup.
- Top each cup with fresh blueberries.
- Refrigerate the cups for at least 3 hours, or until the filling is firm.
- Remove the paper liners before serving.
Notes
- For a gluten-free option, use certified gluten-free rolled oats.
- You can substitute honey for maple syrup if desired.
- If you prefer a tangier filling, use full-fat Greek yogurt.
Nutrition
- Serving Size: 1 cup
- Calories: 250
- Sugar: 18
- Sodium: 110
- Fat: 15
- Saturated Fat: 9
- Unsaturated Fat: 6
- Trans Fat: 0
- Carbohydrates: 23
- Fiber: 2
- Protein: 7
- Cholesterol: 40
