

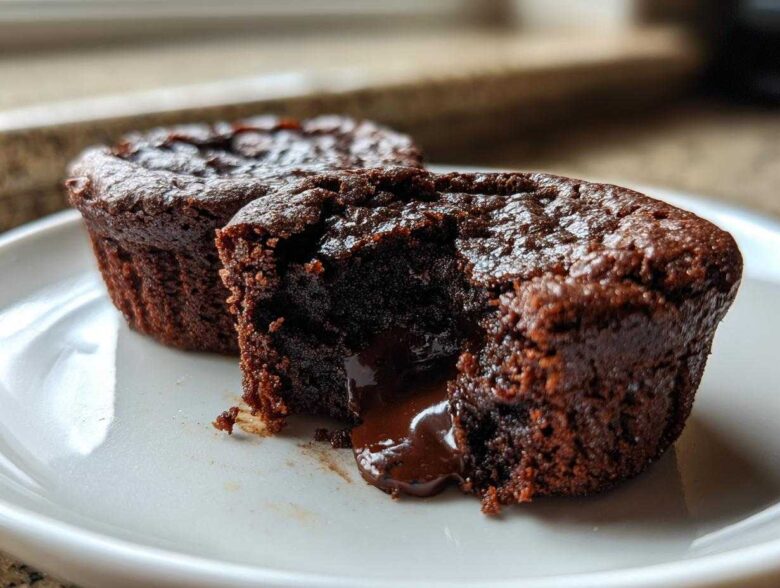
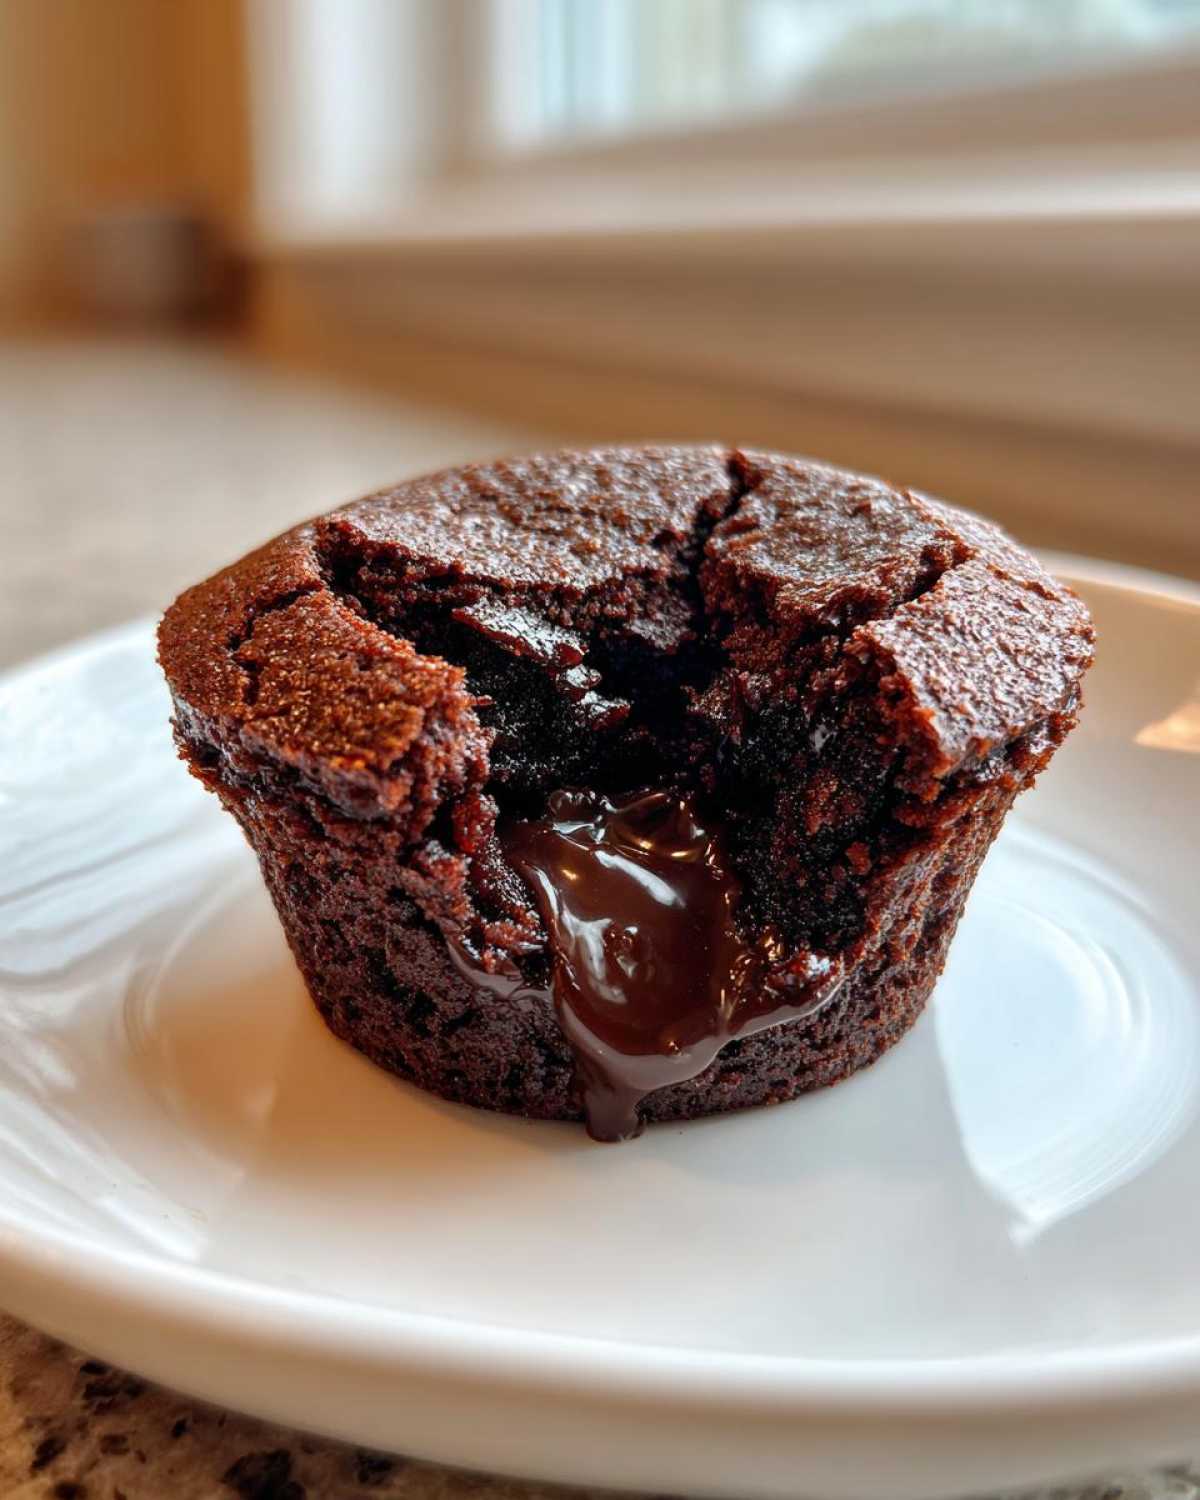
Oh, you guys, let me tell you, finding a truly decadent, gooey chocolate dessert when you need it to be gluten-free feels like winning the lottery! Most GF brownies turn out cakey or crumbly, which, let’s be honest, just isn’t the point. But I have cracked the code! I present to you my absolute favorite obsession: Gluten-Free Chocolate Lava Brownie Cups. They are rich, fudgy on the edges, and packed with a molten center that oozes out when you break the top. Seriously, these individual little chocolate bombs are shockingly easy to make, and they satisfy that deep, dark chocolate craving perfectly. You won’t believe they’re GF!
Why You Will Love These Gluten-Free Chocolate Lava Brownie Cups
I know you’re tired of dry, sad gluten-free treats. I was too! These cups are different. I promise you. They hit every single benchmark for a perfect chocolate dessert, just without the gluten. Here’s what makes them a must-make:
- They are completely gluten-free! No sneaky wheat flour in sight, so everyone can enjoy them safely.
- The individual serving size is brilliant for portion control—or just preventing me from eating the whole batch in one sitting!
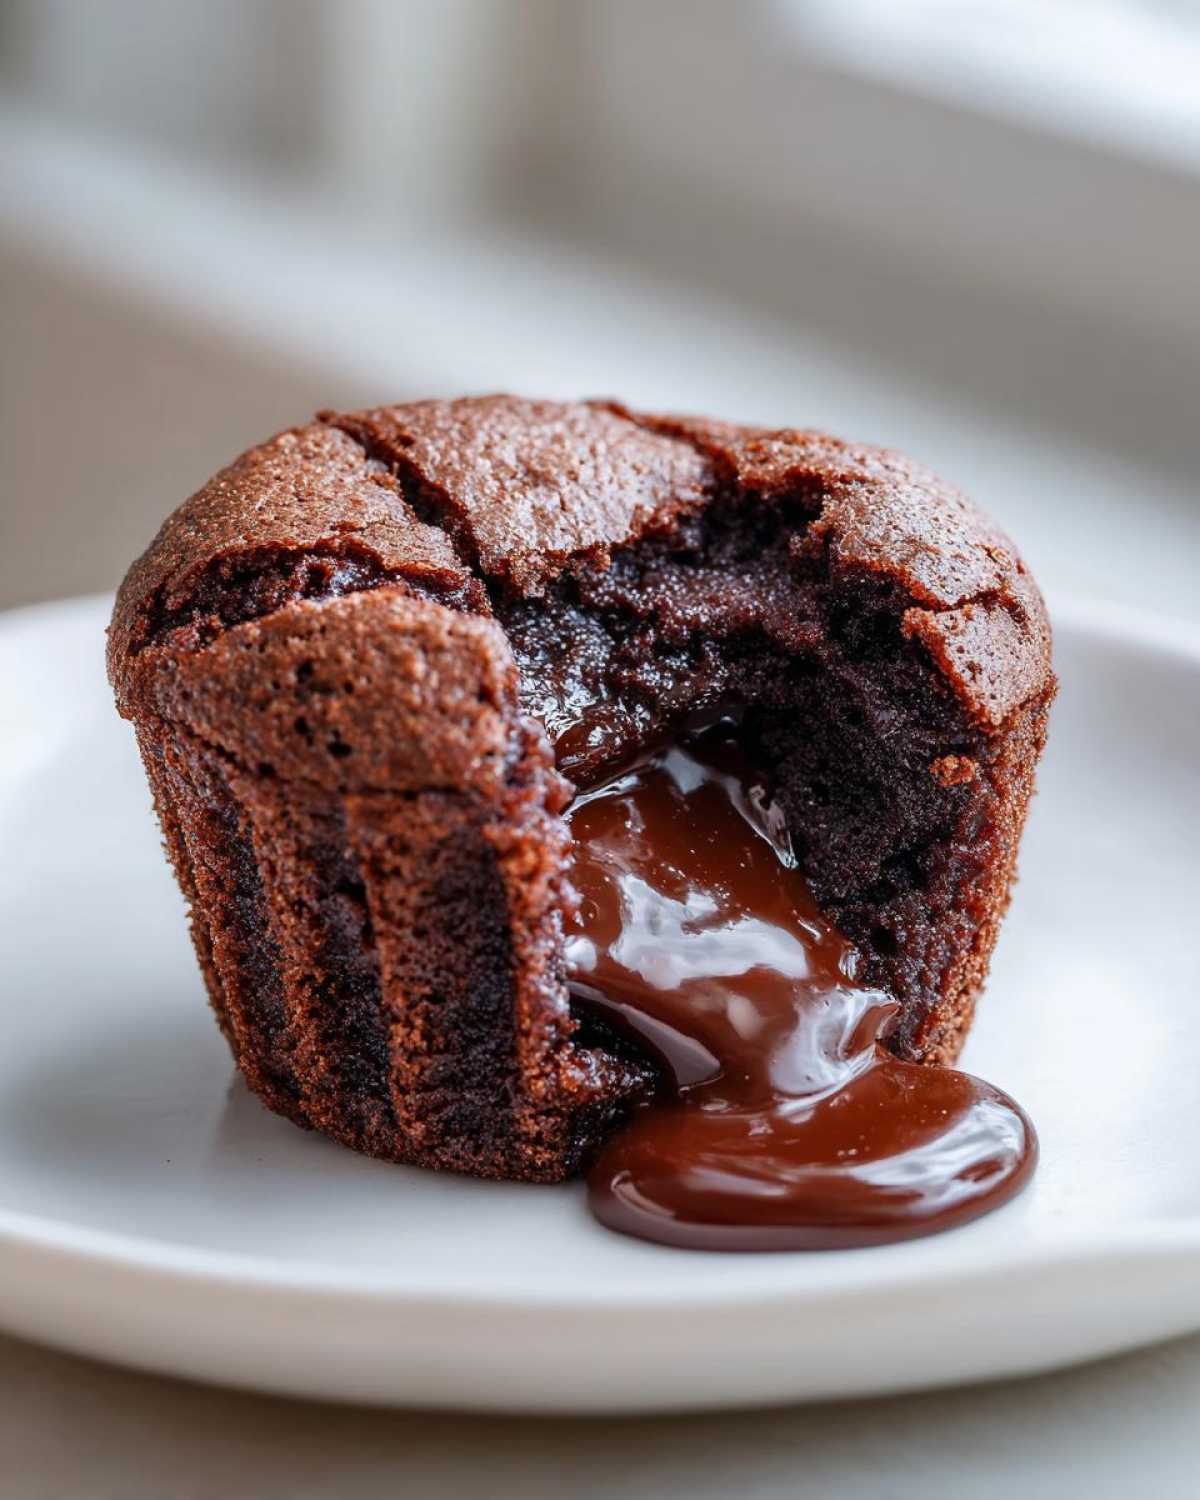
- That signature molten center! It’s pure, liquid chocolate magic tucked inside that fudgy brownie layer.
- Baking in a muffin tin means they come together super fast—way quicker than a huge pan of brownies.
- They look totally fancy, like something you’d order at a restaurant, but they’re secretly simple.
- The texture is spot-on chewy and fudgy, exactly what you want from a great brownie.
- They chill beautifully and keep that rich flavor deep, making them great for parties or prepping ahead.
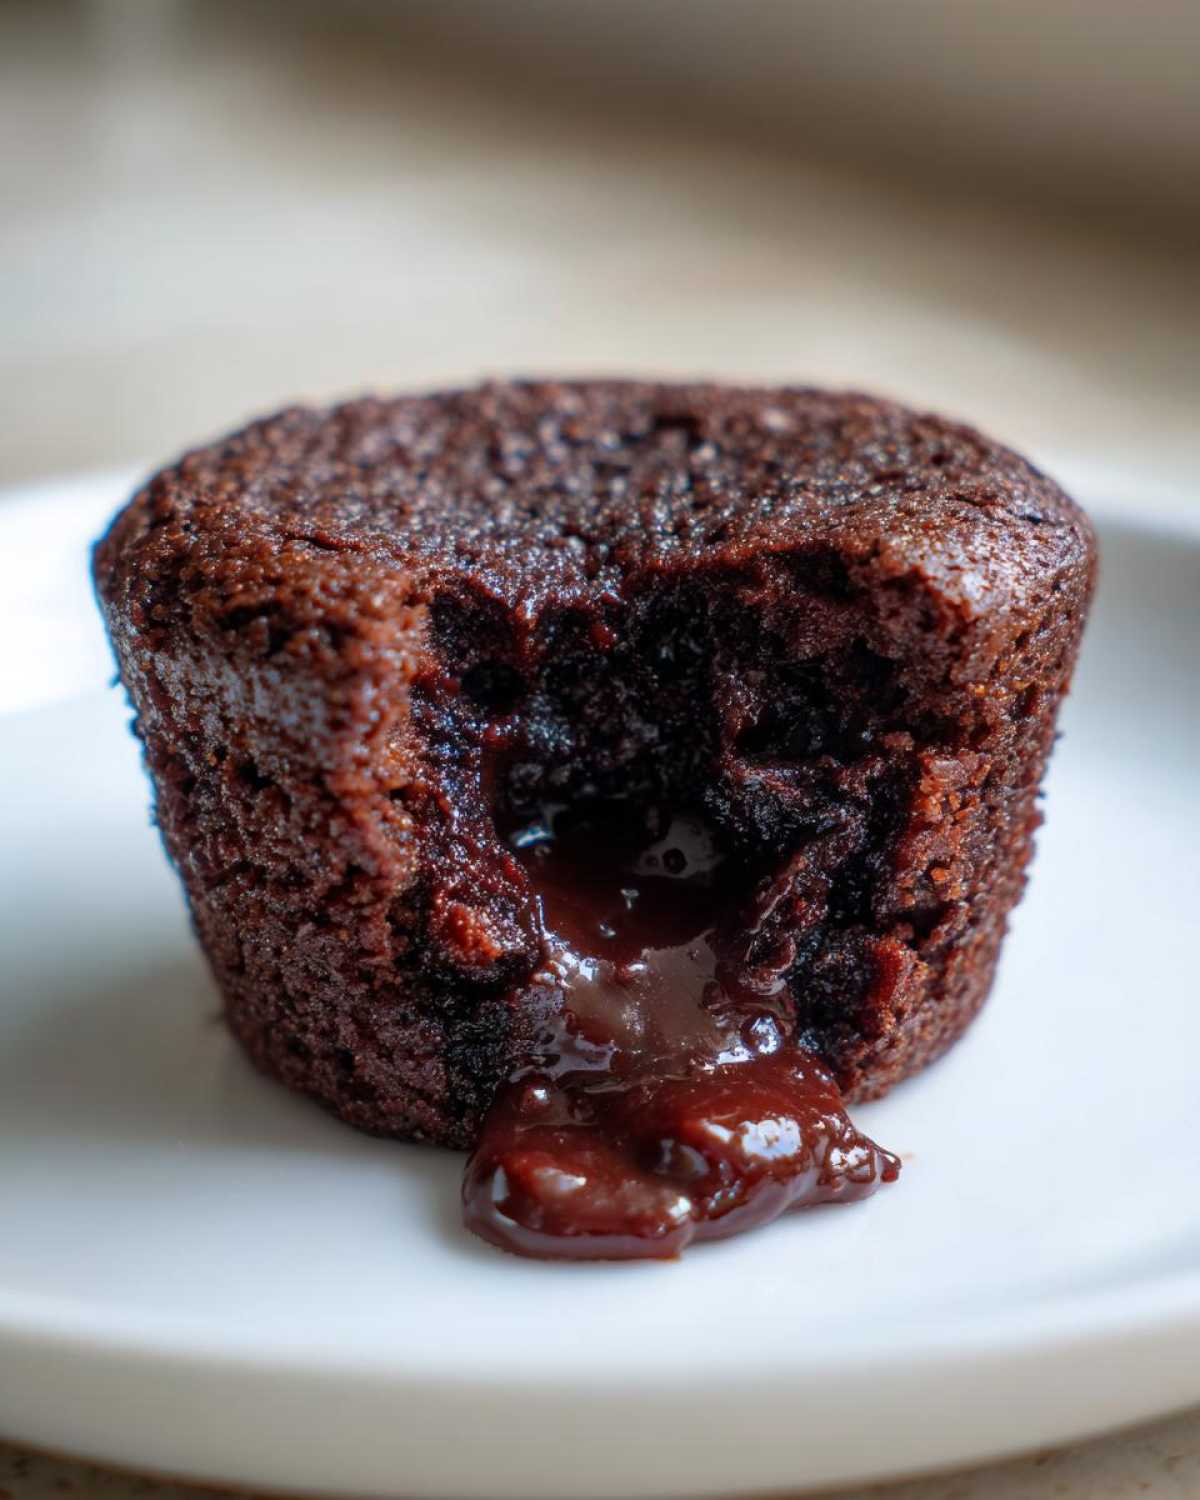
Essential Ingredients for Gluten-Free Chocolate Lava Brownie Cups
Okay, let’s talk about the lineup. Since we are ditching the gluten, the quality of our flour and chocolate really sings in this recipe. You’ll need a careful balance so that we get that fudgy texture and not a crispy wafer! Don’t skip the specifics here; they matter more when baking gluten-free.
- 1/2 cup unsalted butter—make sure this is melted down beautifully.
- 4 ounces unsweetened chocolate, chopped—this is our deep, dark base flavor.
- 1 cup granulated sugar—for that classic brownie sweetness.
- 2 large eggs—they bind everything together!
- 1 teaspoon vanilla extract—because everything is better with a splash of vanilla, right?
- 1/2 cup gluten-free all-purpose flour blend (and this is KEY: it must contain xanthan gum already, or your centers will weep! Trust me on this one.)
- 1/4 teaspoon salt—just to make the chocolate taste even more chocolatey.
- 1/2 cup semi-sweet chocolate chips—these little guys are our secret weapon for that molten center!
If you’re looking for more general tips on mastering gluten-free baking textures, I wrote up a whole post about it over on my Baking Secrets Page. It helps set you up for success!
Equipment Needed for Your Gluten-Free Fudgy Cupcake Recipe
Before we dive into the glorious mess of melting chocolate, let’s get your kitchen set up! Having everything ready makes the process feel so much calmer. Since these are individual lava cups, we aren’t dragging out large baking pans for this one, which is a bonus!
Here’s what you need within arm’s reach:
- A standard 12-cup muffin tin. Make sure it’s clean!
- Paper liners—these are essential for easy removal later on. Don’t skip the liners!
- A heat-safe bowl or a microwave-safe measuring cup for melting your butter and chocolate together.
- A whisk for incorporating the sugar and eggs smoothly, and a rubber spatula for folding in the flour.
- Two separate bowls: one for your wet ingredients and one for your dry ingredients (even though the GF flour is mixed quickly).
- Measuring cups and spoons—accuracy is important, especially when working with gluten-free flour blends.
Step-by-Step Instructions for Perfect Gluten-Free Chocolate Lava Brownie Cups
This is the fun part, where the magic happens! Seriously, the whole thing comes together so fast, it’s almost suspicious. Just follow these steps precisely, and you’ll have twelve gorgeous, molten-centered beauties ready in under 40 minutes total. Preheat that oven first, because timing matters when you want that perfect lava effect!
- Get Ready: First things first, pop your oven up to 350°F (175°C). Then, take your 12-cup muffin tin and lovingly line every single spot with paper liners. This protects your hard work!
- Melt the Core: Grab your 4 ounces of unsweetened chocolate and your butter. Melt them together gently. I usually do this in 30-second zaps in the microwave, stirring really well between each one until it’s completely smooth and glossy. Let this chocolate mixture cool down just a tiny bit—we don’t want to cook those eggs!
- Mix the Sweet Stuff: Whisk the sugar right into that slightly cooled chocolate mixture until it looks totally combined. Now, beat in your two eggs, one at a time, making sure each one is fully incorporated before adding the next. Finish this wet stage by stirring in your vanilla extract.
- Introduce the GF Flour: In a separate, small bowl, just give that salt and your special gluten-free flour blend a quick whisk together. Now, here’s my big piece of advice: Add the dry ingredients to the wet mixture in slow stages, mixing only until you see the flour streaks *just* disappear. Stop the second they are gone! Overmixing the gluten-free blend is what makes things spongy, and we want fudge!
- Layer Up: Now we build our lava cup! Spoon just about a tablespoon of that rich batter into the bottom of each lined cup. Press three or four of those semi-sweet chocolate chips right into the middle of that base layer—this is the core that will melt!
- Top it Off: Cover the chocolate chips with the rest of your batter. You only want to fill each cup about two-thirds of the way full. Remember, these are brownie *cups*, not muffins, so we don’t want them spilling over.
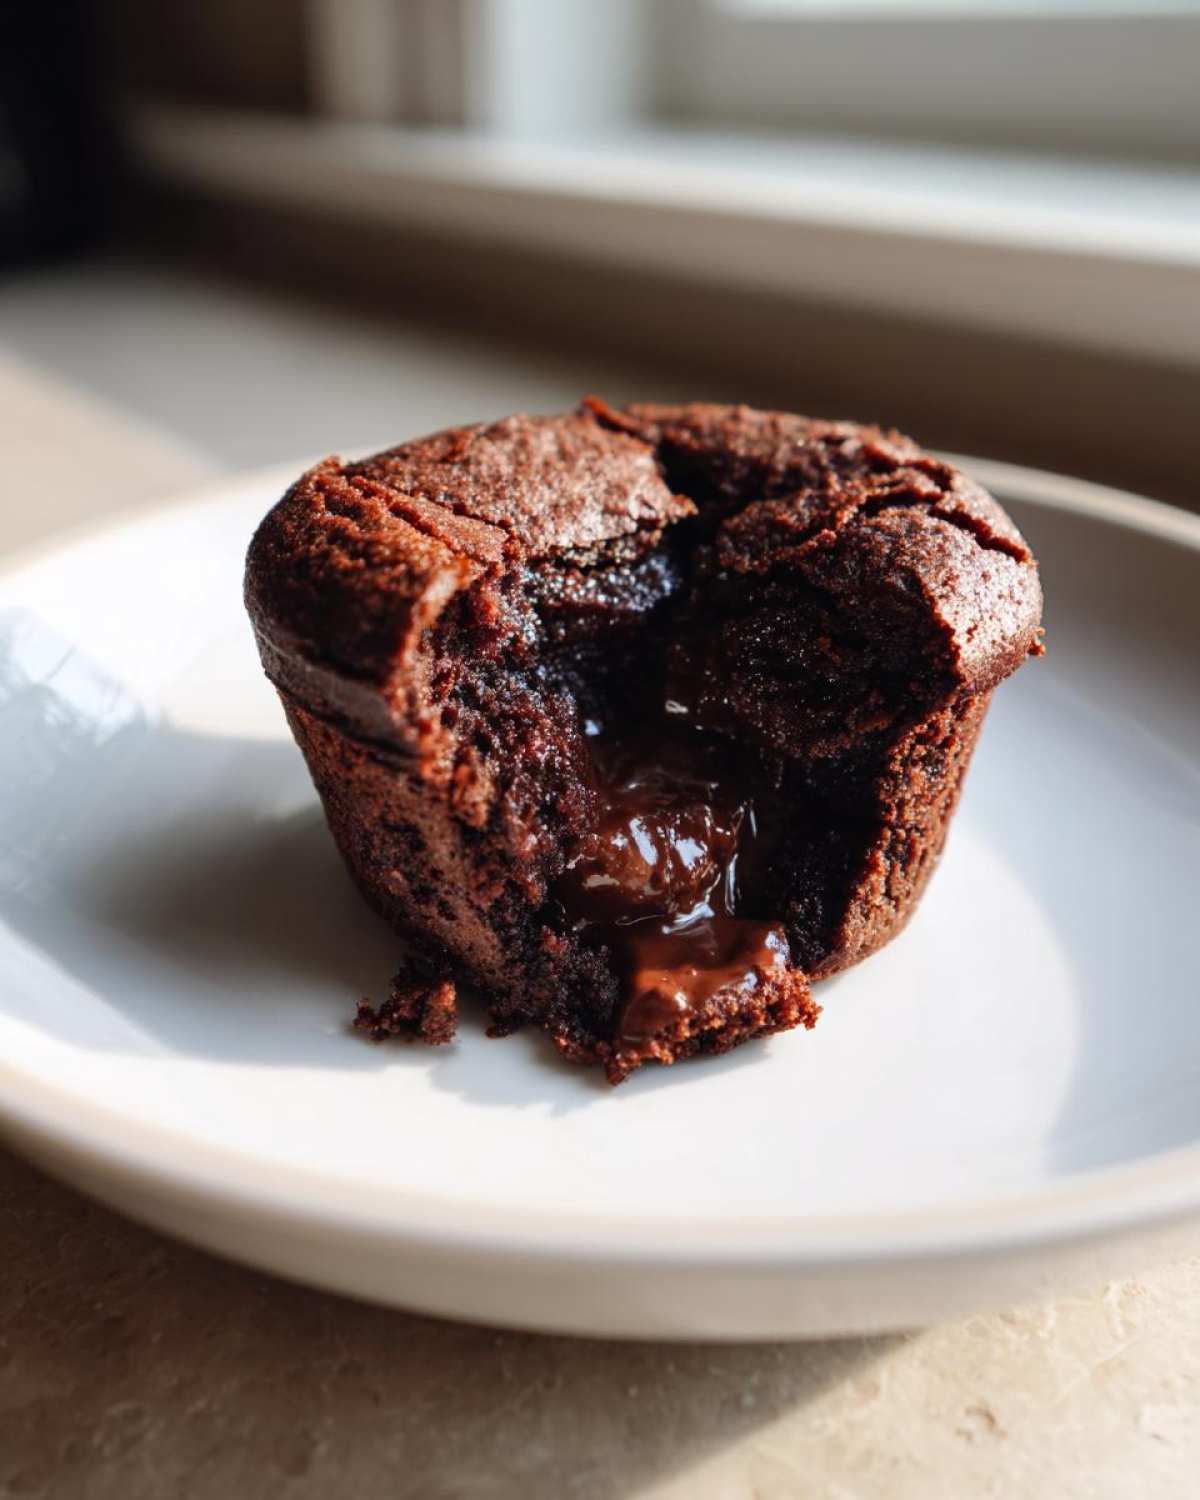
- Bake Smart: Pop the tin into the preheated oven for about 18 to 22 minutes. You know they are ready when the edges of the cups look set—firm to the touch—but the very center still jiggles slightly when you wiggle the pan. That jiggle means you did it right!
- Cool Down: Don’t stress them out! Let them rest in the tin for a solid 10 minutes. They need that time to firm up just enough so they don’t collapse when you move them to a wire rack to finish cooling.
For more insights on keeping chocolate recipes perfectly moist, especially when we ditch the gluten, check out my guide on Moist GF Muffins Secrets. It gives great background!
Tips for Success When Making Individual Gluten Free Brownies
Listen, making these molten chocolate brownie bites is easy, but making them *perfect* requires knowing a couple of insider tricks. These cups are delicate because of that lava center, so a little extra attention goes a long way in ensuring you get that rich, fudgy edge every single time.
My first non-negotiable tip is about the bake time. You absolutely cannot trust the clock alone! Look for the edges to be visibly baked and maybe just starting to pull away from the paper liner. If you bake until a toothpick comes out clean in the center, you’ll end up with a firm little cupcake instead of a lava experience. We are aiming for a barely ‘done’ look in the middle!
Second, quality matters when dealing with just a few main ingredients. Use a really good brand of semi-sweet chocolate chips for the center. Since they don’t cook much, their flavor is front and center. Don’t skimp here—it’s worth the extra dollar for that intense chocolate burst.
Finally, remember my big flour warning from before? Double-check that container. If your gluten-free all-purpose blend doesn’t list xanthan gum, you need to add about half a teaspoon directly to your dry ingredients. That gum is the structural glue that keeps them from crumbling apart when you lift them out of the tin. It’s the secret to these being sturdy gluten free brownie cups!
For those times you feel nervous about texture in GF baking in general, I detailed several moisture hacks in my post on Zucchini Muffin Moist Secrets which apply perfectly here too!
Ingredient Notes and Substitutions for Molten Chocolate Brownie Bites
I know the world of gluten-free flours can be confusing! It’s not as simple as just swapping one brand for another when you’re trying to achieve that fudgy, gooey texture we love so much in these rich chocolate baked cups gluten free. If your all-purpose GF blend doesn’t include xanthan gum, don’t panic! You absolutely need that binding agent. Just measure out about a half-teaspoon and whisk it right in with your salt and flour before you mix it into your chocolate batter. The gum acts like the necessary structure that gluten usually provides, stopping your gorgeous lava bites from just turning into chocolate puddles.
Now, what if you need to make these dairy-free for guests, or maybe you just ran out of butter? Butter provides amazing flavor, but substitution is possible here if you must! You can usually swap the butter out 1:1 for a solid, high-quality dairy-free stick butter substitute. You might see a tiny difference in richness, but the structure will hold up because the high volume of melted chocolate carries most of the fat content.
Another common question I get is about the semi-sweet chips for the center. Always use chips, not baking discs or chopped chocolate, for the core. The chips keep their structure better during that short baking time, which is what creates a distinct, gooey molten pocket rather than just melting into the surrounding batter. For the very best flavor, if you can find a high-quality 60-70% cacao chip, that really pushes these over the top!
If you’re looking for more deep dives into making gluten-free substitutes work flawlessly in baking, I break down every tricky aspect over on my GF Zucchini Muffin Troubleshooting post. A lot of those concepts apply right here!
Serving Suggestions for Your Easy Gluten Free Chocolate Lava Cups
Now that you’ve pulled these perfect little bombs out of the oven, how do you serve them? Well, honestly, just warm with a spoon is divine, but if you’re feeling fancy, I have a few favorite ways to dress them up! A simple dusting of powdered sugar makes them look instantly elegant—it’s minimal effort for maximum wow factor.
If you want something a little more decadent, you absolutely must serve them alongside a scoop of vanilla bean ice cream. The contrast between the warm, fudgy cup and the cold cream is just heavenly!
For a pop of color and brightness against all that chocolate richness, whip up a quick raspberry coulis. A little fresh berry sauce cuts through the richness perfectly. It’s a trick I love using on my fruit desserts too! A tiny sprinkle of flaky sea salt on top is also a game-changer if you want to enhance that chocolate flavor.
Storage and Reheating Instructions for Rich Chocolate Baked Cups Gluten Free
Storing these beauties requires a little finesse, mainly because we want to preserve that liquid gold center!
If you have leftovers—which I doubt you will!—store your Gluten Free Brownie Cups in an airtight container at room temperature for up to three days. Keep them out of the fridge if you can, because the cold just sucks the moisture right out of baked goods, even gluten-free ones. They stay fudgy best at room temp.
To bring back that amazing lava effect, gentle reheating is key! Microwave them for just 8 to 10 seconds. Any longer, and you’ll cook that beautiful molten pocket solid. You want just enough heat to loosen the center but keep the edges warm and chewy. They are honestly best enjoyed the day you bake them, but a quick zap works miracles!
Frequently Asked Questions About Gluten-Free Chocolate Lava Brownie Cups
I get asked the same things every time someone tries this recipe for the first time! It’s all about making sure that center stays liquid, even when you mess with gluten-free flours. Don’t sweat it; these little troubleshooting moments always make us better bakers. Check out the answers to the questions I hear most often about these single serving gluten free chocolate desserts!
Can I make these Chocolate Lava Dessert Cups ahead of time?
That is such a good question! Because these have that liquid center, I really, really advise against baking them ahead of time. The lava center is too temperamental to hold up well after a day in the fridge, as it tends to firm up—and we don’t want that! The best strategy here is to mix the batter, pour it into the lined muffin tins, and keep the whole tin covered in the fridge for up to 24 hours. Then, just before you want to serve them, let them sit on the counter for about 20 minutes to come slightly closer to room temperature, and then bake them! That keeps the edges fudgy and the center gooey when they come out.
What happens if I overbake my Individual Gluten Free Brownies?
Oh, trust me, I’ve done this! If you overbake these, you lose the entire point of the recipe, which is the ‘lava’ part! If you bake them too long, that beautiful, melty pocket of semi-sweet chips in the middle simply cooks through, turning into a rich, dense brownie center instead of a rich, liquid chocolate center. You’ll end up with a wonderful gluten free fudgy cupcake recipe, but not a lava cup. To prevent this, pull them out when the edges look firm and cracked, but the center still looks slightly damp or jiggly when you gently tap the pan. They finish cooking on the cooling rack!
Do I need a special gluten-free flour blend for these Molten Chocolate Brownie Bites?
Yes, you absolutely do! This is crucial for structure. You can’t just use almond flour or coconut flour here, or you’ll end up making chocolate pancakes! You need a good quality 1-to-1 gluten-free all-purpose baking blend. I always stress that this blend *must* already contain xanthan gum. That gum mimics the elasticity that wheat flour provides, which is what keeps these molten chocolate brownie bites from turning into chocolate dust when you try to pull them out of the liner. If your blend is missing it, add about half a teaspoon of standalone xanthan gum to the dry ingredients. You won’t regret checking this step!
If you’re trying to improve your general GF baking skills, I highly recommend reading through the tips I put together for making perfect gooey centers in my classic lava cake recipe over on My Gooey Center Guide. It covers a lot of the physics behind how these centers behave!
Estimated Nutritional Profile for Gluten-Free Chocolate Lava Brownie Cups
I know many of you like to keep track of what’s in your treats, even the decadent ones! Keep in mind that these numbers are just educated estimates based on the ingredients I use, especially the type of chocolate and the specific GF flour blend. The serving size is for one glorious cup.
- Serving Size: 1 cup
- Calories: 250
- Sugar: 22g
- Fat: 16g (with 10g Saturated Fat)
- Carbohydrates: 25g
- Protein: 4g
- Cholesterol: 55mg
As always, these numbers can change slightly based on the brands you use for butter and chocolate chips. For a full breakdown of how I calculate these estimates for my recipes, please check out my standard nutritional disclaimer policy.
Estimated Nutritional Profile for Gluten-Free Chocolate Lava Brownie Cups
I know many of you like to keep track of what’s in your treats, even the decadent ones! Keep in mind that these numbers are just educated estimates based on the ingredients I use, especially the type of chocolate and the specific GF flour blend. The serving size is for one glorious cup.
- Serving Size: 1 cup
- Calories: 250
- Sugar: 22g
- Fat: 16g (with 10g Saturated Fat)
- Carbohydrates: 25g
- Protein: 4g
- Cholesterol: 55mg
As always, these numbers can change slightly based on the brands you use for butter and chocolate chips. For a full breakdown of how I calculate these estimates for my recipes, please check out my standard nutritional disclaimer policy.
PrintGluten-Free Chocolate Lava Brownie Cups
Make rich, fudgy brownie cups with a molten chocolate center using gluten-free ingredients. These individual desserts bake quickly and satisfy chocolate cravings.
- Prep Time: 15 min
- Cook Time: 20 min
- Total Time: 35 min
- Yield: 12 cups
- Category: Dessert
- Method: Baking
- Cuisine: American
- Diet: Gluten Free
Ingredients
- 1/2 cup unsalted butter
- 4 ounces unsweetened chocolate, chopped
- 1 cup granulated sugar
- 2 large eggs
- 1 teaspoon vanilla extract
- 1/2 cup gluten-free all-purpose flour blend (with xanthan gum)
- 1/4 teaspoon salt
- 1/2 cup semi-sweet chocolate chips (for molten center)
Instructions
- Preheat your oven to 350°F (175°C). Line a standard 12-cup muffin tin with paper liners.
- Melt the butter and chopped unsweetened chocolate together in a microwave-safe bowl in 30-second intervals, stirring until smooth. Let cool slightly.
- Whisk the sugar into the melted chocolate mixture until combined.
- Beat in the eggs one at a time, mixing well after each addition. Stir in the vanilla extract.
- In a separate bowl, whisk together the gluten-free flour blend and salt.
- Gradually add the dry ingredients to the wet ingredients, mixing only until just combined. Do not overmix.
- Spoon about 1 tablespoon of batter into the bottom of each prepared muffin cup.
- Place 3 to 4 semi-sweet chocolate chips in the center of the batter in each cup.
- Top with the remaining batter, filling each cup about two-thirds full.
- Bake for 18 to 22 minutes. The edges should look set, but the center should still be soft.
- Let the cups cool in the tin for 10 minutes before transferring them to a wire rack to cool completely.
Notes
- Use a gluten-free flour blend that already contains xanthan gum for the best texture.
- For a more intense lava effect, use high-quality dark chocolate for the main batter.
- Do not overbake; the center needs to remain liquid.
Nutrition
- Serving Size: 1 cup
- Calories: 250
- Sugar: 22
- Sodium: 85
- Fat: 16
- Saturated Fat: 10
- Unsaturated Fat: 6
- Trans Fat: 0
- Carbohydrates: 25
- Fiber: 2
- Protein: 4
- Cholesterol: 55
