

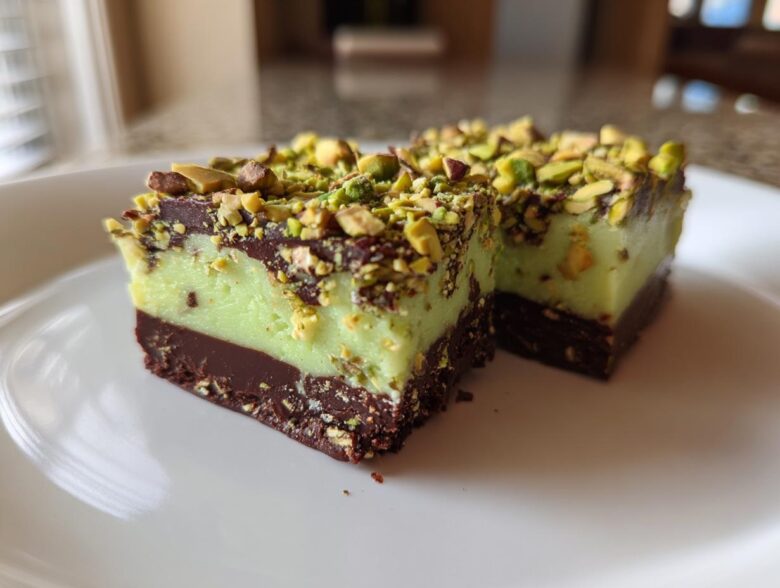
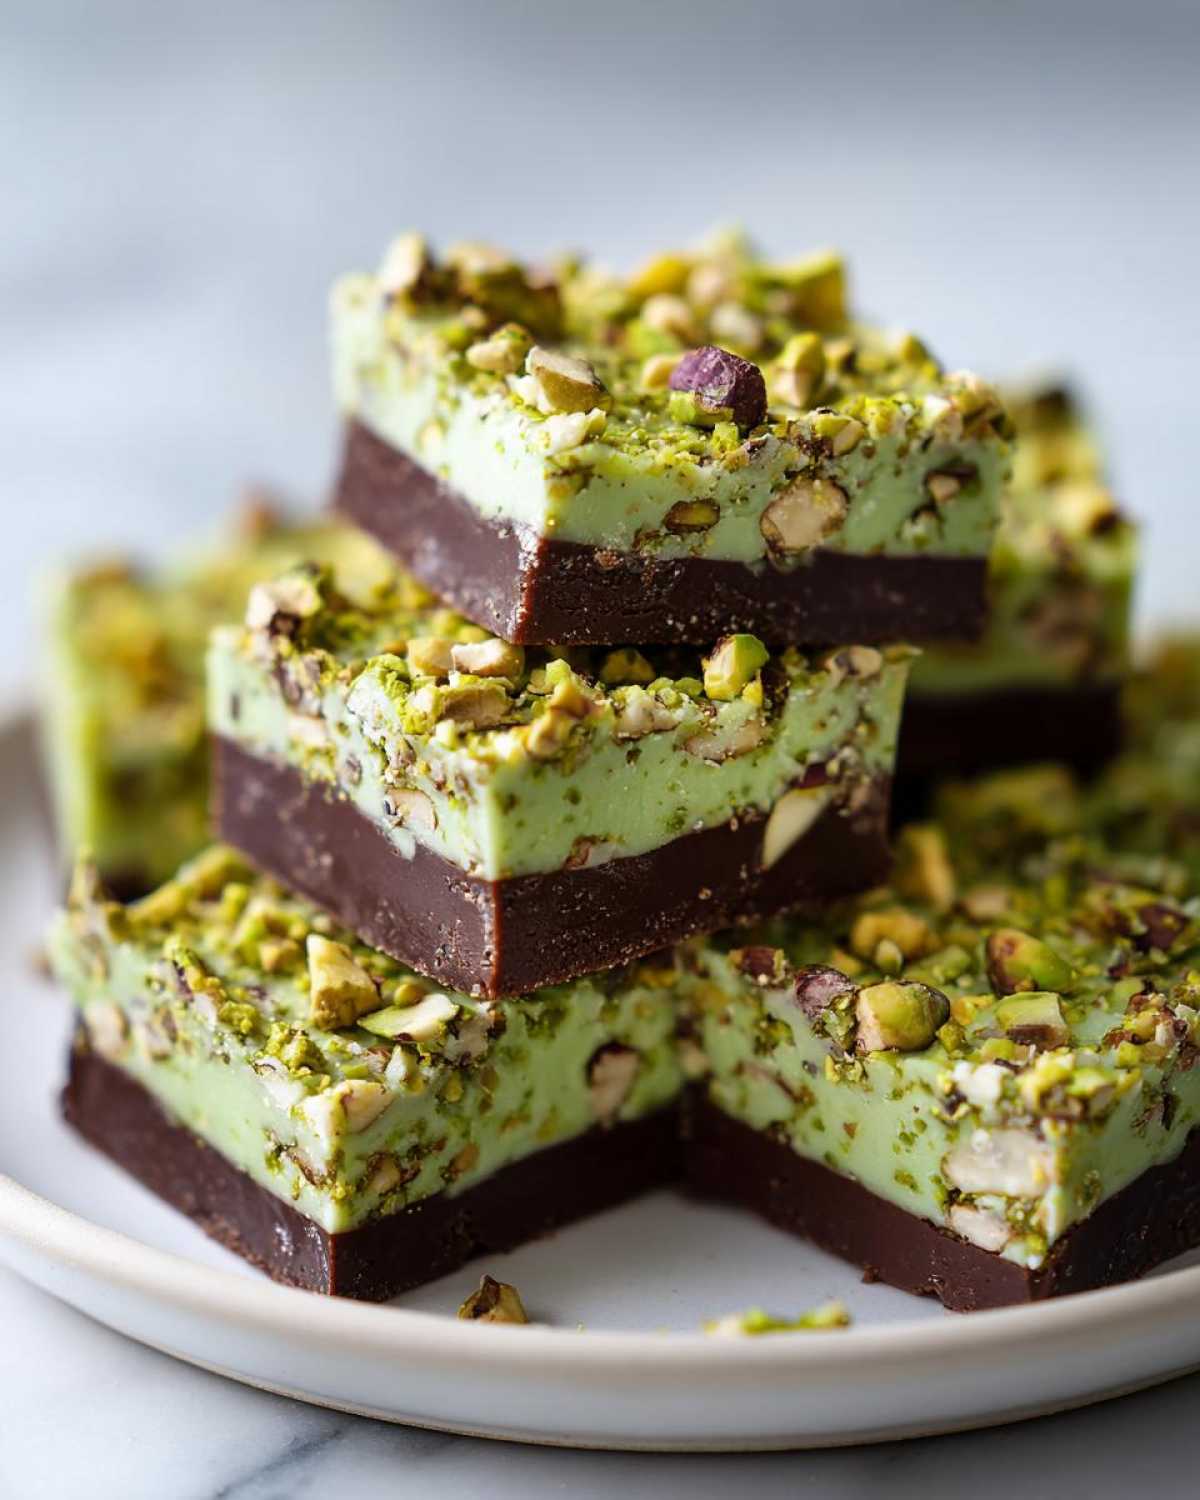
Oh, when that serious craving hits for something rich, dense, and utterly chocolatey, who has time to wait for an oven to preheat? I know I certainly don’t most days! That’s why my go-to, absolute favorite answer right now has become these incredible **No-Bake Pistachio Chocolate Fudge Squares**. They are total heaven in bar form—a deep, fudgy chocolate bottom topped with this unexpected, slightly nutty pistachio layer. Trust me when I say this recipe is my simplified, tested champion for decadent treats. It comes together so fast, and the cleanup? Almost non-existent. It’s the perfect dessert when company shows up or when you just need a serious sugar fix! Head over to my main blog page if you just want a quick look around, but stick here for the magic!
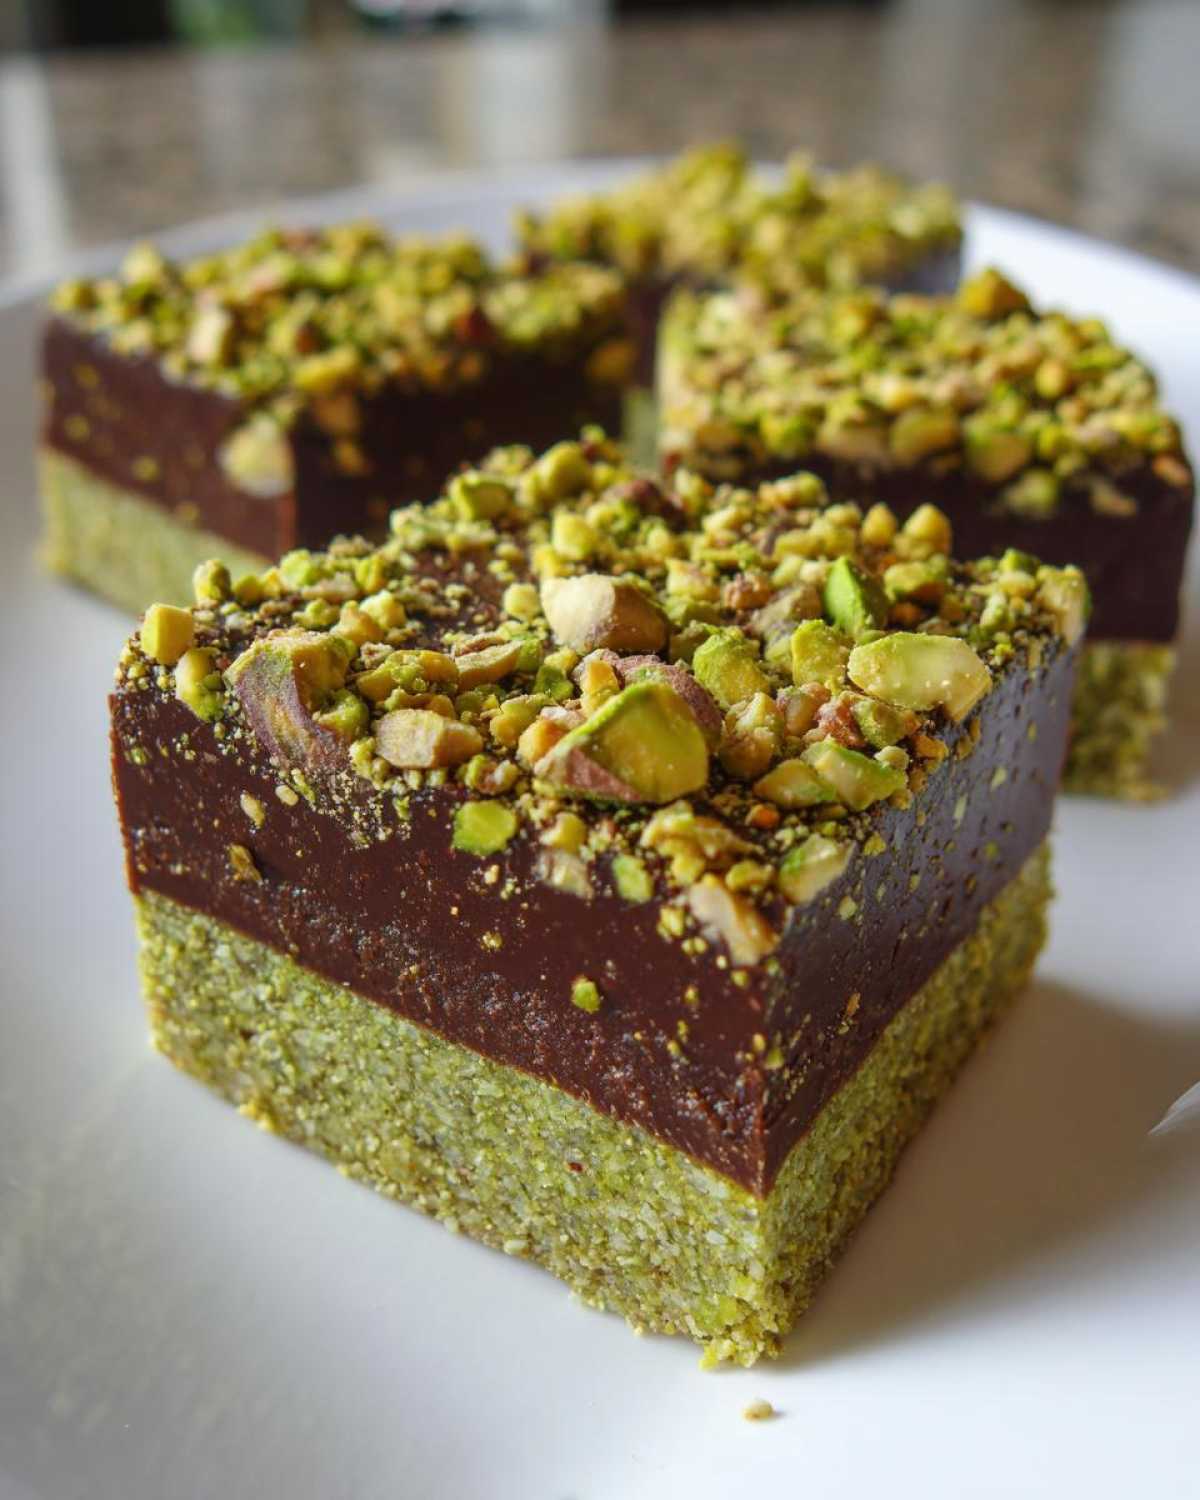
Why You Will Love These No-Bake Pistachio Chocolate Fudge Squares
Honestly, these bars scream convenience without sacrificing that ‘wow’ factor. They truly satisfy that intense chocolate craving, and the pistachio layer is such a brilliant surprise!
- They are pure magic: completely **Quick Fudge Recipe No Oven** friendly.
- You get rich, layered flavor in one go—hello, **No Bake Fudge Bars**!
- They set up fast enough that you can’t overthink them (my favorite kind of baking).
- These are the ultimate **Fast Dessert Squares** for potlucks or last-minute cravings.
If you love super rich, simple bites like my decadent hazelnut mocha truffles, you absolutely need these in your life!
Essential Ingredients for Perfect No-Bake Pistachio Chocolate Fudge Squares
When we skip the oven, the quality of the few ingredients we use really shines through, so we want to make sure we have the right stuff! The heart of the fudgy base relies beautifully on that can of sweetened condensed milk—it’s our binder and sweetener all in one. Don’t try to substitute that with regular milk, or you’ll just end up with a sticky puddle!
For the layers, we need semi-sweet chocolate chips for the base, and then we bring in white chocolate chips for that creamy pistachio layer. Remember, you need shelled, unsalted pistachios, and you’ll want to finely chop about half a cup of them, saving a little extra for sprinkling on top later. I always grab my coconut almond date balls recipe ingredients around the same time, so I know I have everything I need!
- 1 (14 ounce) can sweetened condensed milk
- 1 cup semi-sweet chocolate chips
- 1/2 cup unsalted butter
- 1 teaspoon vanilla extract
- 1 1/2 cups powdered sugar, sifted (super important that it’s sifted!)
- 1/2 cup shelled, unsalted pistachios, finely chopped, plus 1/4 cup for topping
- 1/2 cup white chocolate chips
- 1/4 teaspoon almond extract
- 1/4 teaspoon green food coloring (just a drop or two is plenty!)
Step-by-Step Guide to Making Your No-Bake Pistachio Chocolate Fudge Squares
Okay, this is where the real fun starts! Since we aren’t baking, our work is all about careful melting and chilling. The key here is patience when melting—we aren’t rushing anything on the stove top! Remember, we are creating two distinct layers, so we need to work smart to keep that first layer stable while we mix up the second. If you’ve made my fudge swirl brownie trifle, you know how important layering is, even in no-bake scenarios!
Preparing the Pan and Chocolate Base for Your No-Bake Pistachio Chocolate Fudge Squares
First things first: grab your 9×9 pan. You absolutely have to line it with parchment paper, making sure you leave a little sling or overhang on two sides. This is our rescue handle later! Now, for the chocolate base. Over *very* low heat—and I mean low—we combine the condensed milk, butter, and the semi-sweet chips. You must stir this constantly! If you walk away, you’ll scorch that condensed milk, and trust me, there’s no fixing burnt fudge flavor. Once it’s smooth, stir in the vanilla, pour half of it into your prepared pan, and shove it in the fridge to chill while we work on the green stuff.
Creating the Creamy Pistachio Layer for These Simple Pistachio Squares Recipe
Back to the saucepan! We add the white chocolate chips to the remaining chocolate mixture still sitting on the stove (off the heat, just using residual warmth). Let that melt until perfectly smooth. Then, we pull it off the burner entirely. Now, mix in the sifted powdered sugar, your finely chopped pistachios, that secret pop of almond extract, and the green coloring if you’re using it. Mix it until it’s completely uniform. Carefully scoop this pistachio mixture over your chilled chocolate base and spread it out gently so you don’t disturb the bottom layer.
Chilling and Cutting Your Decadent No Bake Treats
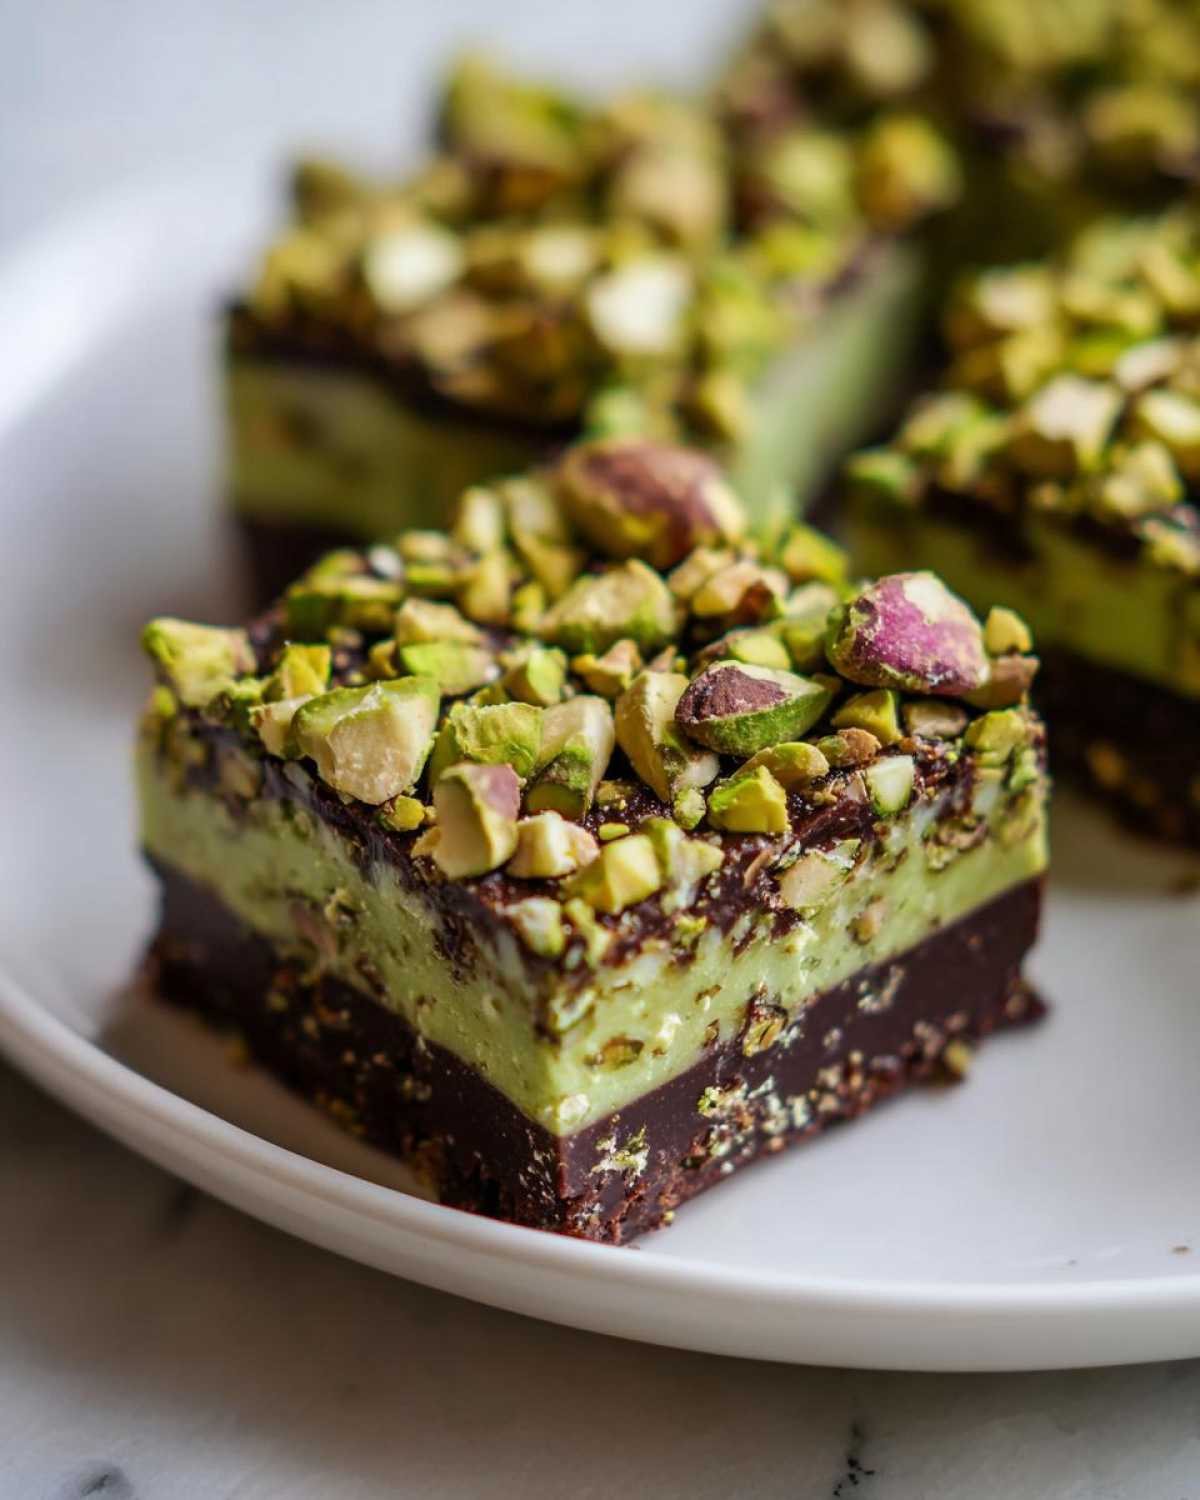
Sprinkle that last quarter cup of chopped pistachios right over the top layer while it’s still wet—they need something to stick to! Then, that’s it for hands-on work. These need serious chilling time: a minimum of four hours, but honestly, overnight is even better for those gorgeous, firm bars. When it’s time to slice those **Quick Fudge Recipe No Oven** bars, use that parchment overhang to lift the whole block out. Here’s a pro hint for those **Layered No Bake Bars**: warm up your knife under hot water, wipe it dry, and slice. It melts through the fudge just enough for the cleanest cut possible!
Tips for Success When Making No-Bake Pistachio Chocolate Fudge Squares
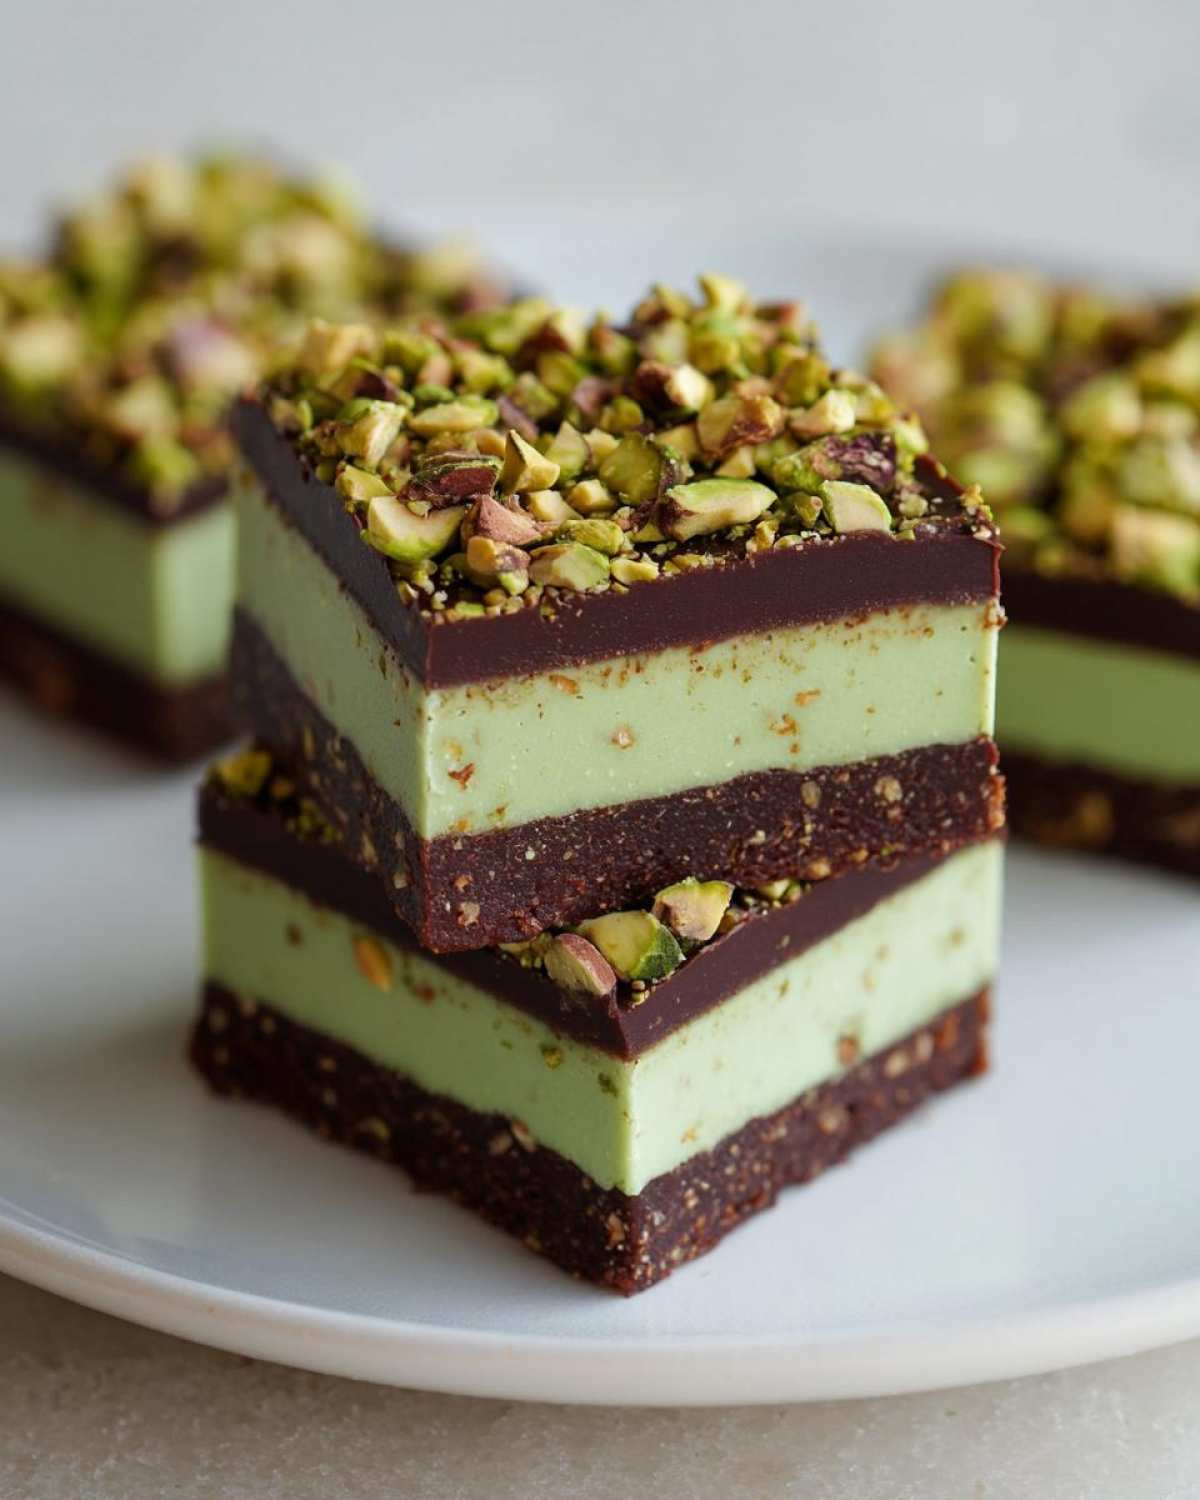
Even though this is a ‘no-bake’ situation, texture is everything with fudge, right? My main piece of advice for perfect **Layered No Bake Bars** centers on heat control. When melting those chips and condensed milk, keep the heat super low. Seriously, use the lowest setting your stove has. Otherwise, you risk splitting the fat content, and nobody wants grainy fudge!
Also, if you’re serious about that gorgeous green color and authentic flavor in the top layer, ditch the food coloring trick sometimes. If you can find actual pistachio paste—it’s usually near the baking extracts—use a teaspoon of that instead! It intensifies the nutty flavor miles beyond what coloring can do. I always keep a little jar on hand, especially since I love making those chili chocolate nut clusters!
Finally, don’t rush the chilling. Those four hours are non-negotiable if you want clean squares.
Ingredient Notes and Substitutions for Your Easy Pistachio Squares Recipe
Let’s talk specifics, because ingredient quality really matters when this recipe is so simple! I always suggest unsalted butter because it lets me control the exact amount of salt going into the fudge—plus, it tastes cleaner. If you only have salted, just skip adding any salt anywhere else in the recipe, okay?
That tiny bit of almond extract gives the pistachio layer a really professional, slightly marzipan-like depth of flavor. If you don’t have it? No huge disaster! You can bump up the vanilla extract by another half teaspoon, but honestly, that almond note is what makes these **Easy Pistachio Squares Recipe** pop.
If you happen to be out of white chocolate chips, you could theoretically swap them for butter and a bit more powdered sugar in that top layer, but the texture just won’t melt quite as smoothly. Keep that vanilla handy! If you want some brightness in your life, check out my citrus orange almond biscotti recipe for a totally different kind of flavor boost.
Storage and Reheating Instructions for Homemade Fudge Squares
Because these are wonderfully rich **No-Bake Pistachio Chocolate Fudge Squares** and they rely on being chilled to stay firm, the refrigerator is their best friend. Don’t even think about leaving them on the counter for too long, especially if your kitchen is warm!
They keep beautifully when covered tightly in an airtight container. If you manage to save some (which is tough!), they’ll stay perfectly delicious and firm for up to a week. If you’re aiming for that soft, melt-in-your-mouth texture, pull them out about 15 minutes before serving. They soften up just enough without getting messy. I love them right out of the fridge, but letting them warm up slightly is the secret to that truly decadent mouthfeel, kind of like letting my creamy eggnog panna cotta sit for a few minutes.
Serving Suggestions for This Chocolate Pistachio Dessert
These **Chocolate Pistachio Dessert** squares are honestly rich enough to stand on their own, but presentation always helps, right? If you’re serving these after a heavy meal, I find a small side of fresh raspberries or tart blackberries cuts through the sweetness beautifully. They add a needed little zing!
If you’re having these in the afternoon, pair them with something strong and slightly bitter. A freshly brewed espresso or a hot, slightly smoky Earl Grey tea balances that dense chocolate so nicely. If you need a pairing that’s even more decadent, try serving them alongside a tiny dollop of cool topping—maybe a simple, homemade whipped cream or a scoop of vanilla bean ice cream. I just made an amazing iced cappuccino mousse last week that would be just perfect spooned right next to one of these bars!
Frequently Asked Questions About No Bake Fudge Bars
It’s totally normal to have questions when you’re dealing with a recipe that skips the oven! Some of these **No Bake Fudge Bars** quirks throw people off, but once you know the trick, you’ll be making these **Simple Pistachio Squares** all the time. Let’s clear up any lingering doubts about setting times and ingredients so you can get them in the fridge ASAP!
Can I make these No Bake Fudge Bars without white chocolate chips?
That’s a great question! The white chocolate chips do help give the pistachio layer that smooth, creamy texture once it sets up—it acts as a secondary binder alongside the condensed milk and sugar. If you absolutely must skip them, you’re going to need a bit more structure.
Here’s a little trick I’ve tried: substitute the white chocolate with an extra tablespoon of softened butter and maybe two extra tablespoons of powdered sugar to try and compensate for the lost bulk. You will likely need to chill them for a bit longer, though. I’d definitely recommend trying to find the white chips if you can, as it makes these **Layered No Bake Bars** so much easier!
How long do these Simple Pistachio Squares last?
Because refrigeration is key to keeping these **No-Bake Pistachio Chocolate Fudge Squares** solid, they last wonderfully if stored correctly! Keep them tightly covered in an airtight container in the fridge.
Honestly, they are best eaten within 3 to 4 days. After that, while they are usually still safe to eat, the chocolate can sometimes start to get a little bit firmer than I like. If you’re taking them out of the fridge, just give them 10-15 minutes on the counter to soften up a tiny bit. I’ve never tried freezing them, but I know I have trouble keeping them around long enough to even consider it!
If you’re looking for other simple treats, you should check out my process for my maple teriyaki salmon fillets recipe—totally different food group, but equally easy!
Estimated Nutritional Data for No-Bake Pistachio Chocolate Fudge Squares
Now listen, I’m not a nutritionist, I’m just someone who loves making things taste wonderful! So, take this data with a grain of salt, because these are wonderful, decadent treats, not diet food.
These estimates are based on dividing the total recipe into 16 squares using standard ingredient measurements. They are estimates, dear reader, so they might vary a little based on what brand of condensed milk you grab! We certainly aren’t looking at these numbers when we taste how amazing this miso glazed salmon fillets recipe-level goodness is!
- Serving Size: 1 square
- Calories: 220
- Sugar: 25g
- Fat: 12g
- Protein: 3g
No-Bake Pistachio Chocolate Fudge Squares
Make these simple, layered fudge squares without turning on your oven. This recipe combines a rich chocolate base with a sweet pistachio topping for a quick dessert.
- Prep Time: 15 min
- Cook Time: 5 min
- Total Time: 4 hours 20 min
- Yield: 16 squares
- Category: Dessert
- Method: No-Bake/Chilling
- Cuisine: American
- Diet: Vegetarian
Ingredients
- 1 (14 ounce) can sweetened condensed milk
- 1 cup semi-sweet chocolate chips
- 1/2 cup unsalted butter
- 1 teaspoon vanilla extract
- 1 1/2 cups powdered sugar, sifted
- 1/2 cup shelled, unsalted pistachios, finely chopped, plus 1/4 cup for topping
- 1/2 cup white chocolate chips
- 1/4 teaspoon almond extract
- 1/4 teaspoon green food coloring (optional)
Instructions
- Line a 9×9 inch baking pan with parchment paper, leaving an overhang on two sides for easy removal.
- Prepare the chocolate layer: In a medium saucepan over low heat, combine the sweetened condensed milk, semi-sweet chocolate chips, and butter. Stir constantly until the mixture is smooth and fully melted. Remove from heat and stir in the vanilla extract.
- Pour half of the chocolate mixture into the prepared pan and spread evenly. Place the pan in the refrigerator while you prepare the pistachio layer.
- Prepare the pistachio layer: Return the remaining chocolate mixture to low heat. Stir in the white chocolate chips until melted and smooth. Remove from heat.
- Stir the powdered sugar, 1/2 cup finely chopped pistachios, almond extract, and green food coloring (if using) into the white chocolate mixture until fully combined and smooth.
- Carefully spread the pistachio layer evenly over the chilled chocolate layer in the pan.
- Sprinkle the remaining 1/4 cup of chopped pistachios over the top layer.
- Refrigerate the squares for at least 4 hours, or until firm enough to cut.
- Use the parchment paper overhang to lift the fudge from the pan. Cut into 16 squares before serving.
Notes
- For a cleaner cut, warm your knife slightly under hot water before slicing the fudge.
- If you prefer a stronger pistachio flavor, use pistachio paste instead of food coloring in the top layer.
- Store leftovers covered in the refrigerator.
Nutrition
- Serving Size: 1 square
- Calories: 220
- Sugar: 25
- Sodium: 45
- Fat: 12
- Saturated Fat: 7
- Unsaturated Fat: 5
- Trans Fat: 0
- Carbohydrates: 28
- Fiber: 1
- Protein: 3
- Cholesterol: 20
