

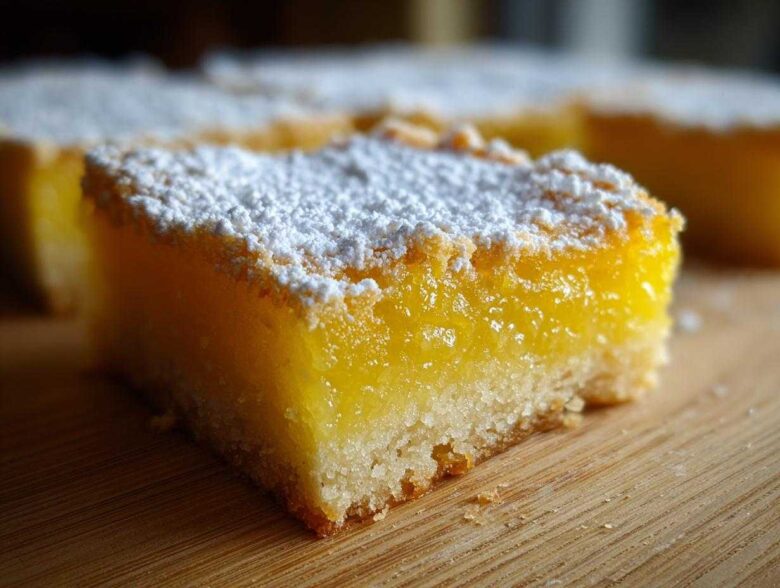
Oh, you can’t beat a classic, right? There are some desserts that just scream ‘home’ and ‘comfort,’ and for me, that’s my show-stopping **Lemon Bars**. I’ve spent years tinkering, trying every trick, because frankly, a mediocre lemon bar is a tragedy! You deserve the best—a wonderfully buttery, crumbly shortbread crust topped with a filling that’s sweet, bright, and perfectly tangy. Trust me when I say this recipe is the result of trial and error until I hit that perfect balance.
I finally nailed the ratio that keeps the filling silky smooth but perfectly set. When I pull these **Lemon Bars** out of the oven, the whole kitchen smells like sunshine. This isn’t complicated stuff; it’s just pure, clean flavor executed perfectly, and I can’t wait to show you exactly how I get that incredible texture every single time.
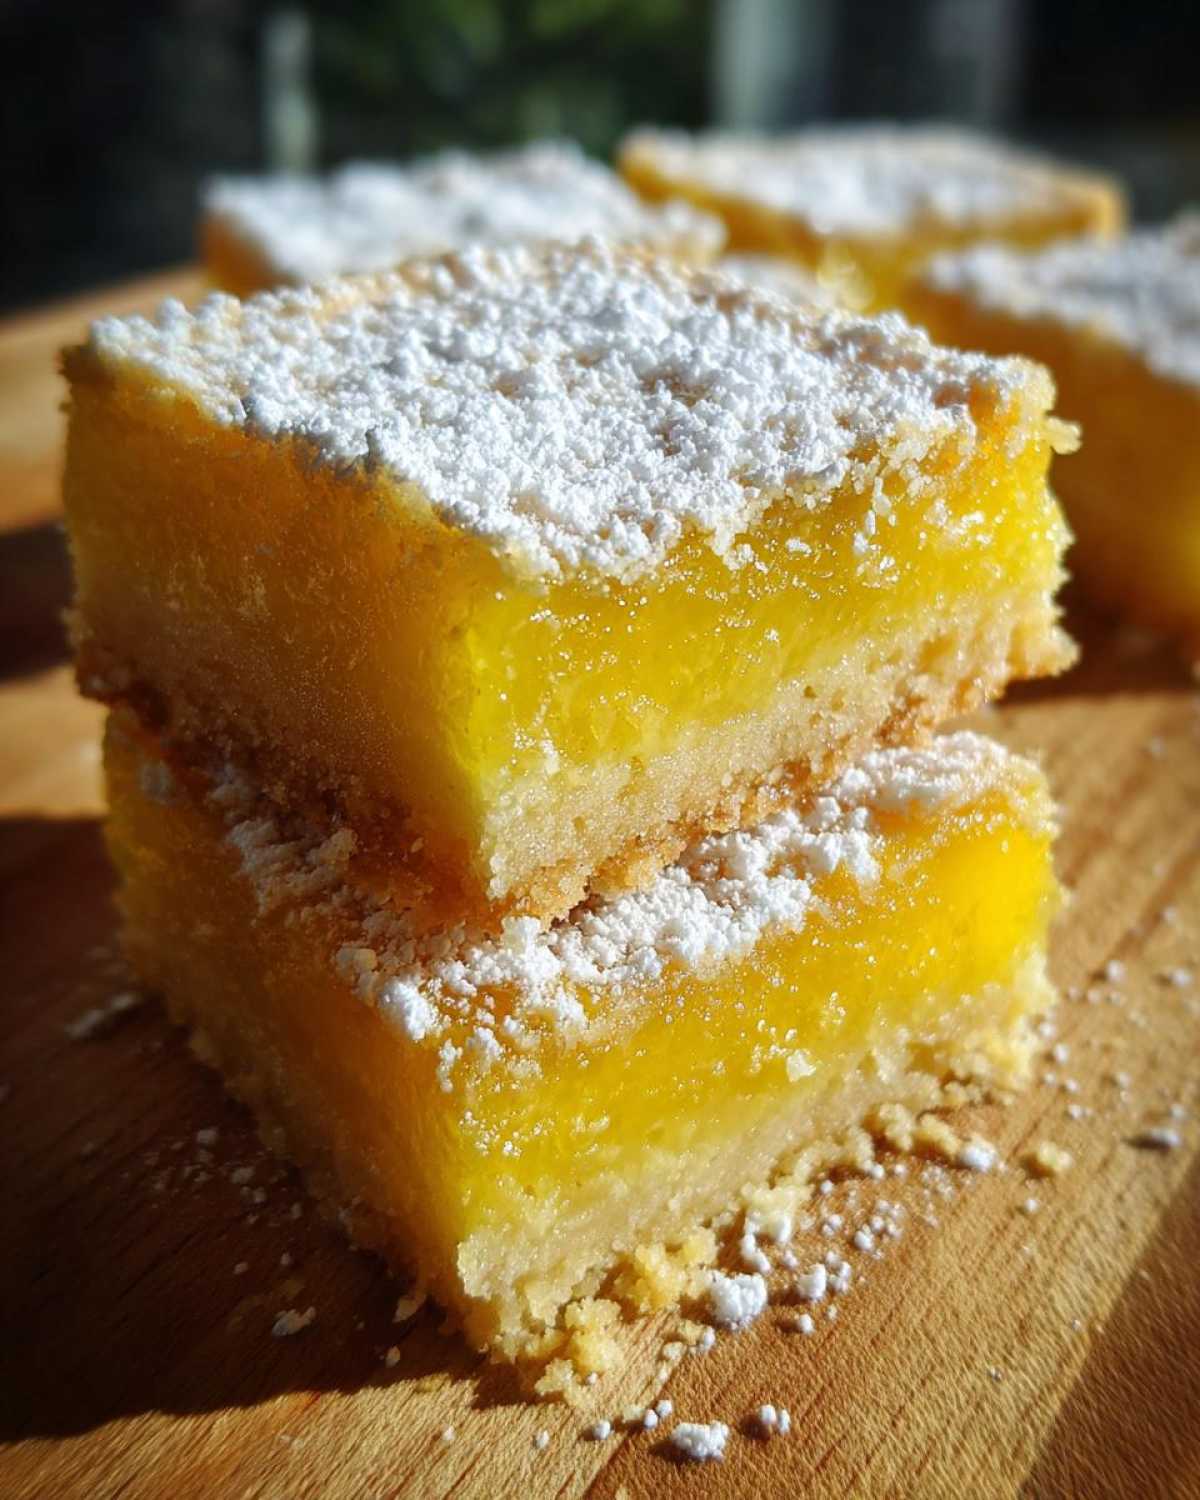
Why You Will Love This Ultimate Lemon Bars Recipe
Honestly, what’s not to adore about these squares? They hit every single spot you want in a citrus treat:
- That melt-in-your-mouth, buttery shortbread crust? Incredible.
- The filling is intensely tangy—real zesty flavor here!
- They are surprisingly easy to make from scratch.
- Perfectly set, no runny messes here, I promise.
- The contrast between the sweet crust and tart top is just bliss.
Ingredients for Classic Shortbread Lemon Bars
Okay, ingredient check! For these **Classic Shortbread Lemon Bars**, the quality of your lemons really matters. Don’t even think about using that bottled stuff for the juice; we need bright, fresh flavor, or it just won’t be the same!
Here’s what you need:
- 1 cup all-purpose flour
- 1/2 cup cold unsalted butter, cubed
- 1/4 cup granulated sugar
- 1/4 teaspoon salt
- 2 cups granulated sugar (for the filling, yes, two cups!)
- 4 large eggs
- 1/2 cup fresh lemon juice (This is non-negotiable—zest those puppies!)
- 1 tablespoon lemon zest
- 1/4 cup all-purpose flour
- 1/2 teaspoon baking powder
- Powdered sugar, for dusting
I like to make sure my butter is *really* cold for that crust, so it stays flaky. If you struggle to find soft butter for other recipes, check out my tips on handling dairy; it might help you here too!
How To Make Lemon Bars From Scratch: Step-by-Step
Putting these **Lemon Bars** together is really a two-stage process, but it moves so fast! We want that crust nice and sturdy before we even think about the filling. Remember to grab your 8×8 inch pan and line it with parchment paper first. I always leave big overhangs—those are your handles later!
Preparing the Buttery Shortbread Crust for Your Lemon Bars
First things first: get your oven warmed up to 350°F (175°C). Now, for the crust, dump your flour, 1/4 cup of sugar, and that salt into a bowl. Toss in the cubed, cold butter. I use my fingertips here because I like to feel the texture change. You’re cutting that butter in until it looks like coarse, sandy crumbs. Really press that mixture firmly into the bottom of your lined pan—packing it down tightly ensures you get those solid shortbread bottoms when you slice them later. Pop that into the oven for just 15 minutes until it looks slightly set and just barely golden.
Mixing and Pouring the Tangy Lemon Filling
While the crust is in its first quick bake, whip up the filling! This is where things get bright and zesty. In a clean bowl, whisk the remaining 2 cups of sugar, your eggs, the half-cup of juice, that tablespoon of zest, the extra flour, and the baking powder. You have to whisk this until it is completely uniform—no streaks of flour allowed! As soon as that crust comes out of the oven, carefully pour that lovely yellow filling right over the hot base. Don’t worry about waiting for the crust to cool; pouring it while warm helps everything bond.
Baking and Cooling Perfectly Baked Lemon Slices
Back in the oven it goes! You’re looking for about 20 to 25 more minutes. You want the filling to look set. Please, don’t overbake these **Perfectly Baked Lemon Slices**! Pull them out when the very center has just stopped jiggling—it sets up more as it cools. This step is crucial: let them cool completely on the counter, and then seriously, chill them for at least an hour or two before you even think about cutting. If you slice them warm, you’ll end up with a soupy mess. If you want that clean slice everyone admires, chilling is not optional!
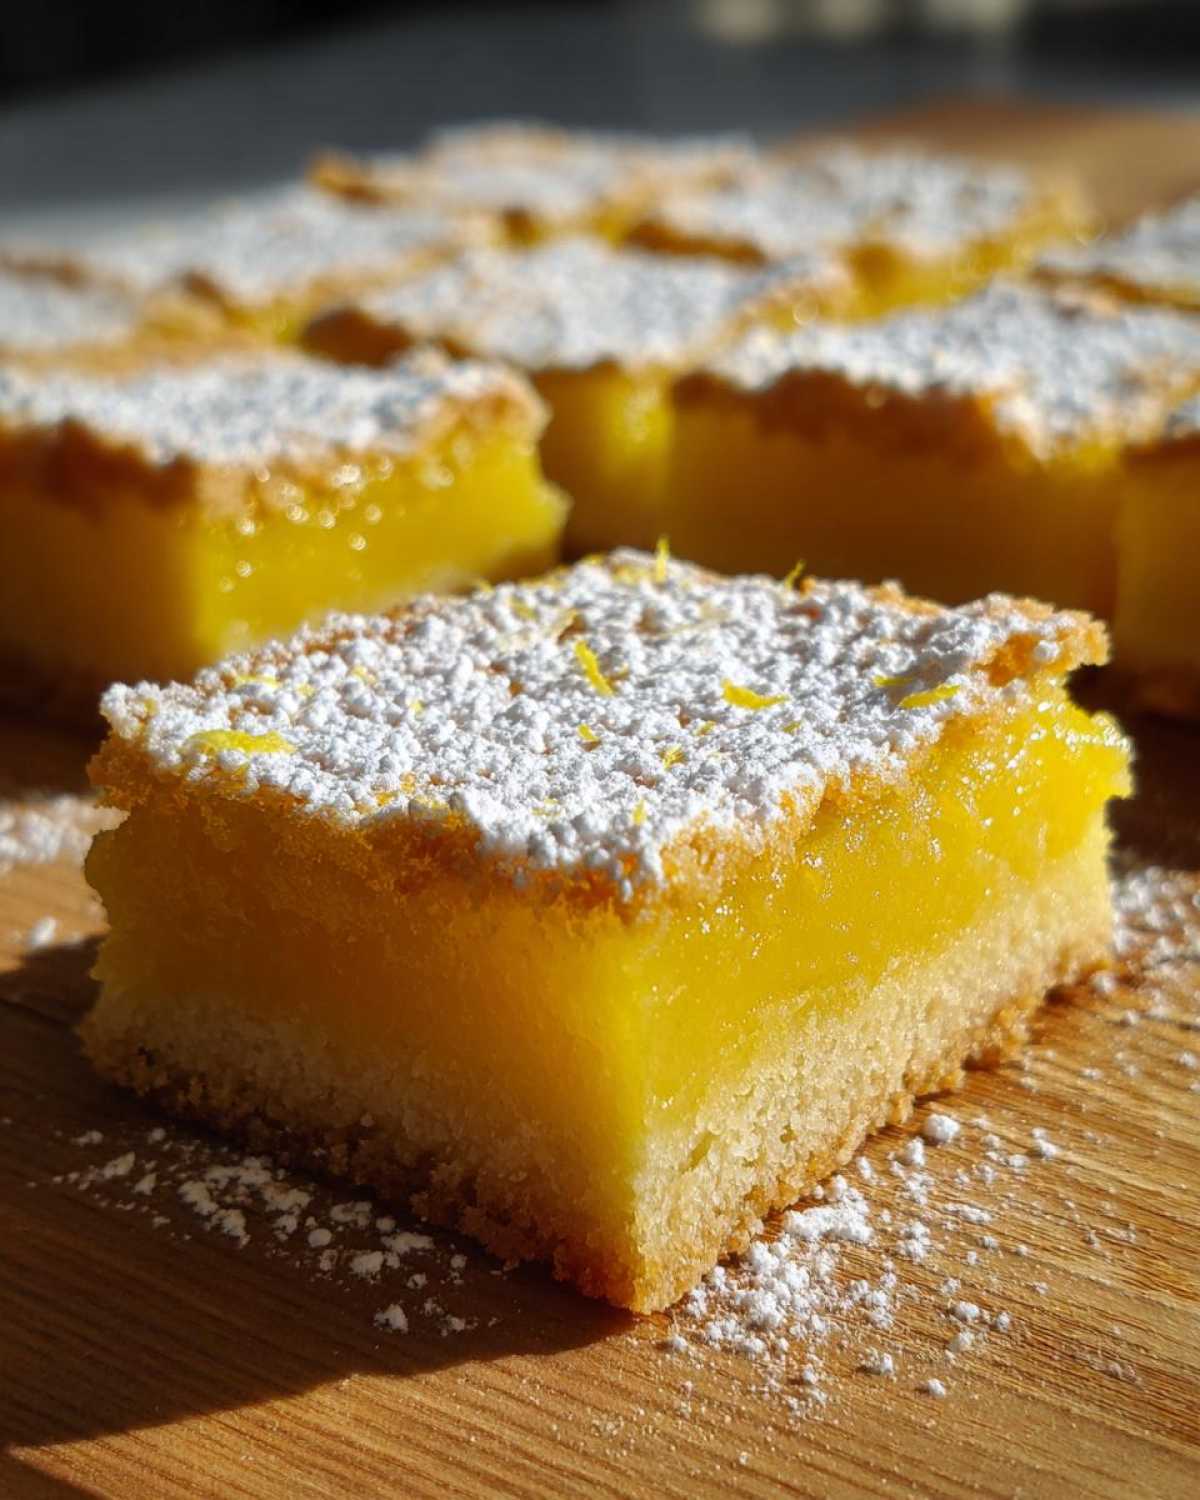
Once they are totally cool and firm, grab those parchment handles to lift them out, slice them into squares, and then dust them generously with powdered sugar. You can check out my notes on how I handle bar cookie baking if you want extra tips on dough handling!
Tips for Success with Your Lemon Bar Baking
I’ve learned a few things the hard way so you don’t have to! When aiming for those **Tangy Lemon Squares** that look professional, a couple of tricks really save the day. My biggest frustration used to be a cracked top, or worse, a runny bottom layer. Not anymore!
First, that crust texture we talked about? Make sure you use *cold* butter, and work quickly. If the butter gets too melty while you’re crumbling it in, you end up frying the flour instead of creating flaky layers. That results in a greasy bottom rather than that firm, **Classic Shortbread Lemon Bar** foundation we want. Remember, the crust needs to be pressed down firmly—don’t be shy!
For preventing cracks in the shiny filling, my number one piece of advice for a **Bright Lemon Dessert Recipe** like this is this: Watch the oven! Don’t bake them until they are rock solid. When you take them out, they should look mostly set, maybe with a slight wobble right in the dead-center. That residual heat finishes them off perfectly as they cool, and that prevents that ugly surface cracking. Seriously, pull them out five minutes early rather than five minutes late.
And finally, the powdered sugar application—this is key for presentation. Never dust them while they are still warm, and definitely don’t dust them before chilling! If you do, the sugar will dissolve right into the filling, leaving you with sticky, wet spots. Wait until they are fully cooled and sliced, then dust them heavily right before serving. I think a heavy hand with the sugar makes these **Lemon Squares with Powdered Sugar** look absolutely gorgeous, so don’t skimp on that final flourish!
For all the nitty-gritty details on temperature and pan prep, check out my deep dive on specific lemon bar baking tips!
Variations on Classic Shortbread Lemon Bars
While I stand by this being the ultimate way to make **Tangy Lemon Squares**, sometimes a girl just needs a little change-up, right? You can easily spin this recipe to keep things interesting without ruining that perfect shortbread base. These ideas are super quick additions, so they don’t add much time to your baking!
If you want a little savory contrast to all that sweet tartness, try sprinkling some flaky sea salt right on top of the filling just before it goes into the oven. It bumps up the ‘zing’ factor beautifully. Or, maybe you’re just out of lemons? Swap half the juice for fresh lime juice! You get wonderfully bright **Citrus Baked Goods** that are almost like a key lime hybrid.
Now, for a bigger change, let’s talk crust. If you’re stuck on time or just craving something different than our traditional shortbread, you can absolutely substitute the crust ingredients for a graham cracker base. Just use about 1 1/2 cups of finely crushed graham crackers mixed with 1/4 cup of melted butter and 2 tablespoons of sugar. Press that into the bottom, pre-bake for 10 minutes, and then pour your lemon filling right over top! For more ways to play with citrus flavors, take a peek at my recipe for orange almond biscotti—different dessert, same bright inspiration!
Serving Suggestions for Zesty Lemon Dessert Bars
Once you’ve gone through the cooling torture (which is worth it, trust me!), you get to the fun part: serving these gorgeous **Zesty Lemon Dessert Bars**! Because the filling is so rich and incredibly tangy, they pair best with things that are light and airy. I always pull them out straight from the fridge, slice them neatly, and serve them slightly chilled for that firmest texture.
But if you’re serving these for dessert after a big meal, a little topping goes a long way. A cloud of fresh, lightly sweetened whipped cream melts just perfectly on top of that cool, sharp filling. Fresh raspberries or sliced strawberries are my absolute favorite counterpoint here; the sweetness of the berries dances so well with the lemon. Remember, these are intense, so a little garnish really elevates them from a simple square to a fancy plated dessert!
If you’re looking for something contrasting but still comforting, consider serving them alongside a warm, spiced fruit crumble. It’s totally different, but this recipe for peach cobbler is what I turn to when I need warm dessert vibes!
Storage and Reheating Instructions for Lemon Bars
The toughest part about making these **Easy Homemade Lemon Bars** is actually waiting long enough to eat them, right? But we need to talk about storage because these deserve to stay perfect. Since the filling has eggs, refrigeration is non-negotiable, especially once you plan on keeping them beyond the first day.
Once they are completely cool and sliced, tuck your **Tangy Lemon Squares** into an airtight container. You can layer them with a piece of parchment or wax paper between the layers so they don’t stick together, but be gentle! They truly hold up wonderfully in the fridge. Because they have that rich, buttery crust, they stay moist and delicious for a solid four or five days. Honestly, they taste even better on day two when the filling has fully settled.
Now, about that beautiful dusting of powdered sugar! This is my biggest storage secret—do NOT dust them until you are ready to serve them. If you cover them in sugar and then put them in the fridge, two things happen: first, the moisture from the fridge melts the sugar into a sticky glaze, and second, all that powdered sugar settles onto your container lid, creating a messy disaster when you open it later. Dust lightly right before you plate them up. If you are freezing them (which works, by the way—wrap tightly and freeze for up to three months!), wait until they are totally thawed and at room temperature before dusting!
Frequently Asked Questions About Lemon Bars
Baking is fun, but sometimes you just need a quick sanity check before you start mixing! I’ve gathered the questions I get the most when people try my **Easy Homemade Lemon Bars** for the first time. Hopefully, this clears up any last-minute worries!
Why are my Lemon Bars runny and not setting up properly?
Oh, that’s the worst! Usually, this means one of two things happened. Either you didn’t bake them quite long enough—remember, they should stop jiggling in the center—or you were tempted to reduce the flour in the filling. That little bit of flour is essential for structure! Don’t worry too much, though; if they are super soft, chill them overnight. Sometimes they Firm up enough after a long, cold rest to be cut cleanly. If they are still soupy, just grab a spoon and eat them straight out of the pan—that’s my fallback **From Scratch Lemon Dessert** solution!
Can I freeze these Zesty Lemon Dessert Bars?
Yes, you absolutely can! To freeze them, they must be completely cooled first. Slice them, but don’t dust them with sugar yet! Wrap each square individually in plastic wrap, and then place them snugly in a freezer-safe, airtight container. They hold up beautifully for about three months. When you want one, just let it thaw in the fridge overnight, and then dust with powdered sugar right before serving.
What is the difference between Lemon Bars and Tangy Lemon Squares?
Honestly, not much at all! For most bakers, they are interchangeable terms for the exact same thing: a buttery crust with a baked lemon custard layer! Anyone who calls them **Tangy Lemon Squares** is usually just referring to the shape they cut them into—squares versus rectangles. If you see a recipe using a graham cracker crust instead of shortbread, some people might call that a variation, but generally, they mean the same glorious, citrusy treat!
Do I really need to use *fresh* lemon juice for the Best Lemon Bars Recipe?
YES! I cannot stress this enough. Bottled juice tastes cooked and muted. When you use fresh juice, you get that incredible, bright, high-note acidity that cuts through the sugar and makes the flavor pop. That’s what separates a good bar from the Best Lemon Bars Recipe! Fresh zest is important too, but the juice really carries the main tang.
Nutritional Estimates for These Lemon Bars
Alright, transparency time! We all know these **Lemon Bars** are a treat, but I wanted to give you a ballpark idea of what you’re getting into calorie-wise, especially since we use real butter and sugar to make them so divine. Keep in mind, these figures are just my best guess based on the measurements in the recipe—if you use lighter sugar substitutes or less butter, your numbers will change, of course!
This estimate is based on cutting the pan into 16 servings, which gives you a nice, reasonable square size.
- Serving Size: 1 square
- Calories: 210
- Sugar: 24 grams
- Sodium: 55 mg
- Fat: 10 grams
- Saturated Fat: 6 grams
- Unsaturated Fat: 4 grams
- Trans Fat: 0 grams
- Carbohydrates: 31 grams
- Fiber: 1 gram
- Protein: 3 grams
- Cholesterol: 50 mg
So, enjoy one (or two!) knowing you’re getting a solid dose of sunshine and butter in every bite. These aren’t ‘diet’ food, they’re ‘delicious’ food, and that’s what matters most in my kitchen!
PrintClassic Shortbread Lemon Bars

Make easy, homemade lemon bars with a buttery shortbread crust and a bright, tangy lemon filling, finished with powdered sugar.
- Prep Time: 15 min
- Cook Time: 40 min
- Total Time: 55 min
- Yield: 16 servings
- Category: Dessert
- Method: Baking
- Cuisine: American
- Diet: Vegetarian
Ingredients
- 1 cup all-purpose flour
- 1/2 cup cold unsalted butter, cubed
- 1/4 cup granulated sugar
- 1/4 teaspoon salt
- 2 cups granulated sugar
- 4 large eggs
- 1/2 cup fresh lemon juice
- 1 tablespoon lemon zest
- 1/4 cup all-purpose flour
- 1/2 teaspoon baking powder
- Powdered sugar, for dusting
Instructions
- Preheat your oven to 350°F (175°C). Line an 8×8 inch baking pan with parchment paper, leaving an overhang on two sides for easy removal.
- Prepare the crust: In a medium bowl, combine 1 cup flour, 1/4 cup sugar, and salt. Cut in the cold butter using a pastry blender or your fingers until the mixture resembles coarse crumbs.
- Press the crust mixture evenly into the bottom of the prepared pan. Bake for 15 minutes until lightly golden.
- Prepare the filling while the crust bakes: In a separate bowl, whisk together 2 cups sugar, eggs, 1/2 cup lemon juice, 1 tablespoon lemon zest, 1/4 cup flour, and baking powder until smooth.
- Pour the lemon filling evenly over the hot, pre-baked crust.
- Return the pan to the oven and bake for 20 to 25 minutes, or until the filling is set and no longer jiggles in the center.
- Let the bars cool completely in the pan on a wire rack. Cooling takes about 2 hours.
- Once cool, lift the bars out of the pan using the parchment paper overhang. Cut into 16 squares.
- Dust generously with powdered sugar before serving.
Notes
- Chill the bars for at least 1 hour after cooling to room temperature for cleaner cuts.
- Use fresh lemon juice for the best tangy flavor; bottled juice changes the taste.
- To prevent the filling from cracking, do not overbake; the center should just be set.
Nutrition
- Serving Size: 1 square
- Calories: 210
- Sugar: 24
- Sodium: 55
- Fat: 10
- Saturated Fat: 6
- Unsaturated Fat: 4
- Trans Fat: 0
- Carbohydrates: 31
- Fiber: 1
- Protein: 3
- Cholesterol: 50
