

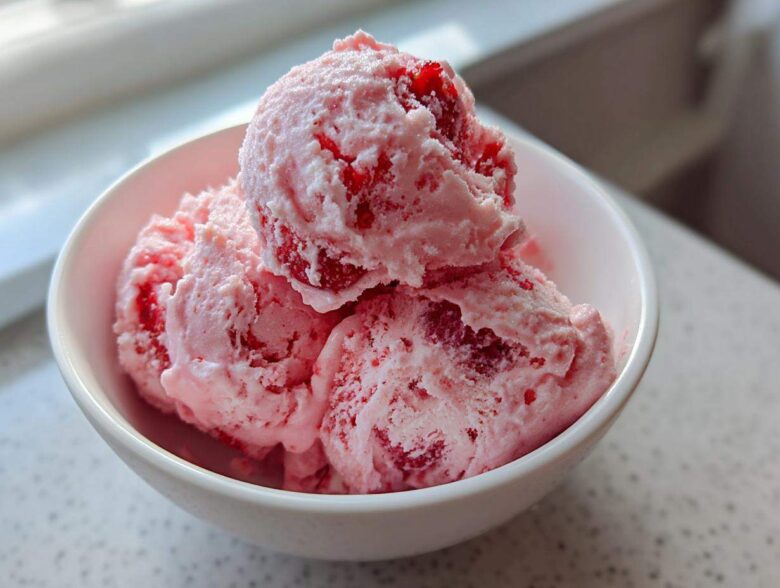
Oh my gosh, have you caught the strawberry fever yet? When those berries hit their absolute peak in the summer, I swear the world gets a little bit brighter. I’ve spent years trying to capture that perfect, bright, sun-ripened strawberry flavor when it’s suspended in something completely cold and creamy. Forget the stuff out of the carton that tastes like pink sugar water!
This Fresh Strawberry Dream Ice Cream is the result of about four summers worth of testing, and trust me, it’s the one. We’re using only fresh fruit here, which makes all the difference in getting that incredible, intense natural flavor. I finally nailed the perfect balance so you get that rich, velvety texture without any iciness whatsoever. This recipe is going to change how you look at homemade frozen desserts forever!
Why This Fresh Strawberry Dream Ice Cream Recipe Works
This recipe isn’t just easy; it’s engineered for maximum taste payoff. You get that gourmet experience without having to stir anything every thirty minutes! When you taste this Fresh Strawberry Dream Ice Cream, you’ll understand the difference real fruit makes.
- It nails that rich, scoopable texture we all crave (we’re keeping that base thick!).
- The secret is focusing on the fruit first, making sure the flavor pops.
- It looks elegant but seriously comes together quickly once the chilling is done.
Achieving the Best Fresh Strawberry Flavor
We start by setting the strawberries aside with just a little sugar. Don’t skip this! It’s called macerating, and it basically coaxes out all the bright, sweet juices. As these natural juices mingle with the sugar, they create this tiny, flavorful syrup. That syrup is the key to avoiding a bland, pale pink ice cream. It makes this frozen dessert with real strawberries taste like the best part of summer! If you love using dairy bases this way, you should check out my tips on making classic French toast with a custard base—the principle of soaking everything thoroughly is similar!
Ingredients for Your Fresh Strawberry Dream Ice Cream
You don’t need a million things for this recipe, which is why it’s so fantastic! We focus on quality dairy and the best berries we can find. Remember to hull and slice those strawberries before you sugar them up. I’ve got a great recipe for strawberry muffins if you end up with extra berries!
Here’s what you need for one quart of that fantastic Fresh Strawberry Dream Ice Cream:
- 2 cups fresh strawberries, hulled and sliced
- 1/2 cup granulated sugar (this is just for the fruit!)
- 1 1/2 cups heavy cream
- 1 cup whole milk
- 3/4 cup granulated sugar (for the base)
- 1/4 teaspoon salt
- 1 tablespoon vanilla extract
Step-by-Step Instructions for Fresh Strawberry Dream Ice Cream
Okay, let’s get this fantastic Fresh Strawberry Dream Ice Cream made! Don’t rush the timing, especially when it comes to letting things chill out. Timing is seriously everything when you’re aiming for that perfectly smooth texture. We’re using a standard ice cream maker for this, but don’t worry if you don’t have one; I’ve got the no-churn method detailed below, too!
Macerating the Strawberries
This is step one, and it’s passive, so you can go start heating your cream base while this rests. Just take your sliced berries and mix them gently with that first half-cup of sugar. You absolutely need to let this sit on the counter for at least thirty minutes. If your strawberries are super fresh and ripe, sometimes an hour is even better! That sugar pulls out all the intense color and liquid, so make sure you keep every drop of that syrupy juice when you add them later.
Preparing and Chilling the Cream Base
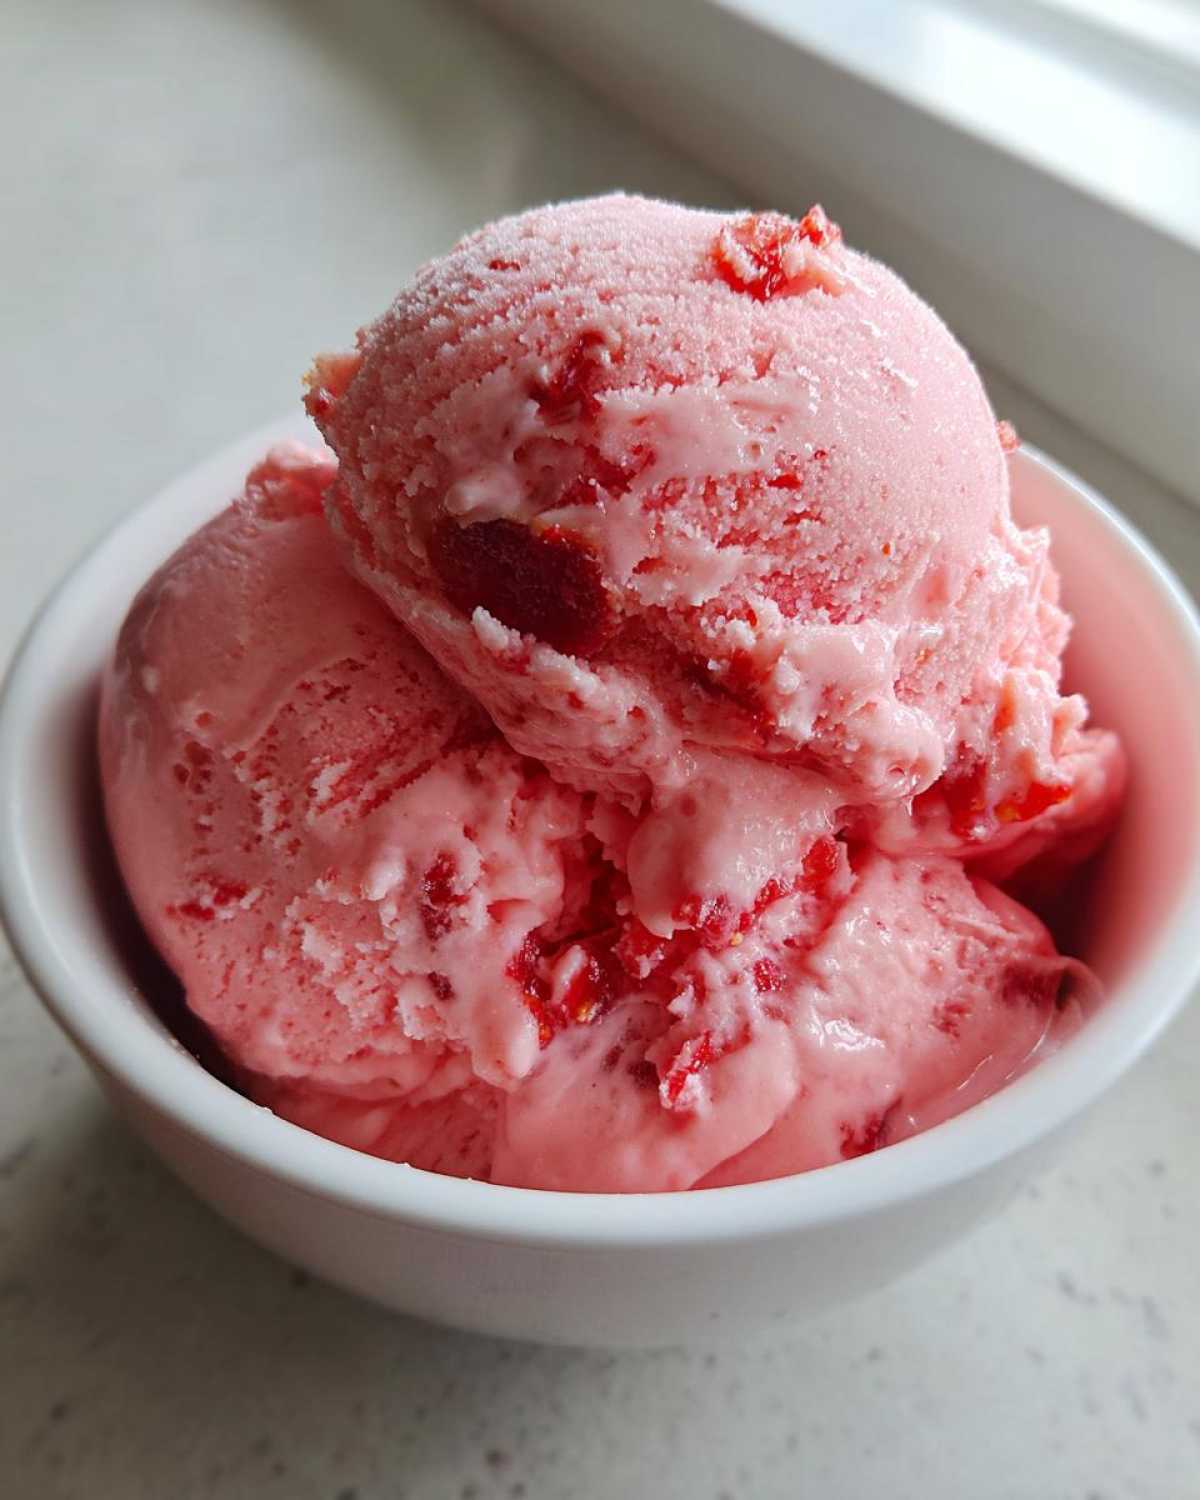
Next, we heat things up just enough to get that second portion of sugar dissolved into the milk and cream—medium heat, medium-low, just until you see the sugar vanish. As soon as it’s dissolved, pull it off the heat, stir in the vanilla and salt, and then comes the hardest part of this entire recipe: patience! You need the base to be ice cold before it hits the machine. Stick it in the fridge for a minimum of four hours, but seriously, overnight is the secret to truly creamy homemade ice cream.
Churning and Combining Fruit
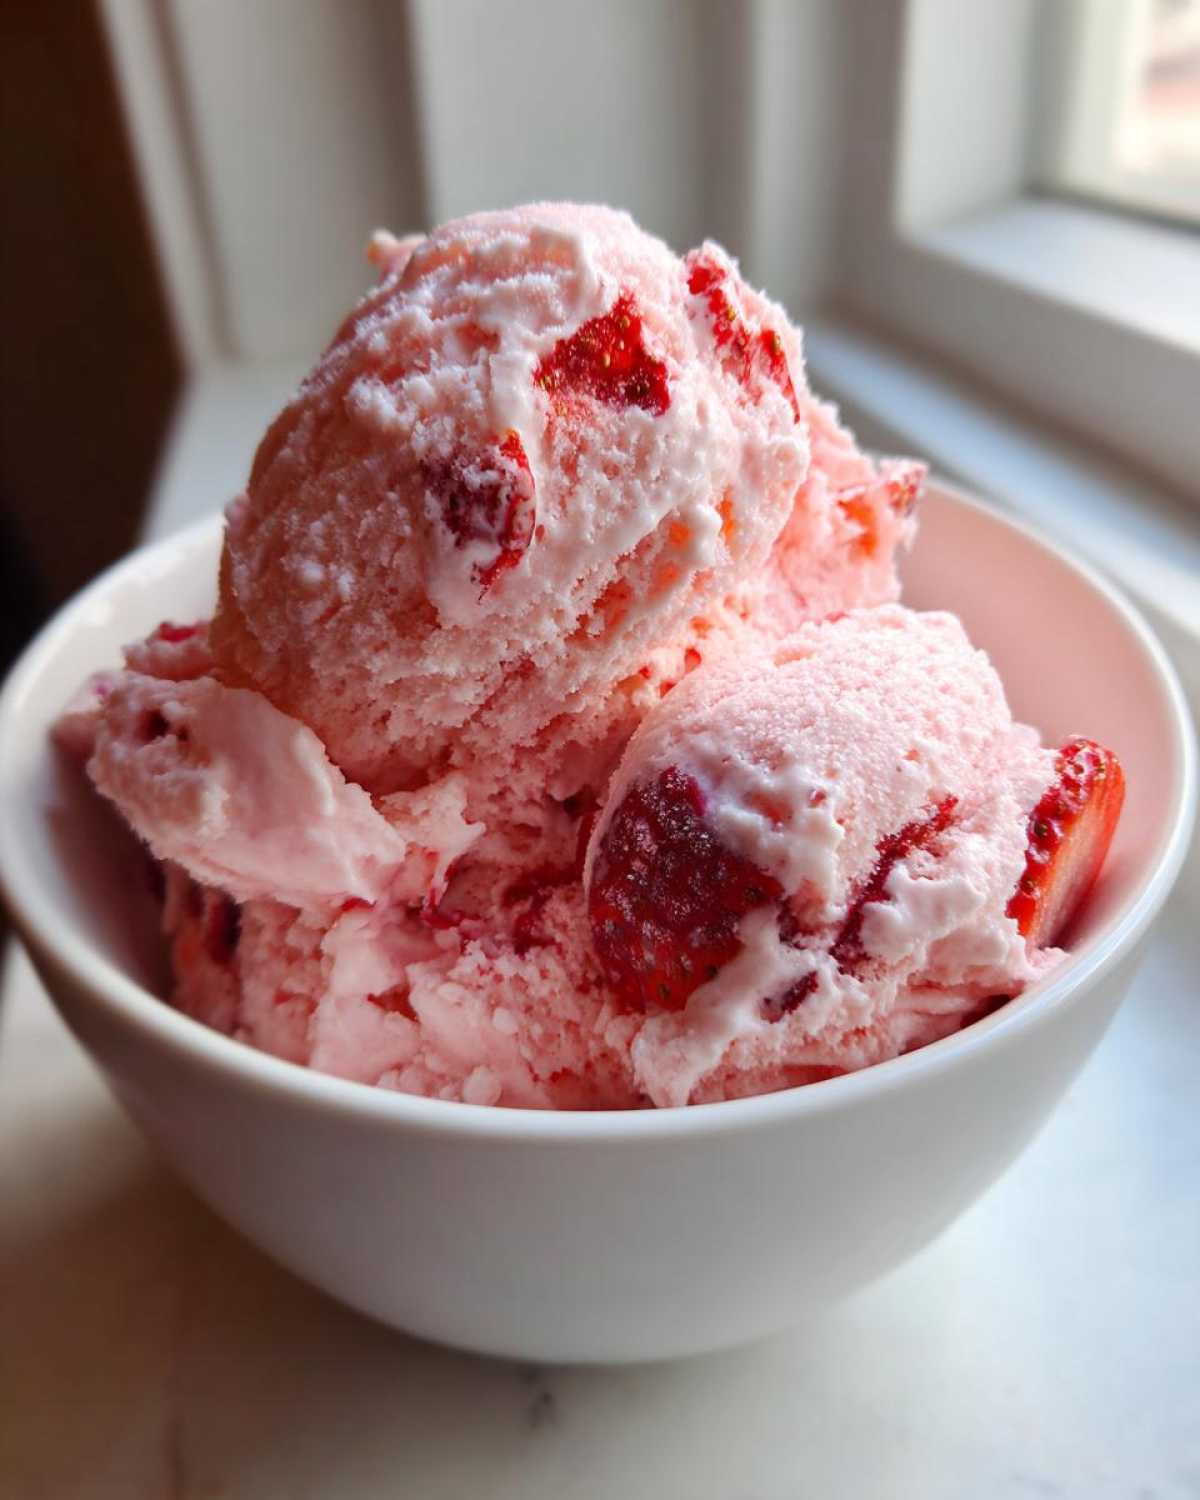
Once that base is frigid, churn it up according to your machine’s directions. Here’s the pro tip I learned the hard way: wait until the last two minutes of churning to add the strawberries and their juices. If you toss them in too early, the cold churner blade can tear the fruit chunks apart too much or even slow down the hardening process. Folding them in at the very end gives you those perfect ribbons of berry throughout the finished product!
Tips for Making the Ultimate Fresh Strawberry Dream Ice Cream
Listen, I’ve made this so many times I practically dream in strawberry swirls. My main goal here is to give you the creamiest result possible in your Fresh Strawberry Dream Ice Cream. The quality of your berries is number one; go for the ripest ones you can find, even if they are a little softer! They break down better during maceration and give you that intense color we’re looking for. If you love the idea of pairing fruit desserts, you might want to check out my recipe for peach cobbler with fresh peaches for another great summer treat!
If you’re lucky enough to have perfectly sweet berries, you’re golden. But sometimes, especially in early summer, strawberries can be a little watery. That’s okay! We have solutions, because nobody wants watery ice cream.
Handling Excess Liquid from Fruit
After your berries have macerated for that half hour, you look at the bowl and you see a nice pool of brightly colored liquid, right? If you have a massive puddle—I mean, an inch deep—you should gently scoop out just a tablespoon or two before pouring the berries into the churner. Seriously, just a little bit! Too much liquid in the base, and even with the sugar, you risk creating little ice shards instead of that luxurious, smooth texture. You want the juice for flavor, but not so much that you dilute the fat content we worked so hard to build up!
Alternative Method: No-Churn Fresh Strawberry Dream Ice Cream Tutorial
I totally get it—not everyone has a big ice cream machine taking up precious freezer space! If you are machine-less, don’t skip this recipe. You can absolutely make incredible Fresh Strawberry Dream Ice Cream using the no-churn method. The difference is we whip the heavy cream separately until it forms stiff peaks, kind of like for a stabilized whipped topping.
Once that cream is fluffy and gorgeous, you need to gently fold in the chilled milk mixture and those gorgeous macerated strawberries. Now for the hard part again: patience! You put that mixture into a loaf pan, cover it tight, and you have to stir it every 45 minutes for the first three hours. That stirring is crucial—it’s what breaks up the ice crystals that try to form since the machine isn’t doing the work for us. Keep doing that, and you’ll nail that no-churn strawberry ice cream tutorial success!
If you’re looking for other no-bake summer recipes, you should peek at my homemade peach cobbler post—it’s perfect for those super hot days when you don’t want to turn the oven on!
Serving Suggestions for Your Rich Strawberry Dessert Ideas
Now that you’ve made the absolute best ice cream, how do you serve it up? For simple elegance, try a tiny drizzle of good quality balsamic glaze over just one scoop—it elevates the strawberry flavor like magic! It’s seriously one of my favorite rich strawberry dessert ideas.
Of course, crushing up some slightly salty shortbread cookies right over the bowl works every time. If you have extra berries leftover, you can always turn them into a stunning shortcake trifle; you can find my recipe for that strawberry shortcake trifle here!
Storage and Freezing Instructions for Fresh Strawberry Dream Ice Cream
You’re almost there! Once you transfer that beautifully soft Fresh Strawberry Dream Ice Cream into its final home, remember that it needs time to firm up properly. Use a shallow, airtight container if you have one; that helps it freeze evenly faster. You’ll need to let it hang out in the deep freeze for at least four hours. Please don’t try to eat it straight from the churner, no matter how tempting that soft-serve texture is!
Seriously, the best tip I ever learned for rock-hard ice cream is this: Pull the container out about 10 minutes before you want to serve it. That tiny bit of rest softens the edges just enough so you can get a perfect scoop. If you’re struggling with storage on other things, check out my guide on easy no-bake protein bars; sometimes different containers work better for different textures!
Frequently Asked Questions About Homemade Strawberry Ice Cream Recipe
I always get so many questions when people try this recipe for the first time! It’s usually about texture because everyone wants that super creamy homemade ice cream and nobody wants frustrating ice crystals. If you follow the chilling steps, you’ll be fine, I promise! If you’re looking for another great berry recipe, check out my guide on an easy strawberry ice cream recipe for a simpler version!
Can I use frozen strawberries instead of fresh for this Fresh Strawberry Dream Ice Cream?
Look, I’m a purist when it comes to this recipe. You *can* use frozen, but it won’t be the same dreamy experience. Frozen berries have a higher water content that they release when thawed, and that water turns to ice in the machine, which is exactly what we’re trying to avoid! If you must substitute, thaw them first and drain off *all* the liquid before you even think about folding them into the churner. The flavor just won’t have that intense brightness that only peak-season fresh berries give you.
What is the best way to make ice cream with fresh fruit without it getting icy?
This is the million-dollar question! Two things make the magic happen here. First, the fat content—heavy cream is non-negotiable; that fat stays soft when frozen. Second, the sugar. Besides the sugar we add to the base, the sugar we use to macerate the fruit actually helps lower the freezing point of the water in the berries. That means the mixture freezes softer! So, make sure you let those berries sit in their sugar bath to release all that beautiful syrupy juice!
Estimated Nutritional Data for This Summer Berry Frozen Dessert
Okay, let’s talk numbers, because even though this is a treat, it’s good to know what you’re scooping up!
Keep in mind these are just estimates for this summer berry frozen dessert based on the dairy and sugars we use. If you’re counting, here’s the breakdown per serving (about 1/2 cup):
- Calories: 310
- Total Fat: 19g
- Carbohydrates: 32g
- Protein: 3g
- Sugar: 30g
It’s rich, yes, but loaded with real fruit goodness. If you want another great berry recipe, you should check out my lemon ricotta pancakes with berries!
PrintFresh Strawberry Dream Ice Cream

Make rich, creamy ice cream using only fresh strawberries for a bright, natural flavor.
- Prep Time: 20 min
- Cook Time: 10 min
- Total Time: 4 hr 30 min
- Yield: About 1 quart
- Category: Dessert
- Method: Churning
- Cuisine: American
- Diet: Vegetarian
Ingredients
- 2 cups fresh strawberries, hulled and sliced
- 1/2 cup granulated sugar (for macerating)
- 1 1/2 cups heavy cream
- 1 cup whole milk
- 3/4 cup granulated sugar (for base)
- 1/4 teaspoon salt
- 1 tablespoon vanilla extract
Instructions
- Combine the sliced strawberries and 1/2 cup sugar in a bowl. Stir gently. Let the mixture sit at room temperature for at least 30 minutes to macerate, releasing juices.
- In a medium saucepan, combine the heavy cream, whole milk, 3/4 cup sugar, and salt. Heat over medium heat, stirring until the sugar dissolves completely. Do not boil. Remove from heat and stir in the vanilla extract.
- Chill the cream mixture completely in the refrigerator, at least 4 hours or preferably overnight. This step is important for texture.
- Once chilled, churn the cream base in your ice cream maker according to the manufacturer’s instructions.
- When the ice cream is nearly finished churning (about 2 minutes remaining), gently fold in the macerated strawberries and their accumulated juices.
- Transfer the soft ice cream to an airtight container. Freeze for at least 4 hours to firm up before serving.
Notes
- For the best flavor, use ripe, sweet strawberries.
- If you do not have an ice cream maker, you can use a no-churn method: Whip the heavy cream to stiff peaks, then fold in the chilled milk mixture and the strawberries. Freeze in a loaf pan, stirring every 45 minutes for the first 3 hours to break up ice crystals.
- If the strawberries are very watery after macerating, drain off a small amount of excess liquid before adding them to the churner.
Nutrition
- Serving Size: 1/2 cup
- Calories: 310
- Sugar: 30
- Sodium: 35
- Fat: 19
- Saturated Fat: 11
- Unsaturated Fat: 8
- Trans Fat: 0
- Carbohydrates: 32
- Fiber: 1
- Protein: 3
- Cholesterol: 70
