

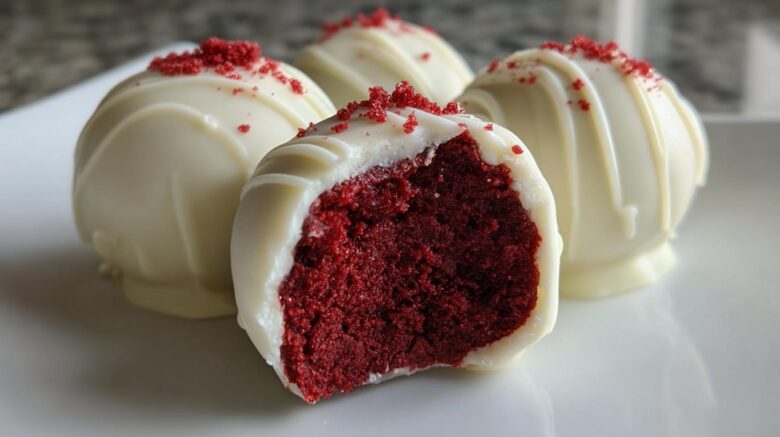
The Story Behind Our Go-To Red Velvet Truffles
Sasha is the queen of intuition in our kitchen trio. She developed this recipe for Red Velvet Truffles. I remember the first time she made them. The kitchen smelled like deep cocoa and sweet vanilla. She just kept mixing things in! I worried it wouldn’t come together right. But it did, perfectly! These little bites capture that classic flavor we all adore. They are rich and totally romantic. Sasha always says cooking should feel fun, not stressful. These no-bake truffles prove her point completely. They are pure joy in a small bite.
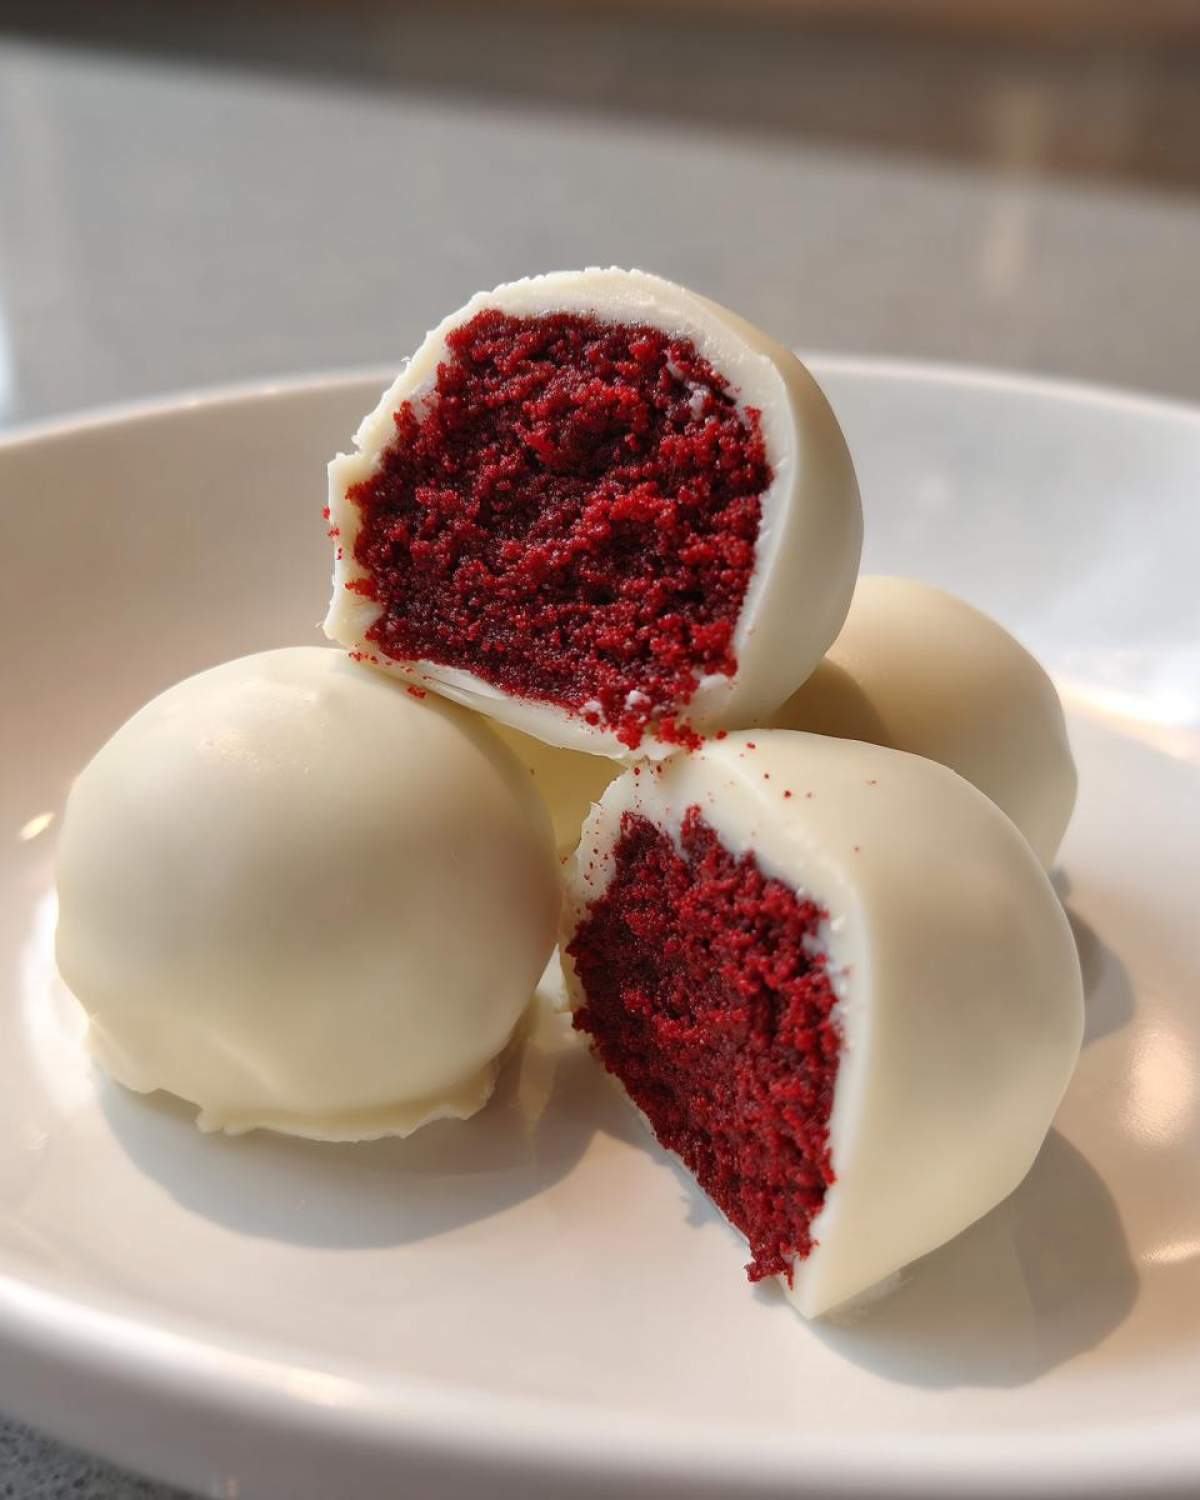
Why Red Velvet Truffles are Your Perfect Valentine’s Day Dessert
Are you looking for a simple, sweet way to show love? These Red Velvet Truffles fit the bill perfectly. You don’t even need to turn on your oven! That’s right, they are completely no-bake. That means less fuss for you. More time for snuggling, maybe? I love how they look so fancy. They taste deeply of that classic red velvet cake. The creamy center melts in your mouth. They are totally made for sharing with someone special. Think of them as little hugs you can eat!
The Story Behind Our Go-To Red Velvet Truffles
Sasha is the queen of intuition in our kitchen trio. She developed this recipe for Red Velvet Truffles. I remember the first time she made them. The kitchen smelled like deep cocoa and sweet vanilla. She just kept mixing things in! I worried it wouldn’t come together right. But it did, perfectly! These little bites capture that classic flavor we all adore. They are rich and totally romantic. Sasha always says cooking should feel fun, not stressful. These no-bake truffles prove her point completely. They are pure joy in a small bite.
Gathering What You Need for Your Red Velvet Truffles
Before we get to the mixing magic, we need our supplies ready. Having everything measured out saves so much stress later. Trust me on this one, friends. When I’m baking, I always use the ‘mise en place’ approach. It keeps my kitchen running smoothly. These Red Velvet Truffles are simple, but preparation matters.
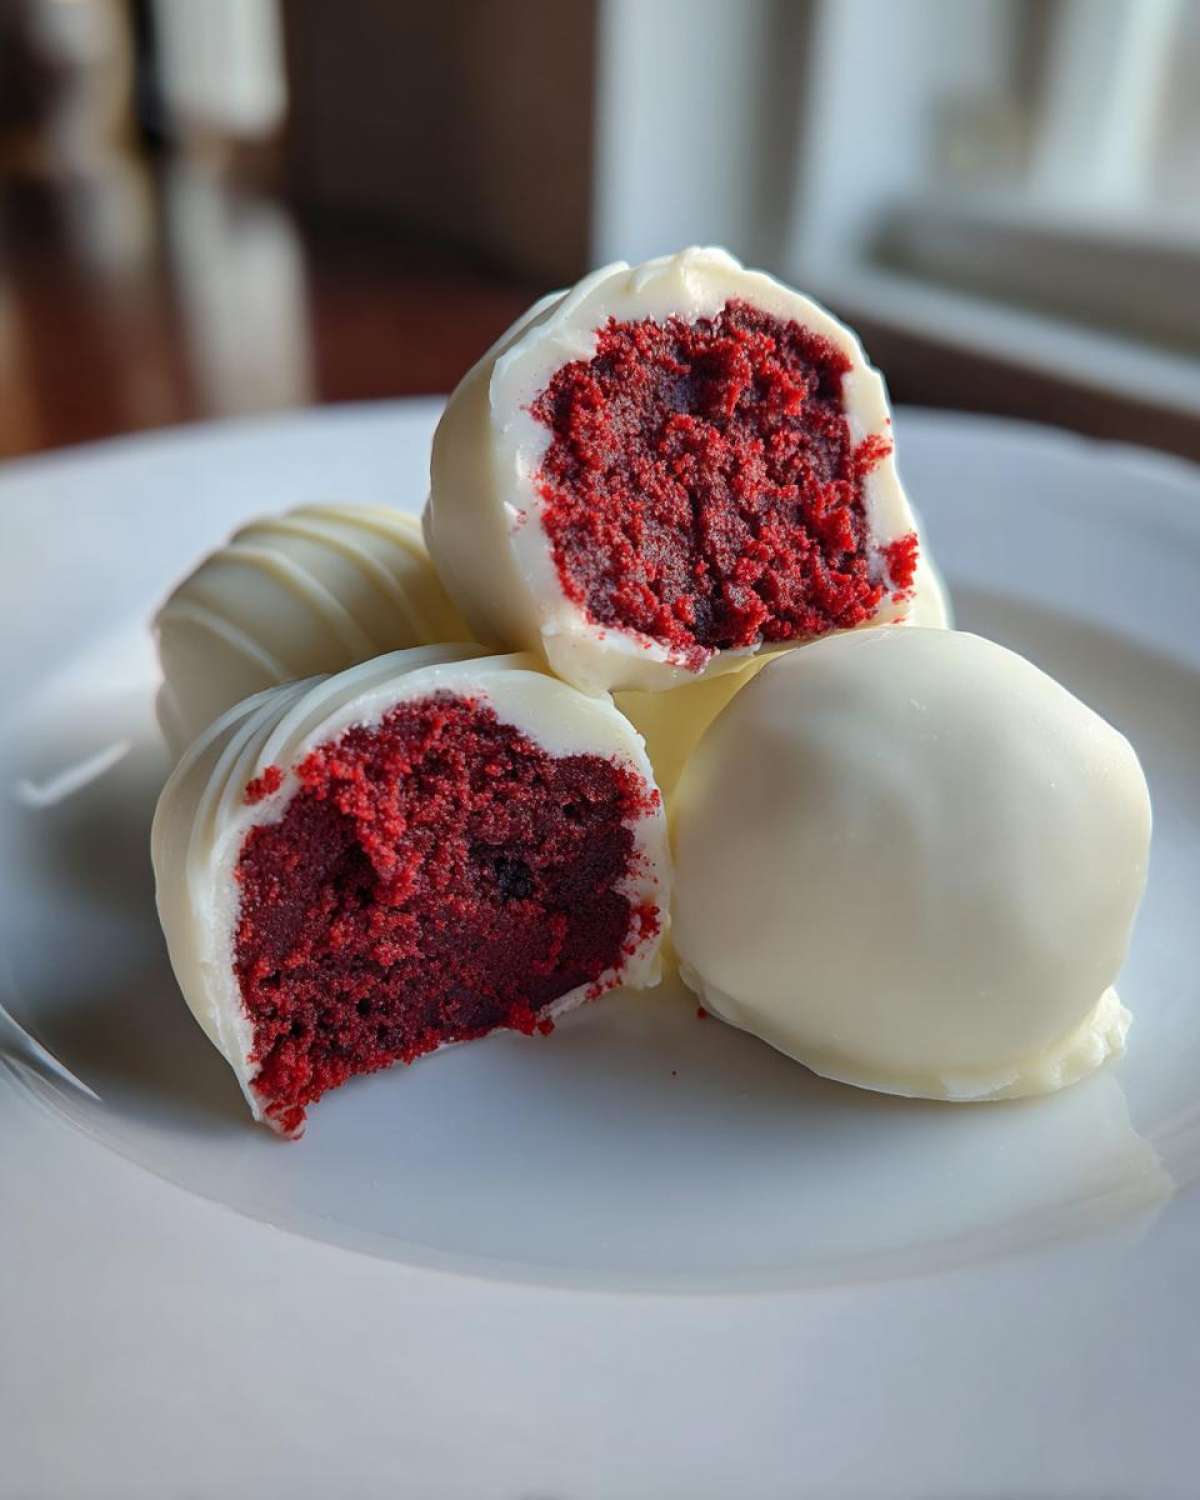
Essential Ingredients for Amazing Red Velvet Truffles
Gather these items from your pantry and fridge. Remember, the cream cheese and butter must be softened. This is key for a smooth base!
- One 8 ounce package of cream cheese. Make sure it is softened.
- Half cup of unsalted butter. This also needs to be soft.
- Four cups of powdered sugar. Sift it if it looks lumpy.
- One teaspoon of pure vanilla extract.
- One tablespoon of bright red food coloring.
- One teaspoon of plain white vinegar.
- One tablespoon of unsweetened cocoa powder.
- One cup of white chocolate melting wafers.
Equipment List for Simple Red Velvet Truffles
You don’t need fancy gear for these treats. A good mixer helps a lot, though. It makes sure everything blends just right.
- A large mixing bowl for everything.
- An electric mixer, hand-held or stand mixer.
- A rubber spatula for scraping sides.
- A baking sheet. Line this with parchment paper.
- A smaller microwave-safe bowl for melting chocolate.
- A fork or dipping tool for coating the truffles.
Step-by-Step Instructions for Perfect Red Velvet Truffles
Now for the fun part! Making these is like a culinary puzzle. Everything fits together beautifully. Follow these steps closely. Your kitchen will soon smell amazing.
Mixing the Rich Red Velvet Base
Grab your large bowl and your mixer. Beat the softened cream cheese and butter first. You want this mixture super smooth. No lumps allowed here!
Next, slowly add the powdered sugar. Do this gradually. Mix well after every addition. This keeps the sugar from flying everywhere. We don’t want a sugar cloud!
Time for the flavor punch. Stir in the vanilla and cocoa powder. Then, add the red food coloring. Don’t forget the white vinegar! This helps the flavor pop. Mix until the color is totally even. It should look like deep velvet.
Chilling and Rolling Your Red Velvet Truffles
This next step is non-negotiable. Cover that bowl tightly. Pop it into the refrigerator. It needs at least two hours to firm up. Patience is your best friend now.
Once firm, take out small scoops. Roll these into uniform balls, about one inch wide. Place them on your parchment-lined sheet. If your hands get warm, the mix softens fast. If this happens, pop the tray back in. Sasha suggests a quick 15-minute chill break helps immensely.
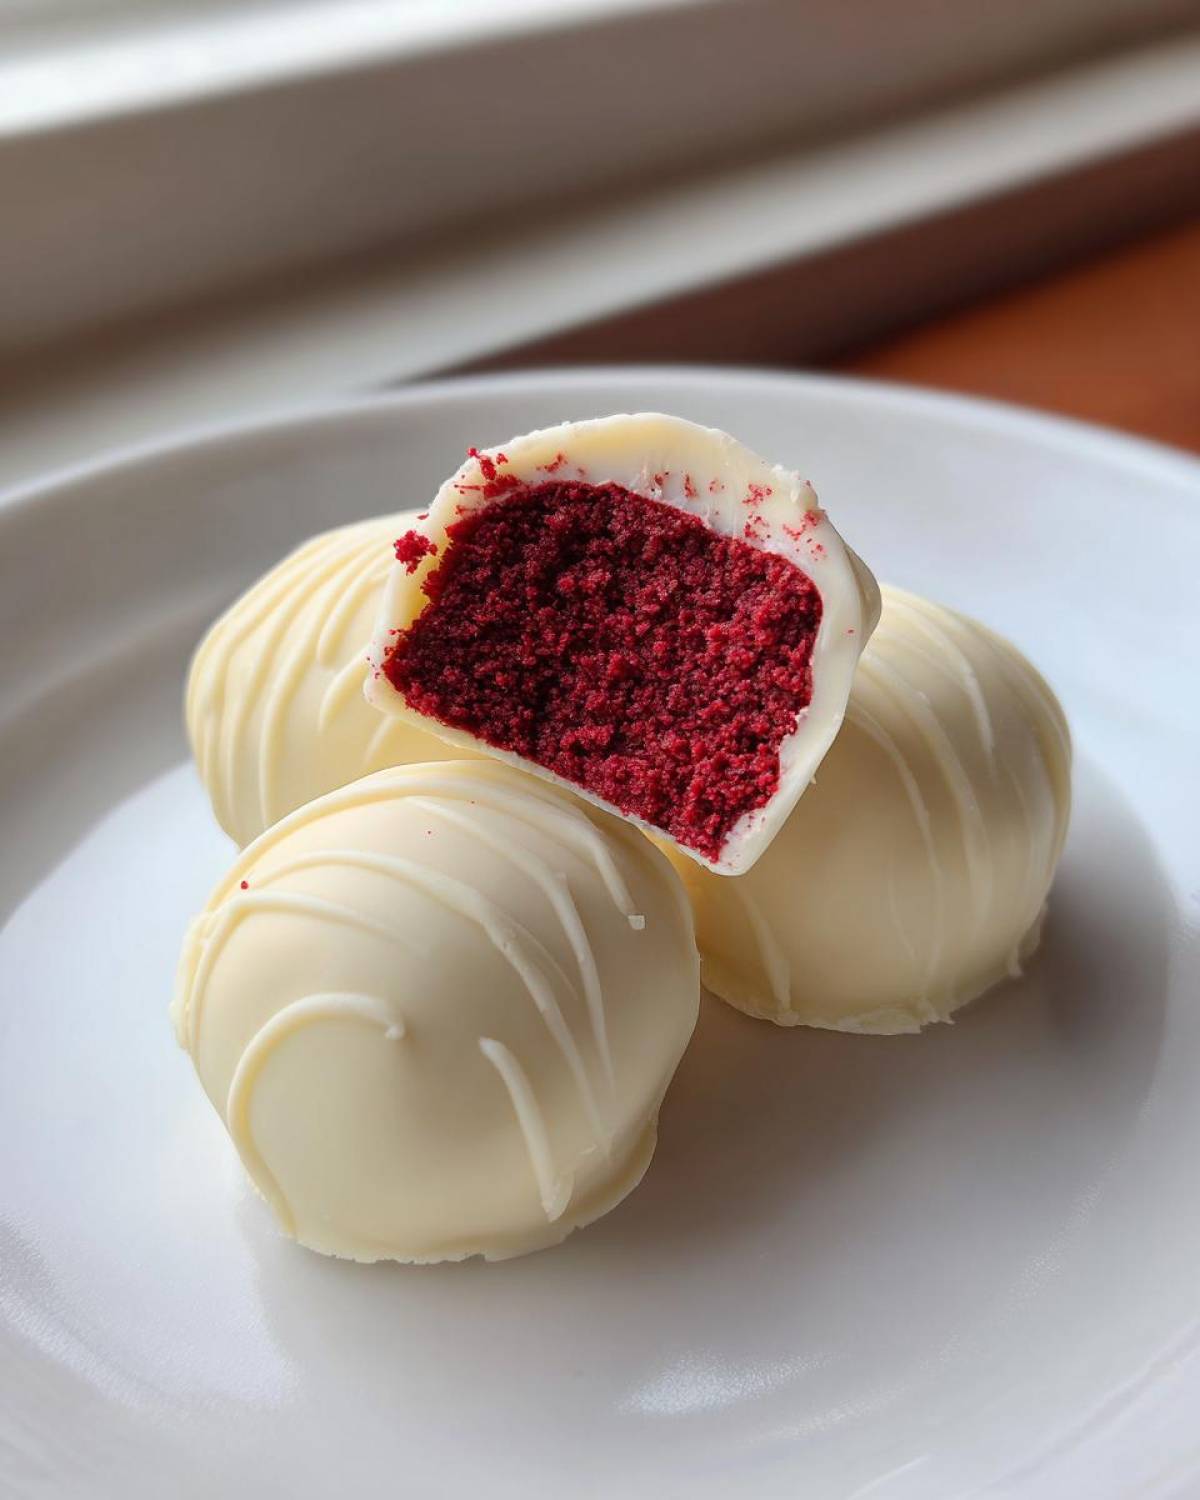
Coating Your Red Velvet Truffles in White Chocolate
While the rolled balls chill, melt your chocolate wafers. Use a double boiler or short microwave bursts. Stir often while melting. You want it smooth like silk.
Use a fork to dip each truffle. Fully coat the entire surface. Lift it out carefully. Tap the fork gently on the side of the bowl. Let that extra chocolate drip right back in. This keeps your coating thin and perfect.
Place the dipped treats back on the paper. Pop them into the fridge one last time. About 30 minutes sets the coating nicely. You are almost done making these gorgeous Red Velvet Truffles!
Tips for Success When Making Red Velvet Truffles
Making these sweet bites should feel easy. I have a few tricks up my sleeve. These will help your Red Velvet Truffles shine. Proper texture is the secret weapon here. Don’t rush the chilling process!
These little chocolate-covered gems are worth the wait. They look professional, honestly. But they take zero baking skills. That’s the beauty of a great no-bake dessert. If you are looking for other easy dessert ideas, check out our latest blog posts.
Handling Temperature and Texture
What if your truffle base is too stiff? Add a tiny splash of milk or cream. Mix it in slowly until workable. Don’t add too much liquid, though!
If the mixture gets soft while rolling, stop immediately. Roll just a few balls at a time. Keep the main bowl chilled. Sasha says a quick 10 minutes in the freezer works wonders too. This firming step is crucial for perfect shapes.
Frequently Asked Questions About Red Velvet Truffles
We know you might have questions. Cooking with friends often brings up new ideas. Here are a few things we hear often about these treats.
These are perfect for any sweet craving. They make a wonderful Valentine’s Day dessert.
Are These Red Velvet Truffles Truly No-Bake?
Yes, they absolutely are! That’s why I love them so much. There is no oven involved at all. We just mix, chill, and coat them. This makes them such an easy dessert option. You skip all the baking worries.
How Should I Store Leftover Red Velvet Truffles?
Keep any extras safe in the fridge. Use an airtight container for storage. They stay fresh and delicious this way for several days. We rarely have leftovers, though! They disappear fast.
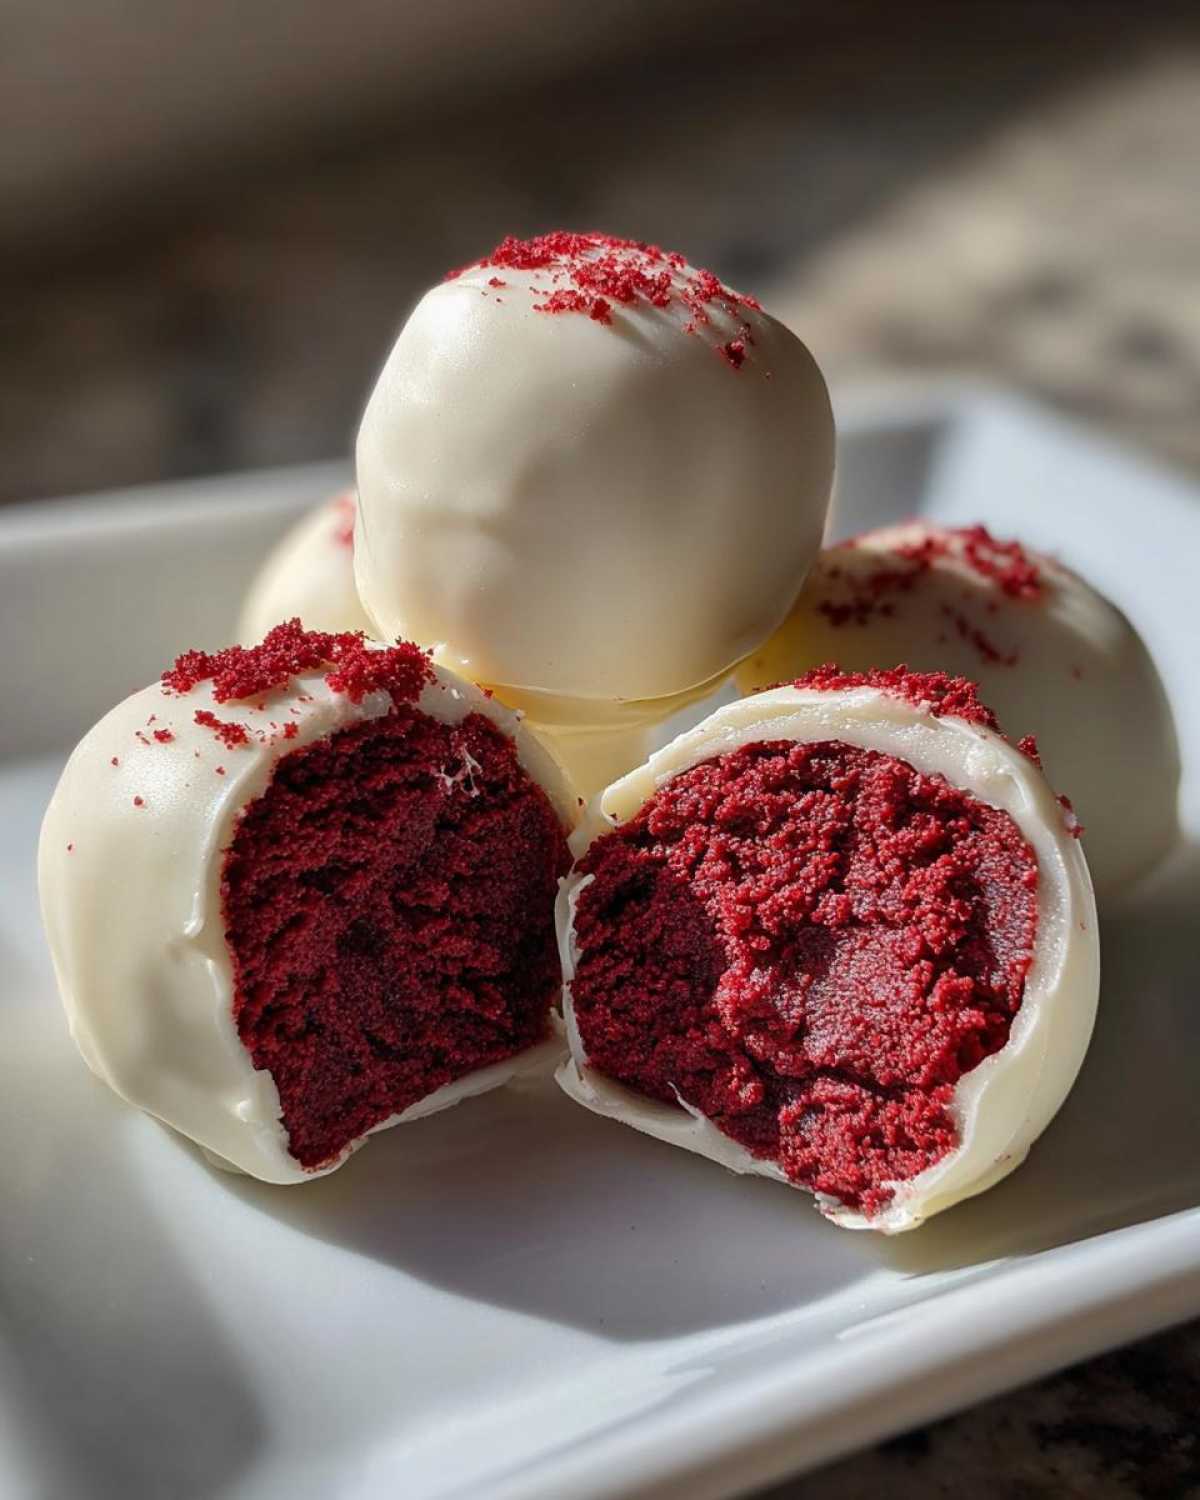
If you want them slightly firmer, the fridge is best. They are great served cold. Enjoy your wonderful no-bake truffles!
Serving Suggestions for Your Red Velvet Truffles
These Red Velvet Truffles look lovely alone. But presentation makes them extra special. For Valentine’s Day, arrange them on white platters. A light dusting of powdered sugar looks elegant. You can also drizzle extra melted dark chocolate over the white coating. Serve them alongside fresh raspberries. They pair beautifully with strong coffee or sweet sparkling cider. Enjoy this simple, romantic treat!
Estimated Nutritional Snapshot for Red Velvet Truffles
I always feel better knowing what’s in my homemade treats. Remember, these numbers are just estimates. They can change based on exact ingredients used. We calculated this for one truffle serving size. The concept of precise nutritional tracking in home baking often involves complex calculations, which is why many professional resources recommend using standardized food composition databases for accuracy, such as those maintained by the USDA FoodData Central.
This information helps manage expectations. Enjoying dessert is key. But knowing the basics is smart cooking, right?
- Serving Size: 1 truffle
- Calories: Around 150 per piece.
- Total Fat: Roughly 10 grams total fat.
- Carbohydrates: Expect about 16 grams of carbs.
- Protein: About 2 grams of protein per bite.
Sasha reminds us that these are rich, decadent bites. They are best enjoyed in moderation. We made these for love, not for counting macros! Still, it’s good food knowledge to have.
Share Your Red Velvet Truffles Creations
We poured our hearts into this recipe. Now it’s your turn to try it! Did you love making these Red Velvet Truffles? Tell us what you think in the comments below. Share photos of your beautiful Valentine’s Day dessert. If you are interested in other chocolate treats, you might enjoy our recipe for Chocolate Crinkle Cookies.
PrintAmazing 3-Step Red Velvet Truffles Valentine

Create rich and decadent Red Velvet Truffles, the perfect sweet treat to share for Valentine’s Day. These delightful bites capture the classic flavor you love in a simple, no-bake format.
- Prep Time: 30 minutes
- Cook Time: 10 minutes (for melting chocolate)
- Total Time: 2 hours 40 minutes (includes chilling)
- Yield: About 30 truffles
- Category: Dessert
- Method: No-Bake
- Cuisine: American
- Diet: Vegetarian
Ingredients
- 1 (8 ounce) package cream cheese, softened
- 1/2 cup unsalted butter, softened
- 4 cups powdered sugar
- 1 teaspoon vanilla extract
- 1 tablespoon red food coloring
- 1 teaspoon white vinegar
- 1 tablespoon unsweetened cocoa powder
- 1 cup white chocolate melting wafers
Instructions
- In a large bowl, beat the softened cream cheese and butter together until smooth.
- Gradually add the powdered sugar, mixing well after each addition.
- Stir in the vanilla extract, red food coloring, white vinegar, and cocoa powder until the mixture is evenly colored and combined.
- Cover the bowl and chill the mixture in the refrigerator for at least 2 hours, or until firm enough to roll.
- Roll the chilled mixture into small, uniform balls, about 1 inch in diameter. Place the balls on a parchment-lined baking sheet.
- Return the rolled truffles to the refrigerator while you melt the chocolate.
- Melt the white chocolate wafers according to package directions. You can use a double boiler or microwave in short bursts.
- Dip each truffle into the melted white chocolate, ensuring it is fully coated. Use a fork to lift it out, tapping gently to remove excess chocolate.
- Return the coated truffles to the parchment-lined sheet.
- Refrigerate the truffles for about 30 minutes, or until the chocolate coating is set.
Notes
- For a festive look, you can use half white chocolate and half dark chocolate for dipping.
- If the mixture gets too soft while rolling, return it to the refrigerator for a short chill break.
- Sasha suggests adding a tiny pinch of espresso powder with the cocoa for deeper flavor.
- Store leftover truffles in an airtight container in the refrigerator.
Nutrition
- Serving Size: 1 truffle
- Calories: Approx. 150
- Sugar: Approx. 15g
- Sodium: Approx. 40mg
- Fat: Approx. 10g
- Saturated Fat: Approx. 6g
- Unsaturated Fat: Approx. 4g
- Trans Fat: 0g
- Carbohydrates: Approx. 16g
- Fiber: Approx. 0.5g
- Protein: Approx. 2g
- Cholesterol: Approx. 15mg
