

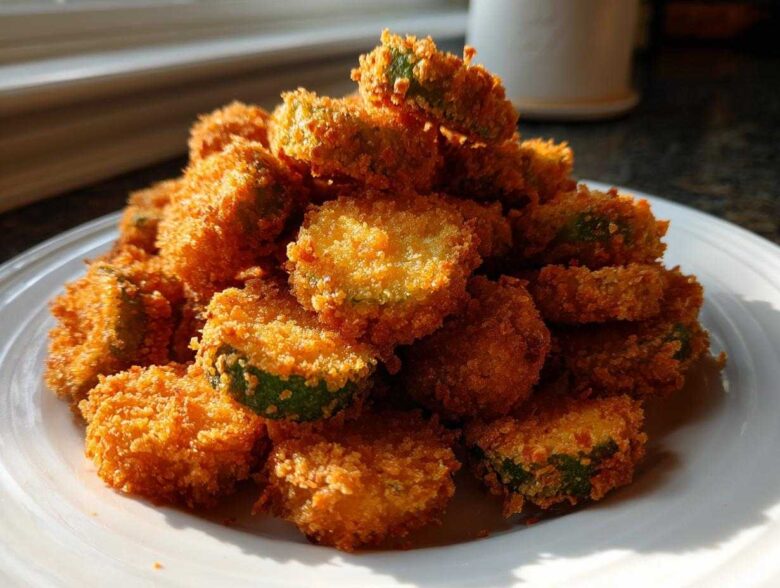
Oh my gosh, you know that sound? That incredible crunch you get when you bite into the absolute best pub appetizer? I’m talking about those zingy, savory bites that vanish instantly at any party. Well, I’m Anya, and I am convinced that achieving restaurant-quality **Fried Pickles** at home is totally achievable, especially when you’re cooking with your best friends. Sasha and Lena think I’m crazy for obsessing over the brine-to-coating ratio, but trust me on this!
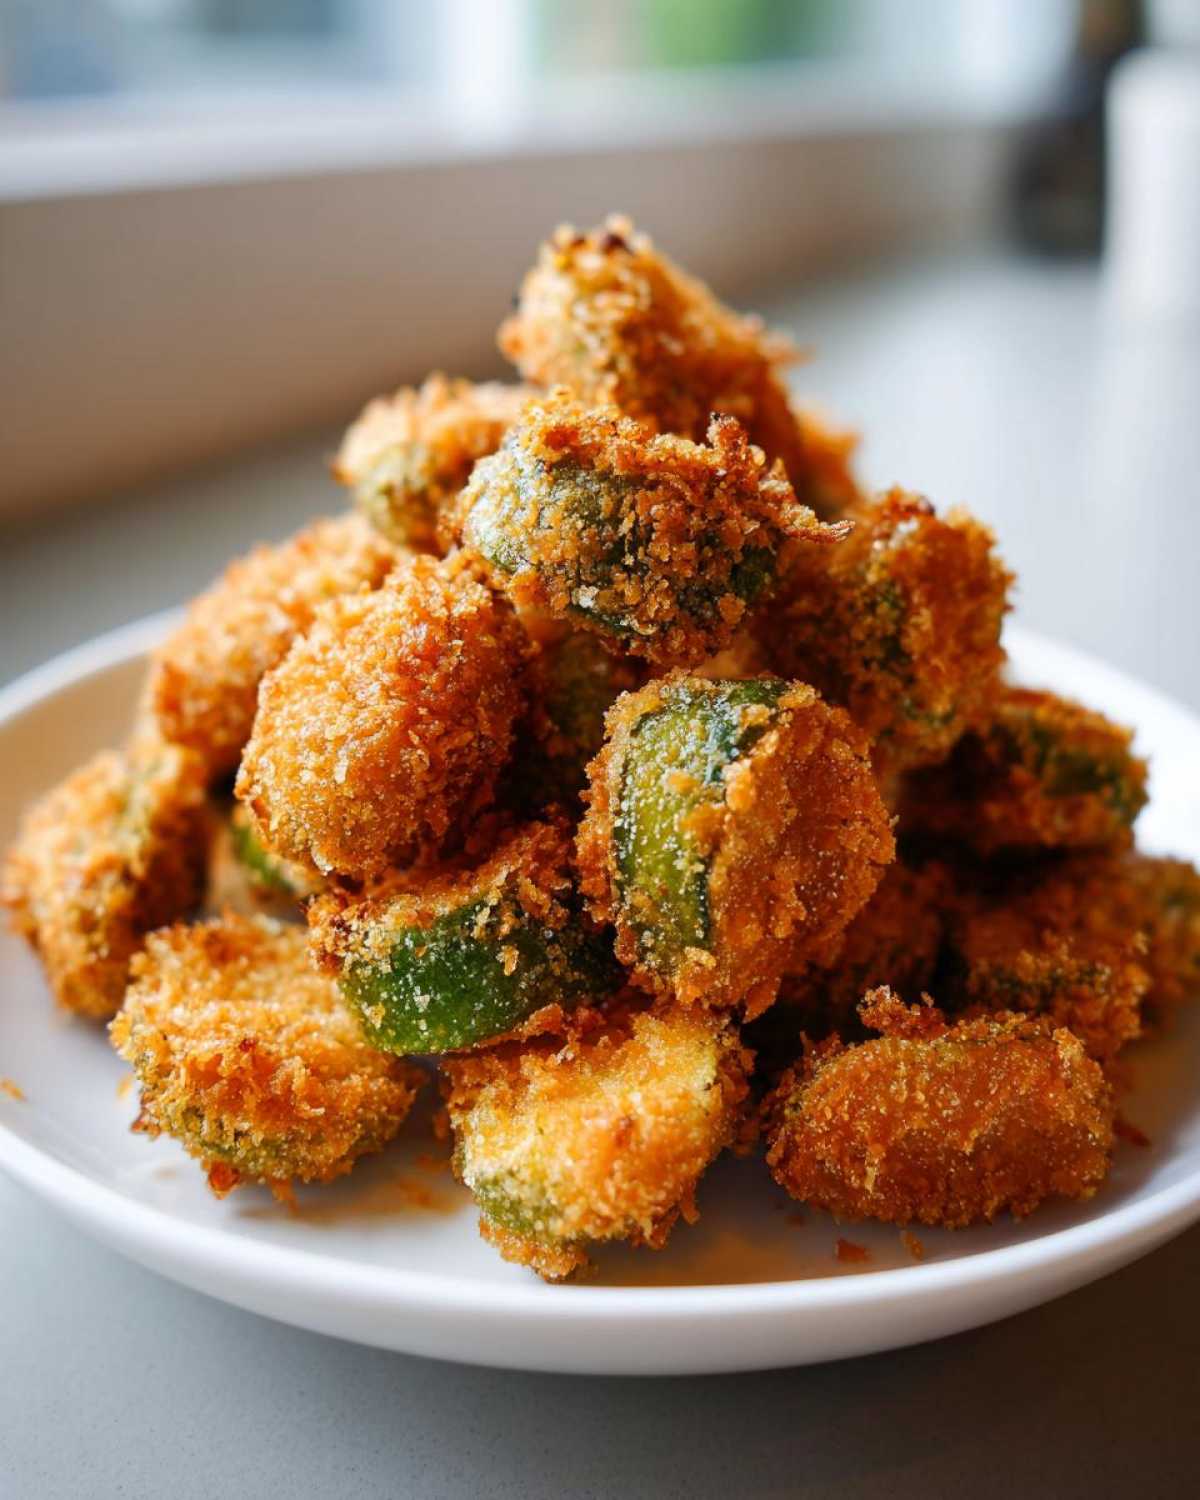
We spent weeks getting this just right—we even tested the air fryer version until our kitchen smelled faintly of dill for three straight days! What I love most about this recipe is that it gives you two perfect paths: the luxurious, classic indulgence of deep-fried perfection, or a lighter, unbelievably crispy air fryer fried pickles option. Either way, you’re getting that tangy bite wrapped in a golden, spicy blanket. Ready to make the snack disappear?
Why You Will Love This Homemade Fried Pickles Recipe
Honestly, this recipe nails that perfect balance we’re always chasing. It’s tangy, it’s spicy, and the texture is exactly what you want when you’re reaching for a **Game Day Fried Pickles** centerpiece. Lena says they don’t even last long enough to constitute a real meal—they’re a true **Quick Snack Recipe**!
- Incredible, satisfying crunch every single time, whether fried or air-fried.
- You get two proven methods in one post, so you choose your adventure!
- The seasoning blend gives these a wonderful Southern vibe that just screams “flavor.”
- They are fantastic hot, fresh out of the oil or the air fryer basket.
If you are looking for more great ideas like this, don’t forget to check out all our adventures over on the main blog page!
Essential Ingredients for Perfect Fried Pickles
Okay, this is where we need to be precise. As the one who usually handles the measuring—Sasha laughs at me for it, but flavor relies on balance!—I promise that using exactly what’s listed here is how we guarantee those gorgeous, golden-brown, super crispy fried pickles.
First and foremost, ditch the idea of using fresh pickles straight from the jar. You absolutely must start with a 16-ounce jar of good quality dill pickle chips, and they need to be drained really, really well. Moisture is our enemy here; it’s the enemy of crispiness!
The coating is simple but crucial. We’re using standard all-purpose flour, but the magic comes from the spices: salt, pepper, garlic powder, paprika, and a little optional cayenne if you want that slow, building heat we use in our copycat styles.
And please, for the love of crunch, grab Panko breadcrumbs for the final coat. Regular breadcrumbs just don’t offer the same structural integrity. You’ll also need two eggs and a splash of milk for the wet dip.
- 1 jar (16 ounces) dill pickle chips, drained really well
- 1 cup all-purpose flour
- Essential spices: salt, pepper, garlic powder, and paprika
- 1/2 teaspoon cayenne pepper (optional heat!)
- 2 large eggs and 1/2 cup milk
- 1 cup panko breadcrumbs (non-negotiable for crispiness!)
- Vegetable oil, if you’re going the deep-fried route.
Mastering the Breading Station for Crunchy Fried Pickles
Listen, before we even think about the hot oil or the air fryer basket, we have to tackle the pickle itself. This is my biggest, most important rule for *any* crispy fried snack, and especially for perfectly crunchy **Fried Pickles**.
My expert tip that Lena and Sasha immediately adopted? You need to press those drained pickle chips between several thick layers of paper towels. I mean it—press gently but firmly, like you’re squeezing out every drop of worry from your day. We have to remove as much surface moisture as possible. If the pickle is wet, the coating will slide right off, and trust me, soggy coating after all that work is just heartbreaking!
Once they are good and dry, we set up our three-stage breading station—it’s quick, but it’s the difference between a sad, limp snack and glorious, crunchy pub-style pickles!
The Seasoned Flour Coat for Fried Pickles
This is where we build the flavor base. In your first shallow dish, whisk together your flour, salt, pepper, garlic powder, paprika, and that little kick of cayenne if you’re using it. You want this mix to be completely uniform. When you dredge the pickles here first, the flour sticks to the damp pickle surface and gives the egg wash something to grip onto immediately. Shake off any white clumps when you pull them out!
The Wet Binder: Egg and Milk Mixture
Stage two is simple but vital. In the second dish, just whisk your eggs and milk together until they look slightly frothy and combined. Don’t overbeat it! This wet mixture is really just acting like glue for the final coating, so blend it just enough to break up the yolks.
Achieving Maximum Crisp with Panko for Fried Pickles
Now for the grand finale: the panko! If you use regular breadcrumbs, you’re locking yourself into just ‘good’ results. Panko breadcrumbs are those flaky Japanese breading pieces that bubble up in the heat, creating those incredible, airy pockets of crunch. Press the pickle chips firmly into the panko mixture to ensure every single surface is covered. If you want that ultra-thick coating, especially if you’re aiming for that Texas Roadhouse Copycat texture, you can do a double dredge: flour, egg, panko, then back into the egg, and finish coated in panko again. It takes an extra minute, but wow, the crunch payoff is huge!
How to Prepare Crispy Fried Pickles: Deep Frying Method
Alright, if you’re going for the classic, iconic, melt-in-your-mouth appetizer experience, we have to talk about the deep fryer. This is the method that really makes these **Fried Pickles** taste like they came straight from the best Southern establishment in town. The secret, the absolute non-negotiable secret, is the temperature of your oil.
Get about two inches of vegetable oil heating up in a heavy-bottomed pot or, if you have one, a deep fryer. You need that oil hitting a steady 375°F (190°C). If it’s cooler, the breading soaks up grease like a sponge and you end up with soggy chips—no offense to Sasha when she tries to rush this step!
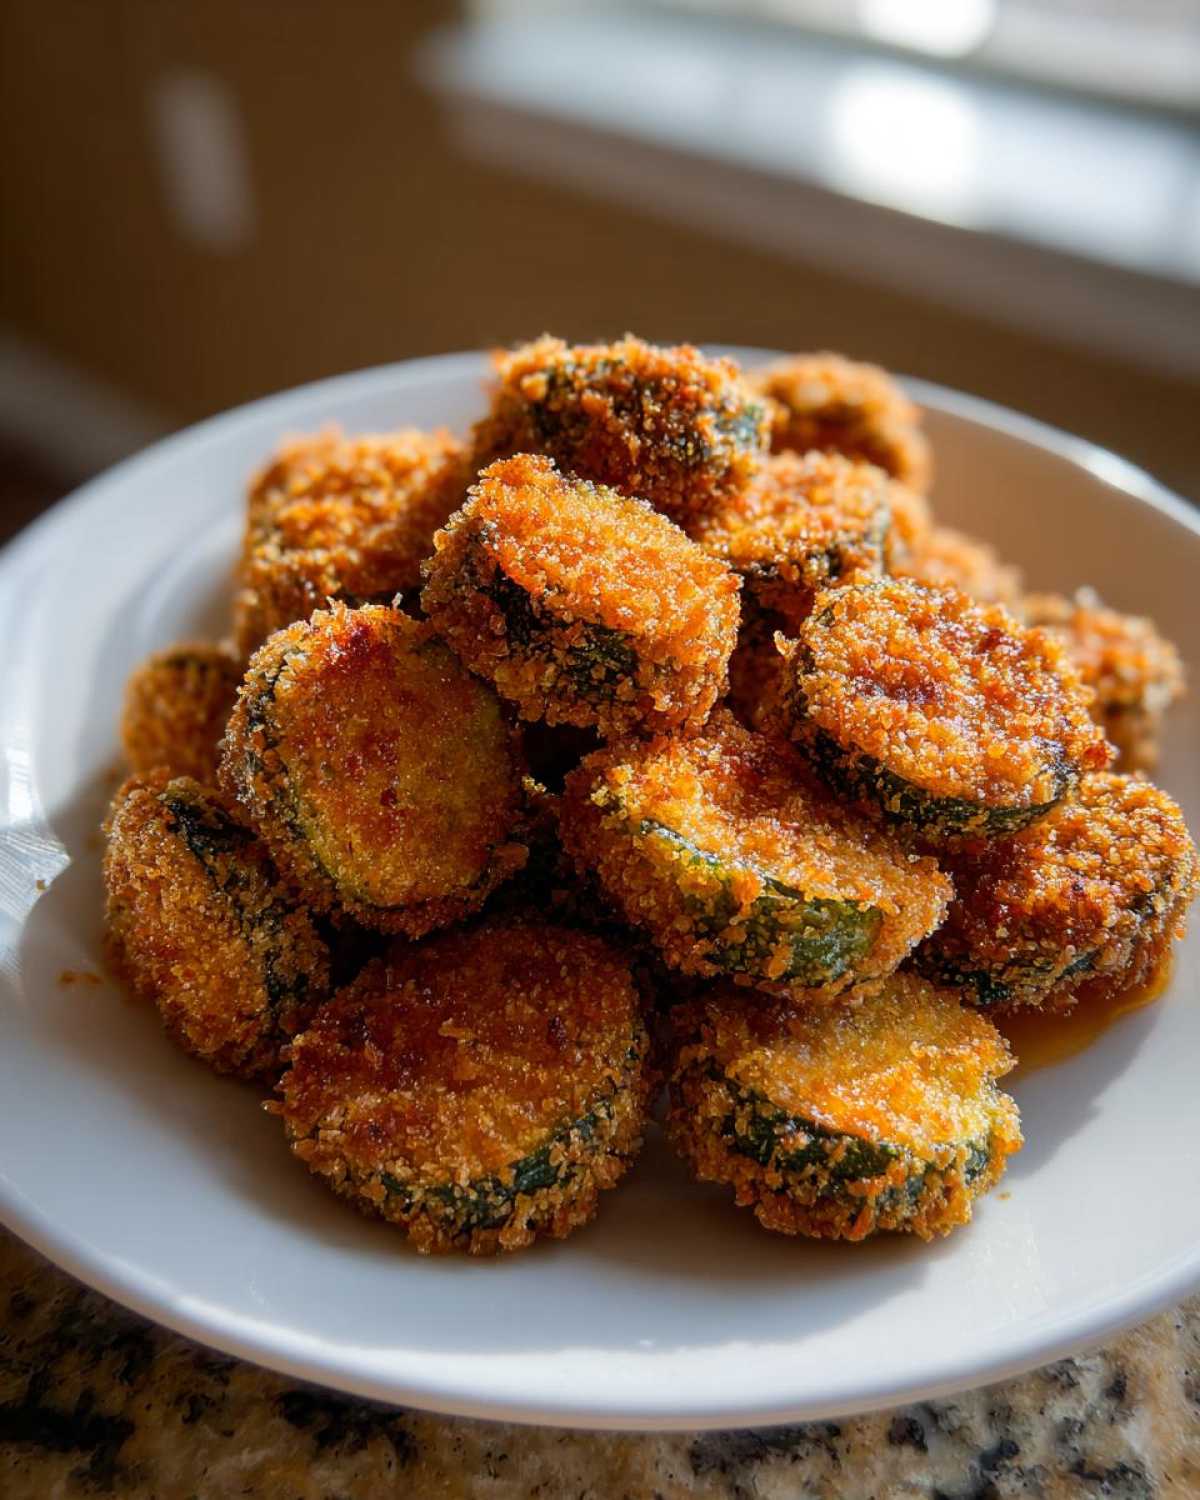
Work in small batches! You don’t want to crowd the pot, which drops the oil temperature instantly. Plunge your perfectly breaded pickles in and keep an eye on them. Seriously, these cook lightning-fast. We’re talking just 1 to 2 quick minutes. You’ll see them transform into that gorgeous, golden brown color.
When they float up and look perfect, use a slotted spoon to scoop them out. Place them immediately on a wire rack lined with paper towels. The rack is important because air needs to circulate underneath! Right after they look golden, take a moment to hit them with a light dusting of extra seasoning if you like; they are ready to be devoured immediately with some zesty ranch. If you want to check out how we make the wings that are almost as popular as these, take a peek at our game day snack post!
Making Healthy Fried Pickles: The Air Fryer Fried Pickles Technique
Now, if you found yourself drooling over the deep-fried version but are trying to keep things a bit lighter—maybe it’s just a Tuesday night craving, not a Friday party—I’ve got you covered! We put just as much love into figuring out how to make truly **Air Fryer Fried Pickles** that still snap when you bite them. You absolutely can get that beautiful golden color without dunking them! If you want to see how others have found success with this lighter snack, check out this great guide on making amazing air fryer fried pickles.
First up, make sure those breaded pickles are ready to go. For the air fryer, you *must* give them a light, even coating of cooking spray or a quick drizzle of oil. Sasha tried skipping this step once, and honestly, the breading looked awfully pale and felt like cardboard. We need that little bit of fat to help it crisp up!
Preheat your air fryer to a nice, hot 400°F (200°C). We’re cooking these in batches again, so don’t try to cram them all in there at once. Arrange them in a single layer in the basket. They will take about 8 to 10 minutes total, but you absolutely must flip them halfway through. This helps them brown evenly on both sides and keeps them from getting steamy on the bottom.
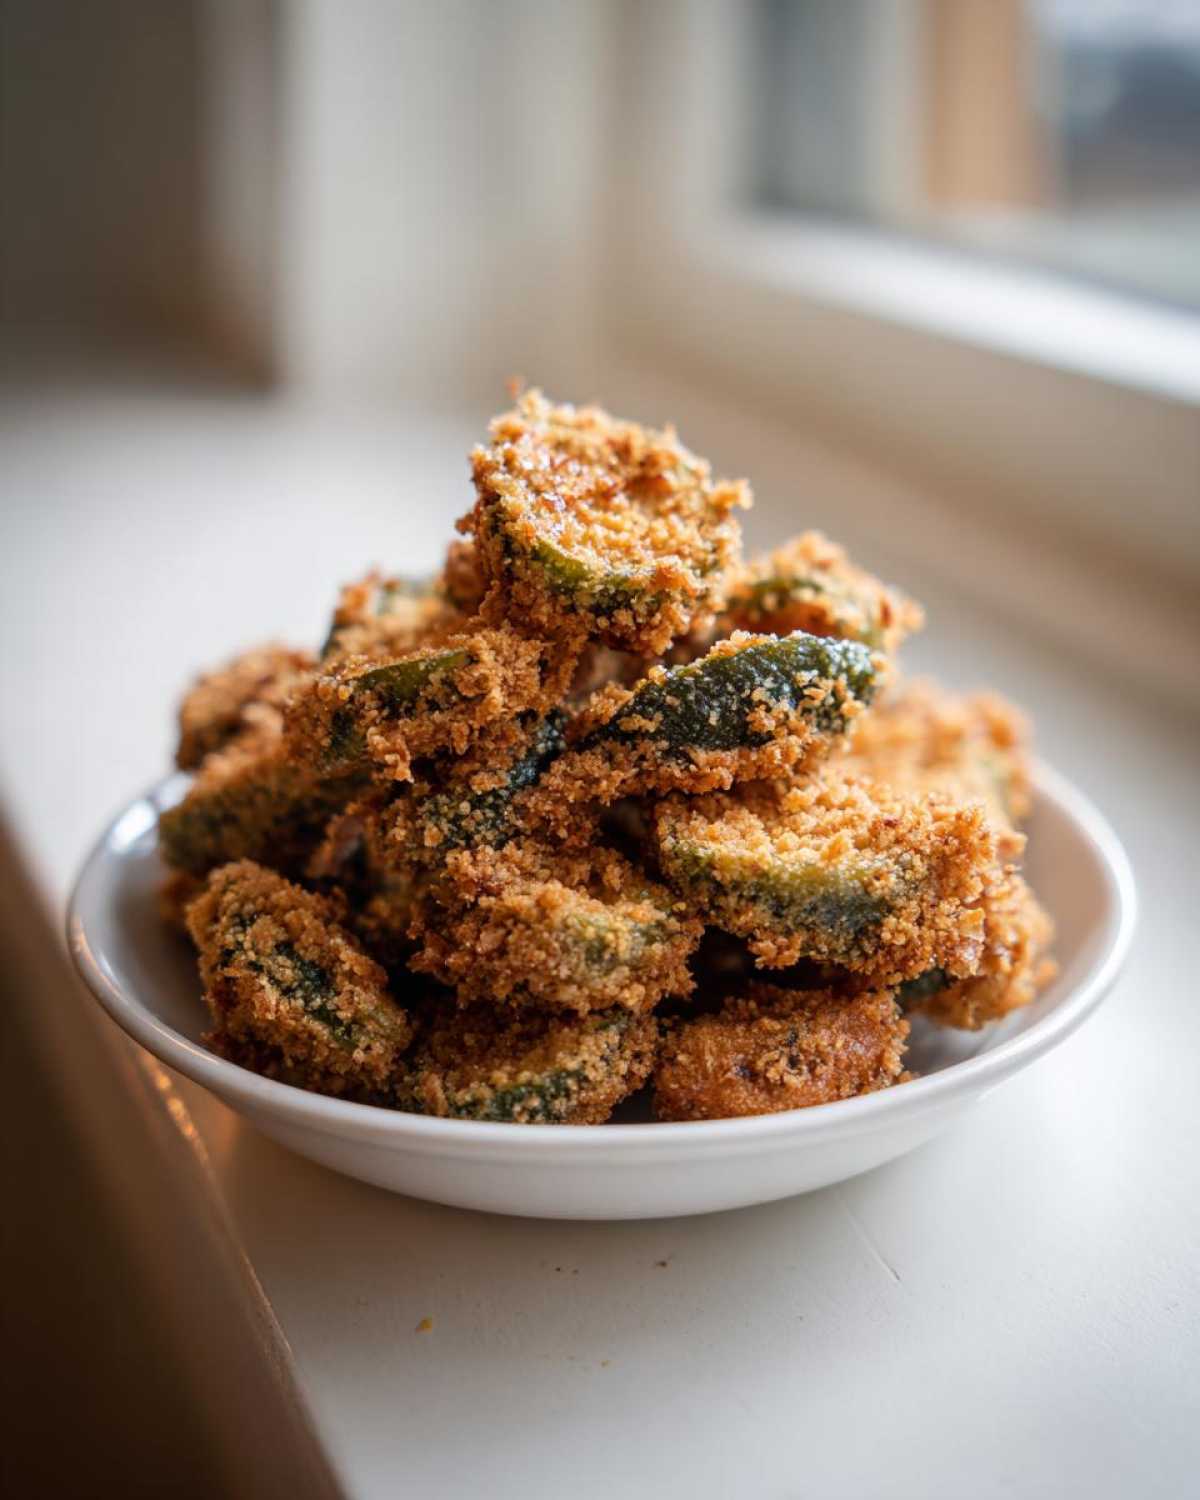
When they come out, they smell amazing—a lighter pickle scent, but that savory spice blend still comes through strongly. These are perfect for satisfying that **Crunchy Pickle Chips** craving guilt-free! If you want to see another fantastic way we use the air fryer for incredibly crisp results, check out our air fryer fish and chips recipe!
Tips for Perfect Southern Fried Pickles
Now that we’ve covered the basics, I want to share a few of those little secrets, the things that take these **Fried Pickles** from just ‘good’ to that legendary, ‘Can I have the recipe?’ level. These are shortcuts that really emulate that perfect Southern appetizer, maybe even something close to what you’d get at your favorite chain restaurant!
If you are trying to nail that **Texas Roadhouse Copycat** flavor profile, remember that pinch of onion powder we throw into the flour mix? That, paired with serving them piping hot with a bowl of zesty ranch dip, is the golden ticket. Seriously, don’t skip the ranch!
We already talked about the double dredge earlier, but it bears repeating here: if you want truly outstanding texture, you should absolutely consider it! Flour, then egg, then panko, then back into the egg, and finally coat *again* in panko. It sounds like overkill, I know, but it creates a thick, craggy crust that stays insanely crunchy. I link through to my friends over at The Novice Chef where they also have a wonderful take on this classic snack right here.
The final crucial tip for texture is oil temperature management, especially if you’re deep-frying. If your oil drops below 360°F even for a moment, your pickles will start getting greasy instead of crispy. Patience while maintaining that heat pays off!
The Ultimate Fried Pickle Dipping Sauce Pairing
Okay, we’ve reached peak crunchiness, right? But what good is a perfectly golden, piping-hot, tangy appetizer if you don’t have the perfect thing to dunk it into? Nothing! The pickle is the star, but the sauce is the supporting actor that makes the whole production worthwhile. Sasha insists these salty, spicy bites need something super cool and creamy to balance the heat, and honestly, she’s right.
For me—Anya, the person who loves delicate flavor profiles—a simple, homemade zesty ranch is the only way to go for that pub-style feel. It cuts through the richness of the frying, or the slight oiliness of the air fryer coating, beautifully. When Lena makes her ranch, she adds just a tiny bit of lemon zest, which really brightens up the whole experience. It’s simple, it’s cool, and it lets that pickle flavor shine through.
You can whip up a great ranch using mayonnaise, sour cream, buttermilk, and a heap of dried herbs like dill and chives. But if you’re in an absolute rush, store-bought is fine—we won’t tell anyone, promise! Just make sure you doctor it up a little bit.
If you’re hosting a big crowd and want to go the extra mile, you should see the incredible recipe Lena perfected for a dedicated dip that really takes things up a notch. It’s absolutely divine, and you can find all the details on how to make that fantastic tangy appetizer dip right here. Trust me, having two different dipping options ready means everyone walks away happy and completely satisfied!
Storing and Reheating Your Fried Pickles
Okay, let’s address the harsh reality: sometimes you make a giant batch of these amazing appetizers, and miraculously, you have leftovers. Don’t panic! This is one of those snacks that tastes divine fresh, but you absolutely can bring back that glorious crunch if you handle the leftovers right. The primary goal here is keeping that coating snappy and golden.
First off, storage: let them cool completely on the counter after frying or air frying. Once they are room temperature, put them into an airtight container. I try not to stack them too high, or the ones on the bottom can get a little compressed. Keep them in the fridge for up to three days. I’ve tried making them the day before, and honestly, the texture just isn’t there anymore, so try to keep the snacking fresh!
Now for the reheating—this is crucial. Don’t even think about the microwave! Sasha tried that once on some leftover zucchini sticks, and it turned everything into warm, soggy sadness. Microwaves create steam, and steam equals the sworn enemy of crispiness.
Your best bet is the oven or sticking them into the air fryer again! If you use the oven, set it to about 375°F (190°C) and spread the treats in a single layer on a baking sheet. Let them go for about 5 to 7 minutes. If you’re using the air fryer, heat it to about 380°F (195°C) for only 3 to 4 minutes, flipping them halfway through. I swear, they come out almost as good as the first batch!
Frequently Asked Questions About Fried Pickles
I know you might have a few lingering doubts! We get asked all the time about tweaking the recipe. Cooking should be fun, not stressful, so let’s just chat through the most common sticking points. Whether you’re worried about sogginess or sweetness, we’ve got the answers that will help you serve up the best snack!
Why are my fried pickles soggy instead of crispy?
Oh, this is the worst feeling! It almost always boils down back to moisture management, which I harp on constantly because it’s true! You must drain those pickle chips really well, pressing them dry between paper towels before they even see the flour. If you skip that, the moisture turns into steam in the hot oil, turning your lovely coating into mush. Also, check your oil temperature! If it’s too cool, the coating steams instead of frying fast, leading to instant greasiness.
Can I substitute regular dill pickles for sweet ones?
You *can*, but you’re changing the snack completely! Our recipe is designed around the sharp, acidic tang of dill pickles. Sweet pickles, like bread and butter chips, will make the final product way too sugary when combined with our savory, spiced breading. If you really love sweet and sour flavors, you might be better off finding a recipe specifically designed for sweet pickles, but for this tangy, savory **Fried Pickles** experience we love, stick to dill!
Can I freeze breaded pickles before frying?
You absolutely can freeze them, and it’s actually a smart move for party planning! After you bread your pickles (Step 3 of the breading station), lay them out in a single layer on a baking sheet and pop that whole sheet into the freezer. Once they are rock solid, transfer them to a freezer bag. You’ll need to add a few extra minutes to your cook time, whether you’re deep-frying or air-frying, just make sure your oil stays at 375°F!
How can I make these without deep frying?
That’s why we added the air fryer instructions! The air fryer method is fantastic. You just need to make sure you preheat your air fryer to 400°F and lightly spray the breaded pickles with cooking spray—don’t skip the oil spray, or they’ll dry out looking pale. They come out beautifully crunchy in just about 8 to 10 minutes, flipping halfway through. It’s our new favorite way to grab a quick, satisfying snack!
If you have any other burning cooking questions, please don’t hesitate to reach out to us over at the contact page. We love hearing from others in our kitchen community!
Savoring the Moment: Sharing Your Fried Pickles Creation
You know, Lena always says that a recipe isn’t truly finished until someone else has tried it and let us know how they tweaked it! That’s the spirit of Savor Sensations—it’s not just about my quiet precision in the kitchen; it’s about the joyful, collaborative mess we make together.
So, now that you have the secret to perfectly **Crispy Fried Pickles**, whether you went the deep-fried route or bravely took on the air fryer, I truly hope you give them a whirl for your next gathering. Imagine the looks on people’s faces when they bite into that tangy, spicy crunch! It’s the perfect appetizer to kick off any party, really.
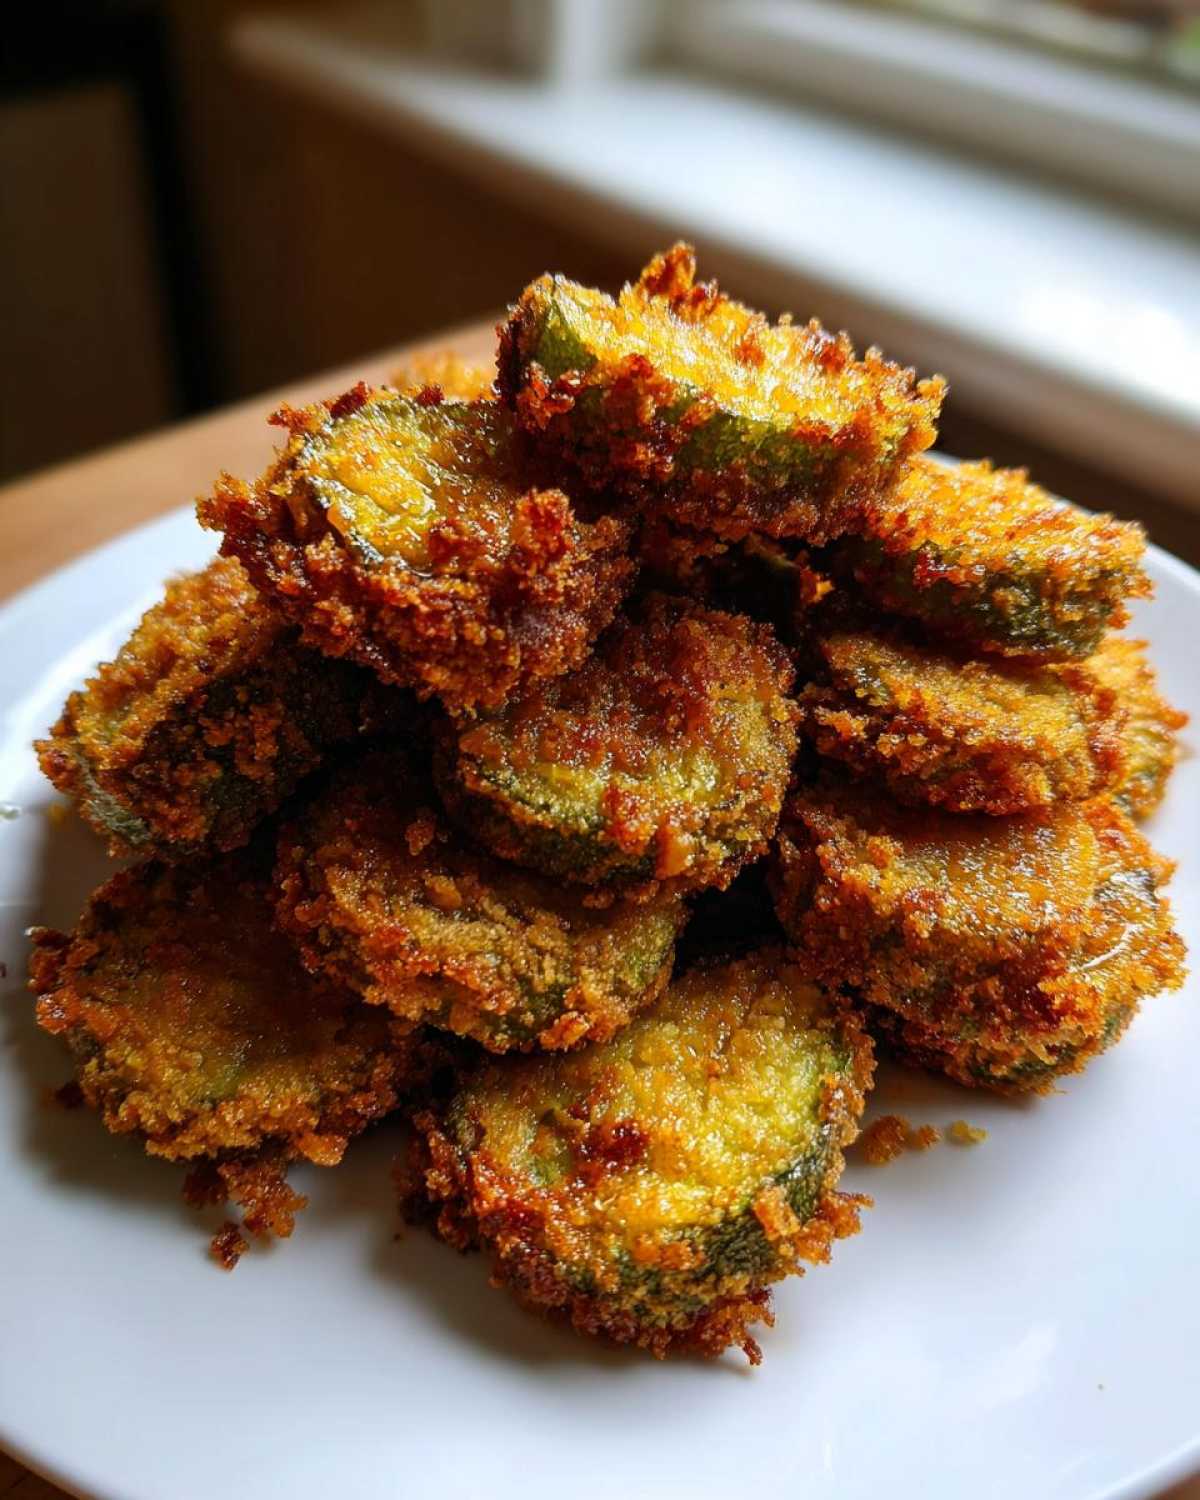
If you make this batch of **Tangy Pickle Snacks**, please pop back over here and let us know how they turned out! Drop your star rating below, or even better, share a photo on social media and tag us! We get so excited seeing what you all are cooking up in your own spaces.
And remember, sharing food is sharing friendship. If you need to check out our policies before sharing your thoughts, you can always review our privacy policy. Now go forth, grab that ranch dip, and enjoy every single crunchy, zesty bite!
PrintThe Ultimate Crispy Fried Pickles Recipe (Restaurant-Style & Air Fryer Options)
Learn how to make perfectly crispy, tangy fried pickles at home. This recipe includes instructions for classic deep-frying and a lighter air fryer version, plus a zesty dipping sauce.
- Prep Time: 15 min
- Cook Time: 10 min
- Total Time: 25 min
- Yield: 4 servings
- Category: Appetizer
- Method: Deep Frying or Air Frying
- Cuisine: American
- Diet: Vegetarian
Ingredients
- 1 jar (16 ounces) dill pickle chips, drained well
- 1 cup all-purpose flour
- 1 teaspoon salt
- 1 teaspoon black pepper
- 1 teaspoon garlic powder
- 1 teaspoon paprika
- 1/2 teaspoon cayenne pepper (optional, for heat)
- 2 large eggs
- 1/2 cup milk
- 1 cup panko breadcrumbs (for extra crispiness)
- Vegetable oil, for frying (or cooking spray for air fryer)
Instructions
- Place the drained pickle chips between layers of paper towels and press gently to remove as much moisture as possible. This step is key for crispy fried pickles.
- Set up a standard breading station with three shallow dishes. In the first dish, whisk together the flour, salt, pepper, garlic powder, paprika, and cayenne pepper.
- In the second dish, whisk the eggs and milk together until combined.
- In the third dish, place the panko breadcrumbs.
- Working in small batches, dredge the pickle chips first in the seasoned flour, shaking off any excess.
- Next, dip the floured chips into the egg mixture, letting any excess drip off.
- Finally, press the chips firmly into the panko breadcrumbs, coating them completely. Place the breaded pickles on a clean baking sheet lined with parchment paper.
- For Deep Frying: Heat about 2 inches of vegetable oil in a heavy-bottomed pot or deep fryer to 375°F (190°C). Fry the pickles in batches for 1 to 2 minutes, turning once, until golden brown and crispy. Remove with a slotted spoon and drain on a wire rack or paper towels.
- For Air Fryer Fried Pickles: Preheat your air fryer to 400°F (200°C). Lightly spray the breaded pickles with cooking spray or a light coating of oil. Arrange them in a single layer in the air fryer basket, working in batches. Cook for 8 to 10 minutes, flipping halfway through, until golden and crunchy.
- Serve the crispy fried pickles immediately with your favorite dipping sauce.
Notes
- For a Texas Roadhouse Copycat style, add a pinch of onion powder to the flour mixture and serve with a zesty ranch dipping sauce.
- If you want extra crunchy fried pickles, consider a double dredge: coat in flour, dip in egg, coat in panko, then dip back into the egg, and finally coat again in panko.
- Make sure your oil temperature is correct for deep frying; if it is too low, the pickles will absorb oil and become soggy.
Nutrition
- Serving Size: 1/4 of recipe
- Calories: 280
- Sugar: 3
- Sodium: 750
- Fat: 18
- Saturated Fat: 3
- Unsaturated Fat: 15
- Trans Fat: 0
- Carbohydrates: 22
- Fiber: 1
- Protein: 6
- Cholesterol: 75
