

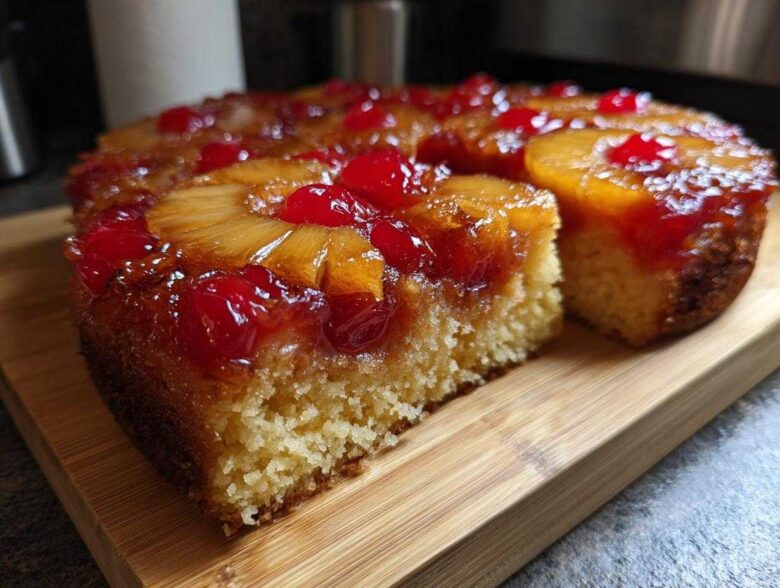
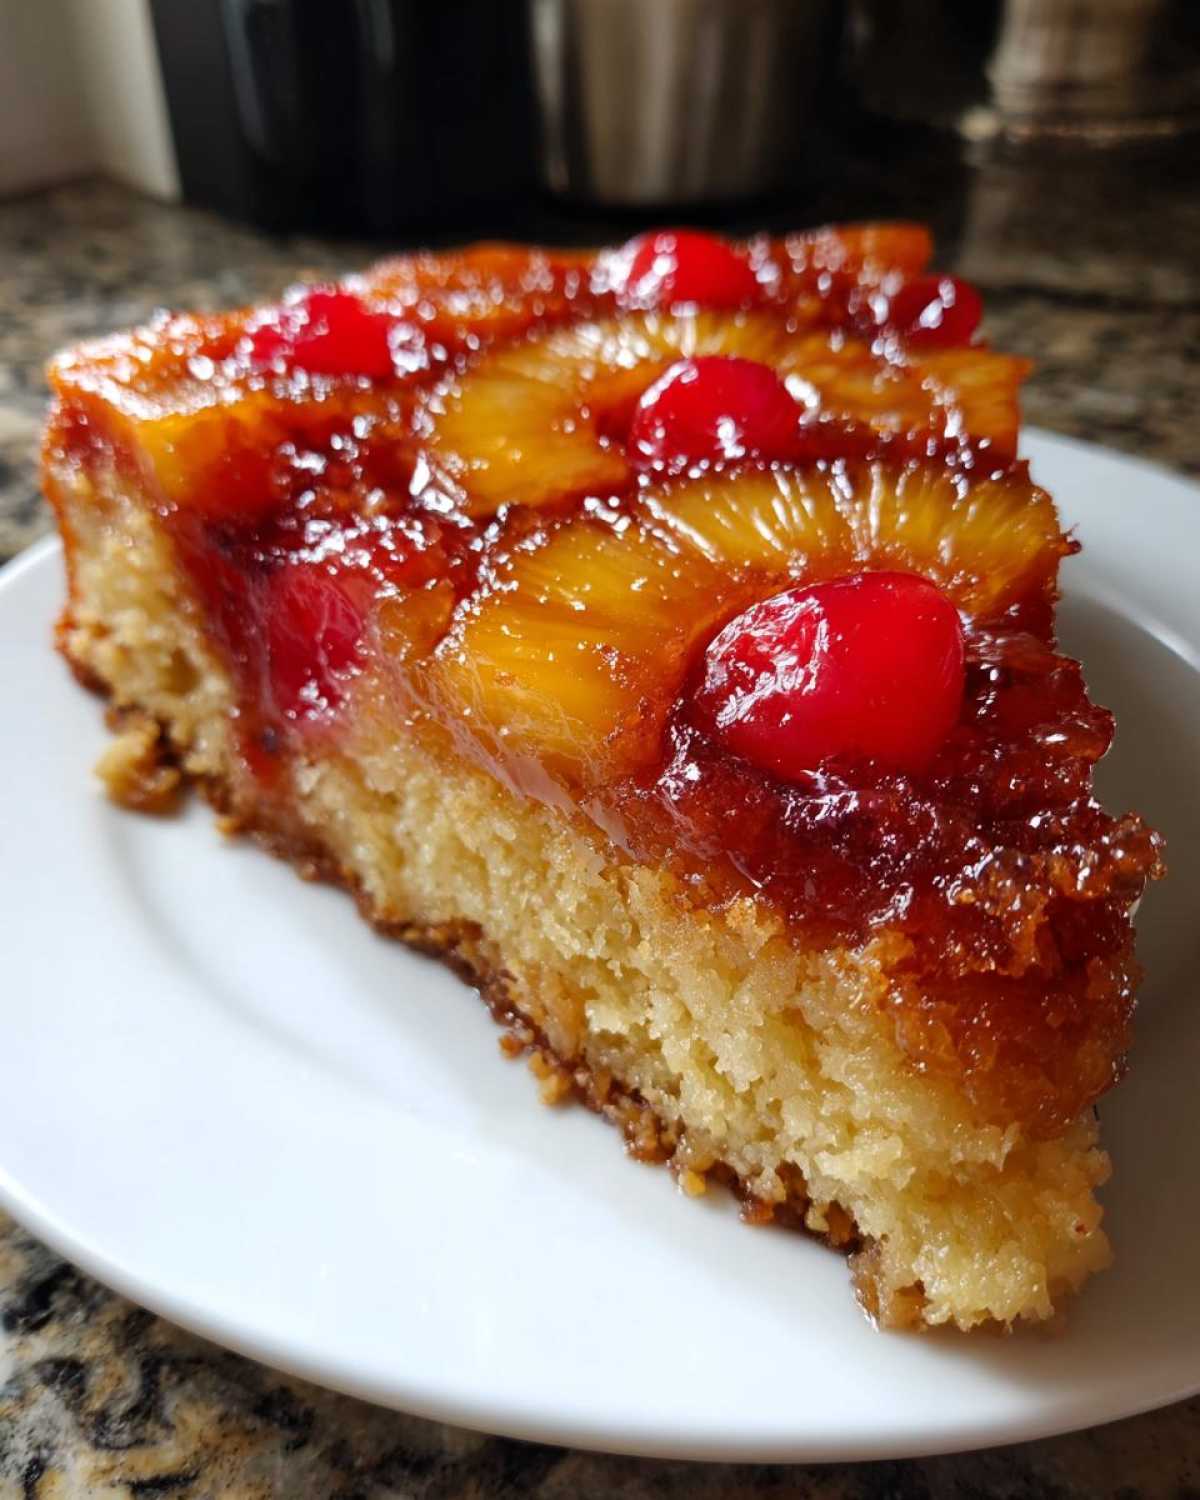
There’s just something about a dessert where the topping is cooked right into the bottom, isn’t there? It brings me right back to those classic, maybe slightly kitschy, retro dessert ideas that we just can’t quit. This glorious **pineapple upside down cake** is the queen of that category! When Anya, Sasha, and I first made this together, we realized it wasn’t just a pretty cake; it was truly special. It’s the kind of **moist pineapple upside down cake** that makes you open your doors wider—just like we did in our hallway—to share the joy. Baking this reminds me a lot of building our friendship; taking simple ingredients and making something warm and welcoming that everyone wants a piece of. Trust me; this is the best version you’ll ever try.
We talk a lot over on our About Us page about how we all cook differently, but this particular cake found a sweet spot where all our styles met. It’s simple, impressive, and delivers that incredible buttery caramelization every single time.
Why This Pineapple Upside Down Cake Recipe is a Keeper (The Savor Sensations Way)
So, why is *our* classic pineapple upside down cake the one you need to bookmark right now? Well, because we obsessed over keeping it moist and making that topping absolutely perfect. We all agree this is easily the **best Pineapple Upside Down Cake** out there. You get that amazing contrast between the gooey top and the tender cake.
- It delivers maximum flavor without fuss—a certified crowd-pleaser!
- It creates a reliably **moist Pineapple Upside Down Cake** every single time.
- It looks incredibly show-stopping when you flip it—hello, retro party vibes!
Achieving Perfect Caramelization on Your Pineapple Upside Down Cake
This is where you can’t cut corners, honey! To get that thick, bubbly, buttery caramel, you need to ensure your brown sugar is packed tightly over the melted butter before you even think about laying down the fruit. What I’ve noticed is that if you let that butter and brown sugar mixture sit for just two minutes before arranging the rings, it melts together just right. That little bit of resting time ensures the sugar doesn’t just dissolve into the cake batter later.
Tips for a Truly Moist Pineapple Upside Down Cake
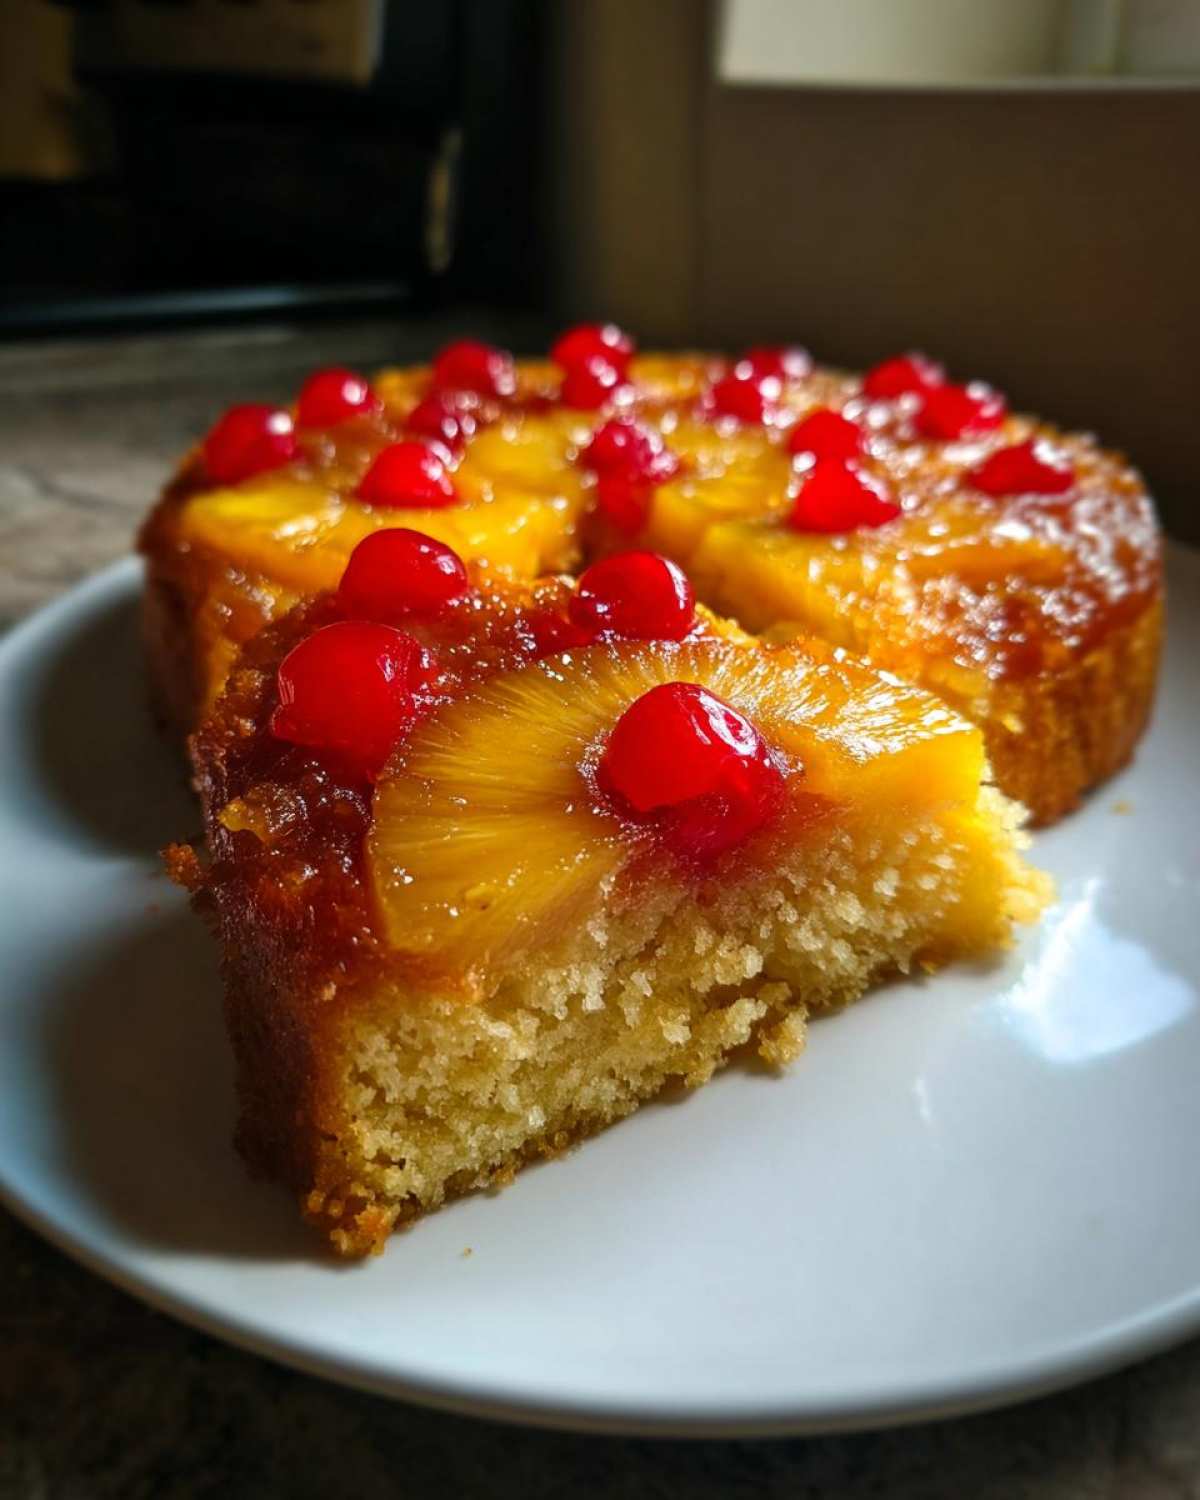
Moisture, moisture, moisture! That’s what keeps this dessert from getting sad and dry once it cools. The secret to our **Moist Pineapple Upside Down Cake** comes from two places. First, make sure you perfectly cream that softened butter and granulated sugar until it’s genuinely light and fluffy—that’s trapping the air! Second, don’t toss that pineapple juice! Mixing that reserved juice right into your milk ensures the cake crumb itself gets a little tropical kiss and stays incredibly tender.
Ingredients for the Classic Pineapple Cake
Okay, let’s get down to the good stuff! Gathering your ingredients is half the fun, especially when anticipating that beautiful **Classic Pineapple Cake**. You’ll notice we use butter twice—don’t skip that! Once melted for the topping, and once softened for the actual cake batter. Make sure you have your brown sugar nicely packed so you can measure it correctly for that caramel base. For the main cake body, you’ll need your flour, baking powder, and salt whisked up, and then the eggs, vanilla, milk, and, super important, that reserved pineapple juice that we talked about for moisture!
Remember, for the topping, you need one 20-ounce can of pineapple slices—drain those rings, but *save* that beautiful juice! And of course, ten maraschino cherries to tuck into those little centers. It all comes together so quickly!
Ingredient Notes and Substitutions for Your Pineapple Upside Down Cake
We rely on canned pineapple slices here because they are already perfectly tender and swimming in juice, which is a huge win for a fast recipe like this **Pineapple Upside Down Cake**. However, if you absolutely must use fresh pineapple rings, you’ll want to simmer them in a little sugar water first to soften them up a bit. Also, about that milk—in the ingredient list, we call for one-half cup of regular milk. But if you’re feeling adventurous and want an extra hint of the tropics, try swapping out that milk for coconut milk! It blends beautifully with the pineapple and gives the cake a lovely richness. Just keep the measurement the same!
Step-by-Step Instructions for Your Caramelized Pineapple Cake
This is where the magic happens, and boy, I’ve learned some lessons the hard way! The first time I attempted this **pineapple upside down cake**, I got so excited by the smell coming out of the oven that I tried to flip it immediately. Big mistake—the topping stayed stuck in the pan! Disaster! You absolutely have to respect the timing here. We’re going to build that gorgeous caramel layer first, mix up a batter that’s light and just combined, and then, the big reveal. Remember to have your serving plate ready and maybe pour yourself a little glass of wine while you wait for the 10 minutes to pass. This recipe is so straightforward once you nail the mechanics. If you ever want to see how we tackle baking prep on cakes that hold lots of toppings, check out my tips on creamy coffee cake swirls!
Preparing the Topping Layer for the Pineapple Upside Down Cake
First things first: preheat that oven to 350 degrees F. Grab your 9-inch round pan. We start by pouring that half-cup of melted butter right into the bottom—don’t be shy! Then, sprinkle that packed brown sugar evenly over the top of the butter. Don’t leave any dry spots! Now for the fun part: Arrange your pineapple slices beautifully over the sugar. I try to make a full flower pattern, placing one cherry right in the middle of each ring. Tuck any extras around the edges so every slice of cake gets some fruit!
Mixing the Batter for the Moist Pineapple Upside Down Cake
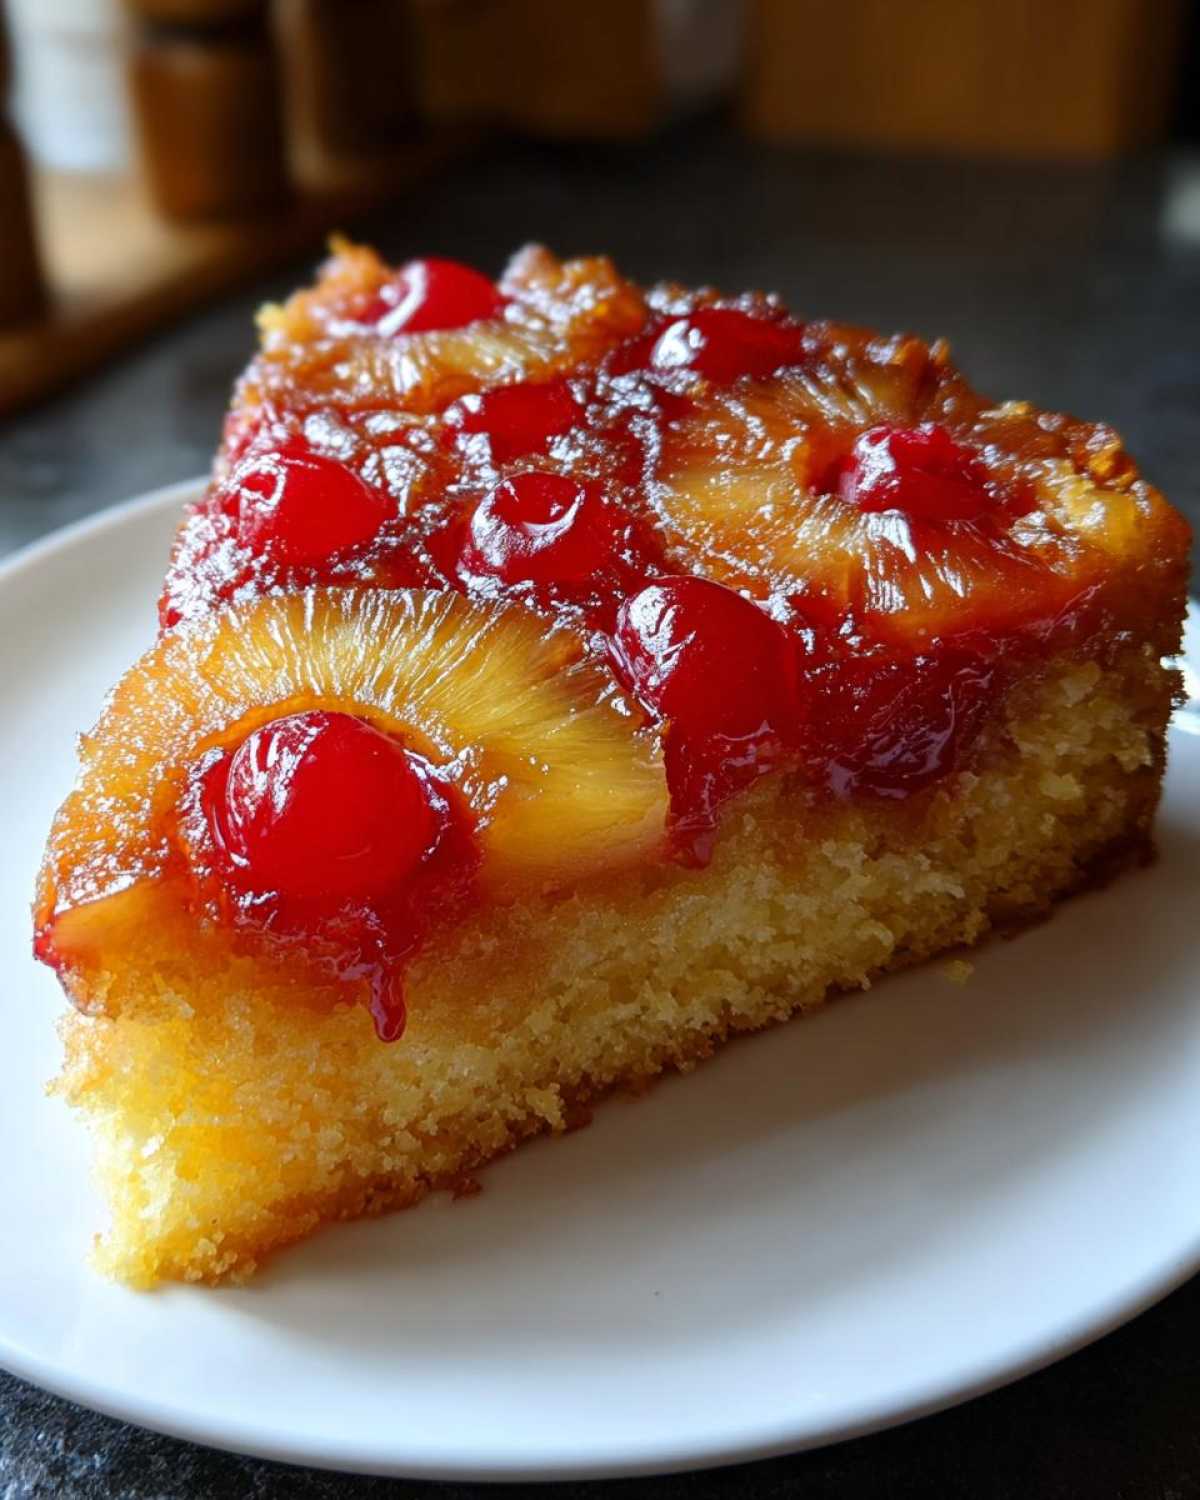
While the topping is setting up, get your batter going. Whisk your dry stuff—flour, baking powder, salt—totally separate. The crucial part is the creaming: beat that softened butter and granulated sugar until it looks fluffy, like pale clouds. Sasha always beats hers way too long, but don’t go crazy! Beat in eggs one by one. When you mix the wet and dry ingredients, you have to go slow. Add a bit of the flour mix, then a bit of your milk/juice mix, then more flour, and so on. Stop mixing the second you don’t see dry streaks; this keeps your **Moist Pineapple Upside Down Cake** light and tender!
The Crucial Inversion: Serving Your Pineapple Upside Down Cake
Once your cake comes out, it needs exactly 10 minutes on a wire rack. Not 5, not 15—ten! This cooling time allows the caramel to firm up just enough so it doesn’t run everywhere, but it stays liquid enough to release easily. When the time’s up, put a serving plate upside down over the pan. Put on your oven mitts—this setup will be hot! You flip it all over in one quick, confident motion. Lift the pan *slowly*. If a cherry sticks, just use a little paring knife or spatula to gently coax it back into place on your gorgeous **Pineapple Upside Down Cake**.
Serving Suggestions for This Tropical Cake Recipe
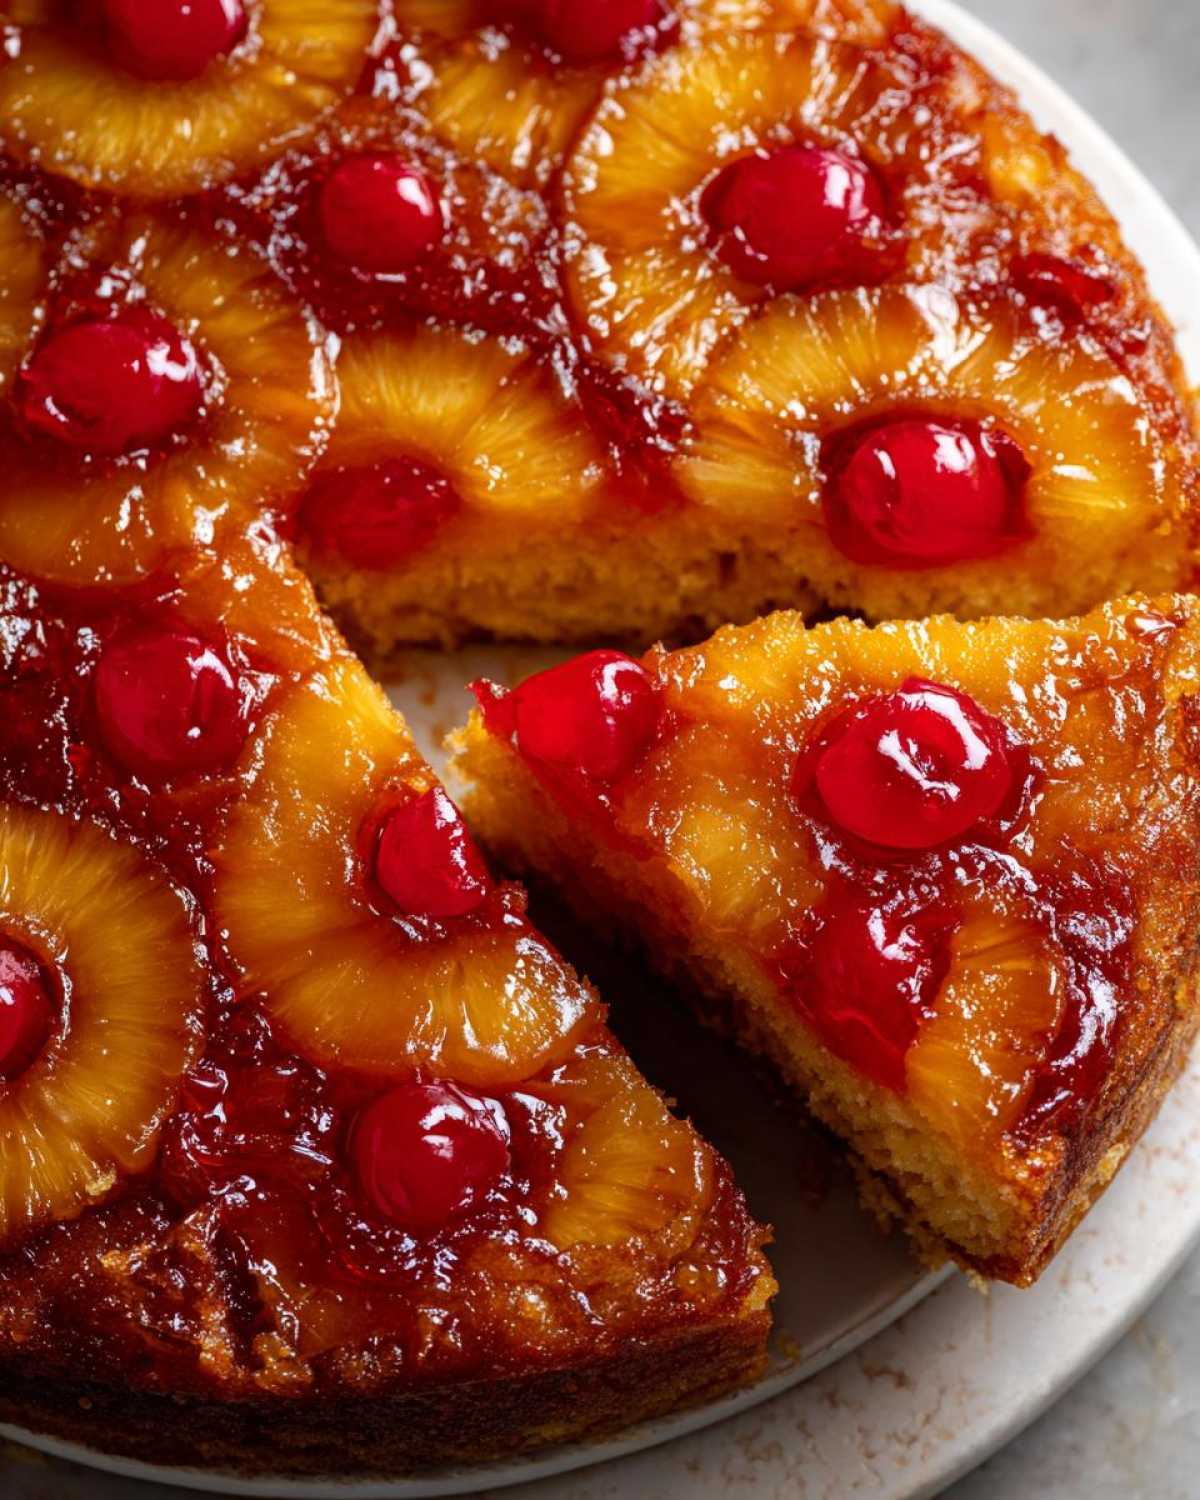
Honestly, this **Tropical Cake Recipe** is fantastic all by itself—warm from the oven is my favorite way to eat it! But, if you want to dress it up for a party or a special dinner, keep the toppings light so you don’t fight that beautiful caramelized pineapple flavor. A big scoop of creamy vanilla bean ice cream is perfection; the cold cream melts right into the warm caramel, balancing the sweetness.
If you’re feeling a little fancier, dollop some fresh, lightly sweetened whipped cream on top. If you’re looking for a truly decadent experience, I sometimes make an iced cappuccino mousse to serve alongside slices of this fruit cake. It’s divine!
Storage and Making Ahead Tips for Your Pineapple Upside Down Cake
I get asked all the time if this **Pineapple Upside Down Cake** can be made ahead, and the answer is a joyful yes! Because of that wonderfully rich, buttery layer on top, it holds up really well. If you are making it for a party, you can totally bake it the day before. Just let it cool completely, but don’t flip it! Store the covered pan right on the counter at room temperature. The caramel stays soft enough.
When you are ready to serve the next day, just gently invert it onto your serving plate. If you have leftovers, cover them tightly and keep them on the counter for up to two days. If your kitchen gets really warm, pop it in the fridge, but I always let it sit out for an hour before slicing so that buttery topping gets soft again. It doesn’t freeze all that well once it’s inverted, so I recommend baking it fresh or making it just a day ahead!
Frequently Asked Questions About Making a Classic Pineapple Cake
I always get so many questions popping up after people try this recipe for the first time! It’s totally normal; baking anything new comes with a few little mysteries. I’ve gathered the most common ones I see in the comments section below my posts. If you’re wondering about switching out the pineapple, or if you have a special pan you’re dying to use, chances are, someone else asked it first! It’s hard to go wrong with this **Classic Pineapple Cake**, but clarity helps!
Can I adapt this Pineapple Upside Down Cake recipe for a Bundt pan?
Oh, absolutely! This is a super popular question, especially since the **Pineapple Upside Down Bundt Cake** looks so stunning. Since a Bundt pan generally holds more batter and is deeper than our standard 9-inch round pan, you’ll need to be patient when baking. Generally, the baking time will increase by about 15 to 20 minutes. Start checking it around the 50-minute mark with a wooden pick, just like we did in the main instructions. You still want that pick to come out clean! You can certainly use the same topping process, just make sure you grease and flour that Bundt pan extra well—we don’t want any sticky situations!
Is it okay if my pineapples aren’t perfectly round rings?
Please don’t stress about perfect circles! This is supposed to be a homey, fun dessert, not a pageant winner! If you only have crushed pineapple or chunks instead of pretty rings, you can totally use those for your **Easy Pineapple Dessert**. Just mix the crushed pineapple right in with the brown sugar and melted butter layer. You might need slightly less brown sugar since the fruit won’t create as much space, but the flavor will still be absolutely spot-on. It just won’t have that iconic, formal look when you flip it over.
Can I skip chilling the batter?
You know I love quick baking, but this one needs a bit of a rest, though not a long chill. You need that batter mixed, spooned over the fruit, and into the oven pretty quickly so the brown sugar layer stays nice and syrupy against the fruit. If you let the batter sit around on the counter for too long, that sugar starts to wick up into the batter, and you lose that lovely, gooey caramel layer. If you must pause between mixing and baking, aim for no more than about 15 minutes. For more general baking questions and tips, check out my main baking blog!
Estimated Nutritional Data for One Slice of Pineapple Upside Down Cake
So, everyone always wants to know the skinny on the classics, right? Here are the rough estimated numbers based on making a full eight servings of this rich, **Buttery Pineapple Cake**. Remember, these are just guides! We cooked with love, not spreadsheets, so take these as friendly suggestions rather than strict facts about your **Simple Fruit Cake Recipe**.
- Serving Size: 1 slice
- Calories: 380
- Sugar: 30g
- Fat: 18g
- Protein: 4g
I have to give a little disclaimer here—since we all use different brands of butter and sugar, your final tally for your **Easy Summer Baking** project might shift a bit! But I promise, it’s worth every single slightly variable calorie!
Share Your Easy Pineapple Dessert Creations!
Now that you’ve successfully flipped your glorious, shimmering **pineapple upside down cake**, I just have to see it! Honestly, seeing your perfectly arranged fruit topping makes my whole week. Please, snap a picture once you slice into that **Easy Pineapple Dessert**.
Tag us on social media and tell us what you served it with—was it ice cream or whipped cream? Rate the recipe below so other bakers know how much you loved this tropical treat! We read every single comment, and sharing our kitchen adventures is what Savor Sensations is all about!
PrintClassic Moist Pineapple Upside Down Cake Recipe

Bake this classic, moist Pineapple Upside Down Cake from scratch. You get sweet, buttery caramelization and tender fruit topping a rich, golden cake base. This retro dessert is perfect for parties or family gatherings.
- Prep Time: 15 min
- Cook Time: 40 min
- Total Time: 55 min
- Yield: 8 servings
- Category: Dessert
- Method: Baking
- Cuisine: American
- Diet: Vegetarian
Ingredients
- 1/2 cup unsalted butter, melted
- 3/4 cup packed light brown sugar
- 1 (20 ounce) can pineapple slices in juice, drained (reserve juice)
- 10 maraschino cherries, drained
- 1 3/4 cups all-purpose flour
- 1 1/2 teaspoons baking powder
- 1/2 teaspoon salt
- 1/2 cup unsalted butter, softened
- 3/4 cup granulated sugar
- 2 large eggs
- 1 teaspoon vanilla extract
- 1/2 cup milk
- 1/4 cup reserved pineapple juice
Instructions
- Preheat your oven to 350 degrees F (175 degrees C). You will need a 9-inch round cake pan.
- Pour the 1/2 cup of melted butter into the bottom of the cake pan. Sprinkle the brown sugar evenly over the melted butter.
- Arrange the pineapple slices over the sugar mixture in a decorative pattern. Place one maraschino cherry in the center of each pineapple ring, and place any remaining cherries around the edges.
- In a medium bowl, whisk together the flour, baking powder, and salt. Set this dry mixture aside.
- In a large bowl, cream together the 1/2 cup softened butter and granulated sugar with an electric mixer until the mixture is light and fluffy. This step helps create a moist cake.
- Beat in the eggs one at a time, mixing well after each addition. Stir in the vanilla extract.
- In a small bowl, whisk together the milk and the reserved pineapple juice.
- Gradually add the dry ingredients to the wet ingredients, alternating with the milk/juice mixture, beginning and ending with the dry ingredients. Mix until just combined; do not overmix the batter.
- Carefully spoon the cake batter over the pineapple and cherry layer in the pan, spreading it gently to cover the fruit evenly without disturbing the pattern.
- Bake for 35 to 40 minutes, or until a wooden pick inserted into the center comes out clean.
- Let the cake cool in the pan on a wire rack for 10 minutes.
- Place a serving plate upside down over the cake pan. Wearing oven mitts, carefully invert the pan and plate together. Lift the pan off the cake. If any fruit sticks, gently place it back onto the cake.
- Serve warm or at room temperature.
Notes
- For an extra buttery flavor, use high-quality butter in both the topping and the cake batter.
- If you want a slightly tropical twist, substitute 1/4 cup of the milk with coconut milk.
- To ensure a perfectly moist cake, measure your flour using the spoon-and-level method.
Nutrition
- Serving Size: 1 slice
- Calories: 380
- Sugar: 30g
- Sodium: 250mg
- Fat: 18g
- Saturated Fat: 11g
- Unsaturated Fat: 7g
- Trans Fat: 0.5g
- Carbohydrates: 53g
- Fiber: 1g
- Protein: 4g
- Cholesterol: 85mg
