

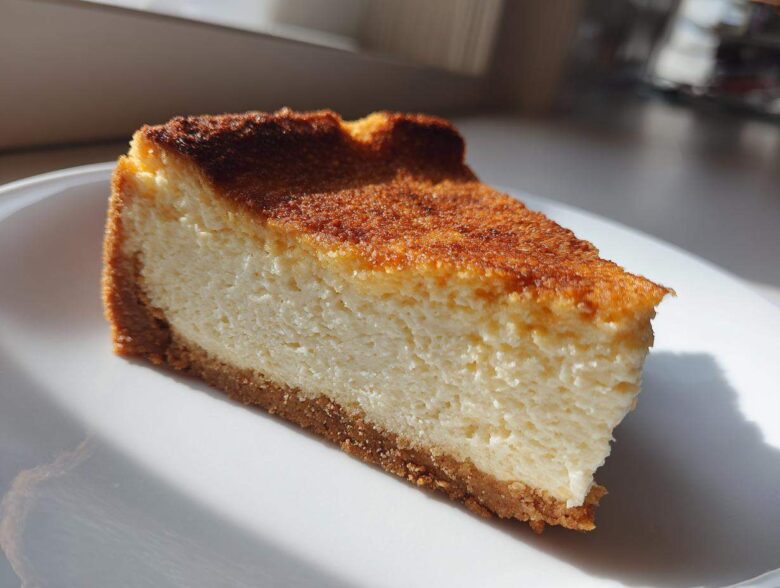
Oh my gosh, friends, I have to tell you about the dessert that saved my entire week! You know those days—we all have them—where you just need something rich, creamy, and deeply satisfying, but your macros are waving red flags at you? It feels impossible, right? Like you have to choose between your sweet tooth and your fitness goals. Well, Anya, Sasha, and I put our heads together, and we cracked the code! I present to you the Ultimate Healthy Baked Protein Cheesecake. This isn’t just some sad, chalky imitation; this is the real deal, hitting an insane 35 grams of protein per slice! Finding a truly decadent, guilt-free cheesecake treat that actually tastes amazing has been a quest in our kitchen, and trust me, this Macro Friendly Cheesecake is the winner. You are going to absolutely love how this fits perfectly into your healthy eating plan. Head over to the blog archives if you want to see more of our latest creations! Check out more recipes here!
Why This Baked Protein Cheesecake Is Your New Favorite Healthy Cheesecake Dessert
I know what you’re thinking. A cheesecake that helps your gains? Impossible! But seriously, ditch those flavorless, airy protein bars because this Protein Cheesecake is here to change the dessert game for us fitness-focused folks. We managed to sneak in a whopping 35 grams of protein per slice while keeping the sugar super low. Plus, the texture? It’s just as creamy and dreamy as the real, indulgent thing. We got a little inspiration from a fantastic recipe online, but we made it ours, of course!
If you want to see how others are enjoying creamy, light versions, check out this high-protein baked cheesecake for comparison!
Key Benefits of Our Protein Cheesecake Recipe
- Seriously Macro Friendly: With 35g of protein, this makes a fantastic pre-bed snack or post-workout recovery treat.
- Incredible Creaminess: The secret sauce is using that well-drained cottage cheese with light cream cheese—no graininess here, I promise!
- Low Sugar Alert: We use erythritol/monk fruit blends, so you get that sweet hit without the sugar crash.
- Simple Ingredients: No crazy, expensive additives needed for this one. Just pantry staples made healthy!
Gathering Ingredients for the Ultimate Protein Cheesecake
Okay, the ingredient list looks long, but don’t panic! This is where the magic happens, and every single item plays a role in making this the best Healthy Cheesecake Dessert you’ve ever made. The number one most crucial thing I need you to focus on is draining that cottage cheese! Seriously, squeeze out every drop of liquid you can. Sasha and I learned the hard way that watery cottage cheese equals a sad, soupy mess rather than that perfect, firm texture we want for our Protein Cheesecake.
Also, a quick note on protein powder: I really recommend a whey/casein blend if you can swing it. Casein really lends that thick density we associate with real cheesecake, while whey blends easily. But use what you have!
Crust Ingredients
- 1 cup almond flour
- 1/4 cup sweetener (like erythritol or monk fruit blend)
- 1/4 teaspoon salt
- 4 tablespoons melted coconut oil
Creamy Protein Cheesecake Filling
- 16 ounces low-fat cottage cheese, drained well! I mean really well!
- 8 ounces light cream cheese, softened
- 1 cup vanilla protein powder (whey or casein blend recommended)
- 1/2 cup plain Greek yogurt (0% or 2%)
- 1/2 cup sweetener (like erythritol or monk fruit blend)
- 1 teaspoon vanilla extract
- 2 large eggs
Step-by-Step Instructions for Baked Protein Cheesecake
Alright, let’s grab our aprons because even though this recipe packs a healthy punch, we need to treat it with the same love as a classic dessert! Anya usually handles the oven parts; she’s got this zen focus when it comes to timing. We break this down into three main phases so nothing gets missed. Getting these steps right is how we ensure you get that incredibly smooth texture in your final Protein Cheesecake slice.
Preparing the Crust and Preheating
First things first: get that oven warmed up to 325°F (160°C). We are gently baking this beauty! Grab your 7-inch springform pan—you’ll want to lightly grease it and put that parchment circle down. For the crust, just mix up your almond flour, the smaller amount of sweetener, and salt. Pour in that melted coconut oil and mash it all together until it looks like wet sand. Press it in there, nice and firm across the bottom. Slide that into the oven for just 8 minutes. It only needs a little head start before cooling down a bit while we get the filling ready.
Mixing the Creamy Protein Dessert Filling
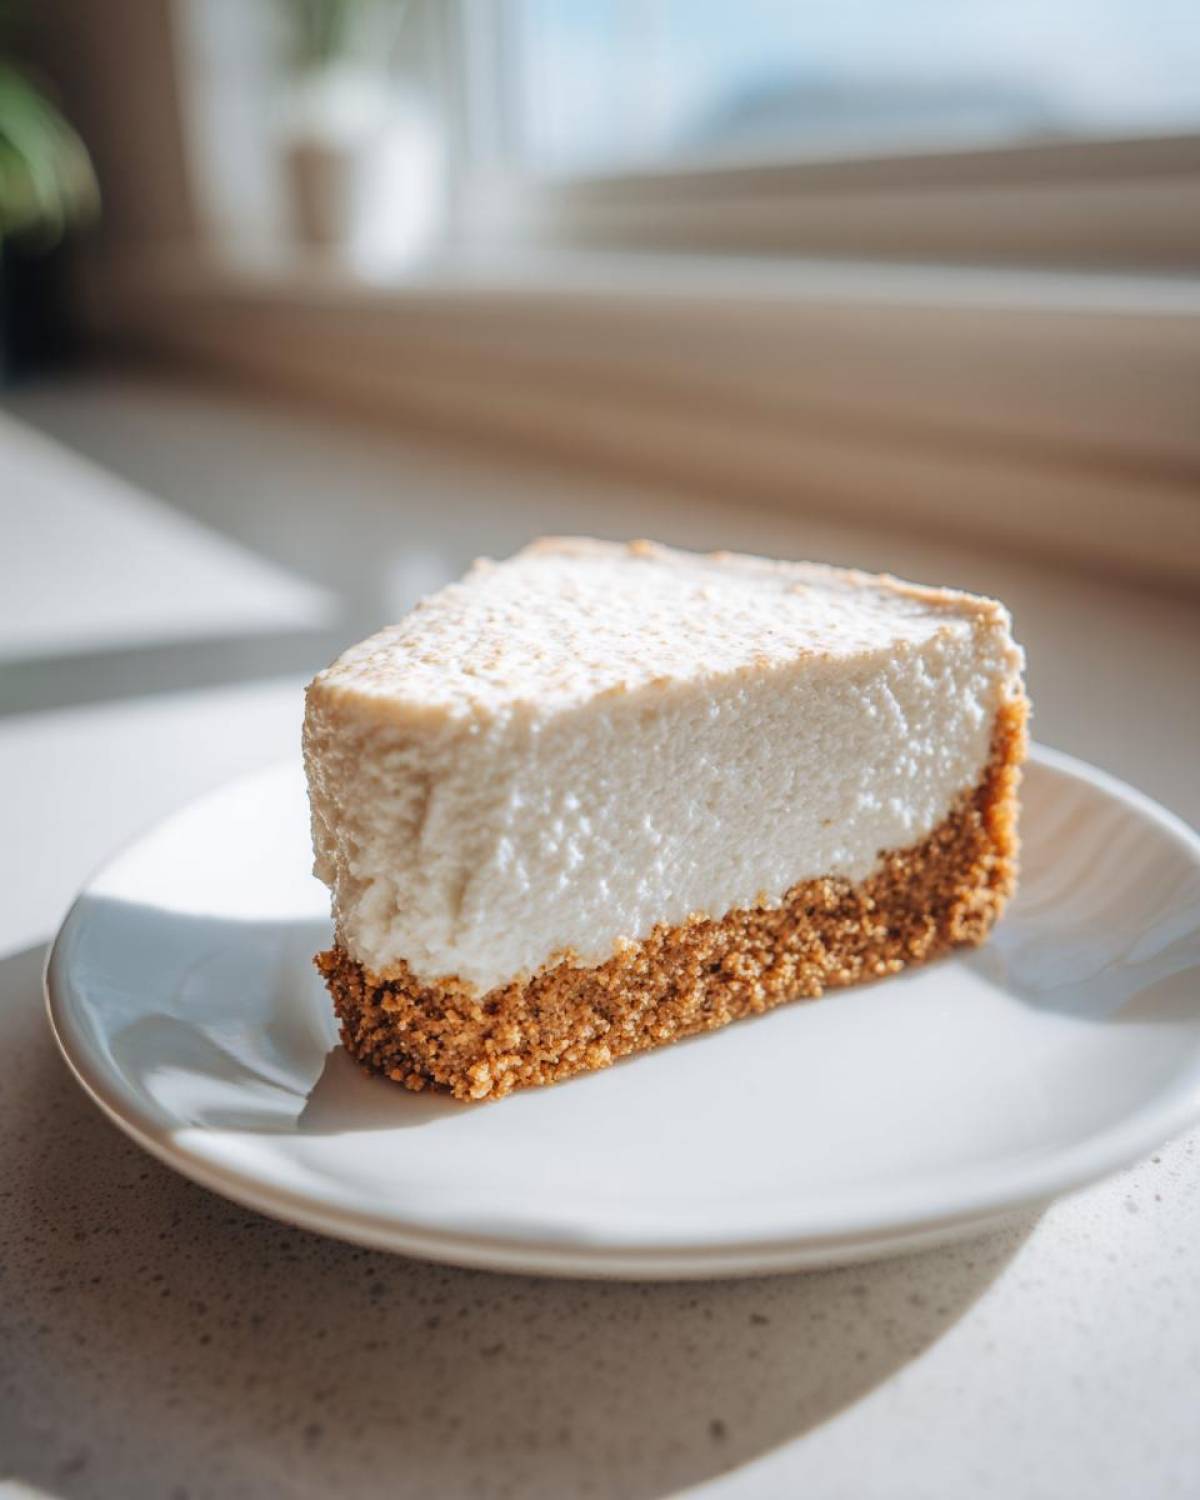
Now for the fun part—the filling! This is where you need your food processor or a really sturdy hand mixer. We combine our well-drained cottage cheese, the light cream cheese, vanilla protein powder, Greek yogurt, the rest of the sweetener, and vanilla extract. You need to blend this until it is absolutely silk smooth. Seriously, scrape those sides down a few times until you see no lumps at all; we want a luxurious texture! Once it’s perfect, gently add your two eggs, one at a time. Be careful here: mix only until they disappear. If you overmix once those eggs are in, you risk adding too much air, and that’s how you get cracks later!
Baking and Slow Cooling the Protein Cheesecake
Pour that gorgeous, smooth mixture right over your slightly cooled crust. Pop the pan into the oven and let it bake for about 45 to 55 minutes. You’ll know it’s ready because the edges will look set, but the very center should still have a tiny, nervous jiggle to it. Now, this next bit is the real secret to avoiding cracks: when the time is up, turn the oven OFF, crack the door open just a smidge, and let it hang out in there for a full hour. Yes, an hour! This slow cooling process means your amazing dessert won’t suddenly drop temperature, which causes unsightly cracks. After that hour, take it out, let it come to room temp on the counter, and then it’s tuck-in-the-fridge time. Don’t forget to check out this great tip about custard bases for baking inspiration!
Expert Tips for a Perfect Protein Cheesecake
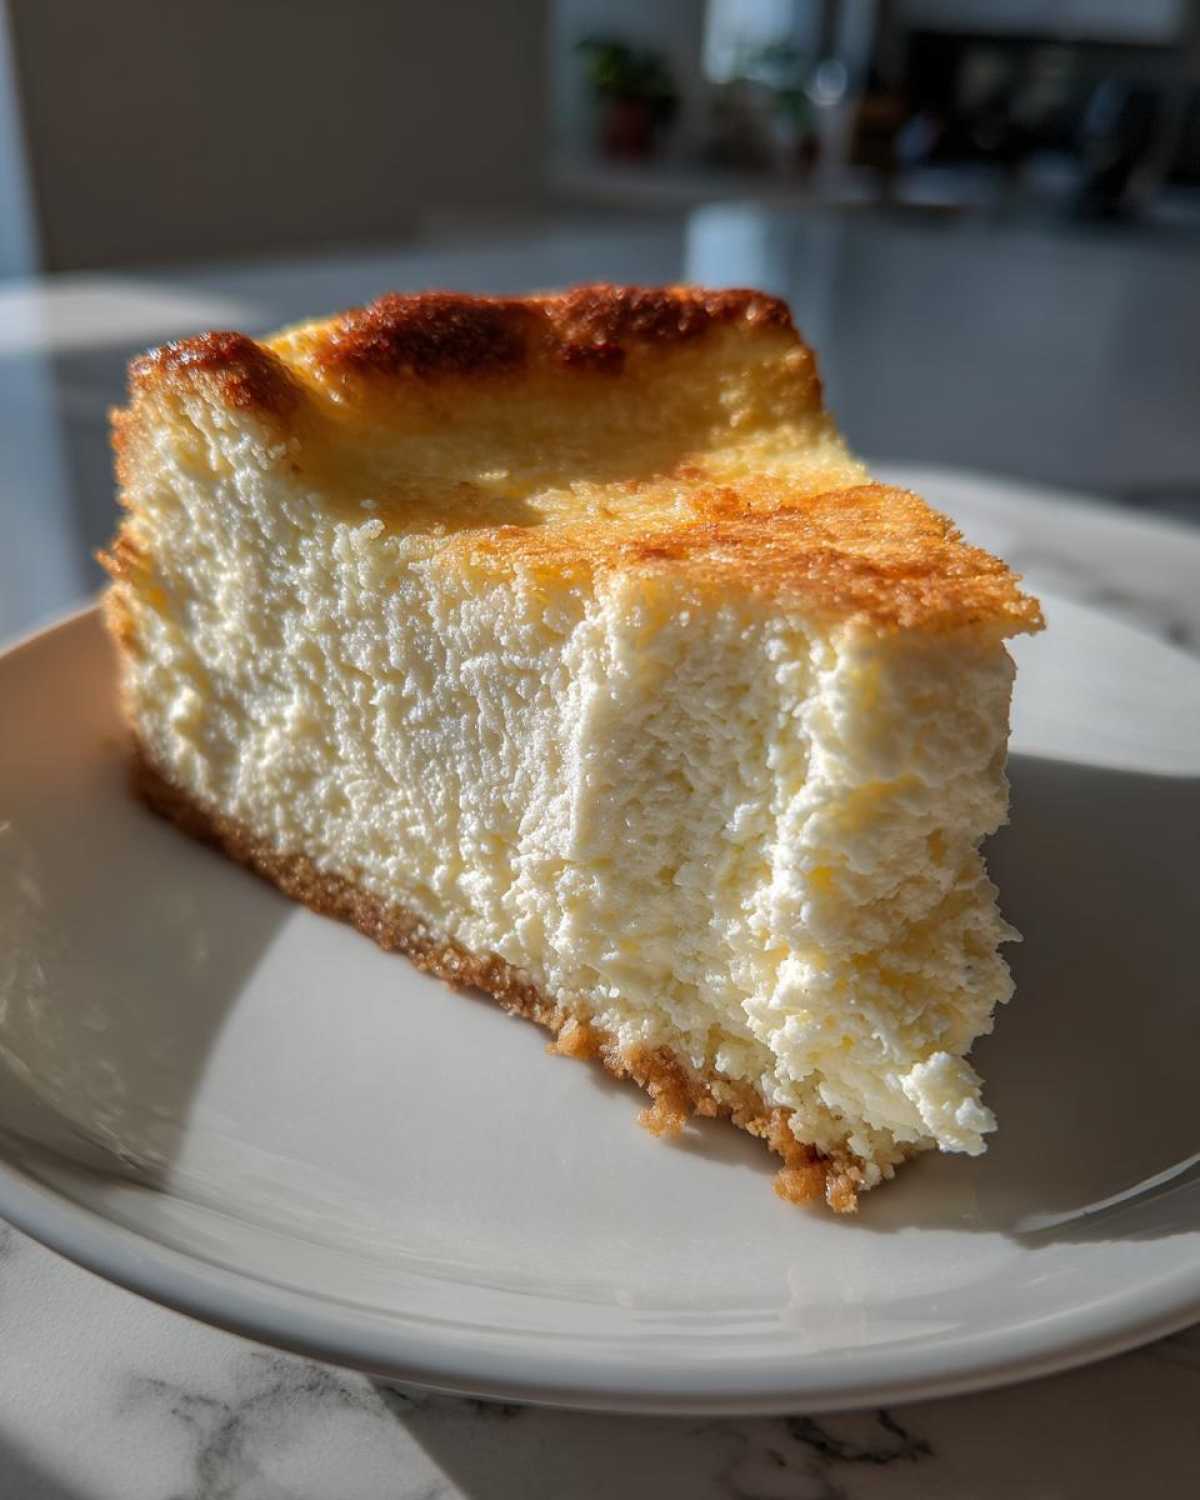
Phew! We walked through the steps, but I want to share a few little bits of wisdom that Anya and I picked up doing trial runs. It’s one thing to follow a recipe; it’s another thing to master it, right? Getting that perfect, velvety mouthfeel in a Protein Cheesecake is totally achievable, but it hinges on a couple of tiny technical details. I swear, the difference between ‘good’ and ‘holy- Moly-this-tastes-like-a-restaurant’ happens right here in these tips!
Ingredient Notes and Substitutions
Remember what I said about the cottage cheese? Don’t skip squeezing it dry! If you want that super smooth texture, you have to press out the liquid. We sometimes use a fine-mesh sieve lined with some cheesecloth, just like we do when we make our cream cheese coffee cake—it just works wonders. Also, I found that when I use casein powder in my protein blend, the final cake sets up firmer, which is lovely. If you use all whey, it might be a little softer, which is totally fine if you prefer an almost mousse-like center!
And here’s a little secret for a Low Calorie Cheesecake variation: stick to the zero-calorie sweeteners as suggested, but if you want to add a touch of brightness, grating a tiny bit of lemon zest into the filling is fantastic. It cuts through the richness beautifully!
Storage and Making Ahead with Your Macro Friendly Cheesecake
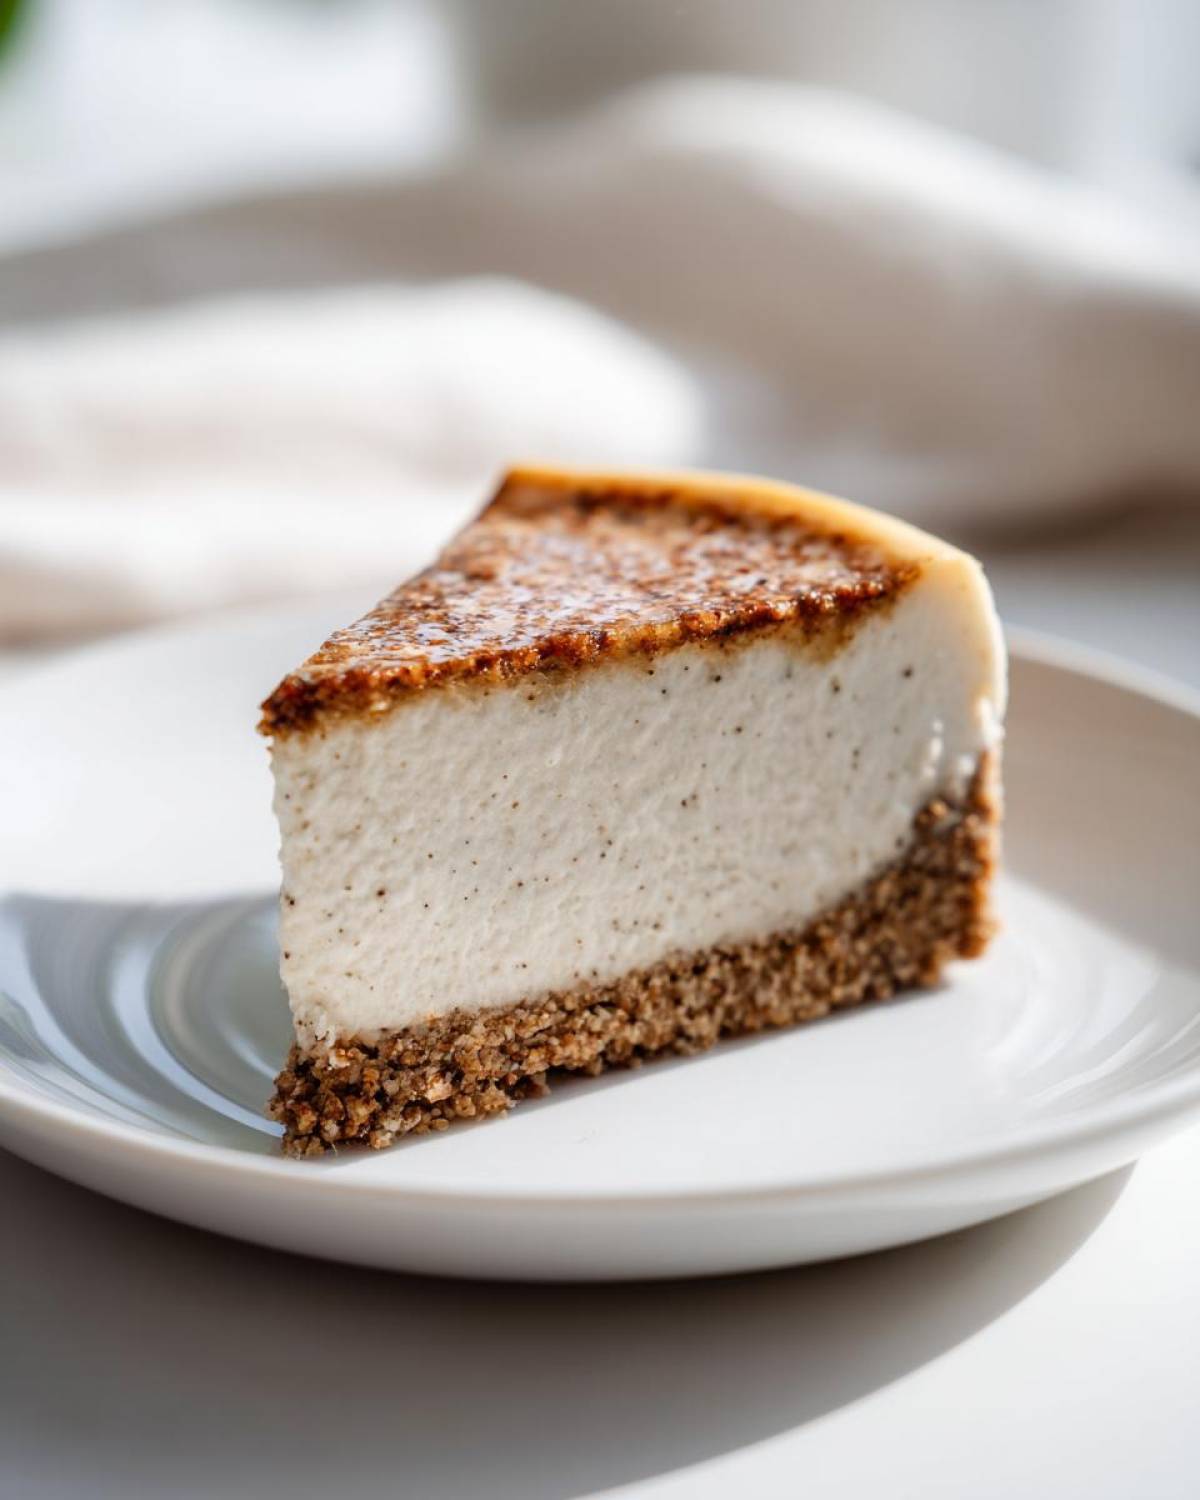
Look, I know you want to devour this glorious Protein Cheesecake the second it comes out of the fridge, but hold your horses! This is where patience really pays off. For the best flavor and that clean, perfect slice, you absolutely must let it chill for at least six hours, but honestly, chilling it overnight makes it that much better. It gives the texture time to fully firm up.
When you are ready to slice, here’s a quick tip Sasha taught me: use a large, sharp knife dipped in hot water and wiped clean between every cut. That keeps the sides neat. If you plan ahead for meal prep, these individual slices store beautifully wrapped tightly in plastic wrap inside an airtight container. It’s the perfect satisfying treat ready to go!
For more inspiration on keeping desserts healthy for the week, take a peek at some ideas over at Galley Bites!
Variations on This Light Cheesecake Recipe
Even though this Protein Cheesecake is perfect as is, you know we love tweaking things around here! It’s so much fun dialing in the flavor to match whatever strikes your fancy that day. Since the base is so neutral and creamy, it takes on other flavors beautifully. Last week, Anya got obsessed with adding citrus zest—seriously, just a teaspoon of fresh lemon or orange zest into the filling brightens everything up so nicely!
If you want something a little more dynamic, try a fruit swirl! Before you bake, gently spoon a layer of sugar-free raspberry preserves or warm, mashed berries over the top layer of your filling. Use a butter knife to gently drag lines through the batter for that gorgeous marble effect. It looks stunning when you finally slice into that Dessert with High Protein Content. For more ideas on seasonal twists, you can check out how we incorporate fruit fillings in our pumpkin pie cheesecake bars. Happy experimenting!
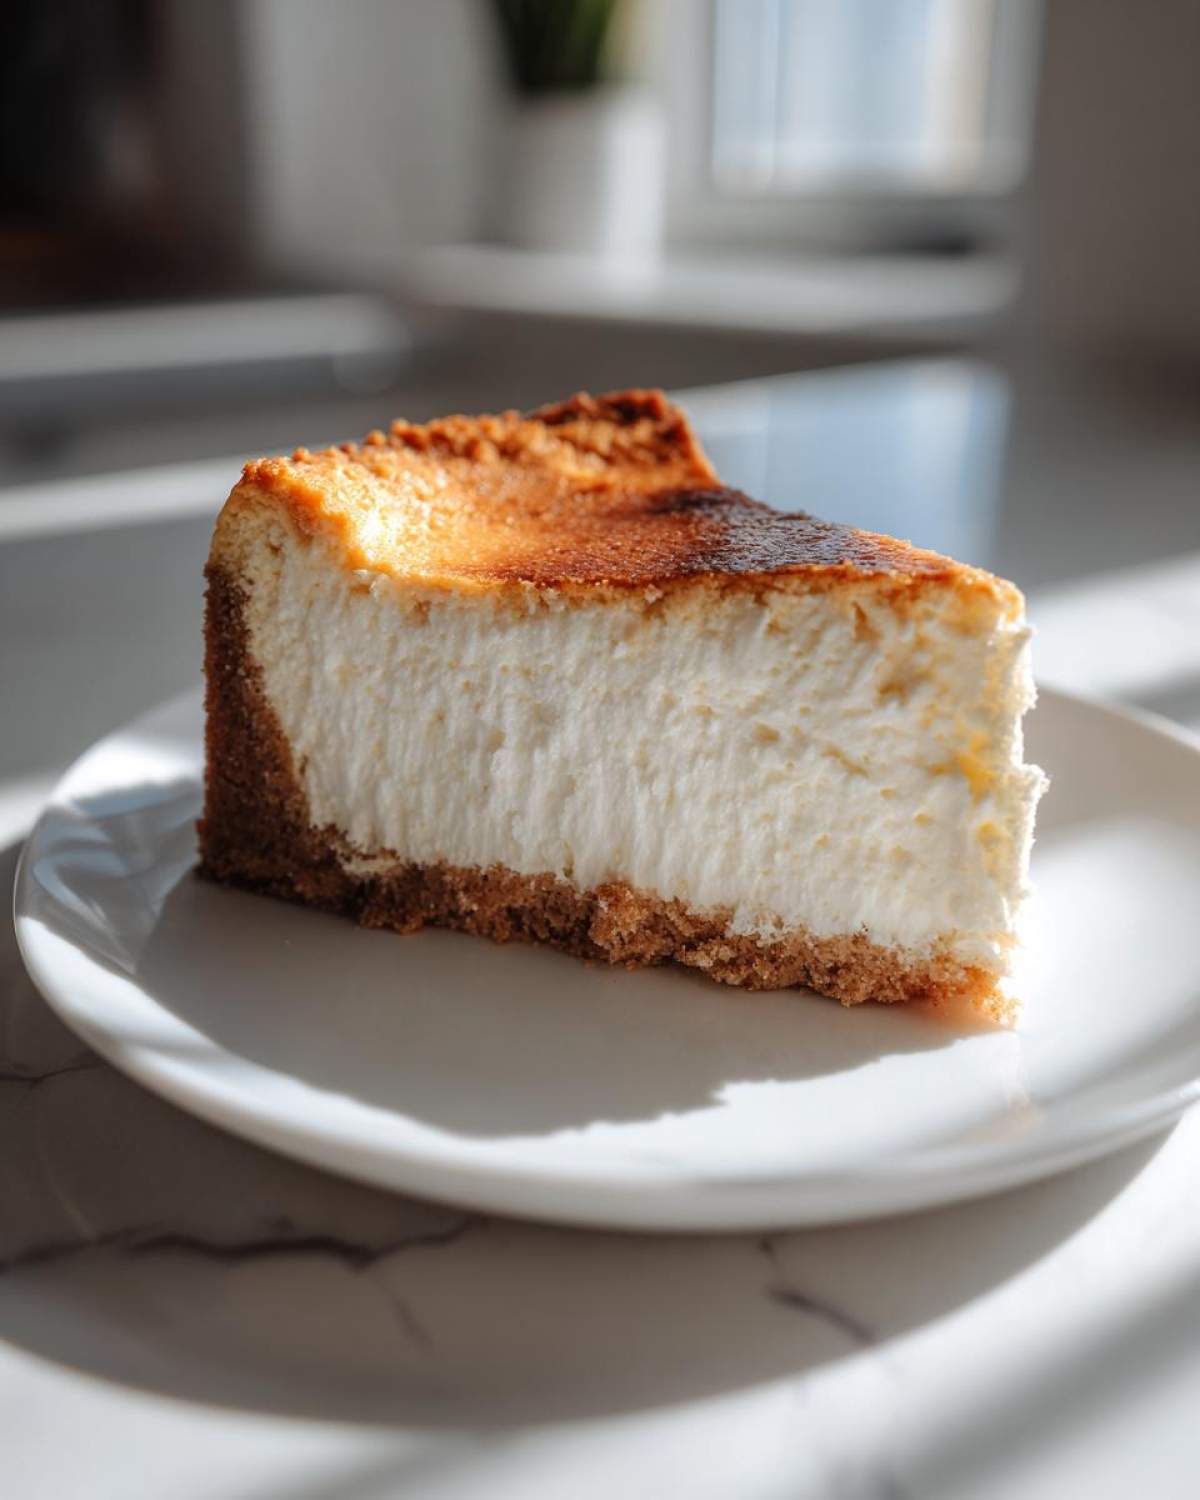
Frequently Asked Questions About Protein Cheesecake
I always love hearing from you all about substitutions and concerns when you bake something new! It makes me so happy to know you’re trying out our Protein Cheesecake recipe. Cheesecake can be tricky, especially when we are trying to dial in the macros perfectly, so here are a few questions that pop up frequently about this recipe. If I missed something crucial, just shoot us a message on our contact page!
For more baking problem-solving inspiration, you can always check out our guide on gluten-free muffin troubleshooting—the principles often overlap!
Can I substitute the cottage cheese in this Protein Cheesecake?
That’s a great question about this Macro Friendly Cheesecake! The cottage cheese, once blended well, is what gives us that classic tangy density, but yes, you can try substituting it. If you use ricotta cheese, it will be slightly softer, so you might need to slightly reduce that Greek yogurt amount just to keep the batter from feeling too loose. If you tried going all Greek yogurt only, I’d worry it would become too tangy and less like a true cheesecake, so I recommend keeping at least half the cream cheese component intact if you omit the cottage cheese entirely.
How do I ensure my Baked Protein Cheesecake is sugar free?
Keeping this dessert truly sugar-free is one of the main reasons we love it so much! To make sure your Sugar Free Protein Dessert stays that way, you must stick to non-nutritive sweeteners. The recipe calls for erythritol or monk fruit blends because they measure cup-for-cup like sugar. Just make absolutely sure that any protein powder you use is also sweetened with one of these zero-calorie options. If you use a regular, sweetened protein powder, you’ll definitely spike the sugar content!
Nutritional Snapshot of This Dessert with High Protein Content
I know you’re curious about the numbers, because who isn’t when eating something this delicious? Since we loaded this **Protein Cheesecake** with cottage cheese and quality protein powder, the payoff is huge! Here are the estimated macros per slice based on the ingredients listed; remember, these are always estimates, but they show you just how good this Dessert with High Protein Content is for your goals!
- Calories: 245
- Protein: 35g! (Isn’t that amazing?)
- Fat: 12g
- Sugar: Just 4g
Share Your Creamy Protein Dessert Creations
We put our hearts into making this Creamy Protein Dessert for you, and now it’s your turn! Please let us know how it turns out. Did you add some lemon zest? Did you chill it perfectly overnight? Drop a rating below and share your beautiful cheesecake pictures with us! We love seeing your successes. If you want more tasty adventures with Anya, Sasha, and me, don’t forget to check out our main recipe hub!
You can always reach us directly on our contact page if you have any burning questions!
PrintUltimate Healthy Baked Protein Cheesecake (35g Protein Per Slice)
You deserve a creamy, satisfying dessert that supports your fitness goals. This baked protein cheesecake uses cottage cheese and Greek yogurt to deliver incredible texture and over 30 grams of protein per serving. It is a truly macro-friendly cheesecake treat.
- Prep Time: 20 min
- Cook Time: 50 min
- Total Time: 70 min
- Yield: 8 servings
- Category: Dessert
- Method: Baking
- Cuisine: American
- Diet: Low Fat
Ingredients
- 1 cup almond flour
- 1/4 cup sweetener (like erythritol or monk fruit blend)
- 1/4 teaspoon salt
- 4 tablespoons melted coconut oil
- 16 ounces low-fat cottage cheese, drained well
- 8 ounces light cream cheese, softened
- 1 cup vanilla protein powder (whey or casein blend recommended)
- 1/2 cup plain Greek yogurt (0% or 2%)
- 1/2 cup sweetener (like erythritol or monk fruit blend)
- 1 teaspoon vanilla extract
- 2 large eggs
Instructions
- Preheat your oven to 325°F (160°C). Lightly grease and line the bottom of a 7-inch springform pan with parchment paper.
- Prepare the crust: In a bowl, mix the almond flour, 1/4 cup sweetener, and salt. Add the melted coconut oil and mix until the mixture resembles wet sand. Press the mixture firmly and evenly into the bottom of the prepared pan.
- Bake the crust for 8 minutes. Remove from the oven and let it cool slightly while you prepare the filling.
- Prepare the filling: In a large bowl or food processor, combine the drained cottage cheese, light cream cheese, protein powder, Greek yogurt, 1/2 cup sweetener, and vanilla extract. Blend or mix until completely smooth. Scrape down the sides as needed.
- Add the eggs one at a time, mixing just until combined after each addition. Do not overmix the batter once the eggs are added.
- Pour the smooth filling over the cooled crust in the springform pan. Gently tap the pan on the counter a few times to release any large air bubbles.
- Bake for 45 to 55 minutes. The edges should look set, but the center should still have a slight jiggle.
- Turn off the oven, crack the door open slightly, and let the cheesecake cool inside the oven for 1 hour. This slow cooling prevents cracking.
- Remove the cheesecake from the oven and let it cool completely on a wire rack. Once cool, cover and refrigerate for at least 6 hours, or preferably overnight, before slicing.
- Serve your high protein dessert cold.
Notes
- To ensure the creamiest texture, press all excess liquid out of the cottage cheese before blending. You can press it in a fine-mesh sieve lined with cheesecloth for best results.
- This recipe works well with casein protein powder as it thickens the batter, leading to a firmer, more traditional cheesecake texture.
- For a low-calorie cheesecake variation, use a sugar-free sweetener that measures 1:1 with sugar.
Nutrition
- Serving Size: 1 slice
- Calories: 245
- Sugar: 4
- Sodium: 280
- Fat: 12
- Saturated Fat: 6
- Unsaturated Fat: 6
- Trans Fat: 0
- Carbohydrates: 10
- Fiber: 2
- Protein: 35
- Cholesterol: 65
