

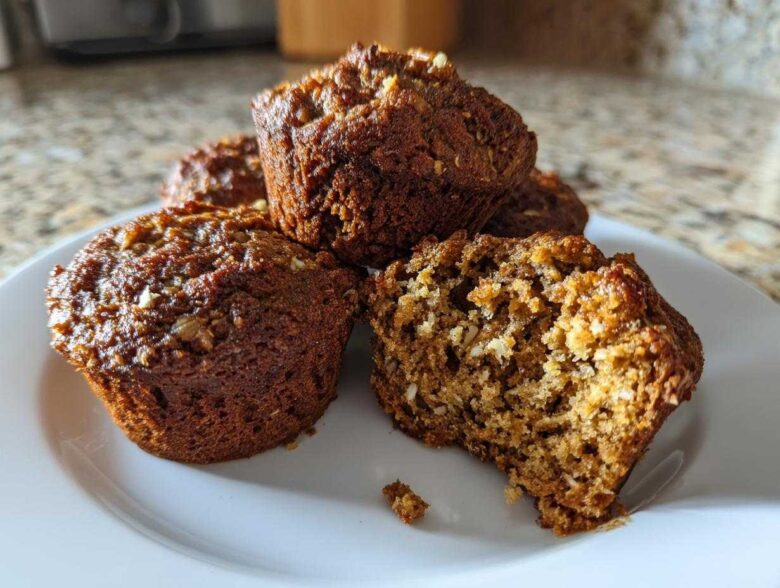
Oh, friends, let me tell you about the absolute cornerstone of my emergency breakfast stash! If you’re anything like me, you spend way too much time looking for that one perfect breakfast staple—something genuinely good for you but that tastes like a treat. Well, I finally cracked the code on making the best bran muffins, and I promise you, these turn out perfectly moist every single time. Seriously, they are packed with fiber, naturally sweetened, and they freeze like a dream! My Grandmother Anya always said that hearty baking needed reliability, and I took that to heart when perfecting this whole wheat bran recipe you can check out here in our breakfast lineup.
Why These Are the Best Bran Muffins You Will Ever Bake
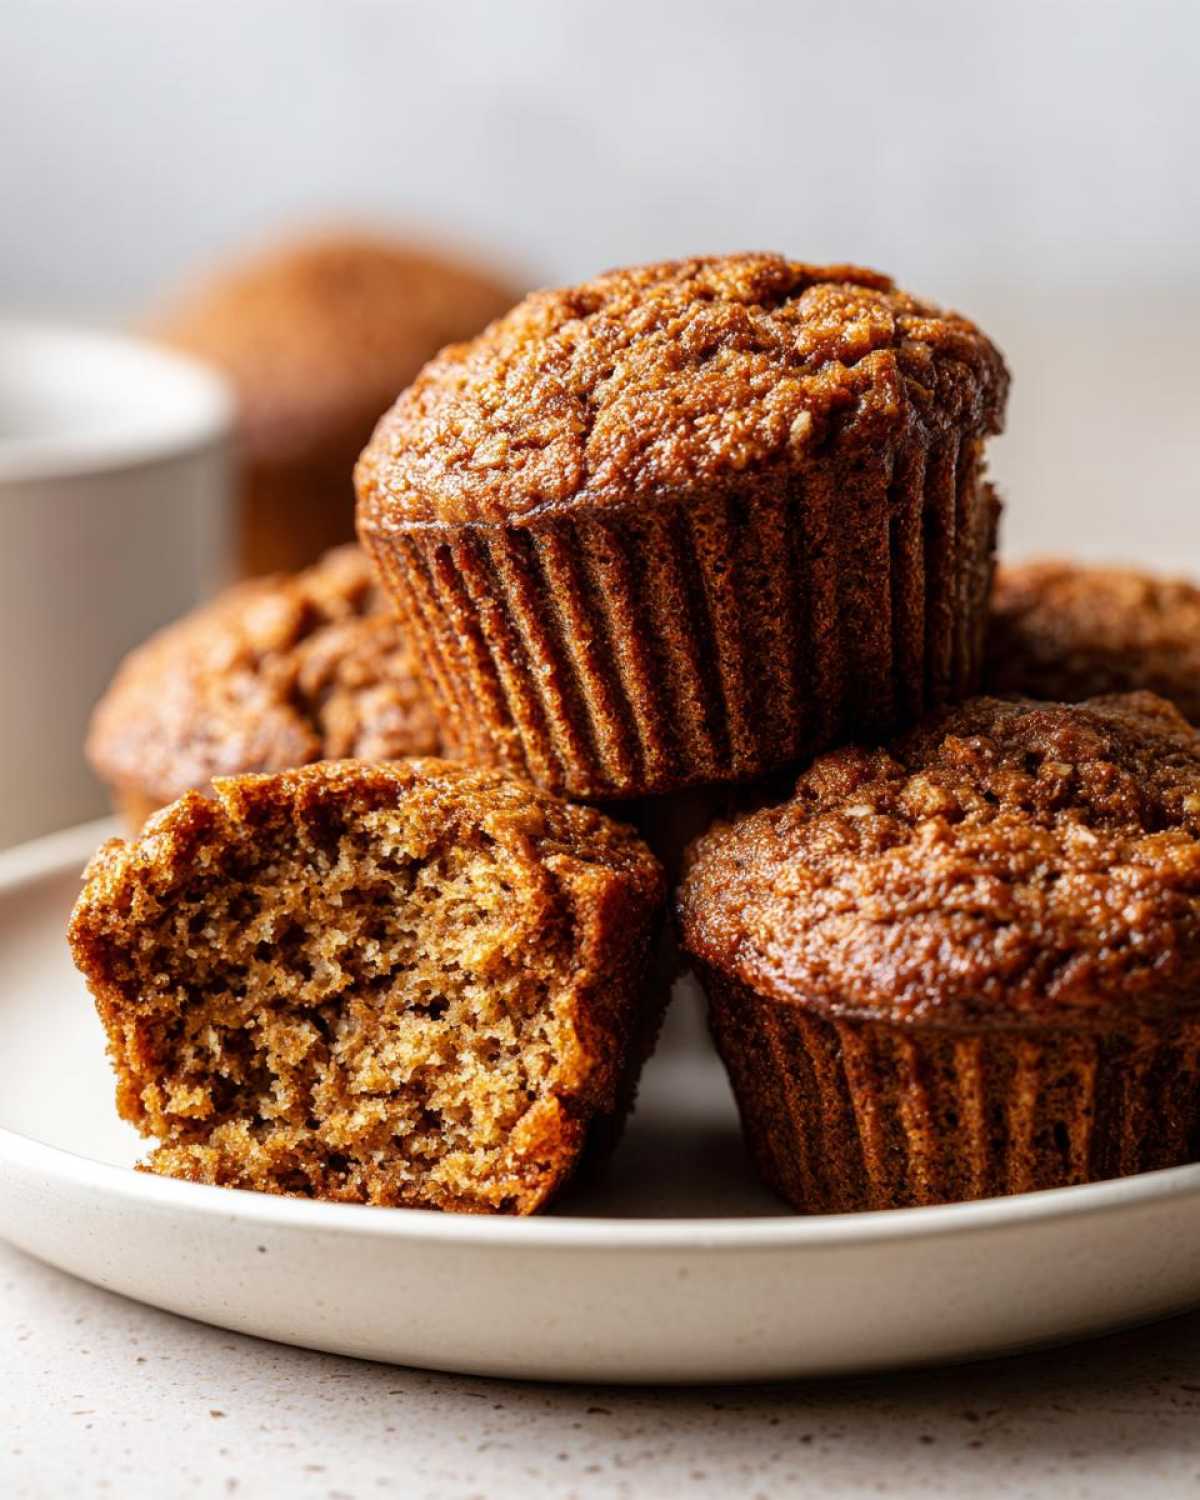
We’ve all been there: you bite into a bran muffin expecting a hearty treat and instead get something that feels like sawdust in your mouth. Ugh! That’s why I’m so excited about this version. We aren’t playing around with dryness here; these are the definition of moist bran muffins. They are hearty, flavorful, and truly high fiber, which makes them a fantastic choice for a morning routine.
This recipe stands way above the rest because of a simple flavor and texture dynamic I learned from watching my own mom bake—it’s all about the dark, powerful liquids we use.
Achieving Ultimate Moisture in Your Bran Muffins
Trust me when I say, the magic is in the molasses and the buttermilk! Molasses is naturally thick and hygroscopic, meaning it pulls moisture and holds onto it. That, combined with the subtle tang of the buttermilk, just seeps into the wheat bran while it rests. It completely hydrates it before it even hits the oven, so you get that soft, tender crumb every time. It’s non-negotiable for the best texture!
The Health Perks of Homemade Bran Muffins
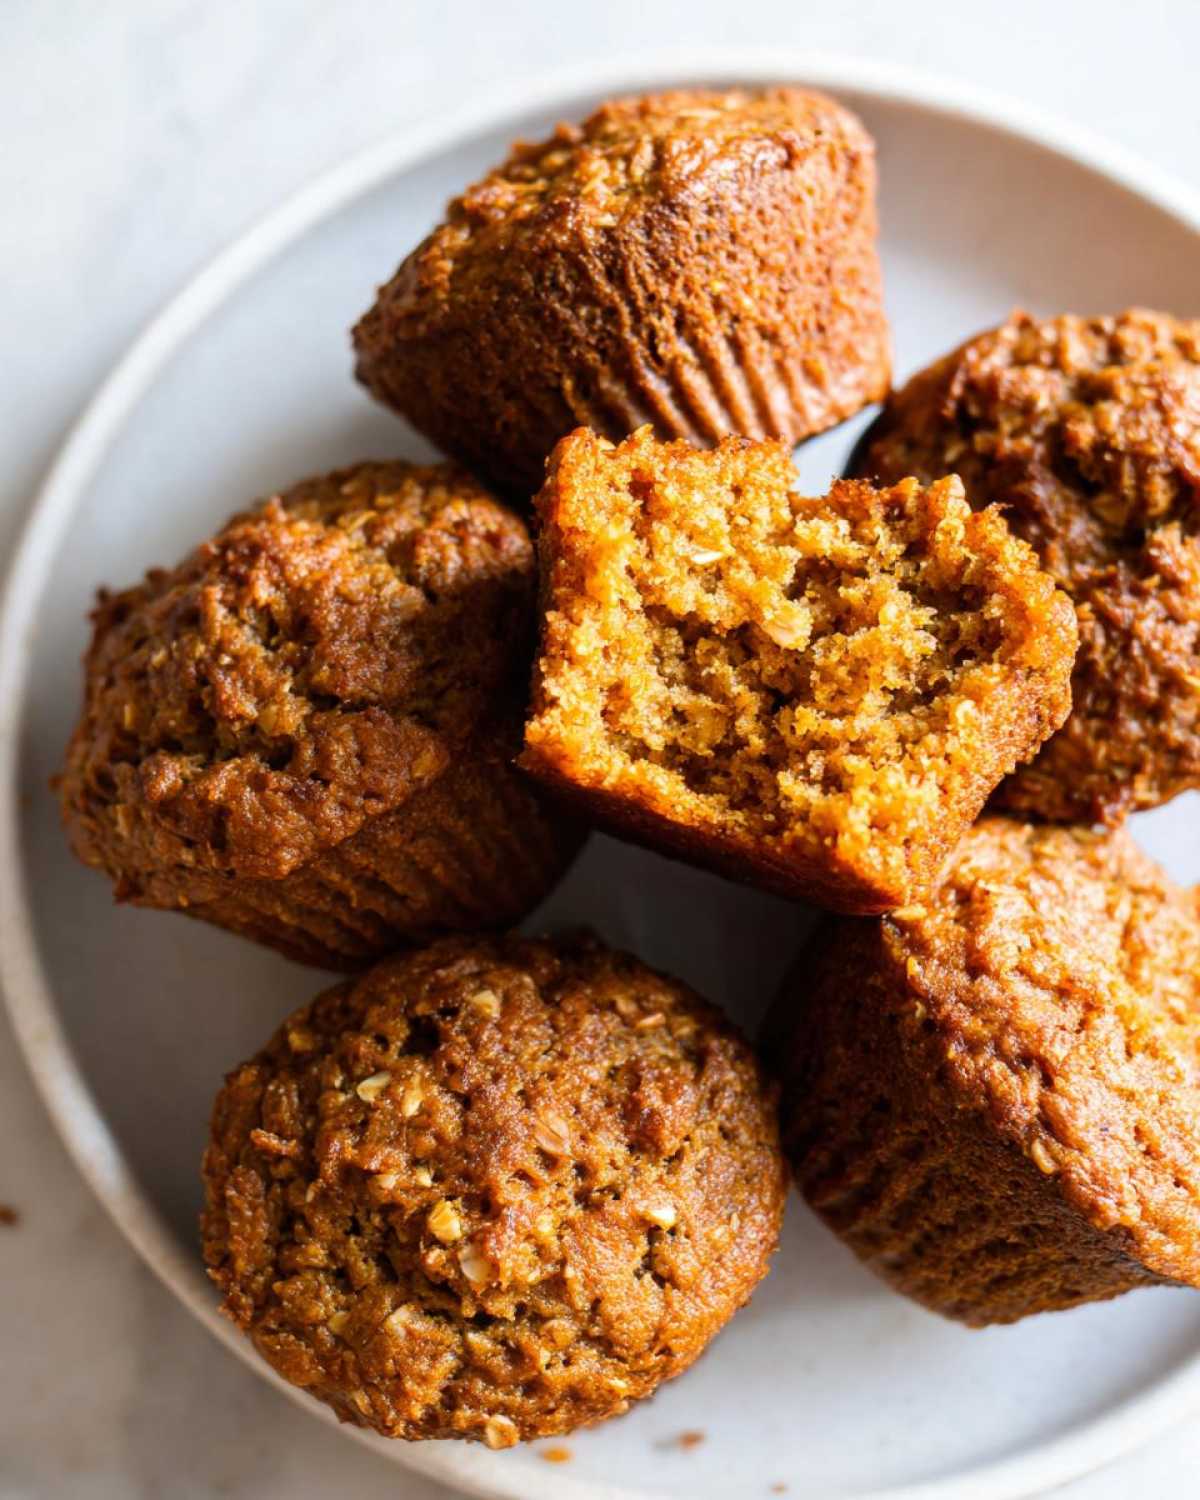
We wanted these to be genuine healthy breakfast muffins, not just muffins pretending to be healthy! By relying on brown sugar and that rich molasses, we skip most, if not all, of that refined white sugar. Plus, thanks to the wheat bran and whole wheat flour, you are getting a serious dose of fiber. It’s the perfect wholesome baked goods package that keeps you full until lunch.
Gathering Ingredients for Moist Bran Muffins
Okay, before we dive into the mixing, let’s make sure you have everything lined up looking exactly like my mixing station before Sasha inevitably sneaks a taste of the molasses. Having everything measured and prepped makes this a true quick bake, fitting our goal of making these amazing homemade bran muffins fast!
Here is the full list of the wholesome things you’ll need for this recipe:
- 1 cup boiling water – yes, it has to be boiling when it hits the bran!
- 1 cup wheat bran – this is the star fiber source.
- 1 cup buttermilk – this is key for that soft texture we talked about.
- 1/2 cup unsalted butter, melted – make sure it’s melted, not just soft.
- 1/2 cup packed light brown sugar – don’t pack it too tightly!
- 1/4 cup unsulfured molasses – this adds all that gorgeous deep color and flavor.
- 1 large egg, lightly beaten – just whisk it a little before you put it in.
- 1 teaspoon vanilla extract – because everything needs vanilla, right?
- 1 1/2 cups whole wheat flour – we’re sticking to whole wheat for the best fiber boost.
- 1 teaspoon baking soda – don’t skip this leavening agent!
- 1/2 teaspoon salt – balances out all that sweetness.
- 1/2 cup raisins or chopped apple (optional) – I usually choose chopped apple for a little tartness!
See? So simple. If you have raisins or apples, toss them in at the very end, but if you’re planning on freezing these, sometimes it’s best to leave them out and add them fresh later, though my family likes them mixed right in!
Buttermilk Substitute for Bran Muffins
Life happens, and maybe you didn’t run to the store for buttermilk. Don’t panic! You absolutely do not have to run out. I always keep a backup trick up my sleeve. Just take one cup of regular milk—whole, 2%, whatever you have—and stir in one Tablespoon of white vinegar or fresh lemon juice. Let it sit on the counter for about five minutes until it looks slightly curdled. It’s ready to go! That simple substitution keeps us on track for perfect classic bakery muffins.
Simple Muffin Baking: How to Make Perfect Bran Muffins
Honestly, these are some of my top easy muffin recipes because the process is so straightforward, but there are a couple of spots where you just *cannot* rush things, or the final result won’t be as lovely and soft as we want. We’re aiming for that perfect, sturdy, yet tender structure that holds up to a smear of butter!
First things first: get that oven preheated to 400 degrees F! That high heat is important for a good initial lift. You also need to line your 12-cup muffin tin. I always use the paper liners because cleanup is a breeze, but you can grease them well if you prefer that more rustic look. My mom taught me that skipping the liners on high-fiber bakes is asking for trouble!
Next, we move to Step 2: the essential bran soak. Pour that boiling water right over your wheat bran and let it sit for a full five minutes. This is non-negotiable for getting those wonderful moist bran muffins! After that, we mix in the wet ingredients—the buttermilk, melted butter, eggs, and that dark, wonderful molasses—giving it a good stir until everything is acquainted.
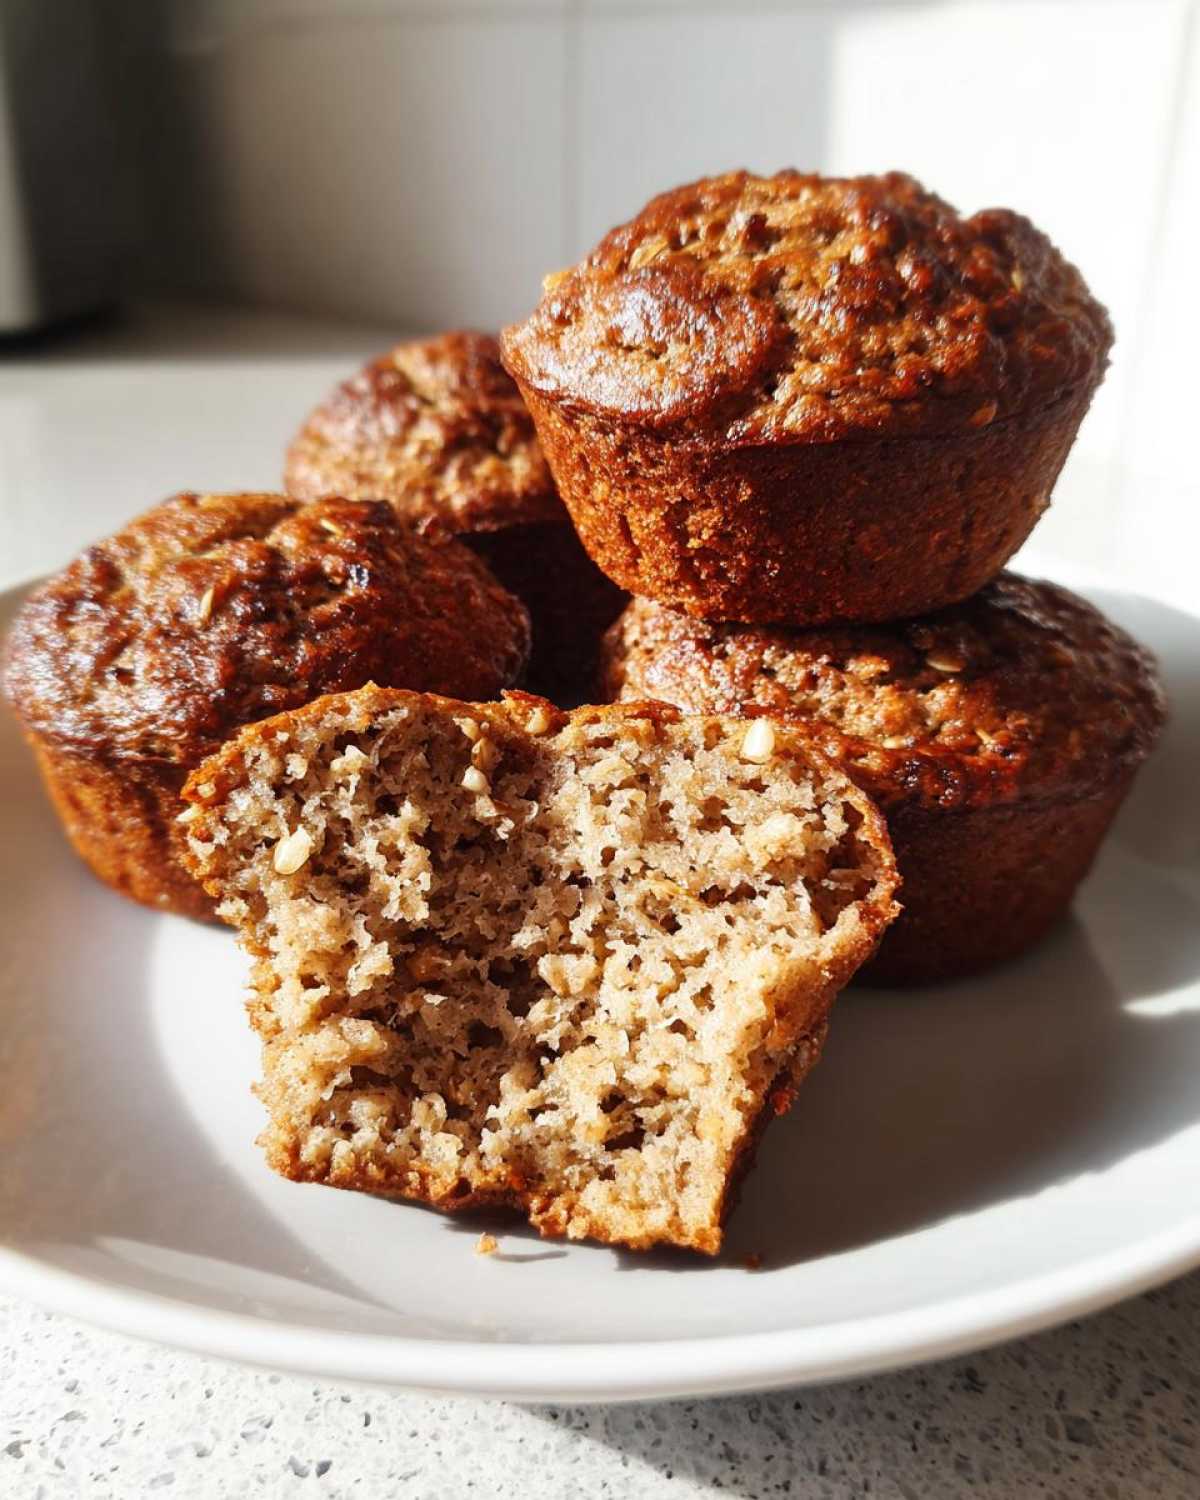
In a separate bowl, mix up your dry stuff: the flour, baking soda, and salt. Then, and this is vital for texture, add the wet mixture to the dry. Mix gently! I mean it—just until you see the flour streaks disappear. If you stir past that point, you’ll start developing gluten, and you’ll end up with tough muffins instead of these amazing, wholesome baked goods. If you want to peek at how I handle mixing other batters, check out my notes on classic sugar cookie bars where I talk about gentle handling!
Crucial Timing for Bran Muffins: Soaking and Baking
The 5-minute rest for the bran is purely structural; it needs time to absorb that water so it doesn’t steal moisture from your batter while baking. Then, we bake at a high 400°F! This concentrated heat helps create a beautiful domed top quickly before the whole thing settles down. Don’t bake them longer than 18 minutes, or they will dry out on you, no matter how well you soaked the bran!
Tips for Success with Your Bran Muffins Recipe
Baking is all about repetition and learning those little quirks, right? Since we want these to be reliable every time—ideal for a quick blog post about dependable recipes—I have to stress the temperature and the timing. First, never, ever let these bake past the point where the toothpick comes out clean. That extra minute in the high heat of the 400°F oven turns them from “moist” to “meh.”
I learned this the hard way my second time making them! I tried to speed things up by only soaking the bran for two minutes instead of five, thinking the high oven temp would compensate. Nope! The outside baked fast, but the inside was crumbly because the bran hadn’t fully plumped up. So please, give that bran its full five minutes to soak. It’s small moments like that which separate a *good* bran muffin from the best bran muffins!
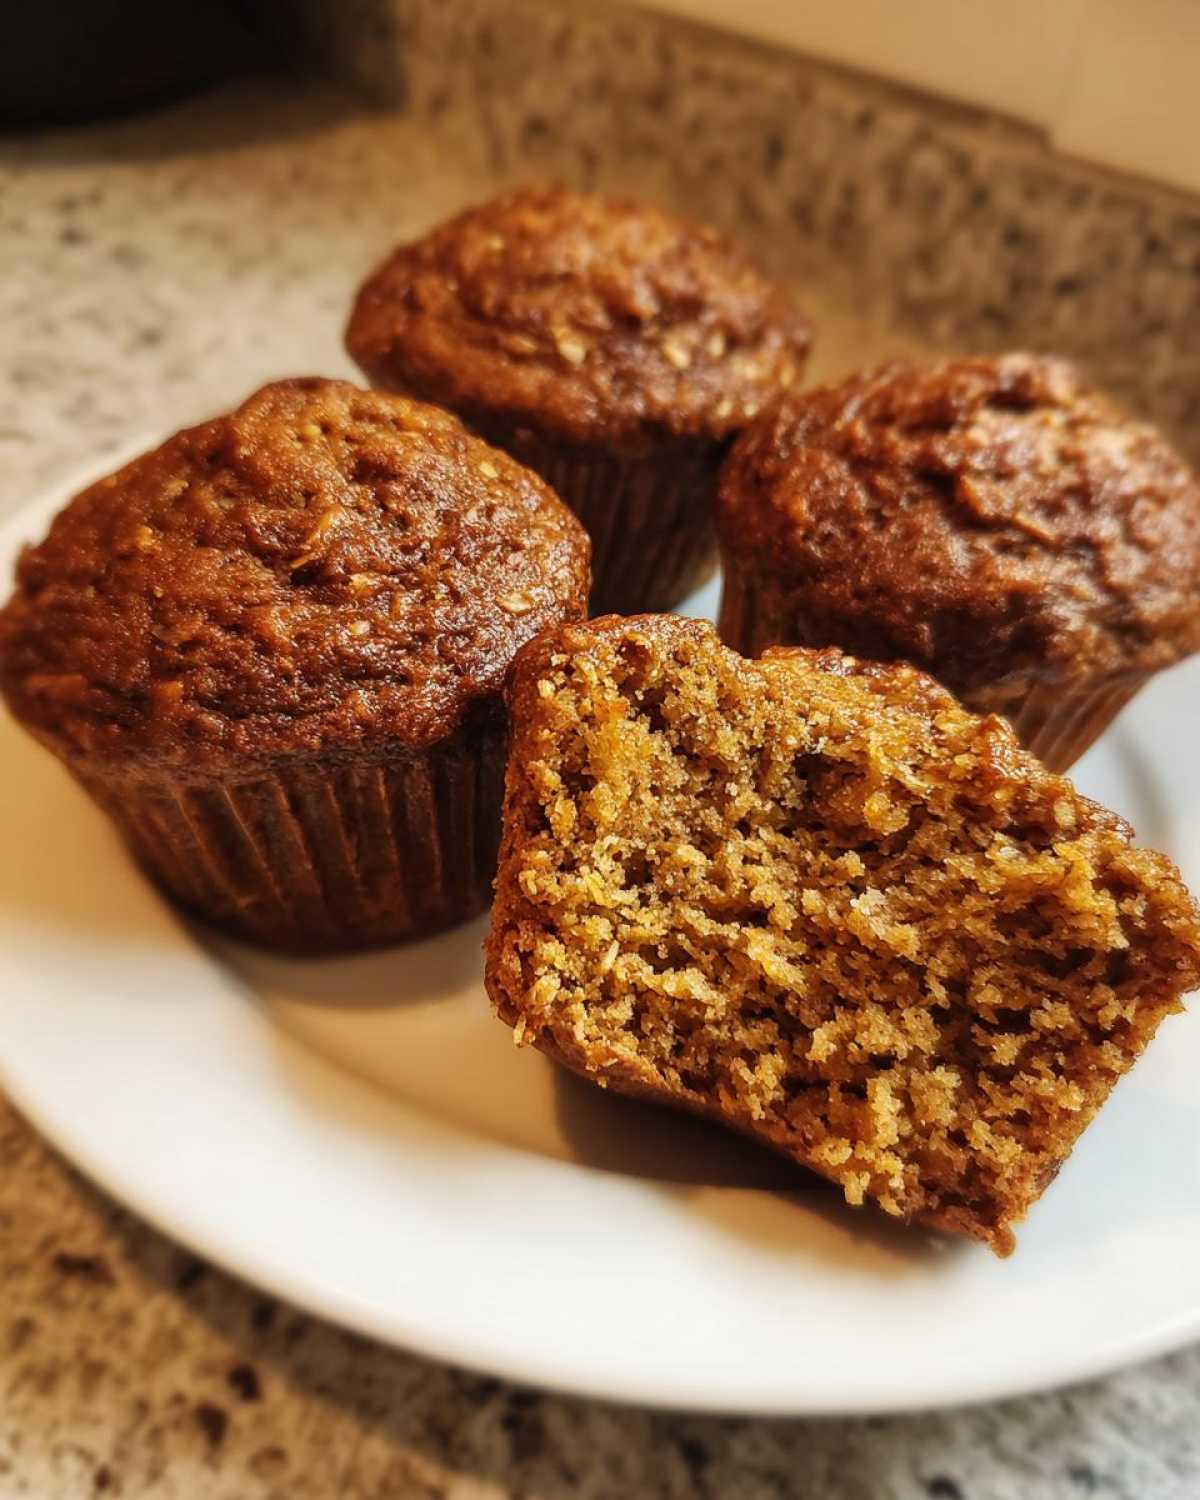
Also, make sure your muffin tin is evenly heated. If you’re baking a full 12 cups, rotating the tin halfway through baking helps a lot to prevent those end cups from getting too brown before the middle ones are done.
Variations: Oat Bran Muffins Idea and Fruit Additions
I absolutely love that so many of you are looking to tweak these bran muffins! While the base recipe is divine, it’s so fun to sneak in extra goodness. If you’re curious about an oat bran muffins idea, I have a super simple swap for you. You can substitute half of the wheat bran with oat bran. Just make sure you give that mixture an extra minute or two to soak up the hot water, as oats can be a little thirstier than pure wheat bran.
Other than using apples or raisins, you can throw in other surprises too! We are all about adding sneaky veggies to our bakes, right? Grated carrot works beautifully here—it just blends right in with the bran and adds extra moisture. If you’re feeling adventurous with your whole grain additions, you should totally check out my notes on gluten-free zucchini muffins for another recipe where we maximize hidden vegetable content!
For those who love a really hearty texture, I saw this fantastic post about adding seeds; you can find inspiration for that type of texture boost over here at high-fiber seeded bran muffins. Honestly, these high fiber muffins are so versatile!
Make-Ahead and Freezer Friendly Muffins Storage
This is probably my favorite part of this recipe, honestly! Having a supply of these ready to go means I never have an excuse to skip a good breakfast. These are truly the best Freezer Friendly Muffins because their high moisture content from the molasses protects them beautifully during storage. But here’s the critical tip, and please listen up, because if you skip this, they stick together!
You absolutely must let the muffins cool completely before you even think about bagging them up. I mean stone cold on a wire rack. Once they are totally cool, stack them into a heavy-duty, airtight freezer bag. You can fit about 8 to 10 in one bag, depending on your pan size.
When morning hits and you need one, just take it out the night before and let it thaw on the counter. If you’re in a rush, they warm up on the counter in about 30 minutes. Or, for a warm, fresh-from-the-oven feel, microwave it for about 15 seconds. You can see how this technique works for long-term storage on other great recipes, like the tips shared over at Tastes Better From Scratch!
Serving Suggestions for Your Bran Muffins
These wholesome baked goods are so cheerful right out of the oven, but honestly, they shine even brighter when you dress them up a little bit! Because they are already packed with flavor from the molasses, you don’t need much fuss. They are the perfect grab and go breakfast when you’re dodging out the door.
For a truly decadent moment, split one open and spread it with a smear of good salted butter. That little bit of fat is heavenly against the fiber! If you want to get fancy, I highly recommend trying them with my homemade tahini maple butter—the nuttiness is just amazing. They are also the perfect mate for a strong cup of coffee in the morning!
Frequently Asked Questions About Bran Muffins
I always get the best questions about these classic loaves popping up in the comments! It makes perfect sense; baking, especially healthier baking, usually requires a little troubleshooting confidence. Here are the things I hear asked most often about getting these high fiber muffins just right.
Can I use regular milk instead of buttermilk in these bran muffins?
Oh, absolutely you can, and I covered that trick in the main steps! If you don’t have buttermilk on hand, don’t let it stop you from baking. Simply measure out one cup of regular milk—whole, two percent, whatever works—and stir in one tablespoon of white vinegar or fresh lemon juice. Let it hang out on the counter for about five minutes until it looks a little separated. That’s your working substitute, and it does a fantastic job of giving us the acidity needed for a tender crumb!
How do I ensure my bran muffins turn out soft and moist?
This is the million-dollar question, isn’t it? If you take two things away from this recipe, let it be these texture rules! First, you simply cannot overmix the batter once you combine the wet and dry ingredients. A few lumps are totally fine; overmixing equals tough muffins. Second, watch your oven like a hawk! These bake fast because of that 400°F start. Pull them out the second your toothpick comes out clean. That slight bit of moisture clinging to the pick is what ensures you have soft, moist bran muffins the next day.
Are these considered Naturally Sweetened Muffins?
That’s a great observation! Yes, I consider these naturally sweetened muffins because we are completely skipping refined white sugar. We depend entirely on the deep, caramel notes from the packed light brown sugar and the richness of unsulfured molasses. Molasses naturally contains minerals we don’t get from white sugar, and it gives the muffins that classic, slightly savory sweetness that people really connect with when they are looking for hearty, wholesome baked goods.
Share Your Homemade Bran Muffins Experience
That’s it, my friends! Baking is always better when we share the results, right? So please, if you tried these moist bran muffins, leave me a rating down below! I would love to read about the fun variations you tried, especially if you experimented with adding fruit or changing up the bran types. Don’t be shy—send us a message through the contact page with photos of your golden-domed, high-fiber breakfast beauties!
PrintMoist, High-Fiber Bran Muffins (Freezer-Friendly Recipe)

Bake a batch of these moist bran muffins. They are packed with fiber, naturally sweetened, and perfect for a grab and go breakfast or healthy snack. You can easily freeze them for later.
- Prep Time: 15 min
- Cook Time: 18 min
- Total Time: 33 min
- Yield: 12 servings
- Category: Breakfast
- Method: Baking
- Cuisine: American
- Diet: Vegetarian
Ingredients
- 1 cup boiling water
- 1 cup wheat bran
- 1 cup buttermilk
- 1/2 cup unsalted butter, melted
- 1/2 cup packed light brown sugar
- 1/4 cup unsulfured molasses
- 1 large egg, lightly beaten
- 1 teaspoon vanilla extract
- 1 1/2 cups whole wheat flour
- 1 teaspoon baking soda
- 1/2 teaspoon salt
- 1/2 cup raisins or chopped apple (optional)
Instructions
- Preheat your oven to 400 degrees F. Line a 12-cup muffin tin with paper liners or grease well.
- In a medium bowl, pour the boiling water over the wheat bran. Let it sit for 5 minutes until the bran softens.
- Add the buttermilk, melted butter, brown sugar, molasses, egg, and vanilla extract to the softened bran mixture. Stir everything together until combined.
- In a separate large bowl, whisk together the whole wheat flour, baking soda, and salt.
- Add the wet ingredients to the dry ingredients. Mix gently until just combined. Do not overmix; a few lumps are fine.
- If using, fold in the raisins or chopped apple now.
- Divide the batter evenly among the 12 prepared muffin cups, filling each about two-thirds full.
- Bake for 15 to 18 minutes, or until a toothpick inserted into the center comes out clean.
- Let the muffins cool in the pan for 5 minutes before transferring them to a wire rack to cool completely.
Notes
- For an oat bran muffin variation, substitute half of the wheat bran with oat bran.
- These muffins freeze well. Cool them completely, then place them in an airtight, freezer-safe bag for up to three months. Thaw overnight on the counter or reheat briefly in the microwave.
- If you do not have buttermilk, mix 1 cup of regular milk with 1 tablespoon of white vinegar or lemon juice and let it sit for 5 minutes before using.
Nutrition
- Serving Size: 1 muffin
- Calories: 180
- Sugar: 12
- Sodium: 180
- Fat: 5
- Saturated Fat: 3
- Unsaturated Fat: 2
- Trans Fat: 0
- Carbohydrates: 33
- Fiber: 5
- Protein: 4
- Cholesterol: 25
