

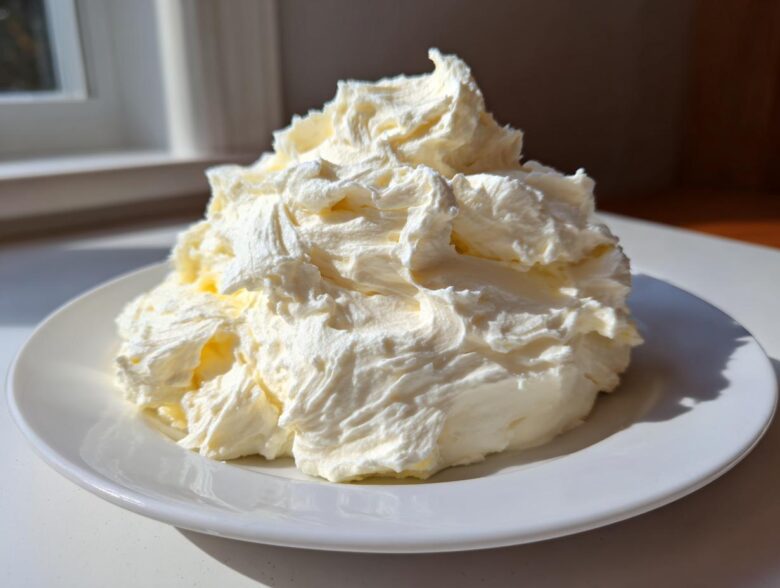
Oh, the struggle is real when you’re trying to get that perfect topping, isn’t it? So many times I’ve ended up with frosting that was either too runny or worse, gritty with tiny, annoying lumps. Ugh! But let me tell you, I finally cracked the code for the absolute best classic cream cheese frosting. It’s creamy, beautifully tangy, and you can whip it up in literally just ten minutes. My grandmother, bless her heart, taught me years ago that texture is everything, even in something as simple as a topping. Her patience with whipping ingredients until they were perfect is why I insist on certain steps here—it’s all about the technique, a bit like the foundation of friendship we talk about over at Savor Sensations. Trust me, this cream cheese frosting recipe will change how you top everything.
Why This Is The Best Classic Cream Cheese Frosting Recipe
I know everyone claims theirs is the best, but honestly, this recipe is the one I turn to every single time. It ticks all the boxes you need for a truly fantastic topping!
- It’s ridiculously fast—ready in under 10 minutes!
- You get that incredibly fluffy cream cheese frosting texture everyone wants.
- It’s perfectly balanced; rich and decadent without being overwhelmingly sweet.
- It makes a beautiful, tangy cream cheese icing that goes with everything!
Achieving Super Smooth Cream Cheese Frosting Texture
Okay, this is where we prevent the worst kitchen catastrophe: lumps. You have to, absolutely *have* to, make sure your butter and cream cheese are soft—like, really soft, room temperature soft. If they are cold, they just won’t incorporate without leaving little cream cheese pebbles behind. Also, don’t skip sifting that powdered sugar! It seems like extra work, but it takes out any hard tiny bits lurking in the bag, guaranteeing that silky finish.
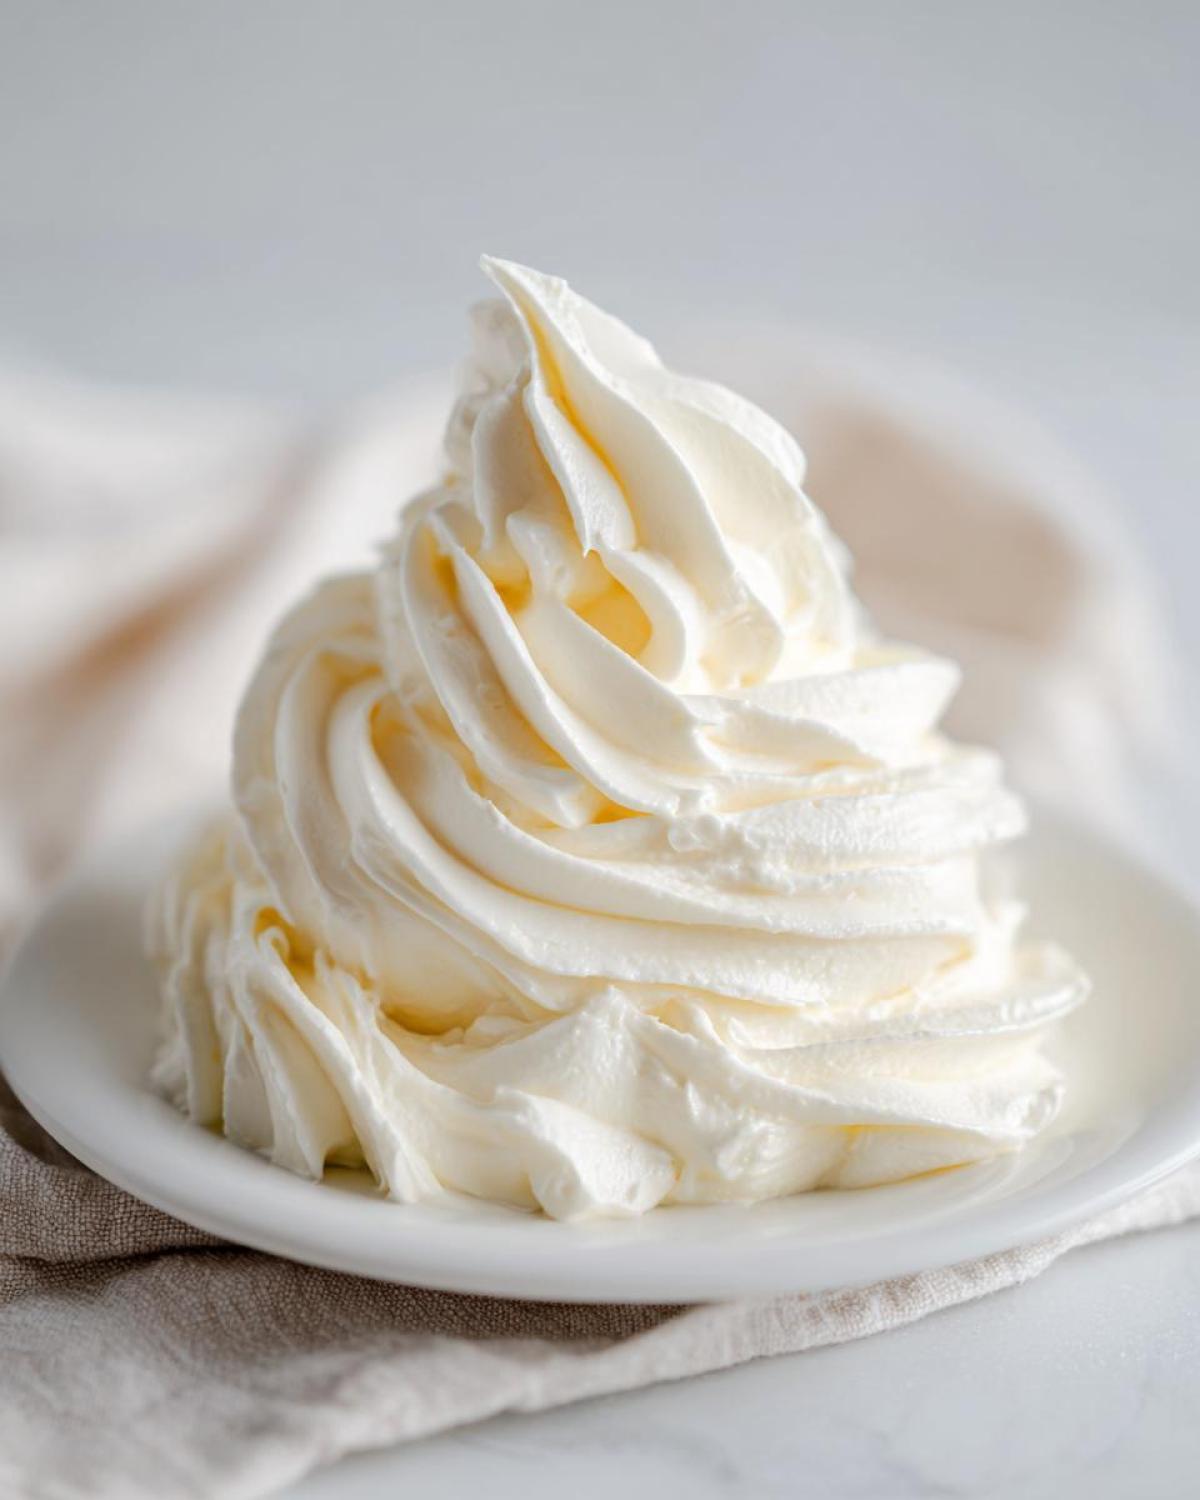
Perfect Balance: Richness Meets Tang in Your Cream Cheese Frosting
What I love about this formula is how it tastes sophisticated, sort of like a smooth buttercream alternative but with that signature cream cheese zing. We use just enough sugar to sweeten it up properly, but the natural tang of the full-fat cheese cuts right through, so it never tastes like you’re just eating sugar with a hint of flavor. It’s that beautiful contrast that makes it addictive!
Ingredients for Your Fluffy Cream Cheese Frosting
Gathering your things is half the battle won, especially since this recipe comes together so fast! We need good quality components here because there are so few of them, so don’t skimp on the cream cheese. You’ll need enough to make about 3 cups of glorious topping. Make sure everything is truly at room temperature—I mean it! This is non-negotiable for amazing results.
- 1 cup (2 sticks) unsalted butter, softened to room temperature
- 8 ounces full-fat cream cheese, softened to room temperature
- 4 cups powdered sugar, sifted
- 1 teaspoon pure vanilla extract
- 1/4 teaspoon salt
Ingredient Notes and Substitutions for Cream Cheese Frosting
Listen, I’m an artist in the kitchen, and art requires the right materials! For this cream cheese frosting to work perfectly—especially if you want it pipeable—you need full-fat cream cheese. The stabilizers in the light or whipped versions just don’t give you that lovely structure we are aiming for. If you use salted butter instead of unsalted, you might want to cut that salt down to just a tiny pinch, or even leave it out if you prefer a milder flavor.
And remember what I said about sifting? It’s the secret weapon for that no lump frosting. Just run your powdered sugar through a fine-mesh sieve right into a clean bowl before you start mixing. It sounds fussy, but it saves you minutes of scraping lumps out later, and trust me, nobody wants salty, gritty sugar bits in their frosting!
How to Make Quick Homemade Cream Cheese Frosting
As I promised, this entire process, from pulling out the mixer to having a lovely, ready-to-spread topping, takes about ten minutes. It really is the quickest way to get that perfect swirl on your baked goods. Don’t rush the mixing times, though! That’s the magic secret to making sure this becomes a truly pipeable cream cheese frosting.
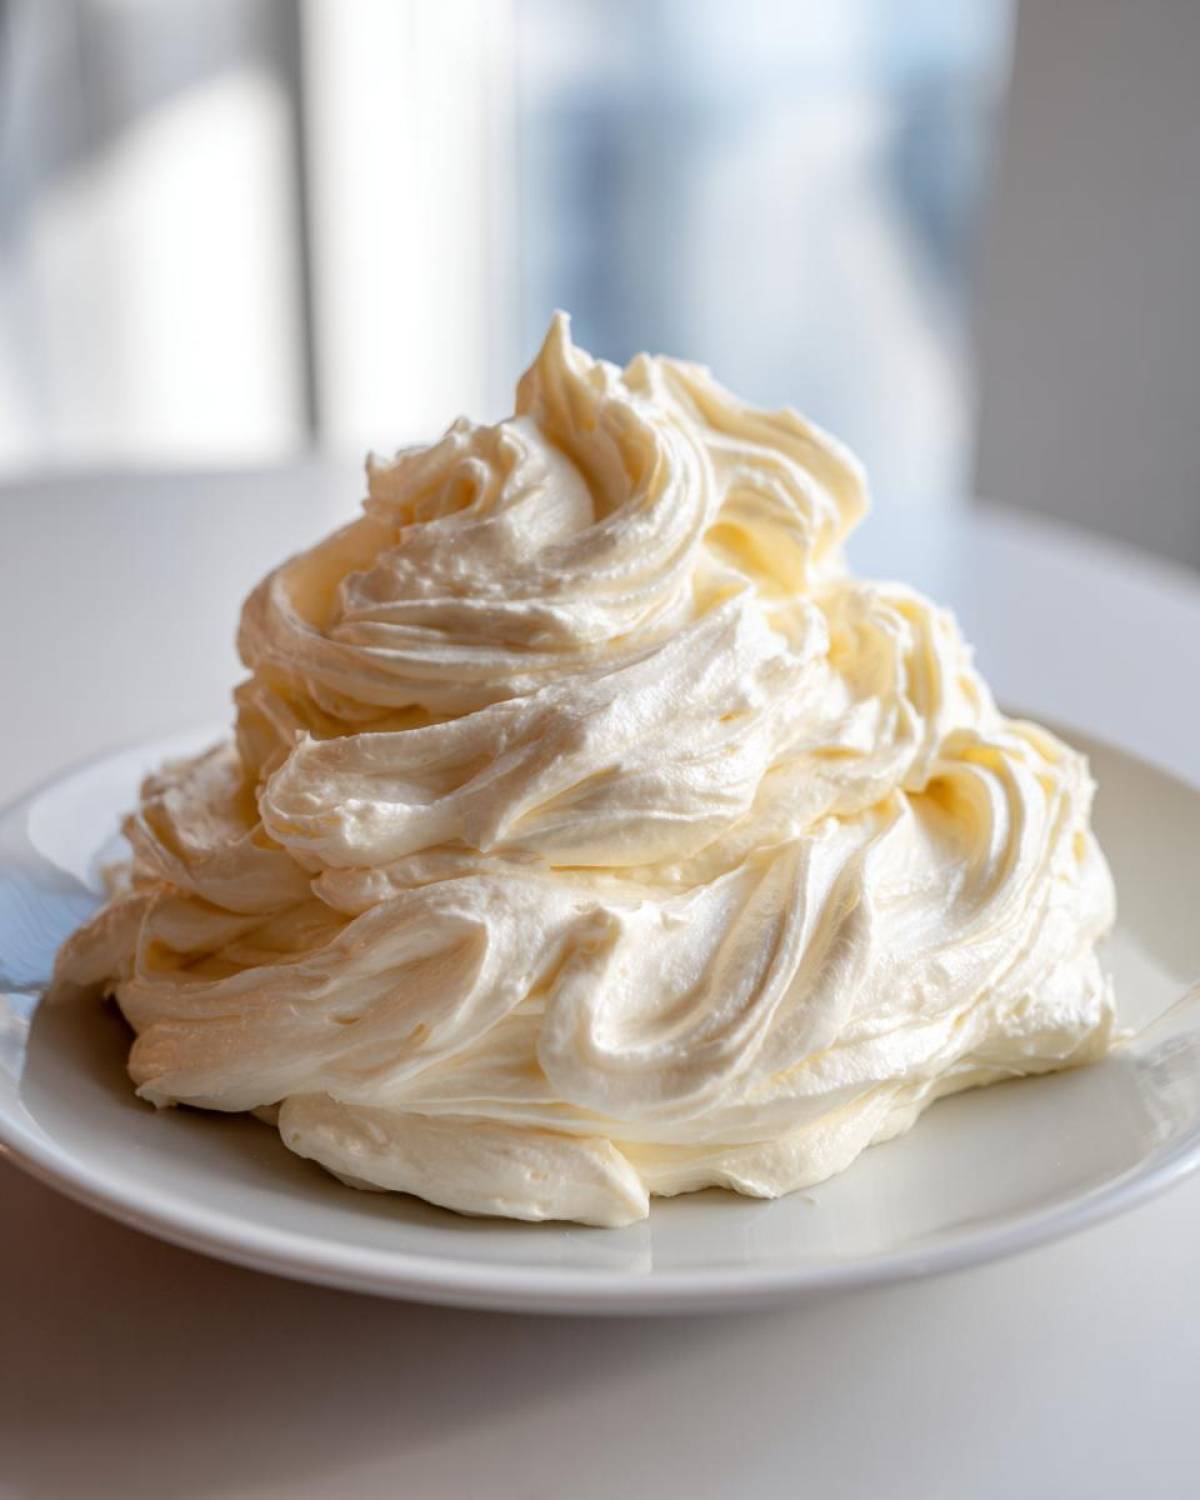
We’re relying on the power of the mixer here to do the heavy lifting, so make sure your paddle attachment is clean and ready to go. Head over to my latest blog post if you want to see more of my basic baking prep tips—it all feeds into making this frosting perfect!
Creaming Butter and Cream Cheese for a Smooth Start
This is Step 1, and it’s essential for getting that beautiful, lump-free texture. Take your softened butter and your softened cream cheese—and remember, room temperature is key!—and let them dance together in your stand mixer. Use the paddle attachment on medium speed for about two solid minutes. You want them totally combined until they look like pale, creamy velvet. Stop the mixer, take your spatula, and scrape down the sides and especially the bottom of the bowl. Seriously, get every nice bit off the bottom!
Whipping to Achieve Pipeable Cream Cheese Frosting
Once you’ve scraped it all down, reduce the speed to low—we don’t want a powdered sugar explosion across your kitchen! Now, add your sifted sugar slowly, just one cup at a time, letting it integrate before adding the next load. After the sugar is in, toss in your vanilla and the salt. Now, for the big finish: turn the speed up to medium-high and let it whip for a solid 3 to 4 minutes! This final whipping incorporates all the air needed to make your topping light and wonderfully pipeable cream cheese frosting that won’t just melt off the sides of your cake.
If you taste it now and think, “Oops, it’s a bit too floppy for my piping bag,” don’t panic! Just pop the bowl into the fridge for about 15 or 20 minutes. That chill time firms it up beautifully. If you’re in a huge rush and it ends up a little stiff, add just a teaspoon of milk or cream at a time until it’s spreadable again. It’s always fixable!
Tips for Perfect Cream Cheese Frosting Success
Even when following the recipe exactly, sometimes things just need a little tweak, right? That’s where paying attention to the details—my favorite part!—comes in handy. I always keep a small bowl of milk handy for the stiff days and a tray in the fridge for the melty days. You’re aiming for something silky, not concrete, and not soup!
If you ever find yourself with frosting that got too warm on the counter while you were prepping your baked goods, don’t worry about starting over. Just cover that bowl and pop it in the fridge! Give it about 15 minutes, check the texture, and if it still seems too soft to hold a nice swirl, chill it for another five. It firms right back up!
On the flip side, sometimes if you’ve chilled it too long or if your kitchen is just naturally cold, your cream cheese frosting might get a little too hard to scoop or spread evenly. When this happens, grab your spatula and beat it on low speed for just thirty seconds. If that doesn’t loosen it up, add just a tiny drizzle of heavy cream—I mean, maybe half a teaspoon—and beat it again briefly. It only takes a second to bring it back to that lovely, workable stage. It’s kind of like blending colors; you add a binder drop by drop until it’s just right. For more tips on keeping that moisture level perfect across different recipe types, check out my thoughts on zucchini muffins here!
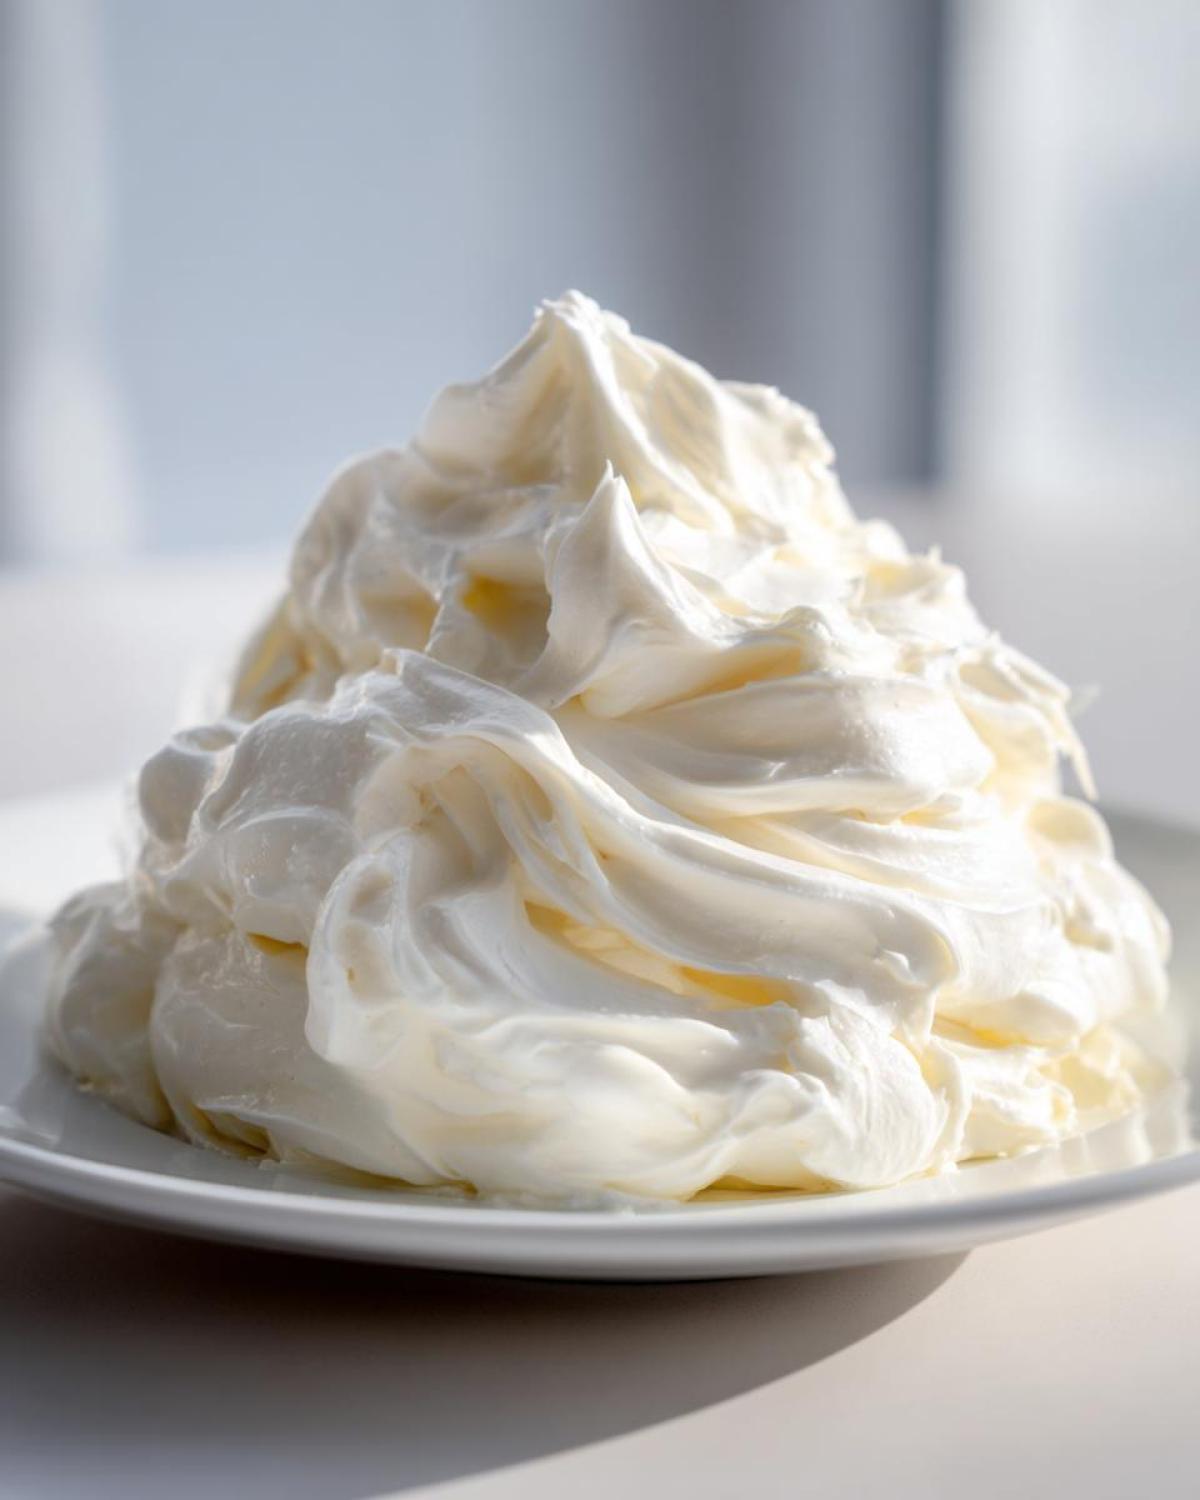
Remember, that initial creaming of the butter and cheese is crucial for a no lump frosting, but the final long whip is what gives you that light, fluffy texture that also acts as a wonderful smooth buttercream alternative. Don’t rush the last few minutes of mixing!
Using Your Cream Cheese Frosting for Cinnamon Rolls and Cakes
One of the best things about this recipe—besides how fast it comes together—is how incredibly versatile it is. This isn’t just some sad, one-note topping! It’s decadent enough for a slice of carrot cake, but it has this perfect tangy lift that keeps it from being too heavy.
My favorite application? Definitely thick, swirling mounds of this over warm, gooey cinnamon rolls. Seriously, once you try this cream cheese frosting for cinnamon rolls, you’ll never go back to a simple icing. It just melts right in, giving you that perfect combination of sweet dough and tart cheese spread. We also use it, of course, on anything red velvet. If you’re looking for something slightly lighter than straight buttercream but still stable for piping on cupcakes, this is your go-to.
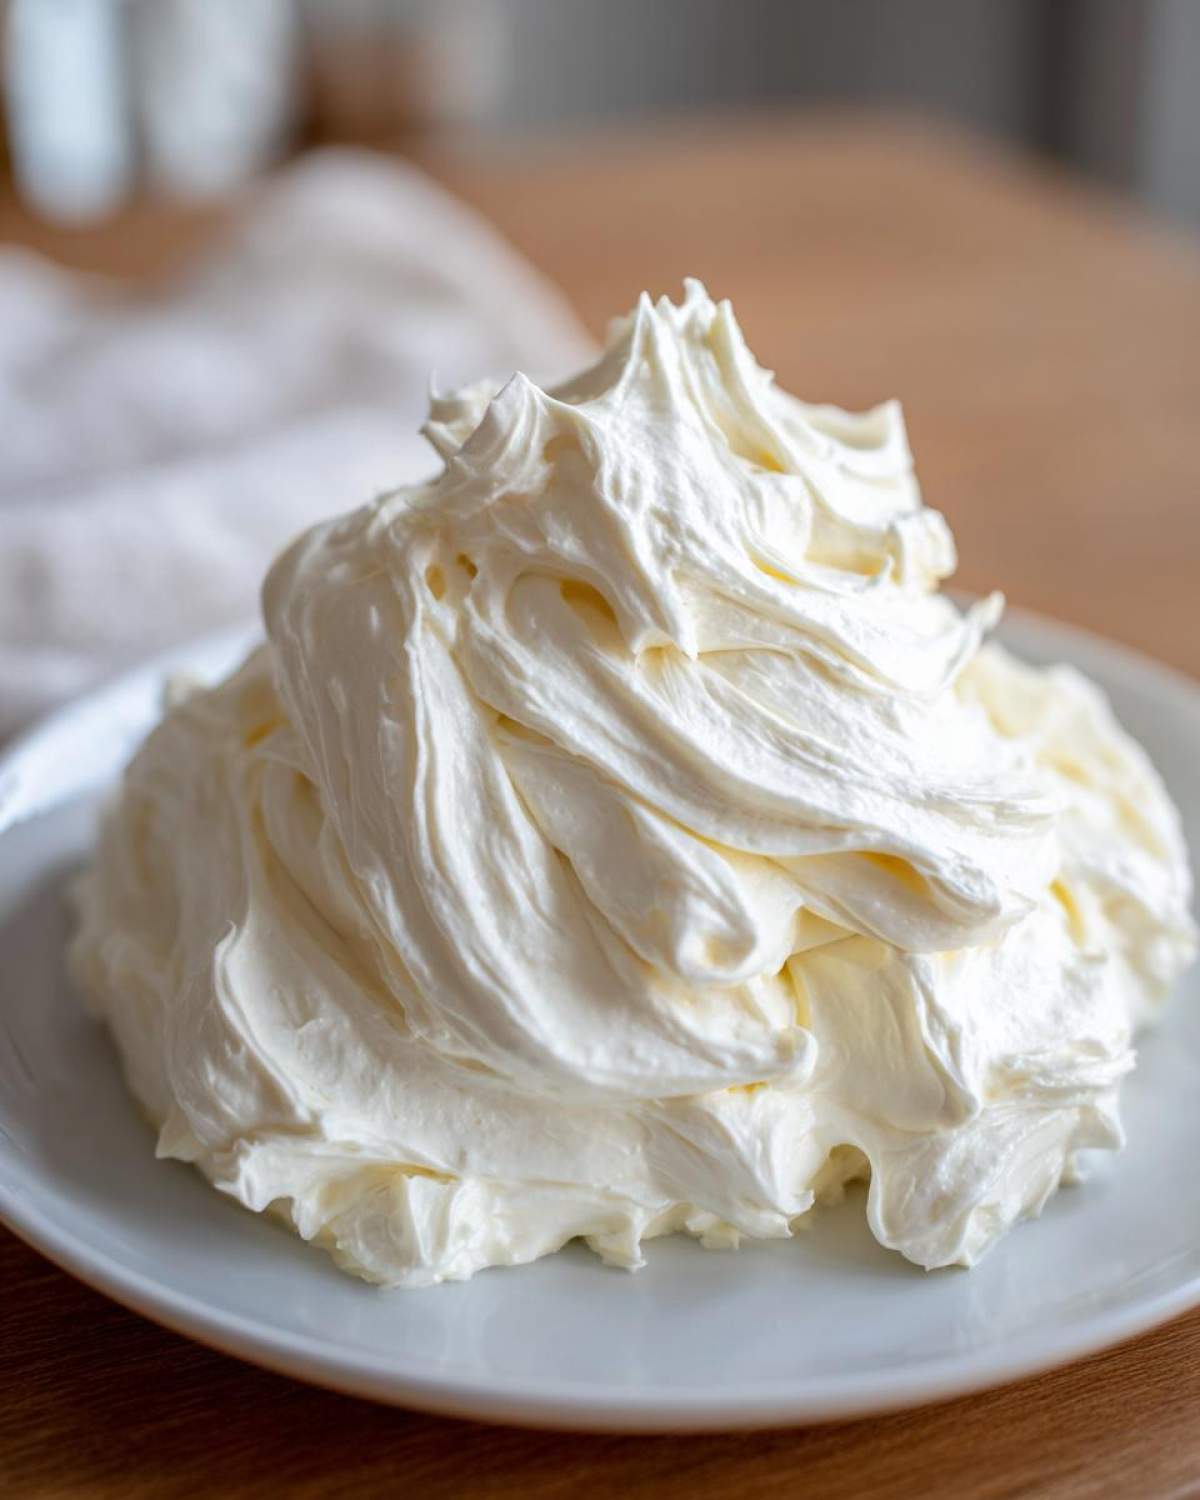
This wonderful topping is sturdy enough to look gorgeous on layer cakes, but still soft enough to feel homemade and inviting. If you’ve ever made our apple cinnamon rolls, you know this frosting ties the whole flavor profile together! If you want to read some other thoughts on achieving the ultimate frosting, check out the tips shared over at Simple Joy.
Storage and Reheating Instructions for Cream Cheese Frosting
This is a great question because, honestly, I always make a double batch just in case! Unlike simple powdered sugar glazes, this rich cream cheese frosting has dairy that needs careful handling. If you have leftovers—and if Sasha doesn’t already eat it all straight from the bowl—you have a few storage options.
Overall, this frosting will keep beautifully in the refrigerator for about a week. Make sure you are airtight! Transfer it to a sturdy container, press a layer of plastic wrap directly onto the surface of the frosting—this keeps that pesky skin from forming—and then seal the container tightly. It lasts surprisingly long thanks to the high sugar content, but after seven days, I just feel safer tossing it. If you want to keep it longer, you can freeze it for up to three months! Just make sure to wrap it really well in plastic wrap first, and then put it inside a sturdy freezer bag.
Bringing Cold Frosting Back to Life
Now, here’s the tricky part: when you take cold, hard frosting out of the fridge, you cannot just start beating it! If you try to whip it straight from the cold, it will crumble and look grainy. You need to let it sit on the counter for at least an hour, maybe two depending on how warm your kitchen is, until it’s just soft enough to press a finger into easily. This lets the butter and cream cheese soften up again.
Once it’s soft, treat it like a fresh batch. Put it in your mixer bowl and beat it on medium speed for about two minutes until it comes back together smoothly. If it seems a *little* soft after that, you can add one tablespoon of sifted powdered sugar to firm it up, or spend two more minutes whipping it high speed to recapture that air. If you’re using that link from House of Nash Eats for comparison, you’ll find my technique for softening is what keeps the texture from turning gritty!
If you’ve frozen it, you must thaw it slowly in the refrigerator overnight before bringing it to room temperature. It takes longer, but it prevents ice crystals from breaking down the rich fat structure. Remember, patience is the secret ingredient even when reheating!
Frequently Asked Questions About Cream Cheese Frosting
I always get asked about the little things when people try this recipe the first time, and that’s awesome! Having answers ready means you can skip the stress and get straight to the delicious part. Here are the things I hear most often about making the absolute best cream cheese frosting.
How do I make sure my cream cheese frosting has no lump frosting texture?
If you are aiming for that gorgeous, no lump frosting, you need to treat your dairy ingredients like royalty! The number one cause of lumps is cold cream cheese or butter. They just won’t blend smoothly into the sugar if they’re chilled. Pull them out an hour, maybe even two, before you plan to mix. Seriously give them time to soften up nicely.
The second crucial step is sifting your powdered sugar. I cannot stress this enough! Yes, it takes an extra three minutes, but that rough, gritty texture you sometimes get in other easy cream cheese frosting recipes? That comes from sugar that wasn’t sifted. Sifting ensures everything combines into one ethereal cloud fluff!
Can I make this recipe sweeter or tangier?
Absolutely, you can tailor this basic cream cheese icing to your own liking! If you want it sweeter, just add another half cup of sifted powdered sugar during the final whipping phase, but make sure you beat it well afterward to incorporate it. Don’t go overboard all at once, though; add a little, taste, and repeat!
If you’re craving more of that wonderful tang to cut through a rich cake—say, for a chocolate cake—you can increase that zing in a couple of ways. You can slightly increase the amount of cream cheese by an extra ounce, or my secret trick is adding exactly one teaspoon of fresh lemon juice along with the vanilla extract. It brightens everything up without changing the texture too much!
Is this a stable cream cheese frosting for piping?
Yes, my dear, this is one of the main reasons I call this the best cream cheese frosting! Because we use a 1:1 ratio of nearly equal parts butter and cream cheese (by weight, nearly!), it has a far better structure than recipes that use way more cheese than butter. It really acts like a wonderful smooth buttercream alternative when properly whipped.
If you’re planning to do intricate designs, or if your kitchen is just naturally warm (mine gets steamy when Sasha is frying something!), you absolutely need that chilling step. After you finish the 3-4 minute whip, cover the bowl and pop it in the fridge for about 20 minutes. That little chill firms up the fats just enough so you get clean, sharp edges when you use your piping bag!
Estimated Nutritional Data for Cream Cheese Frosting
Now, I know we are here for flavor and frosting magic, not counting every single bite, but I always like sharing the numbers just so you know what’s in your glorious spread. This information is just an estimate, of course, because how much you taste-test while making it can totally change the final count!
These figures are based on the recipe yielding about 3 cups, so we’re looking at the stats for a 1/4 cup serving size. Since this is a rich topping, remember that moderation is key, even if it is the best cream cheese frosting you’ve ever made!
- Serving Size: 1/4 cup
- Calories: 380
- Sugar: 40g
- Sodium: 110mg
- Fat: 25g
- Saturated Fat: 15g
- Trans Fat: 0.5g
- Carbohydrates: 41g
- Protein: 2g
Please keep in mind these are our best guesses based on standard product calculations. If you need exact figures for dietary reasons, I always recommend running your specific brands through a reputable online calculator! But trust me, knowing the richness in something this delicious isn’t really about the numbers. It’s about making those moments count. If you have questions about any of the recipe steps, please don’t hesitate to reach out to us over at the contact page!
Share Your Perfect Frosting Creations
That’s it! You now have the secret, the technique, and the recipe to make truly superior cream cheese frosting. You’ve earned the right to frost the prettiest cakes and the goo-iest cinnamon rolls!
I really, truly want to see what you all create with this magic formula. When you make a batch of this easy cream cheese frosting recipe, please snap a picture and tag us! We absolutely adore seeing your adaptations. Did you use it on a special bundt cake? Did you pipe beautiful stars onto cupcakes? Hearing from you all makes the kitchen feel a little less lonely, and it inspires Lena, Sasha, and me so much.
If you loved how simple, smooth, and tangy this topping turned out, please think about leaving a star rating right down below. Those reviews truly help other bakers discover the best ways to top their desserts. Happy frosting, sweet friends! We are so proud of you!
PrintThe Best Classic Cream Cheese Frosting: Smooth, Tangy, and Pipeable
This recipe delivers the best classic cream cheese frosting. It is smooth, creamy, tangy, and holds its shape well for decorating cakes, cupcakes, and cinnamon rolls.
- Prep Time: 10 min
- Cook Time: 0 min
- Total Time: 10 min
- Yield: About 3 cups
- Category: Dessert Topping
- Method: Mixing
- Cuisine: American
- Diet: Vegetarian
Ingredients
- 1 cup (2 sticks) unsalted butter, softened to room temperature
- 8 ounces full-fat cream cheese, softened to room temperature
- 4 cups powdered sugar, sifted
- 1 teaspoon pure vanilla extract
- 1/4 teaspoon salt
Instructions
- Place the softened butter and softened cream cheese in the bowl of a stand mixer fitted with the paddle attachment. Beat them together on medium speed until completely smooth and creamy, about 2 minutes. Scrape down the sides and bottom of the bowl.
- Reduce the mixer speed to low. Gradually add the sifted powdered sugar, one cup at a time, mixing until just combined after each addition.
- Add the vanilla extract and salt. Increase the mixer speed to medium-high and beat for 3 to 4 minutes until the frosting is light, fluffy, and smooth. This whipping time helps prevent lumps.
- If the frosting seems too soft for piping, chill it in the refrigerator for 15 to 20 minutes before using. If it is too stiff, add one teaspoon of milk or heavy cream and beat briefly.
- Use this perfect frosting for red velvet cake, carrot cake, or as a tangy cream cheese icing for cinnamon rolls.
Notes
- For a perfectly smooth frosting, make sure both your butter and cream cheese are truly at room temperature. Cold ingredients cause lumps.
- Sifting the powdered sugar is key to achieving a no lump frosting texture.
- This recipe makes a pipeable cream cheese frosting that holds its shape well for decorating.
- This frosting is excellent as a smooth buttercream alternative for those who prefer a slight tang.
Nutrition
- Serving Size: 1/4 cup
- Calories: 380
- Sugar: 40
- Sodium: 110
- Fat: 25
- Saturated Fat: 15
- Unsaturated Fat: 10
- Trans Fat: 0.5
- Carbohydrates: 41
- Fiber: 0
- Protein: 2
- Cholesterol: 75
