

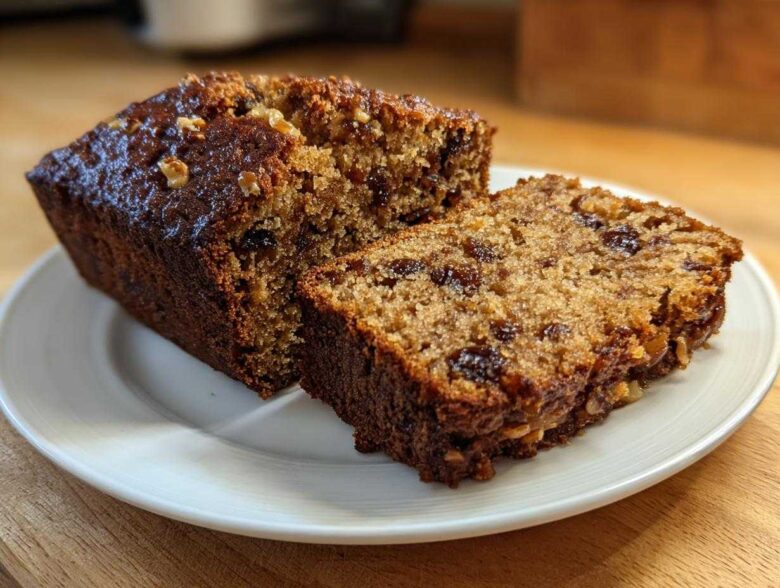
Oh, there’s just nothing on earth like that first slice of something baked warm from the oven, right? For us at Savor Sensations, that feeling is the heart of everything we do. When Anya, Sasha, and I first started cooking together in our hallway—you can read more about our unlikely start right here—we knew we needed a recipe that screamed comfort, and boy, did we nail it! This is our ultimate take on the Easy, Moist, Old-Fashioned Date Nut Bread. It’s simple enough for a weeknight, but special enough for gifting during the holidays. Trust me, once you get the dates just right, you won’t ever use another recipe. Come on into my kitchen; let’s bake something truly wonderful!
Why This is the Best Date Nut Bread Recipe You Will Ever Make
Look, there are quick breads, and then there’s this date nut bread. It hits that sweet spot between being ridiculously simple—seriously, no fancy equipment needed—and tasting like it took you hours of dedicated time in the kitchen. We all chase that perfect crumb texture, and I think we finally cracked the code here. When we were testing this, Sasha kept saying, “It shouldn’t crumble apart like dry toast; it needs to feel *decadent*.” This recipe really delivers that ultra-satisfying, Moist Date Nut Bread that people always ask for.
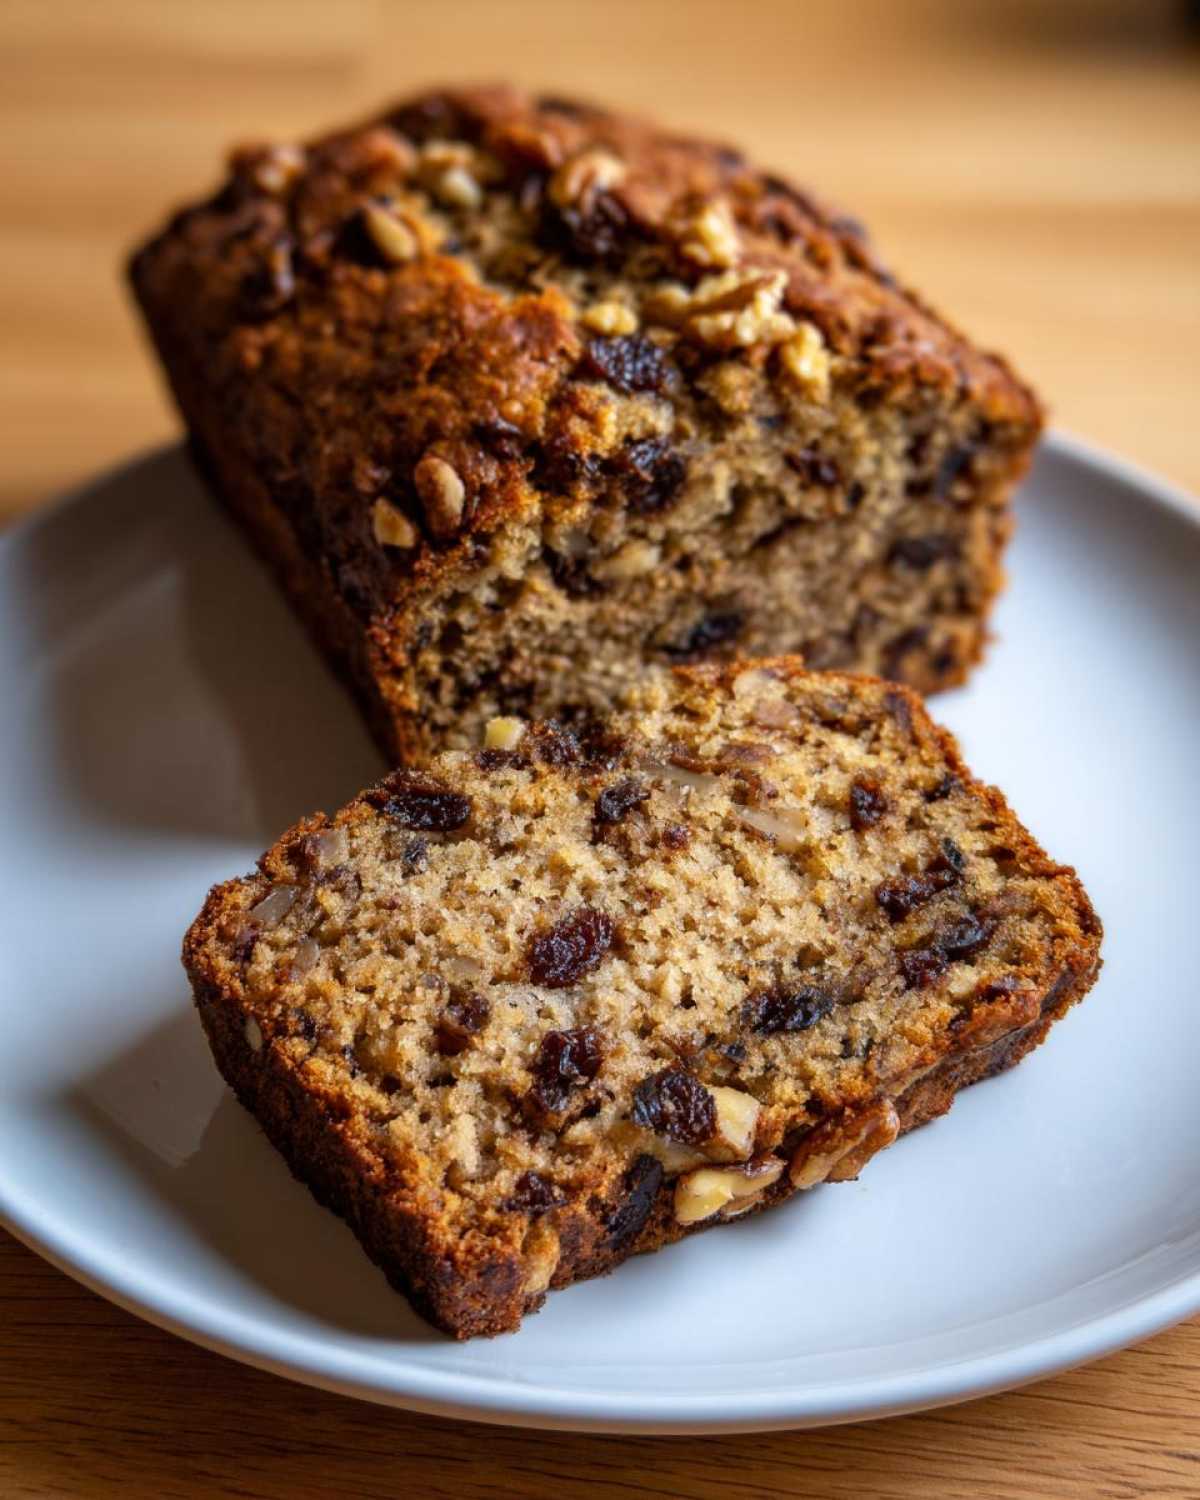
It’s the quintessential Comfort Food Baking item. It fills your house with the warmest smell, and it’s versatile enough for breakfast or dessert. You’re going to quickly see why this is quickly becoming our go-to!
Achieving Maximum Moisture in Your Date Nut Bread
The absolute secret, the step you simply cannot skip, is treating those dates right! We don’t just dump them in. We pour boiling water mixed with baking soda right over them. That reaction starts breaking down their natural structure immediately. When you mix that gooey, softened date mixture into the batter, you are basically injecting pure moisture straight into the loaf. It’s science, folks, but it tastes like pure heaven!
The Appeal of an Old Fashioned Nut Bread
There’s something so wonderfully nostalgic about an Old Fashioned Nut Bread, isn’t there? It doesn’t rely on weird extracts or complicated glazes for flavor; it’s all about that deep, rich sweetness from the dates and the satisfying crunch of the walnuts. This is precisely the loaf that disappears first at any holiday gathering we host—it makes the most amazing Holiday Date Loaf for neighbors, too. It’s pure, classic satisfaction!
Gathering Ingredients for Your Easy Date Loaf Recipe
Alright, let’s talk about what we need to make this magic happen. When you look at the list for this Easy Date Loaf Recipe, you’ll see it uses pantry staples next to those star players—the dates and the walnuts. I always lay everything out before I start; it just makes the whole process so much smoother. Remember, we’re aiming for clarity, so double-check that you have exactly what you need, especially that butter being properly softened. It makes creaming so much easier!
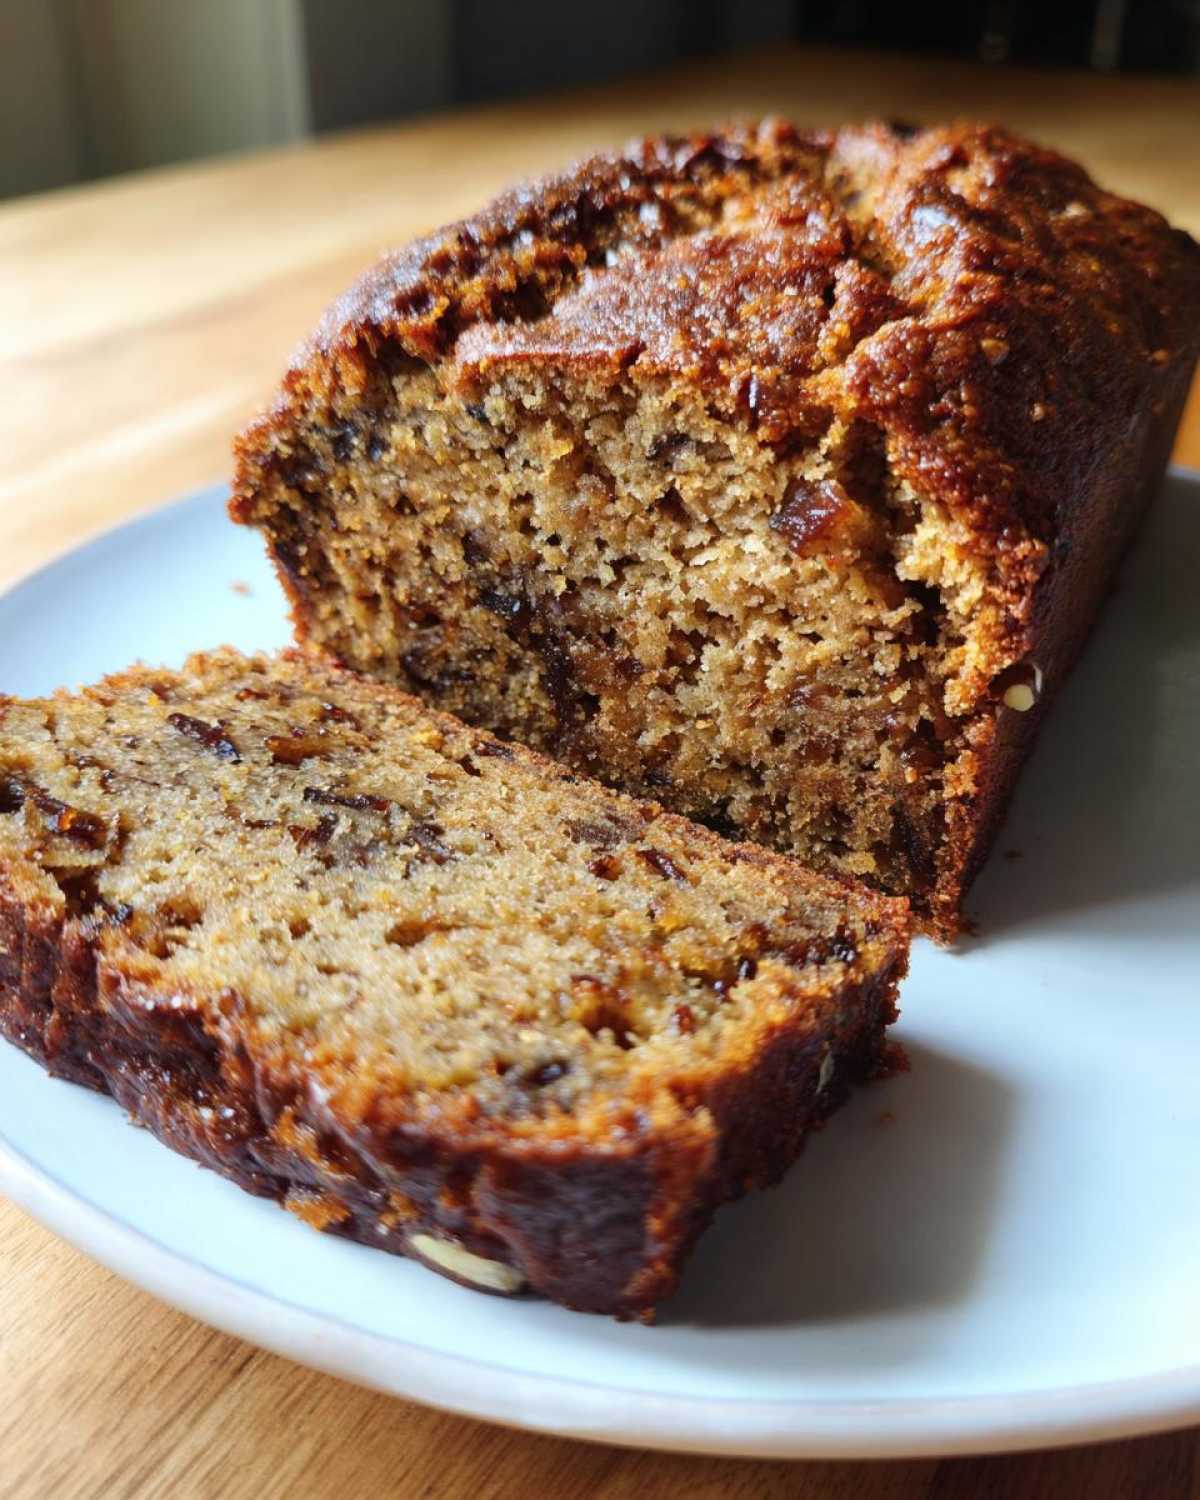
When you get everything together, you’ll notice we use brown sugar instead of white. That’s essential for that deep, comforting molasses note that makes this such a classic.
Ingredient Notes and Substitutions for Date Nut Bread
We always use all-purpose flour here because it gives us that perfect structure for a Quick Bread Baking success, but if you want to lighten things up a bit, you can swap out half of it for whole wheat flour. Don’t hesitate to play around! If you’re craving something extra decadent for a weekend treat, toss in about half a cup of mashed ripe banana with your wet ingredients—it works beautifully with the sweetness of the dates. Seriously, Baking with Dates opens up so many possibilities!
Step-by-Step Instructions for Classic Quick Bread Baking
Okay, you’ve got your ingredients ready, so now it’s time to get this batter going! The total prep time is just about 15 minutes, which is fantastic for such a richly flavored loaf. We are focusing on the ease of Quick Bread Baking here, which means no waiting for yeast to wake up. Just mix, pour, and bake! Pay close attention to how we handle those dates because that’s the game-changer for our Best Date Nut Bread Recipe. Understanding the basic techniques here will help you master all your Classic Quick Breads!
Preparing the Date Mixture for Perfect Date and Walnut Bread
This is the first official step, and it’s non-negotiable! You’re going to put your chopped dates in a bowl and cover them with boiling water, stirring in that baking soda right away. Let this sit for a good ten minutes. That baking soda starts reacting with the moisture, dissolving the dates just enough to make them soft and jammy later. If you skip this, your bread will be tougher—we want tender structure here! This simple trick guarantees you a wonderfully moist final product.
Mixing and Baking Your Date Nut Bread Loaf
Next up is the creaming. Beat that softened butter and brown sugar until it’s light and fluffy. Then, beat in your eggs one at a time so they incorporate smoothly. After that, slowly mix in your dry ingredients—flour, baking powder, salt—but stop mixing the second they disappear. Seriously, don’t grab a blender for this part! Overmixing develops gluten, and that’s how you get a chewy, tough loaf instead of a tender one. Gently fold in your walnuts and the date mixture, liquid and all! Pour that beautiful batter into your prepared 9×5 pan, top with a few extra walnuts, and knowing the method for great Quick Bread Baking will serve you well for any recipe. Pop it into a 350°F oven for about 55 to 65 minutes. Remember that wooden skewer test; we need it to come out clean!
Tips for Success with Homemade Quick Breads
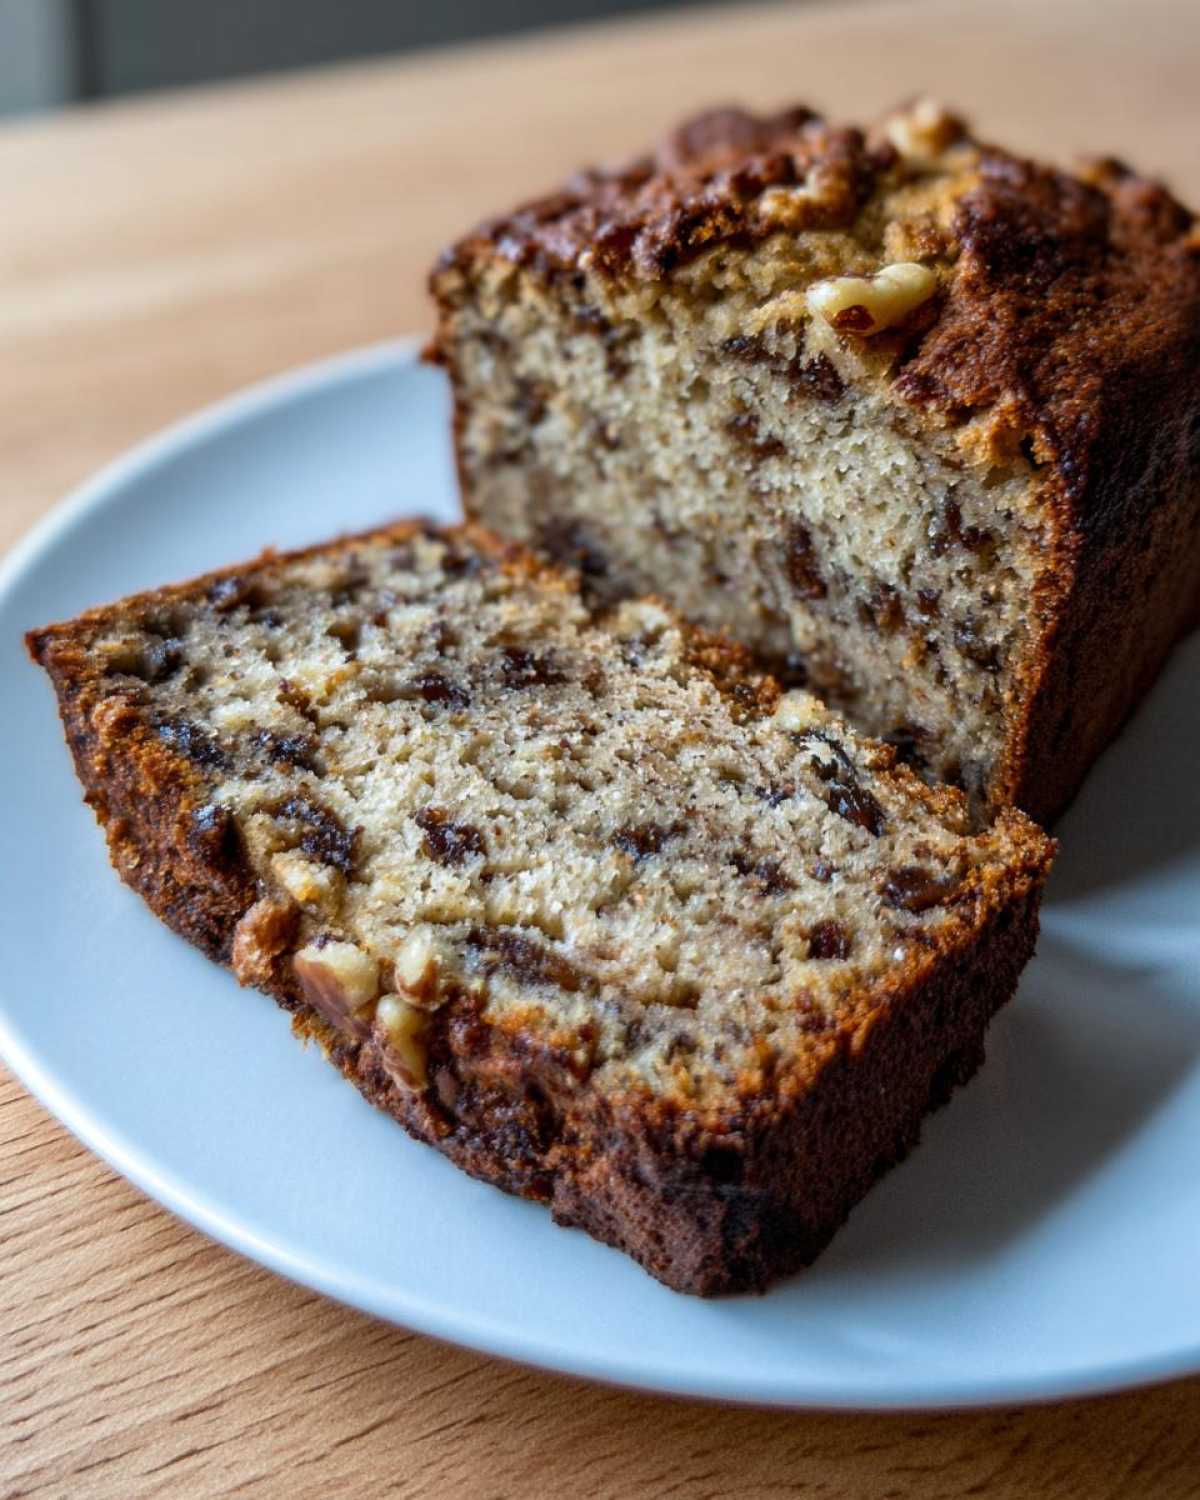
Baking quick breads can feel a little intimidating when you’re aiming for perfection, but trust me, once you master a few tricks, you’ll be whipping up loaves like a seasoned pro! For this to be the Best Date Nut Bread Recipe, you need to focus on two things after mixing the batter: the pan and the patience to cool it down properly.
First, prepping that pan is non-negotiable. We grease and flour everything because, frankly, date bread is sticky! I always give the bottom an extra little dusting, or sometimes I cheat and use a smear of cake release, just to be sure. If you want to see more of my favorite behind-the-scenes tricks for successful baking, check out my latest posts on the baking blog!
Second, when it comes out of the oven, that 10-minute cool-down in the pan is vital. If you try to turn it out immediately, it might collapse or tear because the structure hasn’t quite set yet. Let it hold onto the warmth in that metal cradle for just a moment. Then, move it onto the wire rack. Resist the urge to slice it immediately for at least an hour—I know, it’s torture, but slicing while piping hot releases steam that makes the interior gummy. Patience really makes this Homemade Quick Breads recipe shine!
Serving Suggestions for Your Date and Walnut Bread
Now comes the best part: figuring out how to devour this glorious loaf! Since this is such a fantastic Wholesome Snack Bread, sometimes I love it just plain, sliced thick while it’s still slightly warm. That’s Sasha’s preference, of course—she loves the direct flavor of the dates and nuts!
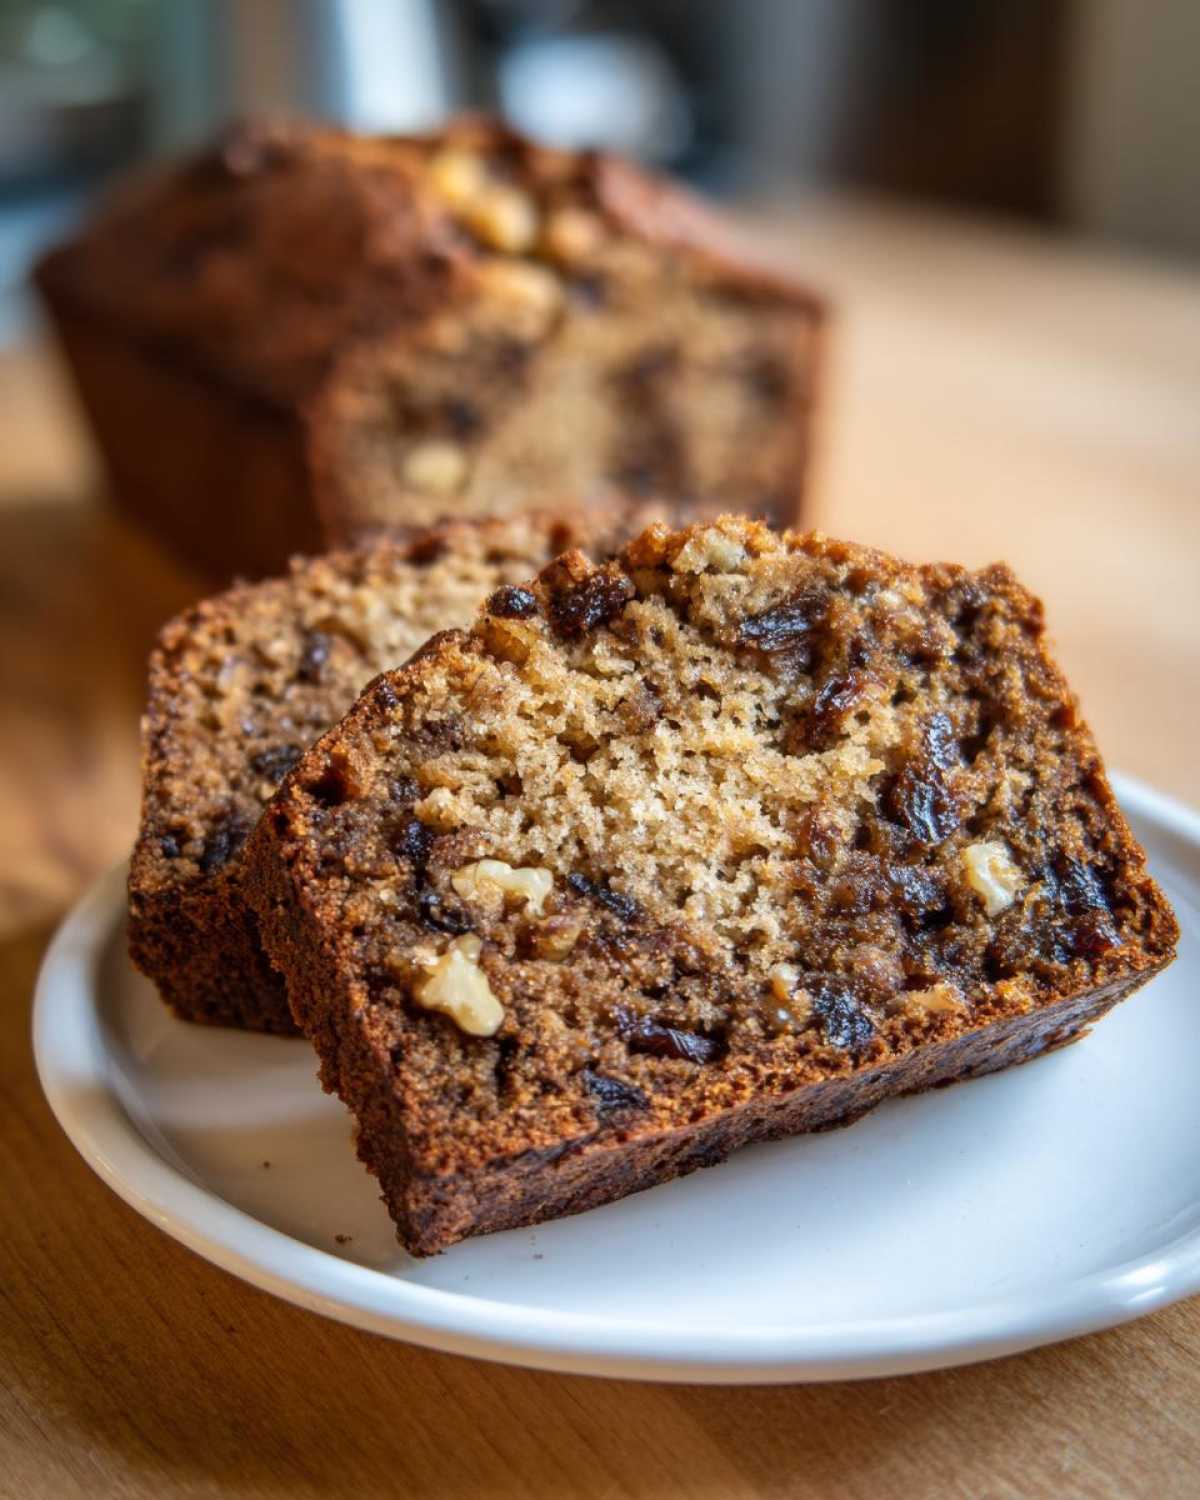
If you’re serving this for breakfast, you simply must try it toasted with a thick swipe of good quality, slightly salted butter. That melts right into all the nooks and crannies. Anya, bless her artistic heart, insists on topping her slice with a dollop of homemade apricot preserves or maybe a light smear of cream cheese. No matter how you enjoy it, this recipe fits perfectly into our Breakfast Loaf Recipes lineup. Enjoy every crumb!
Storage and Make-Ahead Tips for Date Nut Bread
Don’t stress if you bake this giant, delicious loaf and realize you can’t possibly eat it all in one day—though, you might try! This bread, like most good quick breads, actually tastes even better the next day once everything settles.
If you plan to eat it within three or four days, just wrap the cooled loaf tightly in plastic wrap, then maybe a layer of foil. Keeping air out is the key to maintaining that moisture we worked so hard to achieve!
But listen to this next part: it freezes like a dream! Once it’s completely cooled, wrap it up super tight in plastic and then foil, and stash it in the freezer. When you’re ready for a treat, just thaw it on the counter. Having this Date Nut Bread ready ahead of time is perfect when company drops by!
Date Nut Bread Variations: Simple Spiced Bread Options
Even though this is a classic, sometimes you just want to jazz things up a tiny bit, right? That’s where we bring in a few of those fun twists we’ve played with over the years. This recipe lays down such a sturdy flavor base that it handles mix-ins like a champ. If you love baking something that feels a little more complex without the effort, focusing on the spices is your ticket!
We mentioned the banana variation earlier, which is amazing if you have some overripe ones hanging around. If you want to lean into the holiday vibes, try adding a teaspoon of ground cinnamon and a quarter teaspoon of ground nutmeg along with the baking powder. That instantly transforms it into a far more festive, Simple Spiced Bread.
For those who like a little chocolate kick with their nuts, feel free to fold in half a cup of mini chocolate chips with the walnuts. It’s not traditional, but wow, is it good! You can also check out some of our other favorite moist recipes, like this amazing Chocolate Chip Zucchini Bread, if you’re looking for more ways to sneak veggies into your baked goods!
Frequently Asked Questions About Date Nut Bread
We get so many questions about this loaf, usually right after people try it for the first time because they can’t believe how easy it was! Here are a few things that come up most often when people are baking up this wonderful Date Nut Bread.
Can I use different nuts in this date nut bread?
Absolutely, you can! While walnuts are the classic choice because they have that perfect earthy crunch that complements the dates so well—making it a true Old Fashioned Nut Bread—feel free to swap them out. Pecans are fantastic if you want a slightly richer, buttery flavor. You could even try slivered almonds if you prefer something a little milder. Just make sure whatever nut you choose is roughly chopped so you get a nice distribution throughout the crumb!
Why did my quick bread sink in the middle?
This is probably the most common issue with any Quick Bread Baking project, I’m sorry to say! Usually, when a loaf sinks, it means the center wasn’t quite set when you pulled it out. The oven might be running cool, or maybe you opened the door too early to check on it. My advice: always trust that wooden skewer test mentioned in the instructions. If you pull it out and it looks done but the tester is wet, give it another 5 to 8 minutes at the same temperature. It’s always better to bake quick breads a little longer than to end up with a gooey, sunken mess in the middle!
Is this date nut bread recipe suitable for making ahead?
Yes, yes, and yes! This is one of the best features of this Easy Date Loaf Recipe. Because it’s so moist, it holds up incredibly well. As I mentioned before, it’s wonderful the next day, but you can absolutely wrap it tightly once it’s fully cooled and freeze it for up to three months. Pull it out the night before you need it, and it will be perfect. Having this ready to go makes serving snacks or breakfast so much less stressful!
Nutritional Estimate for Your Homemade Date Nut Bread
Now, I have to be totally upfront here—Sasha always laughs because I measure everything in “smiles per slice,” not actual data! But Anya, being the super detail-oriented one, tracked down some numbers for us. So, while these figures are just an estimate based on the ingredients in our recipe, here’s what you can generally expect per slice. Remember, this is a lovely, dense loaf, so it’s a satisfying treat!
- Calories: Roughly 280
- Fat: About 13g
- Carbohydrates: Around 40g
- Protein: 4g
Enjoying a slice of this homemade goodness with some cream cheese or maybe a little hot tea doesn’t hurt anyone, especially when you know it’s made with real butter and love. If you want to check out another great recipe that shares some crossover ingredients, take a peek at this lovely loaf from The Baking Chocolatess; they do a wonderful job with old-fashioned date nut bread!
PrintEasy, Moist, Old-Fashioned Date Nut Bread
Bake a truly comforting quick bread that stays moist. This old-fashioned date nut bread recipe is simple to make and perfect for breakfast, snacking, or holiday gifting.
- Prep Time: 15 min
- Cook Time: 60 min
- Total Time: 75 min
- Yield: 1 loaf (about 10 servings)
- Category: Quick Bread
- Method: Baking
- Cuisine: American
- Diet: Vegetarian
Ingredients
- 1 cup boiling water
- 1 cup pitted dates, chopped
- 1 teaspoon baking soda
- 1/2 cup (1 stick) unsalted butter, softened
- 1 cup packed light brown sugar
- 2 large eggs
- 1 teaspoon vanilla extract
- 1 3/4 cups all-purpose flour
- 1 teaspoon baking powder
- 1/2 teaspoon salt
- 1 cup chopped walnuts, plus extra for topping
Instructions
- Preheat your oven to 350°F (175°C). Grease and flour a standard 9×5 inch loaf pan.
- Place the chopped dates in a small bowl. Pour 1 cup of boiling water over the dates and stir in the baking soda. Let this mixture sit for 10 minutes to soften the dates.
- In a large bowl, cream together the softened butter and brown sugar until light and fluffy. Beat in the eggs one at a time, then stir in the vanilla extract.
- In a separate medium bowl, whisk together the flour, baking powder, and salt.
- Gradually add the dry ingredients to the wet ingredients, mixing until just combined. Do not overmix the batter.
- Gently fold in the chopped walnuts and the date mixture (including all the liquid).
- Pour the batter into the prepared loaf pan. Sprinkle a few extra chopped walnuts over the top, if desired.
- Bake for 55 to 65 minutes, or until a wooden skewer inserted into the center comes out clean.
- Let the loaf cool in the pan for 10 minutes before turning it out onto a wire rack to cool completely. Slice and serve warm with butter for the best flavor.
Notes
- For an extra moist loaf, soak the dates in hot water for 15 minutes instead of 10.
- You can substitute half the all-purpose flour with whole wheat flour for a slightly healthier option.
- This bread freezes well once completely cooled. Wrap tightly in plastic wrap and then foil.
- If you prefer a sweeter loaf, add 1/2 cup of mashed ripe banana to the batter.
Nutrition
- Serving Size: 1 slice
- Calories: 280
- Sugar: 25
- Sodium: 180
- Fat: 13
- Saturated Fat: 5
- Unsaturated Fat: 8
- Trans Fat: 0
- Carbohydrates: 40
- Fiber: 2
- Protein: 4
- Cholesterol: 55
