

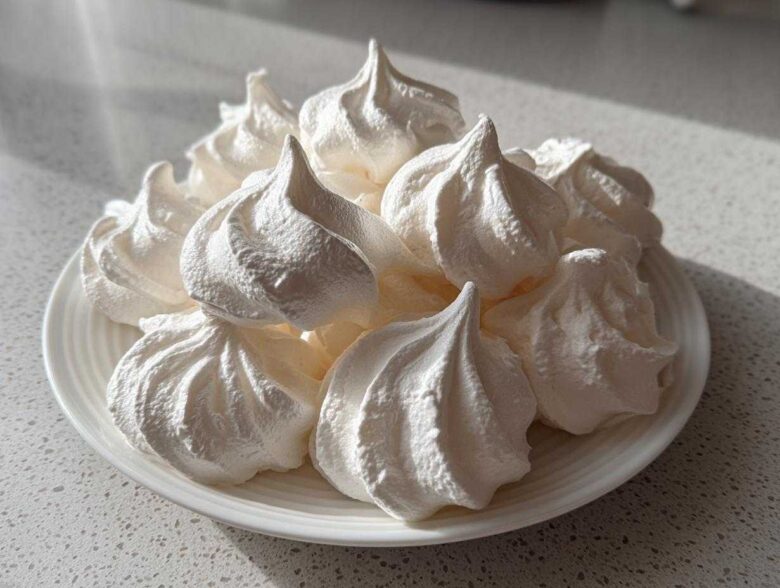
Isn’t it amazing how something made of just egg whites and sugar can turn into pure magic? When Sasha started making these, I honestly thought, “How can something so simple taste this good?” Meringues always look so delicate and fancy, right? But I promise you, they are one of the easiest treats we’ve ever perfected here at Savor Sensations. This isn’t Anya’s complicated French pastry work; this is my favorite, Sasha-approved method for the Ultimate Easy Meringue Cookies Recipe. We’re aiming for that incredible texture—crisp on the outside, melting away inside. If you’re looking for a simple win in the kitchen, check out more baking tips over at the Savor Sensations blog. Get ready to make the most beautiful meringue cookies without breaking a sweat!
Why You Will Love These Easy Meringue Cookies
Honestly, I bring these to every single gathering because they disappear first! They are just the best for a quick sweet fix. Here’s why I think you are going to be obsessed:
- They are incredibly forgiving! This is truly one of the best Meringue Cookie Recipes for beginners.
- The texture is divine: perfectly crisp on the outside, giving way to Melt in Your Mouth Cookies.
- They whip up fast—you aren’t spending hours mixing complicated doughs.
- You end up with dozens of beautiful, Light and Airy Cookies using just four main ingredients.
- They are naturally gluten-free, so everyone can enjoy these Delicate Sweet Treats!
Gathering Ingredients for Perfect Meringue Cookies
Alright, let’s talk stuff! Making dynamite meringue cookies is all about having the right players on your team. And trust me, it’s a short and sweet lineup. The most important thing you need to remember before you even turn the mixer on? Your egg whites absolutely have to be at room temperature. It makes all the difference in how fluffy they get!
Essential Components for Your Meringue Cookies
- 4 large egg whites, room temperature (This is non-negotiable for the fluffiest meringue!)
- 1 cup superfine (caster) sugar
- 1 teaspoon pure vanilla extract
- 1/4 teaspoon cream of tartar
- Pinch of salt
Equipment Needed for Making Meringue Cookies
Before Sasha lets me near the mixer, she makes me line up all my tools. I swear, having everything ready keeps me organized, which is important when dealing with something as floaty as this batter! Since we are baking these low and slow—basically drying them out—the right tools really help ensure you get those lovely, crisp cookies we are aiming for.
You don’t need a ton of fancy stuff, but a few key items make the job way easier:
- A very clean stand mixer (or a hand mixer, but be ready for an arm workout!).
- Your mixing bowl and whisk attachment—we need them grease-free, remember?
- At least two large, sturdy baking sheets.
- Parchment paper—don’t substitute with wax paper, trust me on this one!
- A piping bag fitted with a star tip, like a Wilton 1M, if you want those classic ‘kiss’ shapes. A Ziploc bag with the corner snipped off works in a pinch!
Step-by-Step Instructions for Flawless Meringue Cookies
Okay, deep breaths! Making these amazing meringue cookies is less about complicated baking and more about developing a good relationship with your mixer. We are essentially doing the French meringue method, and I promise, if you follow these steps exactly—especially the timing for the sugar—you are going to get that incredible, crisp, cloud-like result. We want that signature texture that makes them practically float off the plate!
Preparation and Cleaning for Your Meringue Cookies
First things first, we need low, slow heat. Preheat your oven to the very lowest it goes—usually between 175°F and 200°F. Line those baking sheets with parchment paper; we do not want sticking! Now, this next part is critical for achieving those beautiful Crispy Meringue Treats: grease is the enemy! Wipe down your bowl and whisk attachment with a paper towel dampened with a little white vinegar or lemon juice. Even a tiny bit of oil from your hands will stop your whites from whipping up right.
Whipping the Meringue to Stiff Peaks
Get those room temperature egg whites and salt into your clean bowl and beat them until they get foamy. Once you see bubbles, throw in the cream of tartar and crank the speed up. Now for the secret sauce: add that superfine sugar one tablespoon at a time! Seriously, wait 30 seconds between each spoonful. If you dump it all in at once, the sugar won’t dissolve right, and your cookies will leak. Once all the sugar is in, beat it on high until it’s gorgeous, stiff, and glossy. Do the small test: rub a dab between two fingers. If you feel any grit, keep beating! You absolutely must get the sugar dissolved.
Piping and Drying Your Meringue Cookies
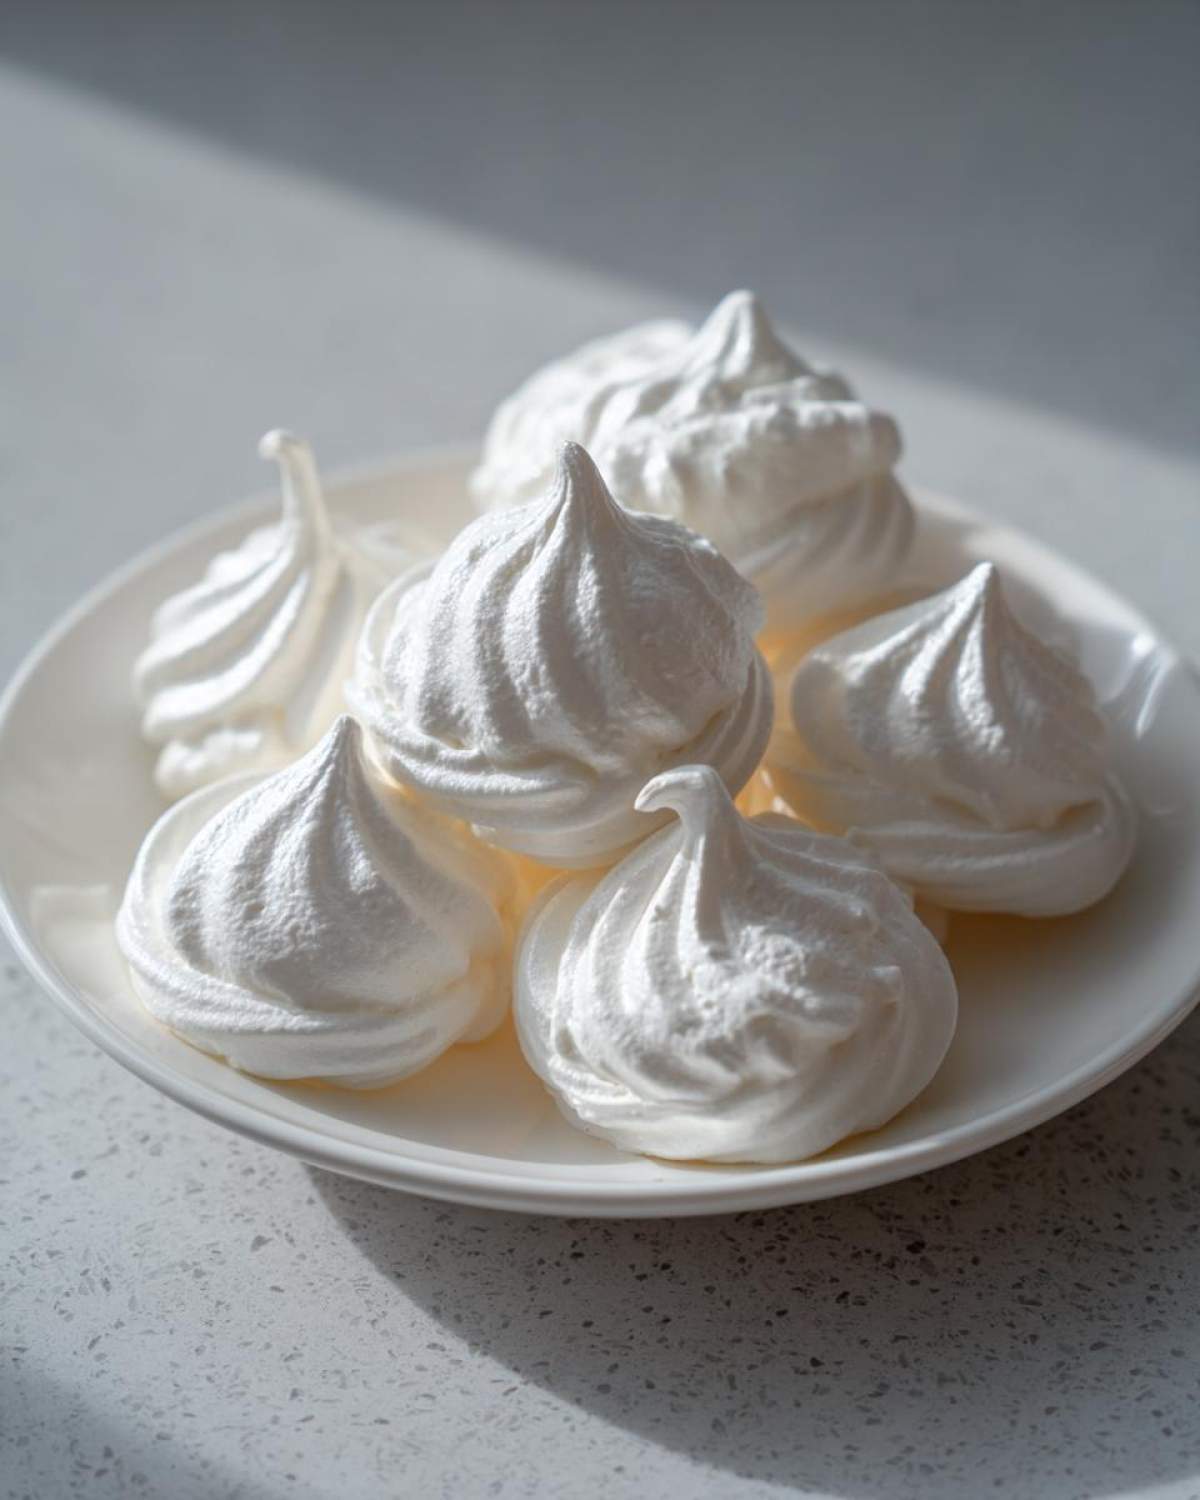
When you get those firm, glossy peaks, gently fold in your vanilla. Then, load up that piping bag! Pipe little dollops—maybe an inch and a half wide—onto your prepared sheets. Slide them into that barely-warm oven for about an hour to an hour and a half. They should look dry and lift right off the paper. The absolute final step to achieving that Perfect Meringue Texture? Turn the oven OFF! Prop the door open with a wooden spoon and let them sit in there all night, or at least for an hour. This slow cooling prevents cracking and guarantees they are perfectly dry inside. You can find more general tips on how to make meringue over here at our meringue guide, or check out the technique The Kitchn recommends!
Tips for Perfect Meringue Cookies Texture
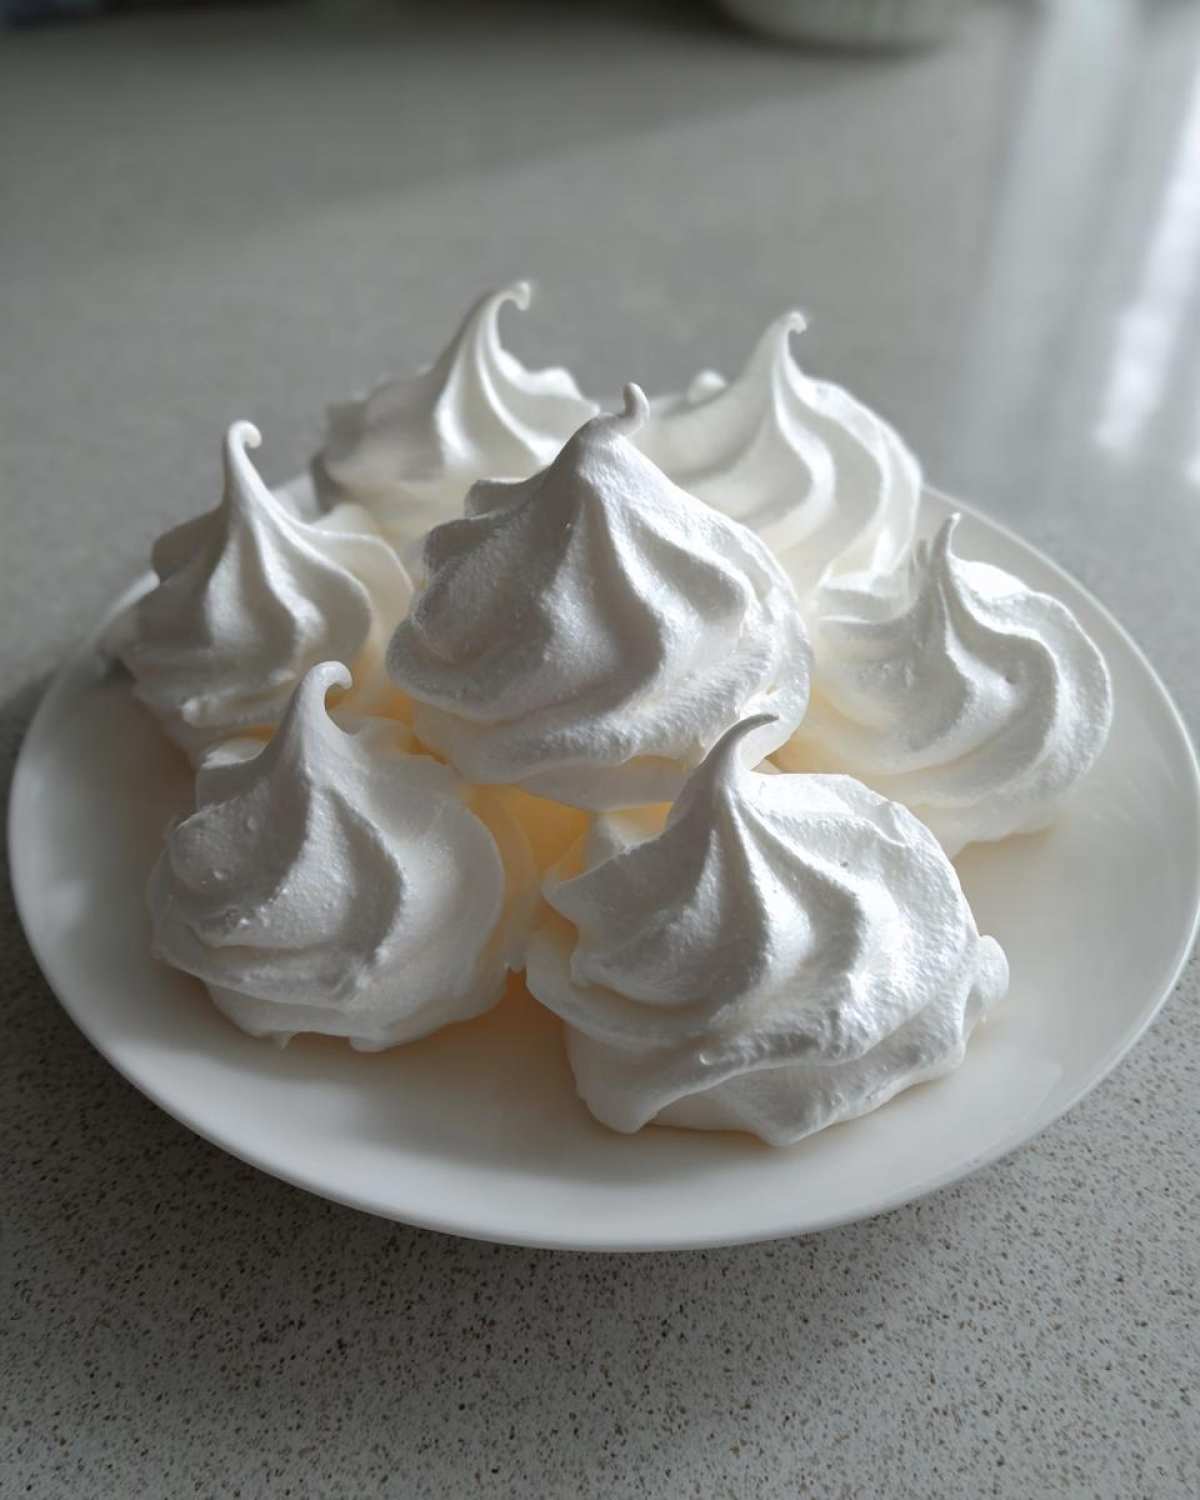
Look, meringue is dramatic. It wants to be perfect, but it hates humidity! If you live somewhere sticky, you have to be extra diligent. My main tip for absolutely flawless meringue cookies is simple: choose a dry day to bake. If it’s raining, put it off! Seriously. The air itself will sabotage your crispness.
Also, remember that sugar test we talked about during the whipping stage? That’s what guarantees that melt-in-your-mouth center. If you stop too soon and the sugar granules are still sharp, the humidity grabs onto those undissolved sugar crystals first, making your pretty little kisses sticky or weepy later on. Be patient, beat longer than you think you should, and your results will be rock solid!
Variations on Classic Meringue Cookies
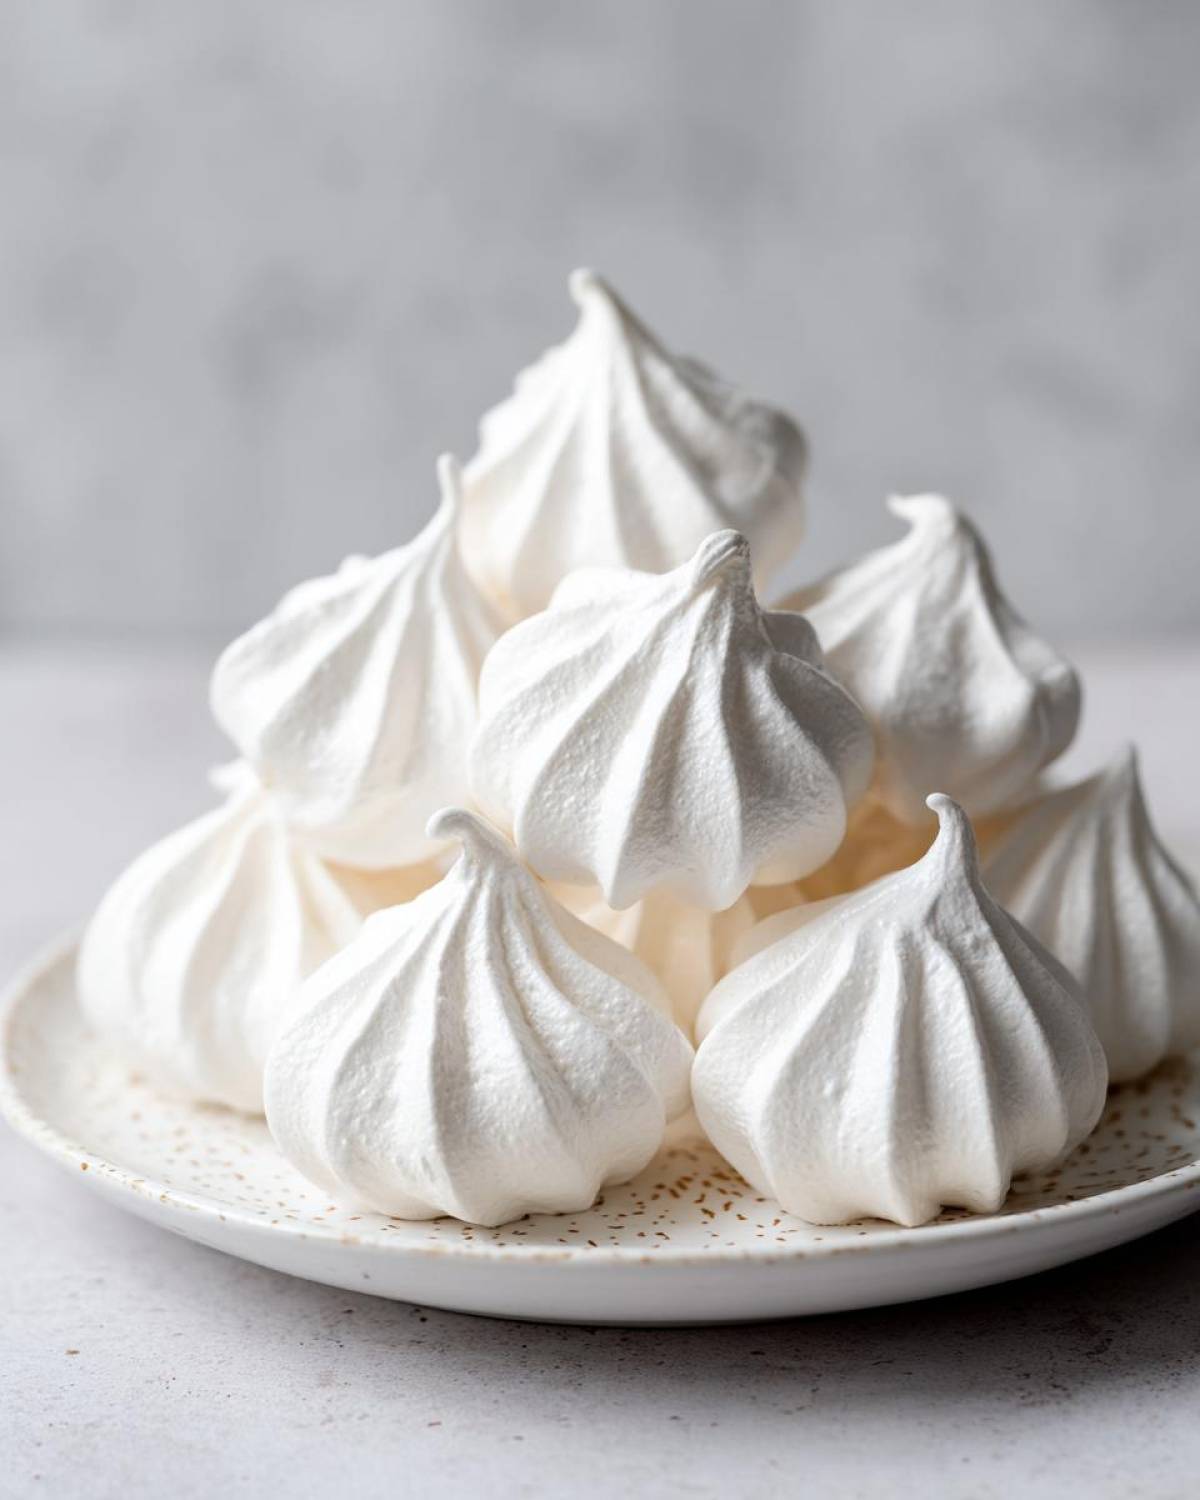
Once you’ve mastered the basic vanilla flavor, you realize these cloud-like cookies are just begging to be decorated! These vanilla meringue cookies are a fantastic canvas. Sasha loves mixing things up based on the season. For holidays or just when I need a rainbow in my kitchen, I lean into the color.
Did you know you can add flavor right along with the sugar? If you grab some Jello powder, you can totally transform the flavor and get beautiful, vibrant colors instantly! My favorites are strawberry or lime. You can swap out that vanilla extract for something more intense, too. A teaspoon of peppermint extract when you fold it in? Hello, instant Christmas joy! If you want to check out another one of our flavor-packed drop recipes, take a peek at our chocolate chip zucchini muffin secrets—it uses a similar concept of boosting flavor!
For those gorgeous colorful ones, I found a great recipe that walks you through using that Jello powder perfectly, which you can look up here: Easy Jello Meringue Cookies Recipe. It’s so much fun!
Storing and Gifting Your Delicate Meringue Treats
These are so light and airy that they feel too fragile to keep around, but honestly, they last ages if you treat them right. They’re my absolute favorite thing to package up for neighbors or teachers because they look so fancy, but they’re actually so simple! They truly shine as Homemade Meringue Gifts.
The lifespan of these treats totally depends on how well you protect them from moisture. Moisture is the sworn enemy of the crisp meringue! So, get yourself a really good, sturdy, airtight container. Nothing ruins the magic faster than a soft, slightly sticky meringue kiss.
Line the bottom of your container with a paper towel—this helps absorb any stray moisture that tries to sneak in. Then, carefully stack your treats inside. Try not to pack them too tightly; they don’t need much space, but we don’t want them crunching against each other!
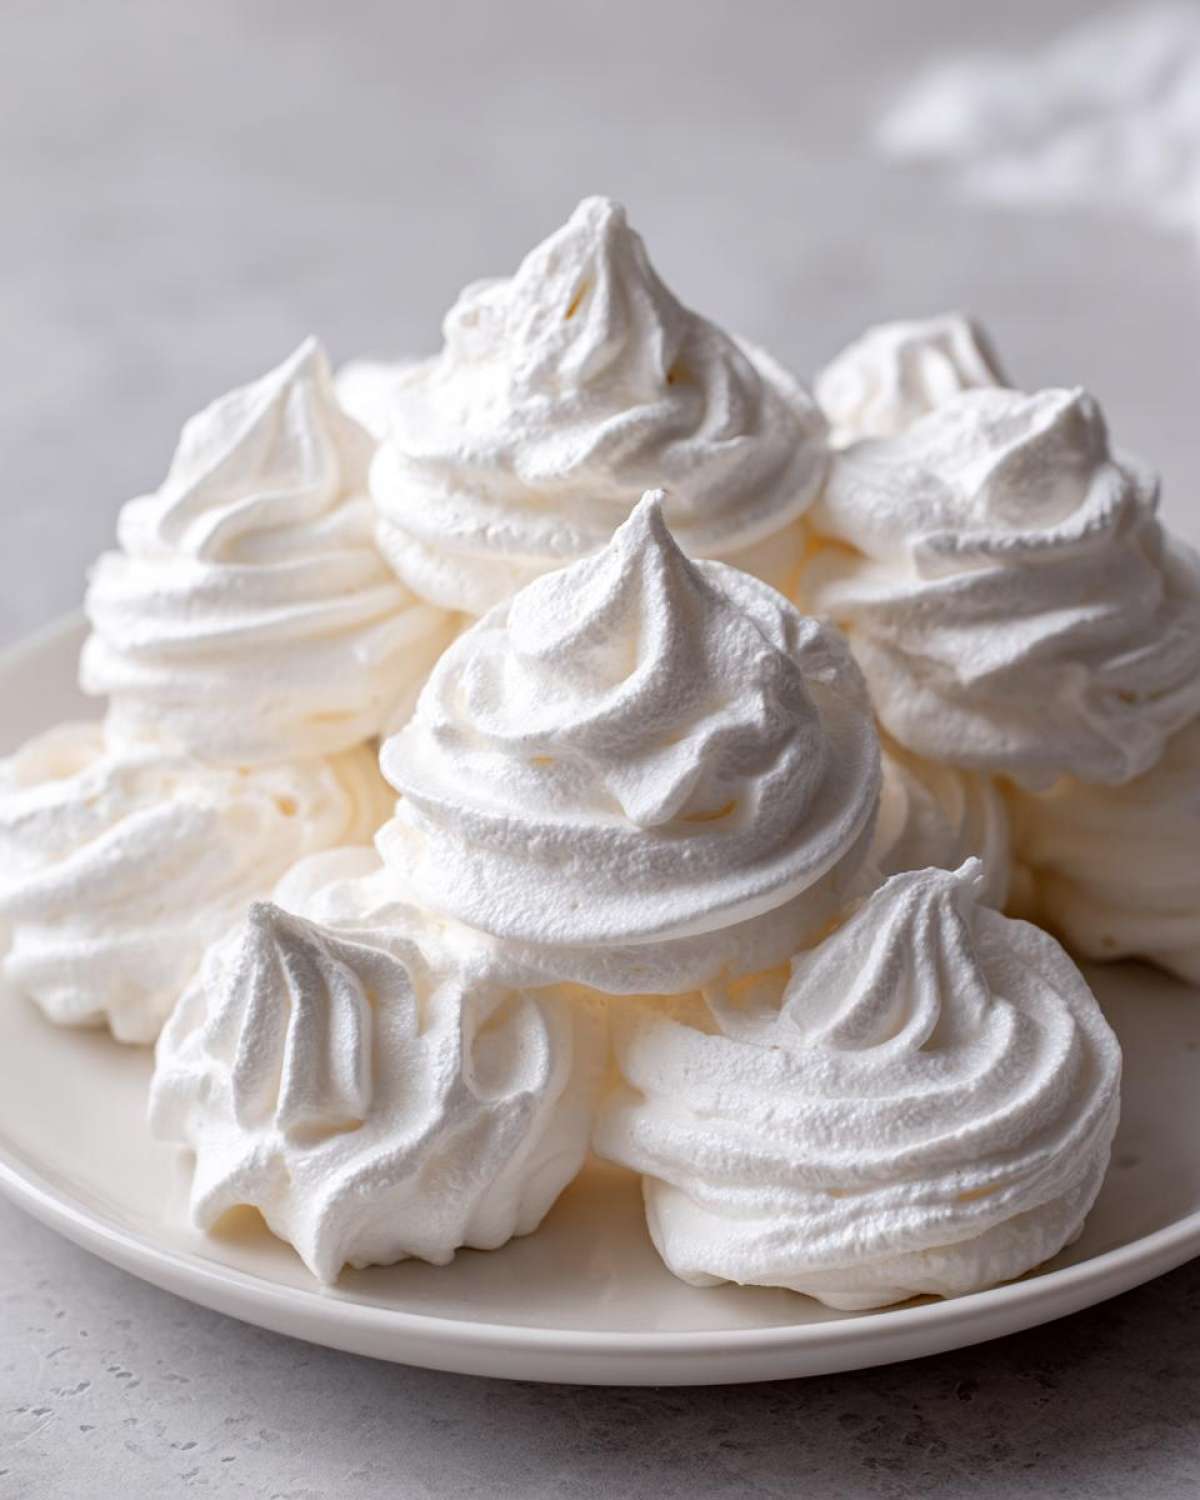
Keep the sealed container in a cool, dry pantry. If you stored them perfectly after that slow cool-down in the oven, they should stay crisp for at least a week, maybe even two! If you’re gifting them, tuck a little note inside the box telling people to store them airtight. It’s a lifesaver tip! Speaking of great homemade gifts, if you want something with a little more of a kick, you have to check out my recipe for Chili Chocolate Nut Clusters—those travel beautifully too!
If you need some inspiration on packaging them up super cute, I saw some adorable ideas over at Bitelord that might give you some holiday or party wrapping ideas. Seriously, these elegant little things look like they took hours, but we know the real secret!
Frequently Asked Questions About Meringue Cookies
I get so many messages about these little clouds! Merengues look tricky, but 99% of the time, any issue is super easy to fix once you know the secret. We’ve covered the main steps, but here are the questions I hear most often about getting your meringue cookies absolutely perfect every time!
Why are my meringue cookies weeping or sticky?
Oh, this is the saddest thing! If your beautiful cookies are weeping little beads of syrup or feel sticky when you touch them, it’s almost always down to two things: high humidity or not beating the sugar in long enough. If it’s a rainy day where you live, try baking on a drier day if you can. You need to make sure they are fully baked—they should be completely dry and lift easily off the parchment before you even start cooling them down. Store them in a very airtight container, away from any moisture!
Can I use granulated sugar instead of superfine sugar in meringue cookies?
You absolutely can! I know superfine sugar isn’t always lying around. If you only have regular granulated sugar, just take the amount you need and pulse it in your food processor for about 30 seconds. You don’t want it powdered, you just want to break down those sharp edges. This helps it dissolve much easier into the egg whites, which is key to getting those smooth, gorgeous French Meringue Cookies we talked about. If you skip this step, it’s much harder to get that grit-free texture.
Are these meringue cookies naturally gluten free?
Yes, they totally are! That’s one of the best parts about these Simple Egg White Desserts. Since they are just egg whites, sugar, and a little flavoring, there’s no flour or anything else that would give you gluten trouble. They make such a wonderful, safe treat to add to holiday platters when you have guests with dietary needs. See? Easy, elegant, and safe for everyone!
Nutritional Snapshot of These Meringue Cookies
Now, I know we aren’t here for a full nutrition deep-dive, because let’s be real, these are essentially pure sugar and air! But because we are all about sharing good, honest recipes here at Savor Sensations, I wanted to give you the quick rundown. Remember, because these delicate sweet treats are so light and airy, you might accidentally eat more than you plan to!
Please keep in mind that these numbers are just general estimates calculated based on the ingredients listed in the recipe. They don’t account for exact brands or small variations in the size of the egg whites, so take them with that tiny pinch of salt we put in the recipe!
- Serving Size: 2 cookies
- Calories: 60
- Sugar: 15g
- Sodium: 5mg
- Fat: 0g
- Protein: 1g
- Carbohydrates: 15g
When you compare that to a heavier sugar cookie, these are incredibly light! It’s one of the reasons they are so perfect for gifting or when you just need a tiny, sweet indulgence.
Share Your Perfect Meringue Cookies Creations
Alright, my sweet friend, now it’s your turn! You’ve got the recipe for these beautiful, light, and airy little treats. Seriously, Sasha lights up whenever she sees photos of what you all have baked! Don’t be shy—we absolutely live to see your creations!
Whether you dyed yours with Jello powder or kept them pure white, please snap a picture and tag us! We love seeing how everyone pipes their kisses. Did you make little swirls? Tiny stars? Every batch is unique, and seeing your work makes our day here at Savor Sensations.
If this recipe saved your holiday baking tray or you just want to cheer us on, leave us a quick star rating right down below. It helps other bakers trust that this recipe really does deliver those melt-in-your-mouth moments, every time. And hey, if you have any questions that popped up while you were whipping those whites, head over to our contact page!
We can’t wait to see what you make! Keep baking with love!
PrintThe Ultimate Easy Meringue Cookies Recipe: Light, Crisp, and Perfect Every Time

Learn how to make light, airy, and crisp meringue cookies using the simple French meringue method. These melt-in-your-mouth treats are perfect for beginners and make wonderful homemade gifts.
- Prep Time: 20 min
- Cook Time: 90 min
- Total Time: 110 min
- Yield: About 3 dozen
- Category: Dessert
- Method: Baking
- Cuisine: American
- Diet: Gluten Free
Ingredients
- 4 large egg whites, room temperature
- 1 cup superfine (caster) sugar
- 1 teaspoon pure vanilla extract
- 1/4 teaspoon cream of tartar
- Pinch of salt
Instructions
- Preheat your oven to the lowest setting, usually between 175°F and 200°F (80°C to 95°C). Line two large baking sheets with parchment paper.
- Wipe your mixing bowl and whisk attachment thoroughly with a little lemon juice or vinegar to remove any trace of grease. This step is crucial for stable meringue.
- Place the egg whites and salt into the clean bowl. Begin whipping on medium speed until the mixture becomes foamy.
- Add the cream of tartar and increase the speed to medium-high. Continue whipping until soft peaks form.
- Begin adding the superfine sugar, one tablespoon at a time, waiting about 30 seconds between additions. This slow addition helps dissolve the sugar completely.
- Once all the sugar is added, increase the mixer speed to high. Beat until the meringue is stiff, glossy, and holds firm peaks. When you lift the whisk, the peak should stand straight up without drooping. Rub a small amount between your fingers; if it feels gritty, continue beating until the sugar dissolves.
- Gently fold in the vanilla extract using a spatula. Do not overmix.
- Transfer the meringue to a piping bag fitted with your desired tip (a star tip creates classic meringue kisses).
- Pipe small mounds (about 1.5 inches wide) onto the prepared baking sheets, leaving a little space between each cookie.
- Place the baking sheets in the preheated, low-temperature oven. Bake (or dry) for 1 to 1.5 hours. The time depends on your oven and the size of your cookies. They should look dry and lift easily from the parchment paper.
- Turn off the oven, prop the door open slightly with a wooden spoon, and allow the meringue cookies to cool completely inside the oven for at least 1 hour, or preferably overnight. This slow cooling prevents cracking and ensures a crisp texture.
- Store your finished meringue cookies in an airtight container at room temperature.
Notes
- For flavored meringue cookies, you can substitute 1 teaspoon of vanilla extract with 1/2 teaspoon of peppermint extract or add 1 tablespoon of Jello powder with the sugar for colorful, easy meringue cookies.
- If you want a slightly crispier exterior, increase the baking time slightly, but watch carefully to prevent browning.
- If you do not have superfine sugar, pulse regular granulated sugar in a food processor for 30 seconds to break it down slightly.
Nutrition
- Serving Size: 2 cookies
- Calories: 60
- Sugar: 15
- Sodium: 5
- Fat: 0
- Saturated Fat: 0
- Unsaturated Fat: 0
- Trans Fat: 0
- Carbohydrates: 15
- Fiber: 0
- Protein: 1
- Cholesterol: 0
