

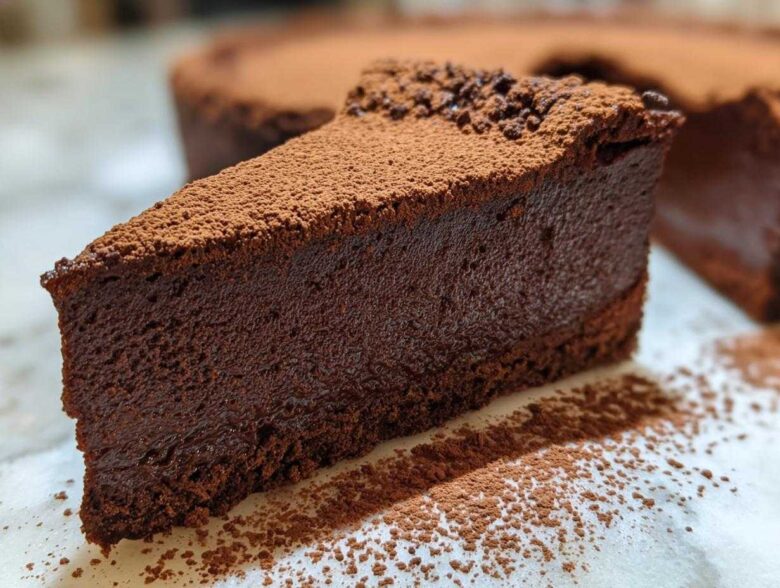
Oh, my friends, let’s talk about chocolate. I mean real chocolate. If you’re like me—a total chocoholic who needs that intense, velvety hit that grabs your attention—then you have landed in the right place. Forget everything you think you know about standard cakes, because this is the ultimate decadent and fudgy flourless chocolate torte recipe.
This isn’t just a dessert; it’s an event. It’s what you pull out when you need to truly impress someone special, or maybe when you just need a massive dose of pure, unadulterated dark chocolate indulgence to end a long week. The best part? It’s naturally gluten-free, which means we get that incredible dense texture without even trying!
I’ve made hundreds of chocolate things in my kitchen over the years, but this recipe–this flourless chocolate torte–is my absolute peak performance. It’s simple, but you have to respect the chocolate. Follow these steps closely, and I promise you’ll have the best, richest chocolate layer cake you’ve ever tasted. Trust me, once you see the glaze, you’ll probably want to bookmark this recipe right now!
Why This Flourless Chocolate Torte is Your New Favorite Dessert
I know what you’re thinking: “Another fancy chocolate cake?” Nope! This isn’t your average cake, and that’s why it deserves a standing ovation on your dessert table. It ticks all the boxes for someone who truly appreciates that deep, dark flavor profile.
Here’s the rundown on why I keep coming back to this exact recipe:
- Unmatched Rich Fudgy Cake Texture: We’re talking about a texture that melts on your tongue. It’s dense, heavy in the best way, and unbelievably creamy. It’s the definition of a Decadent Chocolate Dessert.
- Naturally Gluten Free Chocolate Torte: No flour means no gluten, which is brilliant for those who need it, but it also means we get that intense concentration of chocolate flavor! It’s the Best Flourless Chocolate around, honestly.
- Simple Steps for an Elegant Gluten Free Dessert: Don’t let the elegant look fool you! Even though the final presentation is stunning—perfect for a Special Occasion Chocolate moment—the mixing process is surprisingly quick. It’s a fantastic Easy Flourless Chocolate recipe when you are short on time.
Unmatched Rich Fudgy Cake Texture
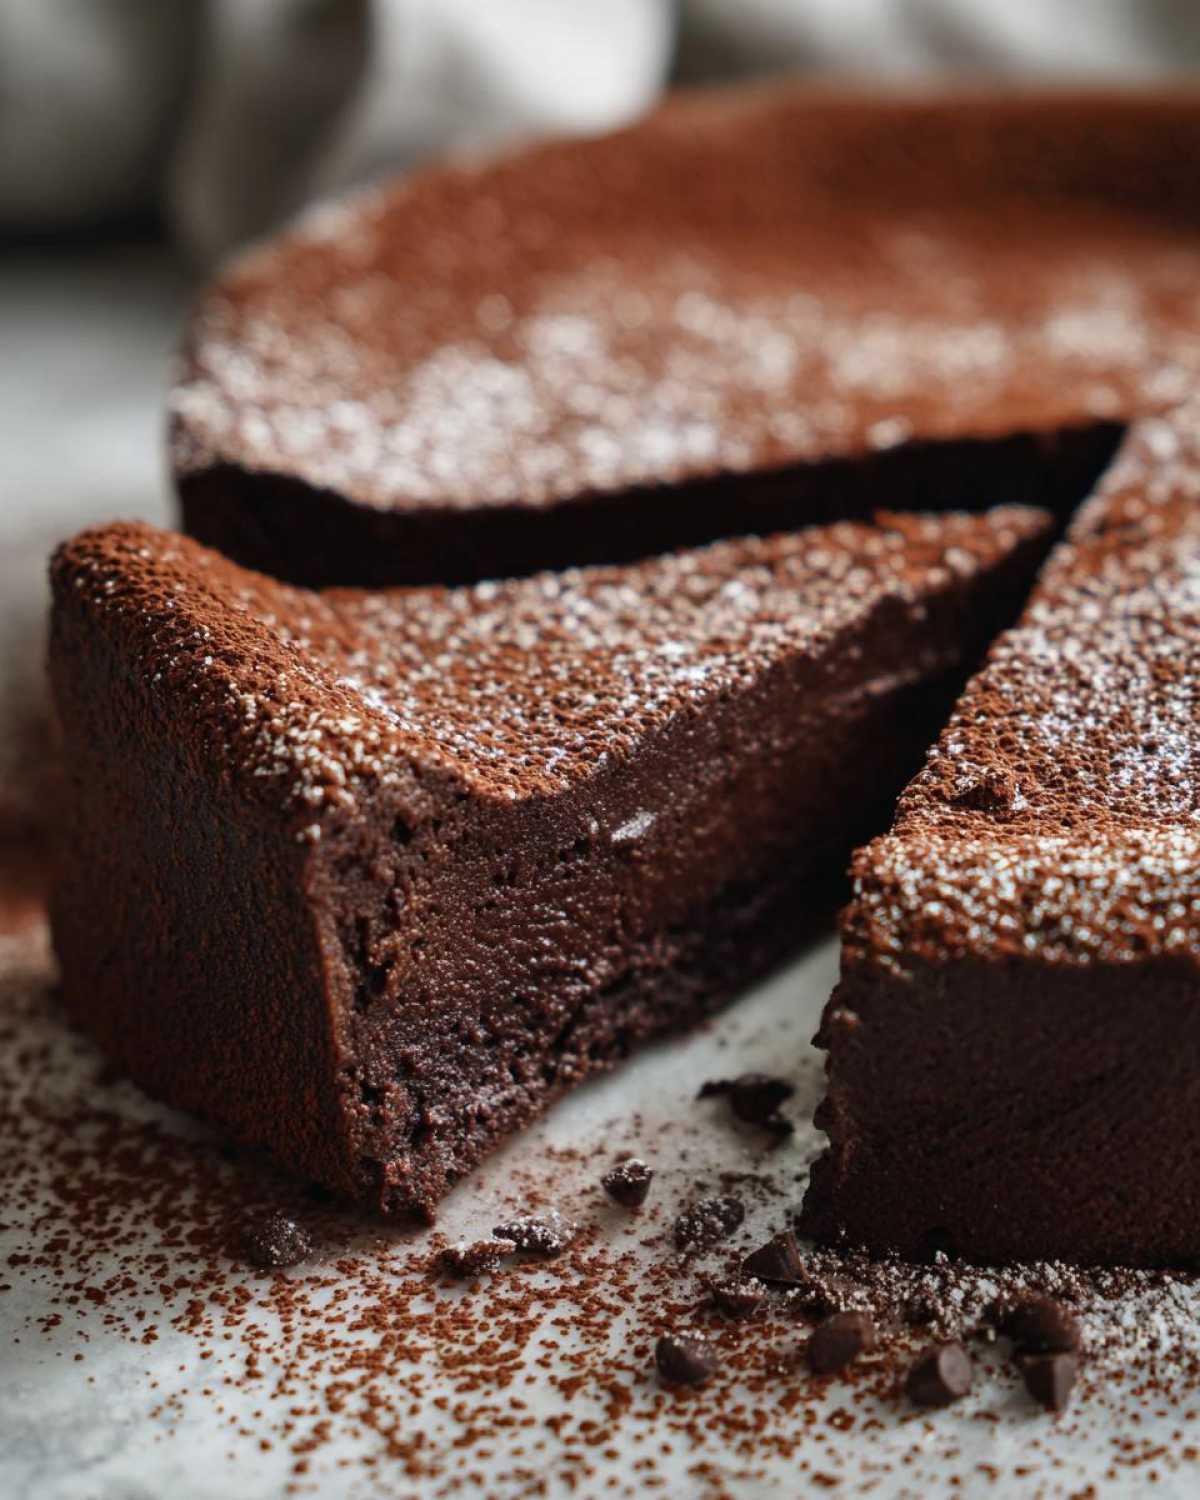
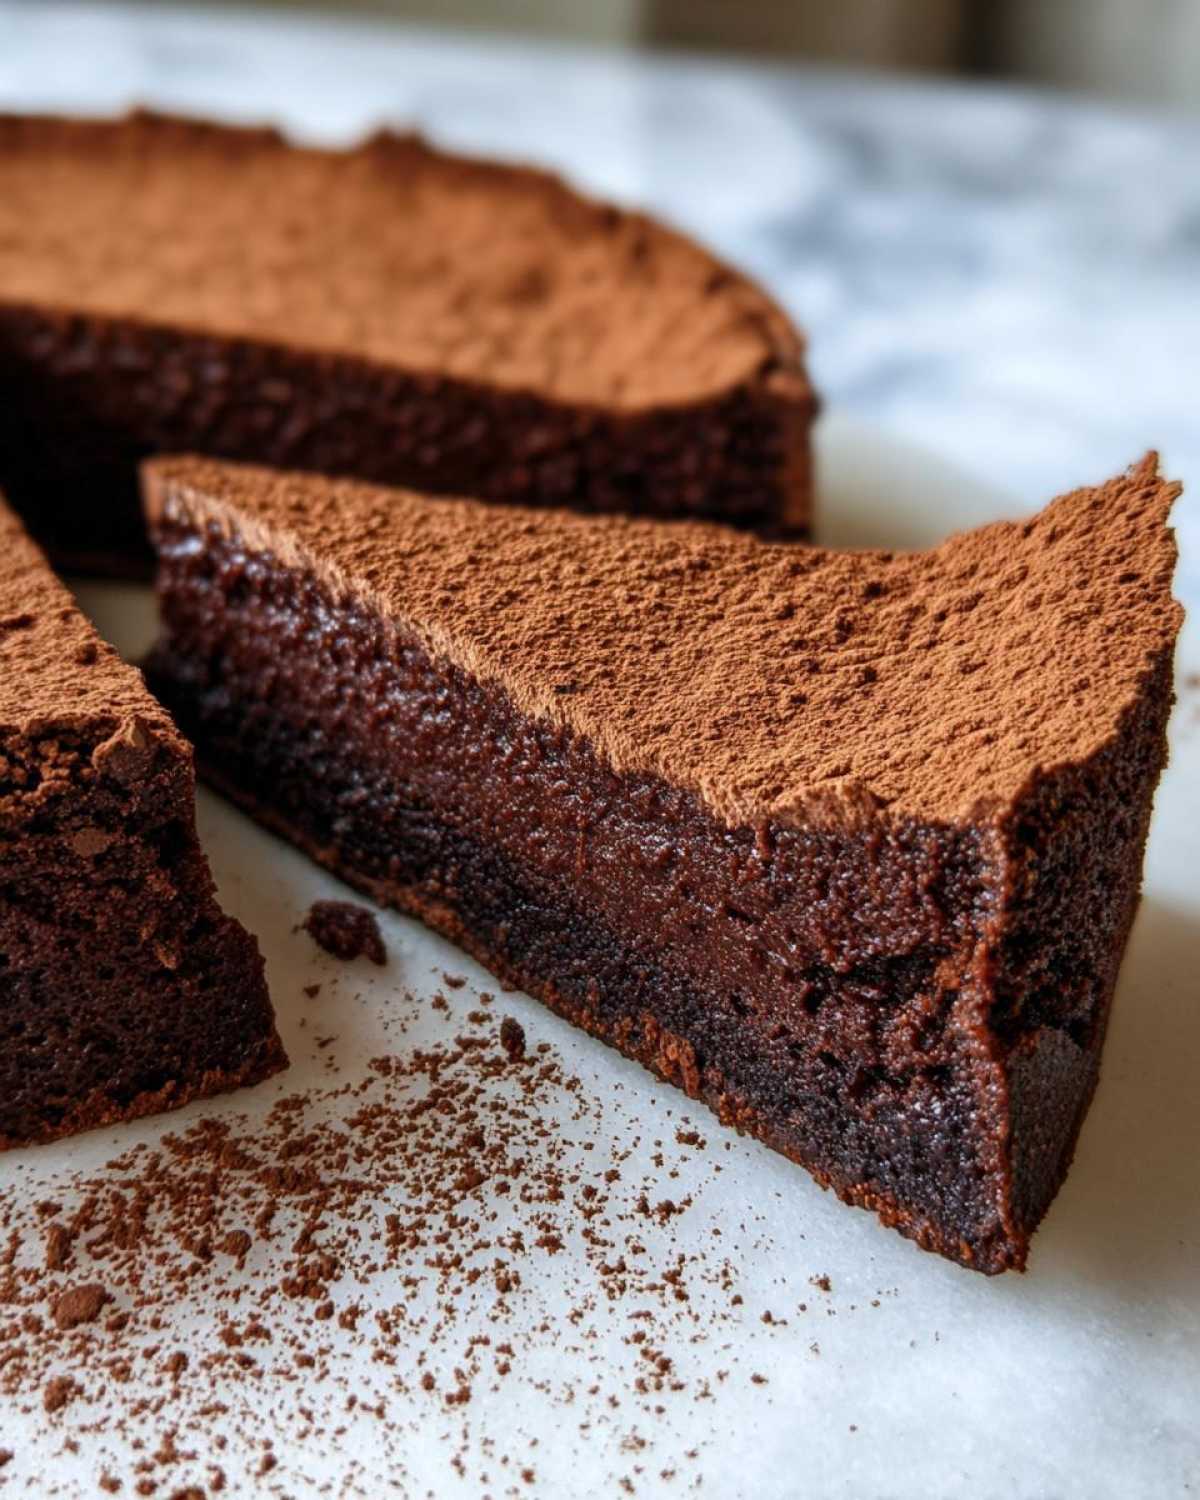
The texture here is everything. Since we skip the flour, we rely entirely on good quality melted chocolate and those beautiful, whipped egg whites to create structure. The result? Something beautifully dense and velvety. You slice it, and it barely holds its shape because it’s so pure and rich. This is the ultimate Velvety Chocolate Torte experience.
Naturally Gluten Free Chocolate Torte
If you need something naturally gluten-free, look no further. You don’t have to mess around with specialty flours or gums—the recipe is inherently safe and delicious! It’s the most foolproof Gluten Free Chocolate Torte you’ll ever encounter, delivering pure chocolate satisfaction every single time.
Simple Steps for an Elegant Gluten Free Dessert
I promise you, this isn’t complicated. We melt, we whisk yolks, we gently fold in whites. It’s the folding part that gives us the lift we need for that smooth finish. It’s a truly Simple Flourless Cake that punches way above its weight in flavor and looks.
Gathering Ingredients for Your Decadent Chocolate Dessert
Okay, the secret to an amazing Flourless Chocolate Dessert is really about the quality of the few ingredients you use. Since there’s no flour to hide behind, every single component gets its moment to shine, especially the chocolate! Get these ready, and the mixing part is easy street.
Here is exactly what you’ll need for 8 servings of glorious Dark Chocolate Indulgence:
- 8 ounces bittersweet or semisweet chocolate, finely chopped
- 1/2 cup (which is one whole stick!) unsalted butter
- 3 large eggs, separated (yolks in one bowl, whites in another—this is important!)
- 1/4 cup granulated sugar
- 1/4 teaspoon salt
- 1 teaspoon vanilla extract
- 2 tablespoons unsweetened cocoa powder, just for dusting the top later
Ingredient Notes and Quality Tips for Flourless Chocolate Torte
Listen, you can’t skimp on the chocolate here. This is non-negotiable if you want that deep Intense Chocolate Flavor. I always grab bittersweet chocolate, usually around 60% or 65% cacao. If you use anything sweeter than that, it might turn out a little too sweet and less wonderfully dark, especially once it heats up.
If you try to use milk chocolate, you’ll end up with a much softer dessert that tastes more like a truffle, which isn’t what we want for this dense torte structure. Stick to bittersweet!
Also, about those eggs—make sure they are at room temperature. Cold eggs don’t whip up as well for getting those stiff peaks we need for structure. You’ll see later how crucial those stiff whites are for airiness in this No Flour Cake Recipe. Just pull them out about 30 minutes before you start melting the chocolate!
Equipment Needed for This Rich Fudgy Cake Recipe
Before you even think about chopping that beautiful chocolate, you need to make sure your station is set up. Since this recipe is so quick to mix once you get going, having everything ready beforehand is honestly the difference between a perfect, stress-free bake and hovering over the stove wondering where your whisk is!
There are a few specific pieces of gear that make this Rich Fudgy Cake Recipe work smoothly. You really can’t substitute these too much if you want that perfect texture, especially when handling the egg whites.
Here is the absolute must-have equipment list for your Homemade Chocolate Torte:
- An 8-inch springform pan. This is key! Because the torte doesn’t have the structure of flour, we absolutely need the sides to come off easily without messing up the edges when we try to serve it.
- A heatproof bowl large enough for melting the chocolate and butter.
- A saucepan to gently simmer water for the double boiler. Remember, direct heat is the enemy of good chocolate!
- A standard whisk for mixing the yolks and sugar.
- And this is the most important one for structure: a clean, very dry bowl and an electric hand mixer or stand mixer to whip those egg whites until they form stiff peaks. Don’t try to whisk those whites by hand unless you want an arm workout!
Get all this laid out, and you’ll be ready to create that spectacular Chocolate Lover’s Torte in a flash. Prep time is crucial for this beauty to come out right.
How to Prepare the Ultimate Flourless Chocolate Torte
This is where the magic happens, folks! Preparing this Flourless Chocolate Torte is really less about complicated baking and more about careful mixing. Remember, those egg whites are providing all our lift, so we have to treat them like delicate little clouds. Don’t rush the cooling, or you might end up with a sad, cracked mess!
Let’s get this no-fail No Flour Cake Recipe started. First thing first: get your oven preheating to 350°F (175°C). While that warms up, grab that 8-inch springform pan. Grease it up really well, and then cut a circle of parchment paper to line the bottom. This prep work saves you so much grief later when you try to unmold this gorgeous dessert!
- Preheat & Prep: Get that oven heating to 350°F (175°C). Grease your 8-inch springform pan nice and thoroughly, and then slap a parchment circle on the bottom.
- Bloom the Chocolate: Set up your double boiler—that’s your heatproof bowl sitting over gently simmering water. Drop in the chopped chocolate and butter. Stir this lovingly until it’s totally smooth and glossy. Take it off the heat right away and let it cool down just a tiny bit so it doesn’t cook the yolks next!
- Yolks and Sugar: In a separate bowl, whisk those egg yolks with your granulated sugar until the mix gets lighter in color—it’ll look creamy, almost pale yellow. Then add your vanilla extract and whisk it in.
- Combine the Base: Pour in that slightly cooled chocolate mixture and stir it together gently until everything is one luscious, dark pool.
- Whip the Whites: Now for the volume! In a clean, dry bowl, use your mixer to beat those egg whites with the salt until you hit stiff peaks. Seriously, you should be able to hold the bowl upside down over your head without worrying that they’ll fall out. (Okay, maybe don’t actually hold it upside down, but you get the idea!)
- Lighten and Fold: Take about a third of those glorious egg whites and fold them right into the chocolate base—this just loosens things up so the rest blends easier. Then, being super careful, gently fold in the remaining whites until you don’t see any white streaks left. I mean it—fold gently! Overmixing here deflates all that beautiful air, and we need that for our dense-but-light structure.
- Bake: Pour your silky batter into the prepared pan. Bake it for about 30 to 35 minutes.
- Cool Down: Once baked, the edges should look set, but the center will still look soft, maybe a little wiggly. That’s perfect! Take it out, put it on a rack, and let it cool completely in the pan. It will sink a little in the middle as it cools, and that’s totally normal for this Rich Fudgy Cake Recipe.
Seriously, checking out these quick-mix recipes like my chocolate chip zucchini bread always helps remind me how important the gentle mixing is, even for something as different as this torte!
Melting the Chocolate Base
We’re using the gentle steam method here—the double boiler. I can’t stress this enough: do not put that chocolate directly on the heat! It will seize up faster than you can say “bittersweet.” Just let the steam from the barely simmering water do the work. As soon as it’s liquid and smooth, pull it off the heat immediately. If it’s too hot when you add the egg yolks, you’ll end up with melted chocolate scrambled eggs, and nobody wants that sad outcome for their Special Occasion Chocolate!
Folding in the Egg Whites for Velvety Chocolate Torte Structure
This is the moment of truth for achieving that Velvety Chocolate Torte texture. We’ve worked hard whipping those whites into stiff, airy structures, and now we have to incorporate them without crushing all that trapped air. Never, ever use your whisk here! Use a big spatula and use big, sweeping folding motions—cutting down the middle and drawing the batter up from the bottom. Stop folding the second you stop seeing streaks of white. If you mix too much, that air escapes, and you lose the height; you end up with something flatter and denser than you intended for your Simple Flourless Cake.
Baking and Cooling the Flourless Chocolate Dessert
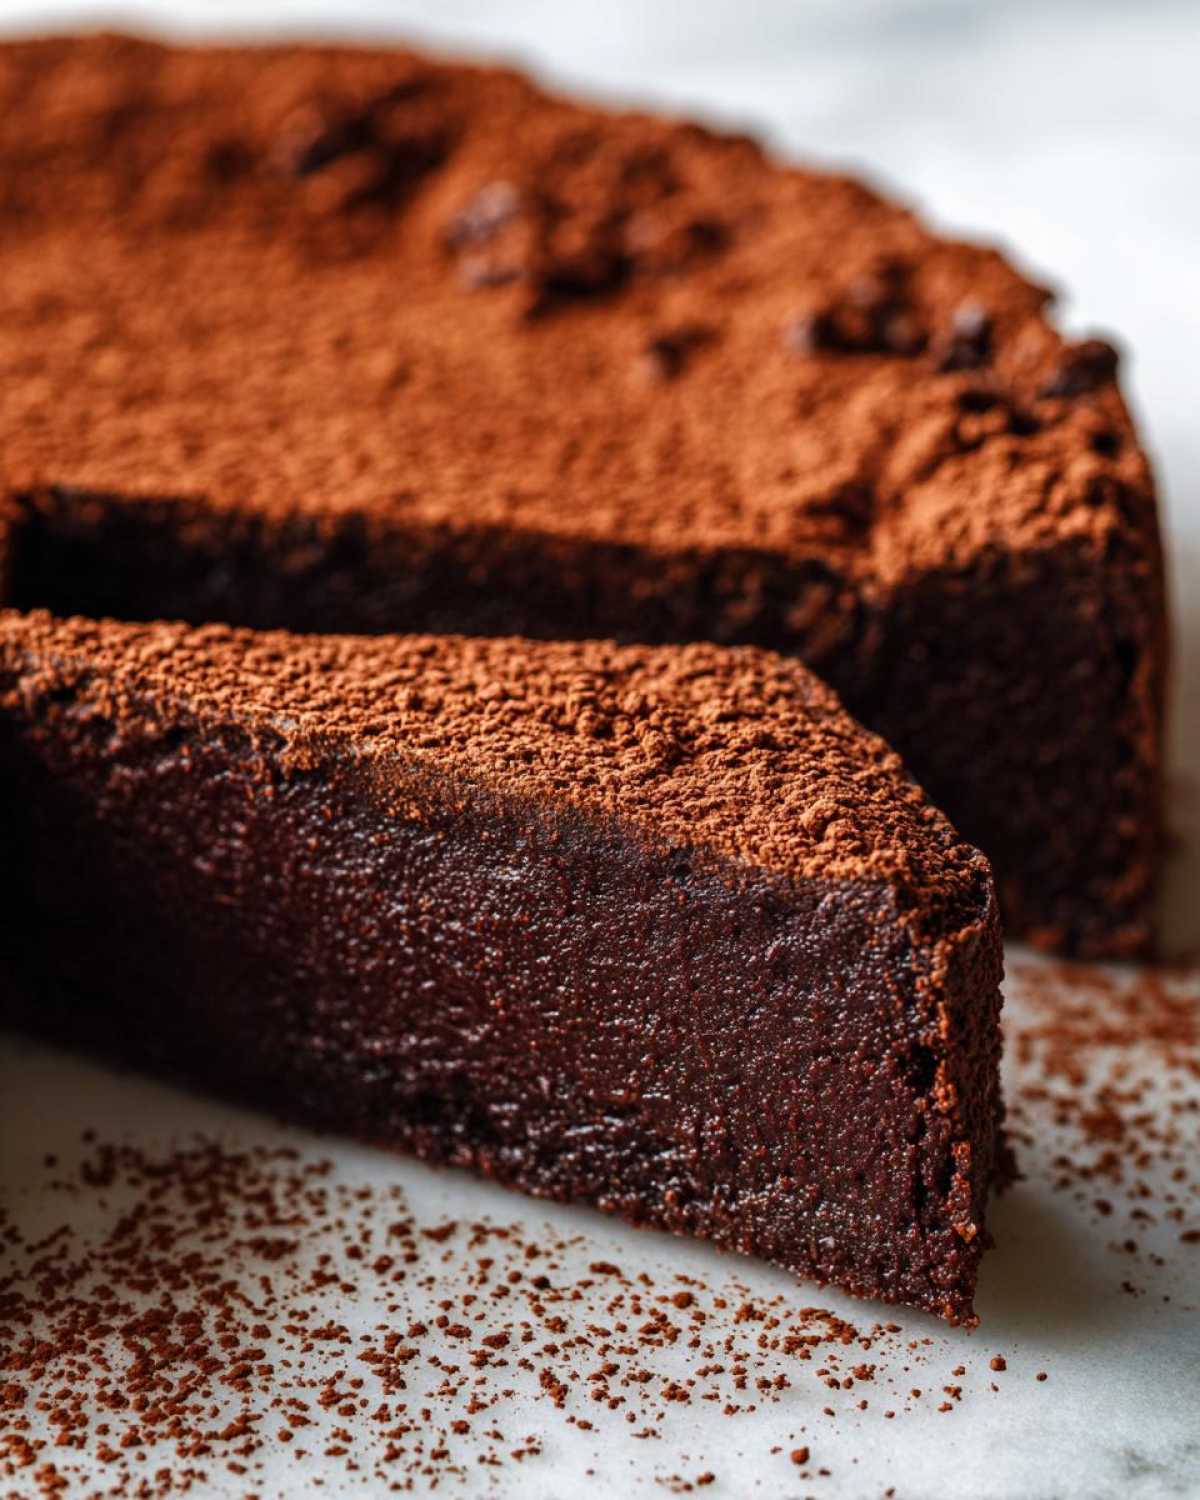
When do you know it’s done? At 30 minutes, tap the side of the pan gently. The edges should look firm, maybe even slightly dry, but the absolute center should still have a little wobble to it—it should look like soft fudge, not liquid batter. If it’s completely firm, you’ve gone too far and risk a dry torte. When it cools completely on the counter, that soft center will firm up into that perfect, dense consistency. Don’t panic when it sinks! It’s supposed to sink in the middle; that’s just how a true Flourless Chocolate Dessert behaves!
Tips for Success Making Your Homemade Chocolate Torte
Even though this is a straightforward recipe for a Chocolate Lover’s Torte, a few little tricks I learned over the years can make sure you get that flawless, elegant finish every single time. If you follow the recipe exactly, you’ll be fine, but these tips are the real secret sauce for nailing that bakery-quality look!
First up, let’s talk about getting this beauty out of the pan without disaster. My grandmother always used butter and flour, but since we’re dealing with pure melted chocolate, things can stick stubbornly. My personal favorite trick for ensuring the easiest release, especially with these rich, fudgy cakes, is to make my own pan release—often called ‘cake goop.’ You just mix equal parts shortening, oil, and flour into a smooth paste. Brush a thin layer all over the sides and bottom of the pan. This gives us amazing insurance against sticking and guarantees that beautiful, smooth edge when we finally unmold it.
Also, remember the notes I provided about serving temperature. You absolutely must let this cool completely, okay? If you try to slice it warm, it will just totally collapse into a puddle of glorious, but messy, chocolate goo. You can check out my recipe for fudge swirl brownie trifle if you want a delicious mess, but for this torte, patience is key!
Here are the other crucial points to keep in mind for your No Flour Cake Recipe success:
- Timing the Release: Don’t rush to remove the pan sides while it’s still warm after cooling on the rack. Wait until it’s completely cooled down, ideally for at least two hours, or even chill it slightly. If you are worried about the sides sticking, run a very thin, sharp knife around the edge first—just gently scrape it between the chocolate edge and the metal pan.
- Best Serving Temperature: This is vital for achieving that perfect texture. You can serve this torte slightly chilled, which makes it feel more like a dense fudge, or you can let it sit out for about 30 minutes before slicing so it comes up to room temperature. Room temp really lets that intense chocolate flavor bloom! Avoid trying to reheat it; the texture just doesn’t cooperate well with warmth once it’s fully set.
- Chocolate Quality Matters: Since there’s no flour, the chocolate quality directly dictates the final flavor. Use good quality bittersweet chocolate (60-70% cacao is usually what I prefer). If you use a lower-quality bar, you might end up with a slightly greasier mouthfeel because of the cocoa butter mix, so invest in the bar!
Follow these steps, use that cake goop for release, and you’ll have presented an incredibly Elegant Gluten Free Dessert without breaking a sweat.
Serving Suggestions for Your Intense Chocolate Flavor Creation
The dusting of cocoa powder is classic, and honestly, sometimes that’s all this Decadent Chocolate Dessert needs because it’s already so perfect on its own. But when I’m making this for a proper celebration, especially birthdays or Valentine’s Day, I like to elevate it just a touch more. Remember what I said about serving temperature? This is really where you get to play around!
If you serve it straight from the fridge, it’s incredibly dense—almost like a firm, cold fudge. That’s fantastic if you want something that feels substantial. But if you let it sit on the counter for about 30 minutes before slicing, it softens just enough to feel truly luscious and velvety. That little bit of warming really lets the bitterness and sweetness of the dark chocolate really sing!
For pairings, remember that this is intensely rich. You don’t need much to balance it out. My go-to moves are always something bright or something light and creamy. Fresh raspberries or sliced strawberries are my number one choice—that tart burst cuts right through the deep chocolate. You can find a divine pairing idea if you check out my recipe for the iced cappuccino mascarpone mousse; that creamy texture would be amazing next to this torte!
Here are a few simple ways I dress up this beautiful Intense Chocolate Flavor creation:
- Whipped Cream Dream: A big, unsweetened dollop of fresh whipped cream. Keep the cream unsweetened so it acts as a palate cleanser between bites of the rich torte.
- Berry Brightness: A simple scatter of fresh raspberries, blackberries, or even segments of blood orange for an unexpected citrus note.
- The Sauce Drizzle (Use Sparingly!): A very thin drizzle of raspberry coulis or even a drizzle of good quality salted caramel sauce. Because this torte is so concentrated, a little bit of sauce goes a very long way!
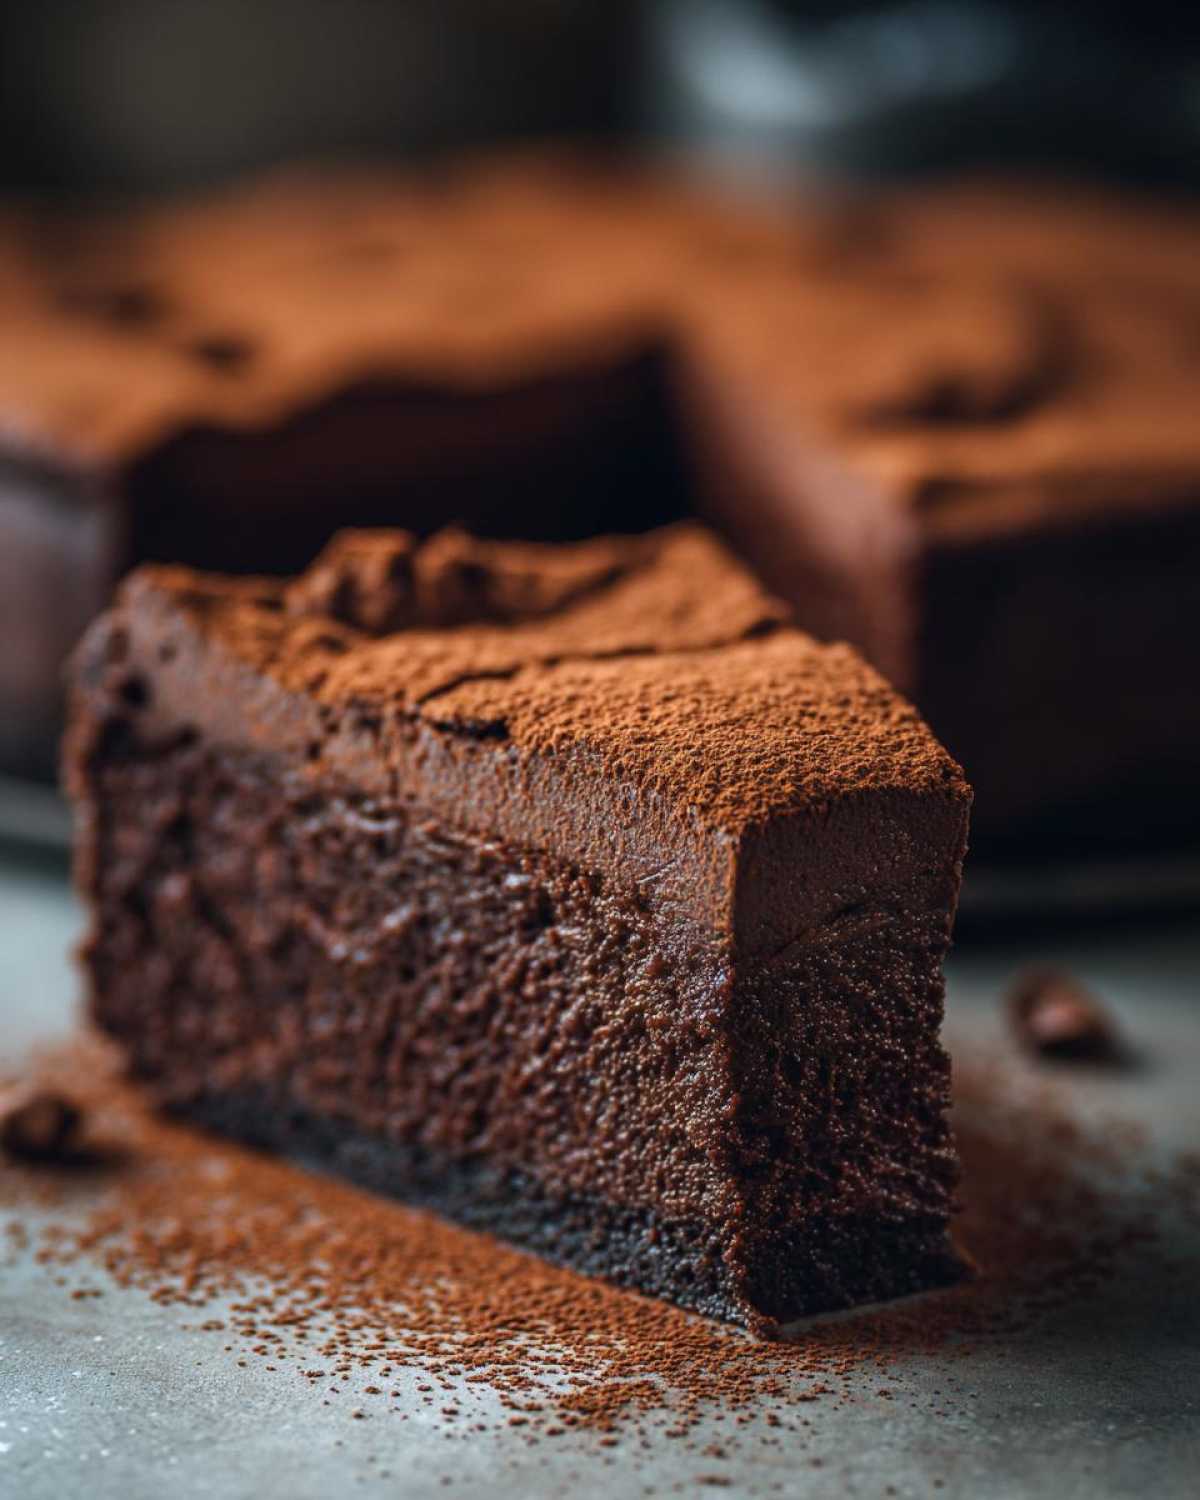
Honestly, once you master this Homemade Chocolate Torte, you’ll find it’s the perfect canvas for whatever elegant touches you want to add at the last minute!
Storage and Reheating Instructions for the Flourless Chocolate Torte
So, you managed to have leftovers? Wow, you have incredible willpower! Since this Flourless Chocolate Dessert is so rich and dense, it actually keeps beautifully, which is great news for satisfying those mid-week chocolate cravings. However, storage is key for maintaining that perfect Velvety Chocolate Torte texture.
You definitely want to store any remaining slices loosely covered in the refrigerator. I usually cut the whole thing into wedges first, place a sheet of plastic wrap loosely over the top of the remaining cake in the pan (or over an airtight container if it’s already sliced), and pop it in the fridge. It can easily stay fantastic for four or five days!
The Best Way to Serve Cooled Torte Slices
Now, here’s the most important instruction, because you absolutely should not try to reheat this torte. Seriously, don’t even think about microwaving it! Reheating will melt the delicate structure we worked so hard to create with those egg whites, and you’ll end up with a soupy, oily mess instead of that beautiful Rich Fudgy Cake Recipe texture you love.
Instead of reheating, we ‘thaw’ it gently to room temperature. If you pull a slice straight out of the fridge, it will be very firm, like a piece of dark chocolate fudge—which is delicious, by the way! But if you want that melt-in-your-mouth experience, just set the slice you plan to eat onto a small serving plate about 30 to 45 minutes before you plan on digging in.
Letting it warm up gently lets the cocoa butter soften slightly, which really opens up that Intense Chocolate Flavor. It’s the best way to enjoy this Elegant Gluten Free Dessert without ruining its proper structure. Trust me, 45 minutes on the counter is all this beauty needs!
Frequently Asked Questions About This Gluten Free Chocolate Torte
I get so many messages, and honestly, most of the questions boil down to tweaking the chocolate or panicking during the cooling phase. Don’t worry, this is incredibly common when dealing with a true No Flour Cake Recipe. Let me put your mind at ease about a few things before you go whip up this Chocolate Lover’s Torte!
Can I substitute the chocolate type in this flourless chocolate torte?
You totally can, but you have to understand what you’re changing! Remember, without flour, the chocolate is doing all the heavy lifting for structure and flavor. If you use high-quality 70% or even 80% cacao bittersweet chocolate, you will get an absolutely phenomenal, intense dark chocolate experience. It’s going to be less sweet and more complex—truly a kingly Dark Chocolate Indulgence.
Now, if you use milk chocolate, it’s fine, but it won’t bake up quite as firmly because milk chocolate has more sugar and less actual cocoa solids. It will be sweeter, and your final torte will be much softer, leaning toward a thick ganache. For the best possible version of this Rich Fudgy Cake Recipe, stick to bittersweet or semisweet, aiming for high quality!
Why did my flourless chocolate dessert sink in the middle?
If your gorgeous Flourless Chocolate Dessert sank in the middle, I need you to take a deep breath and smile! That is completely, 100% normal and actually a sign you did it right! See, the strength in a regular cake comes from the gluten structure in flour, which sets up firm walls in the oven. This torte relies completely on the egg proteins to set.
When it bakes, those egg whites create a high, airy dome. Once you take it out of the heat—poof!—Gravity takes over where the cooked structure hasn’t fully solidified, and the middle collapses in a bit. That central dip is the perfect place to pile on your cocoa powder dusting or a pretty dollop of whipped cream! It proves you made a real, deep, honest Flourless Chocolate Torte, not some rubbery stand-in.
For more great tips on navigating tricky gluten-free bakes, I often refer back to my notes when I’m making my gluten-free chocolate chip muffins—the principles of not deflating the air are the same!
Is it really necessary to separate the eggs?
Yes, friend, it is absolutely necessary! This is one of the bedrock steps for this Simple Flourless Cake. We need the yolks mixed in with the fat (butter and chocolate) and sugar to create that rich, dense body. But we need the whites whipped completely separately until they hold stiff peaks!
Those stiff whites are what we gently fold in last; they trap all the necessary air. If you just throw the whole eggs in, you’ll end up with a dense, heavy block of chocolate custard, not the light-on-the-tongue Velvety Chocolate Torte we are aiming for. Don’t skip separating them!
Can I make this torte ahead of time?
Oh, yes, and I encourage it! This makes an excellent make-ahead dessert for a Special Occasion Chocolate meal. You can bake the torte completely, let it cool fully, and then chill it overnight. In fact, I think the texture is even slightly better the next day once it’s fully settled in the cold. Just remember my crucial serving tip: pull it out about 30–45 minutes before you want to slice and serve it so it softens up to that perfect fudge consistency!
Estimated Nutritional Data for One Slice of Flourless Chocolate Torte
When you are making something this deeply luxurious, I always feel like it’s good to have a rough idea of what’s in that incredible slice, even if we don’t count calories when pure dark chocolate is involved! Since this recipe uses high-quality ingredients like real butter and dark chocolate, the numbers are what you’d expect for a truly decadent dessert.
This information is based on the recipe yielding 8 generous slices of this glorious Flourless Chocolate Dessert. Keep in mind that because this is a homemade recipe based on specific product brands, these figures are just an estimate meant to give you a ballpark idea!
Here is a breakdown of the estimated nutrition per serving:
- Serving Size: 1 slice
- Calories: 350
- Sugar: 20g
- Sodium: 120mg
- Fat: 25g
- Saturated Fat: 15g
- Unsaturated Fat: 10g
- Trans Fat: 0g
- Carbohydrates: 28g
- Fiber: 3g
- Protein: 7g
- Cholesterol: 130mg
See? It’s dense with goodness! If you’re craving that pure Intense Chocolate Flavor, this Gluten Free Chocolate Torte delivers. Enjoy every single sweet, rich, and fudgy bite! You earned it!
PrintThe Ultimate Decadent & Fudgy Flourless Chocolate Torte
Make a deeply rich, dense, and velvety chocolate torte that is naturally gluten-free. This recipe delivers intense dark chocolate flavor perfect for special occasions.
- Prep Time: 15 min
- Cook Time: 35 min
- Total Time: 50 min
- Yield: 8 servings
- Category: Dessert
- Method: Baking
- Cuisine: American
- Diet: Gluten Free
Ingredients
- 8 ounces bittersweet or semisweet chocolate, chopped
- 1/2 cup (1 stick) unsalted butter
- 3 large eggs, separated
- 1/4 cup granulated sugar
- 1/4 teaspoon salt
- 1 teaspoon vanilla extract
- 2 tablespoons unsweetened cocoa powder, for dusting
Instructions
- Preheat your oven to 350°F (175°C). Grease an 8-inch springform pan and line the bottom with parchment paper.
- Place the chopped chocolate and butter in a heatproof bowl set over a saucepan of simmering water (a double boiler). Stir until completely melted and smooth. Remove from heat and let cool slightly.
- In a separate medium bowl, whisk the egg yolks with the granulated sugar until the mixture lightens in color. Whisk in the vanilla extract.
- Pour the slightly cooled chocolate mixture into the egg yolk mixture and stir until just combined.
- In a clean, dry bowl, beat the egg whites with the salt until stiff peaks form.
- Gently fold one-third of the beaten egg whites into the chocolate mixture to lighten it. Then, carefully fold in the remaining egg whites until no white streaks remain. Do not overmix.
- Pour the batter into the prepared springform pan.
- Bake for 30 to 35 minutes. The edges should look set, but the center will still look soft.
- Let the torte cool completely in the pan on a wire rack. The center will sink slightly as it cools, which is normal for a flourless cake.
- Once cool, carefully remove the sides of the springform pan. Dust the top generously with cocoa powder before slicing and serving.
Notes
- For a cleaner release, run a thin knife around the edge of the cooled torte before releasing the springform pan sides.
- Serve this torte slightly chilled or at room temperature for the best fudgy texture.
- You can substitute the bittersweet chocolate with high-quality dark chocolate (70% cacao or higher) for a more intense flavor.
Nutrition
- Serving Size: 1 slice
- Calories: 350
- Sugar: 20
- Sodium: 120
- Fat: 25
- Saturated Fat: 15
- Unsaturated Fat: 10
- Trans Fat: 0
- Carbohydrates: 28
- Fiber: 3
- Protein: 7
- Cholesterol: 130
