

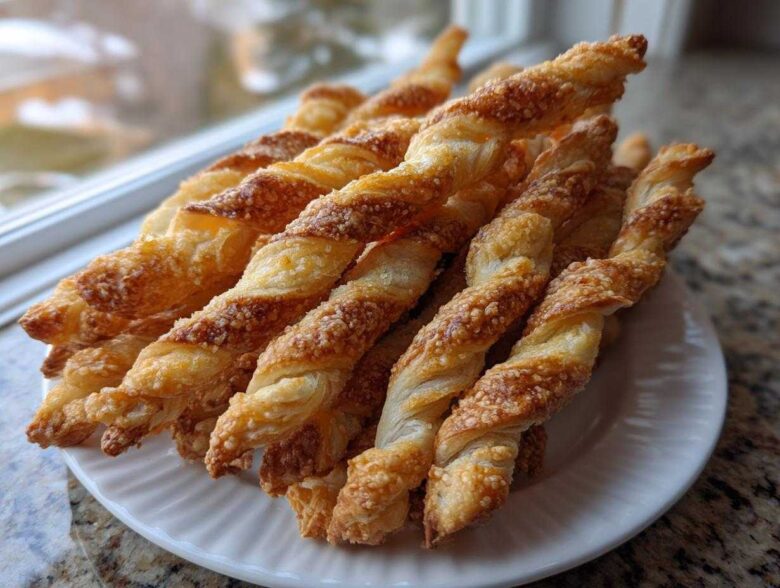
You know those appetizers that disappear before anyone even sees the veggie platter? My secret weapon, the one that clears the snack bowl faster than anything else whenever I host, is the humble but mighty cheese straw. Seriously, these aren’t just snacks; they’re a culinary tradition. This specific **cheese straws recipe** is pure, unadulterated Southern magic that I learned straight from my Aunt Carol during a very chaotic Fourth of July party years ago. Forget store-bought or flimsy versions! If you loved my savory zucchini muffins, you absolutely have to try these cheesy appetizers.
My goal here is simple: deliver the ultimate crunch. These **homemade cheese straws** bake up shatteringly crisp, buttery, and intensely cheesy. Trust me, once you try this method, you’ll never go back to anything else if you want that perfect snap. We’re talking about a legendary appetizer!
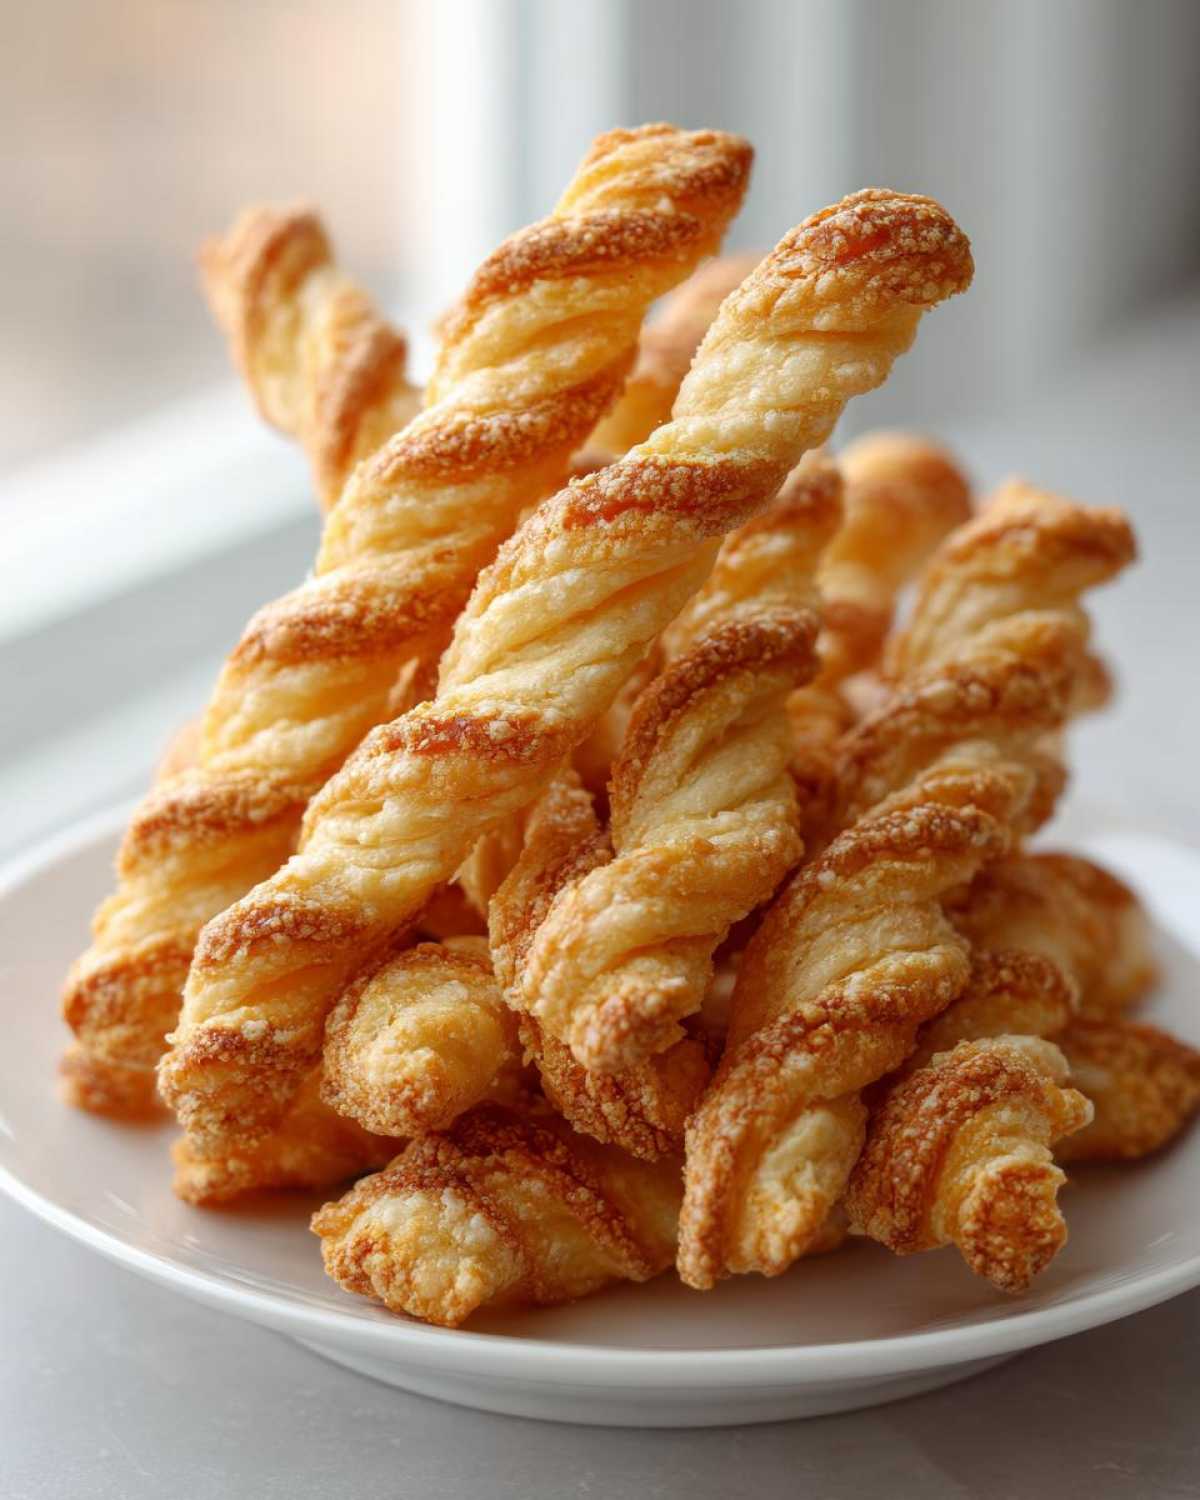
Why This is the Best Cheese Straws Recipe for Crispy Results
I’m telling you, this works! I’ve tested tons of things, and this specific **cheese straws recipe** hits all the marks. If you need a guaranteed winner for your next gathering, this is it. People will ask for the details, I promise.
- It’s quick! Prep time is really minimal once you get the hang of it.
- It delivers that quintessential Southern snap—butter-rich and savory.
- It’s ridiculously easy, even for a beginner baker.
If you enjoyed my savory cheese crackers, you’ll see the flavor parallels here!
Achieving Perfect Crispiness in Your Cheese Straws Recipe
The secret sauce for truly *crispy cheese straws* isn’t some fancy ingredient; it’s your patience! You absolutely must chill that dough as directed; it makes rolling thin so much easier, which is crucial for the crunch. Also, don’t skimp on the Sharp Cheddar. Medium or mild cheese just doesn’t give you that necessary depth of flavor when baked. Sharp cheddar melts beautifully but still leaves that bold, tangy bite that makes these straws addictive.
Essential Ingredients for Classic Cheese Straws Recipe
When we get down to brass tacks, the ingredient list for this **cheese straws recipe** is so short, you might think I’m holding out on you! But honestly, that’s the beauty of true Southern cooking—it’s all about using a few high-quality items and treating them right. You’ll need flour, a little salt and cayenne for that tiny kick—don’t skip the cayenne, trust me!—plus your binder, which is the egg yolk and water.
But let’s talk about the big two: the cheese and the butter. The butter absolutely has to be ice cold and cut into tiny pieces. This is what separates a savory biscuit from a truly crisp straw. And cheddar? You gotta go sharp. I’ve swapped out milder cheeses before, and it’s just not the same; you lose that essential cheesy punch we want!
Ingredient Notes and Flavor Boosts for Your Savory Straws Recipe
Okay, so if you want to jazz it up just a touch without ruining the classic vibe, I have a couple of go-to swaps I use when I’m feeling fancy. If you’re whipping up a batch of creamy dips to go alongside, try replacing half of that sharp cheddar with some grated Parmesan cheese. It adds this amazing nutty depth. And speaking of Parmesan, if you have fresh rosemary handy, chopping up just a teaspoon of it and mixing it in with the cheese makes these incredible *rosemary parmesan straws*. That herbaceous note cuts through the richness perfectly, making them ultra-elegant for entertaining.
Step-by-Step Instructions for an Easy Cheese Straws Recipe
Alright, time to get our hands dirty! Since this is such a simple dough, the steps are straightforward, but paying attention to the details here is how we guarantee those fantastic, flaky results. First things first: get your oven preheating to 375°F (190°C) and line those baking sheets with parchment paper. You definitely don’t want these sticking after all that hard work!
Next, we handle the dry goods. Whisking that flour, salt, and cayenne together ensures everything is evenly distributed throughout the dough. Then comes the butter. It needs to be cold, cold, cold! I use a pastry blender, but honestly, just use your fingertips if you have to. Work that butter into the flour until it looks like coarse cornmeal or little pebbles. Then, toss in that gorgeous shredded cheddar.
The liquid part seems simple, whisking the yolk and water, but add that liquid mixture in slowly. Stir until *just* combined. That’s the magic phrase. If you keep mixing once it starts looking like dough, you’re activating gluten, and that makes your straws tough instead of tender!
Mixing the Dough and Shaping Your Homemade Cheese Straws
Seriously, when that dough starts to come together, stop messing with it! Overmixing is the fastest way to ruin the texture we’re aiming for here—we want tender, not bread-like. Shape it quick, wrap it tight, and let it chill for at least half an hour. That chilling time is non-negotiable; it lets the fat firm up so you can roll it thin without everything getting gooey.
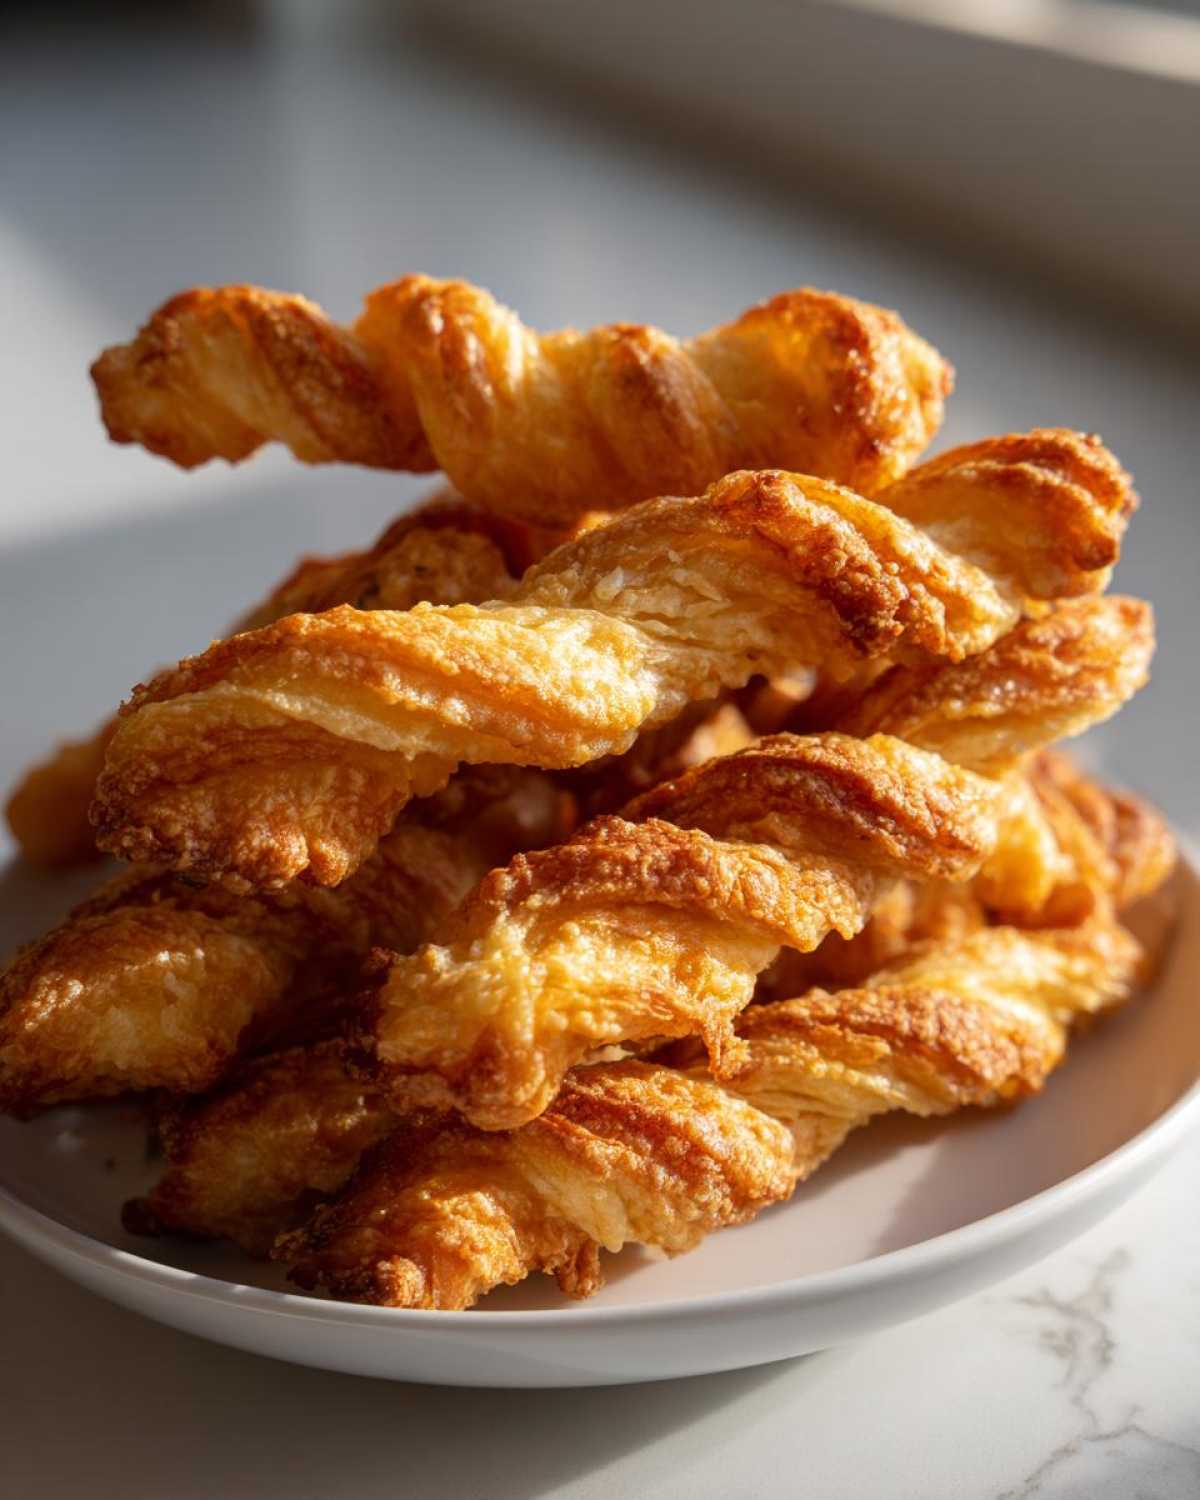
Once chilled, roll it thin—about 1/8th of an inch is where the crispness lives. Cut those strips, maybe a half-inch wide. Now, for my favorite part: that classic Southern twist! Hold both ends and give it a gentle half-turn. It makes them look so much more professional when they come out of the oven. If you like the look of my savory herb crackers, a simple twist goes a long way!
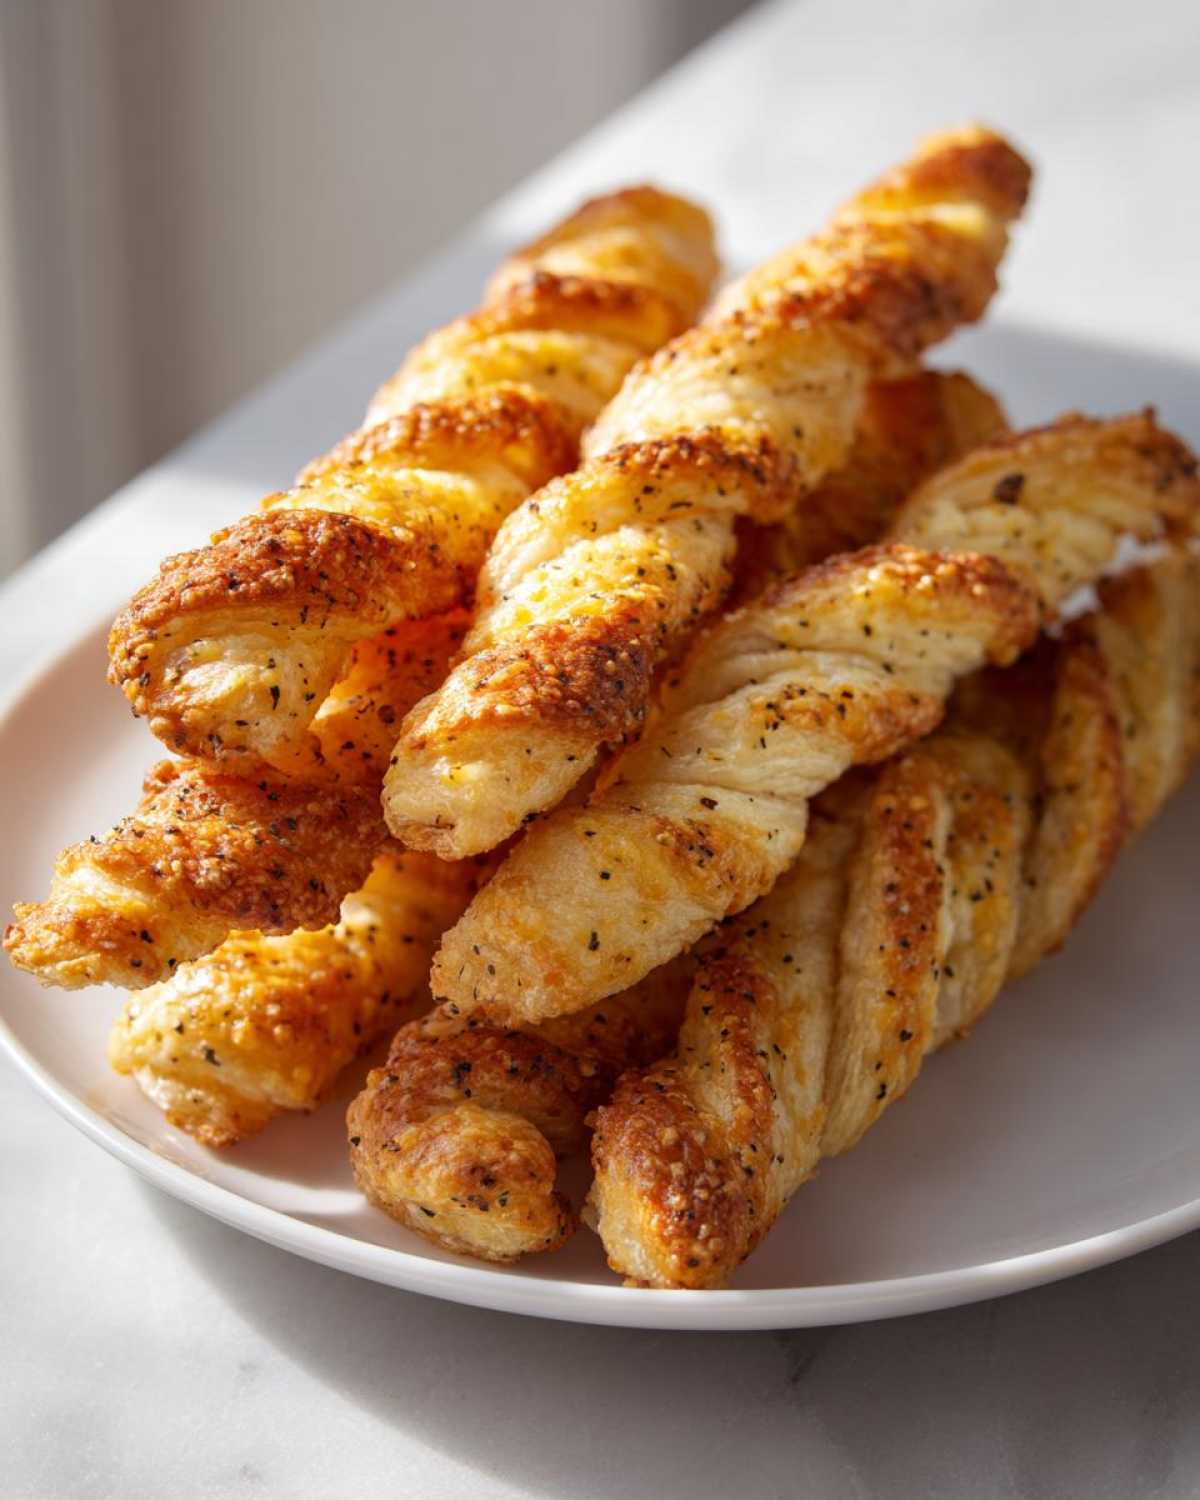
Baking Times for Perfectly Crispy Cheese Straws
Pop the trays in the oven, and check them around the 12-minute mark. You’re looking for them to be just kissing that golden brown color around the edges. If they look pale, give them another minute or two, but watch them like a hawk, because cheese burns fast!
When they come out, they might feel slightly soft, but don’t panic! Move them immediately onto a wire cooling rack. They firm up and crisp completely as they cool down. If you leave them on the baking sheet, the residual heat keeps them steaming, and you end up with pliable straws instead of shattering **crispy cheese straws**. Don’t skip that cooling step!
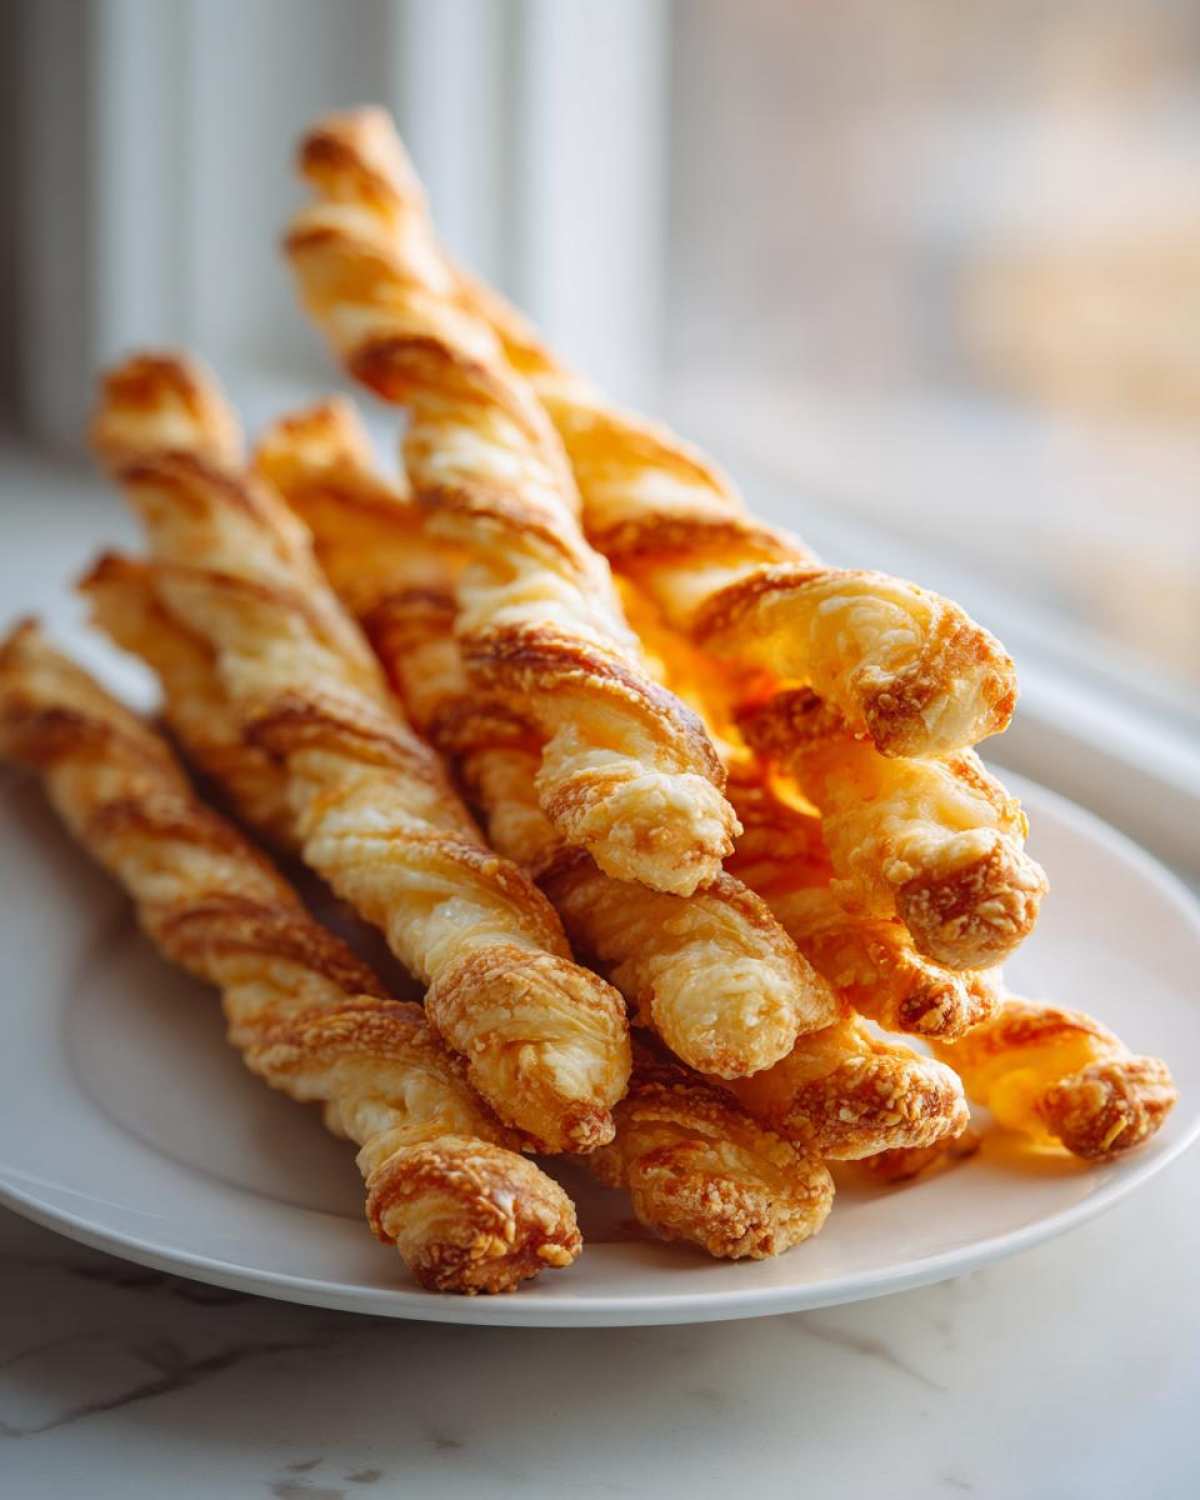
Variations on the Classic Cheese Straws Recipe
I love sticking to tradition, but I also love experimenting when I’m serving these for my friends who are always looking for something new! While this cheddar-based dough is the absolute best for a sturdy, savory snack, sometimes you want something faster or something with a bit more zing. It’s so fun to see how these basic ingredients can transform into totally different textures and flavors.
If you’re feeling adventurous after mastering the classic, check out my recipe for mini cheesy herb flatbreads—they scratch a similar savory itch!
Making Puff Pastry Cheese Straws for a Flaky Appetizer
Okay, if you’re short on time but still need amazing savory straws for entertaining, you can totally cheat and use store-bought puff pastry! The difference is huge, though. Our standard dough gives you a dense, crumbly, almost shortbread-like base, which is super satisfying. Using the pastry, however, you get these beautiful, layered, slightly *flaky cheese bites* that practically explode when you bite into them. They’re lighter, but you lose a bit of that intense, buttery density the scratch dough provides.
Adding Heat: Tips for Spicy Cheese Straws
If you want to amp up the excitement factor for your *party snacks*, you need to bring the heat! We already have a little cayenne in there, but if you want truly *spicy cheese straws*, don’t rely only on more cayenne—it can get too sharp. My trick when I serve these during the holidays is to add about half a teaspoon of smoked paprika along with an extra dash of cayenne. That paprika gives you this gorgeous color and a beautiful underlying warmth that balances the sharpness of the cheddar so perfectly. It just tastes more complex, you know?
Serving Suggestions for Your Cheese Straws Appetizer
These little beauties are what I call total crowd-pleasers. They transition perfectly from a casual afternoon snack to something elegant for a proper holiday gathering. Since they are savory and so perfectly crunchy, they make the absolute best handheld *cheese straws appetizer* for cocktail hour.
When I put these out, I always make sure to pair them with something creamy or tart to cut the richness. They’re fantastic next to my favorite cranberry brie bites, or just sitting alone on a platter, looking gorgeous. They disappear way too fast, but that’s just the sign of a successful spread of *party snacks*, right?
Make Ahead Appetizers: Storing Your Cheese Straws Recipe Dough
I know life gets hectic before any good party, so you’ll be thrilled to hear that these are fantastic *make ahead appetizers*. The dough itself is super sturdy! If you mix it up, wrap it up really tight in plastic wrap—make sure there are no air bubbles—and tuck it into the fridge, it holds up beautifully for up to two full days. When you’re ready to bake, just let it sit on the counter for about fifteen minutes so it softens just enough to roll without fighting you too much.
Now, what if you bake them ahead of time? That’s easy, too! Once they are totally cool, store the *homemade cheese straws* in an airtight container at room temperature. They keep well for about five days, and honestly, I think they taste even better on day two! If they somehow go a little soft by day four, just throw them on a baking sheet at 300°F (150°C) for about five minutes. That crisps them right back up! Speaking of making things ahead, if you’re looking for another great party staple, you have to check out my recipe for a bacon jalapeno cheese ball!
Troubleshooting Common Issues with Homemade Cheese Straws
Even in the best kitchens, things sometimes go slightly sideways! Don’t let a little hiccup stop you; we can easily fix anything with these **homemade cheese straws**. If you pull them out and they feel soft or floppy, that’s simple: they just need more time to release that residual moisture. Pop them back in the oven for another three to five minutes until they really start showing color.
Now, if your dough was really crumbly when you were trying to roll it out—that usually means your cold butter chunks were way too big, or maybe you added a tiny bit too much flour. Next time, try kneading in just one teaspoon more of cold water right at the end until it holds together. That little bit usually does the trick! For more tips on getting textures right, check out my guide on savory cheese crackers.
Frequently Asked Questions About This Cheese Straws Recipe
I get so many questions about these straws because everyone wants that perfect crispness! Since this is such a beloved recipe, I wanted to clear up a few things right here. If you’re hosting, these are going to be your favorite new *cheesy appetizer ideas*!
Can I use pre-shredded cheese in this recipe?
Oh, I really, really advise against the pre-shredded stuff. I know it seems like a huge time saver for your *quick savory snacks*, but those bags are coated in anti-caking agents, usually potato starch or cellulose. That stuff keeps the cheese from clumping in the bag, but when you bake it, it stops the cheese from melting smoothly into the dough. For the best texture in your **cheese straws recipe**, shred a block of sharp cheddar yourself. It makes the dough so much silkier!
What is the best cheese to use besides cheddar for savory straws recipe?
If you want incredible depth of flavor, Parmesan is your new best friend! As I mentioned earlier, swapping out half of the sharp cheddar for freshly grated Parmesan elevates this instantly. It doubles down on that salty, nutty profile. If you want something a little earthier and creamier, try using real Gruyère instead of cheddar. They turn into these amazing *savory straws recipe* bites—super rich!
If you’re looking for another great cheesy option for guests, you should definitely check out my recipe for savory zucchini cheese muffins—they are perfect alongside these straws!
Estimated Nutritional Data for Cheese Straws
I always get curious about the macros when I make these—especially when they end up being the star of the show at the party! Since every ingredient can vary slightly based on the brand of butter or how sharp your cheddar truly is, these numbers are an estimate. But hey, for cheesy, buttery goodness, they aren’t too bad, especially since they are small *cheese breadsticks recipe* bites!
Here’s what I calculated based on a serving size of three straws:
- Calories: 85
- Fat: 6.5g
- Saturated Fat: 4.0g
- Carbohydrates: 4.5g
- Protein: 3.0g
- Sodium: 110mg
If you’re looking for more general cooking inspiration, feel free to browse my main blog index!
Disclaimer Regarding Nutritional Estimates
Now, please keep this in mind, because I can’t stress this enough: these figures are just an approximation I worked out for general guidance. Exact nutritional values for your batch of **savory shortbread recipe** straws might flutter around a little bit. This is because things like the exact size of your cheese shred, the fat content in the specific butter you use, or even how much cayenne powder you toss in will change the final result. I always tell people to use these numbers as a starting point, not a guarantee!
Share Your Crispy Cheese Straws Creations
I honestly live for hearing how your batches of these **cheese straws recipe** turned out! Did you get that perfect, shatteringly crisp texture I was raving about? Did Aunt Carol’s tradition make an appearance at your next gathering? I always love seeing photos of these golden snacks popping up at your parties—it just makes my day knowing this family recipe is living on in your kitchens!
Don’t be shy! Drop your rating below—how many stars did this **cheesy appetizer idea** earn at your house? Tell me if you added any little twists of your own, maybe serving them alongside a savory dip or trying them out as *make ahead appetizers*. If you snapped a picture, don’t forget to tag me on social media so I can cheer you on! If you have any final questions that I maybe didn’t cover, just shoot me a message on my contact page—I’m always happy to chat about snacks!
PrintClassic Southern Cheese Straws
Make crispy, savory cheese straws using sharp cheddar cheese. This recipe yields a classic Southern appetizer perfect for parties.
- Prep Time: 20 min
- Cook Time: 15 min
- Total Time: 35 min
- Yield: About 3 dozen
- Category: Appetizer
- Method: Baking
- Cuisine: American
- Diet: Vegetarian
Ingredients
- 1 cup all-purpose flour
- 1/2 teaspoon salt
- 1/4 teaspoon cayenne pepper
- 1 cup (4 ounces) sharp cheddar cheese, shredded
- 1/2 cup (1 stick) cold unsalted butter, cut into small pieces
- 1 large egg yolk
- 1 tablespoon cold water
Instructions
- In a medium bowl, whisk together the flour, salt, and cayenne pepper.
- Cut in the cold butter using a pastry blender or your fingers until the mixture resembles coarse crumbs.
- Stir in the shredded cheddar cheese until evenly distributed.
- In a small bowl, whisk the egg yolk and cold water together. Add this liquid mixture to the flour mixture and mix until a stiff dough forms. Do not overmix.
- Shape the dough into a ball, wrap it in plastic wrap, and chill for at least 30 minutes.
- Preheat your oven to 375°F (190°C). Line baking sheets with parchment paper.
- On a lightly floured surface, roll the dough out to about 1/8-inch thickness.
- Cut the dough into strips about 1/2-inch wide and 5 to 6 inches long. You can twist each strip once or twice for a traditional look.
- Place the straws on the prepared baking sheets.
- Bake for 12 to 15 minutes, or until the edges are lightly golden brown and the straws are crisp.
- Transfer the straws to a wire rack to cool completely. They will crisp up as they cool.
Notes
- For extra flavor, substitute half of the cheddar cheese with grated Parmesan cheese.
- You can make the dough up to two days ahead of time; store it tightly wrapped in the refrigerator.
- If you prefer a flakier texture, use cold puff pastry instead of making the dough from scratch, and cut it into strips after sprinkling with cheese.
Nutrition
- Serving Size: 3 straws
- Calories: 85
- Sugar: 0.1
- Sodium: 110
- Fat: 6.5
- Saturated Fat: 4.0
- Unsaturated Fat: 2.5
- Trans Fat: 0.1
- Carbohydrates: 4.5
- Fiber: 0.2
- Protein: 3.0
- Cholesterol: 25
