

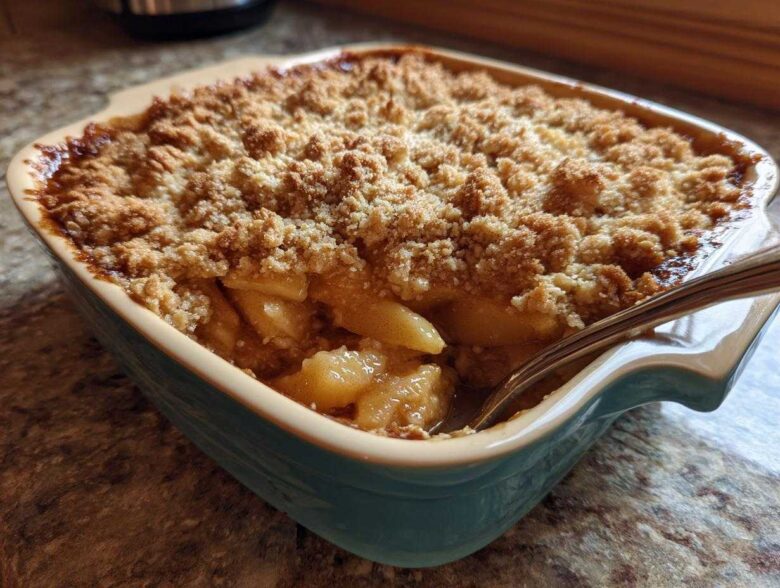
Oh, fall is here, and you know what that means, right? The air gets crisp, the sweaters come out, and suddenly all I want to do is bake something that smells like heaven! Forget those fussy pies; when I need real, honest-to-goodness comfort food, I grab my apples and make my go-to apple crisp recipe. Trust me when I say this isn’t just *an* apple crisp; this is *the* best, easy, old fashioned apple crisp you’ll ever make.
I swear, everyone in the family expects this exact dessert at Thanksgiving now, and honestly, I wouldn’t dare show up without it. It just feels like home. The beauty of this specific classic apple crisp recipe is that it comes together in a flash—we’re talking 15 minutes of prep! It’s my secret weapon for year-round coziness, proving that the simplest things are often the most delicious.
Why This is the Best Apple Crisp Recipe for Cozy Nights
If you’re searching for the ultimate comfort food dessert, stop scrolling right now. This is it! This fall apple dessert tastes like it simmered all day long, but the reality is that it’s unbelievably quick. That’s the magic touch here. We get tender, warmly spiced apples swimming under a rich, buttery layer that just screams nostalgia.
What sets this apart from other baked apple desserts is the texture balance. You bite through that crunchy sweetness and land in soft, spiced apple heaven. It’s truly the perfect marriage of textures, and because it’s such a quick apple dessert recipe, you don’t have to wait long for that incredible aroma to fill your whole house.
Quick Prep Time for Your Apple Crisp Recipe
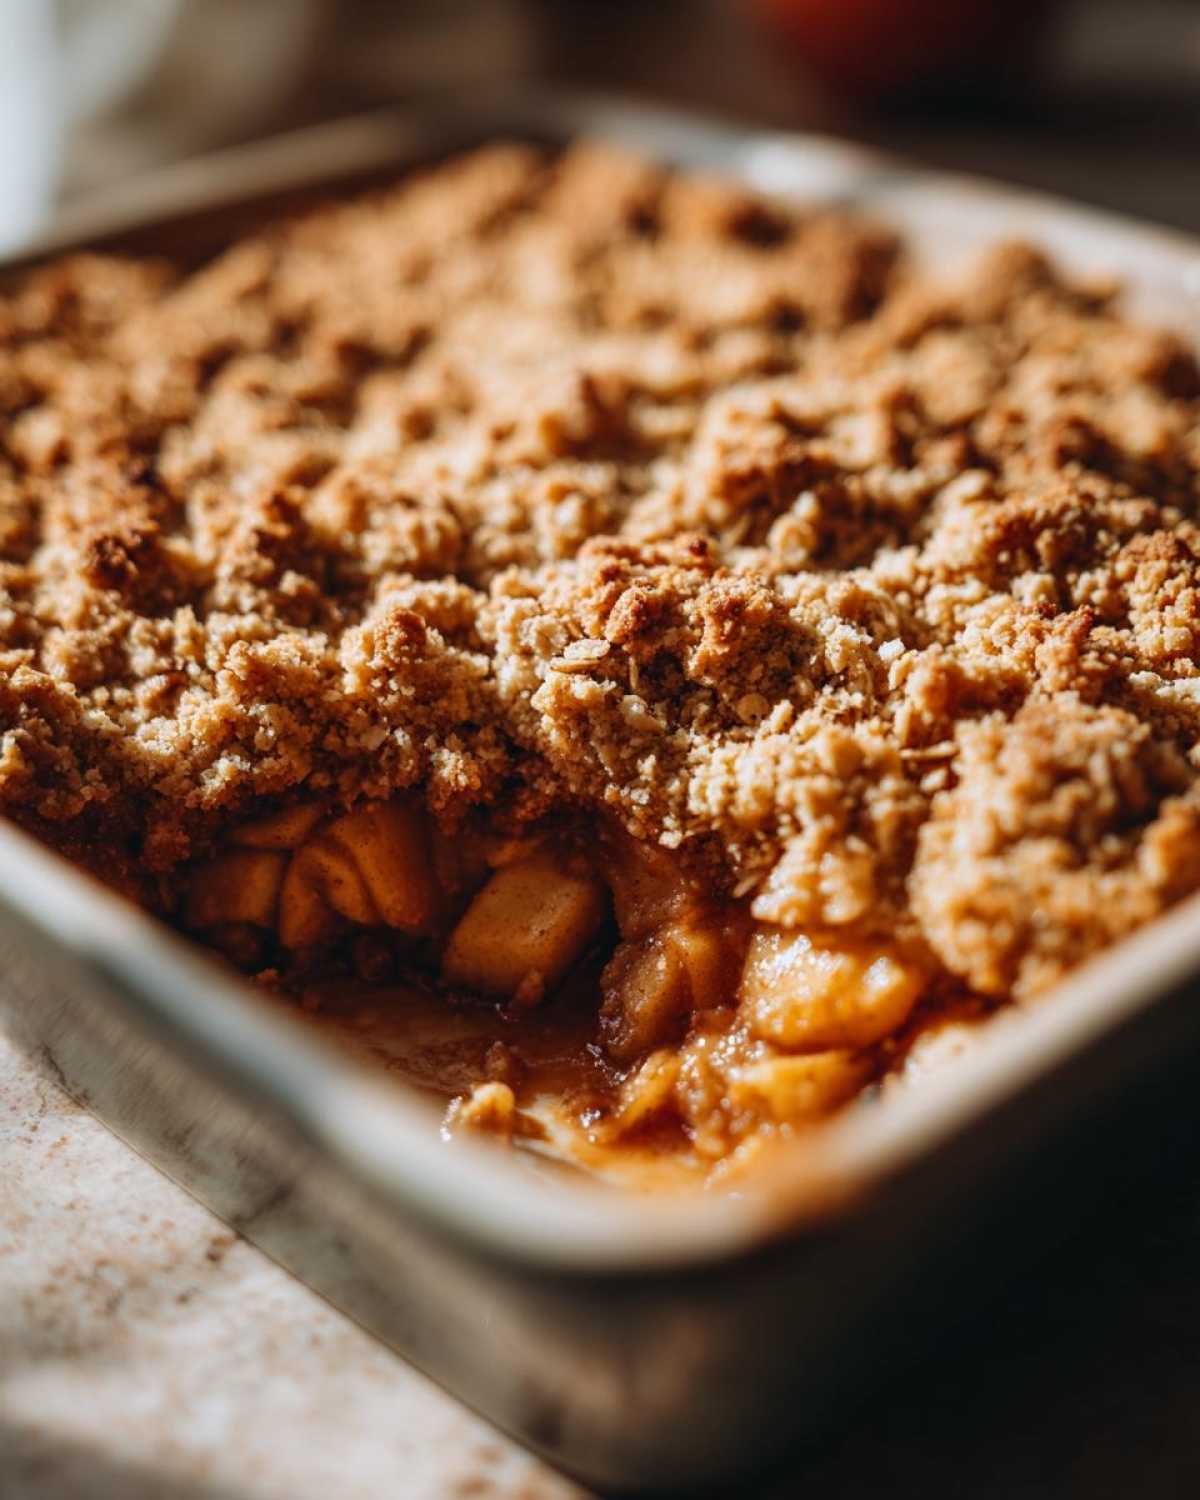
You absolutely won’t believe we only spend about 15 minutes getting this into the oven. Seriously! If you’re looking for an easy apple crisp recipe for a weeknight treat, this is going to be your new best friend. Peel and slice those apples, whisk together a few topping things, and bam—you’re done with prep. It’s so much faster than rolling out dough for a pie, but you still get that amazing baked apple dessert satisfaction.
The Secret to a Golden Crisp Topping
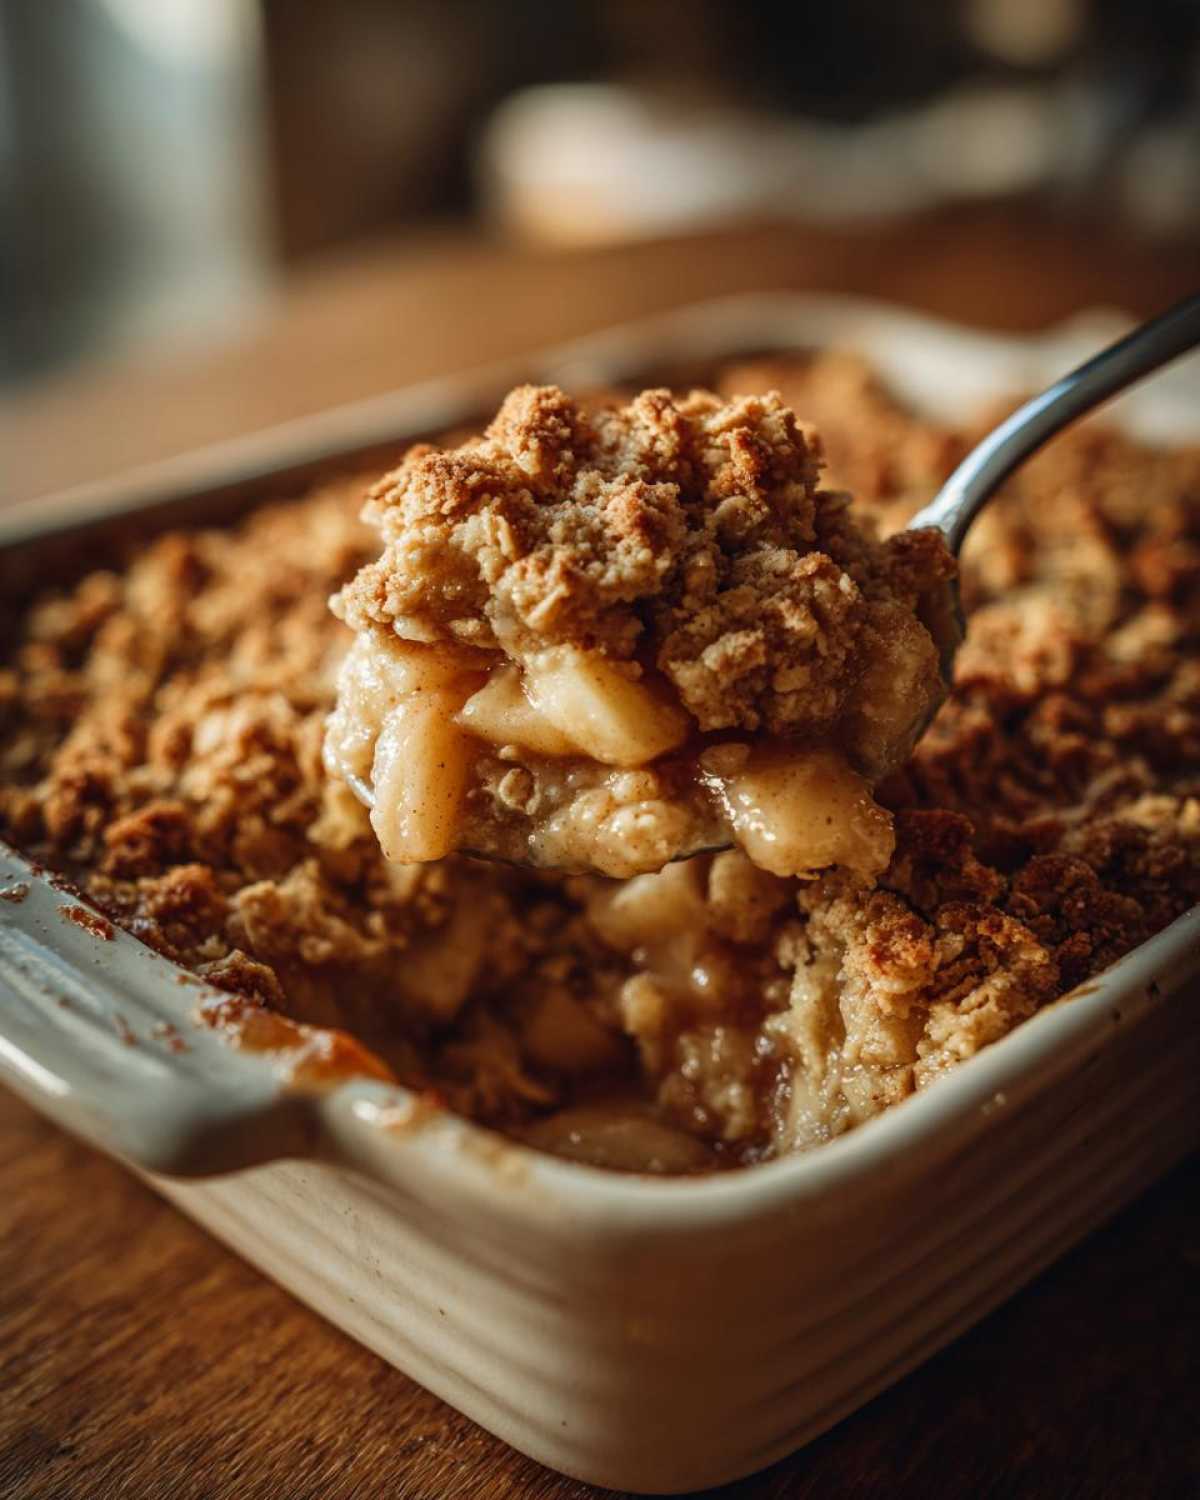
The topping is everything, isn’t it? This isn’t some sparse, sugary sprinkle situation. We are making a serious oat crumble topping that gets perfectly golden brown and crunchy every single time. The key is making sure that cold butter gets cut in just right—we want flakes and coarse crumbs, not one big butter lump! When you pull this out of the oven, that beautiful, rich color tells you it’s ready to be spooned over everything in sight.
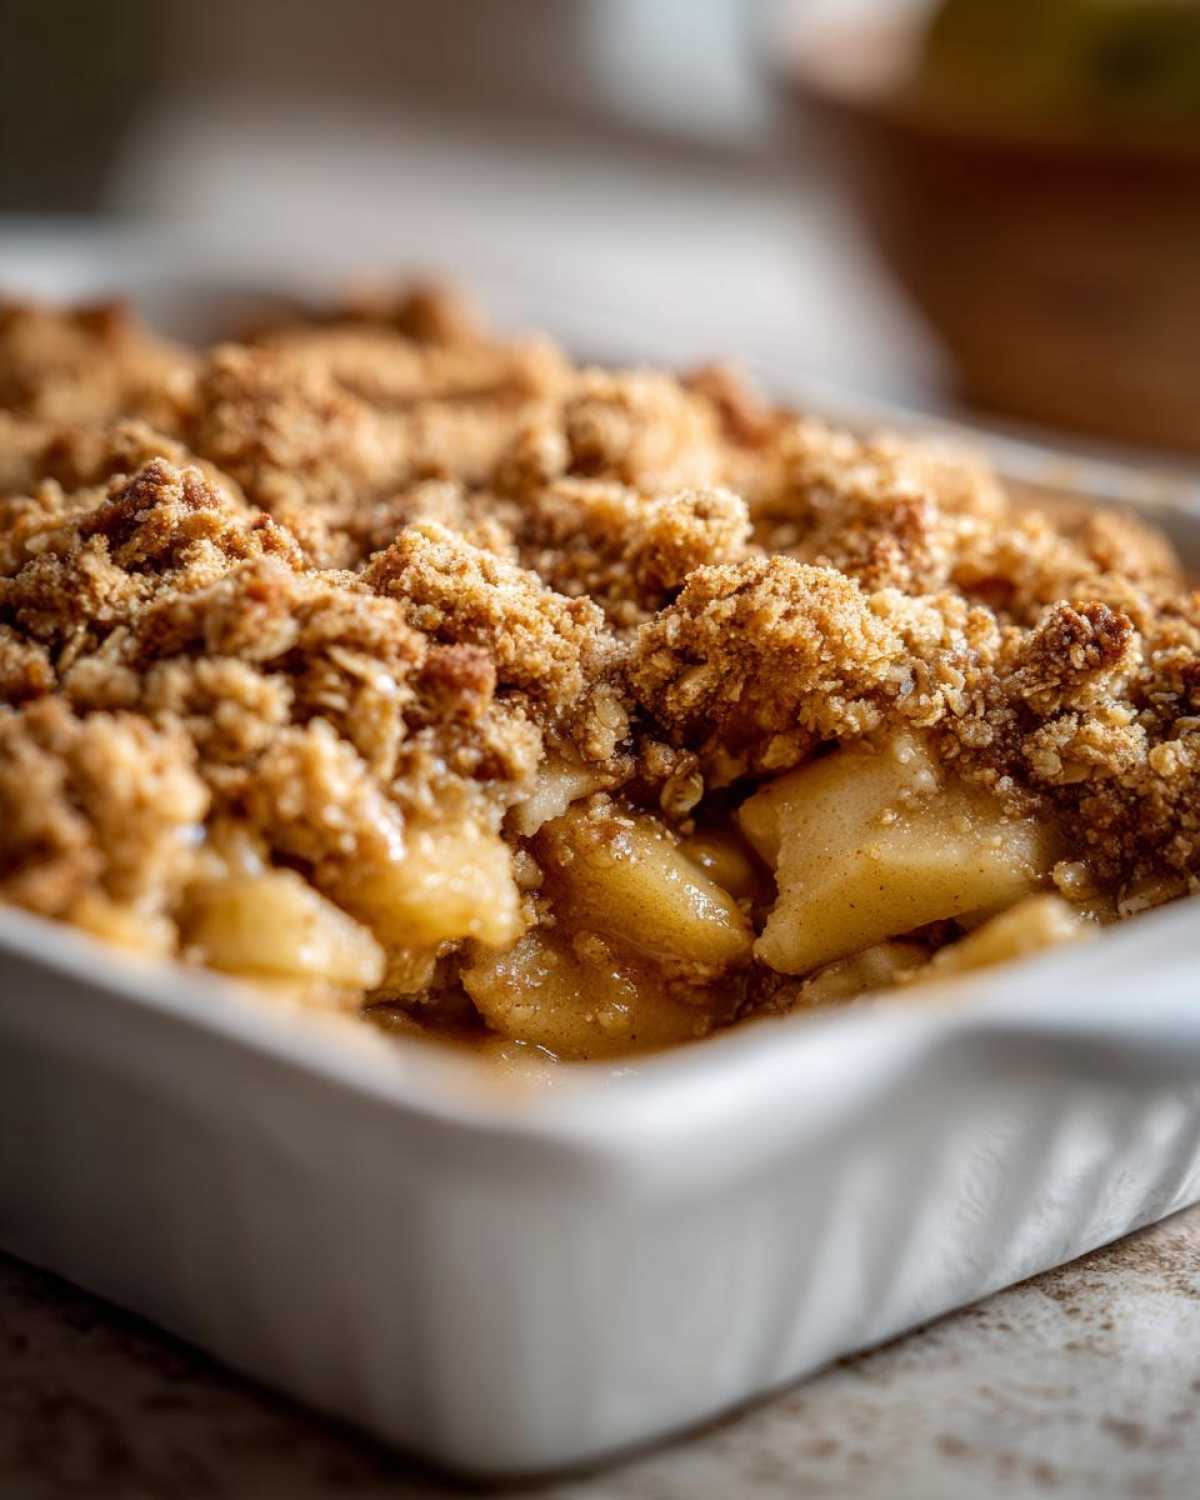
We’ve linked a great post below about another one of my favorite baked apple dessert ideas, but honestly, nothing beats this classic crisp!
Gathering Ingredients for Your Apple Crisp Recipe
Okay, this is where the magic starts to take shape, and you’ll love how simple the list is. This is truly an easy pantry staple dessert because chances are, you have most of this stuff sitting right there in your kitchen cabinets already! I always keep a good mix of apples on hand specifically for baking projects like this. We’re aiming for tender apples under that beautiful, crunchy topping. No complicated shopping trips required for this one!
When you look at what we need, remember that precision matters for the topping and the apples need a bit of help to get perfectly cooked. Because this recipe is so straightforward, using quality ingredients makes a big difference in the final flavor profile. I’ve organized the list below so you can start grabbing things off the counter. If you’re interested in other quick spice bakes, check out my recipe for apple cinnamon rolls!
For the Tender Spiced Apples
This is the gooey, warm base of the whole dessert. Make sure you get your apples ready first. You want them peeled, cored, and sliced—aim for about a quarter-inch thickness. Not too thin, or they turn to mush!
- 6 medium apples (I always suggest a mix of tart Granny Smith and sweet Honeycrisp for the best balance!)
- 1/4 cup granulated sugar
- 1 teaspoon ground cinnamon
- 1/4 teaspoon ground nutmeg
- 2 tablespoons lemon juice (this stops them from browning too fast and adds a needed brightness!)
For the Buttery Brown Sugar Oat Topping
This topping is what we are really fighting for here, folks! We need that mix of flour, oats, and brown sugar for that incredible, rich flavor and the perfect, slightly chewy crumble. The butter must be cold for that signature flakiness that gives us that amazing golden crisp topping.
- 1 cup all-purpose flour
- 1 cup rolled oats (use old-fashioned, not instant!)
- 3/4 cup packed brown sugar
- 1/2 teaspoon ground cardamom (This is my little secret spice addition; it smells amazing with apples!)
- 1/2 cup (1 stick) cold unsalted butter, cut into small pieces
Step-by-Step Instructions for the Perfect Apple Crisp Recipe
Alright, the ingredients are ready, the anticipation is high, and now we get to the part where this humble mixture turns into the absolute star of the dessert table! Following these steps precisely is what separates a good crisp from the best apple crisp recipe you’ve ever tried. I promise, if you pay attention to the butter temperature and timing here, you’ll build up true baking authority!
We are aiming for that deep, comforting flavor that comes from slow baking, even though the prep is lightning fast. Before you even touch your apples, make sure your oven is warming up, because time is of the essence once those apples start releasing their juices! I’ve got a fantastic link here for some other baked cinnamon spiced apples if you want another inspiration later on.
Preparing the Apples and Baking Dish
First things first: the setup! Preheat your oven to 375 degrees Fahrenheit. Don’t start without the oven being ready, or you’ll mess up the timing. Next, lightly grease an 8×8 inch baking dish—yep, a standard square dish works perfectly for this recipe.
Now, take those beautifully sliced and spiced apples you prepared and spread them out evenly in that greased dish. You want them sitting flat, ready to absorb that nice cinnamon and nutmeg flavor while they cook down underneath the topping.
Creating the Oat Crumble Topping
Time for the best part! In a separate bowl, whisk together all your dry topping ingredients: the flour, the rolled oats (remember, old-fashioned!), that packed brown sugar, and my secret weapon, the cardamom.
Here’s the critical technique: you need to cut that cold butter into the mixture. You can use a pastry blender if you have one, but honestly, I love using my fingertips. Quickly work the cold butter pieces into the dry mix until it all looks like coarse, slightly lumpy crumbs. You want pieces ranging from pea-sized all the way up to something closer to a small bean. If you work it too long and it starts feeling warm or greasy, just stick the bowl in the fridge for five minutes!
Baking and Resting Your Apple Crisp Recipe
Once your topping is perfectly crumbly, sprinkle it generously and evenly over the layer of apples. Don’t press it down; let it be loose so it can get crunchy while baking.
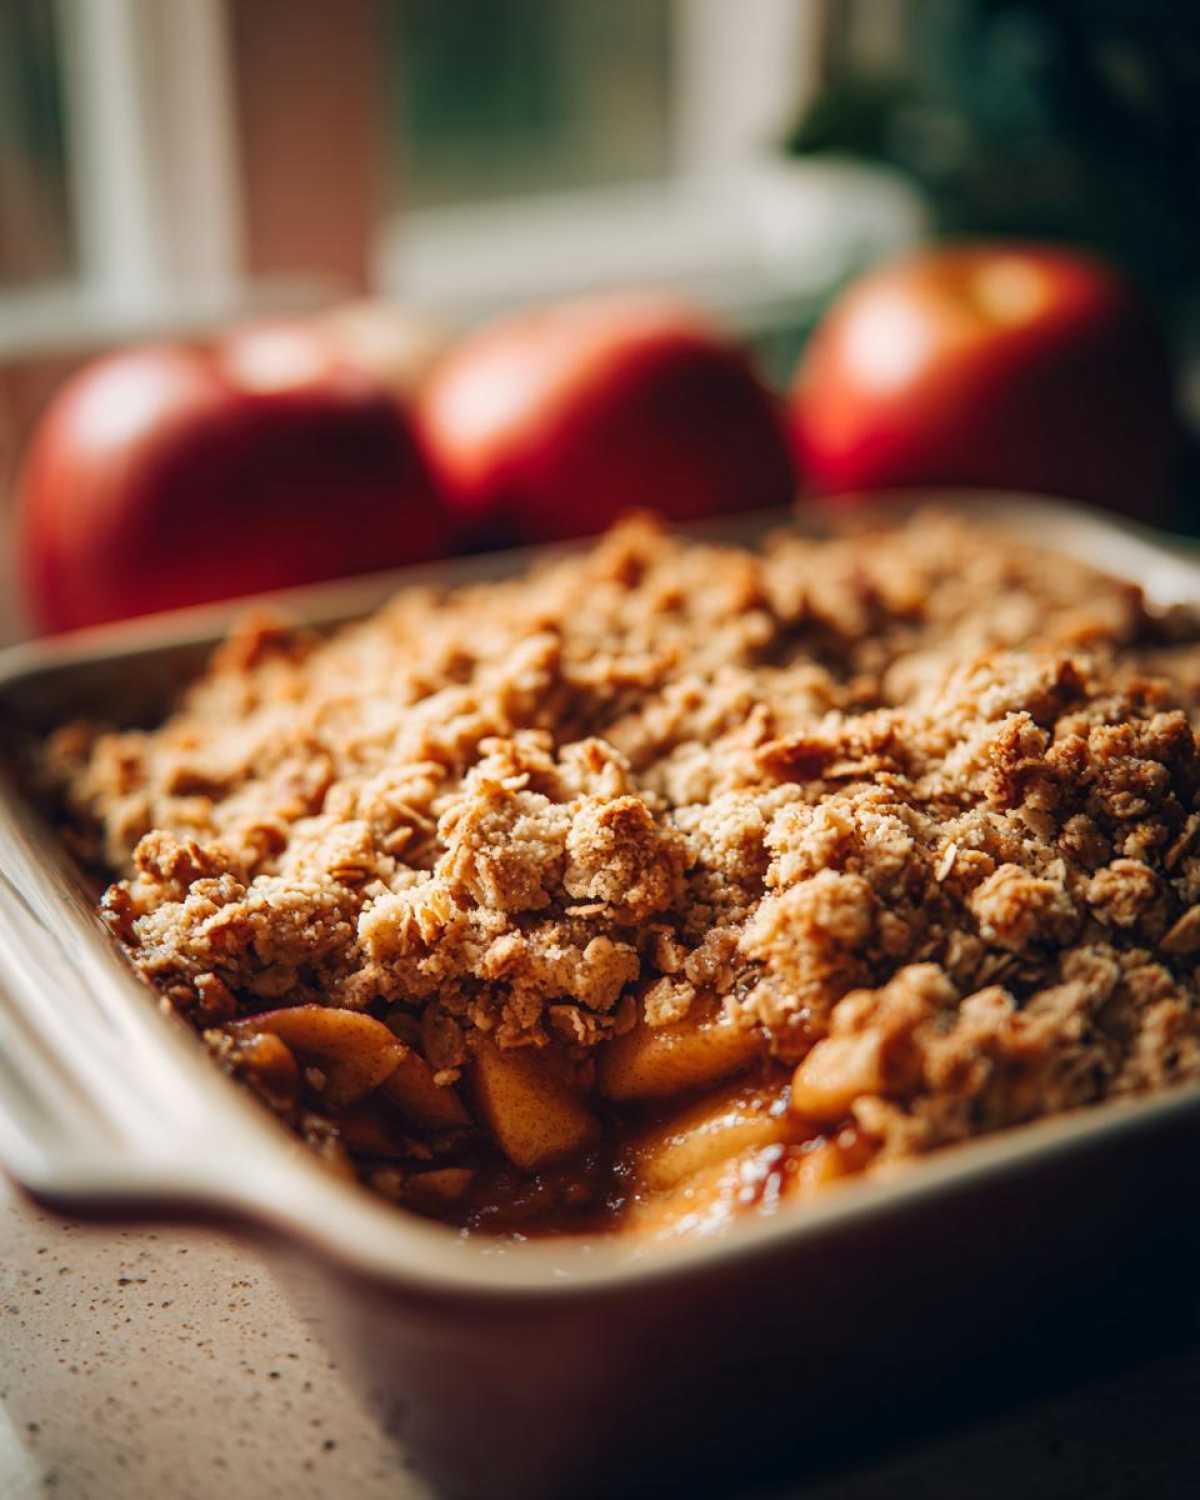
Pop that dish into the preheated oven and let it bake for 35 to 40 minutes. How do you know it’s done? Easy! The topping should be beautifully golden brown, and if you gently poke the apples near the center, they should feel tender—not hard, not mushy—just right. This tender result is exactly what makes this a winner!
When it comes out, resist the urge to dive in immediately! This step is non-negotiable for a perfect texture: let the crisp rest on a cooling rack for at least 15 minutes. This resting period lets those juices thicken up a little bit so you don’t end up with a soupy mess on your plate.
Tips for the Most Amazing Apple Crisp Recipe
We’ve nailed the basic apple crisp recipe, but if you want to elevate this from ‘really good’ to ‘why don’t you open a bakery?’ territory, here are the little expert touches I use. These bits of wisdom are what keep this an old fashioned apple crisp winner year after year.
A little extra attention to the fruit and the topping prep really pays off, especially when we’re leaning into those cozy fall spices like you get in a great cinnamon apple bake. And since you already know this is a super quick apple dessert recipe, taking an extra minute for these tips is totally worth it!
Apple Selection for Your Apple Crisp Recipe
Listen, you can use any firm apple, but if you want the absolute best texture, don’t settle for just one type! When I started making this, I used whatever was cheapest, but now I mix them. Why? Because different apples break down at different rates. Granny Smiths are tart and hold their shape beautifully, giving you nice structures in the finished bake.
But those sweeter apples, like Honeycrisp or Fuji, soften up nicely and melt into that spiced sauce. Mixing them—say, three Granny Smiths and three Honeycrisps—gives you variety in every single bite. You get that slight tart kick balanced by pure sweet softness. It’s just superior, trust me on this apple combo!
Making This Quick Apple Dessert Recipe Ahead
Sometimes life gets crazy, and you just need to get ahead, right? The best part about this recipe is that the topping holds up brilliantly for preparation beforehand. This is a lifesaver if you’re planning a big fall gathering!
You can totally make that buttery oat crumble topping mixture completely ahead of time. Just whisk the flour, oats, brown sugar, and cardamom together, cut in the cold butter until it’s coarse crumbs, and then store it in a sealed container in the fridge. It keeps perfectly for about 24 hours. When you’re ready to bake, you just toss your apples, sprinkle the cold topping on top, and bake as directed. It’s a dream for anyone needing a make ahead apple crisp option!
Also, if you love warming spices like we do here, you’ll enjoy the notes in my apple cinnamon hot toddy—perfect for sipping while this crisp bakes!
Serving Suggestions for Your Apple Crisp Recipe
Once that amazing aroma fills your kitchen and the 15-minute cooling time is up, it’s time for the best part—serving! This warm apple dessert is absolutely incredible on its own, but let’s be real, it truly shines with toppings.
The number one way I serve this is with a big, glorious scoop of really good vanilla ice cream. The contrast between the piping hot crisp and the melting cold ice cream? Perfection! If you want to get fancy, a drizzle of warm caramel sauce over the top makes it feel ultra-decadent. We sometimes make a caramel brown sugar latte to sip alongside it in the cooler months. Honestly, once you smell those cinnamon apples, you’ll want to top it with everything!
Storage and Reheating Instructions for Homemade Apple Crisp
So, you’ve managed to save some of this incredible homemade apple crisp? Good job, you saint! Honestly, I usually don’t have many leftovers because everyone goes back for seconds, but when I do, I want to make sure the texture stays nearly perfect for reheating later.
Storing it is super simple; just make sure it cools down completely if it’s still warm. Once cooled, cover the baking dish tightly with plastic wrap or foil. If I’m planning to eat it the next day, I keep it right on the counter—room temperature is usually fine for a day or two because of all the sugar in there. If it’s going to hang out for longer, slide it into the fridge for up to four days. Don’t worry if the topping seems a little softer after storage; we have simple tricks to fix that!
Reheating to Bring Back the Crunch
The microwave is fast, sure, but it turns everything soggy, and we want that beloved easy stovetop homemade applesauce texture underneath, not a soggy mess! For the reheat, the oven is your best friend if you want to save that golden topping.
Pop a serving (or the whole dish) back into a 350-degree oven for about 10 to 15 minutes, or until everything is heated through nicely. If you’re only warming up a single slice, wrapping it loosely in foil before putting it in the oven helps keep the topping from drying out too much while the apples get hot.
If you are absolutely starving and need it *now*, you can use the microwave, but do it in short bursts—maybe 30 seconds at a time—and then top it with a tiny sprinkle of raw oats and a dot of butter before nuking it again for 15 seconds. It’s not the same as baking, but it gets the job done in a pinch for a quick baked apple dessert fix!
Frequently Asked Questions About This Apple Crisp Recipe
I get so many questions whenever I post this recipe online, which just proves how much everyone loves a good, easy bake! Here are the most common things people ask me about making this recipe. I hope this helps you nail your dessert this time around! If you’re looking for something else spicy, that apple cinnamon hot toddy recipe is great for warming up after!
Can I make this apple crisp recipe gluten-free?
Absolutely, you can! This is a very adaptable easy apple crisp recipe. The main things you need to swap out are the flour and the oats. Just make sure you buy certified gluten-free rolled oats—the regular ones are often cross-contaminated, which we want to avoid if we’re baking gluten-free.
Then, grab a good 1-to-1 gluten-free all-purpose flour blend for the topping. The texture might be *slightly* different than if you used regular flour, but honestly, with all that brown sugar and cold butter, you won’t even notice the difference once it’s baked up golden brown!
What apples work best in an apple crisp recipe?
I touched on this a bit before, but this is crucial! You need apples that can handle being heated for nearly 40 minutes without dissolving into nothingness. The best results come from a mix of firm, tart apples and slightly sweeter ones.
My absolute top picks for this apple crisp recipe are Granny Smith, Honeycrisp, and maybe throw in a Braeburn if you have them. Stay away from very soft varieties like McIntosh or Red Delicious, as those will turn to apple sauce before the topping even starts to brown. We need structure in our apples!
How do I prevent the topping from burning on my apple crisp recipe?
Oh, that is such a common kitchen panic! Sometimes those lovely sugars in the brown sugar topping crisp up too fast, especially if your oven has hot spots. If you notice the apple crisp with oats topping is getting too dark, say around the 25-minute mark, don’t panic!
Just take a sheet of aluminum foil—you don’t even need to grease it—and loosely tent it over the top of the baking dish. This diffuses the direct heat onto the topping while still allowing the apples underneath to steam and soften properly. Pull the foil off for the last five minutes if you want that final extra crisp finish, but the foil tent is your best friend for preventing a burnt crumble!
Nutritional Estimates for This Apple Crisp Recipe
Now, I’m definitely not a nutritionist—I’m too busy eating the good stuff! But I know some of you lovely bakers like to keep track of what goes into your delicious creations. So, I took a standard look at the ingredients for this classic apple crisp recipe.
Please keep in mind these figures are just estimates based on running the standard ingredient list through a general calculator. Every apple is different, and how much butter you *really* used in that topping can change things! But this gives you a good baseline for what you’re enjoying when you dig into this amazing comfort food dessert.
- Serving Size: 1 serving
- Calories: Roughly 350 calories
- Fat: Around 16g (That’s the lovely butter doing its work!)
- Saturated Fat: Approximately 9g
- Carbohydrates: About 52g
- Sugars: Close to 35g (Thanks, brown sugar!)
- Protein: Right around 4g
- Fiber: About 4g
- Sodium: Roughly 80mg
- Cholesterol: About 35mg
It’s a treat, not an everyday salad, but for a simple, warm apple dessert made with real ingredients, I think those numbers look pretty fantastic, especially when you consider how much joy this baked apple dessert brings!
Share Your Experience with This Classic Apple Crisp Recipe
Seriously, I can’t wait to hear how your batch of this classic apple crisp recipe turns out! You followed the steps, you got that beautiful, golden oat topping, and now you know the secrets to making it the best apple crisp on the block.
The best part of sharing recipes—especially when they’re dear family favorites like this one—is hearing what you think. Did you try my cardamom trick? Are you serving it with vanilla ice cream, or are you feeling extra fancy? Don’t be shy!
Please take a moment to leave a rating right here below. A star rating not only lets me know if I need to tweak instructions (though I doubt it, because this formula is gold!) but it also helps other home cooks find this amazing, easy pantry staple dessert when they need a quick fix. If you snapped a picture of your decadent, warm apple dessert, totally tag me on social media!
I love seeing these recipes come to life in your kitchens. I check in often, so feel free to drop any leftover questions in the comments section. Happy baking, and happy cozy eating!
If you want to see what else I’m whipping up this week, check out my main kitchen adventures here!
PrintClassic Old-Fashioned Apple Crisp
This recipe provides a simple, quick method for making a comforting apple crisp with tender spiced apples and a buttery brown sugar oat topping.
- Prep Time: 15 min
- Cook Time: 40 min
- Total Time: 55 min
- Yield: 6 servings
- Category: Dessert
- Method: Baking
- Cuisine: American
- Diet: Vegetarian
Ingredients
- 6 medium apples (like Granny Smith or Honeycrisp), peeled, cored, and sliced
- 1/4 cup granulated sugar
- 1 teaspoon ground cinnamon
- 1/4 teaspoon ground nutmeg
- 2 tablespoons lemon juice
- 1 cup all-purpose flour
- 1 cup rolled oats
- 3/4 cup packed brown sugar
- 1/2 teaspoon ground cardamom
- 1/2 cup (1 stick) cold unsalted butter, cut into small pieces
Instructions
- Preheat your oven to 375 degrees Fahrenheit. Lightly grease an 8×8 inch baking dish.
- In a large bowl, toss the sliced apples with the granulated sugar, cinnamon, nutmeg, and lemon juice until coated. Spread the apple mixture evenly into the prepared baking dish.
- In a separate medium bowl, combine the flour, rolled oats, brown sugar, and cardamom.
- Cut the cold butter pieces into the dry topping mixture using a pastry blender or your fingertips until the mixture resembles coarse crumbs.
- Sprinkle the oat topping evenly over the apples in the baking dish.
- Bake for 35 to 40 minutes, or until the topping is golden brown and the apples are tender when pierced with a fork.
- Let the crisp cool for at least 15 minutes before serving warm.
Notes
- For a richer flavor, use a mix of apples.
- Serve this dessert warm with a scoop of vanilla ice cream or a drizzle of caramel sauce.
- You can prepare the topping mixture ahead of time and store it in the refrigerator for up to one day.
Nutrition
- Serving Size: 1 serving
- Calories: 350
- Sugar: 35
- Sodium: 80
- Fat: 16
- Saturated Fat: 9
- Unsaturated Fat: 7
- Trans Fat: 0
- Carbohydrates: 52
- Fiber: 4
- Protein: 4
- Cholesterol: 35
