

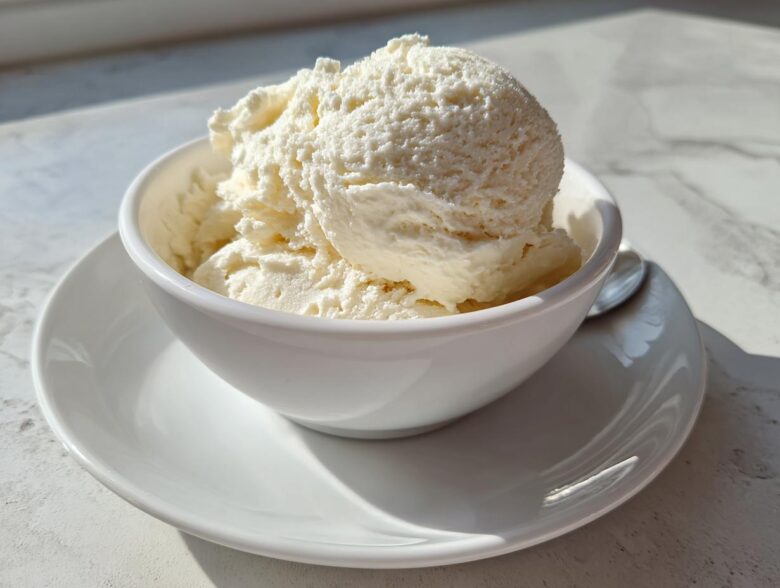
Oh my gosh, friend, let’s talk about hot summer cravings! You know that moment when you absolutely *need* ice cream but then guilt creeps in because you’re trying to get those protein gains? I totally get it! That’s why I am obsessed—and I mean *obsessed*—with this concept: magically turning cottage cheese into the creamiest **cottage cheese ice cream** you’ve ever had. This is the ultimate healthy frozen dessert alternative, and guess what? No special machine required. It’s totally no-churn, and seriously easy. It took me three tries to nail the texture so that it wasn’t grainy at all, but trust me, with my blending secret, you’ll get that perfect scoopable, indulgent texture right away. Plus, you can check out my protein cheesecake recipe if you need another sweet fix!
Why This Creamy No-Churn Cottage Cheese Ice Cream Recipe Works
Listen, I know what you’re thinking: cottage cheese? In ice cream? Yes! The best part about this recipe is that it hits all our requests. It’s absolutely packed with protein, making it a fantastic high-protein ice cream switch when you’re watching macros. But the real reason I keep coming back to this is that you do *not* need one of those big, loud ice cream makers that take up half your counter space.
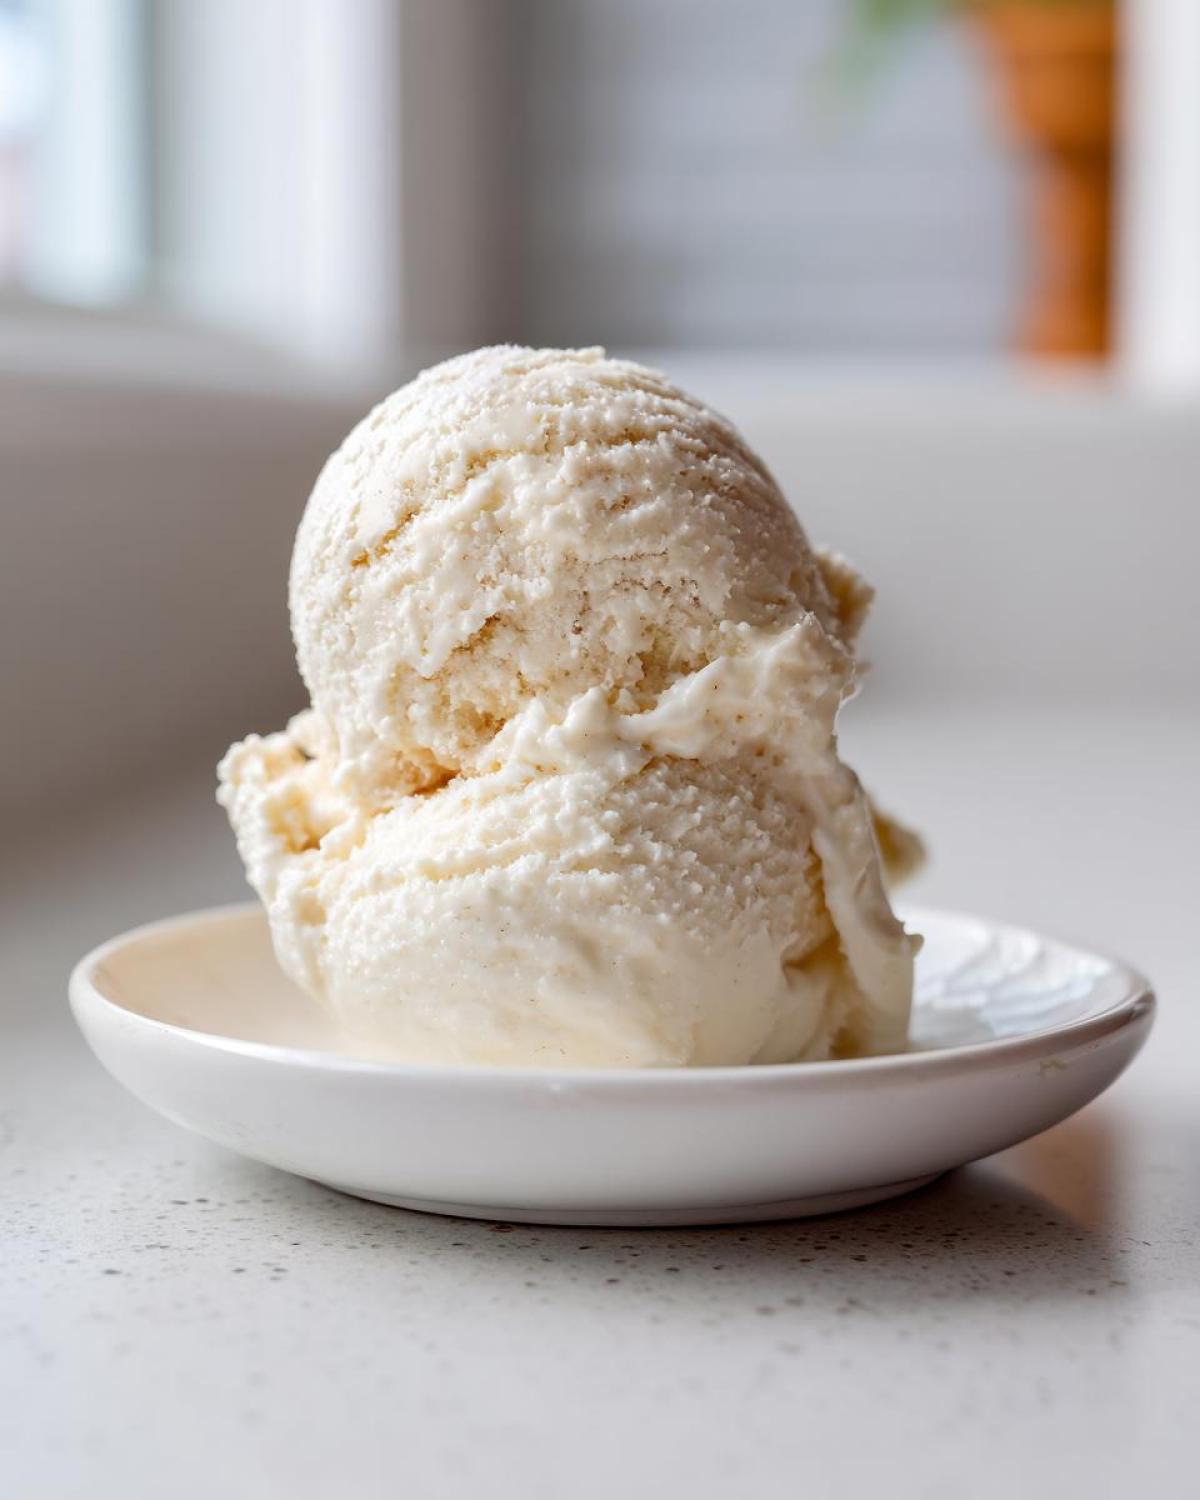
It’s truly a **healthy frozen dessert** savior because it relies solely on the power of the blender and your freezer. Forget churning! This method gives you that surprisingly thick texture you want in a frozen treat without any fuss. I’ve shared a few other staples you might love, like these high-protein waffles or my favorite easy no-bake protein bars for snacking.
Achieving the Best Creamy Cottage Cheese Dessert Texture
The secret sauce—or perhaps, the secret blend—to making sure this tastes like actual dessert and not, well, cottage cheese, is pure smoothness. If you don’t blend that cheese until it’s airily smooth, you’re going to end up with tiny, unwelcome curds popping up when you take a bite. We definitely don’t want that grainy surprise!
You need to run your blender or food processor for longer than you think is necessary. I always stop mine after about 45 seconds, scrape the sides down really well—don’t miss the paddle underneath!—and then hit ‘blend’ for another full minute. You are looking for a texture that resembles thick Greek yogurt or a lovely, velvety base for this **creamy cottage cheese dessert**. Trust me, the extra time in the blender pays off big time!
Ingredients for Your Base Cottage Cheese Ice Cream Recipe
Okay, let’s gather our materials! The ingredient list for this amazing **cottage cheese ice cream** base is super short, which I love for those late-night dessert urges. The star, naturally, is the cottage cheese. I absolutely insist you use low-fat or non-fat here. Full-fat seems to freeze a bit harder, and we want that smooth, easy-scoop result for our **cottage cheese ice cream** base.
Here’s what you need to pull together:
- 2 cups low-fat cottage cheese (Make sure it’s well-drained if it’s watery!)
- 1/4 cup milk of your choice
- 1/4 cup sweetener (I’ll let you choose your poison below!)
- 1 teaspoon good quality vanilla extract
- Just a tiny pinch of salt—don’t skip this, it wakes up the flavor!
Sweetener Choices for Low Sugar Ice Cream Alternative
The big variable here is the sweetener. If you’re aiming for that true low-sugar life, I swear by things like erythritol or monk fruit blends. They work beautifully, especially if you use them in granulated form—it’s like using regular sugar without the aftermath. However, those zero-calorie options can sometimes have a slight cooling effect on the tongue, so use them judiciously.
If you don’t mind a little sugar, pure maple syrup adds a gorgeous depth that pairs so nicely with the dairy richness. If you use maple syrup, you might want to reduce the milk by a tablespoon or so, as the syrup adds a bit of liquid volume. Taste it before it freezes! You want it slightly sweeter than you think, because chilly temperatures dull the flavor perception, always remember that!
How to Make Easy Blender Ice Cream: Cottage Cheese Ice Cream Instructions
Now for the easy part—the assembly! This process moves so fast once you have your ingredients ready. Grab your high-speed blender or a decent food processor; this is where the magic happens for our **cottage cheese ice cream**. You’re going to dump in the cottage cheese, the milk, your sweetener of choice, the vanilla, and that tiny pinch of salt right on top. If you happen to love exploring other simple, smooth concoctions, you should take a look at my guide on easy blender desserts when you get a chance!
Remember what I said earlier about blending? Seriously, don’t rush this! Pulse it a few times to get it started, and then let it run. You need to blend until you can’t see a single white lump of cheese. If you see any texture left—stop, scrape down those sides with a spatula (make sure your machine is off!), and run it again. This step is 100% non-negotiable if you want an **easy blender ice cream** that feels totally decadent.
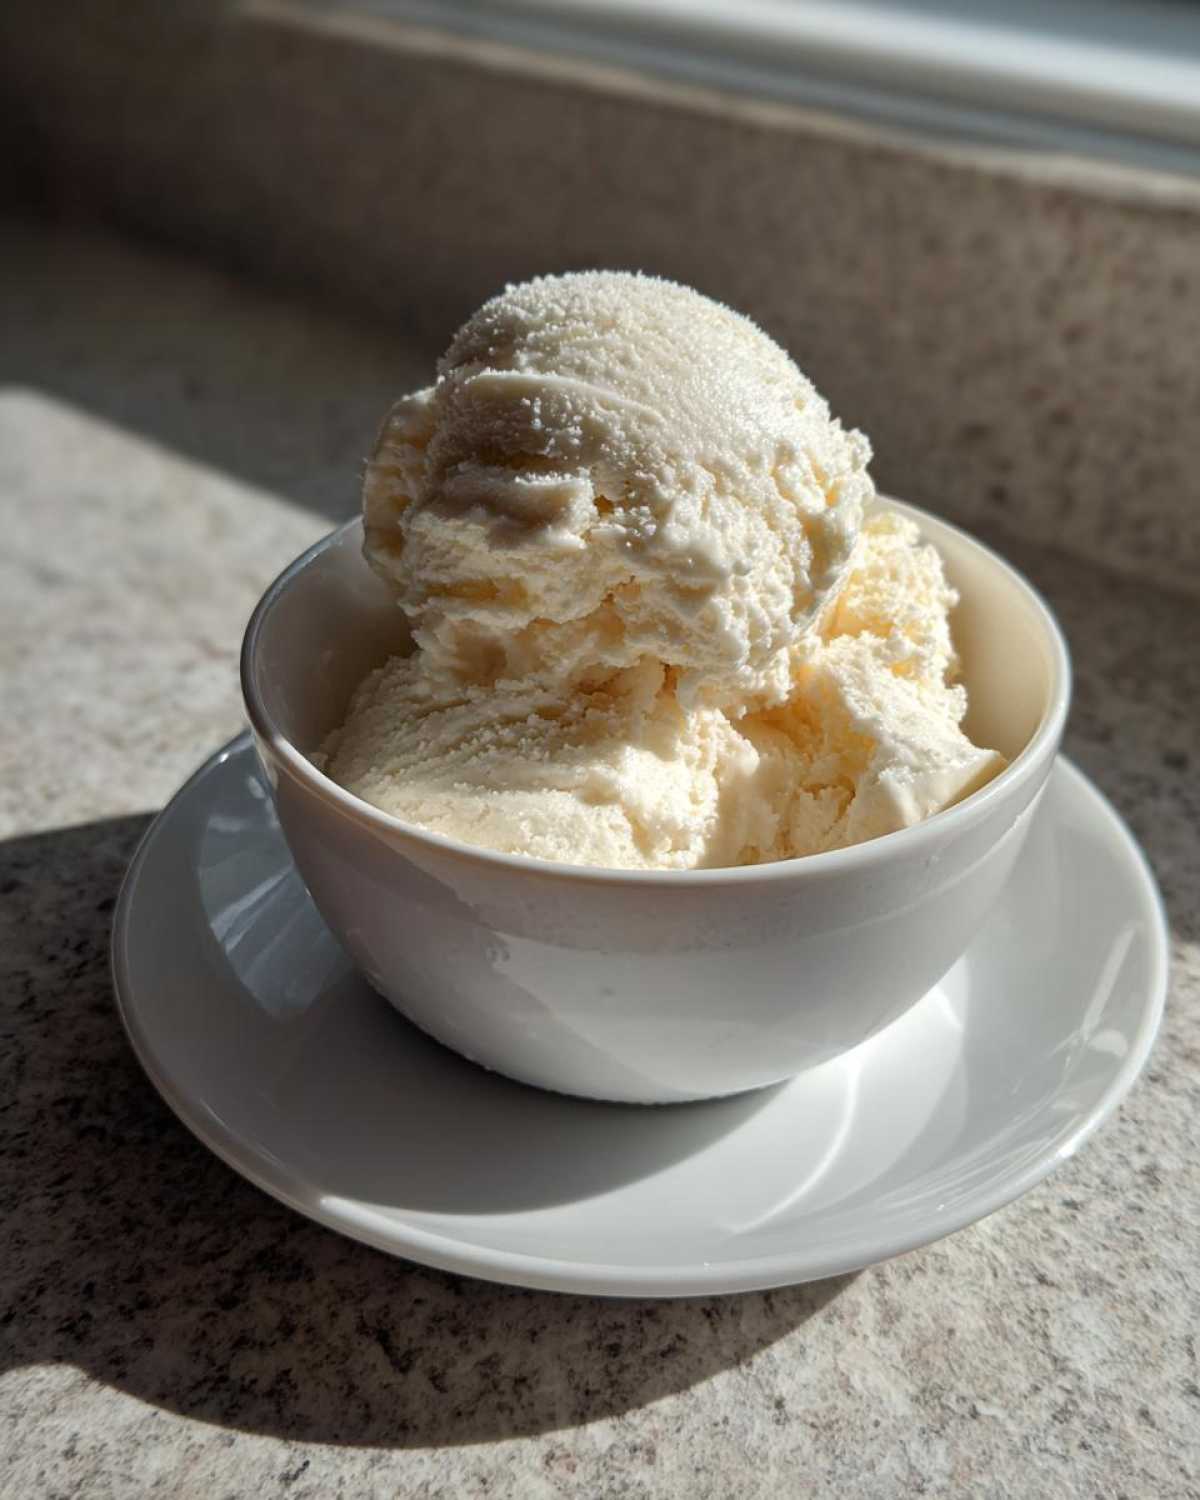
Once it’s silky smooth, pour that beautiful, thick mixture right into a freezer-safe loaf pan or any airtight container you have handy. Here’s where patience comes in. Cover it up tightly! I usually press plastic wrap right onto the surface of the mixture before putting the lid on; this stops those nasty ice crystals from forming on top.
It needs to freeze for a minimum of six hours, but honestly, overnight is best for that firm scoopable texture. I know, waiting is the hardest part of making any **homemade ice cream recipe**!
Tips for Perfecting Your No Churn Ice Cream Recipe
If you want to go the extra mile for maximum creaminess in this **no churn ice cream recipe**, I have a little secret tip, though it’s totally optional. For the first couple of hours in the freezer, pull it out every hour and give it a quick, gentle stir with a fork or whisk. It breaks up the ice formation just a bit and keeps things extra soft. Since it’s no-churn, the freezer doesn’t agitate the mixture, so this mimics that process!
When you finally go to serve it, don’t just yank it straight out of the deep freeze and attack it with the scoop—it’ll break your wrist! Let the container sit on the counter for about 5 to 10 minutes. This brief thawing time makes all the difference, allowing your **protein packed freezer treat** to soften up perfectly for easy scooping.
Flavor Variations for Your Protein Packed Freezer Treat
Okay, so we have the perfect vanilla-ish base, which is lovely on its own, but who doesn’t want some fun flavor jazzing things up? This base is the absolute best blank canvas for whatever your craving is for that day. The recipe notes hint at chocolate, and seriously, you need to try it!
To make a rich chocolate version of our **cottage cheese ice cream**, grab about two heaping tablespoons of unsweetened cocoa powder and toss it right into the blender with your other ingredients. You might need to add just a splash more milk—maybe a teaspoon—to make up for the extra dry cocoa powder. It blends up gorgeous and deep brown, smelling like fudge!
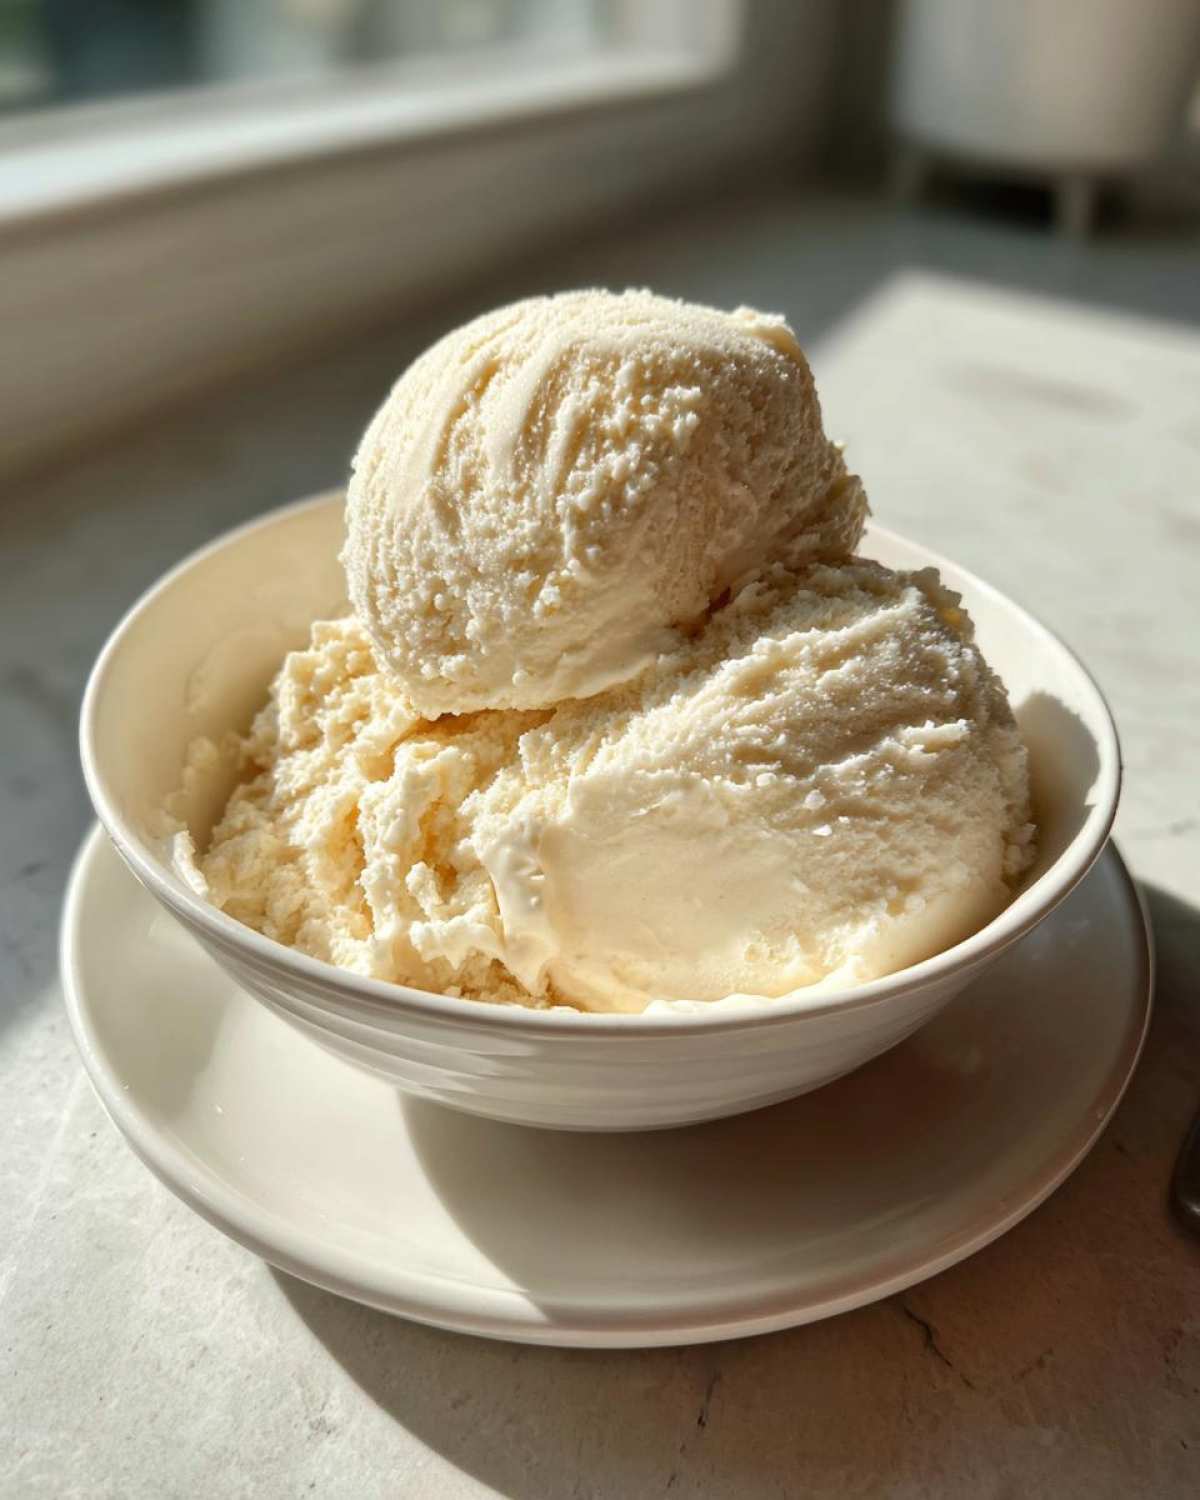
But don’t stop there! This is where you can get really creative with your **protein packed freezer treat**. If you’re looking for something nutty, throw in a couple of tablespoons of peanut butter powder (not the creamy kind, the dry kind!). It dissolves right in and gives you that classic peanut butter cup vibe. Or, if you want bright, fruity flavors? Try adding about half a cup of frozen strawberries or raspberries. You might need to use the pulse setting more often if you add frozen fruit, but the result is basically instant sorbet-ice cream hybrid!
If you’re trying to whip up a bunch of these quick fixes, you should absolutely check out my recipe for peanut butter energy bites; they’re another super easy win for healthy snacking!
Appliance Compatibility: Using Cottage Cheese Ice Cream in a Ninja CREAMi
Okay, let’s talk about the elephant in the room for all you gadget lovers out there! If you happen to own that glorious Ninja CREAMi machine, this base recipe is actually perfect for it, too, which is super handy! While this recipe is designed to be totally no-churn, using the CREAMi means you get that ultra-light, shop-bought texture in seconds rather than waiting hours for the slow freeze.
The trick is simple: you *must* freeze this mixture completely solid first. Pour your smooth **cottage cheese ice cream** base into one of the CREAMi containers—make sure you don’t overfill it past the max fill line, or you’ll have a melty mess when it spins!
Once it’s rock solid, just run it on the ‘Lite Ice Cream’ or ‘Ice Cream’ cycle, depending on how thick you made your base. If it seems a little crumbly when it first comes out (which sometimes happens with high-protein bases), just add a splash of milk—maybe a teaspoon—and hit the ‘Re-spin’ button. It turns into the most amazing **protein packed freezer treat**! Seriously, if you have one of those machines, this recipe is your dream come true for quick, healthy desserts!
Serving Suggestions for This Guilt Free Sweet Treat
We made it high protein, we made it easy, now we have to make it *look* delicious, right? Just because this is a guilt-free sweet treat doesn’t mean it has to look like diet food sitting in a bowl! After those 5 to 10 minutes on the counter softening things up, it’s time to style this beauty.
My go-to is always fresh fruit. A handful of ripe raspberries or a sliced kiwi adds vibrant color and a nice, tart contrast to the sweet creaminess of our **cottage cheese ice cream**. If you want something richer, a drizzle of sugar-free chocolate syrup—the dark kind, please—makes it feel like a true sundae experience. You could even sprinkle on some chopped pecans or almonds for a fantastic crunch element.
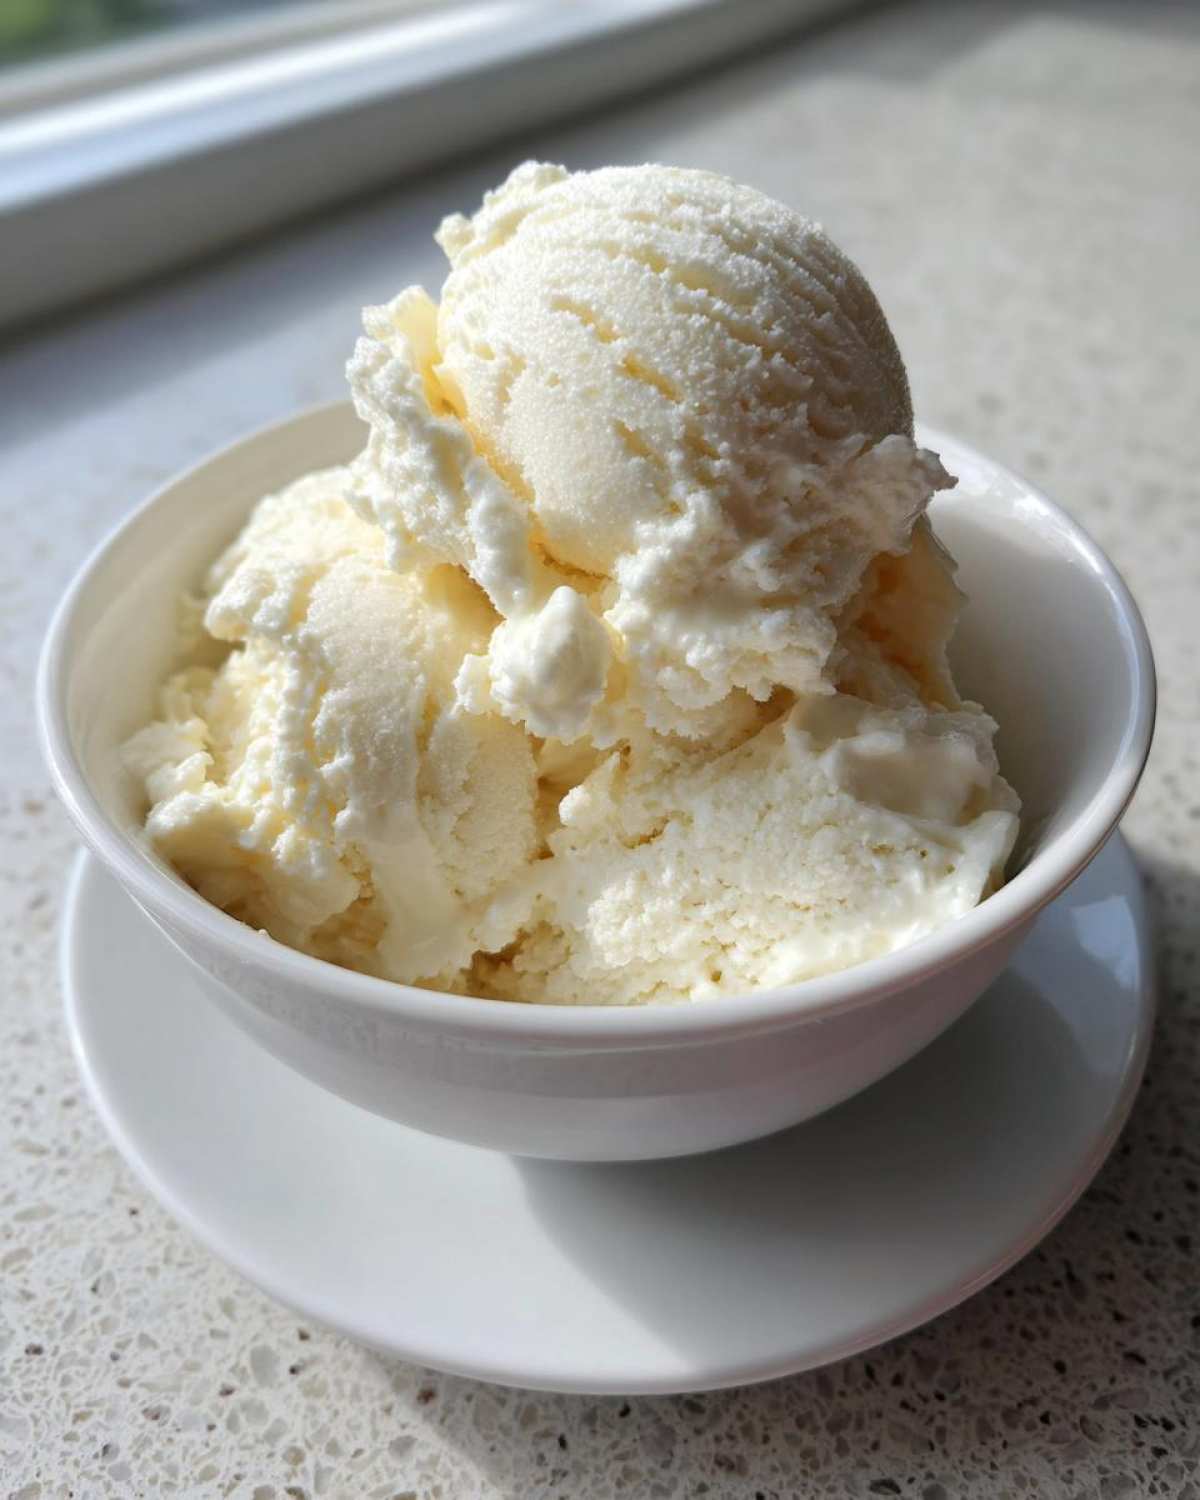
If you’re looking for more easy ways to make healthy snacks feel like a real treat, I recently shared my favorite recipe for dark chocolate dipped clementines. But honestly, serving this **indulgent healthy snack** straight up with a nice, flaky sea salt sprinkled on top? Total game changer!
Storage and Reheating Instructions
Good news! Unlike those sketchy store-bought pints, you can totally store leftovers of this **cottage cheese ice cream**. Just make sure you transfer any uneaten ice cream back into a truly airtight container. I always press a piece of plastic wrap directly onto the surface before snapping the lid on tight; this really discourages those freezer burn spots.
Now, for the part you’ve been waiting for: reheating! We don’t heat this up, of course, but we definitely need to soften it. Just like I mentioned before serving, if your **creamy cottage cheese dessert** has been chilling for a while, just pull that container out of the deep freeze about 8 to 10 minutes before you plan to scoop it. That little bit of rest time is all it takes to get it perfectly scoopable again!
Frequently Asked Questions About High Protein Ice Cream
I always get so many questions after people try my **cottage cheese ice cream** for the first time! It’s normal to have a few doubts when you’re trying something that seems a little unconventional, but I promise this **high protein ice cream** is worth it. Here are the top things people always ask me when they whip up this **healthy frozen dessert**.
Can I use full-fat cottage cheese instead of low-fat?
This is probably the number one question! You totally *can* use full-fat, but be warned: it will freeze much harder. Since we aren’t churning it, the lower fat content of the low-fat version is actually better at staying relatively soft and scoopable, even after hours in the freezer. If you use full-fat, definitely let it sit out for a full 15 minutes before trying to scoop, or you might need a chisel!
Honestly, does this taste like cottage cheese?
No! I swear on my blender warranty, it does not taste like cottage cheese! Because we blend it until it’s completely silky smooth and because of the vanilla and sweetener, you really just taste creamy, sweet ice cream. It’s truly a magnificent **guilt free sweet treat**. You can even check out my recipe for those viral cottage cheese egg cups if you want proof that blending this cheese transforms its flavor!
How long does it take to freeze solid enough for scooping?
For the best, firmest result for your **protein packed freezer treat**, aim for at least 6 hours, but overnight is always my standard when I prep these.
Can I add flavorings like peanut butter powder?
Absolutely! As I mentioned, this base loves mix-ins. Peanut butter powder, cocoa powder, or even a tablespoon of instant coffee dissolved in a tiny bit of hot water works perfectly. Just make sure you add dry powders *before* the main blend to ensure everything gets incorporated evenly!
Estimated Nutritional Data
When you’re making a **high protein ice cream** like this, it’s always fun to see the numbers, isn’t it? Here’s what we’re looking at for one serving size, based on my standard recipe ingredients—remember, this is just an estimate!
- Calories: 150
- Protein: 20g! Can you believe that?
- Fat: 3g
- Carbohydrates: 12g
- Sugar: 5g
Now, here’s the real talk: these numbers change dramatically depending on what sweetener you choose! If you use pure maple syrup instead of erythritol, your sugar count goes up a bit. But I’m thrilled that we get this much protein in what tastes like such a little slice of heaven. It’s proof that you can totally enjoy a delicious dessert and still hit your fitness goals! For more behind-the-scenes thoughts on recipes, you can always check out my main blog!
PrintCreamy No-Churn Cottage Cheese Ice Cream Base
Make a high-protein, creamy ice cream using cottage cheese in a blender. This recipe requires no special ice cream maker.
- Prep Time: 5 min
- Cook Time: 0 min
- Total Time: 6 hr 5 min
- Yield: 4 servings
- Category: Dessert
- Method: Freezing/No-Churn
- Cuisine: American
- Diet: Vegetarian
Ingredients
- 2 cups low-fat cottage cheese
- 1/4 cup milk (any type)
- 1/4 cup sweetener (e.g., erythritol, monk fruit, or maple syrup)
- 1 teaspoon vanilla extract
- Pinch of salt
Instructions
- Place the cottage cheese, milk, sweetener, vanilla extract, and salt into a high-speed blender or food processor.
- Blend the mixture until it is completely smooth and creamy. Stop and scrape down the sides as needed. This step is crucial for texture.
- Pour the smooth mixture into a freezer-safe container, such as a loaf pan or an airtight container.
- Cover the container tightly with a lid or plastic wrap pressed directly onto the surface of the mixture.
- Freeze for at least 6 hours, or until firm. Stirring every hour for the first 3 hours can improve creaminess, but is optional for a no-churn method.
- When ready to serve, let the ice cream sit on the counter for 5 to 10 minutes to soften slightly before scooping.
Notes
- For chocolate flavor, add 2 tablespoons of unsweetened cocoa powder before blending.
- For a thicker, firmer texture, reduce the milk to 2 tablespoons.
- You can use this base for Ninja CREAMi by freezing it solid and then processing it according to your machine’s instructions.
Nutrition
- Serving Size: 1/2 cup
- Calories: 150
- Sugar: 5
- Sodium: 250
- Fat: 3
- Saturated Fat: 1.5
- Unsaturated Fat: 1.5
- Trans Fat: 0
- Carbohydrates: 12
- Fiber: 0
- Protein: 20
- Cholesterol: 10
