

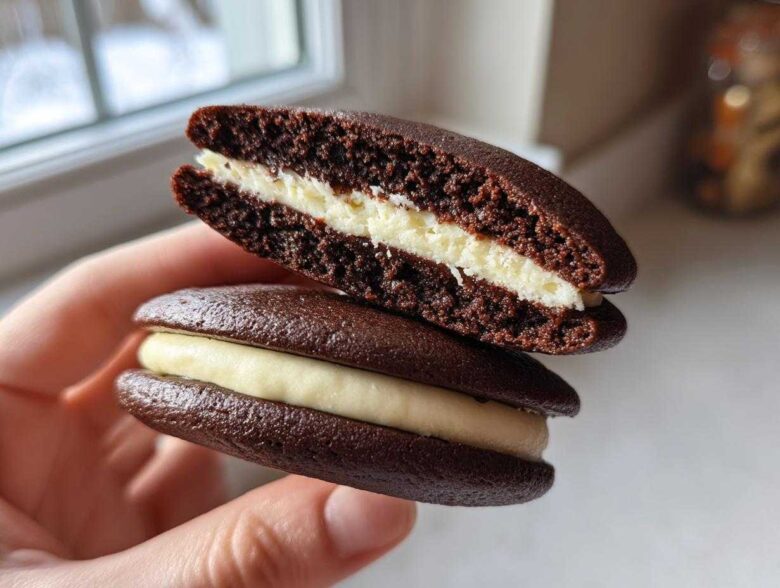
Oh, if you’re like me, sometimes you just crave that perfect piece of childhood nostalgia, right? We aren’t talking about fancy layer cakes here; we’re talking about the ultimate handheld cake treat that just screams comfort. That’s where these whoopie pies come in! I’ve worked this recipe over until I finally perfected the exact texture my own mom used to make.
Trust me when I say these aren’t those dry, crumbly things you sometimes get from a mix. My secret is making them completely from scratch, ensuring that chocolate shell is unbelievably soft and cake-like. Seriously, once you bite through that pillowy chocolate exterior into the fluffy vanilla cloud inside, you’ll never look back. We share tons of baking tips over at my main blog, just check out what’s new! Let’s get baking!
Why This is the Best Whoopie Pie Recipe You Will Make
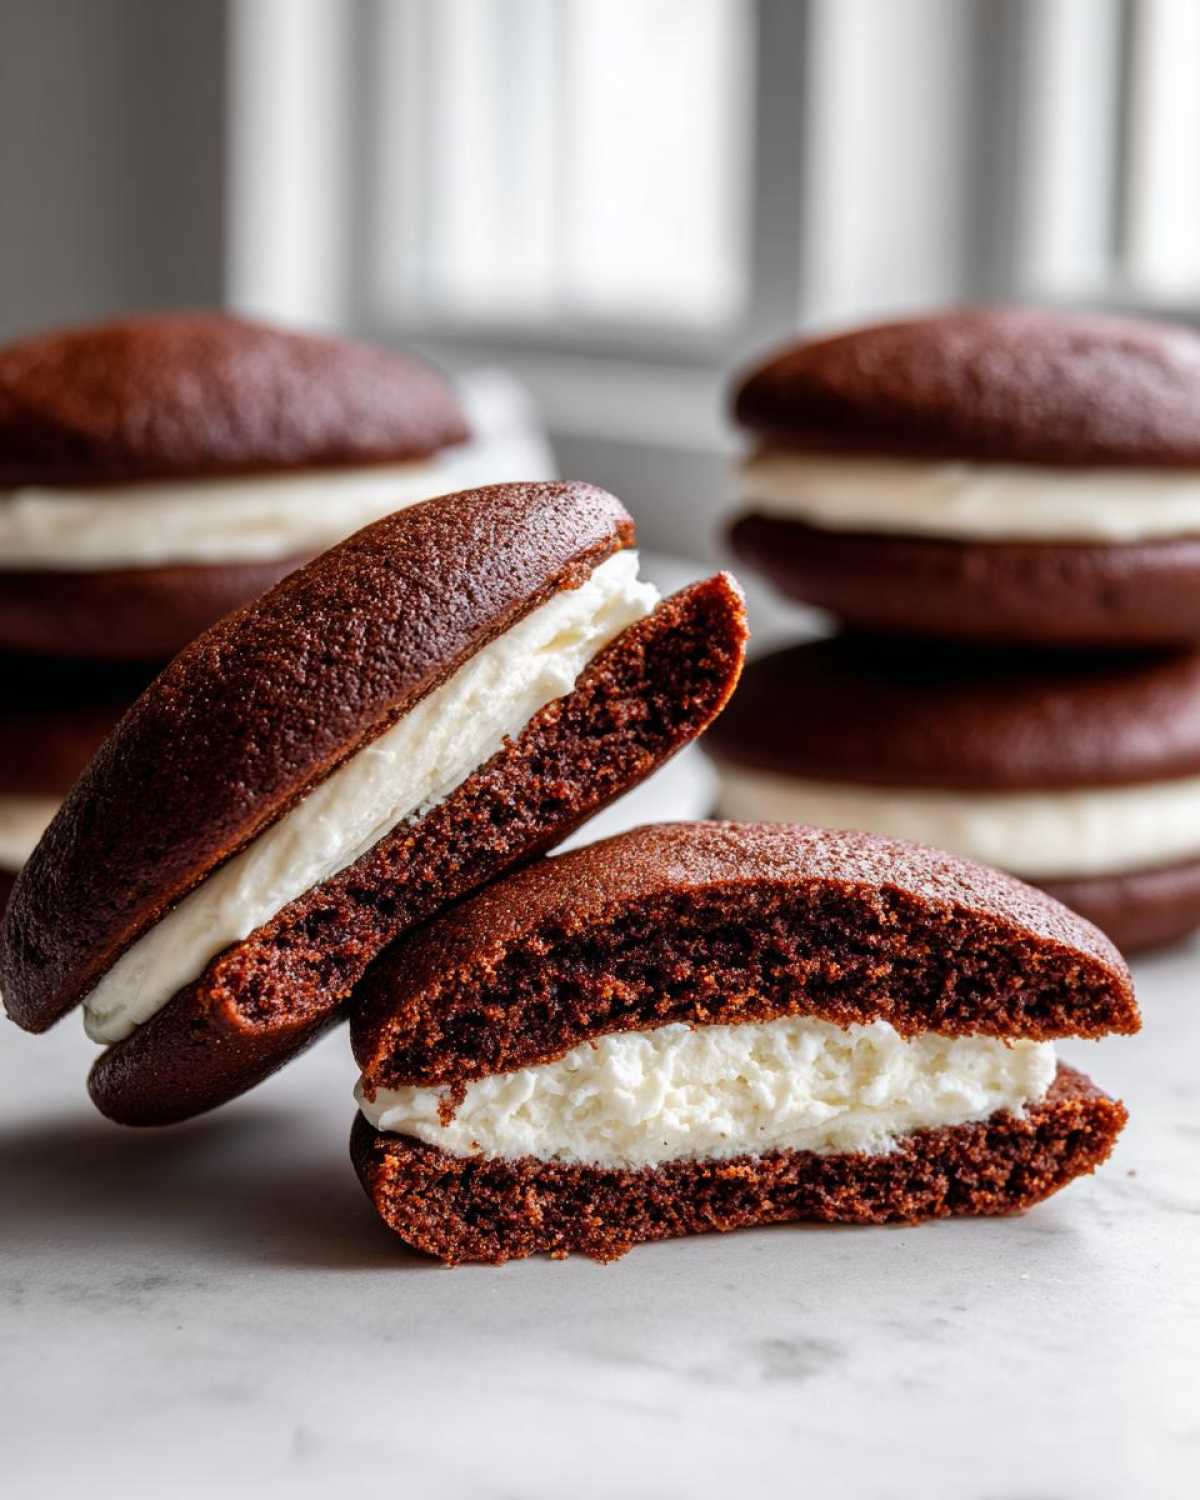
I know there are tons of recipes out there, but this truly is the best whoopie pie recipe you are ever going to try. The difference between a good one and a great one is all about texture. We are aiming for shells that are undeniably soft, just like a perfect cupcake, not like a crisp cookie.
These turn out to be these perfect little soft cake like cookies that melt in your mouth. They are heavenly!
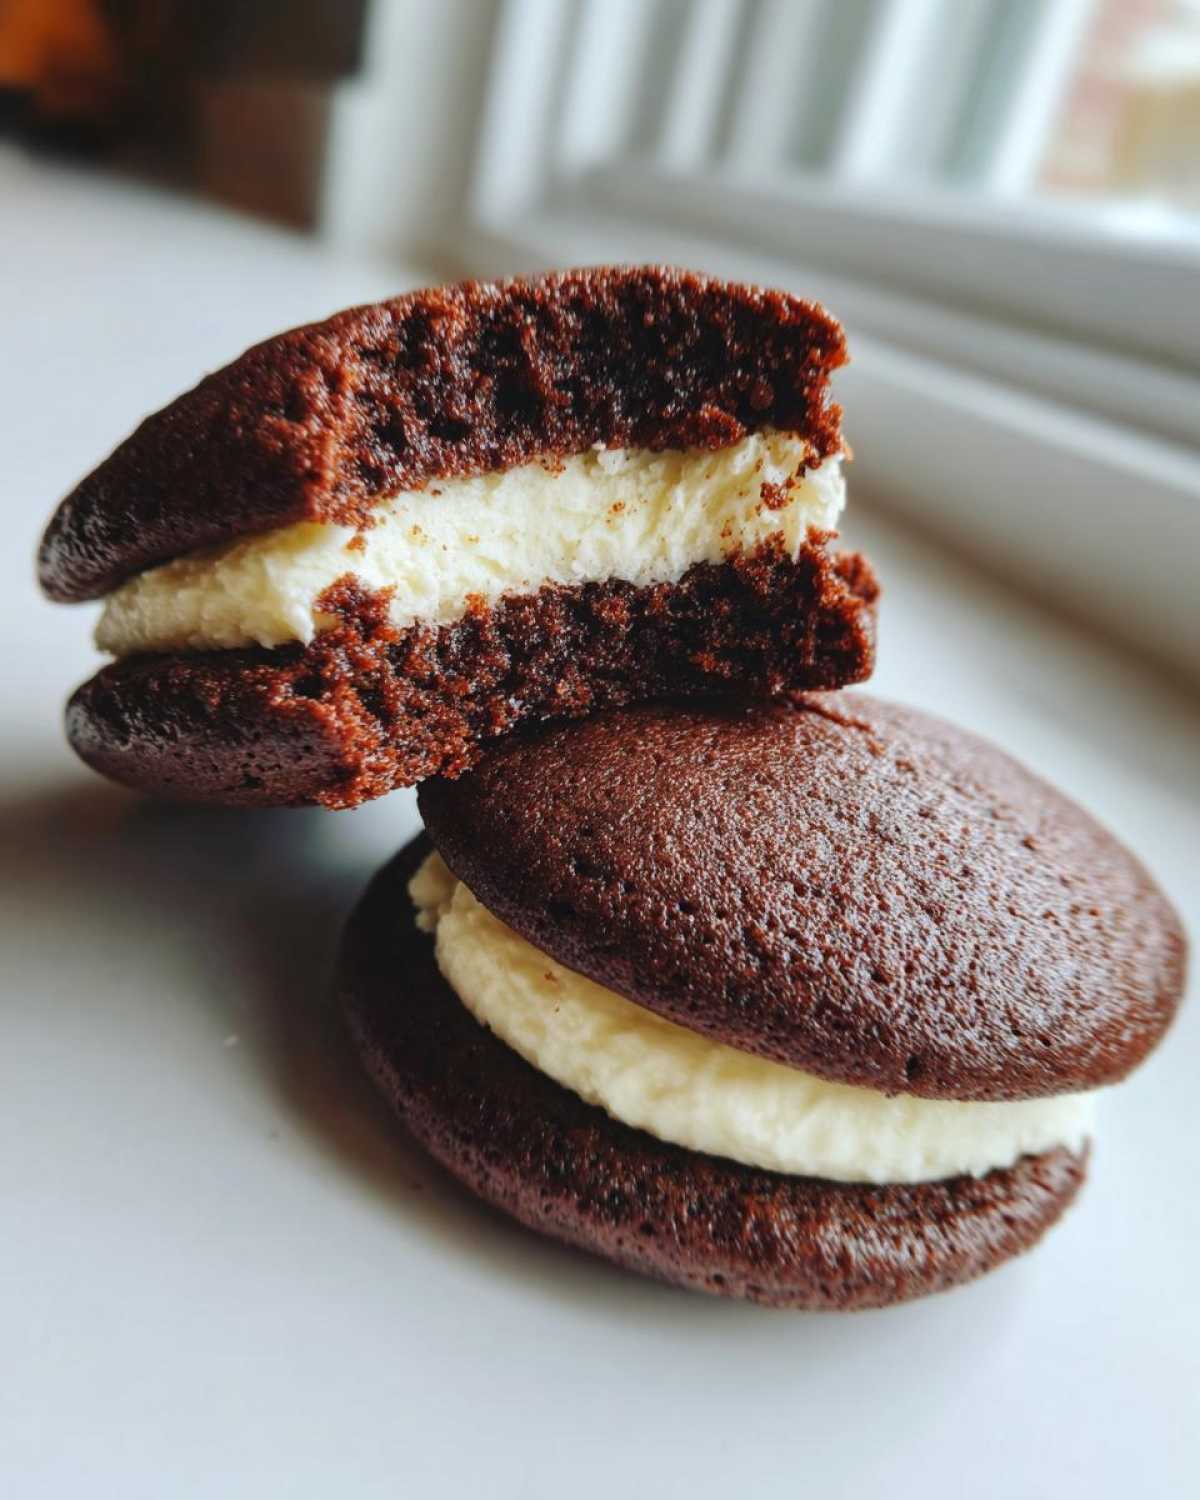
- Perfectly cakey shells that don’t flatten out in the oven.
- A light, fluffy vanilla cream filling that tastes miles better than basic frosting.
- That classic, deep Dutch cocoa flavor balances the sweetness beautifully.
- They hold up wonderfully for lunchboxes or bake sales, unlike some delicate desserts.
If you’ve been looking to try some other spiced variations, you might want to look into my gingerbread version for later!
Gathering Ingredients for Classic Chocolate Whoopie Pies
Okay, you know I’m all about these old fashioned whoopie pies being made the right way, and that starts with great ingredients. Don’t skimp here; the quality really shines through in the final texture. We need to separate our list because the cake batter and the filling ingredients are totally different. Remember, room temperature butter and eggs are key for the shells to get that lovely lift we talked about!
If you need a refresher on how I make a great cream cheese frosting for other times, you can check out my favorite recipe here. But for today, we stick to this glorious fluffy filling!
For the Chocolate Cakes: Essential Whoopie Pies Components
- 1 3/4 cups all-purpose flour (seriously, spoon and level this!)
- 3/4 cup unsweetened cocoa powder (use a nice dark one!)
- 1 1/2 teaspoons baking soda
- 1/2 teaspoon salt
- 1/2 cup unsalted butter, softened (must be soft!)
- 1 cup granulated sugar
- 2 large eggs, room temperature is best
- 1 teaspoon vanilla extract
- 1 cup buttermilk (If you don’t have it, mix 1 cup milk with 1 tablespoon vinegar and let it sit for five minutes!)
For the Fluffy Cream Filling: Homemade Whoopie Pie Filling
We need this butter super soft so it creams up nice and airy. No shortcuts for the actual sandwich part!
- 1 cup powdered sugar
- 1/2 cup unsalted butter, softened (this needs to be almost squishy!)
- 1 teaspoon vanilla extract
- 2 tablespoons milk or heavy cream
Step-by-Step Instructions for Perfect Whoopie Pies
Now that we have our fantastic ingredients assembled, we can get into the fun part—making these easy whoopie pies from scratch! This follows the tradition of old fashioned whoopie pies, so pay attention to the mixing; it really impacts the final, soft result. Preheat your oven to 350 degrees Fahrenheit right away and get those baking sheets lined up with parchment paper. Don’t skip the parchment paper; it saves so much grief later!
Preparing and Baking the Cakey Whoopie Pies Shells
First, let’s handle the dry stuff. Whisk together the flour, cocoa powder, baking soda, and salt in a medium bowl. Set that aside. Next, use your big bowl to cream that softened butter and all that granulated sugar until it looks pale and fluffy. Beat in your eggs one at a time—make sure each one is fully incorporated before adding the next, and throw in that vanilla extract.
Here’s the crucial part for softness: gently alternate adding the dry mix and the buttermilk into the wet ingredients. Start and end with the dry stuff. You want to mix until everything is *just* combined. Seriously, stop mixing as soon as you don’t see white streaks anymore. If you overmix, you’ll develop gluten, and suddenly, you’ll have tough cookies instead of cakey heaven!
Drop rounded tablespoons of the batter onto your lined sheets, spacing them about two inches apart. They spread just a little. Bake these babies for 10 to 12 minutes. You are looking for the edges to set nicely. Once they look done, let them hang out on the pan for about five minutes before moving them gently to a cooling rack until they are totally cool. That’s key before filling!
Creating the Cloud-Like Homemade Whoopie Pie Filling
While those shells chill out, let’s make that marvelous filling. Get your softened butter into a clean bowl and beat it until it’s creamy smooth. Now, *slowly* add in all that powdered sugar. Start low so you don’t create a sugar cloud explosion in your kitchen!
Once the sugar is mostly incorporated, now is the time to speed things up! Add the vanilla and the milk or cream. Beat this mixture on medium-high speed until it gets really light and fluffy—we are whipping air into this to make it truly cloud-like. Keep beating it until it practically doubles in volume; this texture is what makes these homemade whoopie pie filling dreams come true.
Assembling Your Handheld Cake Treats
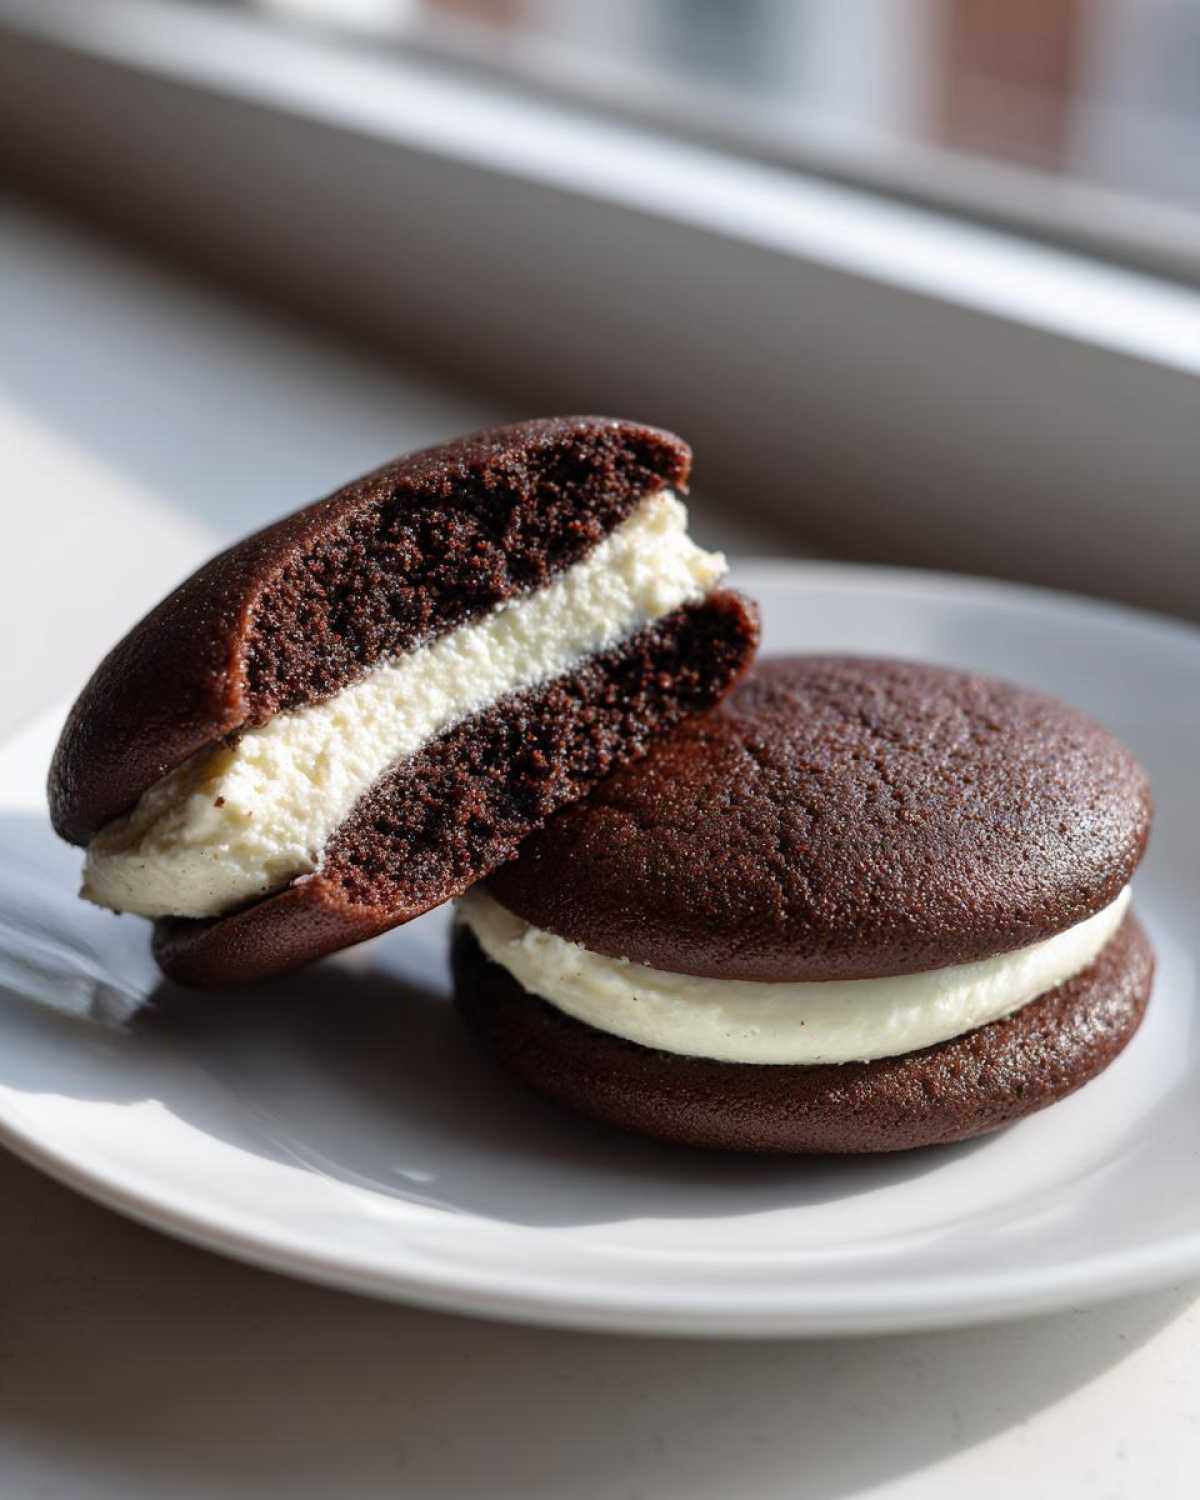
Time for the grand finale! Flip half of your cooled chocolate rounds so the flat side faces up. Take a spoon or a small offset spatula and spread the fluffy filling onto that flat side—be generous! You want a nice, thick layer, like a beautiful little hat for the bottom piece.
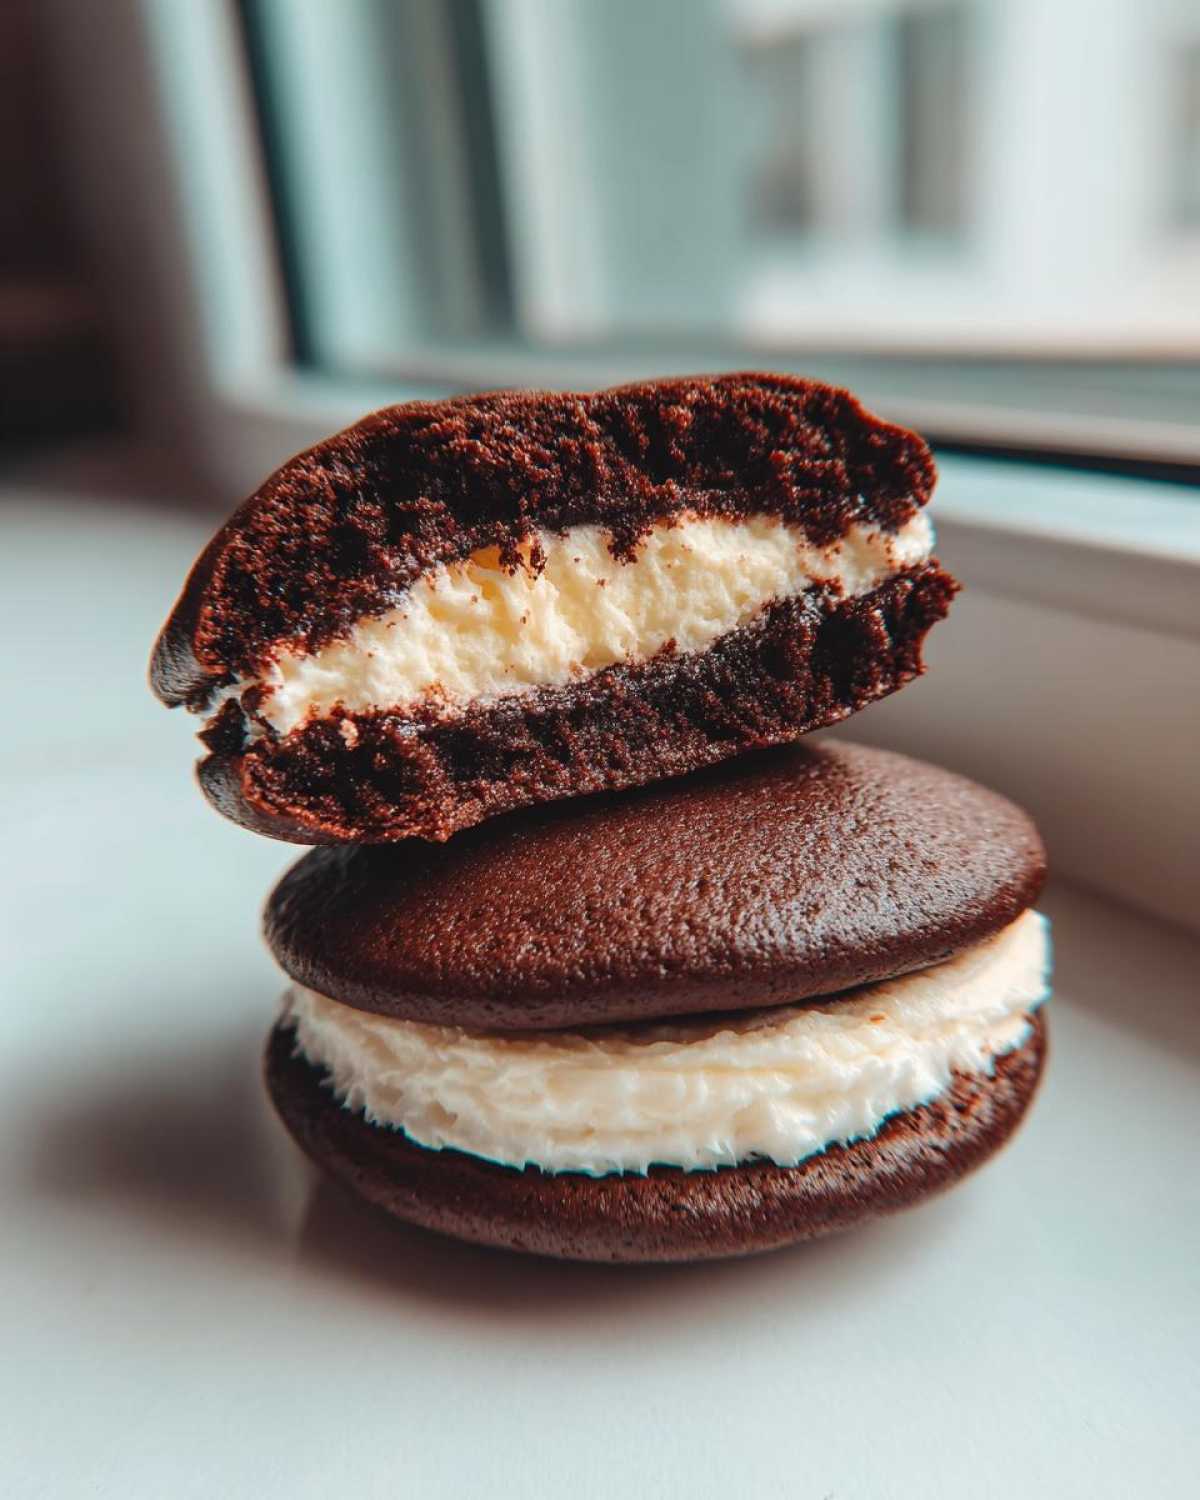
Take your second chocolate round and gently place it on top of the filling, pressing down just enough so the filling peeks out a little around the edges. Don’t push too hard or you’ll squeeze it all out the sides! You want a perfect, beautiful sandwich of chocolate and cream.
If you want some ideas for other treats that are great for parties, you can see what I’ve been bookmarking lately at this page!
Tips for Success: Mastering Buttermilk Whoopie Pies
When you get these right, you realize why these buttermilk whoopie pies are so beloved. It all comes down to a couple of little habits I picked up over the years. First, remember my note from before? Scooping flour directly from the bag packs it down, which results in a dense, sad cake where we want fluffy joy. Always spoon the flour into your measuring cup and level it off—this is non-negotiable for cake texture!
Also, that buttermilk trick is a lifesaver! If you’re in a pinch and only have regular milk, just stir in that tablespoon of white vinegar or lemon juice, give it five minutes on the counter, and boom—you have what you need. Since these bake fairly quickly, I always rotate the baking sheets halfway through—maybe at the 6-minute mark—to ensure both sides cook evenly. Great recipes deserve great technique!
For the most beautiful, fluffy vanilla layers, you should definitely check out my favorite purely vanilla cake recipe for comparison; the science behind the rise is similar!
Storage and Make-Ahead Instructions for Whoopie Pies
One of the best things about these handheld treats is that they are actually fantastic for making ahead of time! They are sturdy, unlike delicate frosting, so they pack up great. If you assemble the whole thing right away, they are best stored in an airtight container right there on your counter at room temperature. Seriously, they stay delicious for up to three days—the cake actually gets even softer after day one!
Now, if you want to make life even easier for a big event, bake everything one day and assemble the next. Store the cooled chocolate cake rounds in an airtight container, just piled in there—no need for plastic wrap around each one. If you really want to stock up, those cake rounds freeze like a dream!
Wrap the cooled, unfilled shells tightly, maybe use a layer of plastic wrap followed by a freezer bag, and they will keep wonderfully for a couple of months. When you’re ready to bake, just pull them out and let them thaw on the counter for about an hour before you whip up a fresh batch of that fluffy filling. It keeps everything tasting super fresh!
Whoopie Pie Variations and Flavor Ideas
I know the chocolate version is king, but you absolutely have to explore the fun side of whoopie pie variations once you master the basics! Once you nail this formula, everything else is just switching up the flavors. It’s so easy to adapt what we just did.
Think about swapping that dark cocoa for a rich pumpkin spice batter in the fall, or maybe even getting colorful with a bright red velvet shell. If you love fruit, I have a fantastic recipe for strawberry whoopie pies that tastes just like summer!
And listen, the filling can change too! Imagine using that chocolate peanut butter combo if you’re a real decadent lover. We’ll dive deeper into those fun flavor profiles soon, but for now, just know this base recipe is your ticket to endless handheld deliciousness!
Serving Suggestions for These Nostalgic Dessert Recipes
Honestly, these chocolate whoopie pies are perfect just standing alone on a plate staring back at you. They are the definition of comfort food desserts because they are so satisfying! But if you are setting them out for company or bringing them to a gathering, I always like to have a pairing ready.
Since the chocolate is so rich and the vanilla filling is so creamy, they go absolutely wonderfully with a hot cup of coffee, or maybe a tall, cold glass of milk for the kids. They are also my go-to recipe any time I have to take something to a big event, making them stellar holiday bake sale treats. Everyone loves a dessert you can eat without a fork!
If you’re serving them on a chilly evening, you have to try them alongside my recipe for hot chocolate with just a little sea salt sprinkled on top. The slightly salty dark chocolate balances the sweetness perfectly!
Frequently Asked Questions About Whoopie Pies
I always get asked the same things when people try this recipe for the first time, so let’s clear up any last-minute worries you might have about your new favorite handheld cake treats!
Why are my whoopie pies flat instead of cakey?
Oh, that’s the worst! Usually, flat shells mean one of two things happened. Either you overmixed the batter—remember, we want soft, cakey cookies, not tough ones, so stop mixing as soon as the flour disappears!—or your baking soda wasn’t fresh. Baking soda loses its power quickly, so make sure you check the date on that container. Fresh leavening is the secret to that needed lift!
Can I use a cake mix hack instead of making these from scratch?
You totally can if you’re in a massive rush! I have a full tutorial on how to manage that whole cake mix whoopie pies hack if you need it. However, for the truly melt-in-your-mouth texture we are aiming for here, making them from scratch with the buttermilk and cocoa powder really gives you the superior, deeply flavored, from scratch bakery style desserts experience. Stick with the scratch method for the best results!
What is the most traditional filling for chocolate whoopie pies?
The flavor that most people associate with the classic, nostalgic dessert recipes from Maine and Pennsylvania is actually usually a marshmallow cream filling—that’s super light and almost sticky. My recipe uses a sturdy, but still very light, vanilla buttercream made with butter and powdered sugar, which is a very common and delicious alternative that’s easier to handle. Both are fantastic, but this one definitely makes for a glorious sandwich!
Can I skip the buttermilk here?
I wouldn’t really recommend it, honestly. The acid in the buttermilk whoopie pies recipe reacts perfectly with the baking soda to create those beautiful, tender air bubbles that keep the chocolate shells soft and prevent them from turning dense. If you absolutely have no buttermilk, use the substitution mentioned earlier—regular milk soured with a little vinegar or lemon juice. But the real stuff is always better if you can grab it!
Nutritional Estimates for Classic Chocolate Whoopie Pies
Now, I always say baking is about love, not counting calories, but I know some of you want the rundown! Since these are definitely a decadent treat, here are the general estimates I usually follow for a single, generously filled chocolate whoopie pie in this recipe. Remember, every brand of cocoa powder or type of butter you use can change things slightly, so think of this as a good guideline!
For the most accurate information regarding all my recipes, always check out the detailed notes on my official disclaimer page. These estimates are based on standard ingredient measurements.
- Serving Size: 1 whoopie pie
- Calories: Approximately 350
- Fat: About 18g (with 10g of saturated fat—that’s the butter working its magic!)
- Carbohydrates: Roughly 45g
- Protein: Around 4g
- Sugar: Yep, about 35g (because they are treats, after all!)
- Cholesterol: Estimated at 55mg
These are surprisingly hearty little handheld cakes, which is why just one is usually plenty to satisfy that craving!
PrintClassic Chocolate Whoopie Pies with Fluffy Vanilla Filling
Make soft, cake-like chocolate whoopie pies from scratch with a creamy, fluffy vanilla filling. This recipe yields classic handheld cake treats.
- Prep Time: 20 min
- Cook Time: 12 min
- Total Time: 32 min
- Yield: 12 servings
- Category: Dessert
- Method: Baking
- Cuisine: American
- Diet: Vegetarian
Ingredients
- 1 3/4 cups all-purpose flour
- 3/4 cup unsweetened cocoa powder
- 1 1/2 teaspoons baking soda
- 1/2 teaspoon salt
- 1/2 cup unsalted butter, softened
- 1 cup granulated sugar
- 2 large eggs
- 1 teaspoon vanilla extract
- 1 cup buttermilk
- 1 cup powdered sugar (for filling)
- 1/2 cup unsalted butter, softened (for filling)
- 1 teaspoon vanilla extract (for filling)
- 2 tablespoons milk or heavy cream (for filling)
Instructions
- Preheat your oven to 350 degrees Fahrenheit. Line baking sheets with parchment paper.
- In a medium bowl, whisk together the flour, cocoa powder, baking soda, and salt. Set aside.
- In a large bowl, cream together the 1/2 cup softened butter and 1 cup granulated sugar until light and fluffy.
- Beat in the eggs one at a time, mixing well after each addition. Stir in the vanilla extract.
- Gradually add the dry ingredients to the wet ingredients, alternating with the buttermilk, beginning and ending with the dry mixture. Mix until just combined; do not overmix.
- Drop rounded tablespoons of batter onto the prepared baking sheets, spacing them about 2 inches apart. You should get about 24 rounds.
- Bake for 10 to 12 minutes. The edges should be set. Let the cakes cool on the baking sheet for 5 minutes before transferring them to a wire rack to cool completely.
- To make the filling, beat the 1/2 cup softened butter until creamy. Gradually add the powdered sugar, mixing on low speed until incorporated.
- Add the vanilla extract and milk or cream. Beat on medium-high speed until the filling is light and fluffy.
- To assemble, spread a generous amount of filling onto the flat side of one cooled chocolate cake round. Top with a second round, pressing gently to sandwich the filling.
Notes
- For the softest cake texture, measure your flour by spooning it into the measuring cup and leveling it off.
- If you do not have buttermilk, mix 1 cup of regular milk with 1 tablespoon of white vinegar or lemon juice and let it sit for 5 minutes before using.
- Store assembled whoopie pies in an airtight container at room temperature for up to 3 days.
Nutrition
- Serving Size: 1 whoopie pie
- Calories: 350
- Sugar: 35
- Sodium: 210
- Fat: 18
- Saturated Fat: 10
- Unsaturated Fat: 8
- Trans Fat: 0
- Carbohydrates: 45
- Fiber: 2
- Protein: 4
- Cholesterol: 55
