

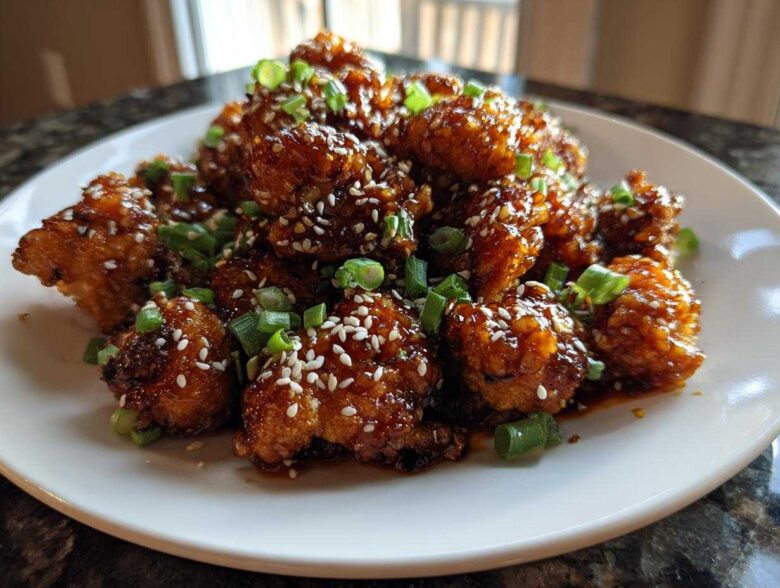
Oh, you know those nights when you have a massive craving for something that hits that perfect sweet, savory, and totally addictive spot, but you want to keep it totally meat-free? That’s where my Sticky Honey Garlic Cauliflower recipe comes in to save the day! I spent way too many nights staring at scorched honey trying to figure out the secret, and I finally cracked the code.
The real trick, trust me, is keeping the super-sweet glaze away from the heat until the cauliflower is already perfectly roasted or air-fried. We cook the veggies until they are beautifully crisp on the outside, and *then* we toss them in that thick, glossy sauce. It’s genius! This method gives you the ultimate *sticky* texture clinging to every bite, making it the best vegetarian option on the table. You are going to feel like you nailed takeout when you smell this cooking!
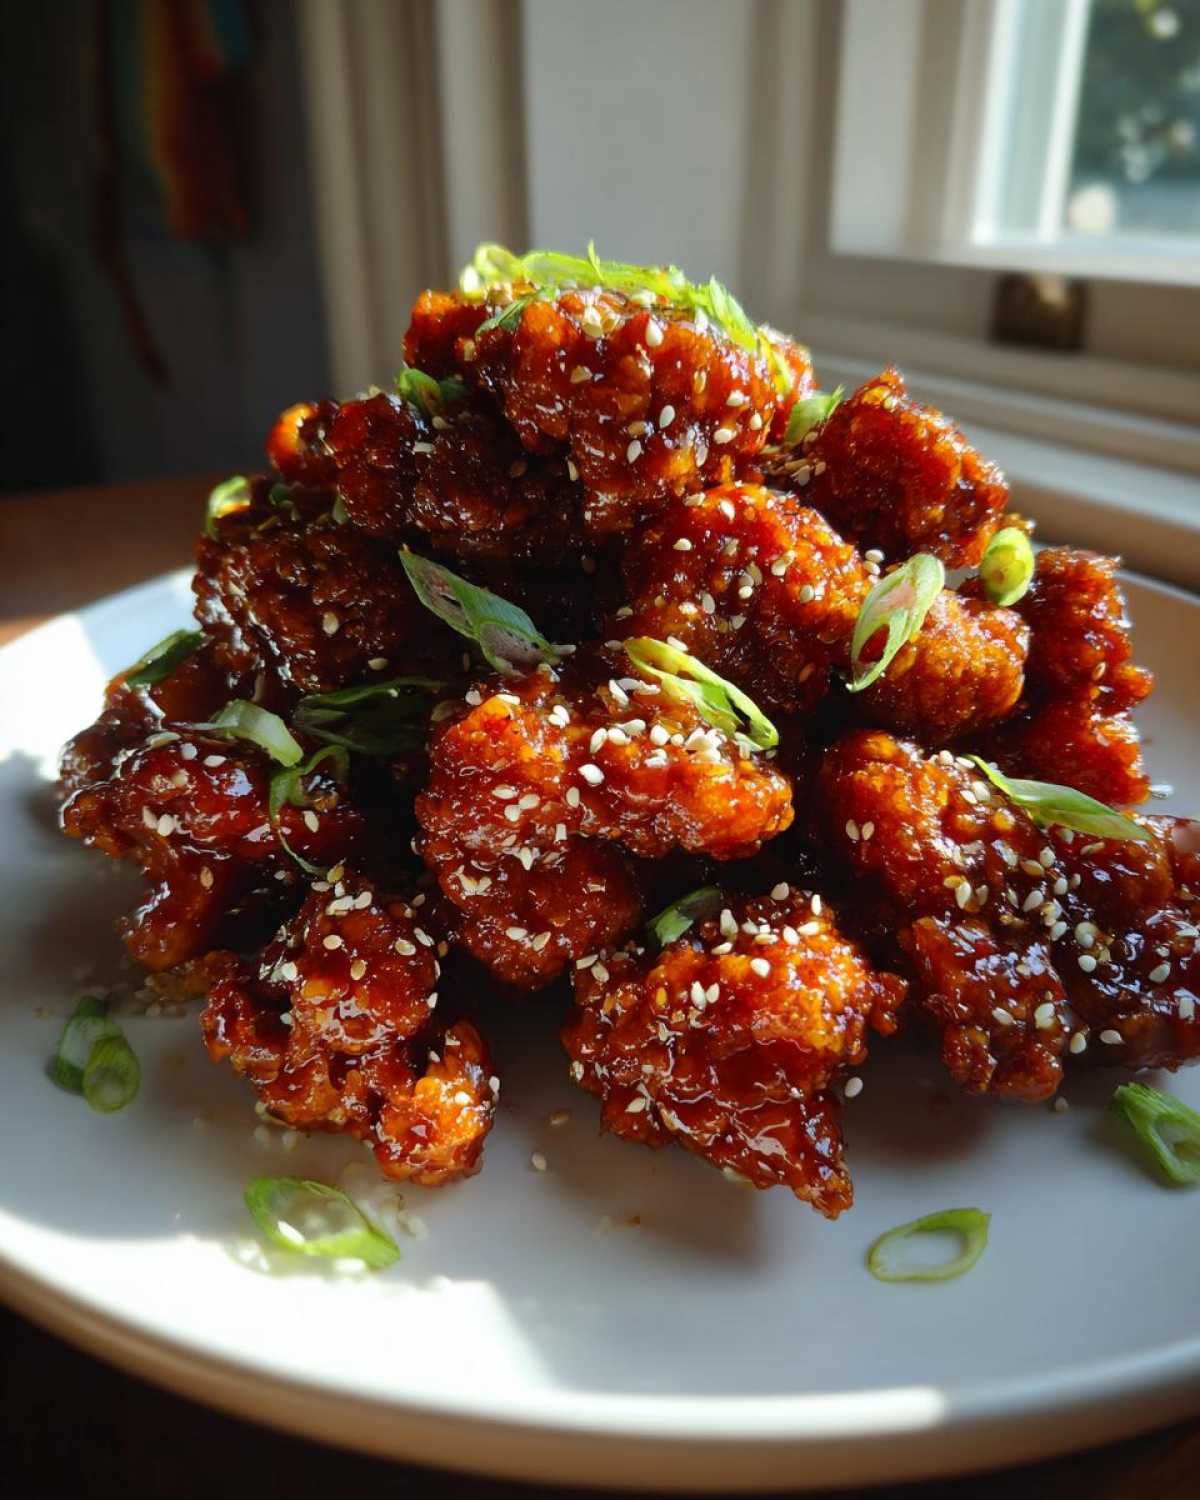
Why You Will Love This Sticky Honey Garlic Cauliflower Recipe
Honestly, this recipe is just pure fun food disguised as a healthy side dish. I make excuses to bake a batch every week because it’s just that good. You absolutely have to try it because:
- The cauliflower ends up incredibly crisp, even under that thick glaze—no soggy mess here!
- It nails that perfect sweet and savory balance. The garlic and honey just sing together, you know?
- It is lightning fast! We get it from the oven to the table in under 45 minutes, which is perfect for a weeknight.
- It’s so versatile; use it as a fantastic appetizer or a main course over rice. If you like my Kung Pao Cauliflower Stir-Fry, you are going to adore this one too.
- The sauce is simple, requires zero fancy ingredients, and thickens up beautifully thanks to a little cornstarch trick.
- It’s a totally satisfying vegetarian option that even the pickiest eater won’t turn their nose up at.
Gathering Ingredients for Sticky Honey Garlic Cauliflower
You only need a few things for this incredible flavor bomb, but the quality really shows through, especially in the sauce. Don’t skimp on the aromatics here; fresh is always best flavor, especially with the garlic and ginger. If you use dried ginger instead of grated fresh ginger, you’ll totally miss that bright, spicy pop that cuts through the sweetness. We want that freshness!
I always keep my ingredients grouped so I can speed through cooking. If you’re looking for other inspired veggies, check out how I make my Sweet and Sour Cauliflower next!
For the Cauliflower Base
- One big head of cauliflower, chopped up into little, bite-sized florets—think the size of small nuggets.
- Two tablespoons of olive oil for coating.
- Just a half teaspoon of salt and a quarter teaspoon of black pepper for seasoning the raw florets.
For the Sticky Glaze
- A half cup of honey—this is what makes it sticky!
- A quarter cup of soy sauce (use tamari if you’re keeping it gluten-free!).
- Four cloves of garlic, minced super fine.
- One tablespoon of fresh ginger, grated right before you use it.
- One tablespoon of rice vinegar for that necessary tang.
- One teaspoon of sriracha, but only if you like a little warmth, totally optional!
- And finally, the thickening agent: one teaspoon of cornstarch whisked into just one tablespoon of cold water. Make sure that water is cold, or you’ll get clumps!
Step-by-Step Instructions for Sticky Honey Garlic Cauliflower
Okay, this is the stage where we turn those plain old florets into total flavor bombs! Remember rule number one? Cook the cauliflower *first*. If you try to mix raw cauliflower with honey and bake it, you’re just inviting a burnt, sticky mess onto your pan. We want that glorious glaze to coat, not carbonize!
Preparing and Cooking the Cauliflower
First, get your cooking environment ready. If you’re using the oven, crank it up to 400°F (200°C) and line a baking sheet—this makes cleanup a dream! If you’re using the air fryer, set it to 380°F (195°C). Toss your seasoned cauliflower really well in that oil, salt, and pepper. Now, this next part is key for crispness, whether baking or air frying: spread them out so they are in a single layer and not touching much. I know it means maybe using two trays sometimes, but trust me, overcrowding equals steam, and steam kills crispiness!
Bake them for about 20 to 25 minutes, flipping them over halfway through. Or, if you’re air frying, they’ll be done faster, around 15 to 18 minutes. You’re looking for those edges to be lightly browned and tender-crisp.
Making the Thick Honey Garlic Sauce
While that cauliflower is getting its crisp on, let’s get that amazing glaze going. Grab a small saucepan and gently combine the honey, soy sauce, minced garlic, grated ginger, rice vinegar, and the optional sriracha. Bring this mixture just up to a simmer over medium heat, stirring so nothing sticks to the bottom. Let it bubble gently for about two minutes.
Now for the magic: whisk in your cornstarch slurry (that cornstarch mixed with cold water). Keep stirring constantly! The sauce will start changing almost instantly—it will turn opaque and thicken up fast. As soon as it looks like it’s truly clinging to the spoon, pull it off the heat immediately. We don’t want it boiling after it thickens, or it loses its perfect texture.
Glazing and Finishing the Sticky Honey Garlic Cauliflower
Once your cauliflower looks golden and perfect, immediately transfer those hot pieces into a big bowl. Pour that gorgeous, thickened honey garlic sauce right over the top. Toss everything gently but thoroughly until every single piece is coated in that sweet, shiny glaze. I like to serve this right away while it’s piping hot, sprinkled with sesame seeds and some bright green chopped onions for color.
Tips for Perfect Sticky Honey Garlic Cauliflower
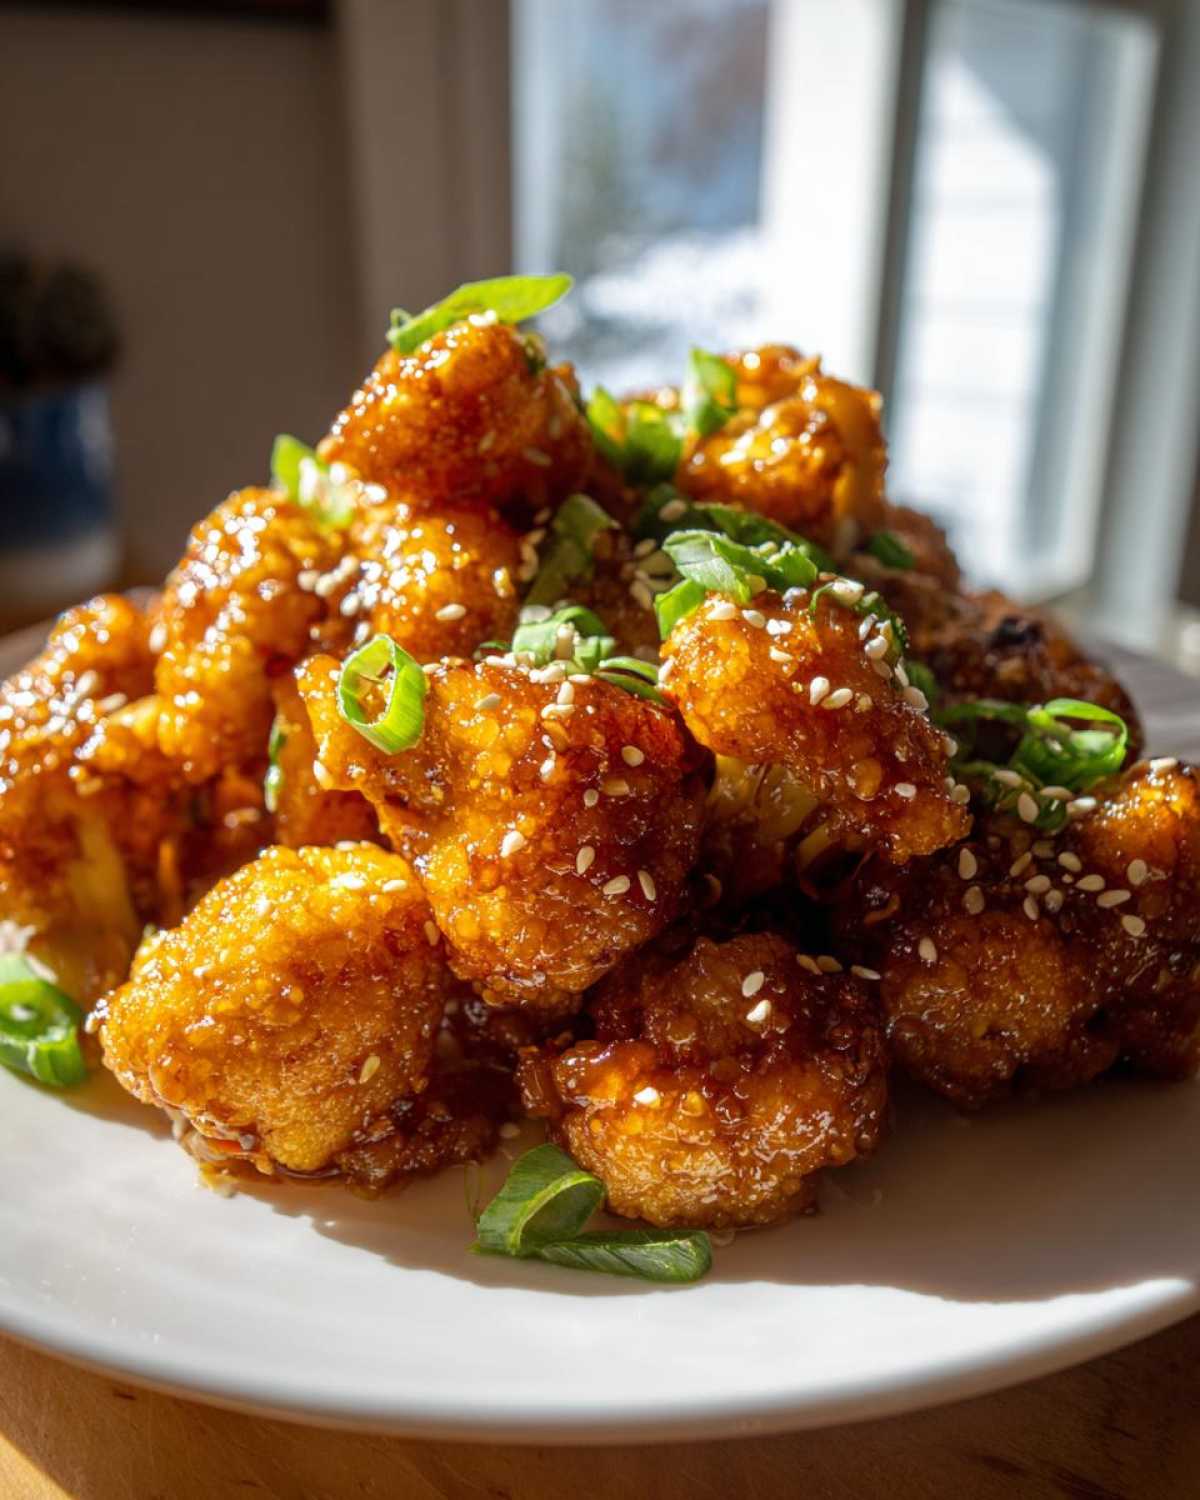
Getting that *sticky* texture without turning the whole dish into candy logs is a fine art, but I’m here to share my hard-earned wisdom! We’ve already talked about waiting to add the sauce, but there are a couple of other little techniques that make a huge difference in ensuring this Sticky Glazed Cauliflower turns out spectacular every single time.
First, let’s talk about prevention! The main culprit for burnt honey is having the sugar near direct high heat for too long before the cauliflower is done. That’s why we cook the florets completely naked—just oil and seasoning—before they ever meet the glaze. As soon as you pull that crisp cauliflower out of the oven, toss it in the hot sauce immediately. The residual heat from the cauliflower will help the sauce cling and set up perfectly.
Now, for the oven crowd who wants maximum crunch, especially if you’re hoping to serve these up like true Best Vegetarian Cauliflower Wings: Try this trick! Toss the raw cauliflower florets with just one tablespoon of cornstarch before you even add the olive oil and salt. This adds an extra starchy barrier to the vegetable, and when baked, it helps create an almost shell-like crunch that holds up even better under the glaze.
If you end up with a little extra sauce hanging out in your saucepan after tossing, don’t waste it! You can save that extra sauce. Just pour it into a small, airtight container and keep it in the fridge. It’s fantastic for drizzling over steamed broccoli or even mixing into fried rice later! It’s a great little way to use up the amazing flavors.
Variations for Your Honey Garlic Cauliflower Recipe
While I think the classic Sticky Honey Garlic Cauliflower Recipe is exactly what heaven tastes like, I get it—sometimes you want to mix things up, or maybe you’re making this for a crowd with different tastes. The beauty of this glaze base is how forgiving it is to tweak!
If you want to turn these into something even more snackable—something that truly deserves the title of Best Vegetarian Cauliflower Wings—you can totally change the spice profile. For an Asian-inspired twist that goes beyond just garlic and honey, try stirring in about a quarter teaspoon of Chinese five-spice powder right when you add the cornstarch slurry. It adds depth you wouldn’t believe.
If your crew loves heat, forget the optional sriracha and be a little more brave! I sometimes sneak in a dash of smoked paprika along with some Gochujang paste instead of the sriracha. It gives the glaze a richer color and a deeper, slow-building heat that’s amazing. Or, if you’re feeling spicy and saucy, check out how I tackle heat with my Air Fryer Buffalo Wings—you can use that same mindset here for a spicy-sweet coating!
Another fun thing? Try swapping out half the honey for maple syrup. It gives the glaze a slightly different, earthier sweetness that pairs wonderfully with the soy sauce. It’s still sticky, still ridiculously flavorful, just a tiny bit different!
Serving Suggestions for Sticky Glazed Cauliflower
So you’ve made this gorgeous batch of Sticky Honey Garlic Cauliflower, and now you’re wondering what to do with it all! Don’t just stand there eating it all straight from the bowl—though I totally won’t judge you if you sneak a few pieces! This dish deserves to be the star.
Since the glaze is so rich and satisfying, it works fantastically as a standout Sweet and Sticky Vegetable Side Dish next to something lighter, like a simple steamed green bean salad or some quick roasted broccoli. The flavors are totally Asian-inspired, so it loves to hang out next to rice.
But if you are making this for a weeknight meal when you need a super Simple Vegetarian Main Course, you just need to bulk it up a little! Honestly, the easiest thing in the world is stirring these glazed bites directly into a big bowl of fluffy white rice. You get all that sweet/savory action coating the grains. Or, try tossing it all together with some thick udon noodles. If you want a full meal vibe, I always whip up a quick batch of my Easy Fried Rice to serve these on top of—the textures contrast so nicely!
And of course, since they look just like little wings when you toss them in that glaze, serve them with toothpicks on a platter for your next game day or party. They disappear unbelievably fast.
Storage and Reheating Instructions for Leftover Sticky Honey Garlic Cauliflower
If you manage to have any leftovers—which is a feat in itself, because this stuff disappears so quickly—you absolutely need to know how to store it correctly. The worst thing you can do is let that perfect sticky texture turn into mush overnight!
When you’re completely done eating, let any extra Sticky Honey Garlic Cauliflower cool down to room temperature first. Don’t seal the container while it’s hot, or you’ll create condensation, and guess what? Condensation is the enemy of crispness. Once it’s cool, pop it into an airtight container. It will keep nicely in the fridge for about three to four days.
Now, for reheating! Please, I beg you, skip the microwave. Microwaving leftover glazed veggies turns them into sad, steaming sponges. If you want to bring back that great texture we worked so hard for, the air fryer is your best friend. Just toss the chilled cauliflower into the air fryer basket for about 4 to 6 minutes at 375°F (190°C). It gives the exterior a nice little refresh and re-crisps the edges beautifully!
If you don’t have an air fryer, the oven works too! Spread them on a baking sheet and pop them in a 350°F (175°C) oven for about 8 to 10 minutes. If you plan on making a big batch to eat later, you should definitely check out my thoughts on how to Make Ahead Sticky Sauce Cauliflower prep!
Frequently Asked Questions about Sticky Honey Garlic Cauliflower
Okay, I know you might still have a few lingering questions before you dive into making this, because when you mess with honey near heat, you have to be careful! Don’t sweat it; people always ask me the same things about this Honey Garlic Cauliflower Recipe. Let’s clear up the last bits so you can get cooking!
Can I make this recipe vegan?
That’s a great question, especially for those of us trying to eat more plant-based meals! Yes, you absolutely can turn this into an Easy Vegan Honey Garlic Dinner. The only thing you need to swap is the honey, obviously. I find that using pure maple syrup works fantastically well as a one-to-one substitute. Agave nectar is another good choice, though it tends to be a little sweeter than honey, so maybe use just a touch less. The glaze still thickens like a dream, so you get that perfect coating! You can find more tips on making this an Easy Vegan Honey Garlic Dinner on another post!
How do I get the cauliflower extra crispy before glazing?
This is the secret sauce to avoiding sogginess! Like I mentioned earlier, the best way to ensure great texture is to add a light dusting of cornstarch to the raw florets before they even see the olive oil. It dries out the surface just enough to encourage browning instead of steaming in the oven. If you’re using the oven, really spreading them out on the sheet pan is non-negotiable. They need air circulation around every side to crisp up right!
What is the best cooking method for this Honey Garlic Cauliflower Recipe?
You know, I love both methods, and the best one really depends on how much time you have. If I’m making a small batch, say for two people, the air fryer wins every time. It’s faster—like 15 minutes total—and it gets crazy crispy edges quickly. However, if I’m feeding a crowd or need to make a large amount, the oven is better because you can fit way more on a sheet pan. Both methods work perfectly to get the cauliflower ready for that final toss in the glaze!
Estimated Nutritional Data for Sticky Honey Garlic Cauliflower
I always try to keep track of what’s going into our food, even when it’s ridiculously tasty like this Sticky Honey Garlic Cauliflower. Since we’re using honey and soy sauce, the sugar and sodium are going to be a bit higher than plain roasted veggies, but since it’s loaded with cauliflower, we get great fiber!
Keep in mind these numbers are just estimates based on the measurements I listed, and they don’t account for any extra snacks you might steal while the oven is running! If you’re carefully counting macros or watching sodium, remember you can always use low-sodium soy sauce if you’d like an even healthier side dish option—it’s perfect for a lighter Healthy Cauliflower Appetizer!
- Serving Size: 1 serving
- Calories: 280
- Sugar: 35g
- Sodium: 650mg
- Fat: 7g
- Carbohydrates: 50g
- Protein: 5g
Sticky Honey Garlic Cauliflower

Prepare crispy cauliflower florets coated in a thick, sweet, and savory honey garlic glaze. This recipe works well baked or air-fried.
- Prep Time: 15 min
- Cook Time: 25 min
- Total Time: 40 min
- Yield: 4 servings
- Category: Side Dish
- Method: Baking or Air Frying
- Cuisine: Asian Inspired
- Diet: Vegetarian
Ingredients
- 1 large head cauliflower, cut into bite-sized florets
- 2 tablespoons olive oil
- 1/2 teaspoon salt
- 1/4 teaspoon black pepper
- 1/2 cup honey
- 1/4 cup soy sauce (or tamari for gluten-free)
- 4 cloves garlic, minced
- 1 tablespoon fresh ginger, grated
- 1 tablespoon rice vinegar
- 1 teaspoon sriracha (optional, for heat)
- 1 teaspoon cornstarch mixed with 1 tablespoon cold water (slurry)
- Sesame seeds, for garnish
- Chopped green onions, for garnish
Instructions
- Preheat your oven to 400°F (200°C) or set your air fryer to 380°F (195°C). Line a baking sheet with parchment paper if baking.
- In a large bowl, toss the cauliflower florets with olive oil, salt, and pepper until evenly coated.
- Spread the cauliflower in a single layer on the prepared baking sheet or in the air fryer basket.
- Bake for 20-25 minutes, flipping halfway, or air fry for 15-18 minutes until the edges are lightly browned and tender-crisp.
- While the cauliflower cooks, prepare the sauce: In a small saucepan, combine honey, soy sauce, minced garlic, grated ginger, rice vinegar, and sriracha (if using).
- Bring the mixture to a simmer over medium heat, stirring constantly. Let it simmer for 2 minutes.
- Whisk the cornstarch slurry into the simmering sauce. Continue to cook and stir until the sauce thickens significantly, about 1 minute. Remove from heat immediately.
- Once the cauliflower is cooked, transfer it to a large bowl. Pour the thickened honey garlic sauce over the hot cauliflower. Toss gently until every piece is well coated and sticky.
- Serve immediately, garnished with sesame seeds and chopped green onions.
Notes
- To prevent the honey from burning, do not add the sauce until the cauliflower is already cooked and crispy.
- For extra crispiness in the oven, toss the raw cauliflower lightly with 1 tablespoon of cornstarch before adding the oil and seasoning.
- If you prefer an air fryer method, toss the cooked cauliflower with the sauce immediately after removing it from the basket.
Nutrition
- Serving Size: 1 serving
- Calories: 280
- Sugar: 35
- Sodium: 650
- Fat: 7
- Saturated Fat: 1
- Unsaturated Fat: 6
- Trans Fat: 0
- Carbohydrates: 50
- Fiber: 8
- Protein: 5
- Cholesterol: 0
