

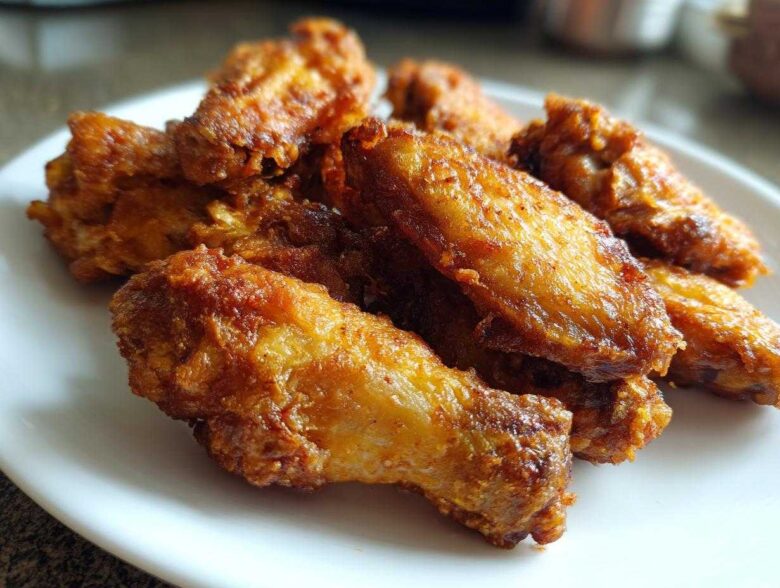
Oh, I know the struggle! You love chicken wings, desperately crave that satisfying crunch you get from the fryer, but the thought of all that oil and splatter sends you running back to order takeout? Been there! But guess what? We cracked the code. Sasha and I spent weeks trying to replicate that deep-fried goodness right in Anya’s oven, and now we’ve perfected the ultimate recipe for crispy baked chicken wings. Anya, with her patient touch for texture, really nailed the science behind getting that skin shattering crisp without ever turning on the deep fryer. Trust me, this simple seasoning trick changes everything!
If you want to know more about how the three of us built Savor Sensations from a hallway friendship into this little kitchen experiment, hop over to our About Us page. But first, let’s get these wings going!
Why You Will Achieve Perfect Crispy Baked Chicken Wings With This Method
It’s not magic, honest! It’s just smart cooking science. We wanted phenomenal texture without turning our kitchen into a bubble bath of hot oil. This method guarantees you get those phenomenal crispy baked chicken wings every single time, and it’s honestly the easiest trick you’ll ever learn.
- No messy deep frying required—just your normal oven!
- The texture is shockingly close to fried wings, but way healthier.
- This relies 100% on a simple chemical trick for that shatteringly crisp exterior.
The Secret to Ultra-Crispy Baked Chicken Wings
Okay, pay close attention here because this is the game-changer: we use baking powder. Yes, the stuff you keep by your flour canister! It might sound weird, but when mixed with the juices rendered from the chicken skin, it raises the pH level. This reaction dries out the outer layer of the skin during baking, allowing it to crisp up beautifully instead of steaming itself soggy.
Gathering Ingredients for Your Crispy Baked Chicken Wings
To get started on these amazing crispy baked chicken wings, you don’t need anything fancy from a specialty store, which I love! We are using simple things you probably have right now, except for that one superstar ingredient that makes all the difference. I always measure out everything first so I can just grab and toss when the oven is screaming hot.
You will need about three pounds of your favorite wings—make sure they are separated into little drumettes and flats. And don’t forget the baking powder! This is the MVP for getting that crunch.
Essential Seasoning Blend for Crispy Baked Chicken Wings
The seasoning is really straightforward, but trust me, it wakes up the chicken skin beautifully while it bakes. We aren’t using any secret fancy spice mixes here. Just a teaspoon each of salt, garlic powder, and paprika, followed by about half a teaspoon of black pepper. If you decide you want to toss them in sauce later, you can always add that after baking. This dry rub is purely for the texture and foundational flavor!
Step-by-Step Instructions to Make Crispy Baked Chicken Wings
Okay, time to roll up our sleeves! Getting these instructions right is what separates merely cooked wings from truly phenomenal, crispy baked chicken wings. This process isn’t fast, but it’s mostly hands-off while the oven does the heavy lifting. We’re using high heat and proper setup to make sure those wings come out golden and crunchy!
Preparation: Setting Up for Crispy Baked Chicken Wings Success
First things first: we need heat! Crank that oven up high to 425°F (that’s about 220°C for my metric friends). While it’s heating, grab a baking sheet and line it with foil—trust me, cleaning that sticky fat off later is nobody’s idea of fun. Then, the most crucial part: the rack. You need a wire cooling rack sitting right on top of that foil. This setup allows the hot air to circulate all around the wing, letting the fat drip down. Before anything else, take your paper towels and pat those wings bone-dry. I mean it—blot them until the skin feels almost dusty. If there’s moisture, you get steam, and steam makes soggy wings!
Coating and Arranging for Maximum Crispiness in Crispy Baked Chicken Wings
Once dry, toss those flats and drumettes into the bowl with your spice and baking powder mix we just talked about. Make sure every nook and cranny gets a light coat. This coating is what develops into that incredible exterior on your crispy baked chicken wings. After tossing, arrange them on your rack. This is important: single layer only! If they are touching, they will steam each other, and we are fighting steam the whole way through this recipe. Give them some breathing room!
The Baking Process for Perfect Crispy Baked Chicken Wings
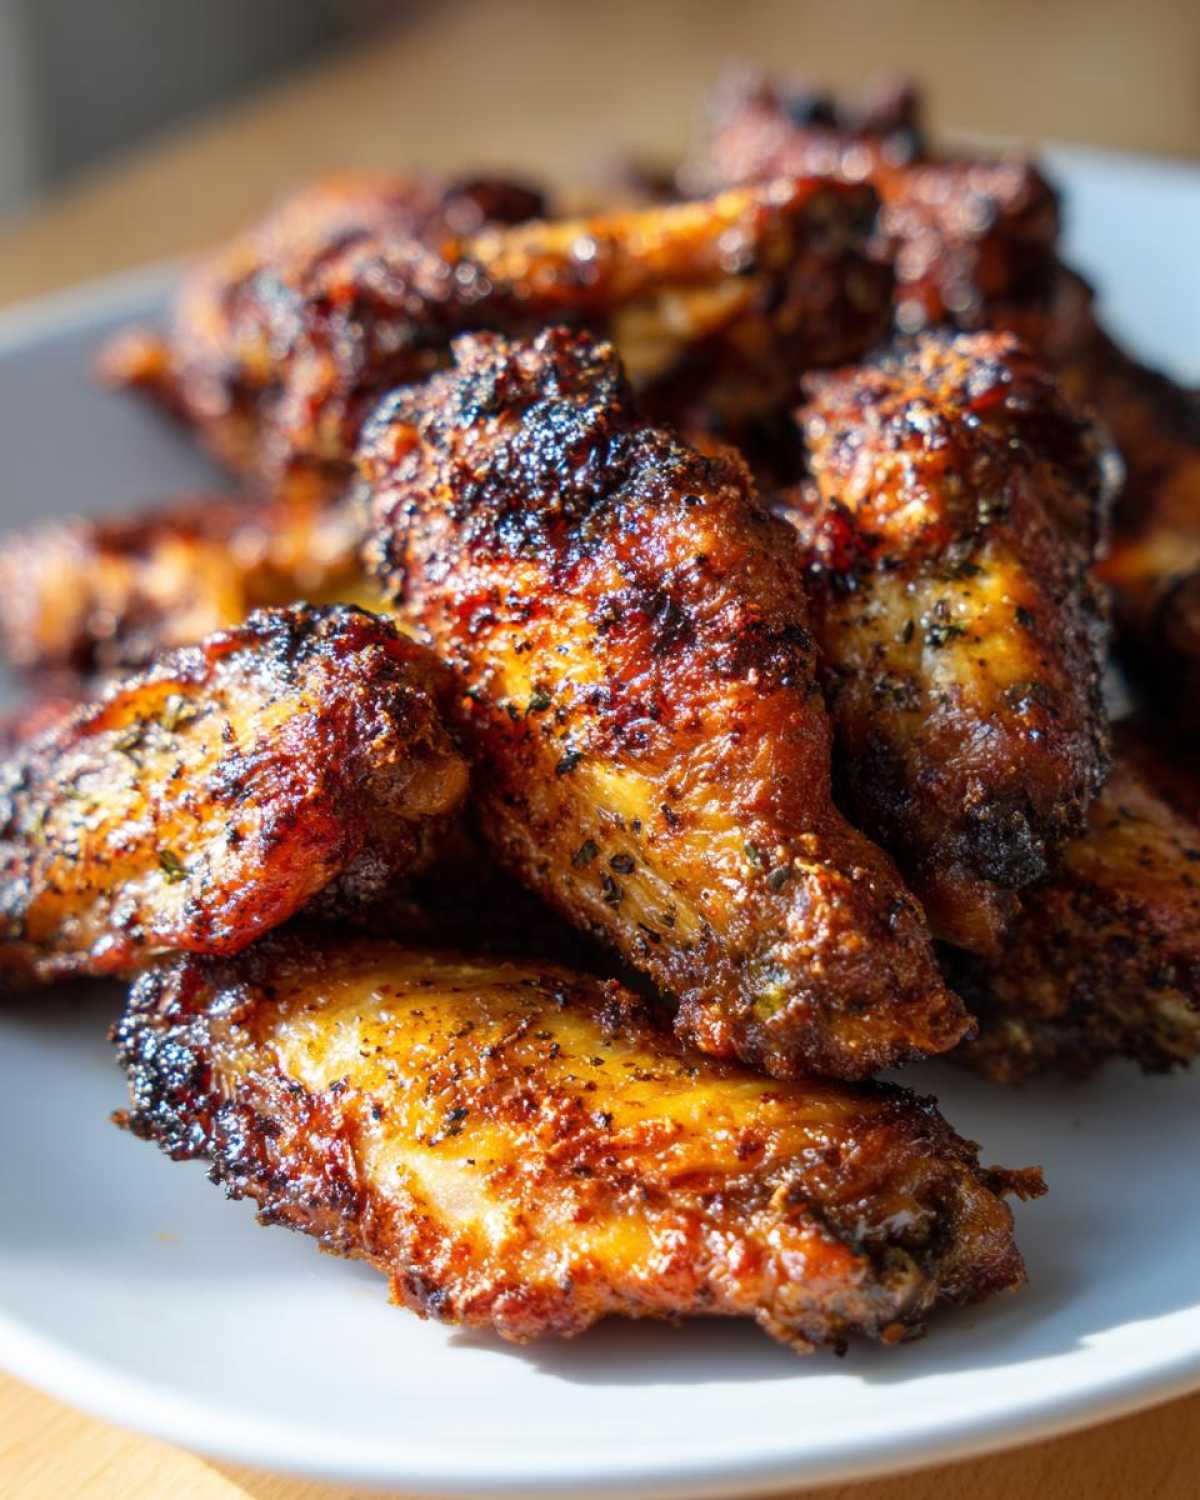
Pop those beautifully coated wings into the preheated oven for a solid 20 minutes. After that, we need to flip them over so they brown evenly on the second side. Slide them back in for another 20 to 25 minutes. This is where Anya always checks in, peering through the glass, making sure the color is deep golden. If they look fantastic but aren’t quite giving that *shatter* sound when you tap them, switch the oven to the broiler for just 60 to 90 seconds. Watch them like a hawk during that part, though, because they go from perfect to burnt in a blink! For more helpful tips on timing and technique, check out our main Blog!
Expert Tips for Achieving the Best Crispy Baked Chicken Wings
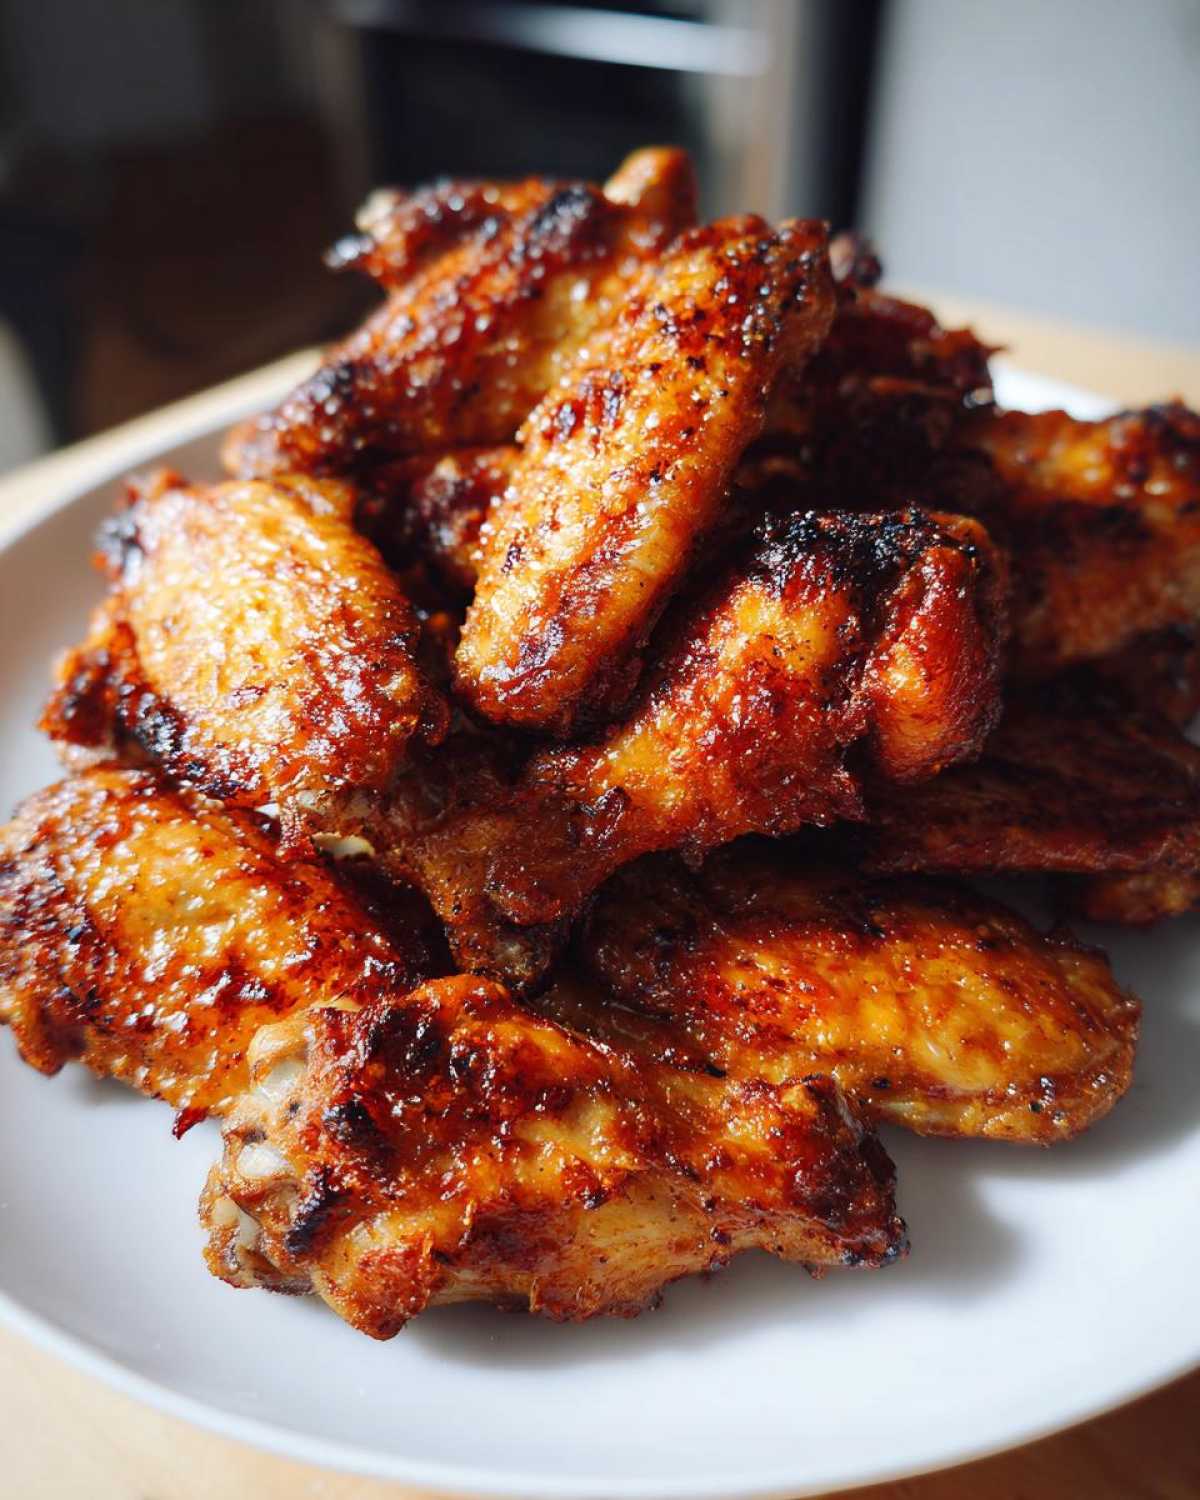
Honestly, the steps above will get you there, but if you truly want legendary crispy baked chicken wings that make people ask for the recipe immediately, you need these extra details. Anya, who is much more precise than Sasha about textures, stresses two things above everything else: drying and rack placement. Don’t rush that initial pat-down with paper towels, seriously. That surface moisture is the enemy!
Also, please make sure your wings aren’t touching on that wire rack. If they are kissing, they will steam into submission right there. We want maximum air exposure all around so every little section crisps up nicely. When it comes to sauce, wait until the very end. If you toss them in BBQ sauce before baking, you end up with sticky, slightly burnt sugar instead of true crispiness. Trust me on this one—toss them hot and fast right after they leave the heat. For some great savory alternatives that pair well with crunchy snacks, check out our recipe for Teriyaki Glazed Meatballs. If you’re looking for more wing inspiration, I always bookmark the tips over at Recipe by Sara when I need a different spice kick!
Serving Suggestions for Your Crispy Baked Chicken Wings
Once these beauties come out of the oven—golden, sizzling, and perfectly crunchy—you need the right setup to serve them! Since these are such a wonderful, slightly healthier take on a classic party snack, they are incredibly versatile. Sasha usually grabs carrots and celery sticks first, mainly because she needs something cold and crunchy to alternate with the hot, savory meat. And let’s be real, you need something to dip!
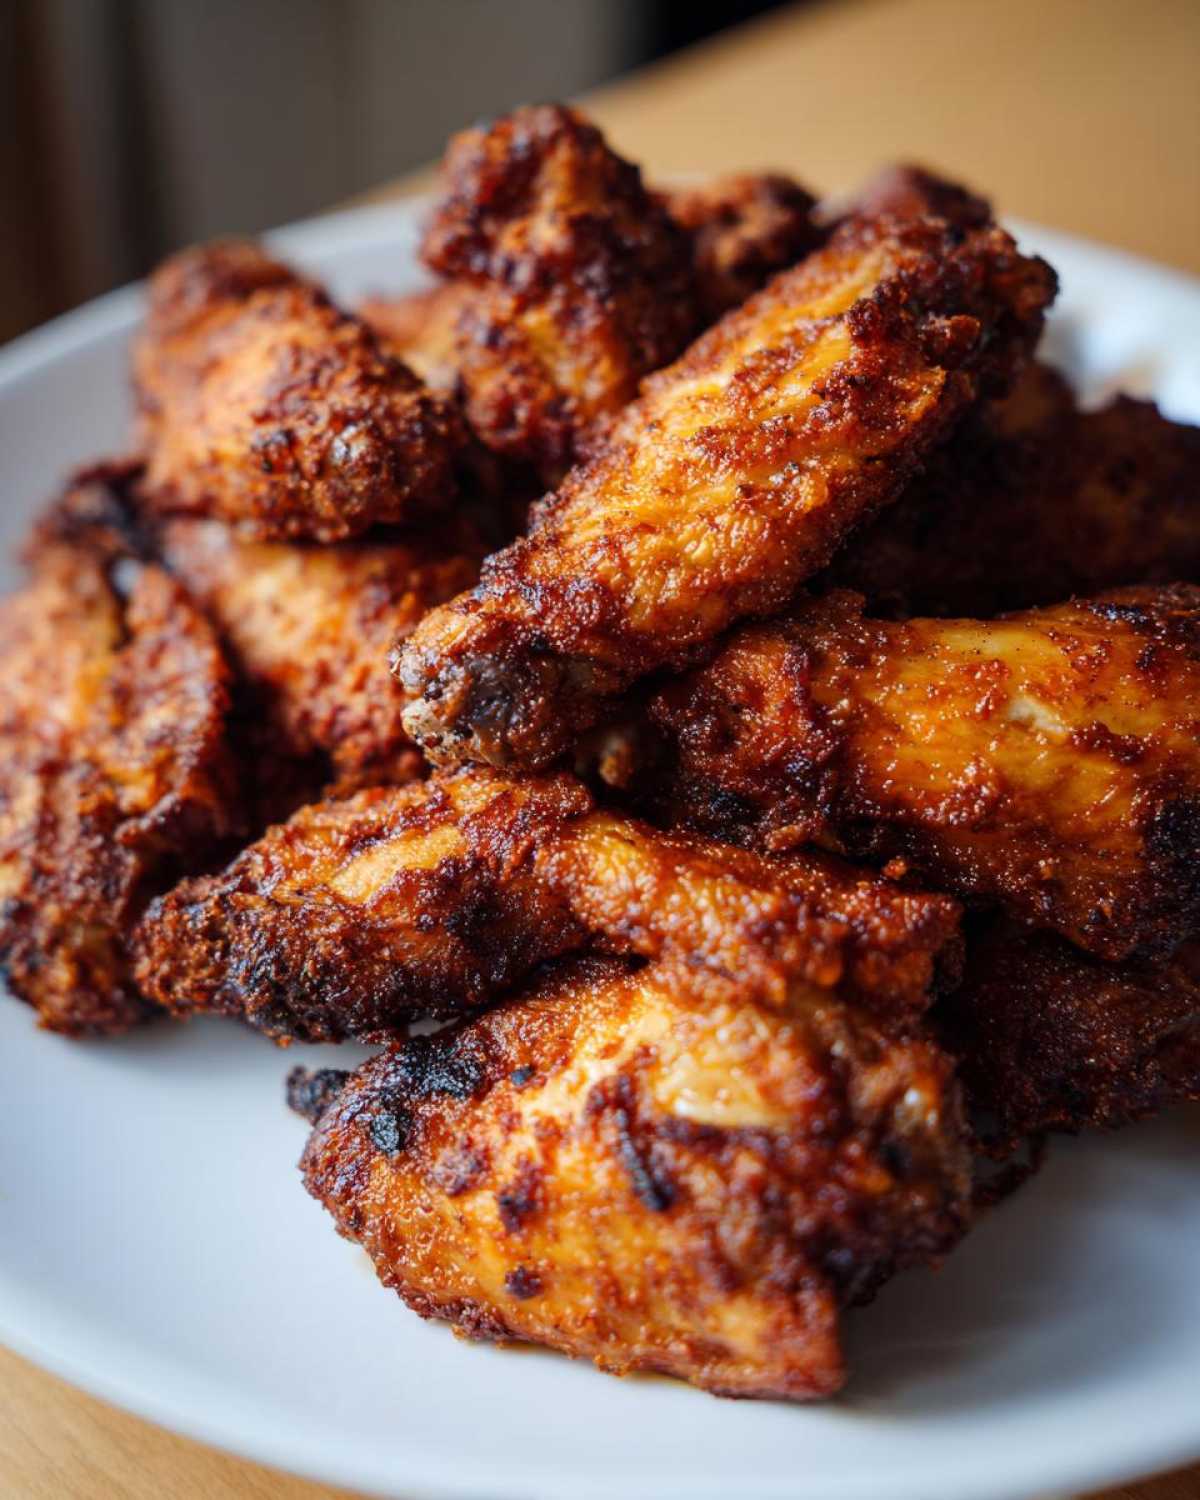
We always have at least two dipping options ready to go. Ranch is a must—it cools down the palate nicely, especially if you used a spicy rub. My go-to alternative is a sharp blue cheese dressing. If you are leaning toward a creamy, comforting meal rather than just an appetizer, these wings go surprisingly well with something familiar on the side. I sometimes serve a smaller portion alongside our creamy tuna noodle casserole when we have a big group over. It just feels like classic American comfort food!
Storage and Reheating Instructions for Crispy Baked Chicken Wings
So, the great news is that if you manage to have any leftovers of these amazing, ultra-crispy baked chicken wings, they are still tasty! But we gotta treat them right. I highly recommend you let them cool completely before you even think about storing them. Pop them in a container, but try not to seal it airtight right away; if you trap that steam, you’ll lose the crunch instantly. If you’re looking for other make-ahead easy eats, my gluten-free zucchini muffins freeze really well!
For reheating your crispy baked chicken wings, skip the microwave unless you are in a huge rush—it just turns them rubbery. The best way to bring back that golden crunch is a quick trip back into a hot oven, maybe 375°F, for about 8 minutes until they are sizzling again.
Frequently Asked Questions About Crispy Baked Chicken Wings
I get so many questions about wings because everyone wants that perfect crunch! Here are a few things readers often ask when trying to make the best crispy baked chicken wings at home. Don’t worry if you run into a little snag; cooking is all about learning!
Why are my wings still soggy even after baking?
Nine times out of ten, sogginess comes down to surface moisture! Did you pat them completely dry before seasoning? Moisture turns to steam in the oven, and steam softens the skin we worked so hard to dry out. The other big culprit is overcrowding—if the wings are touching, they steam each other instead of getting that dry heat all around. Remember, space is crucial for crispy baked chicken wings!
Can I use frozen chicken wings for this recipe?
You absolutely can, but you have to thaw them completely first. Seriously, every bit of ice or frost needs to be gone. Once thawed, treat them just like fresh wings: pat them down relentlessly with paper towels until they feel dry to the touch. If you try to bake them straight from frozen, they will never, ever get crispy!
Do I have to use the baking powder, or can I skip it?
Oh, please don’t skip the baking powder! That’s the secret sauce for making these the ultimate crispy baked chicken wings without frying. It’s non-negotiable if you want that shatteringly crisp skin we talked about. If you’ve run out, you might get a decent wing, but it won’t hold up to saucing the way these do. You can find more great home cooking hacks over at our muffin secrets article!
How do I make sure these wings are extra spicy before tossing in sauce?
If you love heat, just add a little cayenne pepper or some crushed red pepper flakes directly into the baking powder and spice mix! You’ll get a nice, built-in kick when they bake, which is wonderful before you add any Buffalo sauce later. These are amazing game day snacks, and a little extra spice never hurt anyone! For more crunchy inspiration, check out the ideas on Al Dente Diva.
Estimated Nutritional Profile for Crispy Baked Chicken Wings
Okay, let’s talk real quick about macros because while these are perfectly crispy and so much better than fried, they are still chicken wings, right? We need to be careful not to think of these as health food, even though we skipped the deep-fryer oil! Sasha is usually the one tracking this stuff, and she puts together this general background for us. It’s perfect for when you’re planning out your snacks for game day.
These numbers are based on four wings per person, tossed dry (no sauce added yet), and we used skin-on wings, of course. Your actual values can wiggle around a bit depending on your specific cut of chicken and how much salt you sprinkle on at the end, so please view these as gentle guidelines!
- Calories: Around 250 per serving
- Fat: About 15g (That’s much better than the 30g you get from some fried versions!)
- Protein: A whopping 26g to keep you full!
- Carbohydrates: Very low, only about 2g.
Since we aren’t drowning them in butter or heavy sauce right away, the fat content is mostly just what’s rendered out of the skin itself. The baking powder and dry rub don’t add anything to the carb count, which is nice! If you want to see how we handle the numbers for one of our baked treats, you can check out the estimates on our oatmeal chocolate chip muffins recipe page. Enjoy these wings responsibly!
Share Your Crispy Baked Chicken Wings Experience
Alright, you’ve made them—tell me everything! I absolutely love seeing how your kitchen adventures turn out. Did you stick to the dry seasoning, or did you toss yours in a quick BBQ glaze? Take a snap of your perfect crispy baked chicken wings and tag us! I’m always looking for new spice variations to try next time. If you’re looking for a fantastic creamy side dish to go with your snack haul, check out our Spinach and Squash Casserole. And of course, if you loved this method, share the secret link to the best crispy baked chicken wings with your friends over at The Women Home!
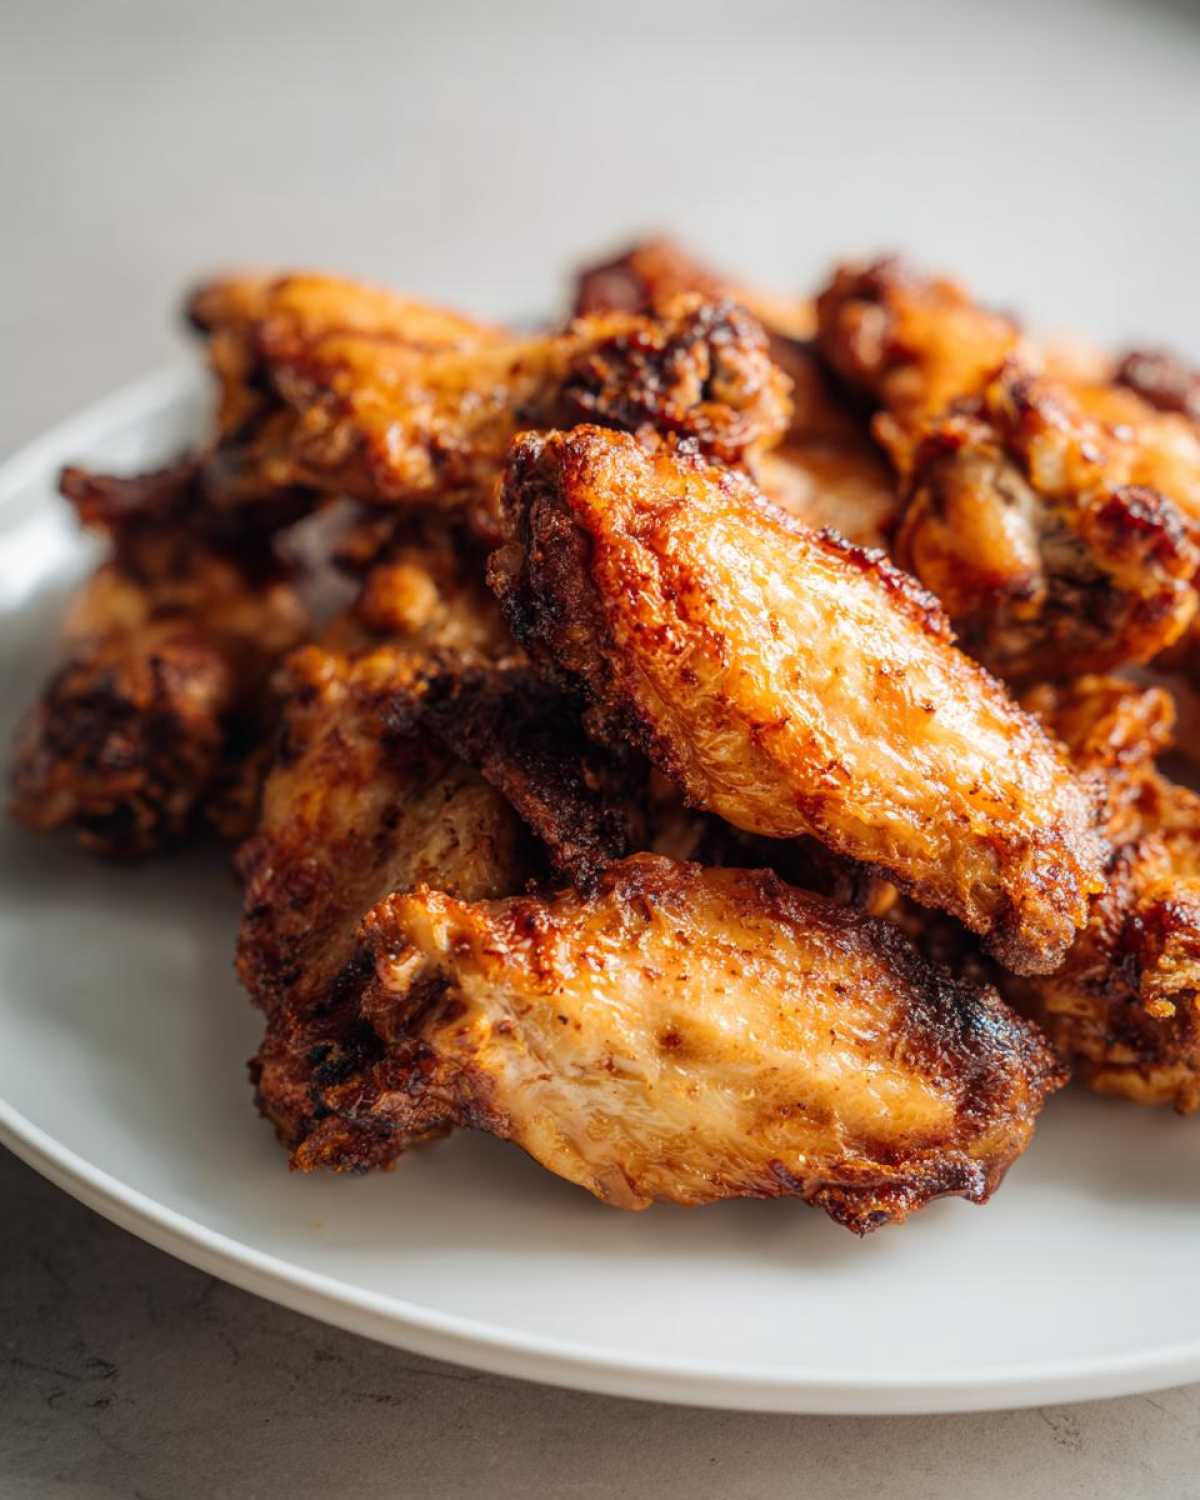
Make Amazing Crispy Baked Chicken Wings At Home

Get the secret to truly crispy baked chicken wings right in your kitchen. This simple seasoning and oven baking method gives you the ultimate crunch without the messy deep frying you might expect.
- Prep Time: 15 min
- Cook Time: 45 min
- Total Time: 60 min
- Yield: 4 servings
- Category: Appetizer
- Method: Baking
- Cuisine: American
- Diet: Low Fat
Ingredients
- 3 lbs chicken wings, separated into flats and drumettes
- 1 tablespoon baking powder (this is the secret for ultimate crunch!)
- 1 teaspoon salt
- 1 teaspoon garlic powder
- 1 teaspoon paprika
- 1/2 teaspoon black pepper
- Optional: Your favorite sauce for tossing (like Buffalo or BBQ)
Instructions
- Preheat your oven to 425°F (220°C). Line a large baking sheet with foil for easy cleanup, then place a wire cooling rack on top of the foil. This setup allows air to circulate, which is key for crispy baked chicken wings.
- Pat the chicken wings very dry using paper towels. Removing surface moisture helps achieve that shatter-crisp skin.
- In a large bowl, combine the baking powder, salt, garlic powder, paprika, and black pepper.
- Add the dried chicken wings to the bowl and toss well until every piece is evenly coated with the seasoning mixture. The baking powder reacts with the chicken skin during baking to create the perfect crunch.
- Arrange the coated wings in a single layer on the wire rack, making sure they are not touching each other. Give them space for the best results.
- Bake for 20 minutes.
- Flip the wings over.
- Bake for another 20 to 25 minutes, or until the wings are deeply golden brown and very crispy. If you want extra crispiness, you can switch the oven to broil for the last 1-2 minutes, watching them closely to prevent burning.
- Remove the wings from the oven. If you are using sauce, place the hot wings in a clean bowl and toss immediately with your favorite sauce until coated.
- Serve your mouthwatering, crispy baked chicken wings immediately with celery sticks and dipping sauce.
Notes
- For the crispiest wings, do not skip drying the wings thoroughly with paper towels before seasoning.
- Using a wire rack is essential; it lets the fat drip away and allows the hot air to crisp all sides of the wing.
- If you are making Buffalo style baked chicken wings, toss them in the sauce right after they come out of the oven while they are still hot.
Nutrition
- Serving Size: 4 wings
- Calories: 250
- Sugar: 1
- Sodium: 350
- Fat: 15
- Saturated Fat: 4
- Unsaturated Fat: 11
- Trans Fat: 0
- Carbohydrates: 2
- Fiber: 0
- Protein: 26
- Cholesterol: 85
