

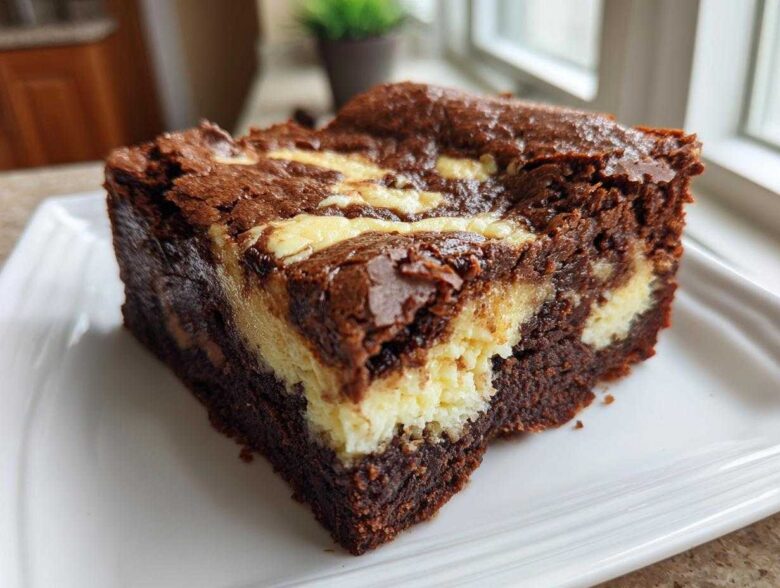
Okay, listen up, because I’m about to share the dessert that completely changed my baking game forever. Forget choosing between a dense, chocolatey brownie and a light, tangy cheesecake—why choose when you can have both, right? The first time I pulled these out of the oven, I almost cried; the smell alone was pure magic!
We are talking about the absolute gold standard of hybrid desserts: Cheesecake Brownies. This recipe marries that perfect, goooey, fudgy bite of a scratch-made brownie base with a gorgeous, creamy top layer that just melts in your mouth. They hold together beautifully for cutting, which is honestly half the battle with any good bar dessert.
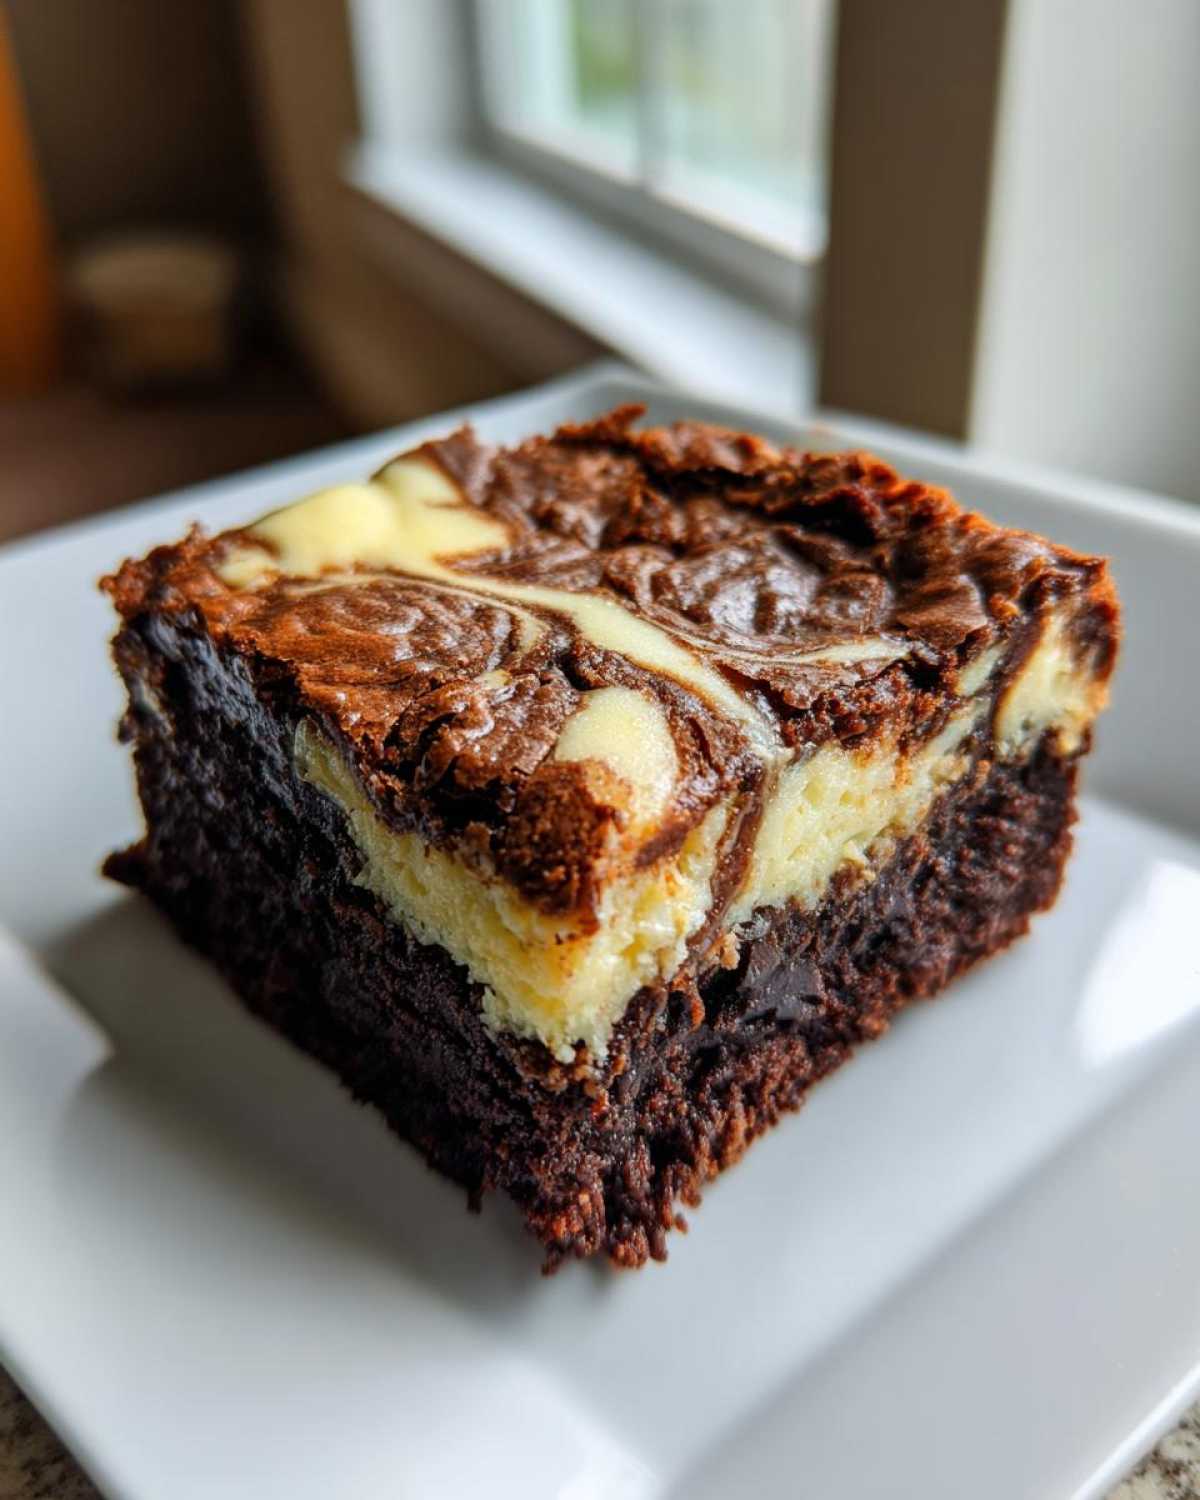
I remember making my first batch for a neighborhood potluck, convinced it was too fancy for a casual get-together. Wrong! They vanished before I could even grab a second one. Trust me, once you master this simple layering technique, these rich squares will become your go-to for instant crowd-pleasing status.
Why This Cheesecake Brownies Recipe Works So Well
People ask me all the time what makes my Cheesecake Brownies taste different than theirs, and honestly, it’s the simplicity! You don’t need a double boiler or complicated steps here. We’re cutting straight to the decadent middle ground. If you love double-layer treats, you should definitely check out my recipe for Oreo Cheesecake Brownie Bars!
- The texture contrast is unbeatable—seriously fudgy meets seriously smooth.
- The swirl pattern is deceptively easy; anyone can get that bakery look.
- We use simple ingredients that deliver huge flavor payoff without fuss.
Achieving the Perfect Fudgy Brownie Base
The secret to that super rich, almost truffle-like brownie layer is starting with melted butter, not softened! Melting the butter and incorporating it with the sugar ensures you skip the light and airy texture you want in a cake. We want dense, heavy, and chocolate-forward. This method really locks in that deep, fudgy flavor before we even think about the cream cheese top layer.
The Secret to Cream Cheese Brownie Bars That Do Not Crack
This is where everyone gets nervous, right? Nobody wants dry, cracked cheesecake topping! The main thing you need to watch out for is baking time. You MUST pull these out when they still look *slightly* soft in the center. If you wait until the whole top looks perfectly firm, you’ve gone too far, and those classic Cream Cheese Brownie Bars will dry out. Trust me on this one—they finish setting up while they cool!
Gathering Ingredients for Your Cheesecake Brownies
Okay, gathering the components is half the fun! The beauty of these Cheesecake Brownies is that the ingredient list is pretty straightforward. You’re basically making two small batters that happen to live together beautifully in one pan. Make sure your cream cheese is actually softened before you start—that’s non-negotiable for a smooth top layer.
We need three core things: the rich brownie stuff, the tangy cream cheese component, and your trusty 9×13 pan setup. For the full list, I’ve broken it down below so you can easily shop or check your pantry. You’ll also need parchment paper, which is my secret MVP for keeping everything neat!
If you’re interested in making an accompanying topping sometime, I have a favorite recipe for Classic Cream Cheese Frosting, but for bars, simple is often best.
Ingredient Notes and Substitutions for Cheesecake Brownies
Stick to full-fat cream cheese for the best results here; low-fat tends to be a bit watery when baked. Also, make sure you’re using real, unsalted butter—no substitutes! That richness is essential for a truly epic flavor in these Cheesecake Brownies. If you use salted, skip adding the extra salt to your dry mixture.
Step-by-Step Instructions for the Best Cheesecake Brownies
Alright, let’s get baking! This is where the magic happens, but remember: patience is key, especially when mixing the brownie batter. We need to keep that swirl gorgeous, which means we don’t want to overdo it. First things first, go ahead and set your oven to 350°F (175°C). I always line my 9×13 inch pan with parchment paper; leave a little overhang on the sides so you can lift the whole thing out later. That parchment sling saves so much scraping at the edges!
Mix your brownie batter first—melted butter and sugar, then eggs one by one, followed by vanilla. Whisk your dry stuff separately, and then add it to the wet ingredients. Remember, mix only until the flour disappears. Seriously, no more stirring than necessary for these Cheesecake Brownies! Spread that batter in your prepared pan. While that settles, whip up the cream cheese topping until it’s totally smooth.
Creating the Swirled Brownies Layering Technique
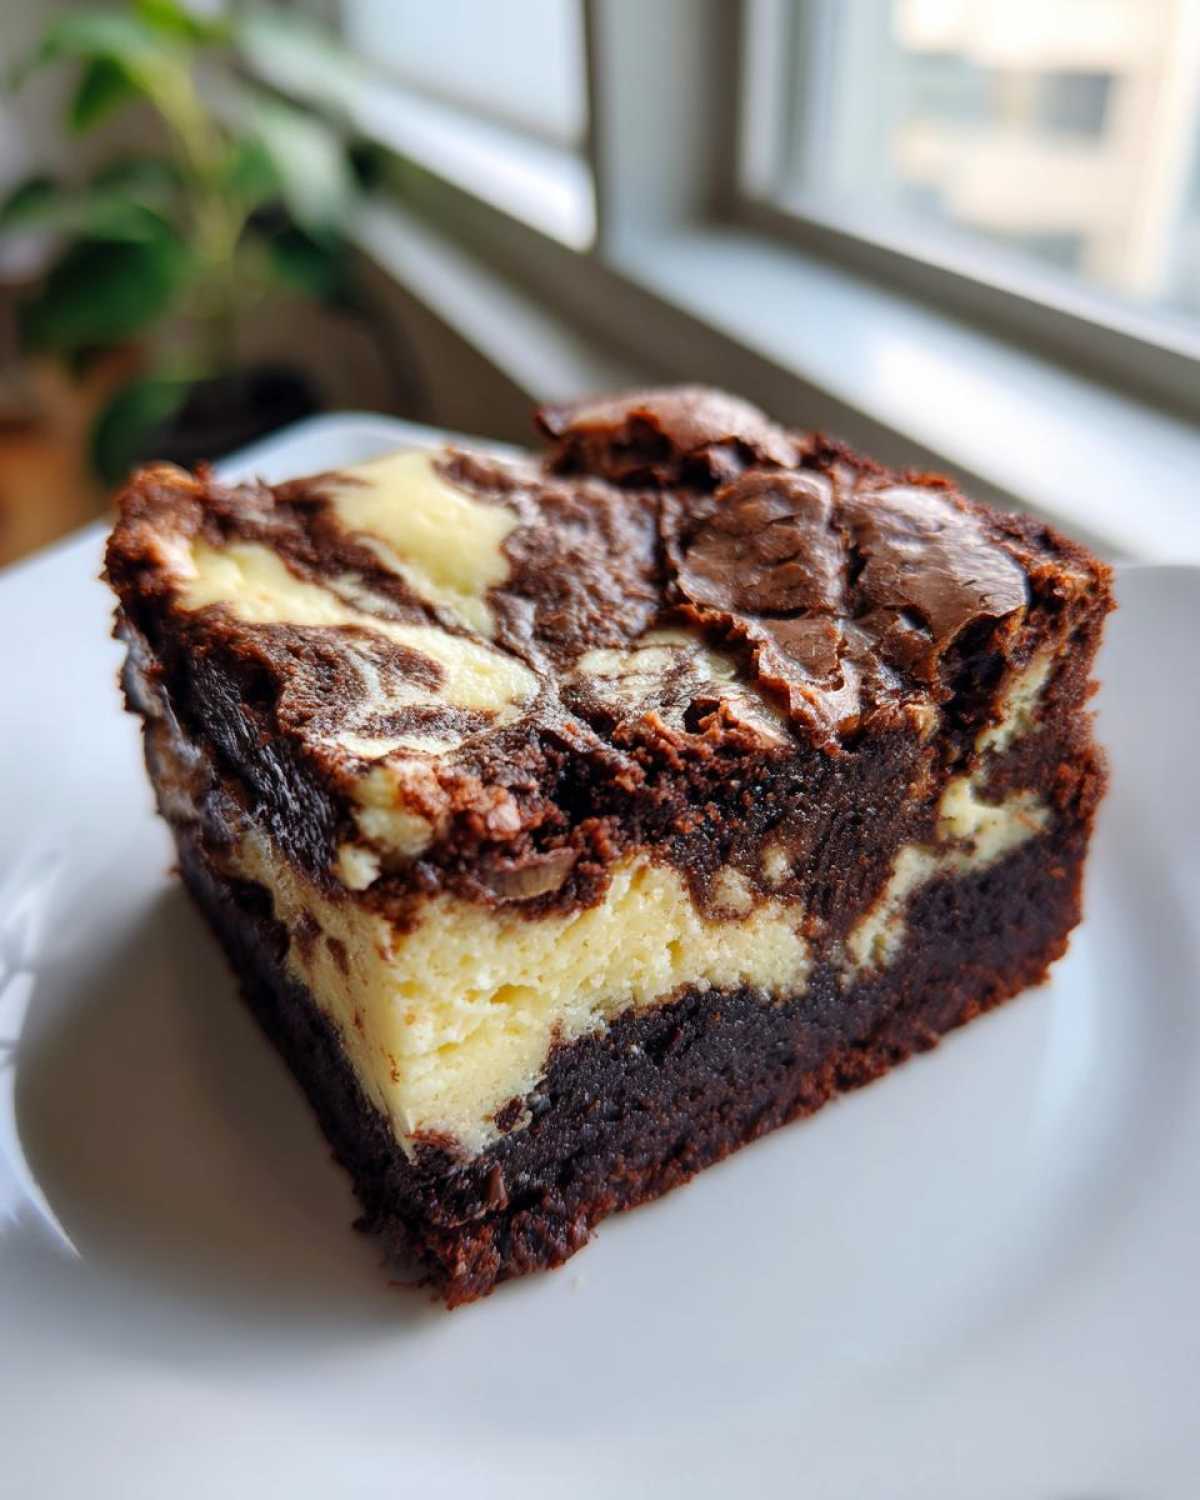
Now for the fun part that makes these a true Marbled Brownie Recipe! Gently pour that dreamy cream cheese mixture right over the top of your raw brownie batter. Grab a butter knife or maybe an offset spatula, and work carefully. You just want to gently dip the knife into both layers and pull it through in looping figure-eights. Don’t go all the way to the bottom of the pan—we’re aiming for a beautiful top decoration, not a uniform mix.
Baking and Cooling Your Rich Dessert Squares
Pop your pan in the oven for about 30 to 35 minutes. This is critical, sweetie: you want the edges set, but when you check the center, the toothpick should have moist crumbs, not wet liquid batter. If it looks totally firm, it’s overbaked! Once they come out, you must let these Rich Dessert Squares cool completely on a rack. I often leave them sitting overnight. Cooling handles the rest of the baking for you and keeps the cheesecake firm!
Tips for Success Making Homemade Cheesecake Brownies
Listen, successfully making these Cheesecake Brownies isn’t rocket science, but there are just a couple of little habits that stop them from turning out anything less than incredible. My biggest tip, which I learned the hard way, is temperature control when you are mixing that cream cheese layer. Make absolutely sure that cream cheese is truly at room temperature so you don’t end up with little lumps fighting the fudgy base.
Also, resist the urge to peek too often! Once they are in the oven, let them bake in peace. If the cheesecake cracks, it’s usually because the oven temperature suddenly dropped or you cooked it too long. For perfect clean edges, I take them out, let them cool for an hour on the counter, and then I pop the whole thing in the fridge for at least four hours—sometimes overnight!
If you want to see how to layer different textures, you might enjoy my Fudge Swirl Brownie Trifle, but these bars are definitely easier to transport!
Variations on Classic Cheesecake Brownies
Now, I love this classic combo, but half the fun of baking is making it your own, right? You can transform these Cheesecake Brownies based on what you have handy or what you’re craving. If you’re a chocolate lover like me, stirring in half a cup of good quality chocolate chips into the brownie batter adds another level of decadence!
For a real flavor bomb, try crushing up some Oreos and scattering them over the cream cheese layer right before you swirl. Or, how about a drizzle? Take some good salted caramel sauce, warm it up just a touch, and drizzle it lightly over the whole thing before baking. It looks stunning, and the salty-sweet combo is just heaven. Honestly, you can do anything with these bars!
If you want to see another delicious cream cheese swirl application, you have to check out my recipe for Cream Cheese Coffee Cake. So good!
Serving Suggestions for Decadent Dessert Bars
These Rich Dessert Squares are intense all on their own! They don’t really need much fuss, but if you’re serving them up formally, I have a couple of favorite little additions. A small dollop of tart raspberry puree cuts through the richness perfectly. My absolute favorite pairing, though, is wrapping up a warm square with a mug of a good coffee, perhaps my Caramel Brown Sugar Latte.
If you serve them chilled, just a very light dusting of unsweetened cocoa powder on top makes them look incredibly professional. Simple, elegant, and delicious!
Storage and Reheating for Layered Brownie Dessert
Don’t worry about leftovers; these Layered Brownie Dessert squares keep beautifully! I always store mine in a single layer inside a sturdy, airtight container. Keep them refrigerated because of that lovely cream cheese topping—they last great for up to five days this way. If you want them super firm, stick them in the fridge for a few hours before cutting.
Can you freeze them? Yes! Wrap individual bars tightly in plastic wrap, then pop them into a freezer bag. They keep well for up to two months. When you’re craving one, just pop it on the counter for about 30 minutes to thaw out slightly before digging in.
Frequently Asked Questions About Cheesecake Brownies
I get so many questions about these bars after people try them, which just goes to show how much everyone loves a good hybrid dessert! It’s my pleasure to walk you through any hiccups. For more fun cream cheese creations, check out my Pumpkin Pie Cheesecake Bars!
Can I use a different pan size for this Cheesecake Brownie Recipe?
You absolutely can, but you must adjust your time! If you use a smaller pan, like an 8×8 inch, your bars will be much thicker and will need significantly longer baking time—watch closely for doneness. With a larger pan, they bake faster, so check early!
How do I get clean cuts when slicing the bars?
This is the trick to getting those perfect squares—you have to chill them completely! I never attempt to cut them when they are even slightly warm. Once they are totally cool from the counter, pop the whole thing in the fridge for at least four hours. Then, wipe a long, sharp knife under hot water and dry it quickly before each slice. That hot blade slides right through!
Are these Easy Cheesecake Brownies suitable for bake sales?
Oh yes, they are perfect for bake sales or potlucks! Because they are bars and not cake, they hold their shape wonderfully, especially after being chilled. These Easy Cheesecake Brownies travel beautifully and stay stable for serving.
Nutritional Estimates for Your Dessert Recipes with Cream Cheese
Now, let’s talk numbers, just so you have a rough idea of what you’re getting into with these gorgeous Dessert Recipes with Cream Cheese. I always say these are best enjoyed guilt-free because they are such a treat, but here are the basic estimates based on my recipe yield of 24 bars.
Keep in mind that this is just a general guide, sweetie! If you use extra-rich dark chocolate or a different brand of cream cheese, these numbers can shift around a bit. For the most accurate accounting, you’d need to plug in your exact ingredient amounts, but this should give you a decent starting point for your Cheesecake Brownies.
- Serving Size: 1 bar
- Calories: 250
- Sugar: 25g
- Fat: 15g (with 9g saturated)
- Carbohydrates: 28g
- Protein: 4g
If you want to see my other baking adventures, you can always browse my main blog roll for more inspiration on everything from cookies to cakes!
PrintCheesecake Brownies
A recipe for rich, fudgy brownies topped with a creamy, tangy cheesecake layer, creating decadent Cheesecake Brownies.
- Prep Time: 15 min
- Cook Time: 35 min
- Total Time: 50 min
- Yield: 24 bars
- Category: Dessert
- Method: Baking
- Cuisine: American
- Diet: Vegetarian
Ingredients
- 1 cup (2 sticks) unsalted butter, melted
- 2 cups granulated sugar
- 4 large eggs
- 1 teaspoon vanilla extract
- 1 cup all-purpose flour
- 3/4 cup unsweetened cocoa powder
- 1/2 teaspoon salt
- 1 (8 ounce) package cream cheese, softened
- 1/4 cup granulated sugar
- 1 large egg
- 1/2 teaspoon vanilla extract
Instructions
- Preheat your oven to 350°F (175°C). Line a 9×13 inch baking pan with parchment paper, leaving an overhang for easy removal.
- Prepare the brownie batter: In a large bowl, mix the melted butter and 2 cups of sugar until combined. Beat in the 4 eggs one at a time, then stir in 1 teaspoon of vanilla.
- In a separate bowl, whisk together the flour, cocoa powder, and salt. Gradually add the dry ingredients to the wet ingredients, mixing until just combined. Do not overmix. Spread the brownie batter evenly into the prepared pan.
- Prepare the cheesecake layer: In a medium bowl, beat the softened cream cheese with 1/4 cup of sugar until smooth. Beat in the remaining egg and 1/2 teaspoon of vanilla extract until the mixture is creamy.
- Pour the cream cheese mixture over the brownie batter.
- Create the swirl: Use a butter knife or a skewer to gently swirl the cheesecake layer into the brownie batter. Make figure-eight motions without cutting all the way to the bottom of the pan.
- Bake for 30 to 35 minutes, or until the edges are set and a toothpick inserted near the edge comes out with moist crumbs, but not wet batter. The center should still look slightly soft.
- Let the Cheesecake Brownies cool completely in the pan on a wire rack before lifting out using the parchment overhang. Cut into squares.
Notes
- For a cleaner swirl pattern, chill the cream cheese mixture slightly before layering it over the batter.
- Do not overbake; overbaking causes the cheesecake layer to dry out and crack.
- For extra flavor, add 1/2 cup of chocolate chips to the brownie batter.
Nutrition
- Serving Size: 1 bar
- Calories: 250
- Sugar: 25
- Sodium: 120
- Fat: 15
- Saturated Fat: 9
- Unsaturated Fat: 6
- Trans Fat: 0
- Carbohydrates: 28
- Fiber: 1
- Protein: 4
- Cholesterol: 65
