

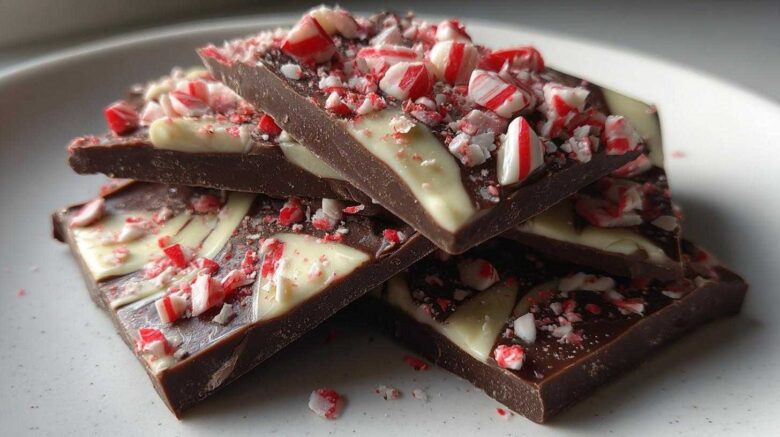
Welcome to Savor Sensations: Making Easy Candy Cane Chocolate Bark
Do you ever crave a holiday treat that tastes amazing?
Something super simple, too? I hear you!
This no-bake Candy Cane Chocolate Bark is pure magic.
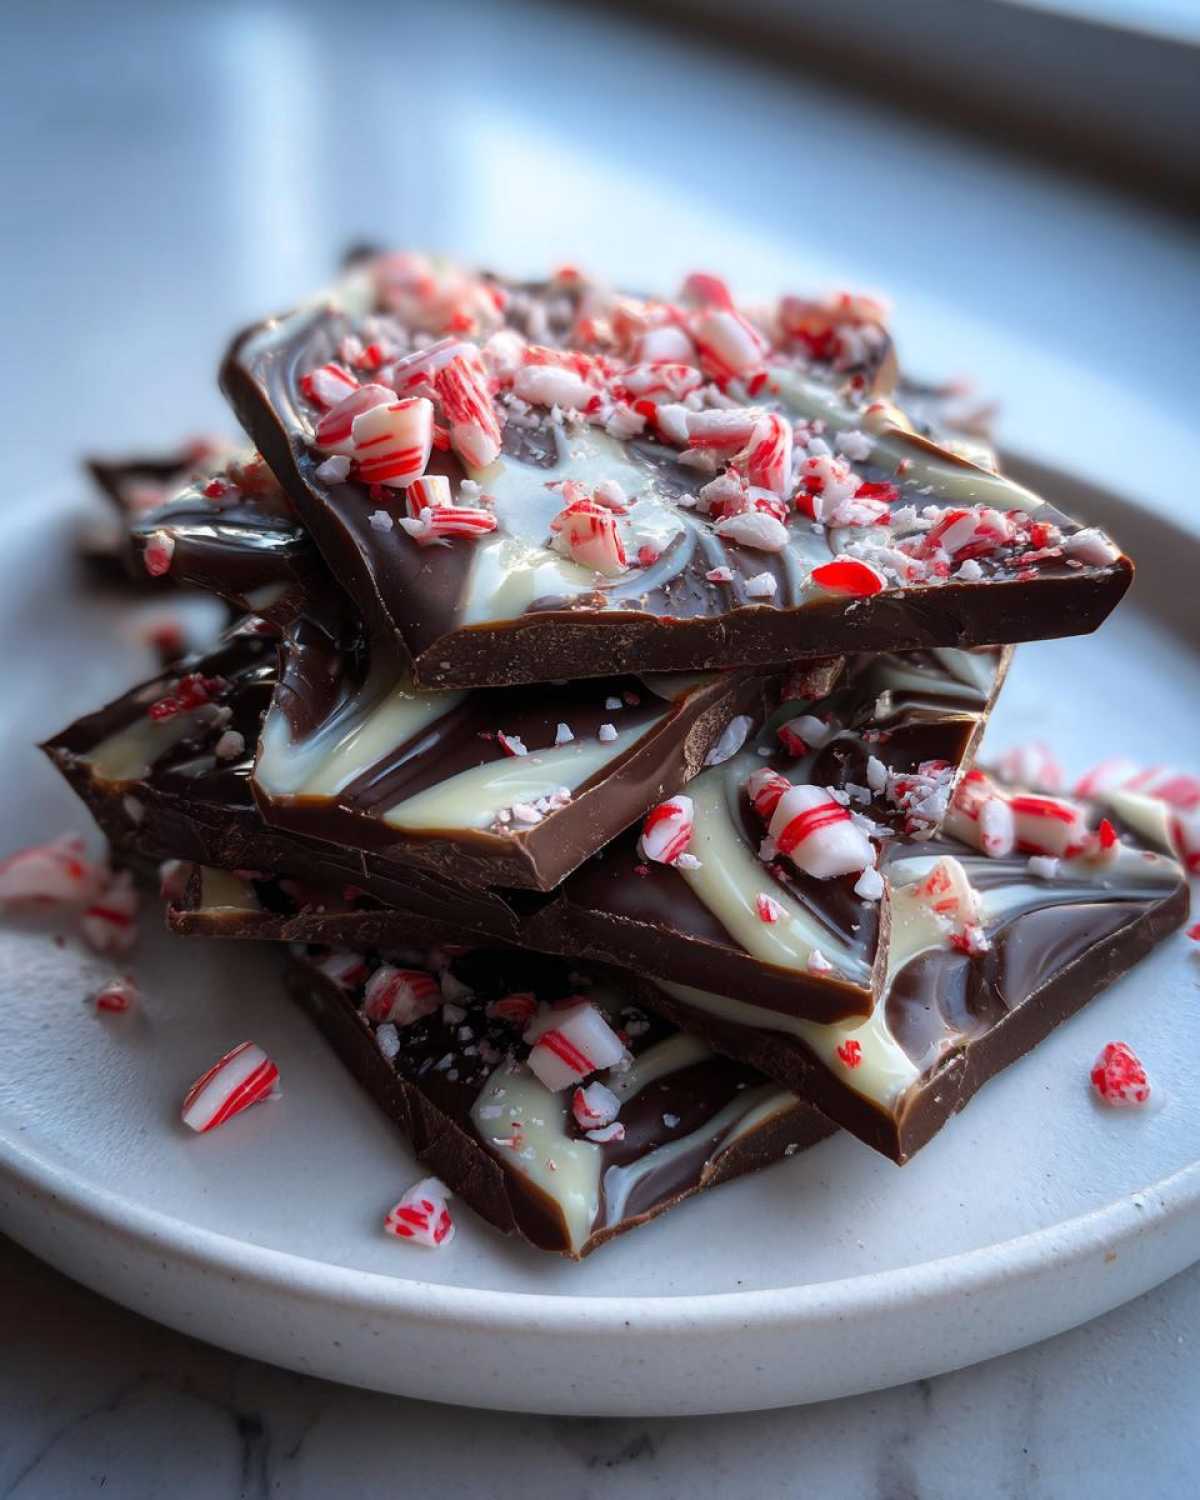
It’s the perfect festive crunch without turning on the oven.
Anya, our resident artist, perfected this recipe for us.
Her grandmother always made wonderful layered sweets.
That quiet grace shines through in this simple bark.
We bring you deliciousness, straight from our open kitchen door.
Let’s make this sweet, minty bark together right now.
Essential Components for Your Candy Cane Chocolate Bark
Before we dive into the fun part, we need our star players.
Gathering everything first makes the process so much smoother.
This recipe is naturally simple, needing just a few key items.
You won’t need any complicated tools here, just good chocolate.
Let’s look at exactly what you need for this treat.
Then, we can move right into the easy assembly!
Ingredients You Need for Perfect Candy Cane Chocolate Bark
- Twelve ounces of semi-sweet chocolate chips.
- Four ounces of white chocolate, make sure it’s chopped.
- One tiny teaspoon of pure peppermint extract.
- One full cup of crushed candy canes, ready to go.
These simple elements create the best holiday flavor combination.
Step-by-Step Guide to Making Candy Cane Chocolate Bark
Now for the best part, friends. We put the plan into action!
Following these steps ensures your bark turns out perfectly.
It’s a quick process, but timing matters a little bit.
Don’t worry, I’ll walk you through every single stage.
Preparing Your Work Surface and Melting the Base Chocolate
First things first, grab a baking sheet.
Line it completely with parchment paper, please.
This stops the chocolate from sticking, trust me on this.
Next, take your semi-sweet chocolate chips.
Put them in a microwave-safe bowl.
Heat them in short bursts, just thirty seconds at a time.
Stir well between each thirty-second zap until it’s smooth.
Layering and Adding the Peppermint Crunch to Your Candy Cane Chocolate Bark
Pour that melted dark chocolate onto your paper.
Spread it out so it makes an even layer.
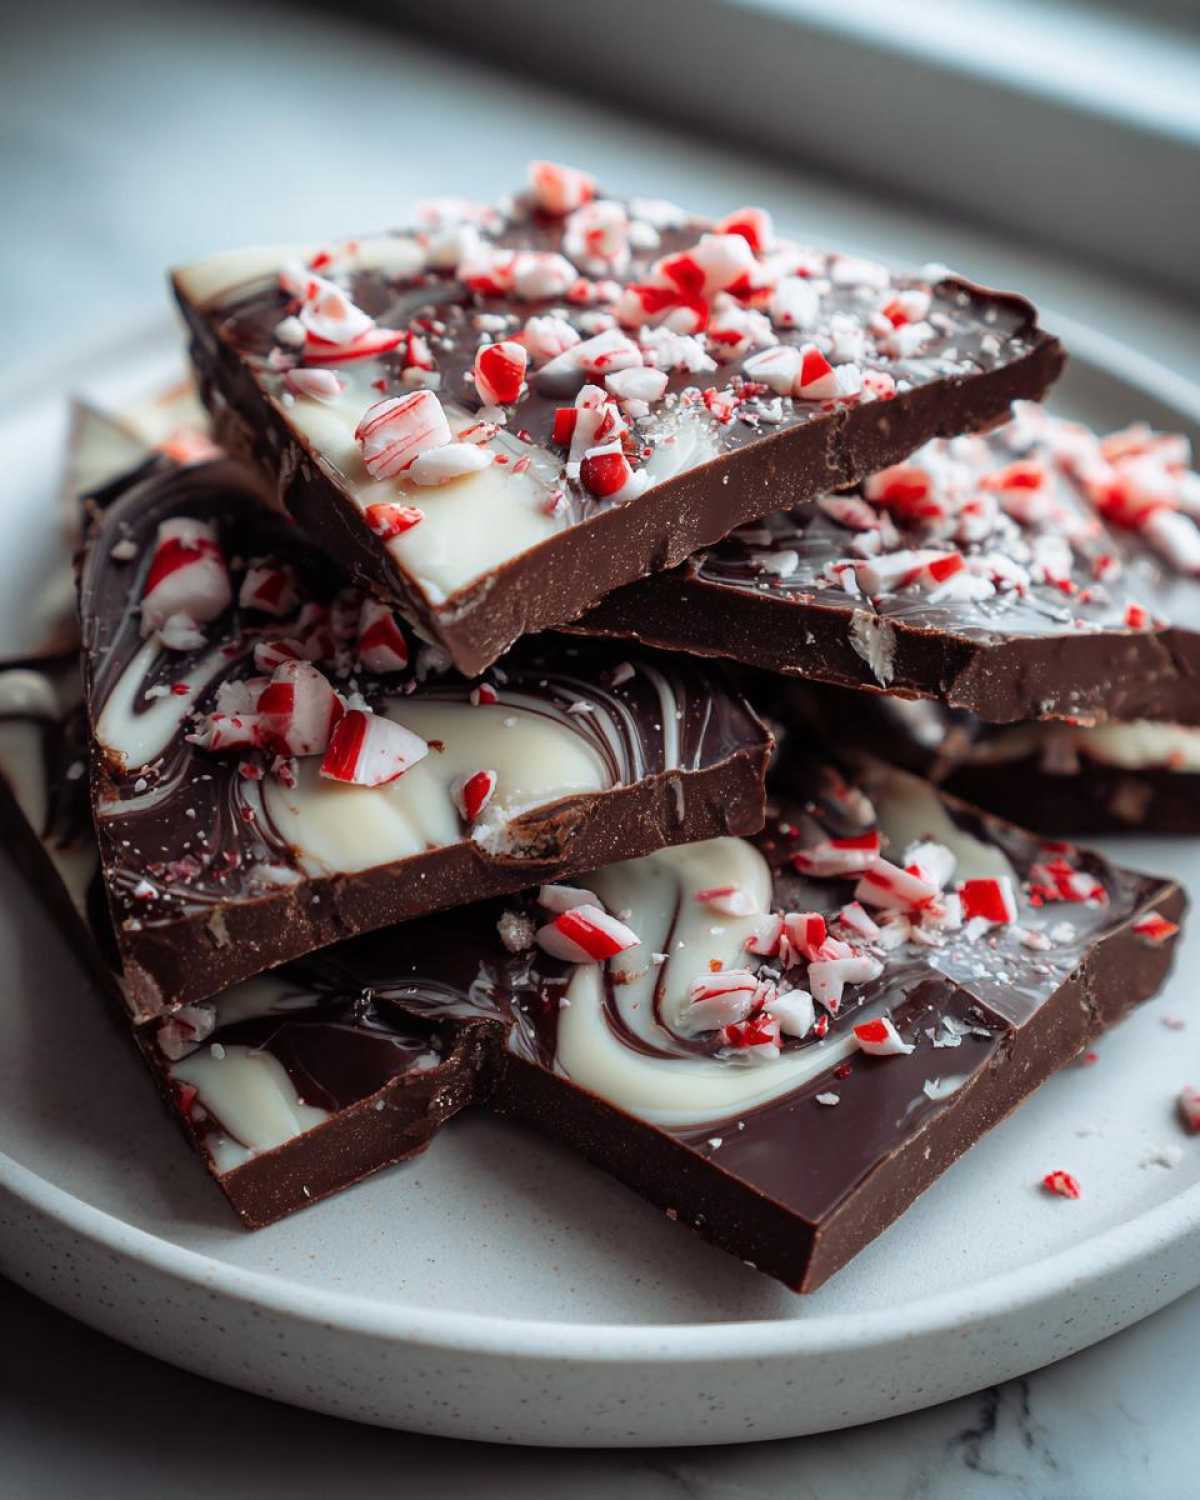
Melt your white chocolate next, using the same method.
Drizzle that melted white chocolate randomly over the dark.
Time is key here, so move quickly now.
Immediately sprinkle all those crushed candy canes over top.
Finishing Touches and Setting the Candy Cane Chocolate Bark
Gently press those minty pieces down a little.
This helps them stick nicely to the chocolate base.
If you want extra mint power, stir extract into leftover white chocolate.
Add that as a final, lovely drizzle, if you wish.
This extra step really boosts the festive flavor.
It smells so good right at this moment, doesn’t it?
Chilling and Breaking Your Finished Candy Cane Chocolate Bark
The waiting is the hardest part, I know!
Place the whole sheet into your refrigerator now.
Let it chill for a minimum of one full hour.
It needs to be completely firm before you touch it.
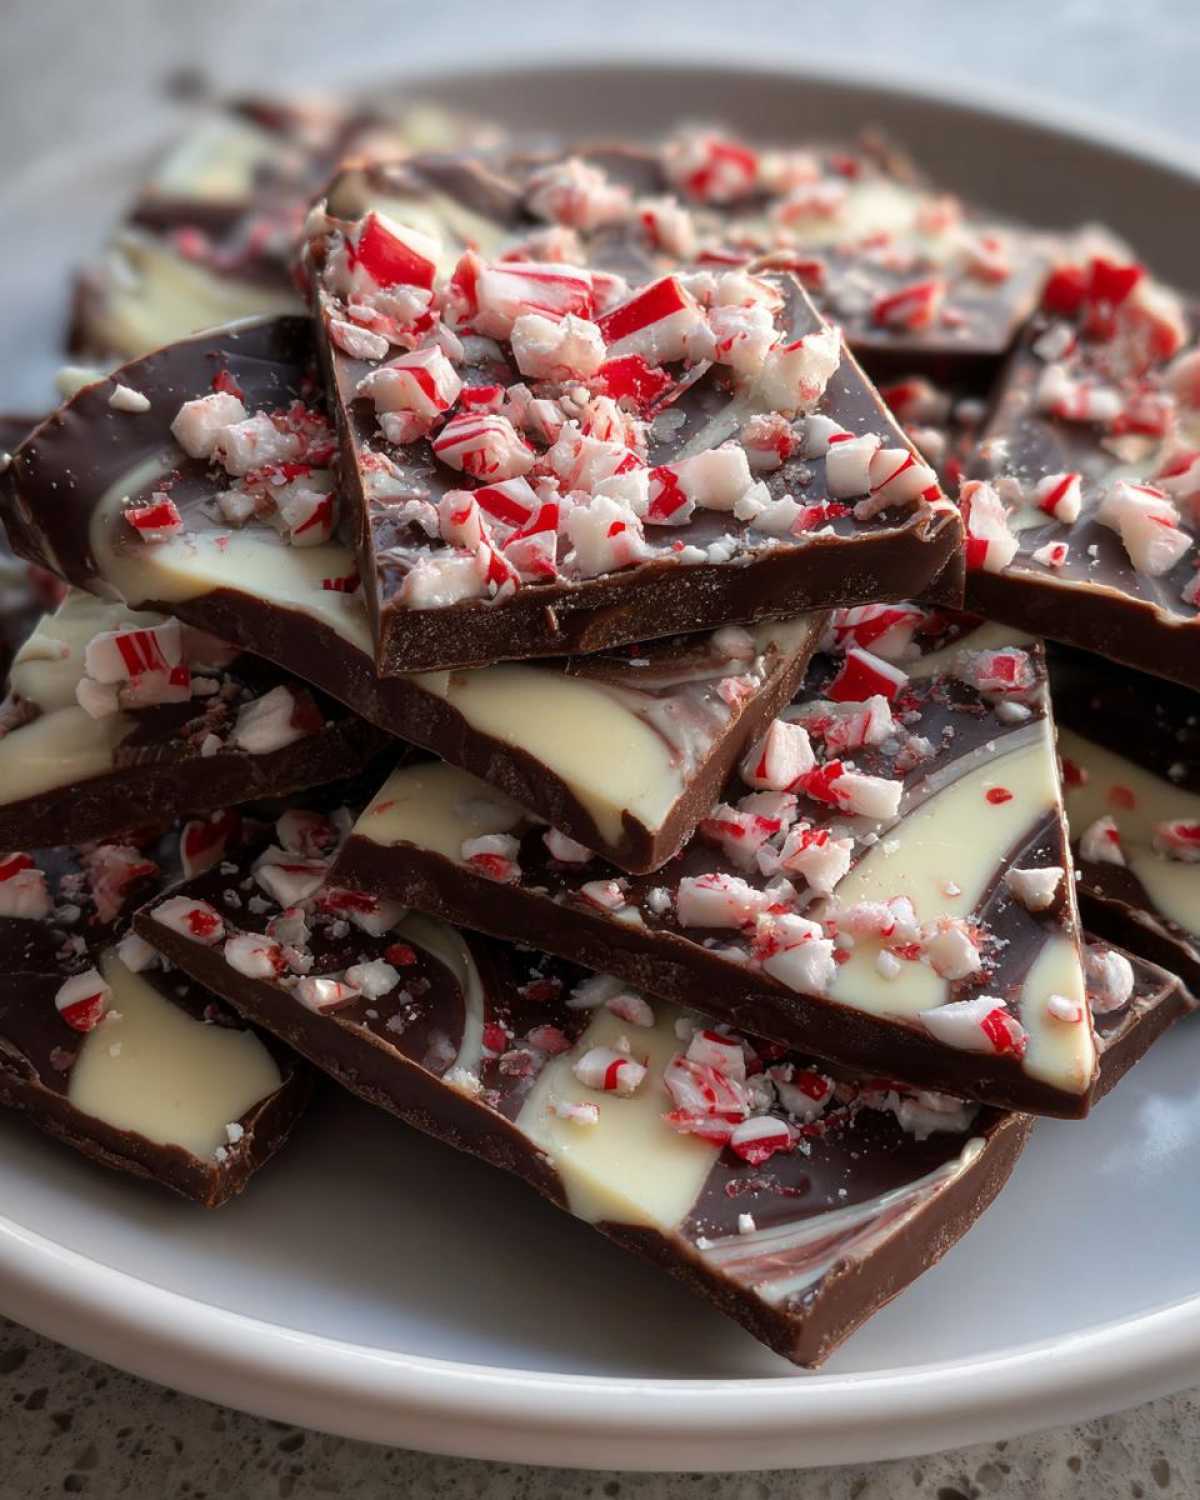
Once it’s solid, lift the parchment paper off the tray.
Then, just break that beautiful creation into pieces.
Enjoy those wonderfully irregular shapes!
Tips for Success When Making Candy Cane Chocolate Bark
I’ve made this bark many times for holiday gatherings.
A few little tricks make your results even better.
When melting chocolate, avoid even a tiny drop of water.
Water makes chocolate seize up and turn grainy fast.
Use a clean, dry bowl every single time, okay?
Also, crush your candy canes just before using them.
Freshly crushed mint has the best, sharpest flavor.
If your chocolate seems too thick, add a tiny bit of shortening.
This keeps the chocolate flowing nicely for drizzling.
Remember to work quickly once the first layer is down.
It sets fast, especially in a cool kitchen!
Ingredient Notes and Simple Substitutions for Your Candy Cane Chocolate Bark
Don’t sweat it if you don’t have semi-sweet chips.
You can easily swap them out for milk chocolate.
Dark chocolate also works wonderfully here, giving a deeper taste.
Anya loves using dark chocolate sometimes for contrast.
Want more visual pop in your no-bake chocolate treat?
Add a few drops of red food coloring to the white chocolate.
This makes the drizzle look extra festive and bright.
It’s fun to play with the colors; go ahead and try it!
Common Questions About Making Candy Cane Chocolate Bark
We get so many great questions about this sweet treat.
Let’s tackle a few common ones right now.
It helps everyone make the best Peppermint Bark possible.
These answers will guide your no-bake chocolate adventure.
How long should the Candy Cane Chocolate Bark chill before breaking?
You must let the bark chill completely.
I always recommend at least one full hour in the fridge.
If your kitchen is very warm, give it a little longer time.
It needs to be totally firm to break cleanly.
Can I skip melting the white chocolate separately when making this Candy Cane Chocolate Bark?
You certainly can try, but I advise against it.
Melting them together makes a muddy, beige color.
We want that pretty, stark white contrast layer.
Separately melting keeps the layers looking sharp and clean.
What is the best way to store leftover Candy Cane Chocolate Bark?
This bark keeps well for a long time.
Store any remaining pieces in an airtight container.
Keep the container right there in the refrigerator.
It stays fresh and delightfully crisp this way.
Serving Suggestions for Your Festive Candy Cane Chocolate Bark
This beautiful bark is great all by itself, of course.
But sometimes you want to dress it up a bit more.
Try serving it alongside a warm cup of cocoa.
The mint and chocolate pair perfectly with the drink.
Place small pieces on a platter with fresh cranberries.
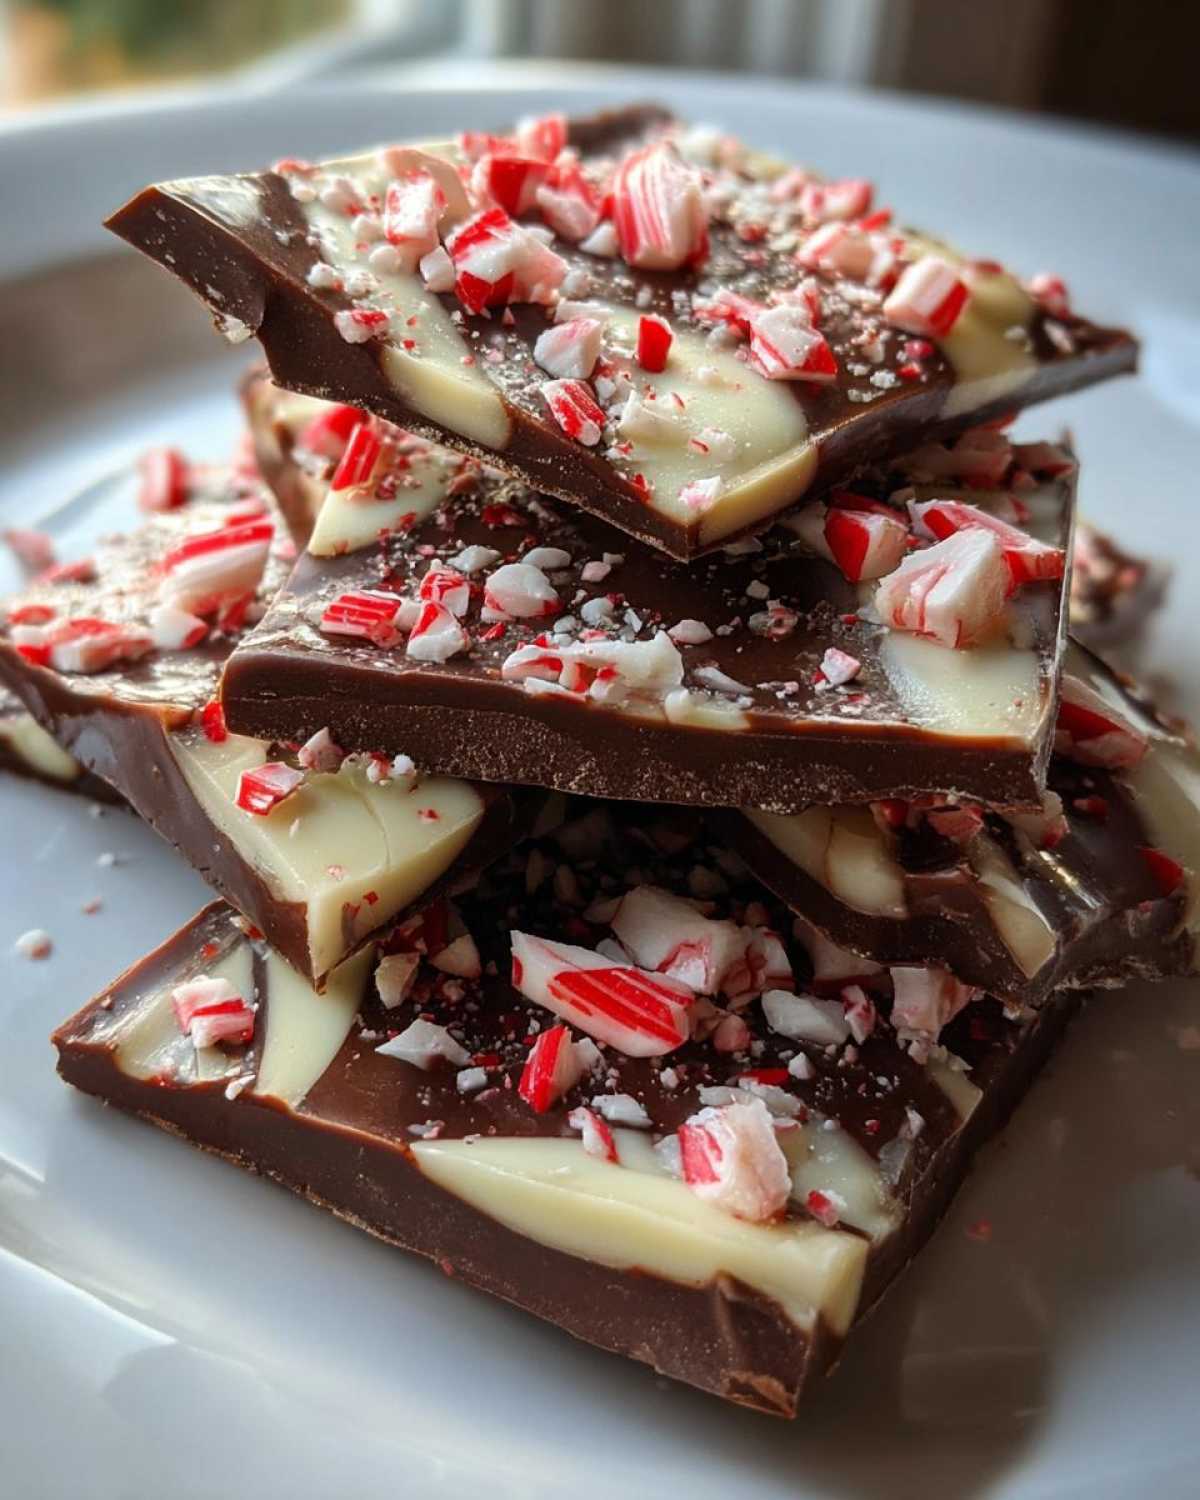
It makes a stunning, colorful holiday display!
Sharing Your Savor Sensations Candy Cane Chocolate Bark
We truly hope you loved making this easy treat.
Anya poured her heart into this simple recipe.
Did it bring some joy to your kitchen today?
Please tell us how your Candy Cane Chocolate Bark turned out.
Rate the recipe below and share your sweet adventure with us.
We can’t wait to hear all about it!
PrintShocking 1 Recipe Candy Cane Chocolate Bark

Create this delightful, no-bake Candy Cane Chocolate Bark easily. It is a perfect, festive treat featuring rich chocolate and crunchy peppermint pieces. Anya shares this simple recipe with you.
- Prep Time: 15 minutes
- Cook Time: 0 minutes
- Total Time: 1 hour 15 minutes
- Yield: About 1 pound
- Category: Dessert
- Method: No-Bake
- Cuisine: American
- Diet: Vegetarian
Ingredients
- 12 ounces semi-sweet chocolate chips
- 4 ounces white chocolate, chopped
- 1 teaspoon peppermint extract
- 1 cup crushed candy canes
Instructions
- Line a baking sheet with parchment paper.
- Melt the semi-sweet chocolate chips in a microwave-safe bowl in 30-second intervals, stirring until smooth.
- Spread the melted semi-sweet chocolate evenly onto the prepared baking sheet.
- Melt the white chocolate separately using the same method until smooth.
- Drizzle the melted white chocolate over the semi-sweet layer in a random pattern.
- Immediately sprinkle the crushed candy canes over the chocolate layers.
- Gently press the candy canes into the chocolate so they adhere.
- Stir the peppermint extract into any remaining white chocolate drizzle, if desired, and add a final drizzle.
- Place the baking sheet in the refrigerator for at least 1 hour, or until the bark is completely firm.
- Once set, break the bark into irregular pieces.
Notes
- You can use milk chocolate or dark chocolate instead of semi-sweet.
- For extra color, add a few drops of red food coloring to the white chocolate before drizzling.
- Store the finished bark in an airtight container in the refrigerator.
Nutrition
- Serving Size: 1 ounce
- Calories: 150
- Sugar: 15g
- Sodium: 20mg
- Fat: 9g
- Saturated Fat: 6g
- Unsaturated Fat: 3g
- Trans Fat: 0g
- Carbohydrates: 16g
- Fiber: 1g
- Protein: 2g
- Cholesterol: 5mg
