

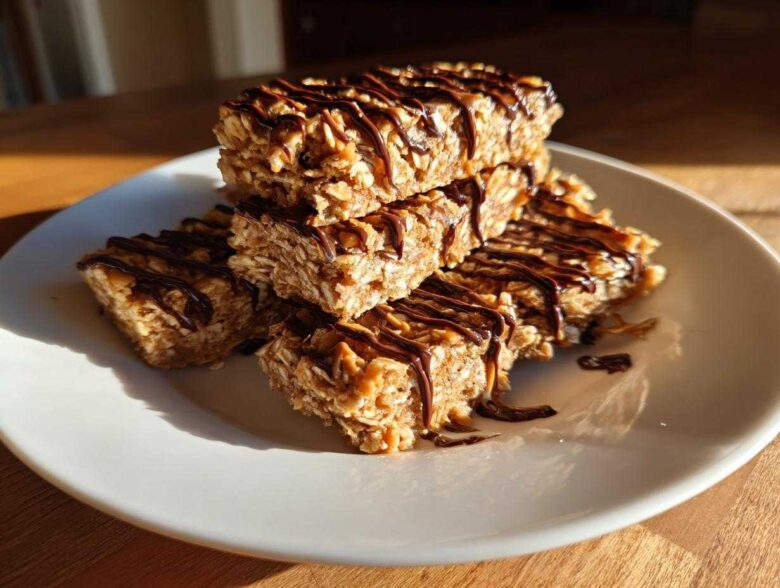
Okay, let’s talk about those sad, dusty bars you find in the checkout aisle. Honestly, I find them so disappointing! They’re either chalky, loaded with sugar alcohols that upset my stomach, or they cost a fortune. When I want a real boost of energy—a *truly* satisfying snack—I don’t mess around with store-bought stuff. That’s why I’m sharing my absolute go-to recipe for **protein bars** that will change how you think about healthy eating. These? These are simple, no-bake, 5-ingredient homemade protein bars that taste like a dream.
I, Sasha, usually cook by smell and gut feeling, right? Anya always laughs because I never measure anything! But for these bars, I actually wrote down the exact measurements because they are *that* perfect combination of chewy, sweet, and packed with fuel. We’re talking 10 minutes of effort for a whole week of amazing, clean snacking. You’re going to want to make these the second you finish reading this section, trust me!
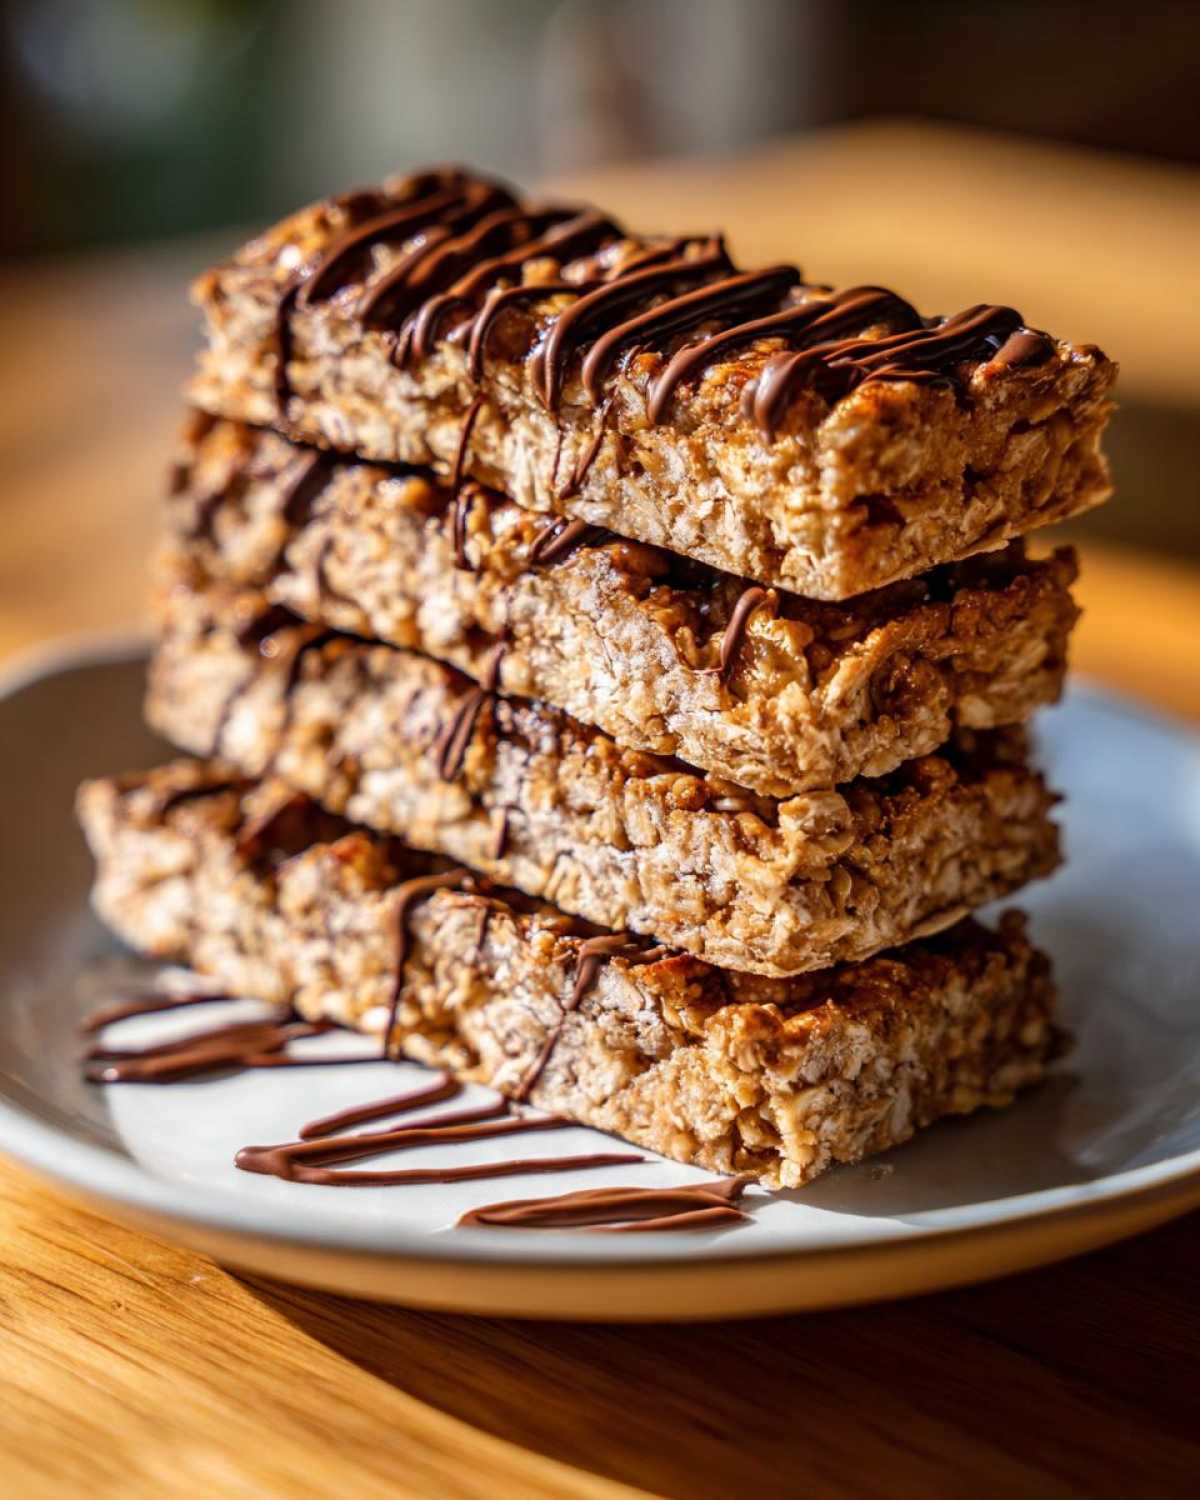
If you’re looking for more quick recipes that fit right into your busy life, make sure to have a look at the rest of our blog section right here: Savor Sensations Recipe Index. But first, let’s get these peanut butter beauties mixed up!
Why You Will Love These Easy No-Bake Protein Bars
Honestly, these are my favorite kind of recipe because they require zero preheating and absolutely no fuss. We are serious about keeping things simple here at Savor Sensations, especially when hunger strikes! So, why should these peanut butter gems be your new go-to snack?
- They are genuinely ready in **under 15 minutes** of active work. Seriously, mix it and press it!
- We only use **five core ingredients**, which keeps the cost down and the pantry clean.
- Forget those chemical aftertastes—these taste like decadent, slightly salty peanut butter fudge. They’re the **best tasting protein bars** you’ll make!
- They fit perfectly into your routine; once chilled, they become the ultimate **make ahead protein snacks** for the entire week.
If you loved how quick these were, you have to check out my recipe for Peanut Butter Energy Bites next! They use a similar vibe—just scoop and chill!
Essential Ingredients for Perfect Homemade Protein Bars
When you’re aiming for the **homemade protein bars** that truly satisfy, the quality and type of ingredients matter more than you think. Since we are keeping this recipe delightfully simple with only five main players, make sure you have these shining stars ready to go before you start mixing. This is where my intuitive cooking style meets hard science—these proportions are perfect for that satisfying, chewy texture.
- 1 cup rolled oats (Go for regular rolled oats, not instant, if you can!)
- 1 cup natural peanut butter (creamy or crunchy—your call!)
- 1/2 cup vanilla or unflavored protein powder (Whey or plant-based works fine here.)
- 1/4 cup honey or maple syrup (This is our binder and natural sweetener.)
- 2 tablespoons melted dark chocolate (This is just for the drizzle, which I highly recommend!)
And that’s it! Five things standing between you and incredible snacks. If you love making things with a little kick, you should definitely check out how I use chocolate in my Chili Chocolate Nut Clusters!
Ingredient Notes and Substitutions for Your Protein Bars
Since we are all cooking differently, let’s chat about how to adapt these, because improvisation is part of the fun! If you need to make these vegan, just swap the honey for maple syrup and ensure your protein powder is plant-based—easy peasy. If someone in your crew has a nut allergy, don’t panic! You can totally take out the peanut butter and use sunflower seed butter or even seed butter for a similar binding effect; they just might taste a *little* different, but still amazing.
Also, here’s a pro-tip from Anya: if your mixture seems like it needs just a touch more moisture to come together properly, don’t just throw in more peanut butter! Add water or milk one teaspoon at a time until it holds together nicely. We want a dough, not soup!
Step-by-Step Guide to Making No Bake Protein Bars
Alright, this is the fun part where we turn those separate ingredients into those thick, glorious **no bake protein bars**! Since we aren’t turning on the oven, the real magic here is in the blending and the patience waiting for the chill. Grab that 8×8 pan; you’ll want to line it with parchment paper first. Make sure you leave some nice overhang on the sides—that’s your handle for lifting the whole thing out later. Trust me, trying to cut them in the pan is asking for trouble!
Toss your dry stuff—the oats and the protein powder—into a big bowl. Then, dump in the peanut butter and the sticky sweetener, whether you chose honey or maple syrup. Now, you need to mix! I usually start with a sturdy spoon, but honestly, once it gets super thick, I just stick my clean hands right in there. You have to really work it until everything is totally uniform and looks like thick cookie dough. Seriously press it down firmly into that lined pan. We want dense, not crumbly!
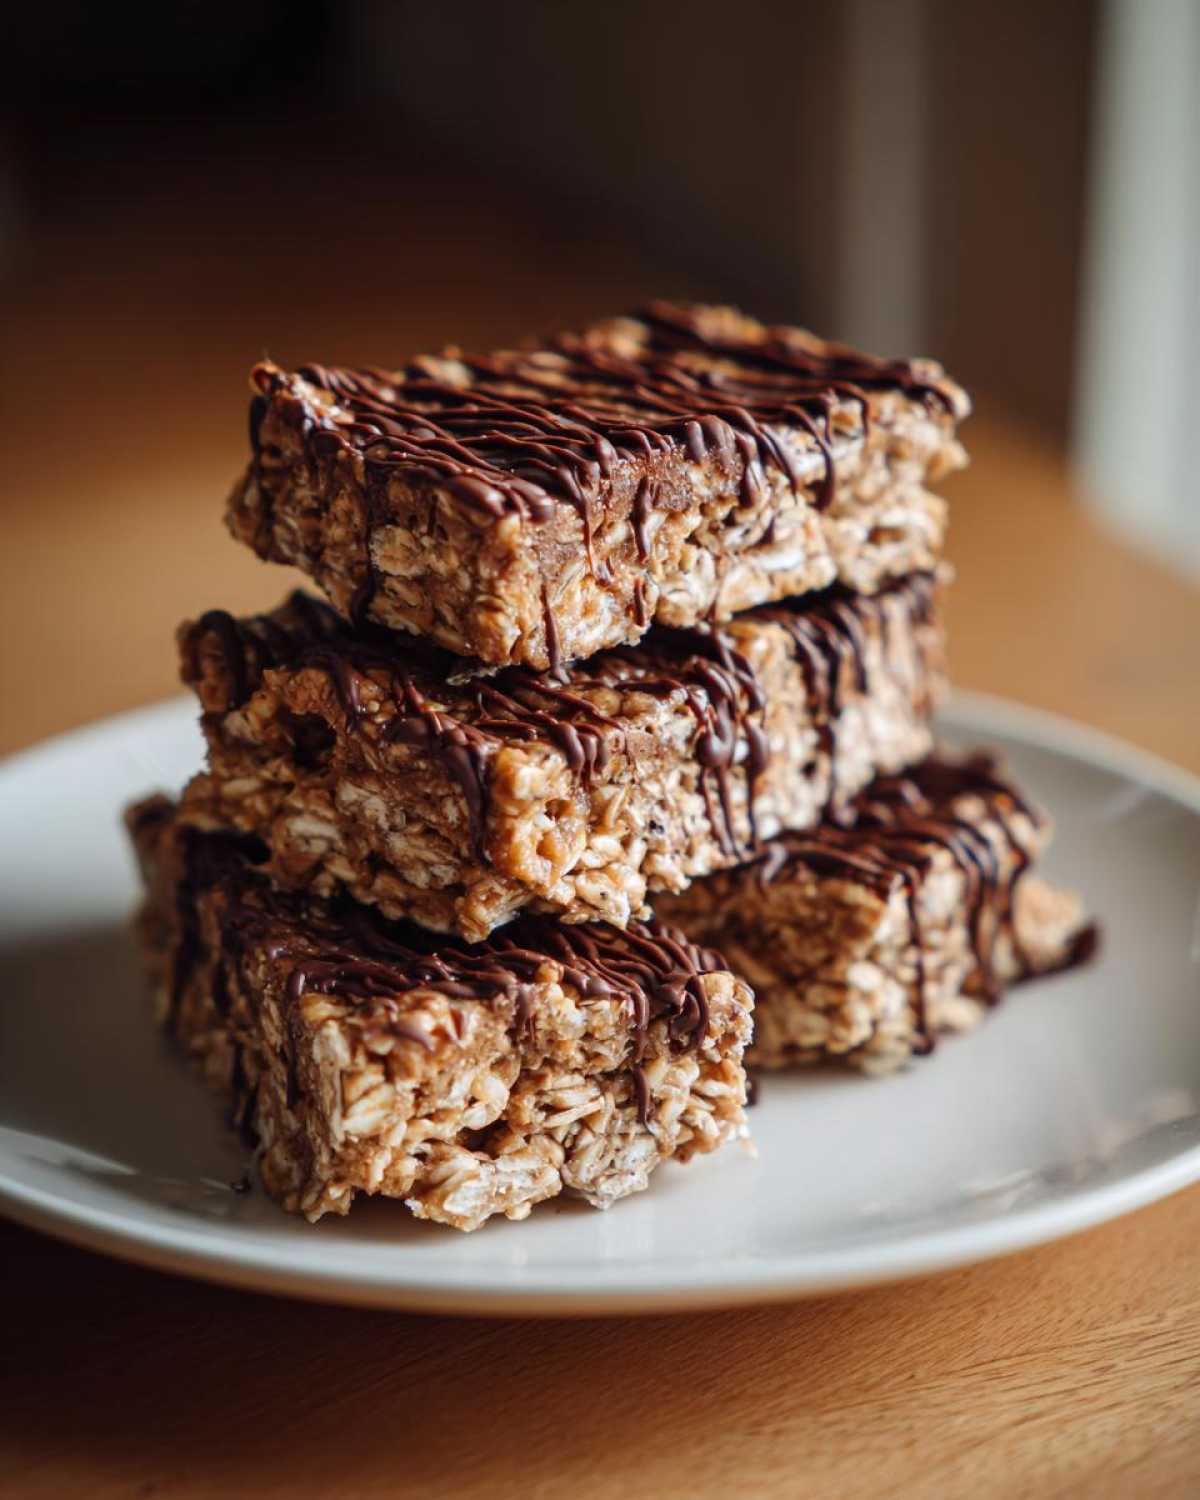
If you’re feeling fancy, melt that dark chocolate quickly on the microwave (in little 30-second bursts, don’t scorch it!) and drizzle it artistically over the top. Then, do the hardest part: walk away! Pop that pan into the fridge for at least an hour. That chilling time is non-negotiable; it sets the structure. Once they’re totally firm, use the parchment overhang to lift the block out and slice them into ten or twelve perfect fuel bombs. You can grab my recipe for Maple Peanut Granola Bars if you want another no-bake alternative!
Tips for Perfect Chewy Protein Bars
For those perfectly **chewy protein bars** and no sad crumbling messes, you need to focus on two things: mixing thoroughly and pressing hard. Make absolutely sure there are no dry pockets of protein powder left, because that’s what makes them turn dusty! When you press the mixture into the pan, really compact it down like you are cementing a patio. The harder you pack it before chilling, the firmer and chewier they’ll be when cut. If you’re looking for more basic homemade bars, you can get great tips on how to avoid crumbles over at Everyday Cooking Tips.
Making Protein Bars for Meal Prep and Storage
This is where these bars really shine, especially for me (Sasha!) because sometimes I forget to eat until one of the girls reminds me. These **meal prep bars** are designed to last so you always have fuel ready to go. Once you’ve cut them—remember, use a sharp knife and press down firmly—you want to get them stored quickly. They taste the absolute best when they are cold, so don’t let them sit out on the counter hoping they stay soft.
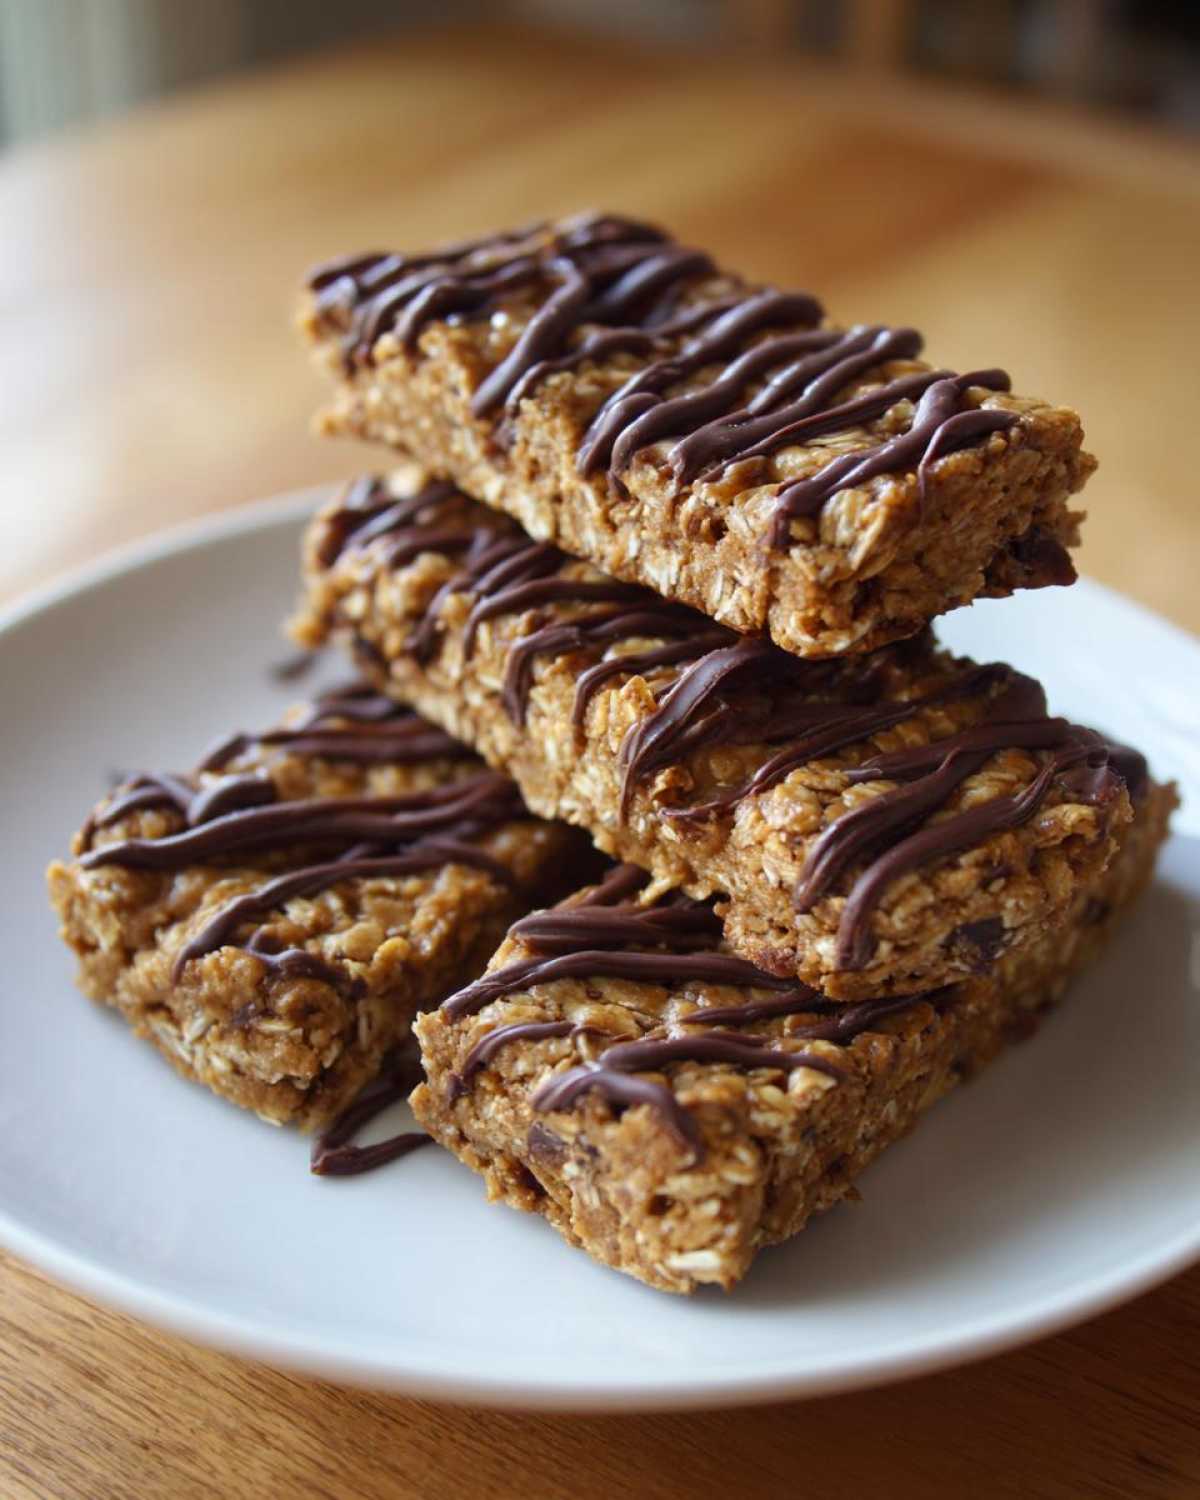
Pop your cut bars into an airtight container. They’ll keep perfectly fine in the refrigerator for about a week. If you are the type of organized genius who preps everything for a whole month, congratulations! You can absolutely freeze these. Wrap each bar individually in plastic wrap or wax paper before tossing them into a freezer bag. They freeze beautifully and become fantastic **make ahead protein snacks** for when you really need that grab-and-go energy boost.
If you love making big batches of healthy things to stash away, these remind me a little bit of my Coconut Almond Date Balls—they all follow that easy mix-and-chill formula!
Variations: Customizing Your Peanut Butter Protein Bars
So, you’ve nailed the base recipe, and now you want to get a little wild? I love this! Making your own **protein bar ingredient ideas** come to life is what home cooking is all about. Since these bars are so forgiving, you can swap out ingredients easily, making them perfect for whatever pantry situation you have. If you’re bored of peanut butter, just switch it up! Almond butter or even sunflower seed butter creates delicious, slightly different flavor profiles. I’ve also been known to stir in chia seeds or hemp hearts right into the mix for a little extra crunch and nutrient punch.
If you want a chocolate vibe instead of peanut butter, swap the peanut butter for smooth cashew butter and use chocolate protein powder. Wow, okay, that’s a game-changer right there! If you need more inspiration for healthy, high-protein treats that are naturally sweetened, you might adore my recipe for Soft Gingerbread Protein Balls.
Making Vegan Protein Bars Recipe Options
We touched on it before, but I want to make sure everyone looking for a **vegan protein bars recipe** knows how easy this is. Honestly, keeping these bars wholly plant-based is so simple. You just have to ensure you’re using maple syrup instead of honey—that’s the main swap! Also, double-check that your protein powder is explicitly plant-based, like pea protein or brown rice protein. That’s practically it! You get the same dense, chewy texture without any animal products at all.
Serving Suggestions for High Protein Recipes
So, you’ve got your haul of fresh **protein bars** chilling in the fridge—what now? These bars are so versatile! Since they are incredibly satisfying, they make a fantastic, quick breakfast when you’re rushing out the door. Seriously, grab one while you tie your shoes!
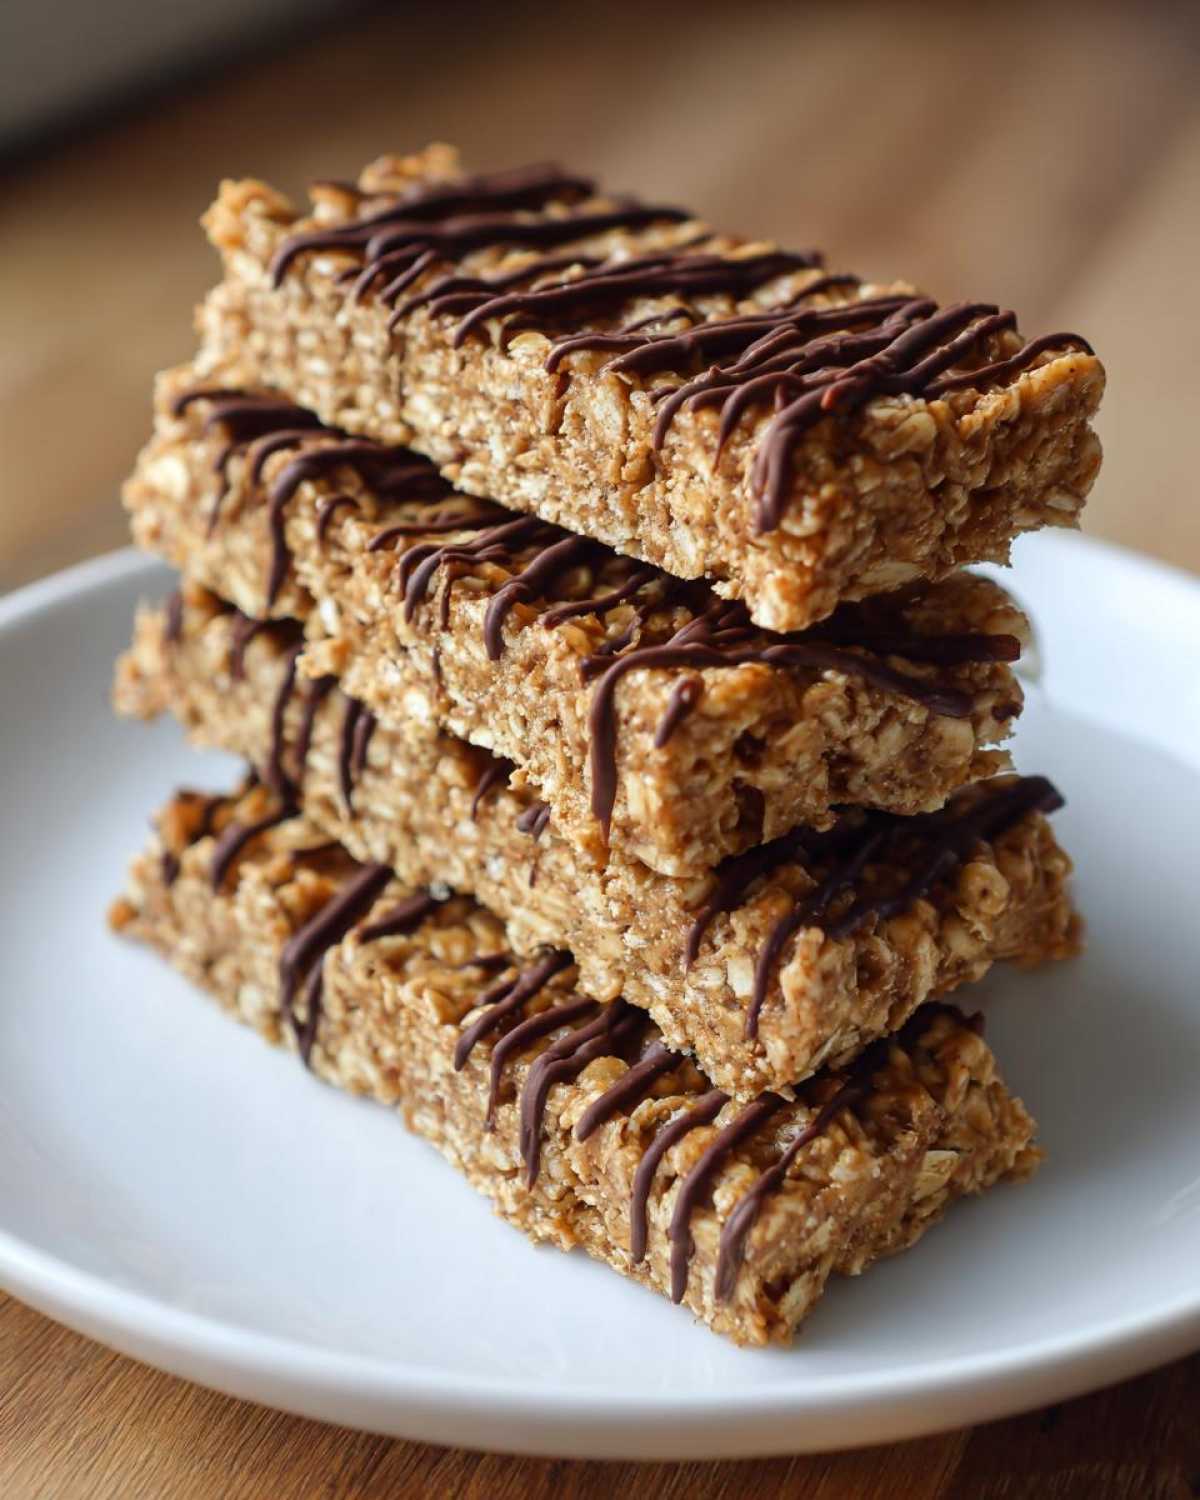
For immediate fuel, I love eating mine about 30 minutes before a workout alongside a big glass of water. They give you that steady energy without feeling heavy. If you need a full recovery snack, though, pair one of these bars with something liquid packed with more protein, like my Coconut Chai Protein Smoothie. Now you’re really embracing those **high protein recipes**! Enjoy them cold, straight from the fridge; that’s when they are the chewiest and the most decadent!
Understanding the Nutrition in Homemade Protein Bars
One of the best parts about making your own snacks is knowing exactly what you’re putting into your body! We tracked this recipe closely, but remember, since we encourage you to play around with different peanut butters or protein powders, these numbers are always just great estimates for one bar. We want you to trust us, so we’re being upfront that substitutions change the final count!
Here’s the breakdown based on the 10-bar yield using our standard ingredients:
- Calories: Around 220
- Protein: A solid 12 grams!
- Sugar: Only about 7 grams (mostly coming from the natural sources like honey).
- Fat: About 13 grams.
See? That’s a fantastic profile for sustaining energy compared to what you find in stores. Keeping track of what goes into your **high protein recipes** at home gives you total control over hitting your fitness goals or managing sugar intake!
Frequently Asked Questions About Making Protein Bars
I know when you’re first trying out **protein bars for beginners**, you have a million little questions about textures and tweaks. That’s okay! Lena, Anya, and I have totally been there, testing and trying until we figured out exactly what makes these peanut butter bars perfect. Here are the questions I get asked most often!
Can I make these homemade protein bars gluten-free?
Yes, absolutely! This is one of the easy wins with this recipe. Since we only use rolled oats, you just need to make sure you are buying oats that are specifically labeled “certified gluten-free.” Contamination happens easily in processing plants, so if you’re making these for someone sensitive, please buy the labeled kind! If you love experimenting with gluten-free baking, you should check out my Gluten-Free Zucchini Muffins for a sweet treat!
Help! Why are my no bake protein bars crumbly instead of chewy?
Ugh, the worst! This almost always happens for one of two reasons, and it’s usually that the dough wasn’t mixed long enough, or you needed a tad more binder. If you used natural peanut butter, it can sometimes be runnier than other brands—if your dough seems too dry when you mix it, add an extra teaspoon of honey or just a tiny splash of water until it holds its shape when squeezed. Firmly pressing it into the pan is key for that chewy texture we love!
What is the best protein powder to use for these protein bars?
Honestly, I usually just grab whatever good quality vanilla whey protein I have on hand because I’m usually mixing things up so fast! But for beginners, I recommend starting with a high-quality whey isolate, as they tend to mix very smoothly without making the dough too dry. If you use a plant-based powder, be aware they can absorb more liquid, so you might need that extra splash of water we talked about above to keep things perfectly moist.
Can I skip the melted chocolate drizzle?
You totally can! That drizzle is pure Sasha flair—it makes them look fancy and adds a little extra satisfying snap when you bite in. But if you are trying to keep the sugar down or you are rushing, feel free to skip it entirely. They are delicious dusted with just a little powdered sugar, or you can leave the tops completely bare. They still hold their shape perfectly without it!
Share Your Homemade Protein Bars Creations
Now that you know how easy it is to whip up these incredible, no-bake **protein bars**, I really want to see what you’ve made! Cooking is always better when we share the results, isn’t it? I’m always buzzing with excitement when I hear how you adapted things in your own kitchen.
Did you stick to the classic peanut butter vibe, or did you try swapping in almond butter? Maybe you used chocolate protein powder and leaned into making these fantastic **chocolate protein bars no bake** style? Tell me everything you did in the comments below! Seriously, leave a rating if these have officially replaced your store-bought stash—it helps other beginners see this is the real deal!
Also, if you snap a picture of your meal prep container full of these perfect little squares, tag us on social media! We love seeing your beautiful, fuel-packed snacks. If you want to see another delicious, simple inspiration that my friends keep pinning, go check out this recipe from Tastes Better From Scratch for their version of Protein Bars. Happy baking—or should I say, happy chilling!
PrintEasy No-Bake 5-Ingredient Peanut Butter Protein Bars
You can make these simple, chewy peanut butter protein bars at home with just five ingredients. They require no baking and are perfect for quick meal prep or a satisfying, high-protein snack.
- Prep Time: 10 min
- Cook Time: 0 min
- Total Time: 70 min
- Yield: 10 servings
- Category: Snack
- Method: No-Bake
- Cuisine: American
- Diet: Vegetarian
Ingredients
- 1 cup rolled oats
- 1 cup natural peanut butter (creamy or crunchy)
- 1/2 cup vanilla or unflavored protein powder (whey or plant-based)
- 1/4 cup honey or maple syrup
- 2 tablespoons melted dark chocolate (for drizzle, optional)
Instructions
- Line an 8×8 inch baking pan with parchment paper, leaving an overhang on the sides for easy removal.
- In a large bowl, combine the rolled oats, peanut butter, protein powder, and honey or maple syrup.
- Mix all ingredients thoroughly until a thick, uniform dough forms. You may need to use your hands to fully incorporate everything.
- Press the mixture evenly into the prepared pan. Use the back of a spatula or your fingers to pack it down firmly.
- If using the chocolate drizzle, melt the dark chocolate in a microwave-safe bowl in 30-second intervals, stirring until smooth. Drizzle the melted chocolate over the top of the bars.
- Place the pan in the refrigerator and chill for at least 1 hour, or until the bars are firm enough to cut.
- Use the parchment paper overhang to lift the block out of the pan. Cut into 10 to 12 equal-sized protein bars.
- Store your homemade protein bars in an airtight container in the refrigerator for up to one week, or freeze for longer storage.
Notes
- For a vegan option, substitute maple syrup for honey and use a plant-based protein powder.
- If the mixture seems too dry, add one teaspoon of water or milk at a time until it holds together.
- These bars taste best when served cold, making them a great make-ahead protein snack.
- You can swap peanut butter for almond butter or sunflower seed butter for different flavors.
Nutrition
- Serving Size: 1 bar
- Calories: 220
- Sugar: 7
- Sodium: 110
- Fat: 13
- Saturated Fat: 3
- Unsaturated Fat: 10
- Trans Fat: 0
- Carbohydrates: 18
- Fiber: 2
- Protein: 12
- Cholesterol: 5
