

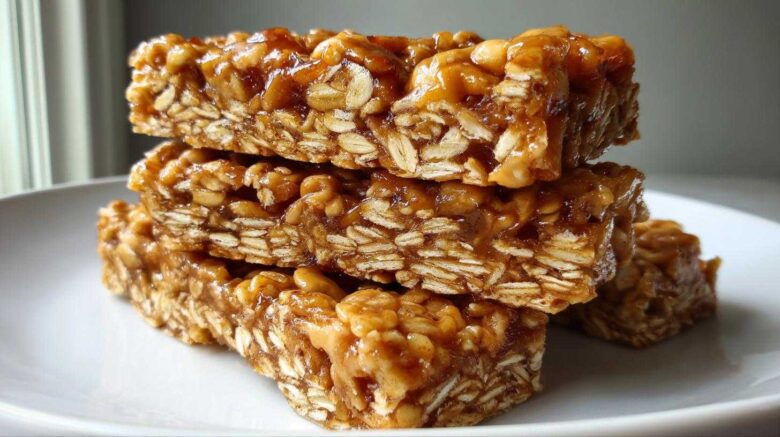
Welcome to Savor Sensations: Making Chewy Maple Peanut Granola Bars
Hey everyone, Lena here! I’m so glad you stopped by our little kitchen today. We are whipping up something truly special.
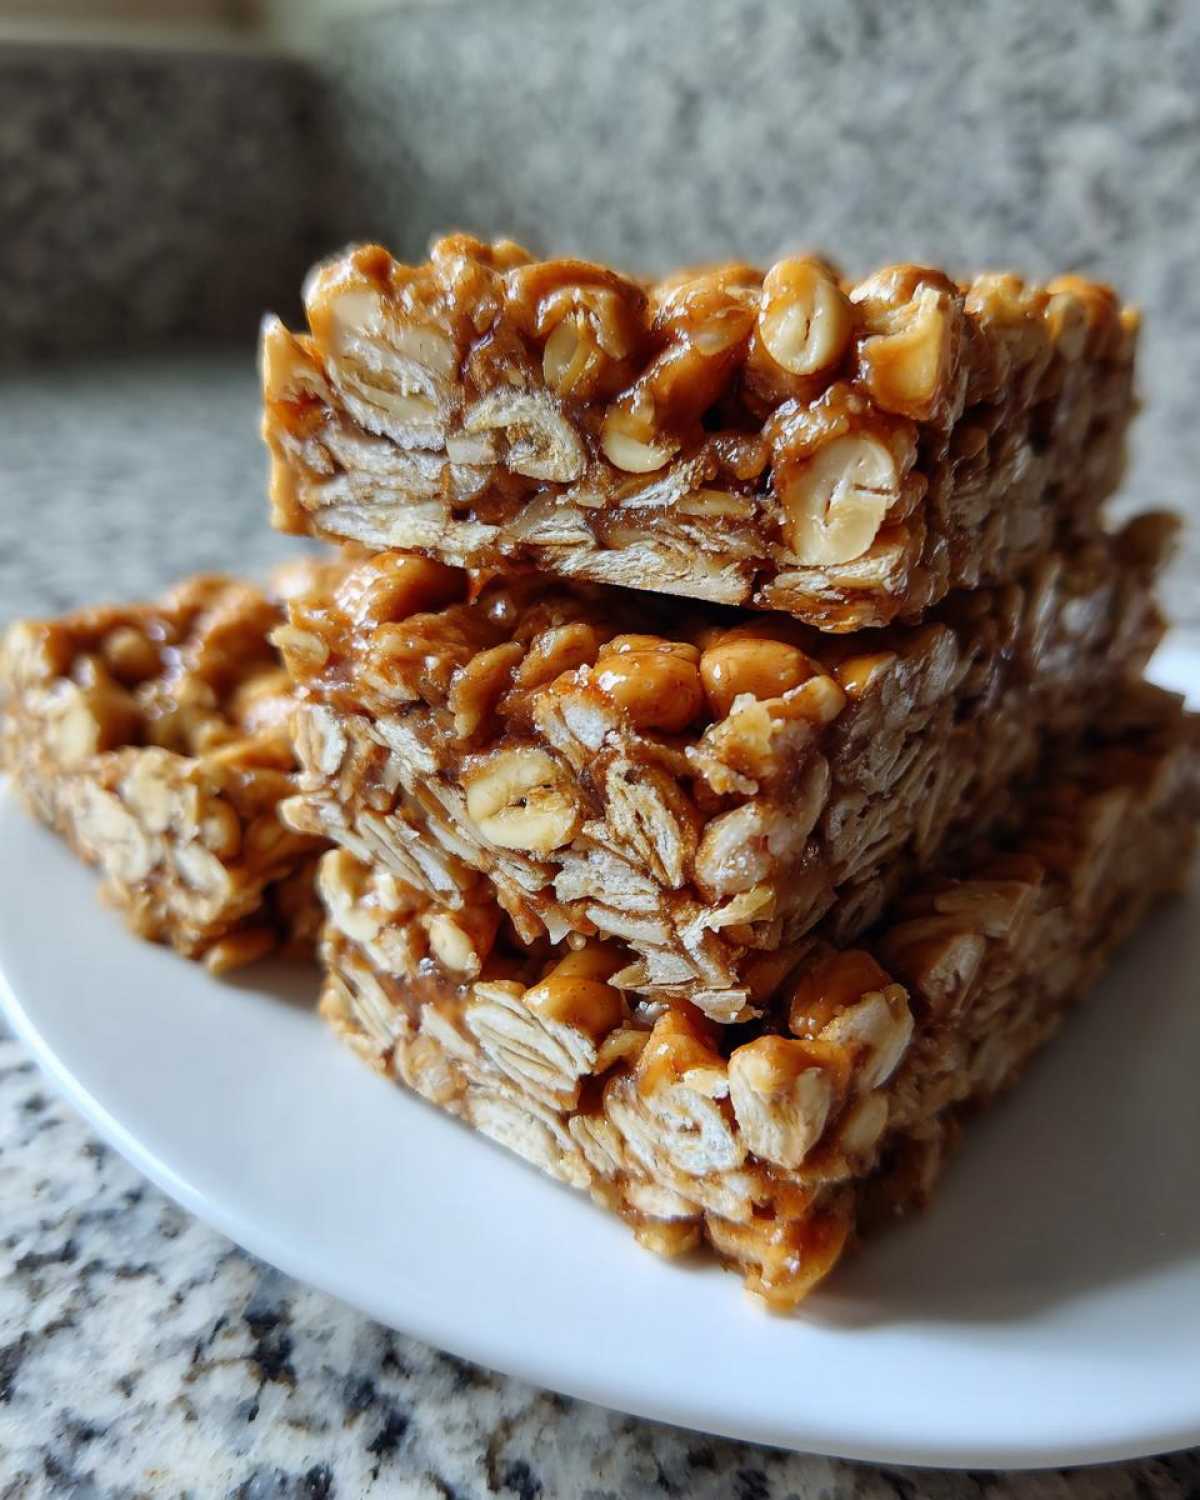
Anya is taking the lead on these amazing Maple Peanut Granola Bars.
They are wonderfully chewy and packed with flavor.
I remember the first time Anya made these for us.
The whole hall smelled like sweet maple goodness.
These easy breakfast bars show our friendship perfectly.
We all bring something different to the table, you know?
Follow Anya’s lead for fantastic Maple Peanut Granola Bars.
What Makes These Maple Peanut Granola Bars So Good
Oh, I’m Anya, and I’m so excited you’re here!
These Maple Peanut Granola Bars hit just right.
They are truly the best chewy granola bars ever.
I just adore that salty-sweet dance.
The maple syrup makes them delightfully soft.
Peanuts give that perfect salty crunch, too.
You’ll find this homemade snack addictive!
Gather Your Ingredients for Maple Peanut Granola Bars
Alright, let’s get cooking! Making these Maple Peanut Granola Bars is super simple.
You only need a few pantry staples for this treat.
Anya always says preparation is half the battle won.
We need the right balance for that perfect chew.
Don’t skip any measurement here, please!
These simple components create our favorite homemade snack.
Essential Components for Chewy Granola Bars
For these bars, precise measures really help.
We mix dry elements with our sweet binder.
Here is everything you should grab now:
- One cup of rolled oats is our base.
- Use half a cup of creamy peanut butter.
- Grab one-third cup of lovely maple syrup.
- A quarter cup of chopped peanuts adds bite.
- We need a quarter cup of shredded coconut.
- Two tablespoons of flaxseed meal goes in too.
- Finally, just a quarter teaspoon of salt finishes it.
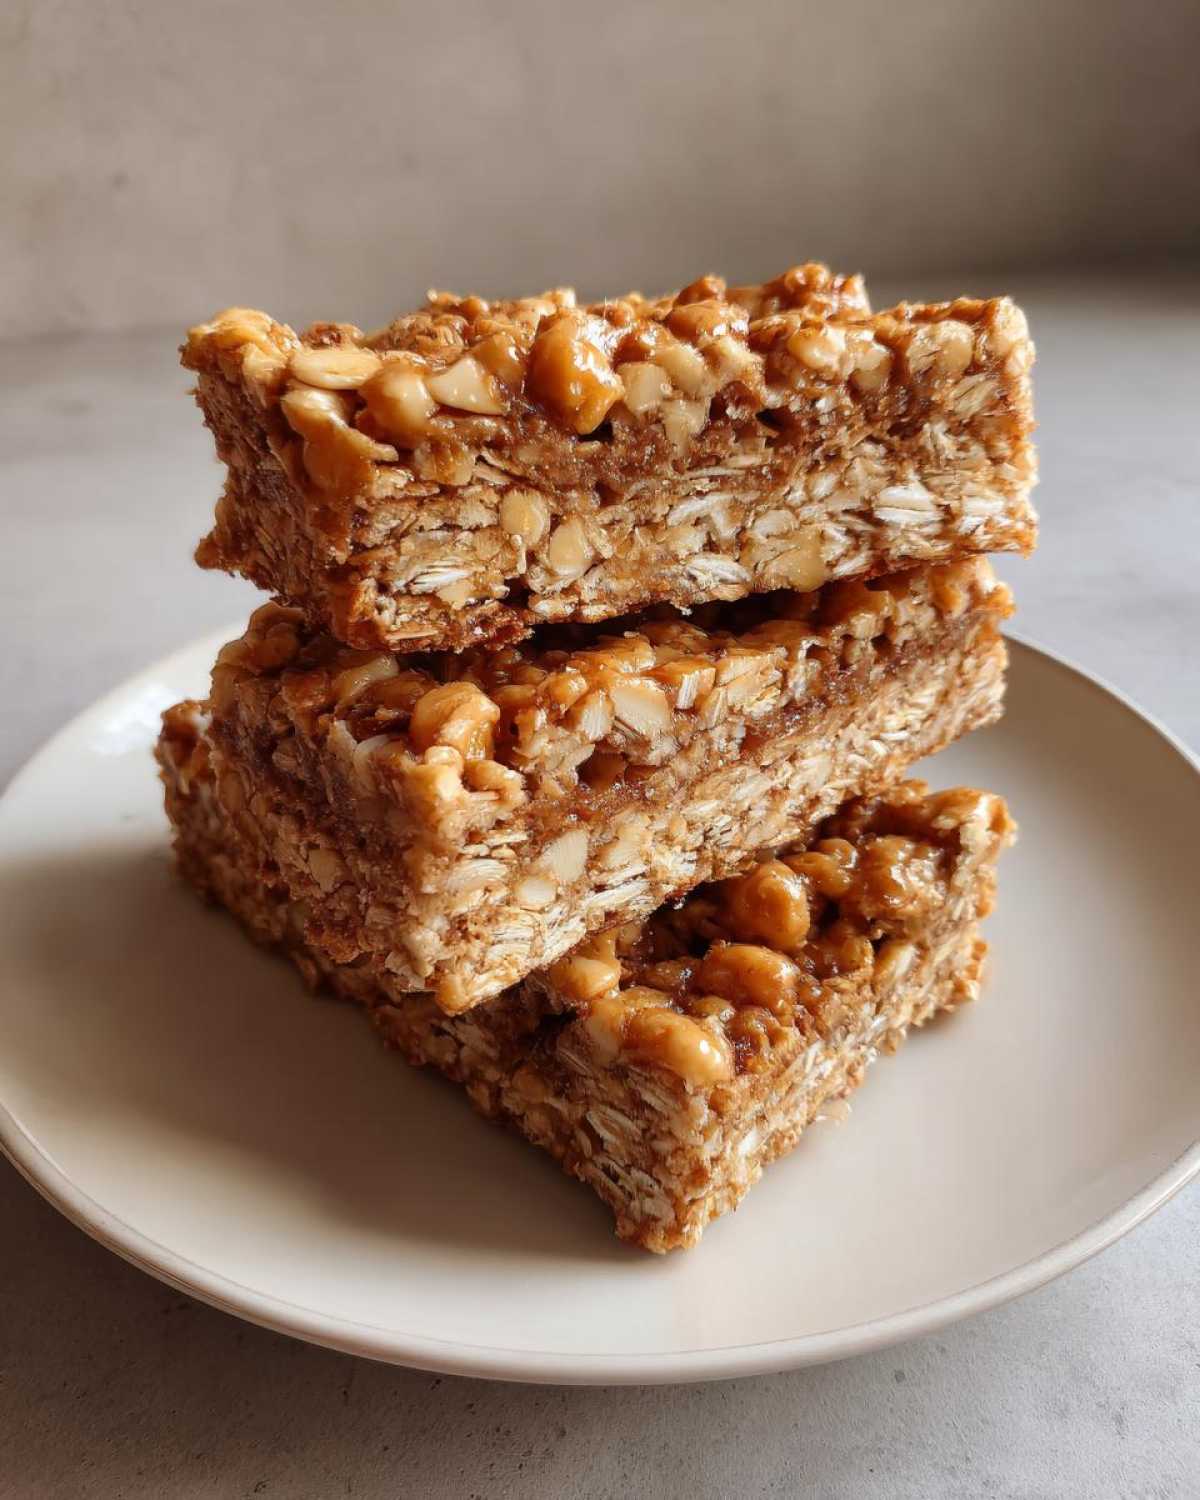
The Right Tools for Perfect Maple Peanut Granola Bars
You don’t need fancy gadgets for this recipe.
Simple kitchen basics get the job done right.
Having these ready makes assembling your Maple Peanut Granola Bars fast.
I always like to have things lined up beforehand.
Equipment Checklist
- You need one medium saucepan for melting.
- Grab an 8×8 inch baking pan.
- Parchment paper is a must for easy lifting.
- A sturdy spatula helps with pressing down.
- A cooling rack is also very important here.
Step-by-Step Guide to Making Maple Peanut Granola Bars
Let’s get baking! Making these Maple Peanut Granola Bars is a breeze.
Just follow these simple steps closely.
We’ll move from the stove right to the oven.
I promise these results are worth the small effort.
Preparing the Pan and Warming the Binder
First, get your oven hot. Set it to 325°F.
Line your 8×8 pan with parchment paper.
Make sure that paper hangs over the edges.
This overhang acts like natural handles later.
Next, gently warm your peanut butter and syrup.
Use low heat in your saucepan, stirring often.
Combining Dry Ingredients with the Wet Mixture
Stir until the mixture is smooth and melted.
Crucially, do not let this binder boil up!
Take the pan off the heat source right away.
Now, toss in your oats and peanuts.
Add the coconut, flaxseed meal, and salt too.
Stir everything until it’s totally coated well.
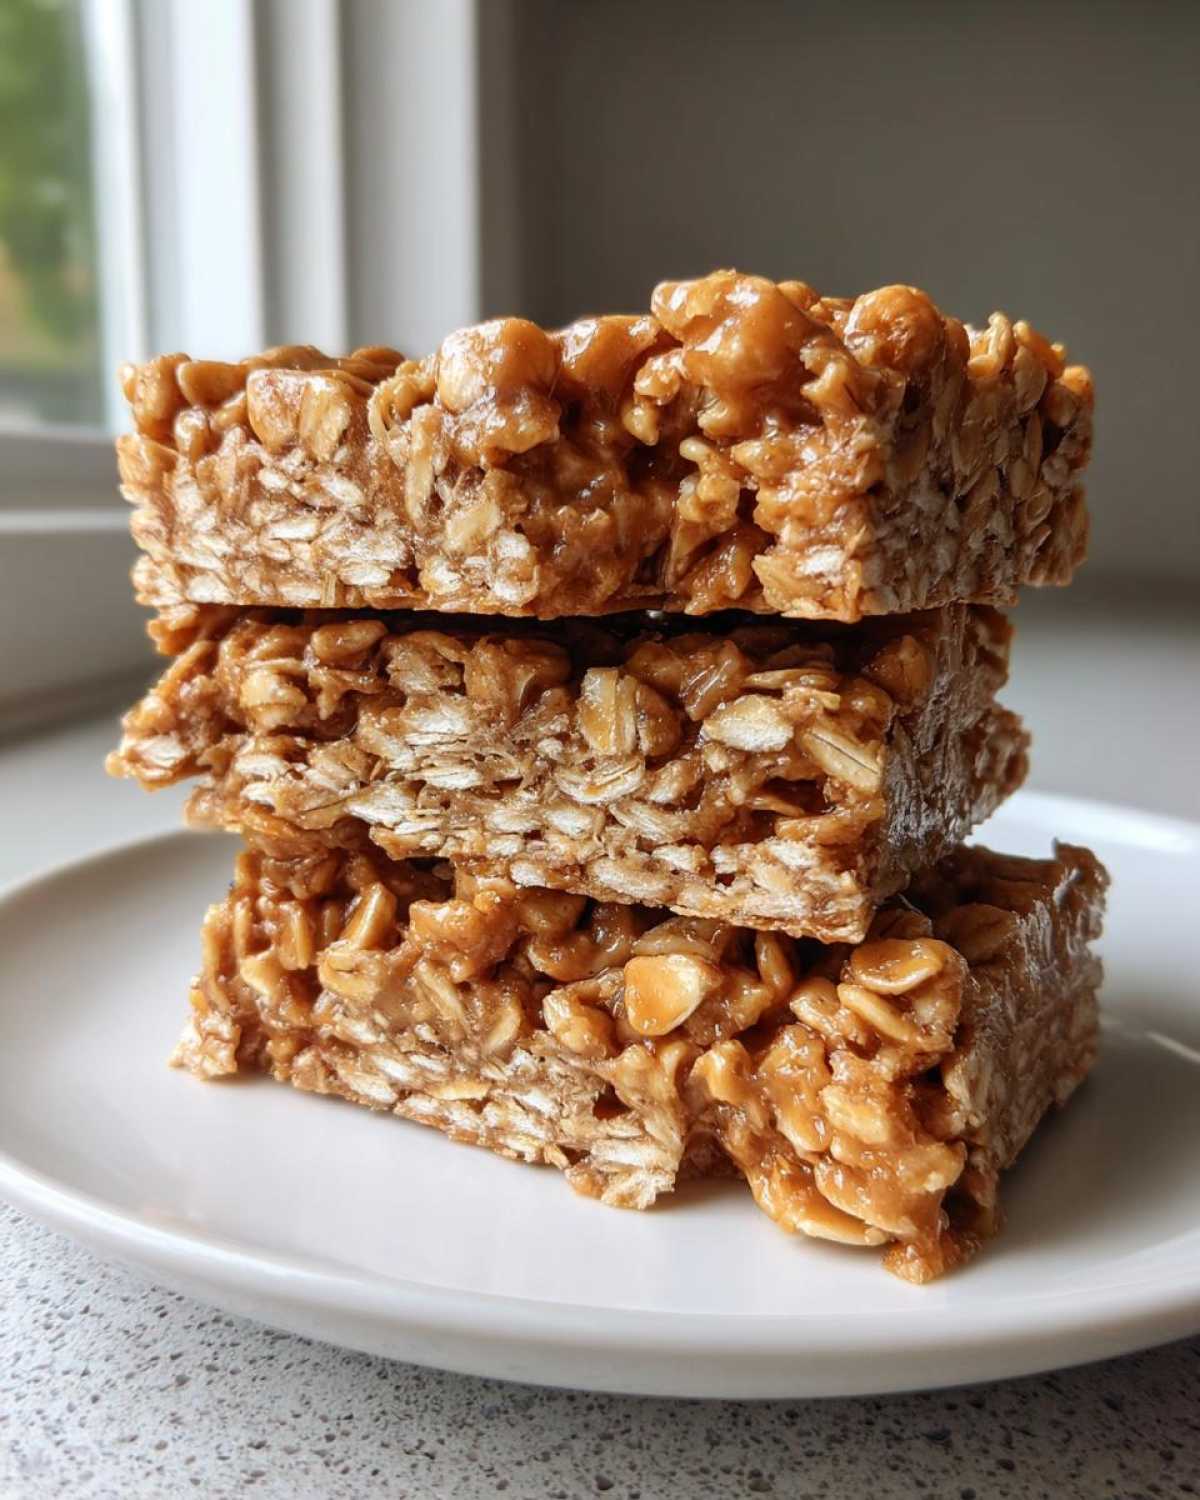
Pressing and Baking Your Maple Peanut Granola Bars
This next part is super important for chewiness.
Press the mix firmly into your prepared pan.
Use a spatula or another parchment sheet for force.
Pack it down tight; make it really dense.
Bake for about 18 to 20 minutes total time.
Look for light golden brown edges appearing.
Cooling and Cutting for Clean Slices
Patience is key after the oven part ends.
Let the bars cool completely in that pan.
They must set up well on the wire rack.
This cooling stops them from falling apart.
When cool, use the paper flaps to lift them out.
Slice into 12 perfect Maple Peanut Granola Bars.
Tips for Making the Best Maple Peanut Granola Bars
I’m back, Anya! I want you to love these bars.
A few small tricks really make a difference here.
We want those satisfying, chewy Maple Peanut Granola Bars every time.
Don’t rush the cooling process, seriously.
That waiting time locks in the perfect texture.
Follow these ideas for snack perfection.
Adjusting Texture and Flavor
Want extra crunch in your bars?
Try sprinkling flaky sea salt on top before baking.
It really amps up the sweet and salty notes.
If peanuts aren’t your thing, swap them out.
Almond butter works wonderfully instead of peanut butter.
Remember, pressing firmly is your secret weapon for chewiness.
Storing Your Homemade Snack
Keeping them fresh is super easy, thankfully.
Store any leftovers in an airtight container.
They stay great at room temperature for a week.
This makes them an easy breakfast bar option.
If you cut them first, chilling helps them hold shape.
I usually grab one straight from the fridge myself.
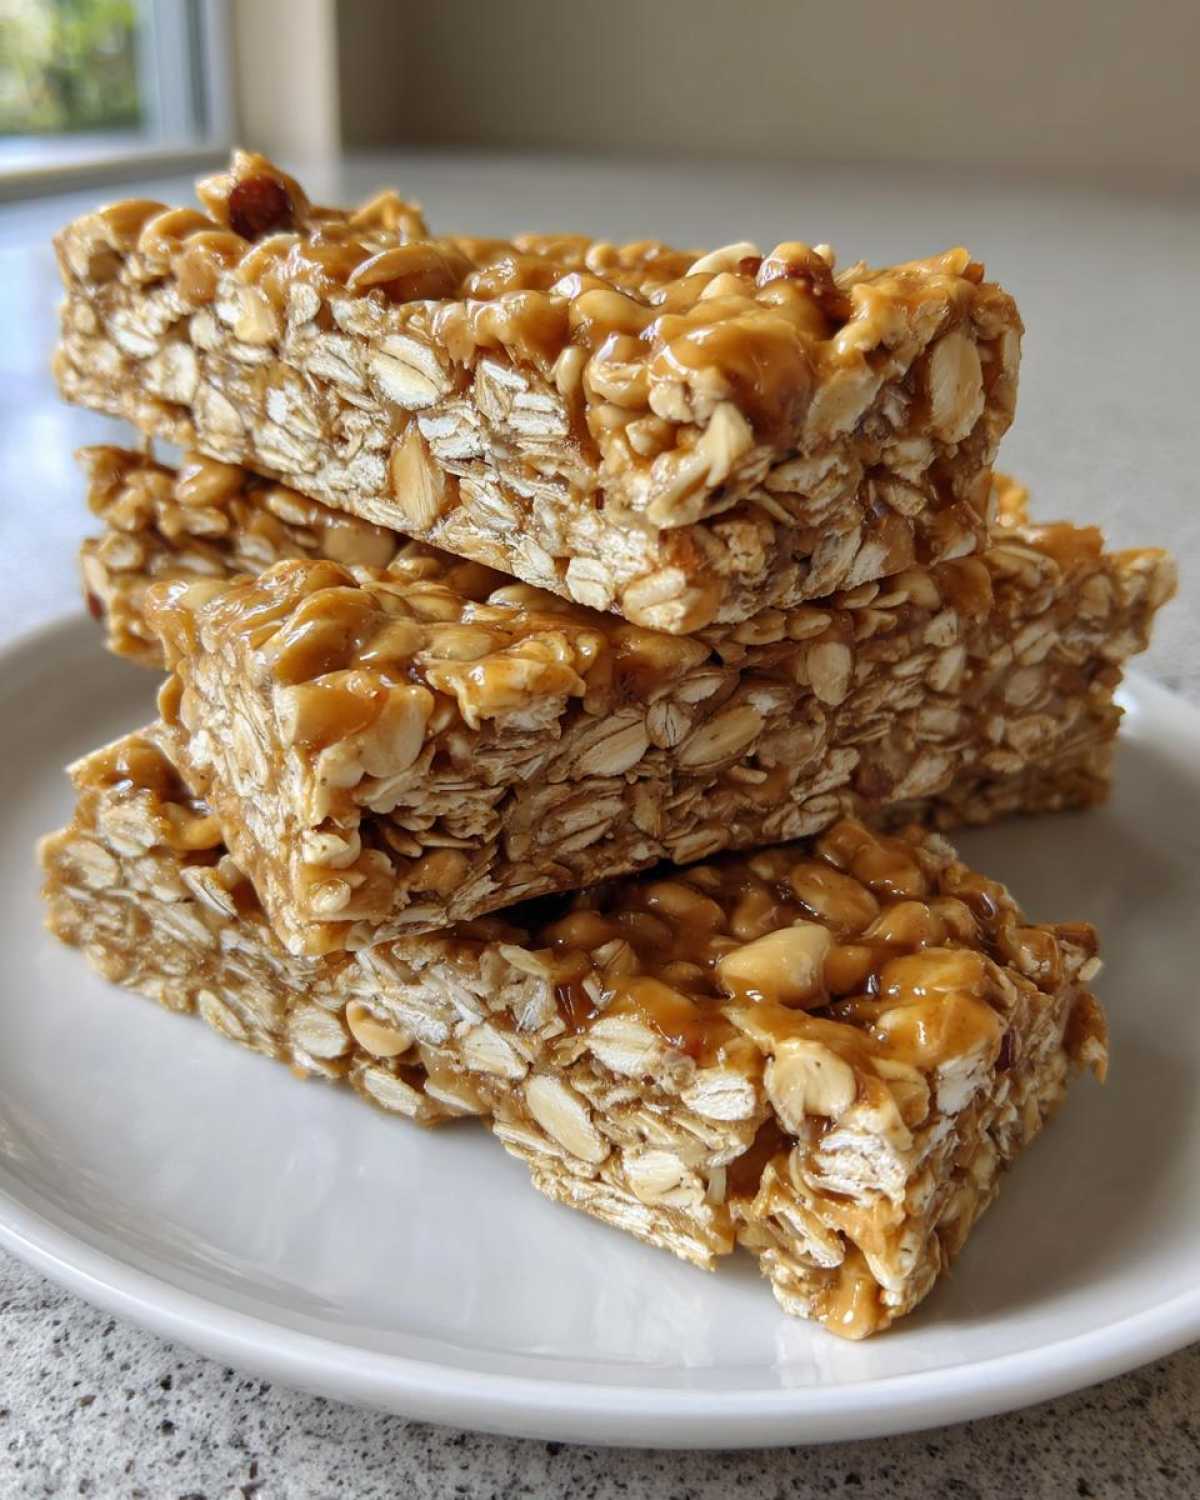
Frequently Asked Questions About Maple Peanut Granola Bars
Got more questions about these snacks?
I get it; baking is all about practice.
Let’s clear up some common issues with Maple Peanut Granola Bars.
We want your results to be amazing.
Here are some things Lena and Sasha often ask me.
Common Questions Answered
Can I make these bars vegan?
Yes, you absolutely can try that.
Use maple syrup as usual for sweetness.
Just ensure your peanut butter has no dairy added.
These turn into great vegan chewy granola bars.
How do I keep them from crumbling when cutting?
The cooling step is truly non-negotiable.
Let them cool fully before trying to slice them.
Chilling for thirty minutes helps so much.
This makes clean cuts on your easy breakfast bar.
Can I bake these longer for more crunch?
You can, but watch carefully for burning.
We aim for golden edges, not dark brown ones.
Too much baking dries out these bars fast.
It ruins the intended chewy texture we love.
Sharing Your Savor Sensations Creation
Now it’s your turn to shine in the kitchen!
We truly love seeing your tasty results.
Did your Maple Peanut Granola Bars turn out chewy?
Please tell us about your baking journey below.
Share your photos and any fun twists you tried!
Estimated Nutritional Breakdown
Let’s talk fuel for a moment, friends.
Knowing what’s in your homemade snack helps.
These figures are only estimates per bar.
They give you a good general idea, though.
These Maple Peanut Granola Bars offer good energy.
- Calories hover around 180 per serving.
- Carbohydrates come in around 20 grams.
- Protein is a solid 6 grams in each bar.
- Total fat sits near 10 grams total.
Remember, these numbers can shift slightly.
It depends on the exact brands you choose!
PrintAmazing 12 Maple Peanut Granola Bars
Enjoy these wonderfully chewy Maple Peanut Granola Bars, perfect for a satisfying snack. Anya shares her favorite recipe for a treat that brings together sweet maple and salty peanuts.
- Prep Time: 10 minutes
- Cook Time: 20 minutes
- Total Time: 30 minutes (plus cooling time)
- Yield: 12 bars
- Category: Snack
- Method: Baking
- Cuisine: American
- Diet: Vegetarian
Ingredients
- 1 cup rolled oats
- 1/2 cup creamy peanut butter
- 1/3 cup maple syrup
- 1/4 cup chopped peanuts
- 1/4 cup unsweetened shredded coconut
- 2 tablespoons flaxseed meal
- 1/4 teaspoon salt
Instructions
- Preheat your oven to 325°F (160°C). Line an 8×8 inch baking pan with parchment paper, leaving an overhang on the sides.
- In a medium saucepan over low heat, gently warm the peanut butter and maple syrup together. Stir until they are smooth and fully combined. Do not let it boil.
- Remove the saucepan from the heat. Stir in the rolled oats, chopped peanuts, shredded coconut, flaxseed meal, and salt until everything is evenly coated.
- Press the mixture firmly and evenly into the prepared baking pan. Use the back of a spatula or another piece of parchment paper to pack it tightly. This step is key for chewy bars.
- Bake for 18 to 20 minutes, or until the edges are lightly golden brown.
- Let the bars cool completely in the pan on a wire rack. Cooling fully helps them hold their shape.
- Once cool, use the parchment paper overhang to lift the slab out of the pan. Cut into 12 even bars.
Notes
- For easier cutting, chill the bars in the refrigerator for 30 minutes before slicing.
- Store leftover bars in an airtight container at room temperature for up to one week.
- You can substitute almond butter for peanut butter if you prefer.
- For extra crunch, add a sprinkle of flaky sea salt on top before baking.
Nutrition
- Serving Size: 1 bar
- Calories: Approx. 180
- Sugar: Approx. 7g
- Sodium: Approx. 90mg
- Fat: Approx. 10g
- Saturated Fat: Approx. 2g
- Unsaturated Fat: Approx. 8g
- Trans Fat: 0g
- Carbohydrates: Approx. 20g
- Fiber: Approx. 3g
- Protein: Approx. 6g
- Cholesterol: 0mg
