

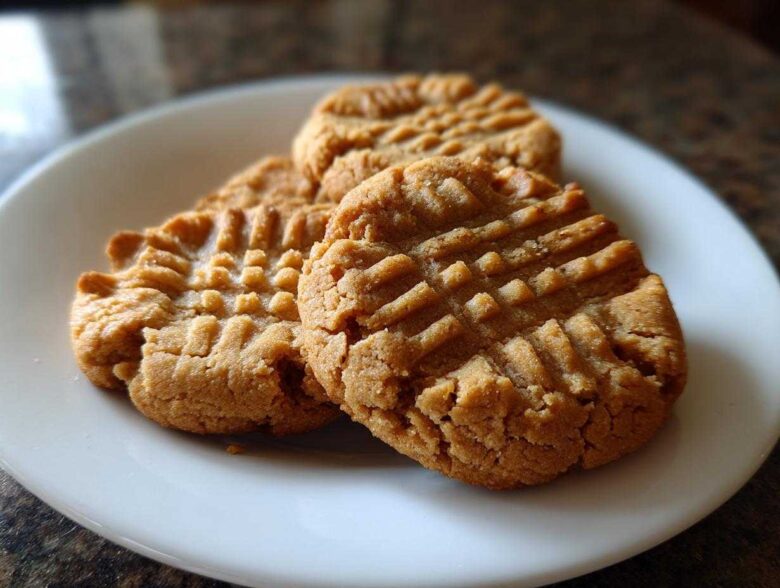
Oh my goodness, have you ever taken a bite of that *perfect* cookie? I mean truly perfect—the edges snap just a little bit, but the center melts in your mouth? That is the magic we finally captured with these **peanut butter cookies**. When Sasha first brought her recipe—which she swears she just kind of ‘felt out’—to our Savor Sensations testing sessions, Anya and I were completely blown away. This isn’t just any recipe; this is Sasha’s signature, the one that balances the rich peanut butter flavor precisely while nailing that crispy-tender texture we all dream about.
We all cook differently here in the kitchen—Anya is precise, I keep things welcoming, and Sasha just throws ingredients together with sheer energy—but this recipe is the one where we all stopped debating and just agreed: this is the GOAT. You’re going to save this one to your favorites, trust me!
You can learn more about how the three of us started cooking together over at our About Us page.
Why Sasha’s Peanut Butter Cookies Are the Best
I truly believe this formula is the secret sauce for the absolute best peanut butter cookies you’ll ever make. What makes them stand out is that incredible texture combo: that satisfying little crunch around the edge, followed immediately by a gorgeously soft, chewy middle. Sasha, bless her intuitive cooking heart, developed this by just tweaking the sugars until it felt right.
It’s that perfect balance, people! It’s why these rise above being just another batch of **traditional cookies**. This recipe is proof that Sasha’s seemingly chaotic approach to **peanut butter baking** sometimes yields the most reliable results.
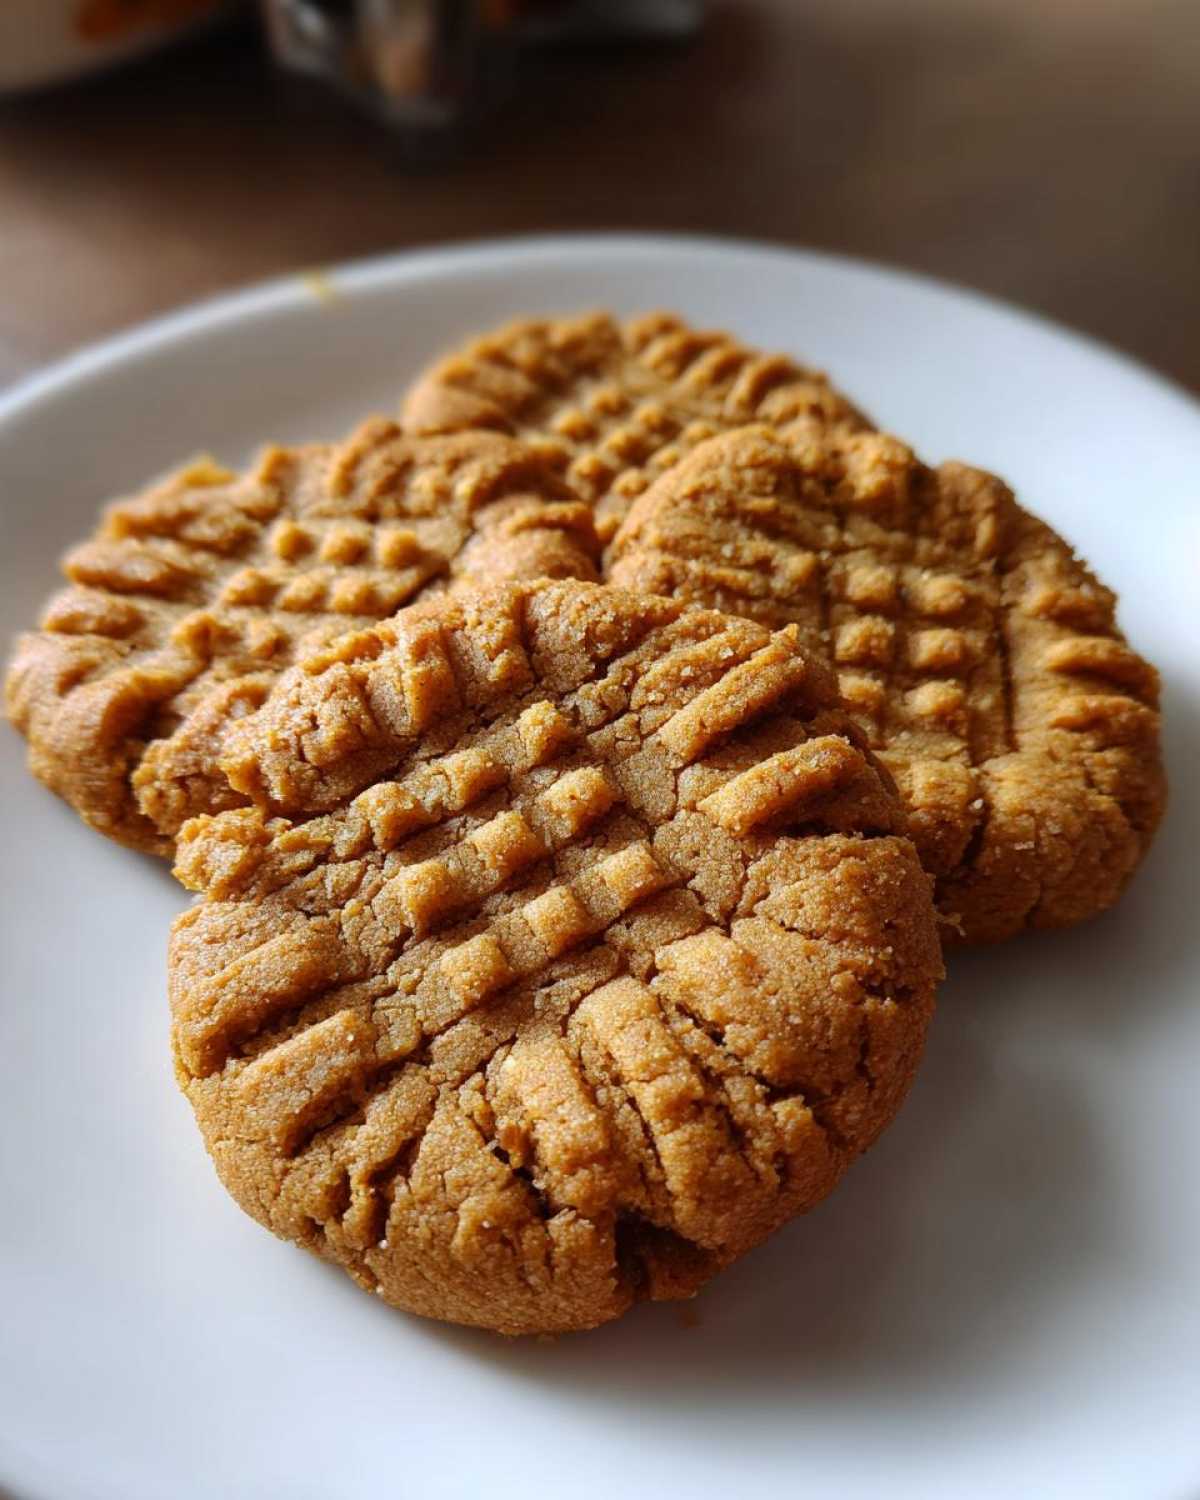
Achieving Crispy Edges and Tender Centers in Peanut Butter Cookies
The magic happens with those two different sugars. We use both white granulated sugar and rich, dark brown sugar. That granulated sugar is what helps create those crispy borders when it melts down early in the bake. But the brown sugar? That molasses keeps the centers irresistibly soft and moist!
It’s not complicated, it’s brilliant. Don’t worry if you usually mess up **peanut butter cookies**; this ratio takes the guesswork out for you and guarantees you get those gorgeous **crispy tender cookies** every single time.
Gathering Ingredients for Classic Peanut Butter Cookies
Okay, let’s talk about what you need before you even turn the oven on. Since this is one of our foundational **classic cookie recipes**, the quality of what you put in really matters. We aren’t talking about fancy, obscure items here—just the basics, handled with care. Using great ingredients is the first step toward making these the **best peanut butter cookies** on your block!
Here is the lineup. Remember, this yields about two dozen perfect rounds.
- 1 cup (2 sticks) unsalted butter, softened
- 1 cup creamy peanut butter
- 1 cup granulated sugar
- 1 cup packed light brown sugar
- 2 large eggs
- 1 teaspoon vanilla extract
- 1 3/4 cups all-purpose flour
- 1 teaspoon baking soda
- 1/2 teaspoon baking powder
- 1/2 teaspoon salt
Ingredient Notes and Substitutions for Peanut Butter Cookies
Listen closely, because Sasha is very firm on two things here! First, you absolutely must use a creamy peanut butter—not the natural kind where the oil separates on top. Natural peanut butter has too much liquid, and it totally changes the structure, meaning you won’t get those perfect **crispy tender cookies** we want.
Second, make sure your butter is truly softened. I mean, leave it out on the counter for about an hour if you forgot to set it out the night before. If the butter isn’t soft enough, you can’t cream it properly with the sugars, and that impacts air incorporation. That’s my little trick for great **peanut butter baking**!
Step-by-Step Instructions for Making Homemade Peanut Butter Cookies
Okay, you’ve got your ingredients ready. Now for the fun part! This method is so straightforward it’s quick enough to whip up on a weeknight when you suddenly need something amazing—these are truly **homemade peanut butter cookies** that come together fast. Remember, the key here is mixing until *just* combined, especially when you add the flour. We do not want tough cookies!
First things first: get that oven preheated to 350°F (175°C) and line those baking sheets. Trust me, parchment paper makes cleanup a dream. If you want thicker cookies, pop the dough in the fridge now, even for just 30 minutes. But if you can’t wait—and I rarely can—we move straight to mixing!
For more baking tips and behind-the-scenes looks at our kitchen chaos, check out our latest posts!
Creaming Fats and Sugars for Perfect Peanut Butter Cookies
This is where we start building the foundation for the **best peanut butter cookies**. Grab your big bowl! You need to beat that softened butter, the creamy peanut butter, the granulated sugar, and the packed brown sugar all together until it’s light and fluffy. Seriously cream it well—we are trying to incorporate happy little air bubbles in there!
Once that looks smooth, you’ll add the eggs, one at a time, beating well after each addition. Don’t forget that vanilla extract! Stop and scrape down the sides; we want everything incorporated before things get dusty with flour.
The Crosshatch Technique for Traditional Cookies
Now for the fun visual part that everyone loves on Pinterest! Scoop your dough into nice rounded tablespoons and roll them into smooth little balls. Place them about two inches apart on the prepared sheets. They need a little room to become those perfect **traditional cookies**!
Grab a fork. This is non-negotiable for the classic look! You press down once to flatten the dough gently. Then, turn the fork sideways—like drawing a plus sign—and press again to create that signature crisscross pattern. This technique doesn’t just look cute; it honestly helps them bake evenly so you get consistent centers.
Baking and Cooling Peanut Butter Cookies
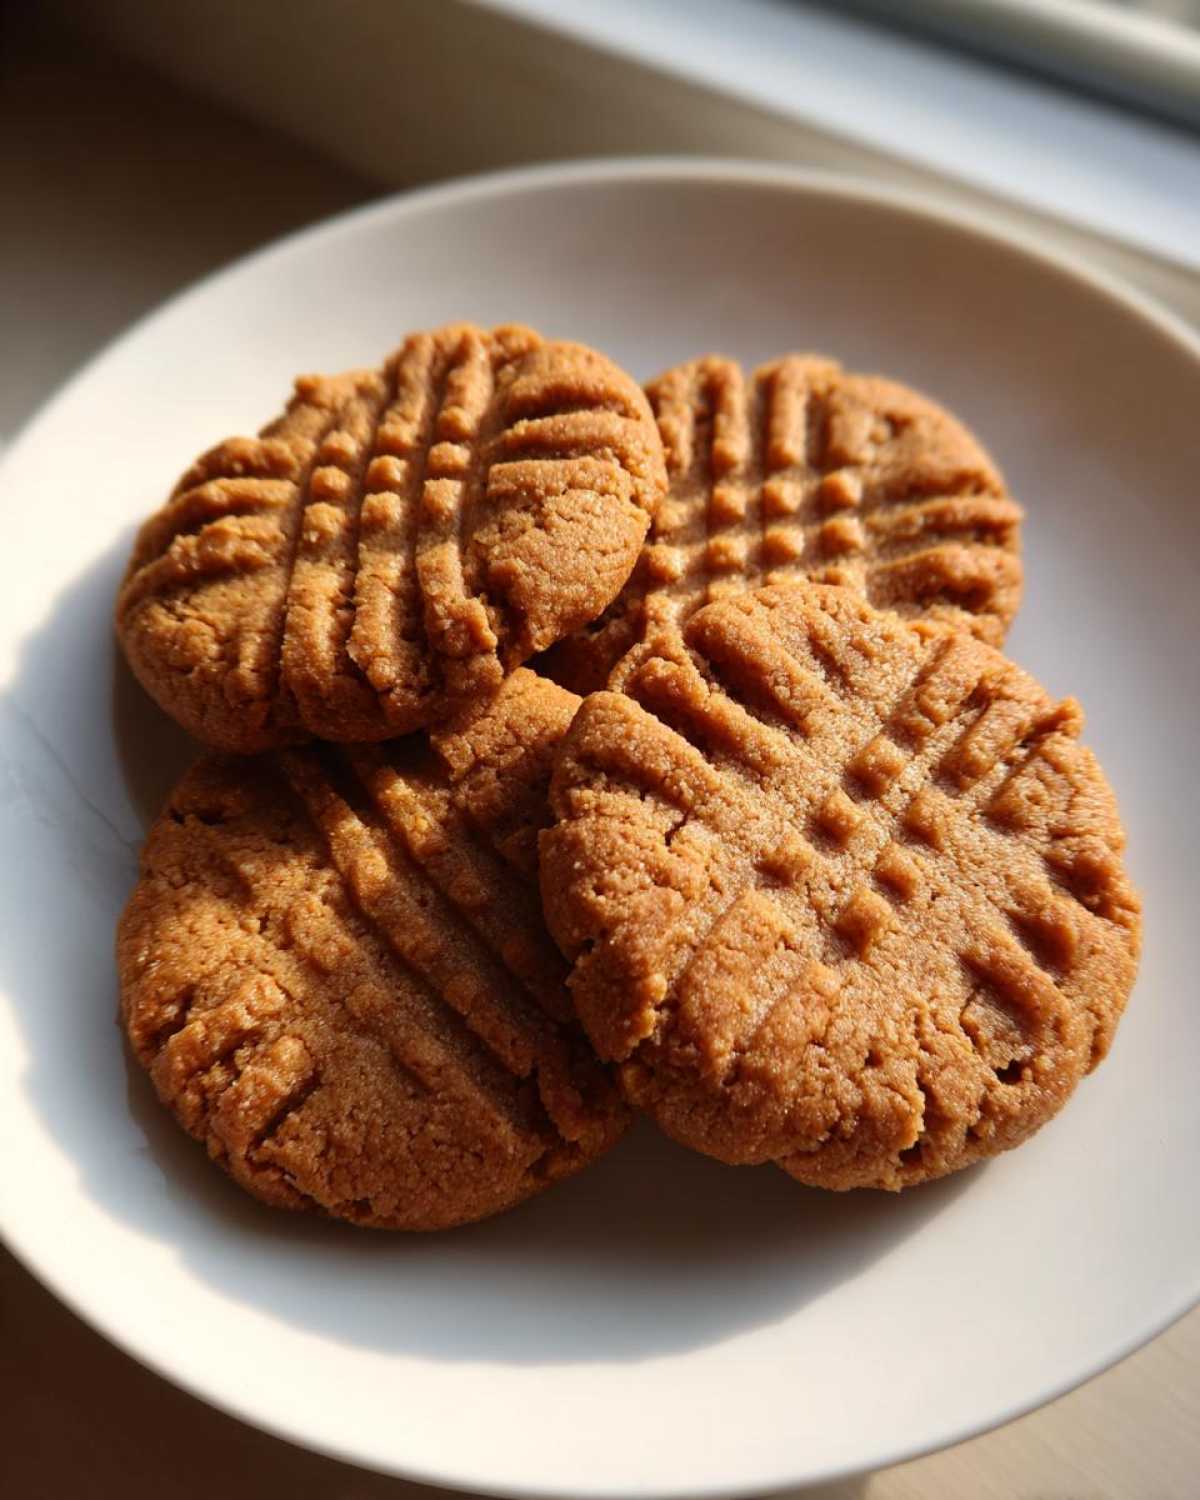
Pop those beauties into the 350°F oven for about 10 to 12 minutes. This is critical: when you pull them out, the edges should look set and lightly golden. But seriously, the *centers* might still look just a tiny bit soft or even slightly underdone. That’s exactly what you want! They will firm up as they cool, guaranteeing you those coveted **tender cookies**.
Leave them right there on the hot baking sheet for a full five minutes. If you try to touch them now, they will crumble into a sad, gorgeous mess. After that essential resting period, gently transfer them to a wire rack to cool completely. Patience is the secret ingredient after the baking, I promise!
Tips for Success with Sasha’s Peanut Butter Cookies
Even though this is an easy recipe, I have a few little secrets to make sure you secure MVP status in the cookie game. The biggest thing you can do to ensure these are thicker, better **classic peanut butter cookies** is to chill the dough if you have time. If you chill it for about 30 minutes, they won’t spread as much, leading to thicker, chewier centers.
Sasha learned this the hard way once! She was rushing for a neighborhood bake sale and skipped the chill time entirely. They baked up super thin, almost like peanut butter crackers—still delicious, but definitely missing that soft interior we love. So definitely give the dough a quick chill if you can!
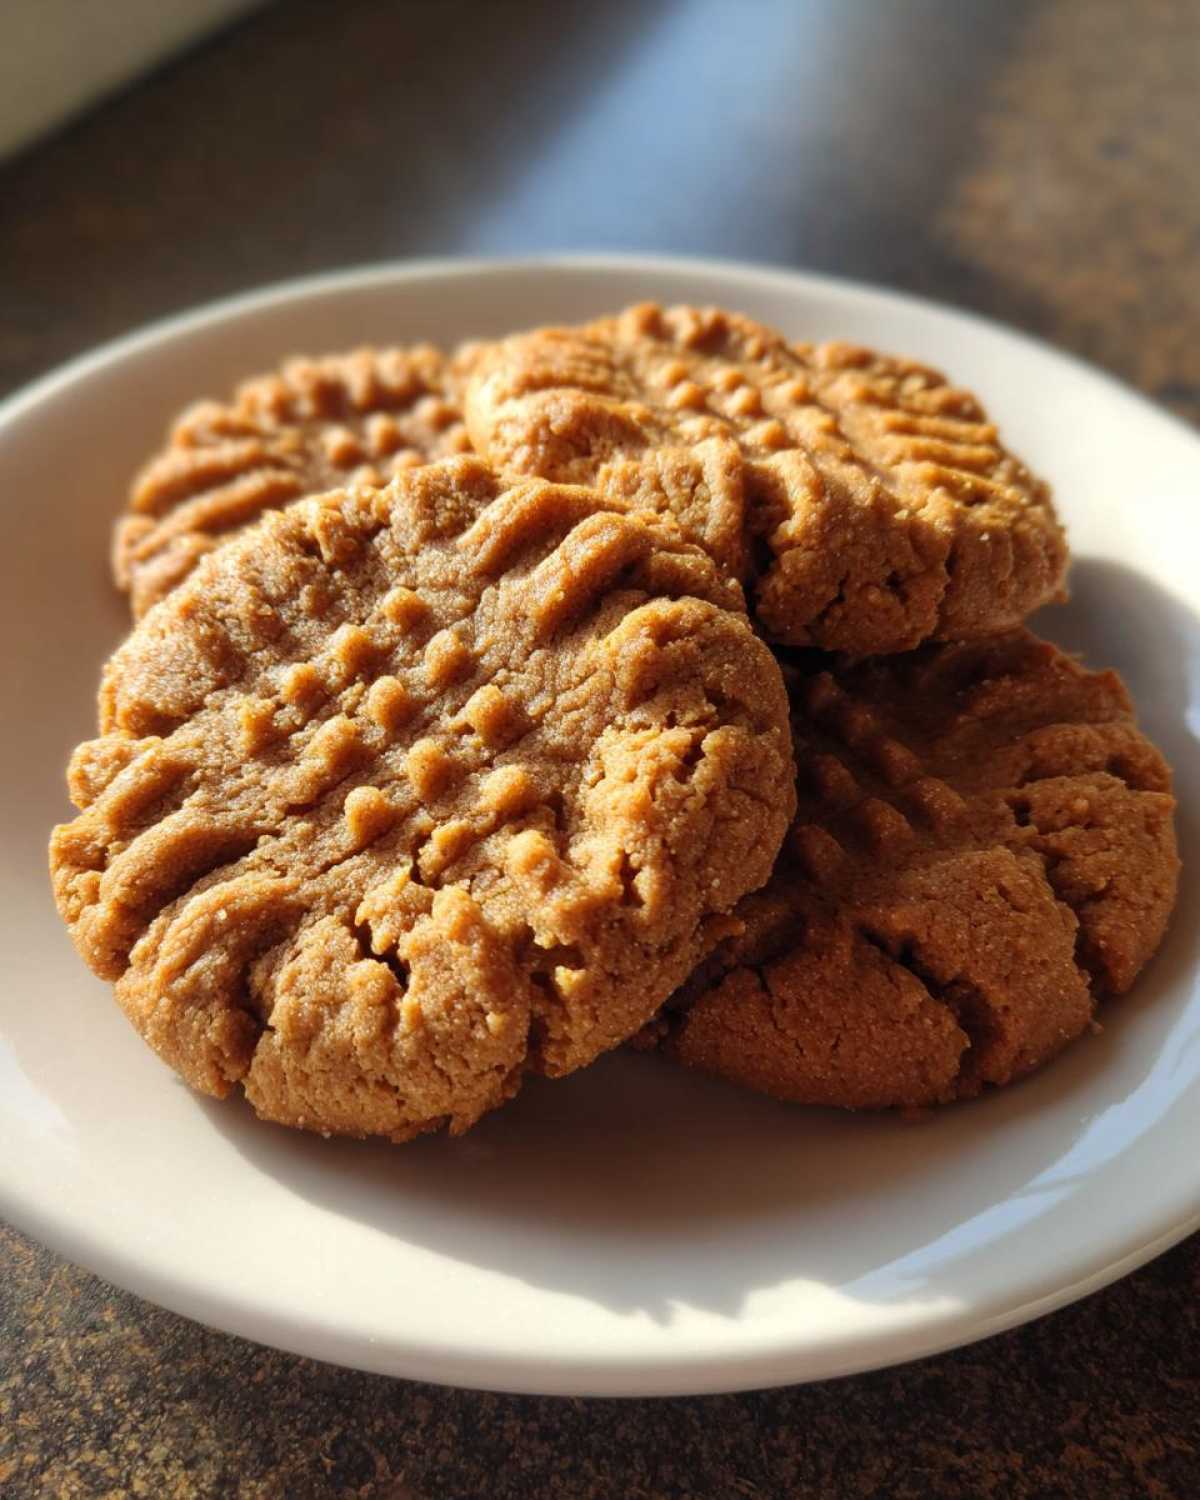
Also, remember we talked about peanut butter? Stick to the creamy, shelf-stable kind. Natural peanut butter will throw off the delicate balance of fat and moisture in this recipe, and we absolutely need that perfect blend for **peanut butter baking** success.
Storage and Reheating Peanut Butter Cookies
Knowing how to store these beauties is almost as important as knowing how to bake them! We want to protect that beautiful texture so you can enjoy these **classic peanut butter cookies** for days. Luckily, they are quite sturdy, but you still need to treat them right.
The absolute best way to store your **homemade peanut butter cookies** is in a completely airtight container at room temperature. If you stack them, make sure you put a small piece of wax paper or parchment paper between the layers. This stops them from sticking together, which can sometimes happen if the creamy bottoms get a little soft.
If you store them properly, they should stay perfectly good—nice and soft in the middle—for a solid four or five days. Honestly, they rarely last that long in my house, but that’s the standard!
Now, if you find that after a few days they’ve firmed up just a tiny bit—which can happen when the moisture settles—don’t toss them! They are very easy to refresh. If you want to bring back that incredible, freshly-baked tenderness, just pop two or three cookies on a microwave-safe plate and zap them for about 8 to 10 seconds. It warms them up just enough to re-soften the center. It’s like magic!
Serving Suggestions for Your Peanut Butter Cookies
So, you’ve made a batch of these amazing, **classic peanut butter cookies**—fantastic! Now, the very best part: deciding what to eat them with. These cookies are so rich and nutty; they honestly don’t need much help, but I always think the right beverage just elevates the whole experience. They are basically a hug in cookie form, right?
For me, nothing beats a tall, cold glass of milk while eating **homemade peanut butter cookies**. Simple, nostalgic, and perfect for dunking, just like we used to do as kids when Lena would bring out a fresh batch in the hallway!
But if you want something a little more special, especially if you’re enjoying these as an afternoon treat, you have to pair them with something warm and slightly sweet. The rich, savory peanut butter stands up beautifully against caramel notes. If you’re looking for a cozy pairing, try making the Caramel Brown Sugar Latte Lena perfected last fall. That combination is seriously next level!
They also go wonderfully with something tart, like a strong black coffee or even a slightly tart iced tea if it’s a warmer day out. Honestly, these **traditional cookies** are versatile enough that you really can’t go wrong. The important thing is grabbing two—one for now, and one just in case you forget to save one for later!
Frequently Asked Questions About Peanut Butter Cookies
It happens every time we share a recipe! People inevitably have questions, usually about how to make sure their cookies turn out exactly like mine—or Sasha’s, in this case! These are some of the most common things that come up when trying to achieve those perfect **crispy tender cookies**. Don’t stress if you hit a snag; we’ve all been there!
Can I use natural peanut butter for these peanut butter cookies?
Oh, this is the number one question! Honestly? I really, really advise against it here. Sasha tested this early on, and the second we used natural peanut butter—the kind you have to stir because the oil separates—the texture went completely wonky. Natural peanut butter has way more liquid oil than the stabilized, creamy kind. That extra moisture throws off the whole ratio that makes these **classic peanut butter cookies** so good. You end up with a much thinner cookie that spreads too much and often turns out greasy instead of perfectly crisp on the edges. Stick to the creamy stuff; it’s worth it!
Why did my classic peanut butter cookies spread too much?
If your cookies flatten out into thin discs instead of keeping that nice little dome shape, it almost always comes down to two things: temperature or ingredient mix-up! Did you make sure your butter was softened, but still slightly cool? If your butter melts down too fast when you cream it with the sugars, you have no structure left. That will cause massive spreading in the oven.
The other culprit is forgetting to chill the dough, which we talked about in the tips section. If you skip the 30-minute chill, the fat stays too soft, and they spread out before they can set. Don’t worry though; even if they spread, they still taste amazing, but that’s definitely why you didn’t get that thick, **tender cookie** center!
Estimated Nutritional Snapshot for Peanut Butter Cookies
I always feel a little weird putting numbers next to something as purely joyful as a fresh-baked cookie, but since Anya stresses the importance of knowing what’s in our food, here is a snapshot of what you can expect from one of Sasha’s marvelous **peanut butter cookies** based on our standard measurements.
Remember, since baking is an art and we all use slightly different brands of flour or measure peanut butter differently, these are just estimates to give you a general idea. They are based on a yield of 24 cookies from this batch.
- Per Serving Size: 1 cookie
- Calories: 180
- Sugar: 12g
- Fat: 10g (with 4g saturated fat)
- Carbohydrates: 21g
- Protein: 4g
It’s a pretty good deal for something that tastes this decadent, right? I find knowing the breakdown helpful, especially if you are trying to make sure everyone gets a balanced treat after enjoying these **classic cookie recipes**!
Share Your Homemade Peanut Butter Cookies Creations
Now that you’ve got these incredible **homemade peanut butter cookies** cooling on your racks, I really, really want to hear about them! Honestly, the Savor Sensations kitchen thrives on seeing what you all make. Did you get that perfect crisp edge? Did the kids help with the crosshatch?
Please, if you bake a batch of these, don’t be shy! Head down to the comments section right now and give the recipe a star rating—five stars if you loved that perfect crispy-tender texture like we do. Hearing from you just fuels our joy and helps others see that this is truly one of the **best peanut butter cookies** out there!
And if you took a beautiful picture of your golden, perfectly patterned cookies, please take a moment to share it! We love seeing them pop up on social media tags. If you’re pinning recipes for later, I truly hope this one is making its way onto your favorites board right next to your Thanksgiving desserts. Tag us so we can see your beautiful **traditional cookies**!
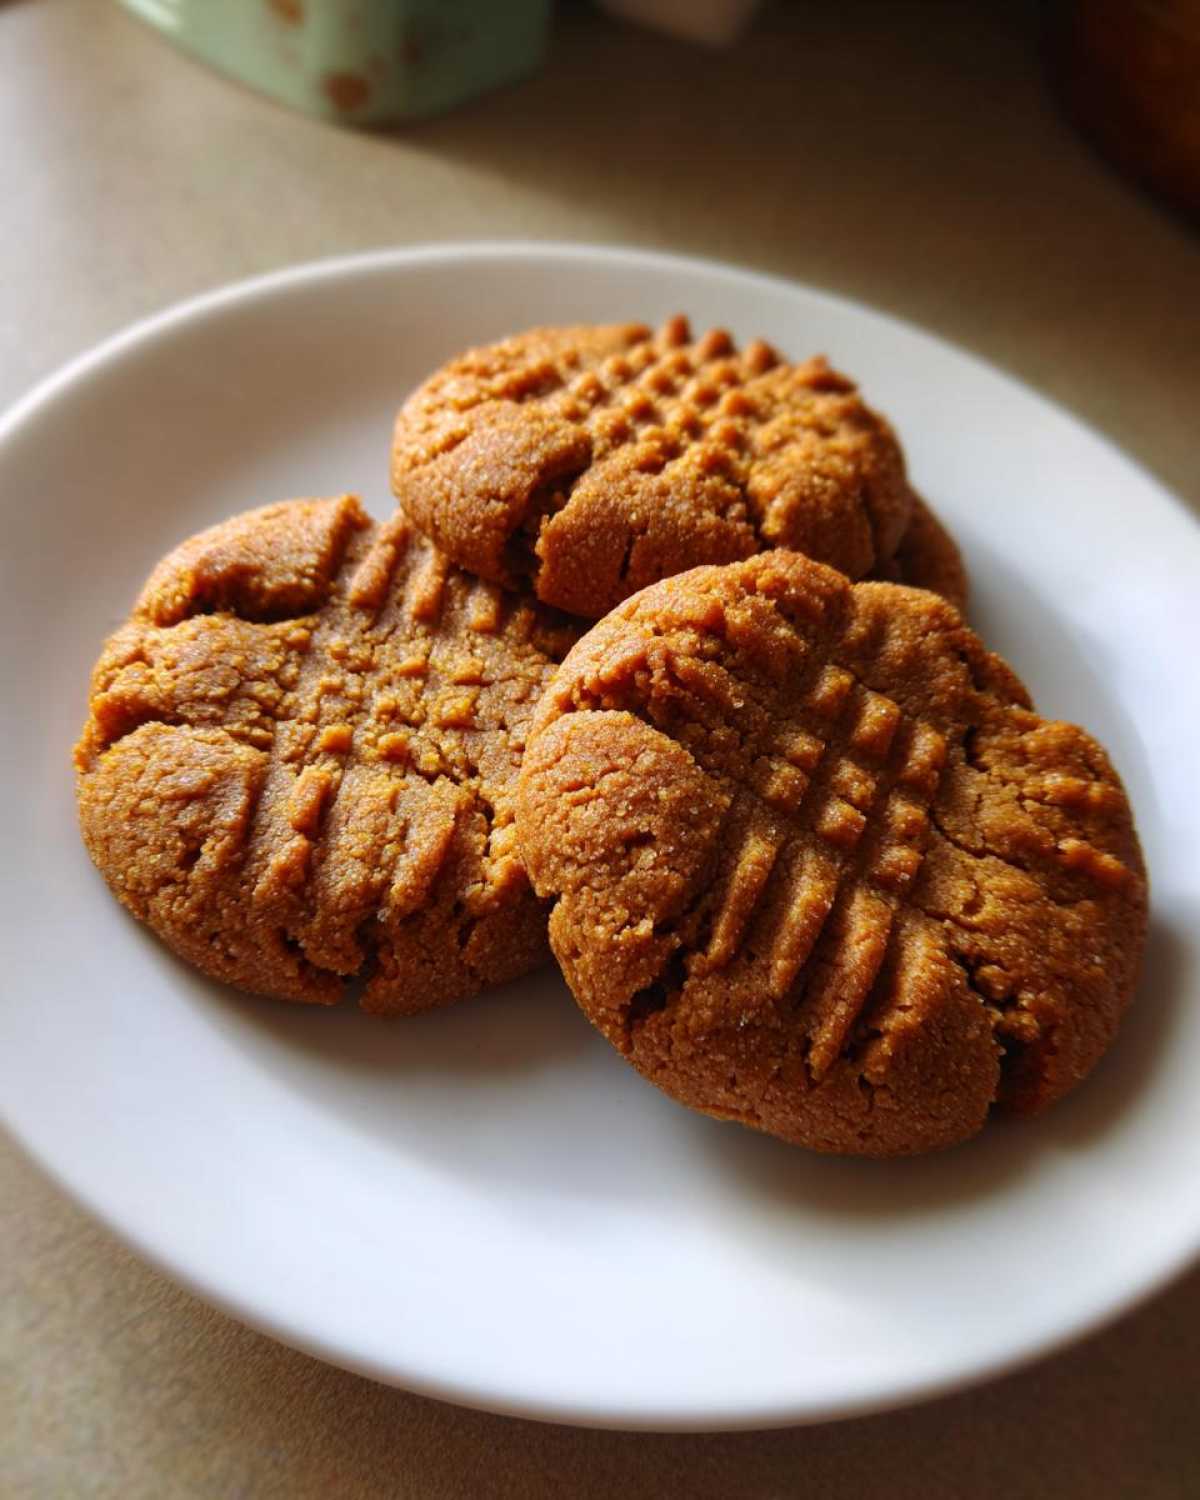
Sasha’s Classic Crispy-Tender Peanut Butter Cookies
Make the best peanut butter cookies with crispy edges and a soft center using this straightforward, classic recipe from Sasha.
- Prep Time: 15 min
- Cook Time: 12 min
- Total Time: 27 min
- Yield: 24 cookies
- Category: Dessert
- Method: Baking
- Cuisine: American
- Diet: Vegetarian
Ingredients
- 1 cup (2 sticks) unsalted butter, softened
- 1 cup creamy peanut butter
- 1 cup granulated sugar
- 1 cup packed light brown sugar
- 2 large eggs
- 1 teaspoon vanilla extract
- 1 3/4 cups all-purpose flour
- 1 teaspoon baking soda
- 1/2 teaspoon baking powder
- 1/2 teaspoon salt
Instructions
- Preheat your oven to 350°F (175°C). Line baking sheets with parchment paper.
- In a large bowl, beat the softened butter, peanut butter, granulated sugar, and brown sugar together until creamy.
- Beat in the eggs one at a time, then mix in the vanilla extract.
- In a separate medium bowl, whisk together the flour, baking soda, baking powder, and salt.
- Gradually add the dry ingredients to the wet ingredients, mixing on low speed until just combined. Do not overmix.
- Scoop rounded tablespoons of dough and roll them into balls. Place them 2 inches apart on the prepared baking sheets.
- Use a fork to press down on each ball to create the classic crosshatch pattern, pressing once in one direction, then once perpendicular to the first press.
- Bake for 10 to 12 minutes, or until the edges are set and lightly golden. The centers may look slightly underdone.
- Let the cookies cool on the baking sheet for 5 minutes before transferring them to a wire rack to cool completely.
Notes
- For the best texture, use creamy peanut butter rather than natural or oil-separated types.
- If you prefer a slightly chewier cookie, reduce the baking time by one minute.
- Chill the dough for 30 minutes before rolling for thicker cookies that spread less.
Nutrition
- Serving Size: 1 cookie
- Calories: 180
- Sugar: 12
- Sodium: 110
- Fat: 10
- Saturated Fat: 4
- Unsaturated Fat: 6
- Trans Fat: 0
- Carbohydrates: 21
- Fiber: 1
- Protein: 4
- Cholesterol: 25
