

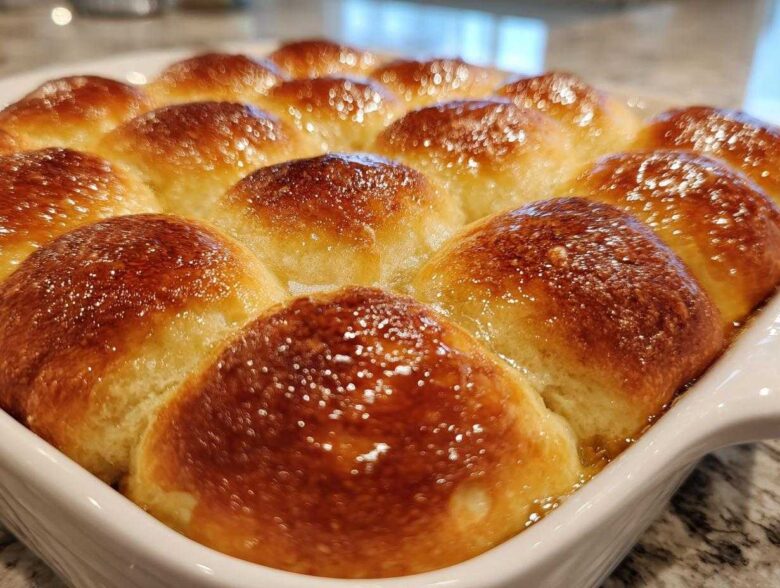
Oh, friends, is there anything that just screams comfort louder than the smell of fresh-baked bread filling your kitchen? I mean, really, nothing! Store-bought always falls flat, doesn’t it? That’s why I’m so excited to share this recipe with you today. We’re diving into the ultimate treasure: making homemade dinner rolls that are unbelievably soft, fluffy, and dripping with butter. This recipe is based on techniques my dear friend Anya learned from her grandmother, and trust me, that old-fashioned knowledge creates perfection. You can see more of our adventures over on the main Savor Sensations blog. Get ready, because you are about to bake the very best rolls you’ve ever tasted!
Why These Are the Best Soft Dinner Rolls Recipe You Will Ever Make
If you are tired of those dry, sad little dinner rolls that seem to evaporate the moment they hit the table, then you are in the right place! I promise you, making these from scratch is not scary. In fact, once you see how simple the process is, you’ll never go back to the can again. These are miles ahead of anything store-bought. You can find more of my favorite quick sides, like my savory zucchini, cheese muffins recipe, right here on the blog too!
- These offer unbeatable texture: seriously, unbelievably soft dinner rolls recipe quality.
- They are packed with flavor thanks to the generous amount of melted butter that gets brushed on hot. No skimpy toppings here!
- You get the cozy, rich flavor profile of true buttery yeast rolls.
- They deliver that dreamy, pull-apart quality that defines fluffy homemade bread.
Achieving That Perfect Fluffy Homemade Bread Texture
The secret to getting that pillow-softness isn’t magic; it’s just yeast doing its very important job! We use warm milk—not hot, never boiling—to wake up the yeast gently. When you mix that with the sugar, we’re feeding the yeast so it creates all these wonderful little gas bubbles. Then, we knead! Kneading is where we build the strands in the dough, which is what lets it stretch without tearing. This approach gives us that beautiful, dense-but-aerated crumb you see in the best Old Fashioned Dinner Rolls. Honestly, it’s just a little patience, and you’ll get airy results every time.
Gathering Ingredients for Your Buttery Yeast Rolls
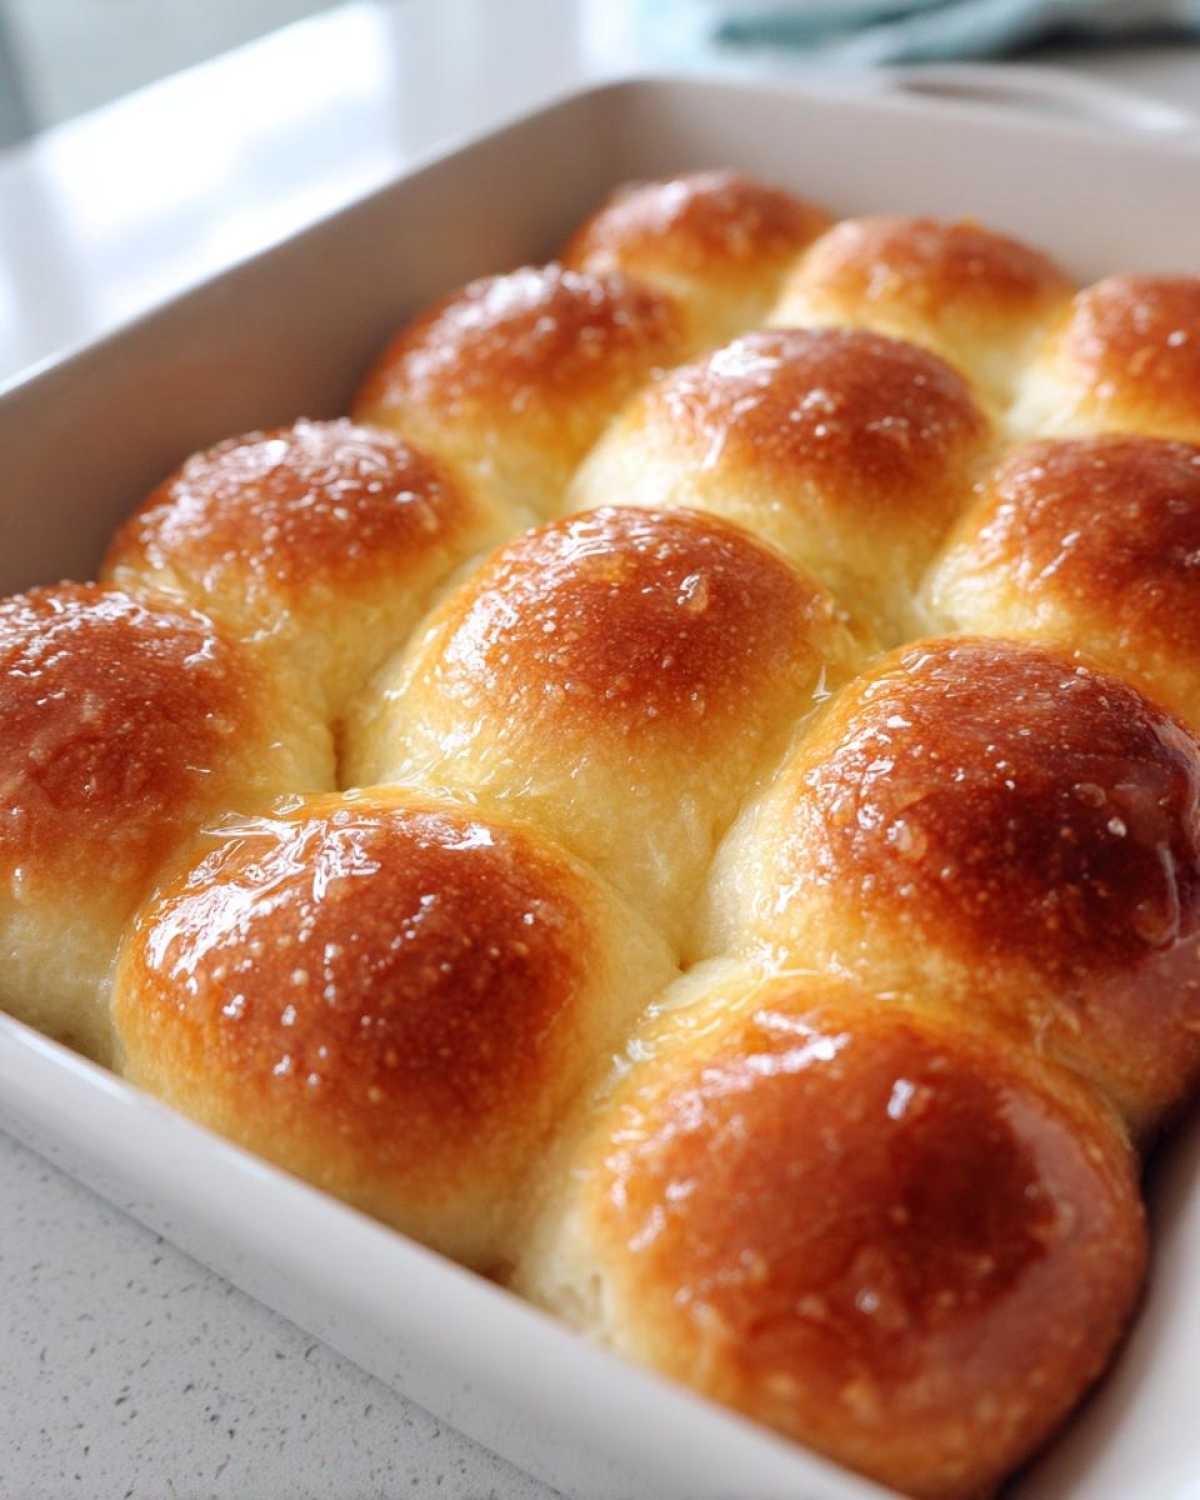
Okay, now for the fun part—getting everything ready to mix! When you’re making these incredibly buttery yeast rolls, precision with your measurements really pays off. It’s not like tossing things into a stew; baking with yeast needs a little respect for the numbers. For instance, that milk? It absolutely needs to be warm, aiming right for that 105°F to 115°F mark on a thermometer. If it’s too cold, the yeast sleeps. If it’s too hot, well, you just killed your yeast, and that’s a tragedy!
We need exactly 1 cup warm milk to wake up our yeast, paired with precisely 2 1/4 teaspoons active dry yeast. Don’t eyeball that yeast, please! Also, make sure your single egg is at room temperature. Cold ingredients slow down the whole rising process, trust me on this one. And for the fat? We’re using melted butter in the dough mix, but save a whole stick of softened butter for brushing later—that’s the finish line treat we are looking forward to!
If you haven’t whipped up a batch of my classic French toast lately, you’ll have the egg handy! Just make sure everything is ready before you start combining.
Ingredient Notes and Substitutions for Perfect Dinner Rolls
Since Anya’s focus is on baking from scratch, the quality of what goes in really impacts the final result. For the flour, stick with regular all-purpose flour. Bread flour works in a pinch, but I find all-purpose gives us that lovely, tender crumb we are aiming for in these dinner rolls.
The sugar you see listed isn’t just for sweetness, either. It’s vital! The yeast needs that sugar as its primary food source to start bubbling correctly. If your yeast doesn’t foam up when you mix it with the warm milk and sugar, stop right there—your yeast is dead, and you need a fresh packet. It happens to everyone, so don’t stress!
And finally, butter. Seriously, use real, unsalted butter, both melted in the dough and softened for the topping we’ll use later. Margarine just won’t give you that rich, deep flavor profile these buttery yeast rolls are known for. It’s worth the splurge for an incredible result!
Step-by-Step Instructions for Easy Dinner Roll Recipe Success
Alright, let’s roll these beauties out! I know looking at a yeast recipe can feel a bit intimidating, but this is truly such an easy dinner roll recipe once you follow the steps. We are aiming for that beautiful, cloud-like texture, and we get there by not rushing the yeast. The whole process is really just three main stages: mixing, rising, and baking. We’re going to walk through this together so you get that perfectly risen result just like Anya does! You can find more of our kitchen adventures over at the main Savor Sensations blog when you’re done baking.
Activating Yeast and Mixing the Dough for Dinner Rolls
First thing first, we need to prove that yeast is alive and ready to work its magic. Grab your bowl, pour in that 1 cup warm milk, and sprinkle in the 2 1/4 teaspoons active dry yeast along with a pinch of the sugar listed. Give it a gentle stir and just let it sit there for about 5 or 10 minutes. You are looking for foam! If you see a fluffy layer on top—that’s the yeast saying, “I’m awake and ready to make bread!” If it doesn’t foam, toss it and grab fresh yeast, because that’s the key to perfect rising. Once it’s foamy, whisk in the rest of your wet ingredients: the sugar, your room-temp egg, and the melted butter.
Kneading and the First Rise for Perfectly Risen Rolls
Now we start building structure! Mix your dry ingredients—the flour and salt—separately, and then start adding them slowly to your wet mixture. You want to mix it until it’s shaggy, then turn the whole mess out onto a floured surface. This is where the real satisfaction comes in! You need to knead the dough for 6 to 8 minutes. Keep adding flour just a little bit at a time until the dough isn’t sticky anymore. You are aiming for a texture that feels smooth and elastic but still has a little give, almost slightly tacky to the touch. Pop that smooth ball into an oiled bowl, turn it to coat, cover it up, and walk away! This first rise time, which is usually 1 to 1.5 hours, is completely non-negotiable if you want that signature airy texture. Don’t cheat the yeast!
Shaping and the Second Rise for Fluffy Homemade Bread
Once the dough has doubled, gently punch it down—it’s okay, it needs to relax! Now, for shaping your dinner rolls, I highly recommend using a kitchen scale if you have one, just to keep them even, but eyeballing it really works fine too. Divide your dough into 12 or 16 equal pieces. Take each piece and tuck the edges under until you have a nice, tight, smooth ball. Place these little beauties close together in your greased pan. We want them touching so they push each other up as they grow! Cover the pan again. This second rise only takes about 30 to 45 minutes. This final puffing up is what gives you those incredibly fluffy homemade bread edges where they meet in the pan.
Baking and Finishing Your Soft Dinner Rolls Recipe
Phew! We’ve risen them, we’ve shaped them, and now we get that huge reward: baking! This is where those puffy balls transform into golden, fragrant clouds of deliciousness. Get your oven preheated to a nice, steady 375°F (190°C) while your rolls are finishing their second rise. You don’t want to put them in a cold oven; give them a blast of heat right away!
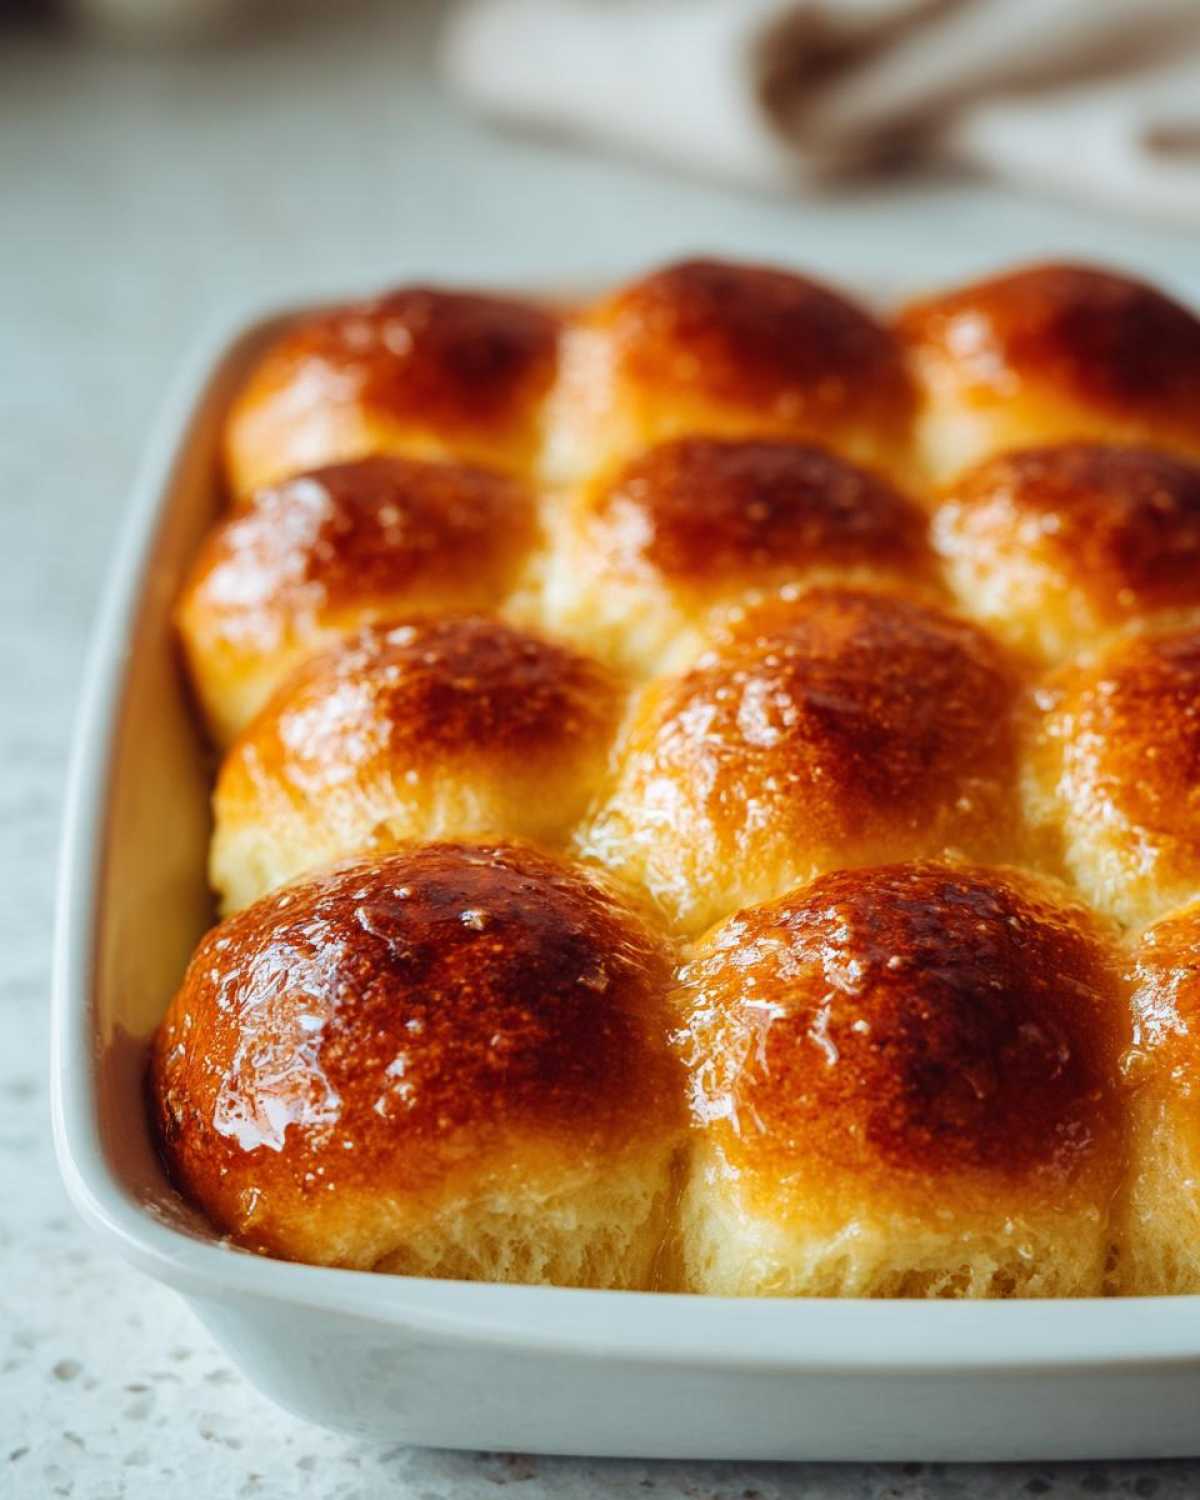
They don’t take long at all—seriously, this is one of the best features of this recipe. Most people find they are perfectly golden brown in just 15 to 20 minutes. Keep an eye on them, though! Since they are tucked in close together, the centers might take just a tick longer than the edges. You’re looking for a beautiful, deep golden color on top. Remember, this is what separates a decent roll from the best homemade rolls you’ve ever made!
But wait! Don’t pull them out and just let them sit on the counter. The real finisher, the step that guarantees they are utterly buttery yeast rolls perfection, happens the second they come out of the heat. You need that 1/2 cup of softened butter ready to go. Melt it down until it’s pourable, and as soon as those rolls land on the cooling rack (or stay right in the hot pan if you like them truly baked together), take a pastry brush and just slather that butter all over the tops. Don’t be shy! That hot bread drinks up that melted butter instantly, locking in moisture and making the crust beautifully tender. This brushing is non-negotiable if you want rolls that taste like they came from a high-end bakery!
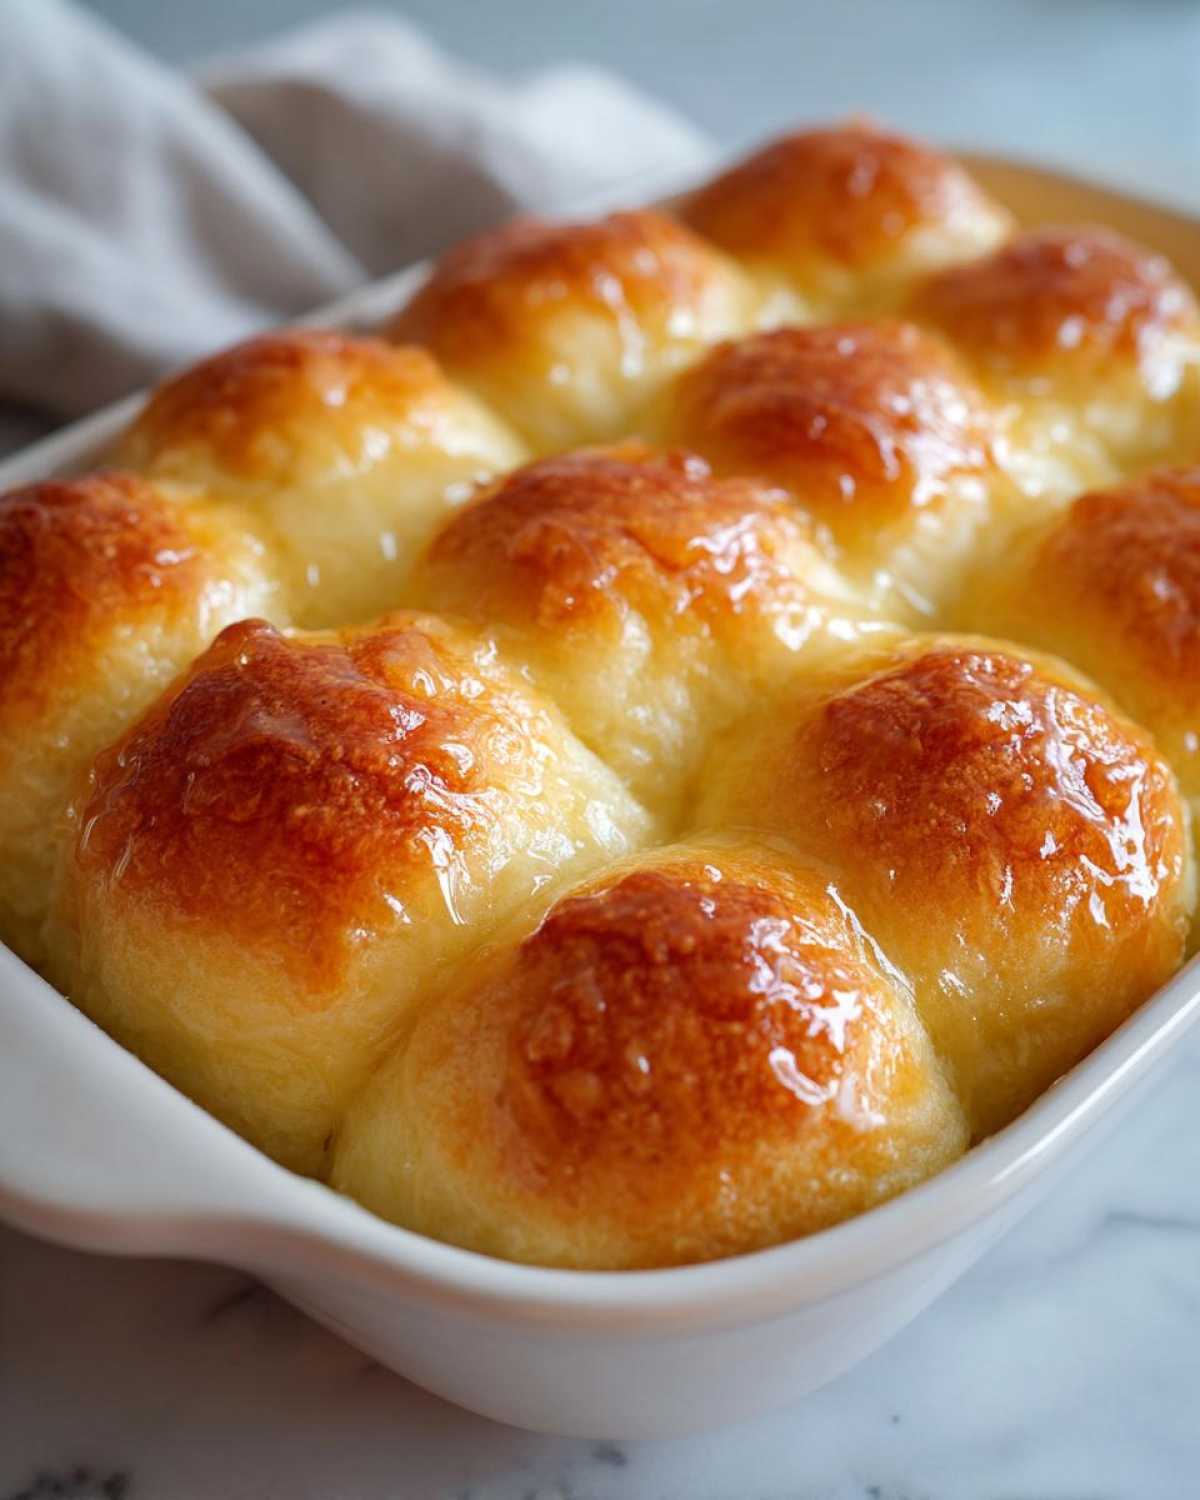
You can serve them right away alongside a great main dish—maybe like my teriyaki glazed meatballs if you’re feeling bold, or just a simple roast. They are heavenly when they are still warm from the oven!
Creating Texas Roadhouse Style Rolls Copycat Finish
Now, confession time: sometimes I’m craving those famous chain restaurant rolls that are sweet, a little salty, and always served with that cinnamon-honey butter. If you’ve ever wanted to recreate that experience at home, guess what? It’s SO incredibly easy to upgrade your dinner rolls right at the end!
We already brushed them with that beautiful, simple melted butter from the last step, which makes them amazing, but if you want to push them straight into that copycat territory, we just improvise the topping. It’s a fantastic twist, especially for holiday baking when you might want something just a little sweeter on the table.
All you need to do is take that small amount of melted butter you already prepared—or melt a little extra, I won’t tell!—and mix in just a touch of sweetness. I add about 1 tablespoon of honey, which gives it that signature shine and sweetness, and then a tiny whisper of spice, maybe just 1/2 teaspoon of ground cinnamon.
Mix that honey and cinnamon right into the melted butter until it’s all combined. My friend Sasha, she’s the one who loves to sneak extra cinnamon into everything, but you decide how much spice your family likes! Brush this warm, sweet mixture over the rolls immediately after they come out of the oven, just like we did with the plain butter. The heat melts it perfectly, and bam! You’ve transformed your classic recipe into incredible Texas Roadhouse Style Rolls Copycat treats. It’s wonderful served alongside something savory, like my classic tuna noodle casserole, for the perfect dinner contrast.
If you want to see how someone else tackles the authentic version, I peeked over at the folks at Flavor by Lily, and their recipe is fantastic if you want even more deep-dive details on that specific restaurant style: Classic Texas Roadhouse Dinner Rolls Recipe. But honestly, I think our base recipe is so good, this little addition is all you really need for that weekend bakery flavor!
Tips for Success with Your Dinner Rolls Baking
Even with Anya’s fantastic recipe, sometimes baking throws us a little curveball, right? Baking with yeast involves living organisms, so we have to treat them kindly! If your lovely dinner rolls come out a bit flat for example, nine times out of ten, it’s because your yeast wasn’t active enough at the start, or you skipped that second, puffy rise time. Don’t fret! You can often save flatter rolls by letting them rest in a warm, draft-free spot—maybe draped with a towel near a preheating oven—for an extra 20 minutes before baking, hoping they get a little puff back before the heat sets them.
Another thing I always stress is using whatever yeast you buy right away. If you’ve had a packet sitting in the pantry for ages, chances are it’s lost its strength. For the fluffiest results possible, make sure you’re using fresh, active dry yeast. It makes all the difference when you’re aiming for that truly superior texture that beats anything you can buy frozen!
Make Ahead Dinner Rolls and Storage Instructions
Life gets busy, doesn’t it? That’s why I love that we can prepare these ahead of time. This recipe is fantastic for using as make ahead dinner rolls for big holiday meals like Thanksgiving—it saves scrambling the morning of the big event! Remember those instructions about the second rise? That’s actually the part we use to pause the show.
Assemble your rolls in the greased 9×13 pan, cover them tightly, but instead of placing them near the stove to rise, you carefully tuck the whole thing into the refrigerator. Cold temperatures significantly slow down the yeast activity. You can leave them chilling for up to a full 24 hours! When you’re ready to bake, pull them out and let them sit on the counter for about 30 minutes just to warm up slightly, but then go ahead and bake them. Just remember, since they start colder, you will need to add about 5 to 10 minutes extra to the baking time to ensure they are cooked right through to the middle.
Now, for storage once they are baked: if you have any left—which is rare in my house!—you must seal them up tight away from the air. An airtight container or a Ziploc bag works best. If they start feeling just a little less than bakery-fresh the next day, don’t chuck them! Just pop them in the microwave for about 10 seconds with a tiny splash of water nearby, or wrap them in a damp paper towel and heat them for a few minutes in a low oven (around 300°F). That steam brings back the softness! It’s the best kitchen trick I learned for keeping any bread fresh, especially these tender homemade treats. For more tips on keeping baked goods moist, check out my notes on my chocolate chip zucchini muffins!
Serving Suggestions for Your Fluffy Homemade Bread
Honestly, once these dinner rolls come out of the oven swimming in butter, half the time I just sit down and eat three plain, standing right over the pan! But Anya is right, these beauties are meant to be shared, and they truly complete any wonderful meal setting. Think of them as the ultimate vehicle for gravy, soup broth, or just soaking up all those delicious pan juices left over from a big roast.
We make these all the time for holiday gatherings. They are simply the best choice for Holiday Side Dish Baking. They look so impressive lined up in the pan, and they disappear faster than anything else on the table. Pair them with a slow-cooked pot roast—the rolls are just sturdy enough to handle all that moisture without falling apart.
If you’re serving something saucy, like chili, or even a big, hearty stew, you absolutely need these rolls nearby. They transition perfectly from being a simple side dish to becoming the main component of rich Comfort Food Baking. They pair beautifully with casseroles, too! If you’re looking for something creamy and cheesy to serve alongside them, you have to check out my recipe for broccoli cheddar squash casserole. The combination of that warm, savory casserole and these sweet, buttery yeast rolls is just peak comfort food, in my opinion!
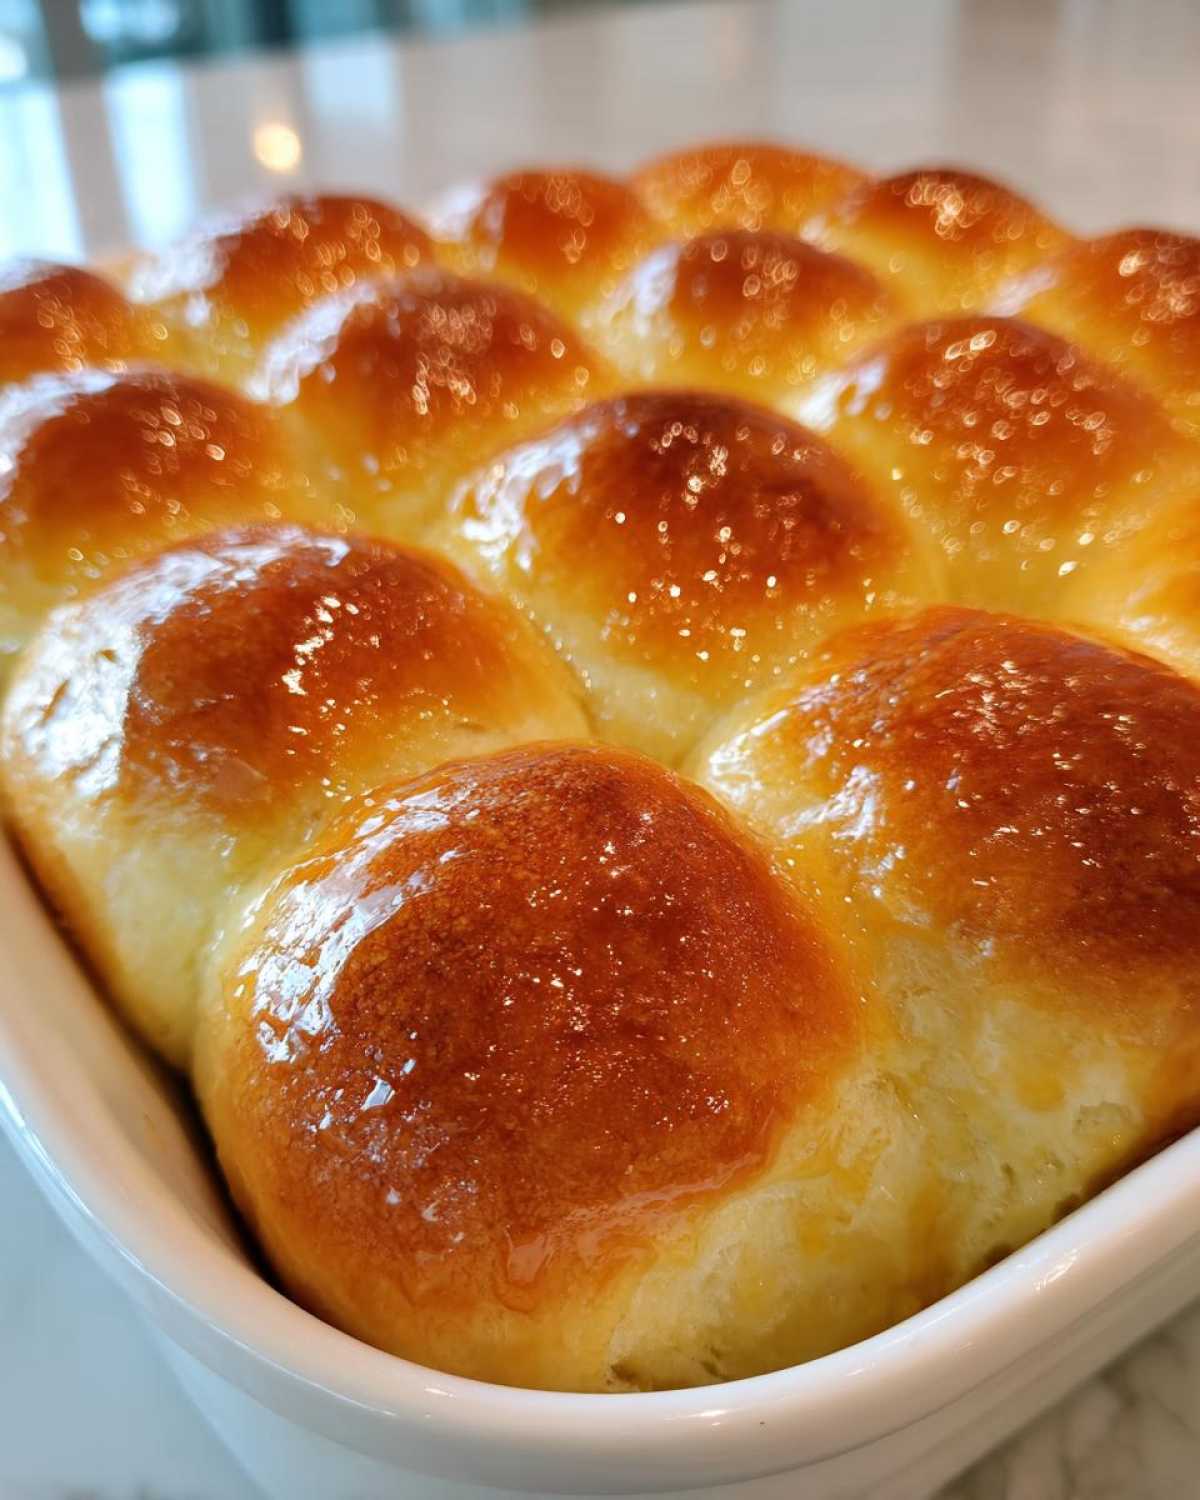
And listen, don’t limit these just to the main course! If you’ve still got a couple left over the next day, slice one open, toast it slightly, and spread on a little jam. Suddenly, you have the best breakfast bread ever. It really proves how versatile a quality, from scratch bread recipe can be.
Frequently Asked Questions About Making Dinner Rolls
Gosh, I know you bakers out there always have the sharpest questions! Yeast baking always brings out a few queries, so I gathered the most common things Sasha and Anya and I get asked about these super fluffy dinner rolls. Don’t worry if you’re new to baking; we’ve all been there. If you want to read up on keeping baked goods moist generally, I have some great tips in my oatmeal chocolate chip muffins post!
Can I make these Quick Dinner Rolls faster?
That’s the eternal question, isn’t it? Everyone wants quick dinner rolls, especially on a busy weeknight! You can absolutely try to speed up the process, but you have to be careful not to rush. The yeast needs time to eat the sugar and produce those bubbles that make the bread soft. To speed things up, make sure your kitchen is warm—like, really warm. If you have a sunbeam coming through a window, put the bowl there! Or, you can place the bowl in your oven with *only* the light on (make sure the oven itself is off!). This environment helps the dough rise quicker. However, I really caution against trying to rush the process by using scalding hot milk or forcing it in a super-hot oven. That usually just kills the yeast or makes the rolls tough, and we are aiming for the softest results possible!
What is the best way to get Garlic Butter Rolls Recipe flavor?
Oh, I love that you’re thinking about Garlic Butter Rolls Recipe variations! While the honey-cinnamon topping gives us that sweet nod to the restaurant style, garlic butter is just peak savory indulgence. This is so easy to swap in during Step 5 when you are brushing the hot rolls right out of the oven. Forget the honey and cinnamon for this version. What you want to do is take that 1/2 cup of melted butter required for brushing, and mix in about 2 cloves of finely minced fresh garlic—or use 1 teaspoon of garlic powder if you prefer a milder flavor. Then, toss in about a tablespoon of finely chopped fresh parsley, or even some dried Italian seasoning!
Brush this glorious, aromatic mixture generously over the hot tops. It melts right in, giving you that wonderful garlicky scent floating through your kitchen. I think this version is truly the best for dipping into spaghetti sauce or serving alongside a holiday ham!
Share Your Soft Dinner Rolls Experience
Now for the truly fun part—I absolutely love hearing from you all! Baking is more rewarding when you share the outcome, isn’t it? Whether you followed Anya’s precise measurements or Sasha convinced you to “just throw in an extra splash of milk,” I want to know how your batch of dinner rolls turned out!
Did they achieve that cloud-like softness we talked about? Were they perfect for dipping into your favorite heavy sauce, or did they disappear entirely while they were still warm from the oven? Please, please, drop us a comment below! We crave the feedback, and it helps other bakers feel confident when they tackle this recipe next time.
If you snap any pictures—maybe a close-up of that buttery glaze or the whole beautiful pan full of rolls ready for the Thanksgiving table—please tag us on social media! Seeing your creations makes the whole process worth it. It reminds us all that food truly is the best way we can connect and share warmth. Happy baking, friends. Maybe next time you’ll try making my spinach and squash casserole to go right alongside these fluffy homemade bread beauties!
PrintThe Ultimate Soft and Fluffy Homemade Dinner Rolls (Classic Buttery Recipe)
Bake the best homemade dinner rolls that are unbelievably soft, fluffy, and buttery. This classic yeast roll recipe is perfect for any family meal or holiday gathering and tastes far better than store-bought options.
- Prep Time: 20 min
- Cook Time: 20 min
- Total Time: 2 hours 20 min
- Yield: 12 to 16 servings
- Category: Side Dish
- Method: Baking
- Cuisine: American
- Diet: Vegetarian
Ingredients
- 1 cup warm milk (105-115°F)
- 2 1/4 teaspoons active dry yeast
- 1/4 cup granulated sugar
- 1 large egg, room temperature
- 1/4 cup unsalted butter, melted
- 3 1/2 cups all-purpose flour, plus more for dusting
- 1 teaspoon salt
- 1/2 cup (1 stick) unsalted butter, softened, for brushing
- 1 tablespoon honey (optional, for Texas Roadhouse style finish)
- 1/2 teaspoon ground cinnamon (optional, for Texas Roadhouse style finish)
Instructions
- Activate the yeast: In a large bowl, combine the warm milk and yeast. Let it sit for 5 to 10 minutes until foamy. This shows your yeast is active.
- Mix wet ingredients: Whisk the sugar, egg, and melted butter into the yeast mixture.
- Combine dry ingredients: In a separate bowl, whisk together 3 cups of the flour and the salt.
- Form the dough: Gradually add the dry ingredients to the wet ingredients, mixing until a shaggy dough forms. Turn the dough out onto a lightly floured surface.
- Knead: Knead the dough for 6 to 8 minutes, adding the remaining 1/2 cup of flour as needed until the dough is smooth and elastic. You want a soft, slightly tacky dough.
- First Rise: Place the dough in a lightly oiled bowl, turning to coat. Cover the bowl with plastic wrap or a clean towel. Let it rise in a warm place for 1 to 1.5 hours, or until doubled in size. This step is key for fluffy homemade bread.
- Shape the rolls: Gently punch down the dough. Divide it into 12 or 16 equal pieces. Roll each piece into a smooth ball. Place the dough balls close together in a greased 9×13 inch baking pan.
- Second Rise: Cover the pan and let the rolls rise again in a warm spot for 30 to 45 minutes, or until puffy.
- Bake: Preheat your oven to 375°F (190°C). Bake for 15 to 20 minutes, or until the tops are golden brown.
- Prepare the butter topping: While the rolls are hot, melt the 1/2 cup of softened butter. If you want the Texas Roadhouse Style Rolls copycat flavor, mix the melted butter with the honey and cinnamon.
- Finish: Brush the melted butter mixture generously over the tops of the hot dinner rolls immediately after removing them from the oven. Serve warm for the best soft dinner rolls experience.
Notes
- For make ahead dinner rolls, you can assemble the rolls in the pan, cover tightly, and refrigerate for up to 24 hours before the second rise. Add 5-10 minutes to the final bake time if baking directly from the refrigerator.
- If you want quick dinner rolls, ensure your kitchen is warm to speed up the rising process.
- These rolls are excellent served plain, but brushing with garlic butter instead of honey butter makes for great garlic butter rolls recipe variations.
Nutrition
- Serving Size: 1 roll
- Calories: 180
- Sugar: 4
- Sodium: 180
- Fat: 8
- Saturated Fat: 5
- Unsaturated Fat: 3
- Trans Fat: 0
- Carbohydrates: 24
- Fiber: 1
- Protein: 4
- Cholesterol: 25
