

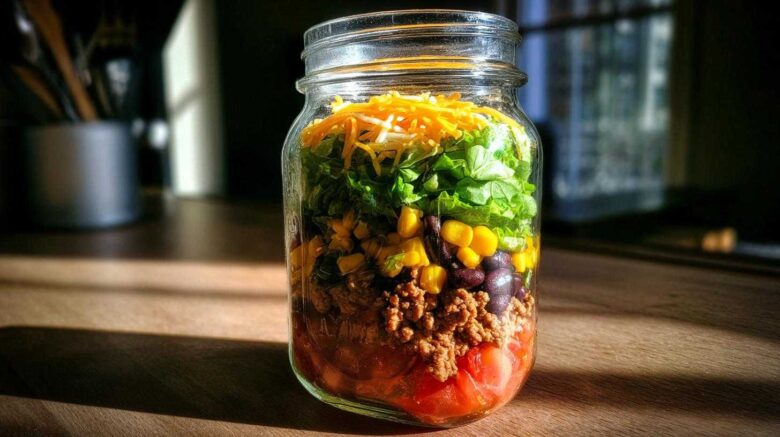
Meal Prep Magic: Creating Your Perfect Mason Jar Taco Salad
When Anya, Sasha, and I started Savor Sensations, we wanted easy meals.
We needed food that traveled well too. That’s how I fell in love with the Mason Jar Taco Salad.
It’s the ultimate portable lunch idea for busy days. You know I believe cooking should feel warm and welcoming.
Layering smart keeps everything crisp. This method shows our combined cooking knowledge.
It brings delicious flavor right to your desk.
Why This Mason Jar Taco Salad Is Your New Favorite Portable Lunch
Say goodbye to sad, soggy desk lunches!
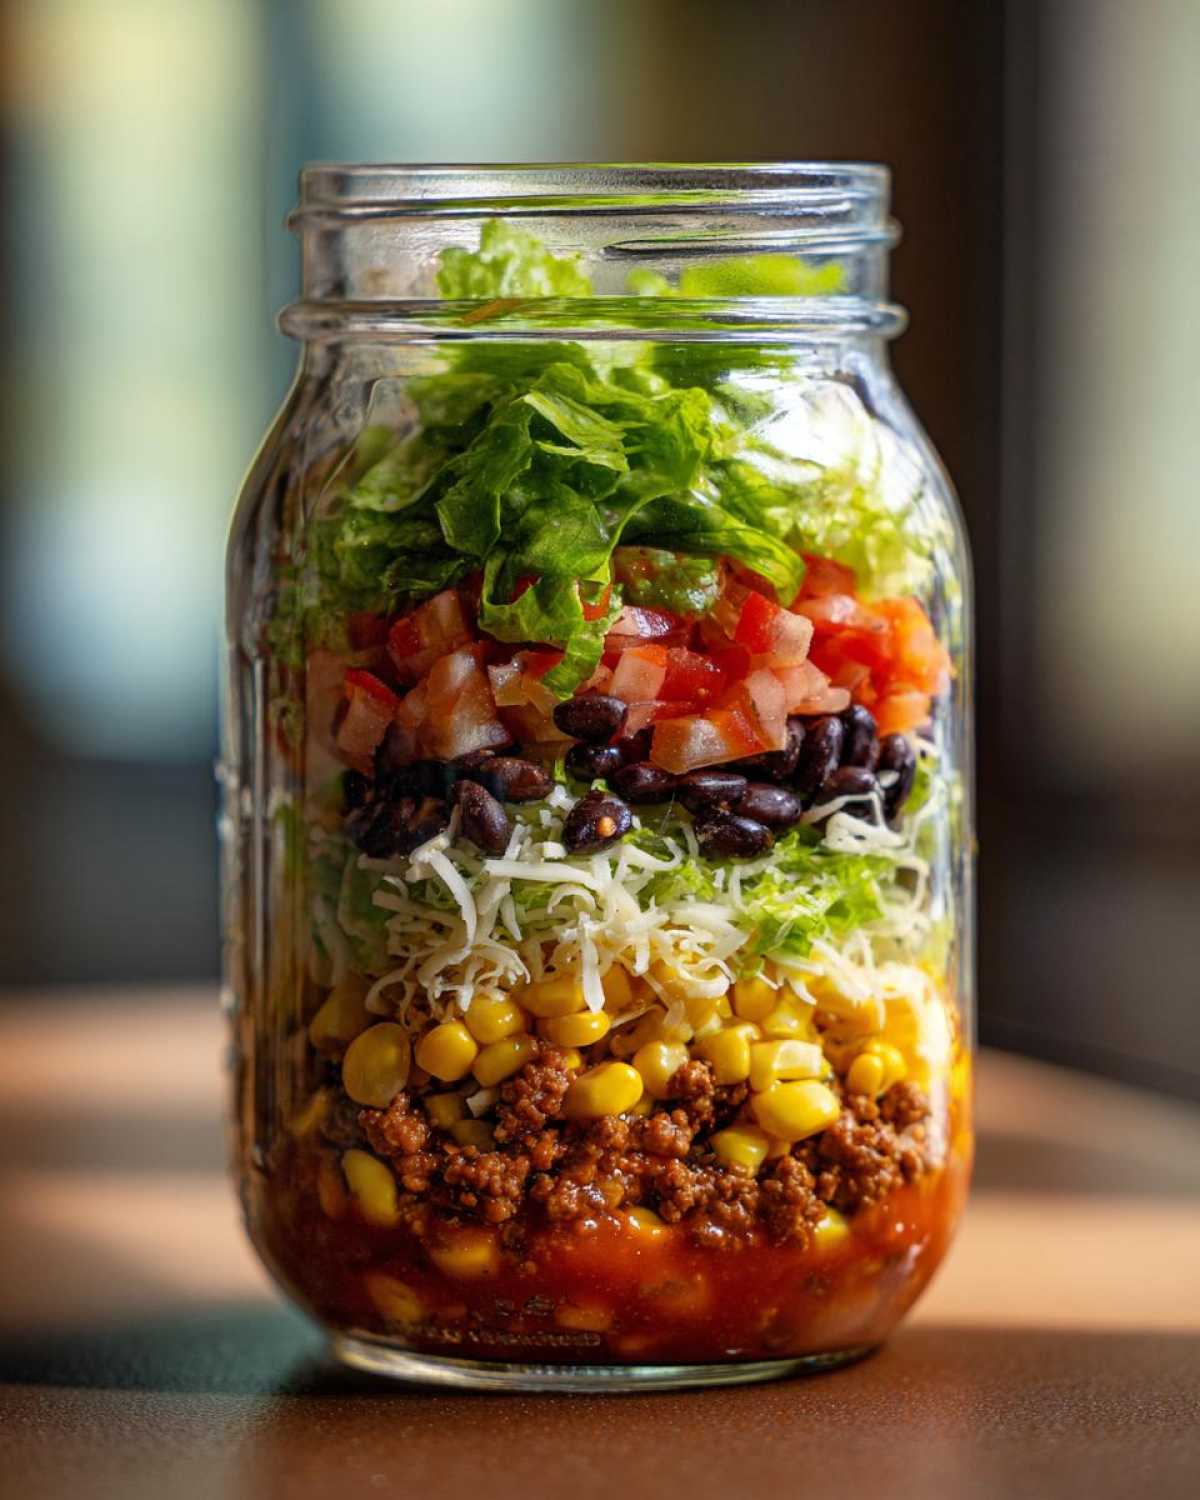
This layered salad keeps things separate. The dressing stays put at the bottom, that’s key.
Your greens stay fluffy, not flat. That’s the beauty of the Mason Jar Taco Salad.
It’s quick to make ahead of time. You get a fresh, flavorful meal later.
It truly makes weekday eating so much brighter, I promise you.
The Essential Ingredients for Your Mason Jar Taco Salad
Getting ready to build this beauty? I’ve learned that ingredient quality matters a lot.
Think about what holds up best in the jar. We need sturdy things first.
Gathering everything makes assembling your Mason Jar Taco Salad fast.
Each component plays a role in keeping things fresh.
Here is what you’ll need for one perfect serving.
Preparation is simple, trust me on this.
Layering Components: Dressing and Base Items
First up is the wet stuff, the foundation layer.
Pour in 1/4 cup of salsa or your favorite dressing.
This keeps the lettuce from turning into mush later.
Next, add your hard items for the first physical barrier.
You need 1/4 cup of black beans, rinsed well.
Toss in 1/4 cup of sweet corn kernels too.
Building Flavor: Vegetables, Protein, and Cheese in Your Mason Jar Taco Salad
Now we add the main flavor drivers for the Mason Jar Taco Salad.
We use 1/4 cup of cooked ground meat.
Make sure it’s seasoned nicely with taco seasoning.
Layer that meat right over the corn and beans.
Then, sprinkle on 2 tablespoons of shredded cheese.
Follow that with 1/4 cup tomato and 1/4 cup bell pepper.
The Topper Ingredient
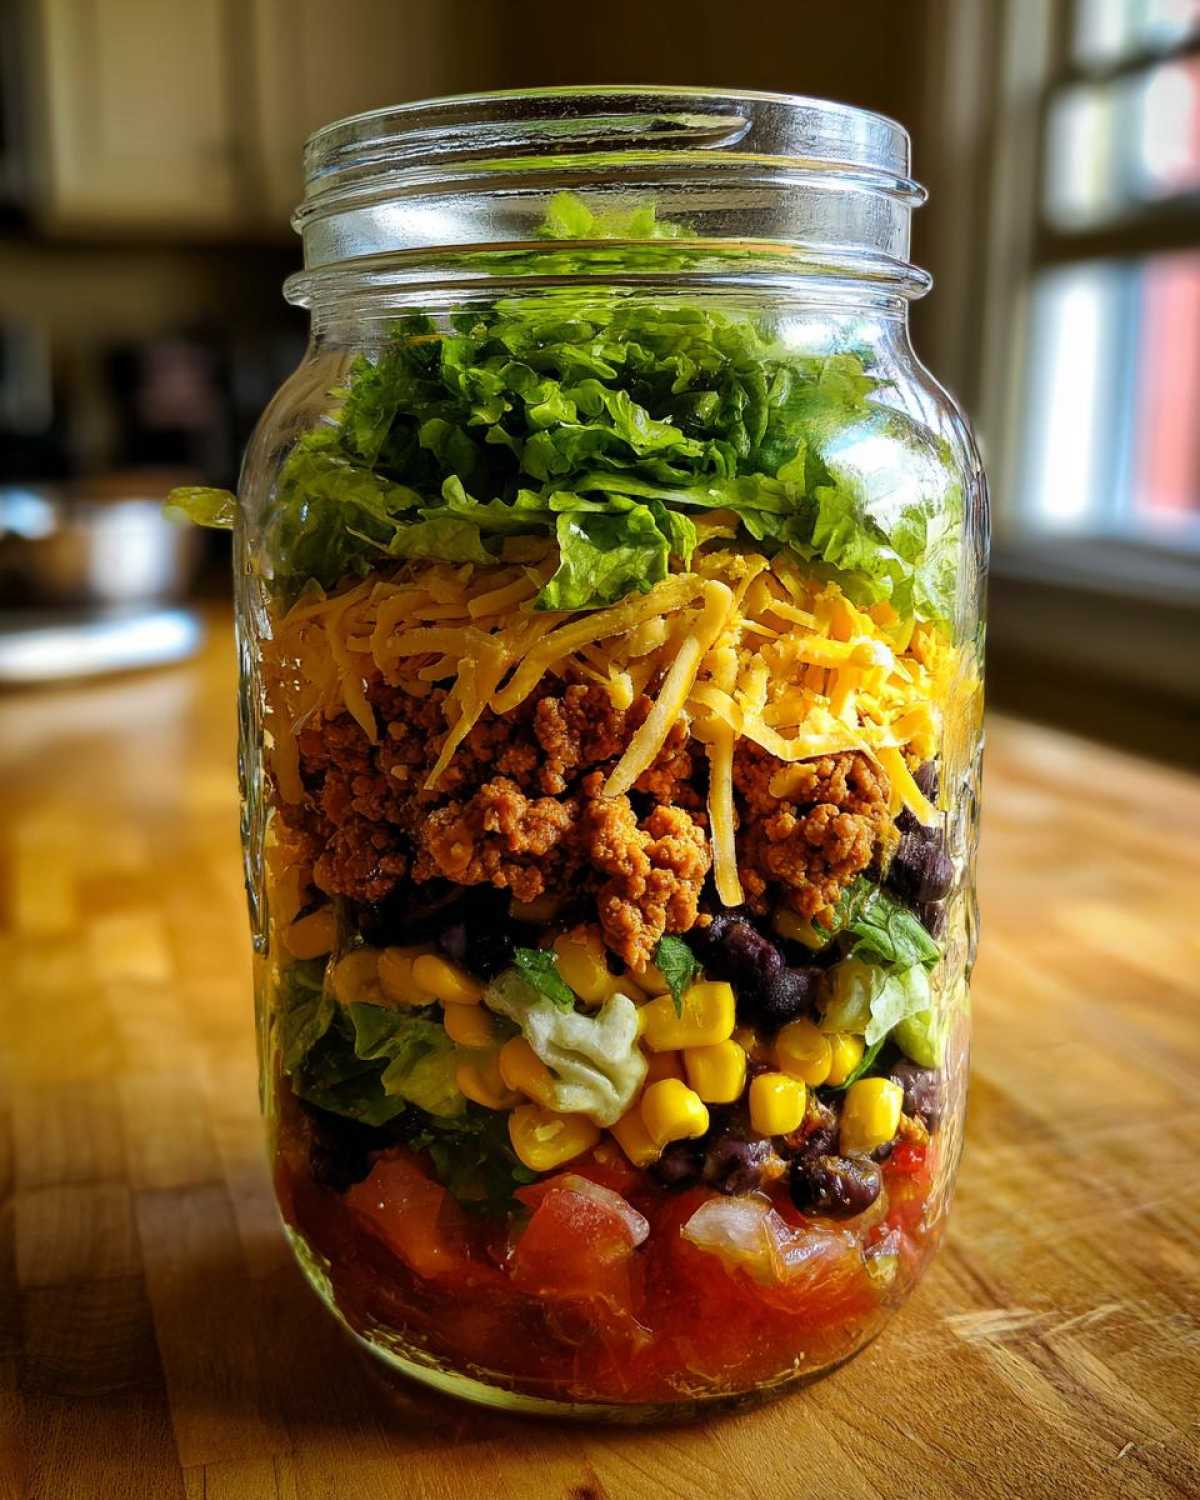
The greens go last, right near the top of the jar.
This keeps them away from any moisture downstairs.
You’ll need about 1/2 cup of shredded lettuce.
I love using mixed greens for extra texture.
Gently press all those lovely layers down a bit.
This helps everything settle nicely before sealing.
Step-by-Step Instructions for Assembling the Mason Jar Taco Salad
Putting together your Mason Jar Taco Salad is almost as fun as eating it!
Remember, layering is everything here. Think of it like building a delicious, edible skyscraper.
We start from the bottom up, protecting those delicate greens.
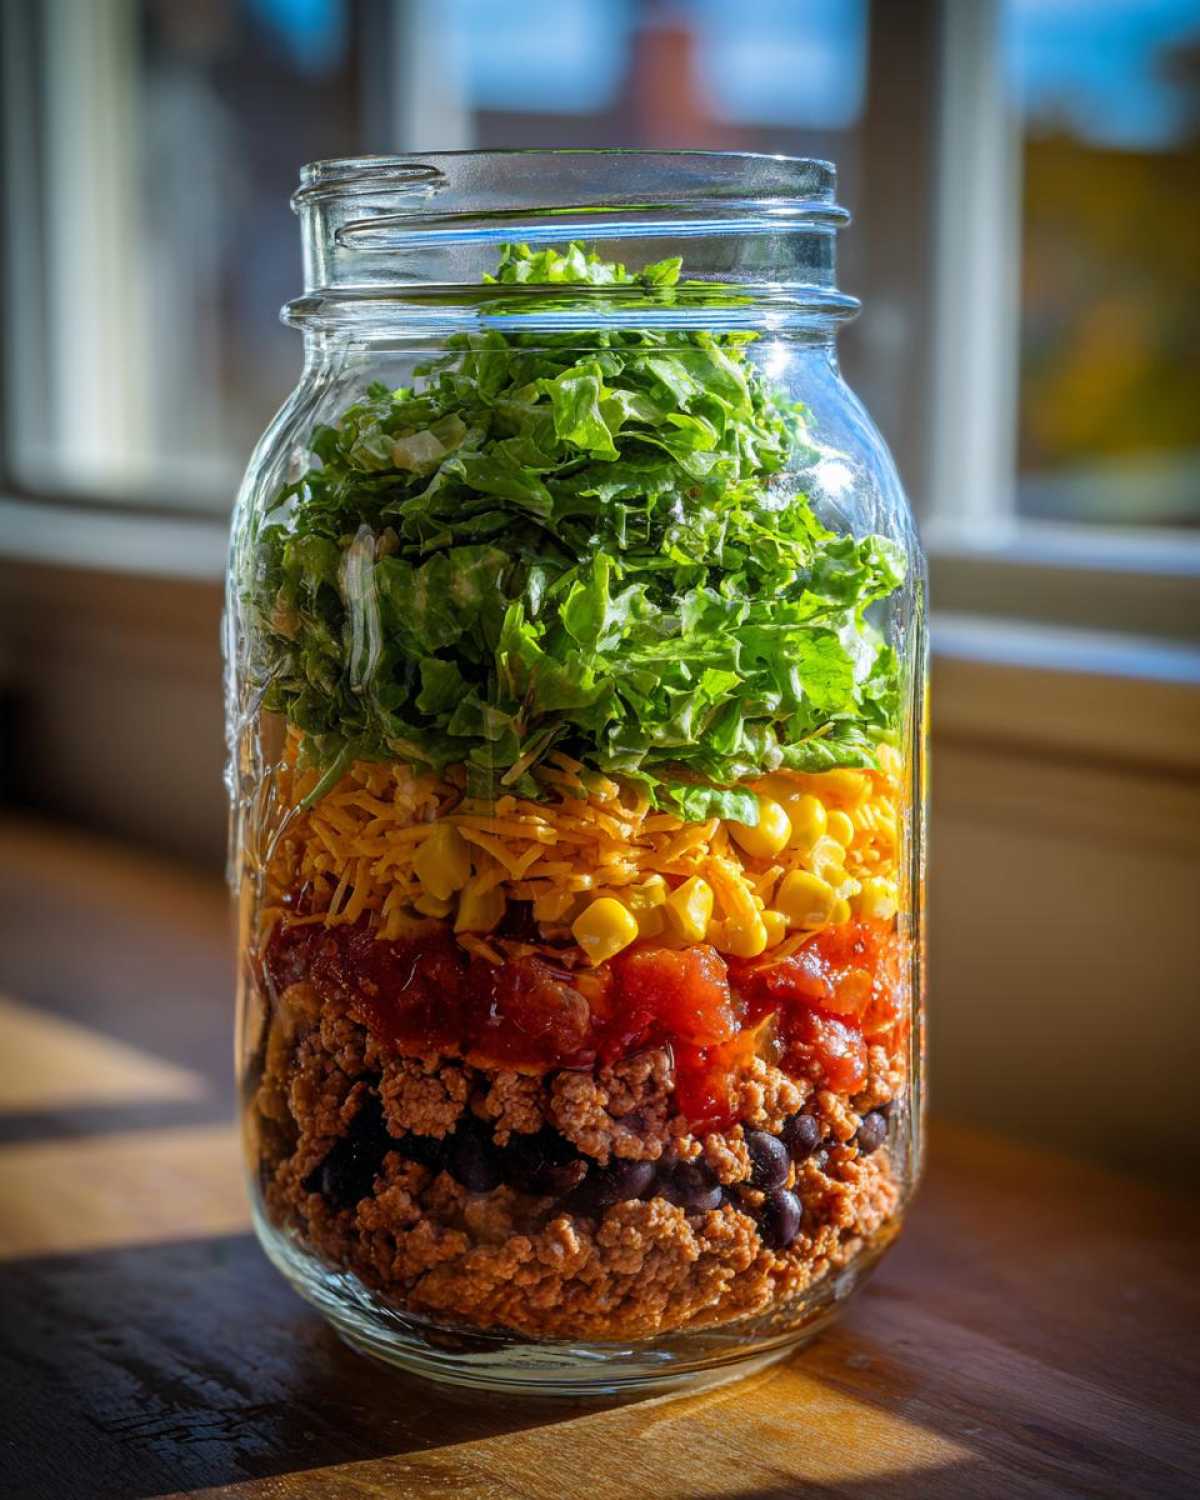
First, pour your dressing or salsa right into the jar base.
Next, add the beans and corn. They are tough little guys.
Follow those with your diced peppers and tomatoes next.
Then comes the seasoned ground meat layer.
Sprinkle that cheese right on top of the warm meat mixture.
Finally, gently pack the lettuce on top. Fill it almost to the very top edge.
Give the contents a gentle press down. This settles everything in place.
Securing the Layers for Freshness
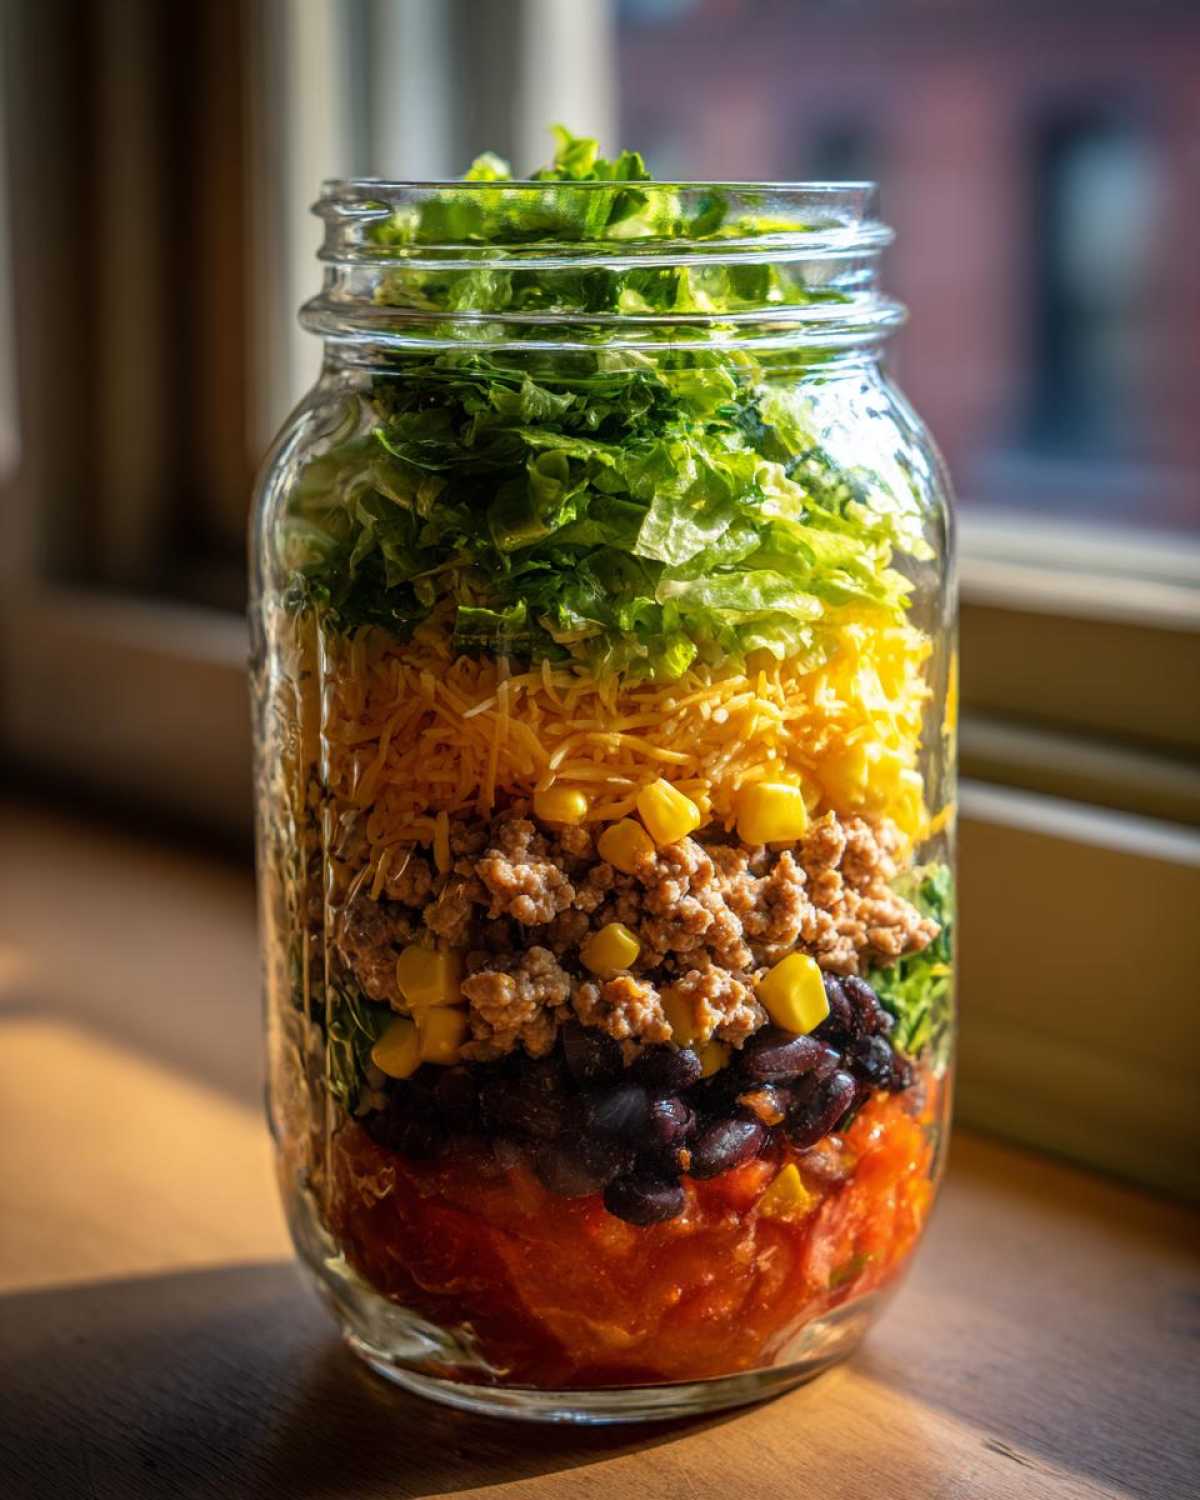
Once everything is layered just right, it’s time to lock it in.
Place the lid on your jar right away.
Seal that wide-mouth mason jar very tightly.
This seal keeps all the air out, keeping things fresh.
When lunchtime rolls around, you have two options.
You can shake the jar hard to mix everything up.
Or, you can dump it all into a bowl and toss it well.
Either way, you get a perfect, fresh salad experience.
Pro Tips for the Best Mason Jar Taco Salad Experience
Making a big batch of these is the real game changer.
I always prep mine on Sunday night for the week ahead.
This makes grabbing a healthy lunch so simple.
You get a fresh, flavorful Mason Jar Taco Salad every day.
Don’t be afraid to change things up a bit.
Use what you have on hand for the best results.
Ingredient Swaps and Vegetarian Options
Feel free to swap veggies based on what’s in season.
Maybe you prefer carrots over peppers today.
If you skip the meat, make it vegetarian friendly.
Add extra black beans or some plant-based crumbles instead.
Just remember to keep the dressing at the very bottom.
That single rule keeps your entire salad tasting amazing.
Frequently Asked Questions About Your Portable Mason Jar Taco Salad
I get so many questions about these jars!
They are simple, but layering can feel new at first.
Let’s clear up any confusion about your Mason Jar Taco Salad.
These tips make your meal prep even smoother.
We want every bite to be perfect, right?
How long does a Mason Jar Taco Salad last in the fridge?
Because we layer things so smartly, these last well.
I find they stay perfectly fresh for about four days.
This works if you make them at the start of the week.
Always check your ingredients for any spoilage first.
The sealed jar keeps everything tasting like it was just made.
Should I add the chips inside the jar for my Mason Jar Taco Salad?
Oh, absolutely not, my friends! Keep those chips separate.
Tortilla chips get soggy fast when they touch moisture.
That defeats the purpose of our careful layering!
Instead, pack the 1 tablespoon of crushed chips separately.
Add them right before you shake or eat your salad.
Crunch is essential for a great taco salad experience.
Estimated Nutritional Values for This Mason Jar Taco Salad
I always like to give a general idea of what’s in our food.
Remember these numbers are just estimates for one jar.
Your exact values will change based on brands.
We used standard portion sizes for this calculation.
- Serving Size: 1 jar
- Calories: 350
- Protein: 25g
- Fat: 15g
- Carbohydrates: 30g
- Fiber: 7g
Share Your Savor Sensations Creation
We truly love seeing your kitchen adventures!
Did this recipe bring some joy to your week?
Rate this Mason Jar Taco Salad below for us.
Tell us how you customized your layers.
Share your portable lunch successes!
We can’t wait to hear from you all soon.
PrintPerfect Mason Jar Taco Salad: 4 Day Freshness
Create a delicious and portable Mason Jar Taco Salad perfect for meal prepping your lunches. This layered salad keeps ingredients fresh until you are ready to enjoy your flavorful meal.
- Prep Time: 15 minutes
- Cook Time: 10 minutes
- Total Time: 25 minutes
- Yield: 1 serving
- Category: Salad
- Method: Layering
- Cuisine: American
- Diet: Low Fat
Ingredients
- 1/4 cup Salsa or dressing of choice
- 1/4 cup Black beans, rinsed and drained
- 1/4 cup Corn kernels
- 1/2 cup Shredded lettuce or mixed greens
- 1/4 cup Diced tomato
- 1/4 cup Diced bell pepper
- 1/4 cup Cooked ground turkey or beef (seasoned with taco seasoning)
- 2 tablespoons Shredded cheddar or Monterey Jack cheese
- 1 tablespoon Crushed tortilla chips
Instructions
- Pour your dressing or salsa into the bottom of a wide-mouth mason jar. This keeps the greens from getting soggy.
- Add the hard, non-absorbent ingredients next: black beans and corn.
- Layer in the softer vegetables like diced tomato and bell pepper.
- Add your seasoned cooked meat layer next.
- Top the meat with the shredded cheese.
- Place the shredded lettuce or mixed greens on top, filling the jar almost to the rim.
- Gently press down the contents.
- Seal the mason jar tightly with the lid.
- When ready to eat, shake the jar vigorously to distribute the dressing, or empty the contents into a bowl and toss.
Notes
- Make several jars at the beginning of the week for easy lunches.
- Use your favorite taco seasoning for the meat.
- Feel free to swap out vegetables based on what you have available.
- For a vegetarian option, skip the meat and add more beans or plant-based crumbles.
Nutrition
- Serving Size: 1 jar
- Calories: 350
- Sugar: 5g
- Sodium: 600mg
- Fat: 15g
- Saturated Fat: 6g
- Unsaturated Fat: 9g
- Trans Fat: 0g
- Carbohydrates: 30g
- Fiber: 7g
- Protein: 25g
- Cholesterol: 50mg
