

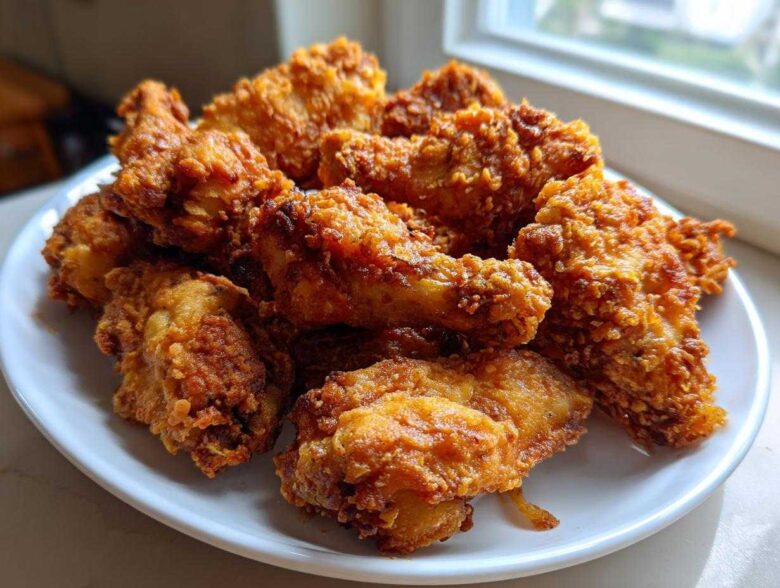
Okay, listen up! If you think getting those shatteringly crisp, deep-fried textures on your homemade chicken wings means breaking out the heavy oil and standing over a splattering pot, I have news for you—you can toss that thought right out! My friends and I spent way too long chasing that perfect crunch without the mess, and surprise! We unlocked the secret. We are talking about the absolute best Extra Crispy Baked Chicken Wings, and honestly, the magic is in one tiny ingredient: baking powder. It’s one of those techniques my grandmother would have absolutely adored because it’s smart and highly efficient. This method gives us that amazing, juicy-inside, crispy-outside result we crave, making these wings perfect for a quick weeknight dinner or the biggest Game Day spread. For more of our favorite tried-and-true kitchen wisdom, you can always check out The Kitchen Chronicles over at Savor Sensations!
Why You’ll Love These Extra Crispy Baked Chicken Wings
I know, I know—baked wings sound like they’re destined to be a little soft and sad. But trust me when I say this technique is a total game-changer! These wings hit every single mark we look for in an appetizer spread. Once you try them, you’ll never look back.
- Serious Crunch, Zero Fry: They deliver the shatteringly crispy skin you normally only get from deep frying, making these the ultimate No Fry Chicken Wings.
- Perfect for Parties: These are the ultimate Game Day Chicken Wings. They hold up well under a sauce and disappear fast!
- Easy Cleanup: Because we use a rack and foil, washing the pan afterwards is honestly the easiest part of the whole process.
- Juicy Inside Guaranteed: The balance of moisture retention means you get that mouthwatering, tender meat beneath that perfect golden crust.
- Crowd Pleaser Appetizers: Whether you keep them dry-rubbed or toss them in Buffalo, they look professional and taste homemade-amazing.
- Weeknight Winner: They come together so quickly that serving up fantastic Homemade Chicken Wings isn’t just for weekends anymore.
For more easy-to-make treats that vanish the second they hit the table, you absolutely have to try our Cranberry Brie Bites. They are legendary!
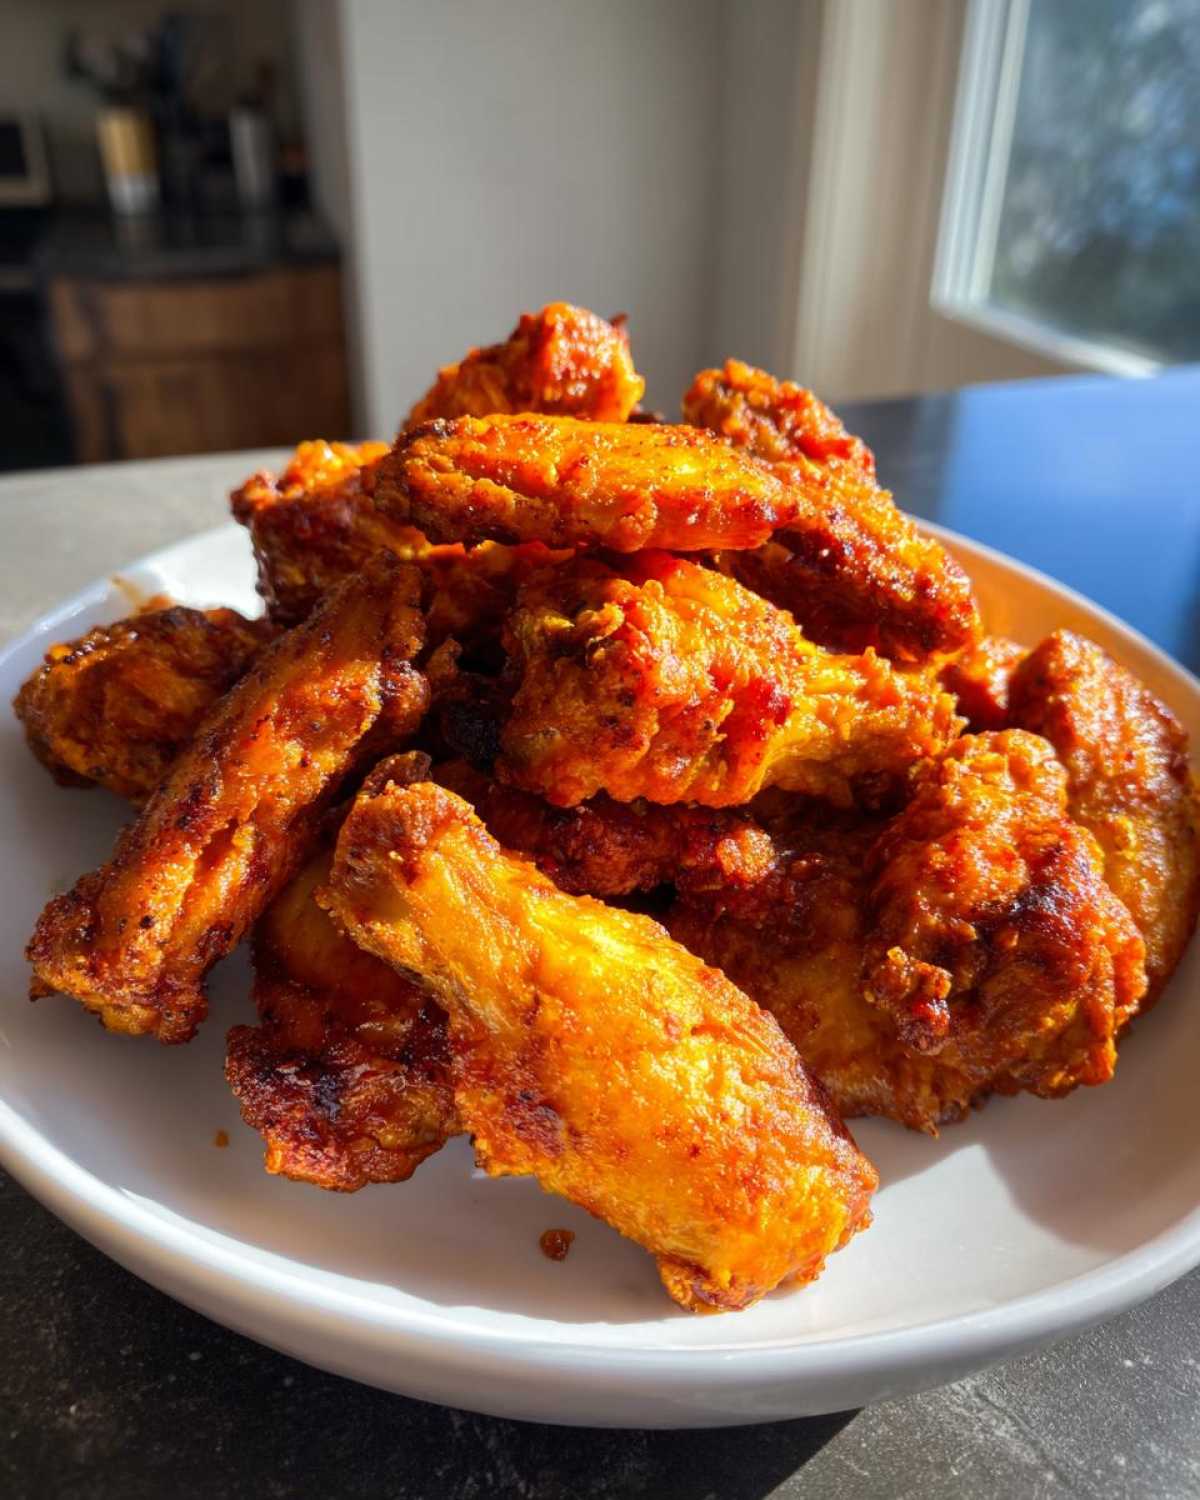
The Secret to Crispy Chicken Wings: Ingredient Breakdown
I know the word “baking” makes you nervous when it comes to wings, but this is where our secret weapon comes into play! Forget complicated marinades or spending days drying them out; we use baking powder. Yes, the stuff you keep in the baking cabinet! It’s my favorite trick because it’s so simple yet radically changes the texture result.
Anya’s tip here: Baking powder is alkaline, meaning it raises the pH level on the chicken skin. When the skin hits that high heat, this chemical reaction breaks down the protein bonds just enough to help the skin dry out really fast. That rapid drying is what gives us that beautiful, shatteringly crisp exterior you dream about. Trust me, it’s pure science working for your tastebuds!
It’s crucial that you use aluminum-free baking powder if you can find it. I’ve tested both, and while the regular stuff works, the aluminum-free option completely eliminates any strange, slightly metallic aftertaste that sometimes creeps in when the skin crisps up. You want pure chicken wing goodness, nothing else!
Essential Components for Perfect Baked Chicken Wings
While the technique is solid gold, you still need great starting materials. These measurements are tried and true for ensuring every wing gets coated properly. Keep these on hand before you start your prep!
- 3 lbs chicken wings (you need to separate those flats and drumettes—get familiar with your joints!)
- 1 tablespoon baking powder (aluminum-free is best, remember?)
- 1 teaspoon kosher salt
- 1/2 teaspoon black pepper
- 1/2 teaspoon garlic powder
- Optional: About 1/2 cup of your favorite fantastic sauce for tossing once they are baked
Mastering the Best Crispy Chicken Wings Technique
Alright, this is the moment of truth! Getting those gorgeous, golden-brown, crispy chicken wings isn’t about luck; it’s all about preparation and heat management. The key, which I keep stressing, is getting those wings bone-dry first. Seriously, grab a huge stack of paper towels and just pat them until you think they might disintegrate—that surface moisture is the enemy of crispiness!
Once they are dry, toss them gently in our baking powder mixture until every single piece is dusted. Remember, we want them spaced out on that wire rack over the baking sheet. No crowding allowed! Air needs to move all the way around the skin, otherwise, you end up steaming them, and soggy wings are just sad wings.
Preparation Steps for Juicy Inside Crispy Outside Wings
Before anything else goes into the oven, remember food safety is crucial! While the baking powder helps dry the outside, we need to ensure the inside gets cooked thoroughly. I always grab my favorite instant-read thermometer when testing poultry. You’re aiming for 165°F inside the thickest part of the meat, but since we’re looking for intense crispness here, keep an eye on them past that point for a little extra browning, making sure they don’t go past 180°F internally.
Make sure you coat them evenly—no bare patches allowed where the baking powder mix didn’t stick. A thorough coating means an even crisp finish all over your delicious bites!
Baking Schedule for Ultra Crispy Chicken Wings
We’re using a two-stage heat attack here to maximize the crunch. First, crank that oven up! Preheat it to 425°F (220°C) and bake them like this for 25 minutes. This intense heat starts rendering that fat right away. Then, and this is vital, flip every single wing over! Drop the temperature down to 400°F (200°C) and let them hang out for another 20 to 25 minutes. That temperature drop sets the skin and really locks in the golden crunch. If you want pointers on using your air fryer for a similar result, check out my tips on Air Fryer Buffalo Wings!
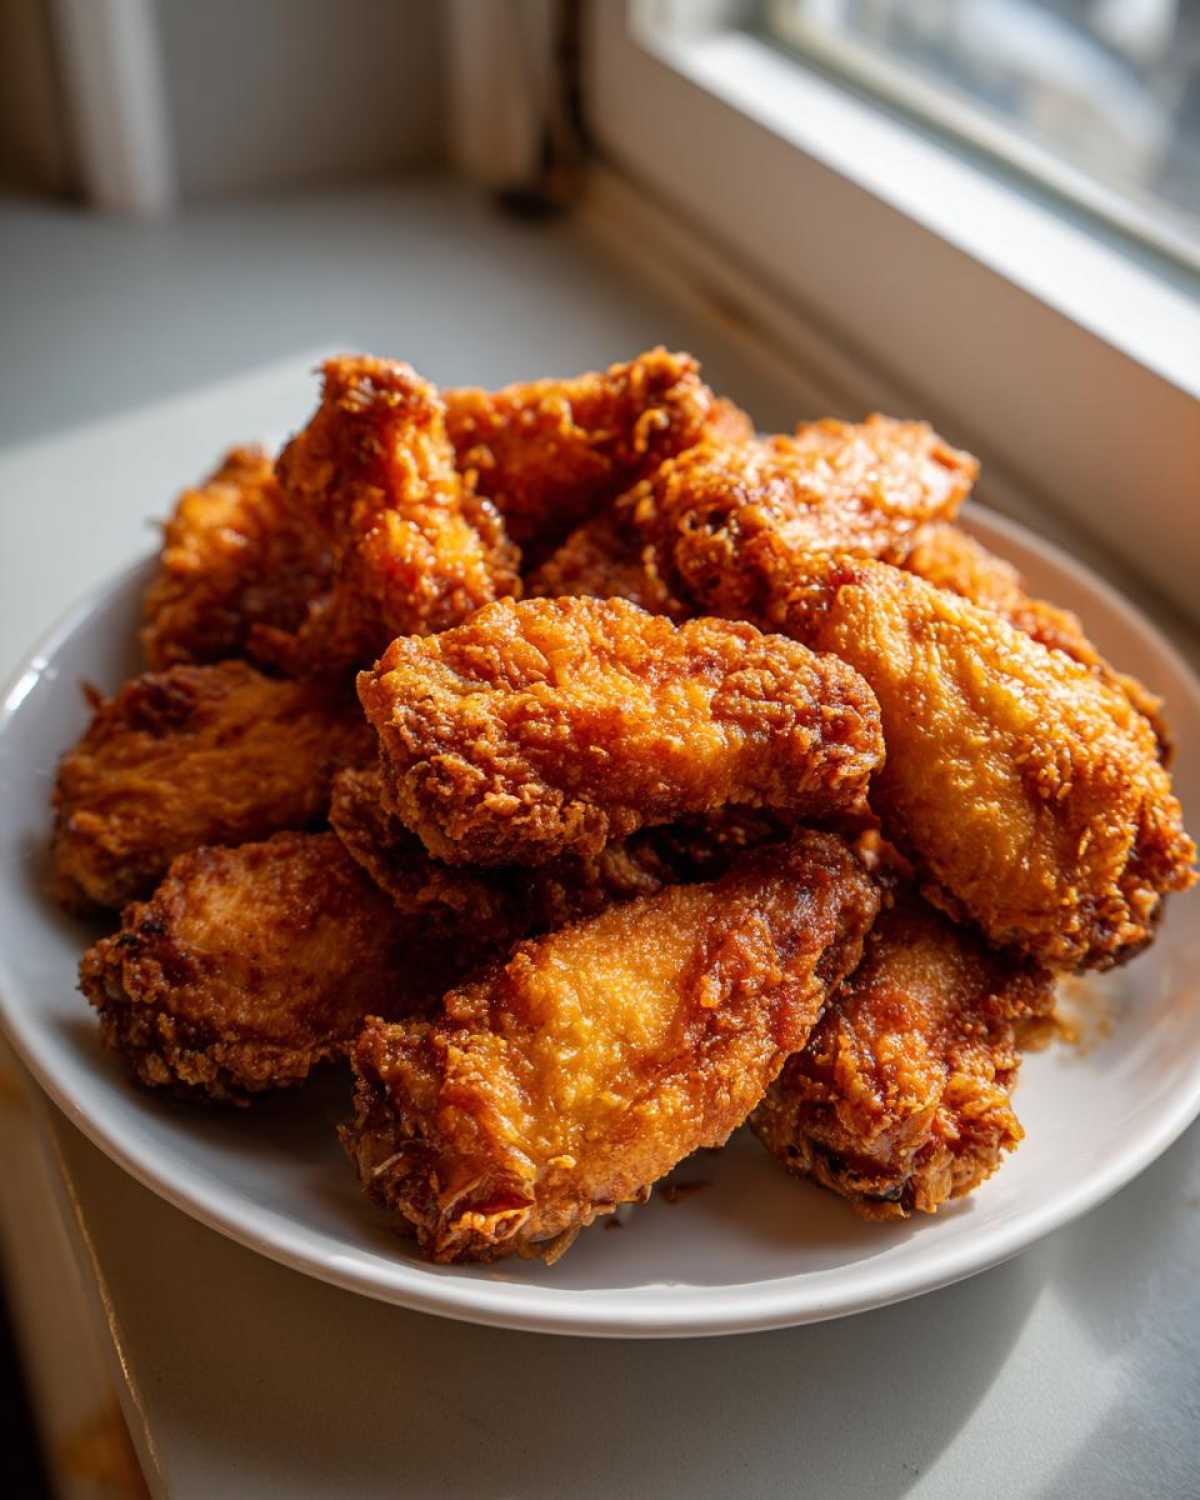
Flavor Variations for Your Party Appetizer Wings
Okay, once you pull those glorious, crispy chicken wings out of the oven, you need to decide what flavor profile you’re going for! The beauty of this base recipe is that the skin is so dry and crisp, it holds onto whatever sauce you throw at it—no sogginess allowed! I firmly believe that saucing should always happen immediately after the wings come off the baking rack. That residual heat helps the sauce adhere perfectly and thicken up just slightly.
This is where our diverse group of friends really shines. Sasha loves the heat, Lena always leans toward something creamy like Ranch, and I, Anya, adore anything that balances sweet and savory. These wings are just as fantastic as dry rubs, but when you want that full flavor coat, here are the combinations that always win big at our get-togethers.
Quick Sauce Ideas for Tossed Chicken Wings
Having your sauce ready to go is non-negotiable. You don’t want to waste those precious first few minutes of crispness wrestling with a mixing bowl! Have your sauce warmed slightly (especially thicker ones) and ready to drizzle or toss over the wings the second they come out of the oven.
- Classic Buffalo Wing Sauce: You just need melted butter, your favorite hot sauce—Frank’s RedHot is always my go-to for that authentic tang—and maybe a dash of vinegar if you like it sharper.
- Honey Garlic Wings: This is one of my favorites to make! It’s just that perfect dance between sweet and savory. You mix melted butter, plenty of garlic powder, soy sauce, and a generous amount of honey. It smells incredible as it coats the hot wings! For a similar sweet richness, check out my Honey Garlic Pork Chops recipe, but cut the soy sauce down a bit for the wings.
- Lemon Pepper Wings: You can make a quick wet version by combining melted butter, the juice of one lemon, and a heavy-handed application of lemon pepper seasoning. They are bright and tangy!
- Ranch Wings Recipe: Toss baked wings in a mix of melted butter and dry ranch seasoning powder. It sticks beautifully and offers that creamy, herby flavor everyone craves in Party Appetizer Wings.
We also sometimes make a fiery coating with our Teriyaki Glazed Meatballs seasonings if we’re going for something a little more complex than just Buffalo!
Alternative Cooking: Making Air Fryer Chicken Wings
Now, I know not everyone has an extra rimmed baking sheet and a huge oven rack setup, and honestly, sometimes I just don’t want to preheat the entire oven for just a pound of wings. That’s where the glorious air fryer steps in! It’s such a popular way to get those fantastic, crispy chicken wings results, and guess what? The baking powder trick absolutely still works its magic in the basket.
If you’re whipping up a smaller batch for a quick weeknight dinner, pull out that air fryer! You’ll get nearly identical amazing texture, just faster. Many folks ask me if the temperature needs adjusting, and yes, you do need to dial it back just a touch compared to the intense initial heat in the oven. We want crispy skin, not burnt coating!
If you want to see my deep dive on the air fryer method, especially when dealing with Buffalo sauce, I wrote up a whole breakdown over on the site for our Air Fryer Buffalo Wings post. It’s a lifesaver when you’re trying to keep up with the game!
For the basic baking powder-coated wings, when using the air fryer, you’ll want to cook them at 380°F (195°C) for a total of about 20 minutes. Remember to flip them halfway through, just like in the oven, because airflow matters in that basket, too! Don’t overcrowd it, or you’ll end up steaming them, and nobody wants steamed wings when they are looking for that crunch!
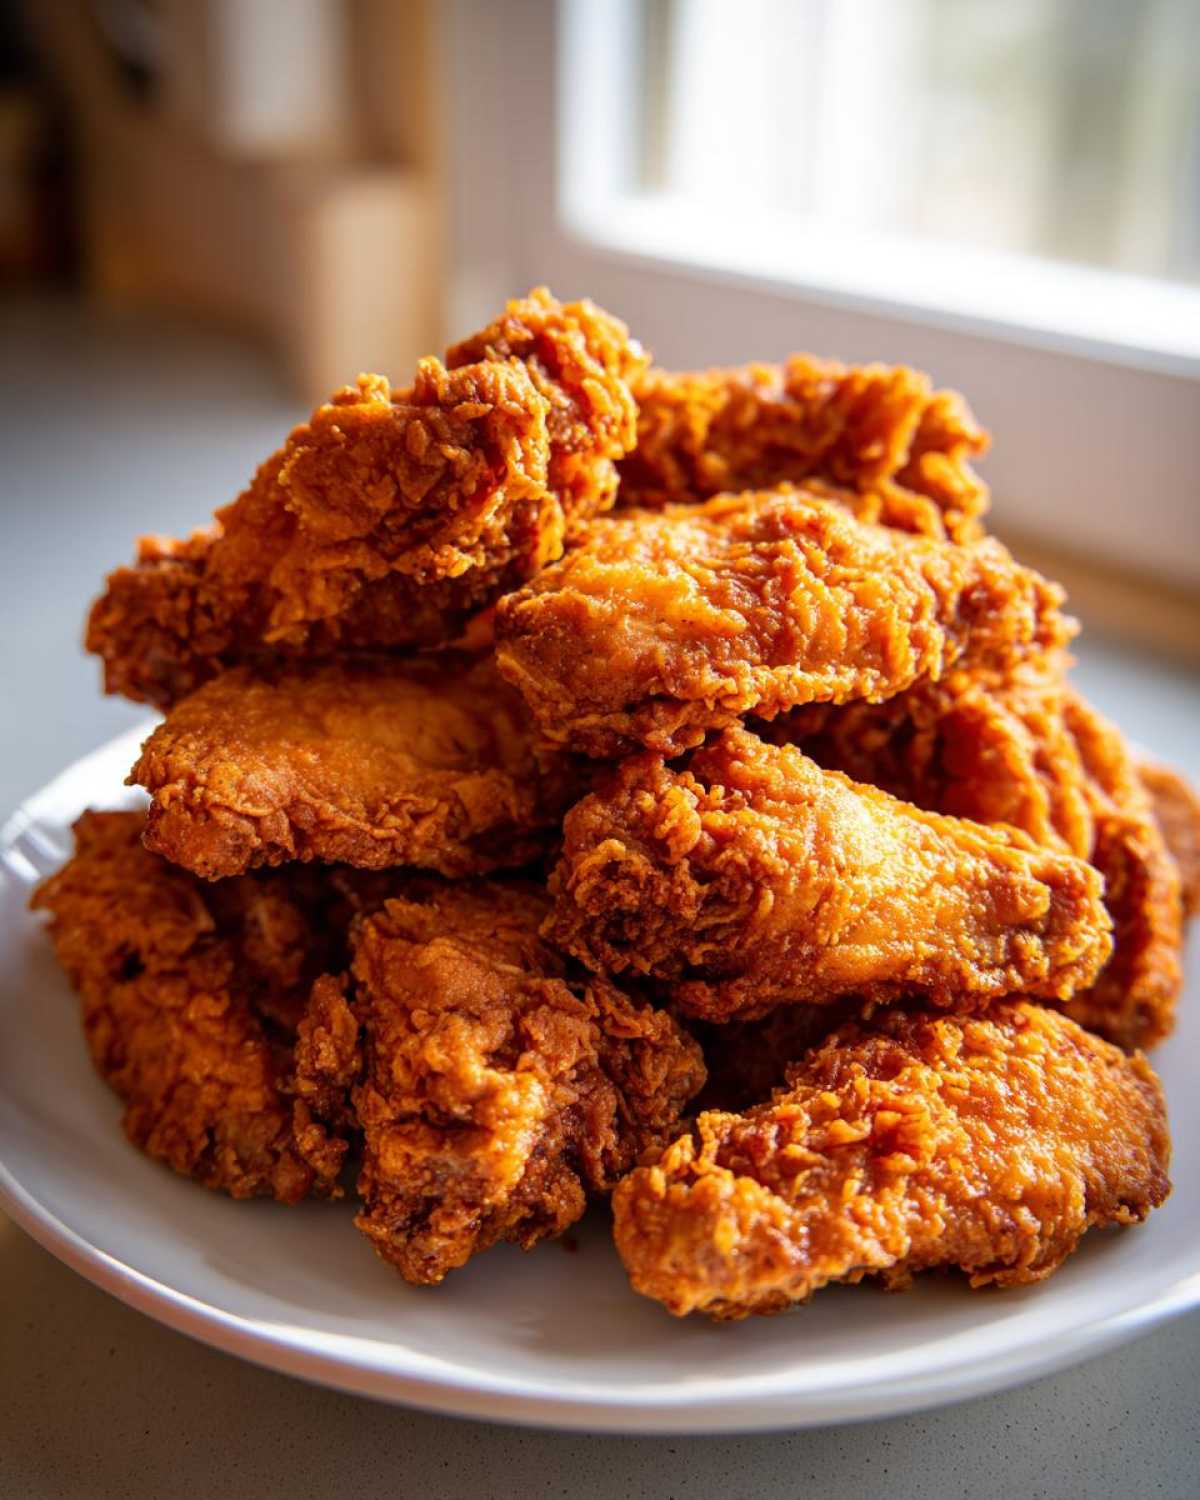
If you’re planning a huge watch party, these baked wings are better for volume, but for one or two people grabbing a quick snack, the air fryer is the clear winner. It’s exciting to see how many great ways we have to make delicious Game Day Chicken Wings now, isn’t it? For more great party ideas, check out my friends’ collection of Game Day Wing Recipes!
Tips for Success with Oven Baked Wings
I want these Oven Baked Wings to be the best you’ve ever made, so let’s talk about the small things that make a massive difference between great wings and legendary wings. Honestly, it often comes down to what you *don’t* do! If you follow the instructions perfectly but ignore these common stumbling blocks, you might lose that coveted crispness.
My biggest piece of advice, Anya’s golden rule, is that you absolutely must use a wire rack. If you just throw the wings onto parchment paper or a foil-lined sheet, the bottom side steams in its own juices. That’s the number one cause of sad, soft bottoms! The rack lifts the wing above that moisture, allowing the hot air to circulate, which is what gives you that uniform, crispy texture all the way around.
Along the same lines, please, please, please do not overcrowd the pan. This might mean you need two sheets instead of one big crowded one, and that’s totally fine! When those wings are packed tight, the heat can’t reach the spaces between them. They end up pressing against each other, trapping steam, and bam—sogginess city. Give them space to breathe, room to crisp, and they will reward you! This attention to detail is why Anya’s wings always come out looking professional.
One more thing about the coating: make sure that baking powder mixture is distributed evenly. If you have spots where the skin is just plain chicken and not coated in that white dust, those spots will definitely remain soft. Take your time tossing them in the bowl, making sure every little surface area gets touched by that crisp-making agent. These little checks ensure you get those Juicy Inside Crispy Outside Wings every single time you bake a batch!
Storing and Reheating Your Extra Crispy Chicken Wings
You made a huge batch, which is the sign of a great host, right? But now you have leftovers, and the eternal question looms: how do I eat these glorious bites without turning them into rubbery sadness? I totally get it. Wings are best fresh, but we can definitely bring them back to life!
First things first: storage. If you tossed them in sauce, they will soften faster than if you left them dry-rubbed. Once the wings are completely cooled down—and I mean fully cooled, otherwise condensation will make them soggy in the container—store them in an airtight container. I try not to keep sauced wings much longer than two days, but dry-rubbed ones can hang in there for three or four days in the fridge. For more great snack recipes perfect for eating later (or just eating all at once!), you have to try our BLT Dip with Corn Chips.
Now for the reheating, because the microwave is the absolute enemy of crispiness. Microwaving turns any crispy skin into a texture I can only describe as chewy wallpaper paste. Please, please, don’t do it!
Restoring the Crunch: Oven vs. Air Fryer
If you want to truly recapture that amazing crunch we worked so hard for, you have to use dry heat again. The oven is my preferred method for large batches because it reheats everything evenly, but the air fryer is fantastic for reviving just a few wings quickly.
Oven Method (Best for large batches): Spread the leftover wings out onto your wire rack set on a baking sheet exactly as you did the first time. Preheat the oven to a moderate 375°F (190°C). Pop them in for about 8 to 10 minutes. This gentle heat crisps the skin back up without burning the sauce remnants. You just want them hot throughout and crunchy on the outside!
Air Fryer Method (Best for quick snacks): If you’re only saving a small handful, toss them in the air fryer basket. Set the temp to 350°F (175°C) and cook for just 4 to 6 minutes. Keep an eye on them, because they heat up fast! You’ll be shocked how they snap back to being crispy chicken wings again.
The main takeaway is that low and slow heat in the oven or quick, focused heat in the air fryer are your best friends for leftovers. Just forget the microwave exist for these crunchy lovelies!
Frequently Asked Questions About Making Chicken Wings
I totally get it; cooking chicken wings can sometimes feel like a guessing game, especially when you’re trying to nail that perfect texture! We always get questions after parties about our technique. Below are the answers to the most common points of confusion, hopefully making your next batch of Game Day Chicken Wings absolutely flawless! To see more of our regular kitchen wisdom and deep dives, don’t forget to check out our homepage here!
Can I use baking soda instead of baking powder for these chicken wings?
Oh, that’s a super common question, and it’s important! You shouldn’t swap baking soda straight for baking powder here. They are chemically different, and that difference matters for our crispiness goal. Baking soda is pure base, while baking powder already contains the acid needed to create that leavening and crust-drying reaction. If you used only baking soda, you’d need to add an acid to the wings to activate it, and that often changes the final flavor profile undesirably. For this specific Best Crispy Baked Chicken Wings method, stick to the baking powder—it’s pre-packaged perfection!
What is the best way to serve these wings for a Game Day Chicken Wings spread?
Serving is almost as fun as cooking, right? Since these wings are already so savory, you want sauces that offer a nice contrast or really lean into the richness. For presentation, I always serve them piled high on a platter lined with maybe a little parchment paper to catch any drips, keeping that oven-fresh look. Have little bowls of dipping sauces ready around the platter. We love having a creamy option and a spicy option available. Always have carrot sticks and celery sticks on hand; they’re great for cooling your mouth off between bites of spicy wings! When you lay out the spread, make sure you have plenty of napkins nearby—these savory chicken bites can get messy quickly!
How do I keep them crispy overnight?
This is the million-dollar question! As I mentioned before, the microwave is your enemy. If you only have a few left, the best bet is the air fryer at 350°F for about 4 to 6 minutes. If you’re reheating a bigger batch for late-night snacking, use the oven method (375°F on that wire rack for about 8 to 10 minutes). The key is reintroducing dry heat without smothering them in sauce first. If you can, store them totally naked (no sauce) and sauce them right before reheating for the absolute best results!
What’s the easiest way to separate the flats and drumettes?
This seems intimidating at first, but once you see the joint, it’s easy! Hold the wing firmly in your hand. You’ll notice three parts: the drumette (looks like a tiny drumstick), the flat (the middle piece with two bones), and the tip (which we usually discard or save for broth—it doesn’t crisp well). Find the small bit of skin connecting the drumette to the flat. Hold the drumette firmly with one hand and the flat with the other, and gently push down on the flat until you feel the joint pop. It should separate cleanly with just a little pressure and a quick snip with kitchen shears if the skin is stubborn. Once you get the hang of it, you can split a whole batch in minutes!
Share Your Crispy Chicken Wings Creations
Honestly, I feel like I have shared all my secrets with you now! We talked about the baking powder trick, the two-stage baking heat, and how to sauce them up right after they come out of the oven. Now, I really want to know what you think! Did you try the Lemon Pepper variation? Did you stick to a classic Buffalo Wing Sauce? Hearing how these Oven Baked Wings turn out in *your* kitchen really makes my day.
Don’t be shy! We put so much love into developing this method for perfectly crispy chicken wings, and seeing your successes makes it all worthwhile. Please take a moment to leave a comment below letting me know how they turned out and what sauce you ended up using. Were they crunchy enough for Game Day? Tell me everything!
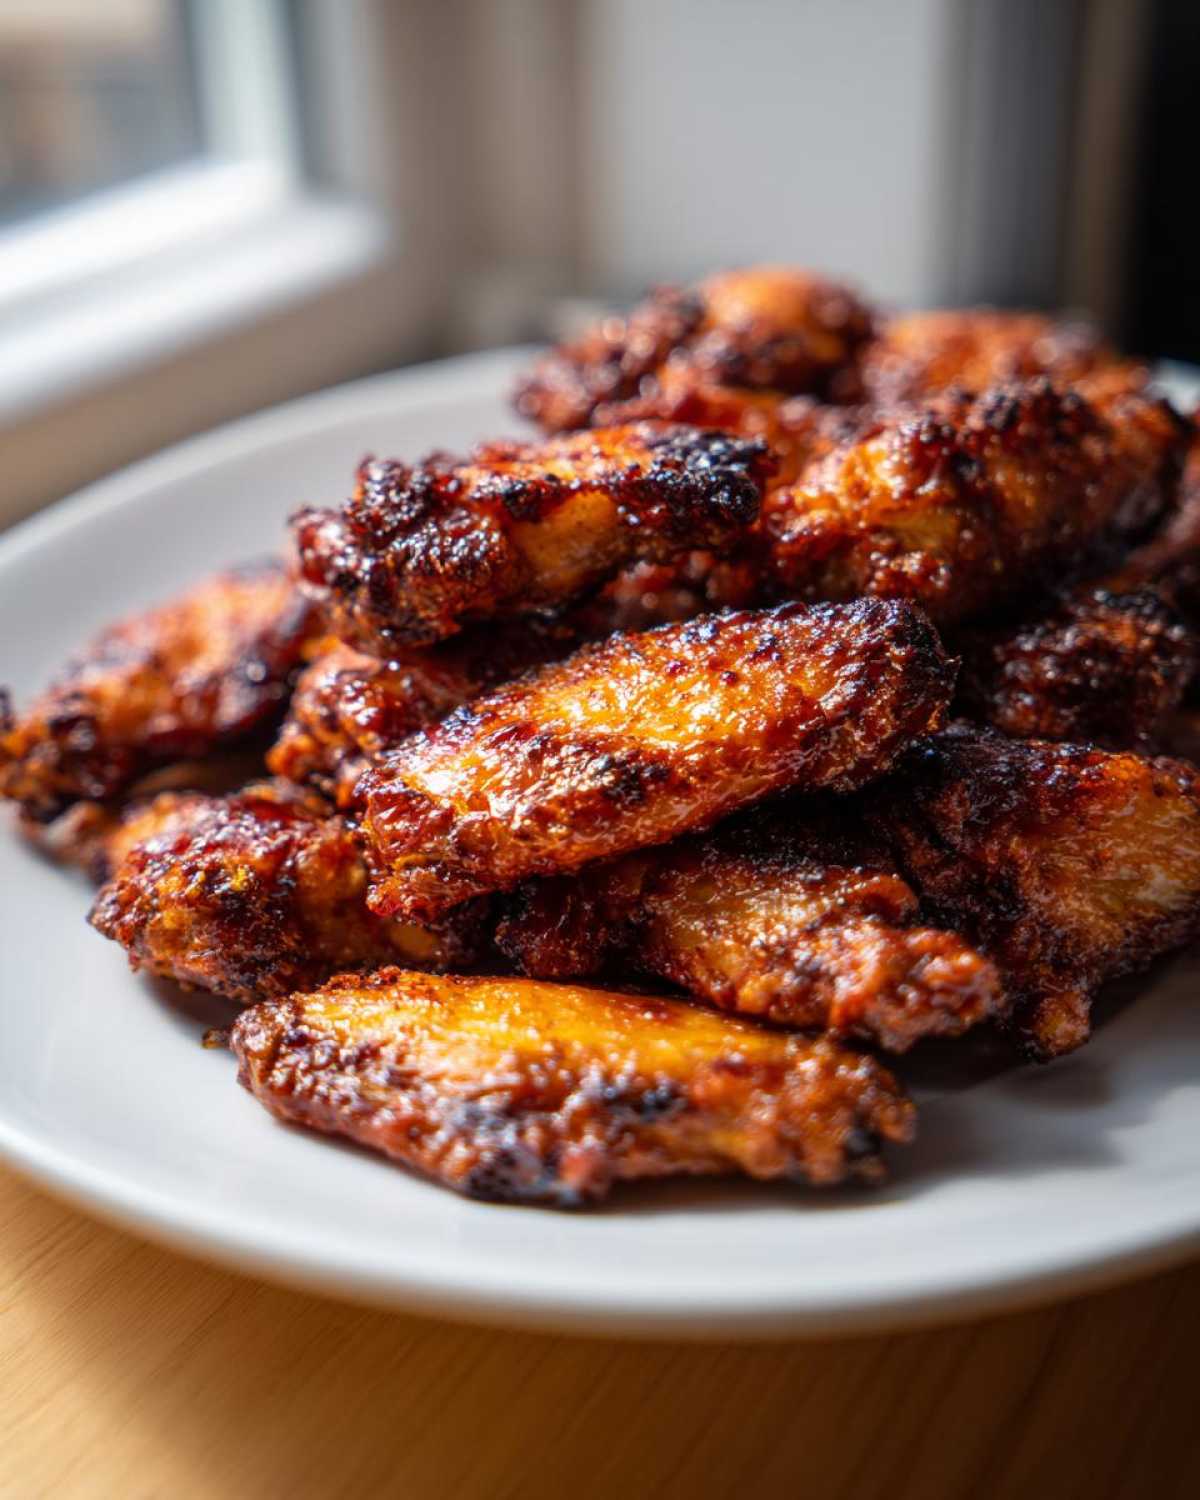
If you managed to snap a picture of your beautiful, golden-brown wings piled high on a platter (maybe next to some of those creamy Ranch dipping sauces!), please share it on social media and tag us! It’s so much fun to see your creations come to life. You can always reach out directly through our contact page if you have any questions, too. We are always here to help troubleshoot or just chat about tasty food!
Thank you so much for giving my favorite Easy Wing Recipes a try. Good food is meant to be shared, and I’m so glad you’re sharing this delicious adventure with Lena, Sasha, and me. Happy cooking, friends!
PrintExtra Crispy Baked Chicken Wings (No Fry Technique)

Learn the simple baking powder trick to make incredibly crispy chicken wings in your oven. These no-fry wings are juicy inside and perfect for game day or any party.
- Prep Time: 15 min
- Cook Time: 45 min
- Total Time: 60 min
- Yield: 4 servings
- Category: Appetizer
- Method: Baking
- Cuisine: American
- Diet: Low Fat
Ingredients
- 3 lbs chicken wings (flats and drumettes separated)
- 1 tablespoon baking powder (aluminum-free is best)
- 1 teaspoon kosher salt
- 1/2 teaspoon black pepper
- 1/2 teaspoon garlic powder
- Optional: 1/2 cup of your favorite sauce (like Buffalo or Honey Garlic) for tossing after baking
Instructions
- Preheat your oven to 425°F (220°C). Line a large, rimmed baking sheet with aluminum foil for easy cleanup. Place a wire cooling rack on top of the foil-lined sheet.
- Pat the chicken wings completely dry using paper towels. This step is crucial for crispiness.
- In a large bowl, combine the baking powder, kosher salt, black pepper, and garlic powder.
- Add the dried chicken wings to the bowl. Toss thoroughly until every piece is evenly coated with the baking powder mixture.
- Arrange the coated wings in a single layer on the wire rack, ensuring there is space between each wing for air circulation. Do not overcrowd the pan.
- Bake for 25 minutes.
- Flip each wing over. Reduce the oven temperature to 400°F (200°C).
- Bake for another 20 to 25 minutes, or until the skin is deeply golden brown and very crispy.
- Remove the wings from the oven. If you want sauced wings, immediately toss them in your chosen sauce in a clean bowl until coated.
- Serve the extra crispy baked chicken wings immediately with dipping sauces.
Notes
- Using aluminum-free baking powder helps prevent any metallic taste.
- The baking powder reacts with the chicken skin proteins during baking, helping to dry out the skin for maximum crunch without frying.
- For the crispiest results, ensure the wings are completely dry before seasoning.
- If you prefer air fryer chicken wings, cook at 380°F (195°C) for 20 minutes, flipping halfway.
Nutrition
- Serving Size: 4 wings
- Calories: 350
- Sugar: 1
- Sodium: 450
- Fat: 22
- Saturated Fat: 7
- Unsaturated Fat: 15
- Trans Fat: 0
- Carbohydrates: 1
- Fiber: 0
- Protein: 34
- Cholesterol: 110
