

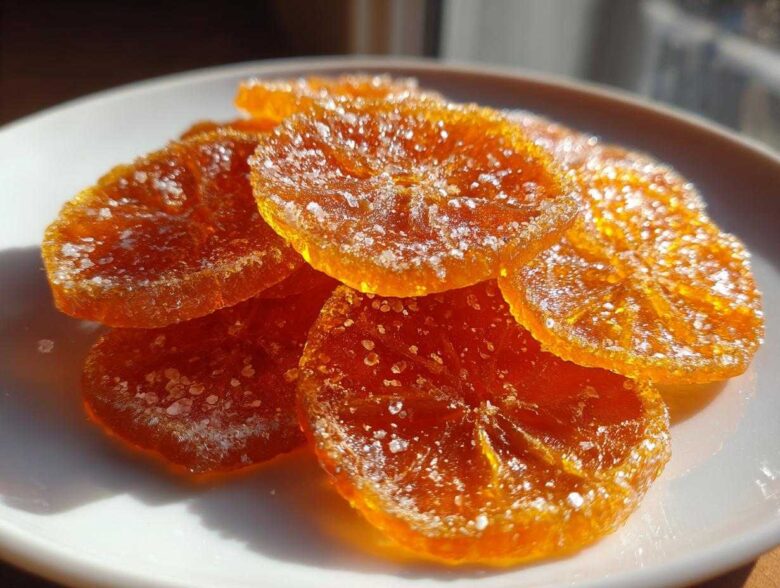
Honestly, there’s nothing quite like pulling something truly glorious out of your own oven, right? When I first tackled making candied orange slices, I thought it would be a fussy mess, but trust me, it is shockingly simple! The real prize here is that perfect texture—you want chewy, tender, and those gorgeous, jewel-like translucent orange slices that just scream gourmet. I always make a double batch around the holidays because they disappear instantly, either piled high on a platter or tucked into cellophane bags as DIY citrus gifts. Let’s turn those bright oranges into pure, sweet sunshine!
Why You Will Love This Recipe for Candied Orange Slices
I wasn’t kidding when I said this recipe is amazing! Forget those sad, dry peels you sometimes see; we are making the real deal here—flavor bombs that keep everyone reaching for more. You absolutely need this on your rotation, and here’s why:
- Snackable Sweetness: Seriously, they are the best chewy orange snacks you will ever make. I grab a few right out of the jar when I need a little bright pick-me-up during my afternoon slump.
- The Ultimate Edible Orange Garnish: If you want your desserts to look like they came from a fancy pastry shop, these are your secret weapon. They look stunning draped over cakes or tucked into cocktails.
- Surprisingly Easy Process: Wow, it’s mostly just simmering! Once you get the sugar dissolved and the slices in, you just let the syrup do all the heavy lifting.
- Perfect DIY Citrus Gifts: Because they last so wonderfully when stored right, these preserved citrus slices make fantastic, thoughtful presents. Tie a ribbon around the jar, and you’re done! Check out my DIY citrus gifts ideas for more inspiration!
Essential Ingredients for Perfect Candied Orange Slices
Okay, let’s talk about what you need to grab from the pantry. This recipe isn’t complicated! Since the sugar and the fruit are doing all the work, you want good quality stuff. We’re keeping the ingredient list short because we want those vibrant orange flavors to shine through, not get buried in extracts or spices, unless you want to add them later, of course! For the true sweet and tangy orange slices experience, stick close to these amounts.
- Two big, beautiful Navel oranges—they have that perfect balance of sweet and tart.
- Four cups of water for the initial blanching and syrup bath.
- Four cups of plain old granulated sugar. Yes, that’s a lot, but it’s what preserves them!
- One extra cup of water, just in case you need to nudge the syrup consistency later.
You’ll find a few more of my tips in my spiced tea recipe section, but these are the basics for the best candied orange slices!
Ingredient Notes and Substitutions for Candied Orange Slices
This is where we separate the good results from the *great* results, my friends. The oranges are crucial here! I swear by Navel oranges; they are firm, and their rind isn’t overly thick. If you use Valencias, they might be a little thinner, which is fine, but be super careful when simmering because they can fall apart faster.
If you’re wondering about other sweeteners, you *can* try honey, but don’t expect the same result! Honey changes the texture dramatically—you might end up with something chewier but a lot stickier, and it browns faster, so you’ll lose that lovely translucent orange candy look.
And one last major tip: when you slice them, aim for about 1/8 of an inch thick. If the pith (that white spongy part) is super thick on your oranges, you might consider trimming a tiny bit of it off the slices after cutting, just so they don’t taste too bitter!
Step-by-Step Instructions: How to Make Candied Oranges
Alright, put on your apron because this is where the magic really happens! It seems intimidating, but if you follow these steps, you’ll have those perfect, sweet and tangy orange slices looking like they were professionally done. Remember, timing is everything here, especially during that crucial simmering phase. Don’t rush it!
- First things first, scrub those oranges! We want them spotless since we’re eating the peel. Slice them thinly—I aim for about 1/8 of an inch—and just quickly pluck out any big seeds you spot.
- Grab your biggest saucepan. Combine four cups of water with four cups of sugar and get this over medium-high heat. You absolutely must stir this constantly until every single grain of sugar has vanished. If you see sugar crystals clinging to the side of the pan when you turn the heat down, you’re asking for crystallization later, and we don’t want gritty candy!
- As soon as it hits a full boil and is perfectly clear, knock that heat right down to a gentle, happy simmer. Now, carefully slip your orange slices into that hot syrup. If you’re doing a big batch, work in two separate pots to avoid overcrowding; the slices need space to move around!
- This is the patience part: let them simmer gently for a solid 45 minutes up to a full hour. Keep an eye on them and turn them over gently every 15 minutes or so so both sides get acquainted with the syrup bath.
- Once they start looking glossy and translucent—like stained glass—it’s time! Use a slotted spoon to lift them out and place them onto a wire rack that’s sitting on top of a baking sheet. This setup lets the extra syrup drip away nicely. Let them rest there for about half an hour while they cool down a bit.
- If you want that classic sugary crunch, now is the time! While they are still sticky from the syrup, give them a gentle roll right through a separate bowl of fresh, dry granulated sugar.
- Finally, we dry them out completely. You can look at my full recipe guide for general citrus candy advice, but let’s get them ready for storage next!
Achieving Translucent Orange Candy Texture
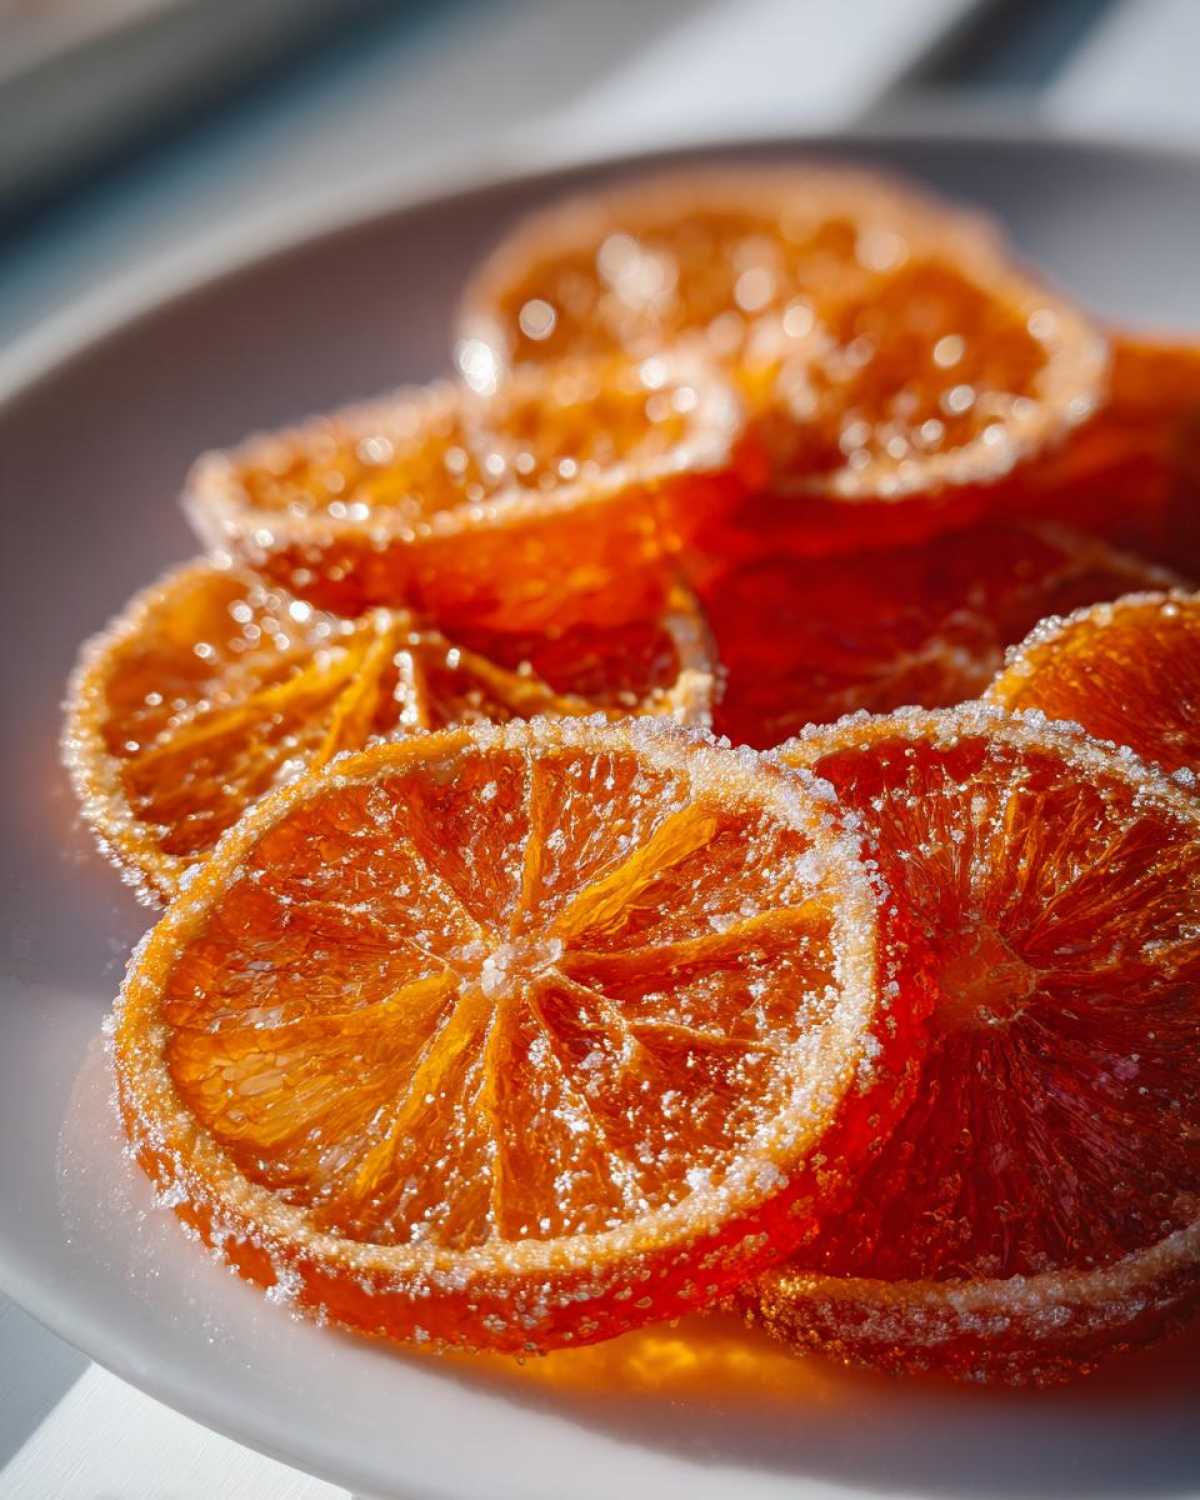
That glossy look, where you can practically see through the slice to whatever is behind it? That’s the goal! That beautifully translucent orange candy appearance doesn’t happen by accident; it happens because the sugar syrup slowly replaces the water inside the orange cells. If you try to rush this step by turning up the heat—don’t do it!—you’ll just end up with mushy, under-sweetened peels.
The long, low simmer is non-negotiable because it allows the sugar to fully penetrate the thick white pith. You’ll notice the color changing from opaque white/orange to a deep golden, almost amber color when they are just about ready. Just keep turning them gently so they cook evenly and don’t stick to the bottom or each other!
Drying Methods for Your Candied Orange Slices
This is honestly the step that trips most people up. If you don’t dry them thoroughly, they will stick together in one giant orange clump in their storage jar, which defeats the purpose of making individual chewy orange snacks!
The first, easiest method is simple air drying. Just leave them on that wire rack at room temperature—make sure your kitchen isn’t too humid!—for a full 12 to 24 hours until they feel dry to the touch. They should still be pliable, not hard as a rock.
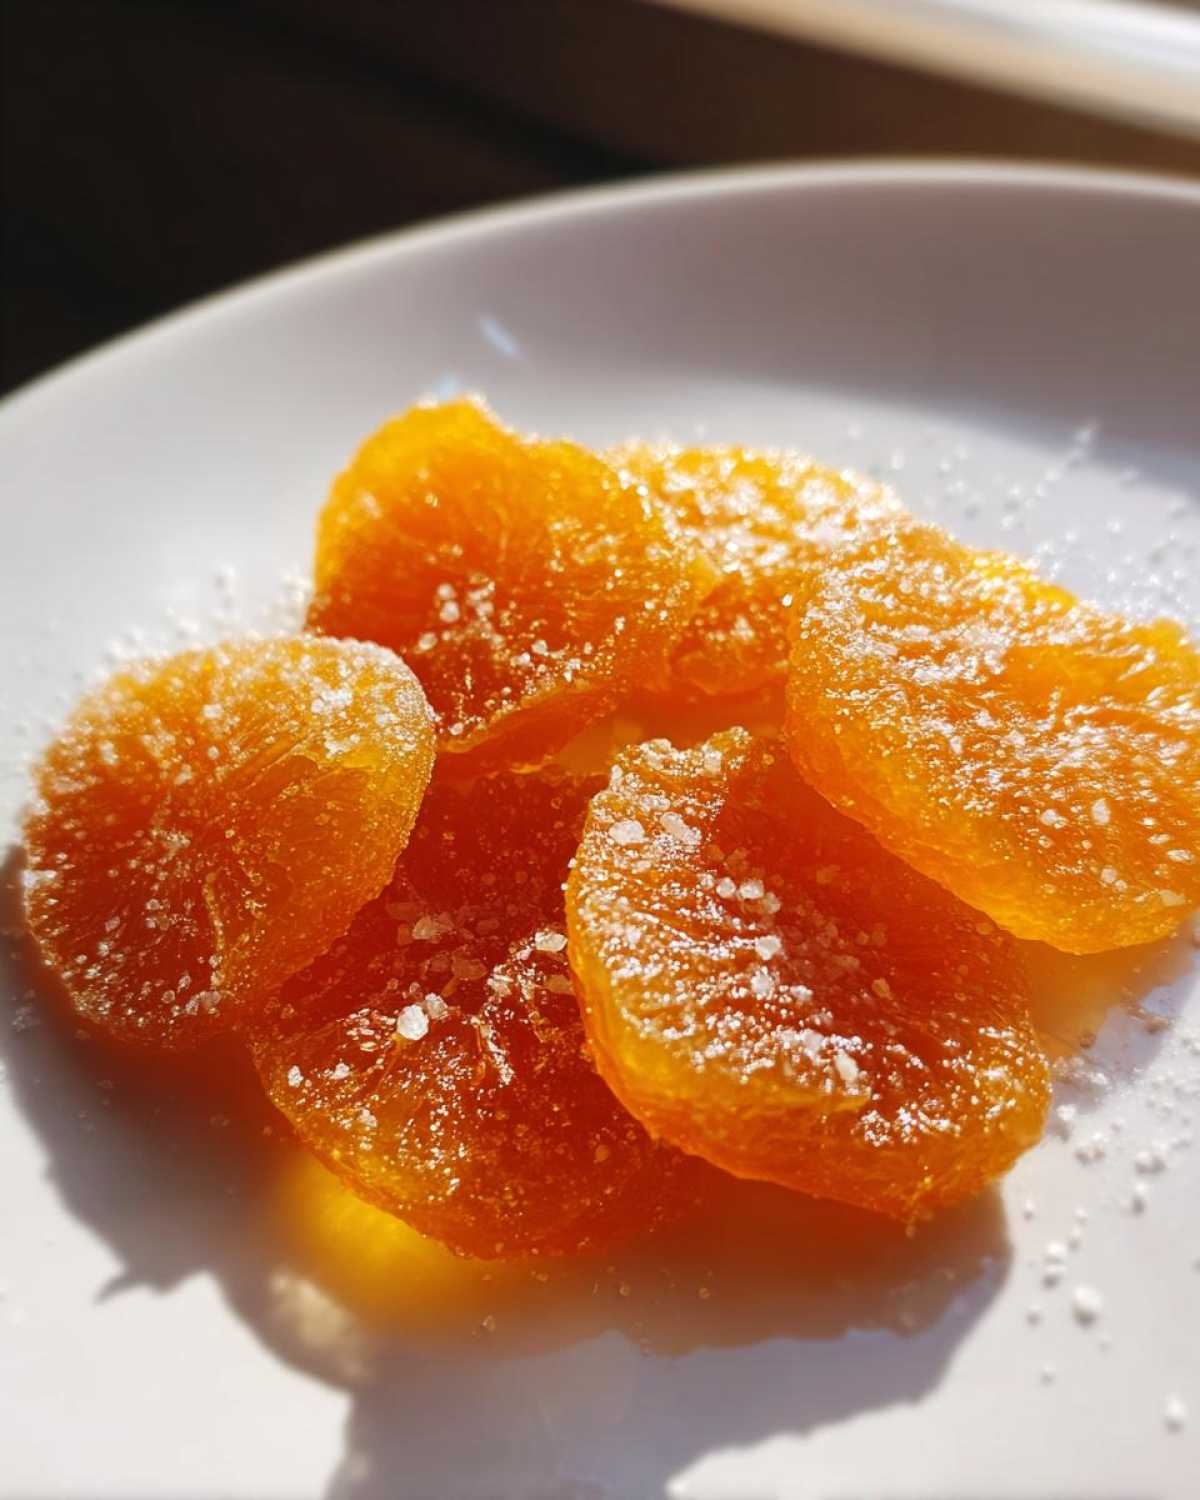
If you’re in a rush, which I totally get around the holidays, busting out the oven is your best bet. Set your oven to the lowest possible temperature, usually right around 200 degrees Fahrenheit. Lay the slices on the parchment-lined baking sheet again, and bake them for about 2 to 3 hours. Halfway through, maybe around the 90-minute mark, you need to flip every single slice over so they dry evenly. Pull them out when they stop feeling moist and sticky. Perfect!
Gourmet Orange Dessert Variations: Beyond Simple Candied Orange Slices
Okay, once you have mastered the basic sweet and tangy orange slices, you start getting creative, right? That’s my favorite part—taking something already delicious and making it totally irresistible! These preserved citrus slices shine on their own, but dipping them into chocolate? Oh boy, that elevates them straight into gourmet orange dessert territory!
Forget buying those pricey treats from fancy shops; we can make better ones right here. My go-to upgrade is definitely making chocolate dipped candied oranges. But you have to wait until they are completely, totally dry first. If there is even a hint of moisture left, the chocolate won’t set right, and you’ll end up with a sad puddle instead of a clean dip.
Here’s the simple trick for dipping: Melt down some good quality dark chocolate—I mean, really dark, like 70% cacao—in a double boiler or careful microwave bursts. Once it’s smooth, grab your completely cooled, dry slice with tongs or a fork and dip about half the slice in. Let the excess drip off for a quick second back into the pot, and then lay them flat on parchment paper. They need to sit undisturbed in a cool spot until that chocolate is rock solid.
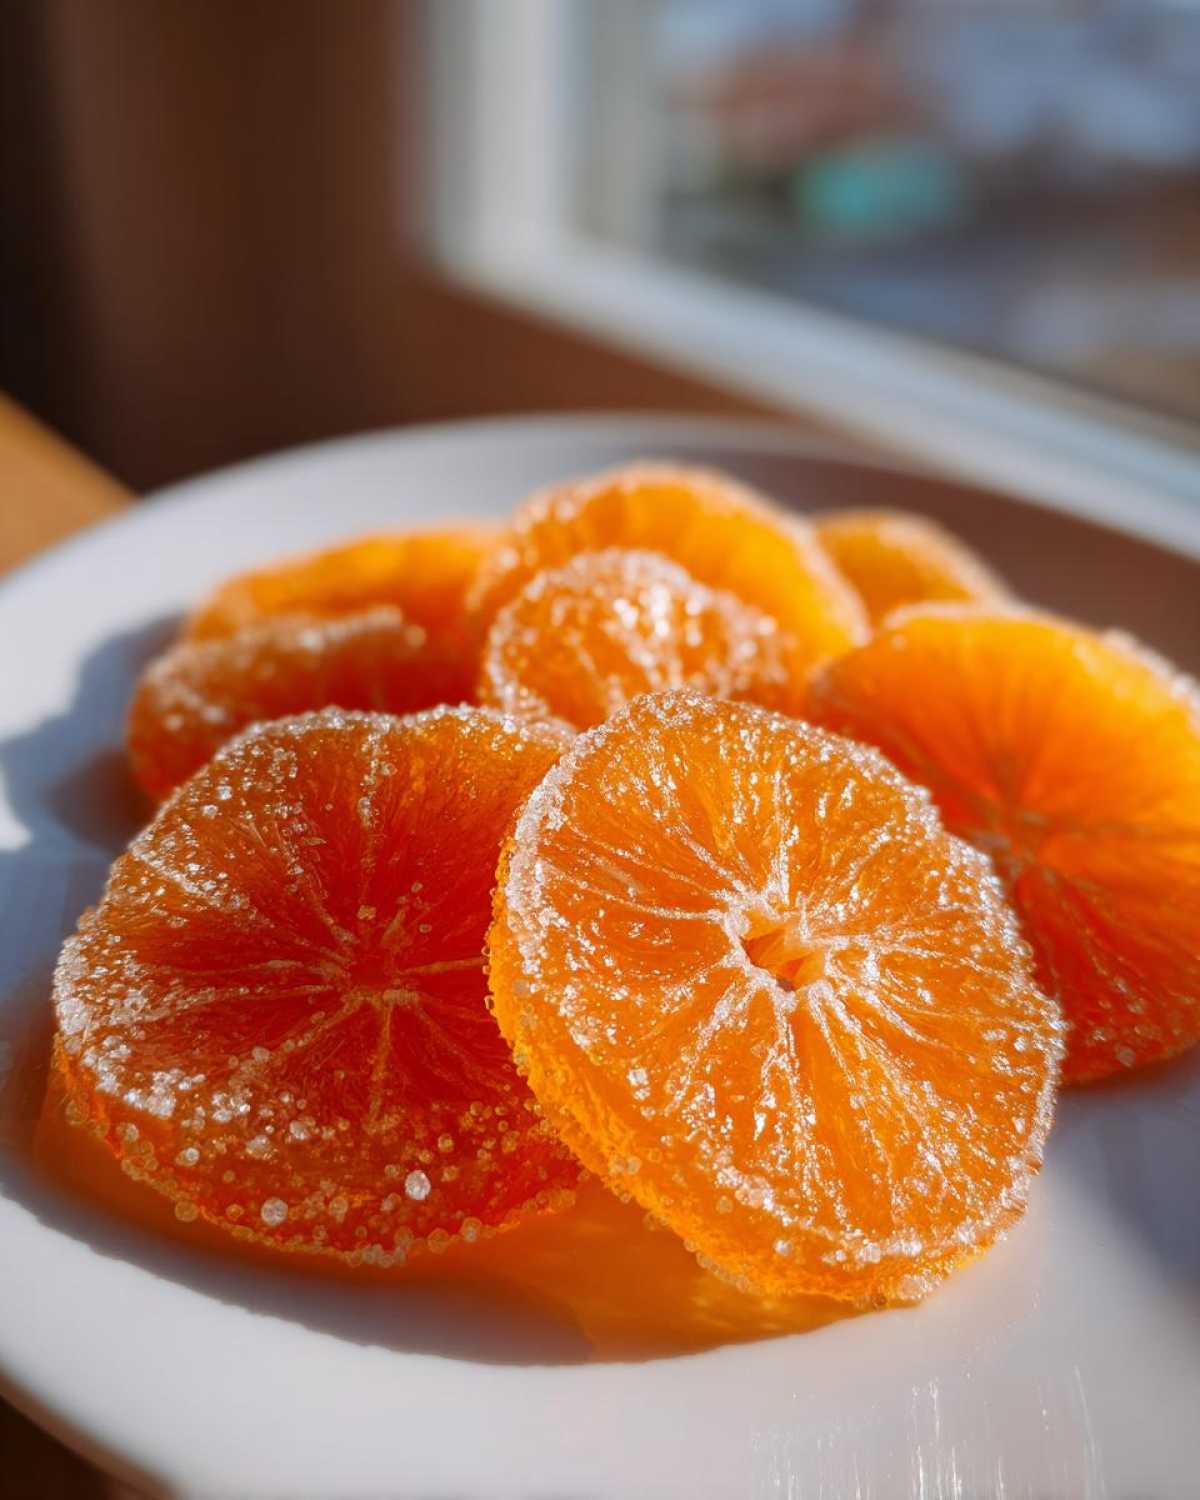
But don’t stop at chocolate! We can play with spices too. If you want a little more warmth, try tossing those warm slices (right before the final drying step!) in a mix of cinnamon and sugar instead of just plain sugar. It adds this lovely soft dustiness that pairs so well with the orange zest. If you’re feeling adventurous, you can even substitute oranges with grapefruit or lemons for a whole new spectrum of flavors in your easy citrus candy recipe!
Expert Tips for Perfect Candied Orange Slices Every Time
You’ve got the recipe, you know the basic steps, but how do you go from ‘good’ candied orange slices to the absolute best, perfectly chewy orange snacks? It comes down to those little details—the stuff that separates the casual baker from the person who knows their way around a simmer pot!
I’ve learned these lessons the hard way, usually by ending up with sticky sludge or bitter peels. So, here are my top secrets to make sure your next batch of preserved citrus slices turns out jaw-droppingly good. These are my personal tests that seal the deal for that professional look!
Don’t Crowd the Pot—It Matters More Than You Think!
Seriously, if you try to jam too many orange slices into that simmering sugar bath at once, two nasty things happen. First, the temperature of the syrup drops way too fast, which stalls the whole candying/translucency process. Second, if they are piled up, they just steam instead of simmering evenly in the sugar. A soggy, sticky bottom layer is nobody’s dream!
If your slices are overlapping significantly, cut your batch size in half and run two separate syrup pots. Trust me, the extra time it takes is nothing compared to the disappointment of unevenly candied orange slices.
The Final Syrup Test: Are You Done Simmering?
Visually checking for that translucent look is key, but sometimes they fool you! Before you pull them out after that hour mark, do this quick check. Carefully lift one slice out of the syrup with a slotted spoon and let it cool on a plate for just a minute. If it’s ready, it should feel slightly soft and pliable—like thick fruit leather—and you should easily be able to see light through the rind section.
If the white pith still looks opaque or chalky, slide that slice right back in. It just needs another ten or fifteen minutes to fully absorb that sweet syrup. Don’t forget to gently turn them while they’re back in the heat!
Kickstarting the Syrup: No Grains Allowed!
This is crucial for making shiny, beautiful candied orange slices, not gritty ones! When you combine the four cups of water and four cups of sugar for the first time, you have to bring it to a full, rolling boil and stir until it is absolutely crystal clear. I mean, look down into the pot—if you see one sneaky grain of sugar stuck to the sides above the waterline, you need to grab a pastry brush dipped in water and carefully wash those rogue crystals back down into the main solution before it boils.
If those little crystals survive and fall back into the hot liquid later, you create nucleation points, and your entire batch can crystallize into one big block of crunchy sugar. Nobody wants that hard, crunchy candy! If you are looking for a super easy way to avoid this whole mess next time, take a look at my easy citrus candy recipe variations—sometimes a slightly different approach helps keep things smooth!
Serving Suggestions for Preserved Citrus Slices
So, you’ve made your beautiful batch of sweet and tangy orange slices, and they’re perfectly chewy and dry. Congratulations! Now what? You definitely don’t have to stop at just snacking on them straight from the container—although, believe me, I’ve done it!
These preserved citrus slices are little gems of sunshine waiting to brighten up your baking and serving game. Think of them as the most flavorful, homemade edible orange garnish you could possibly find. They add an immediate pop of color and a sophisticated burst of bright flavor.
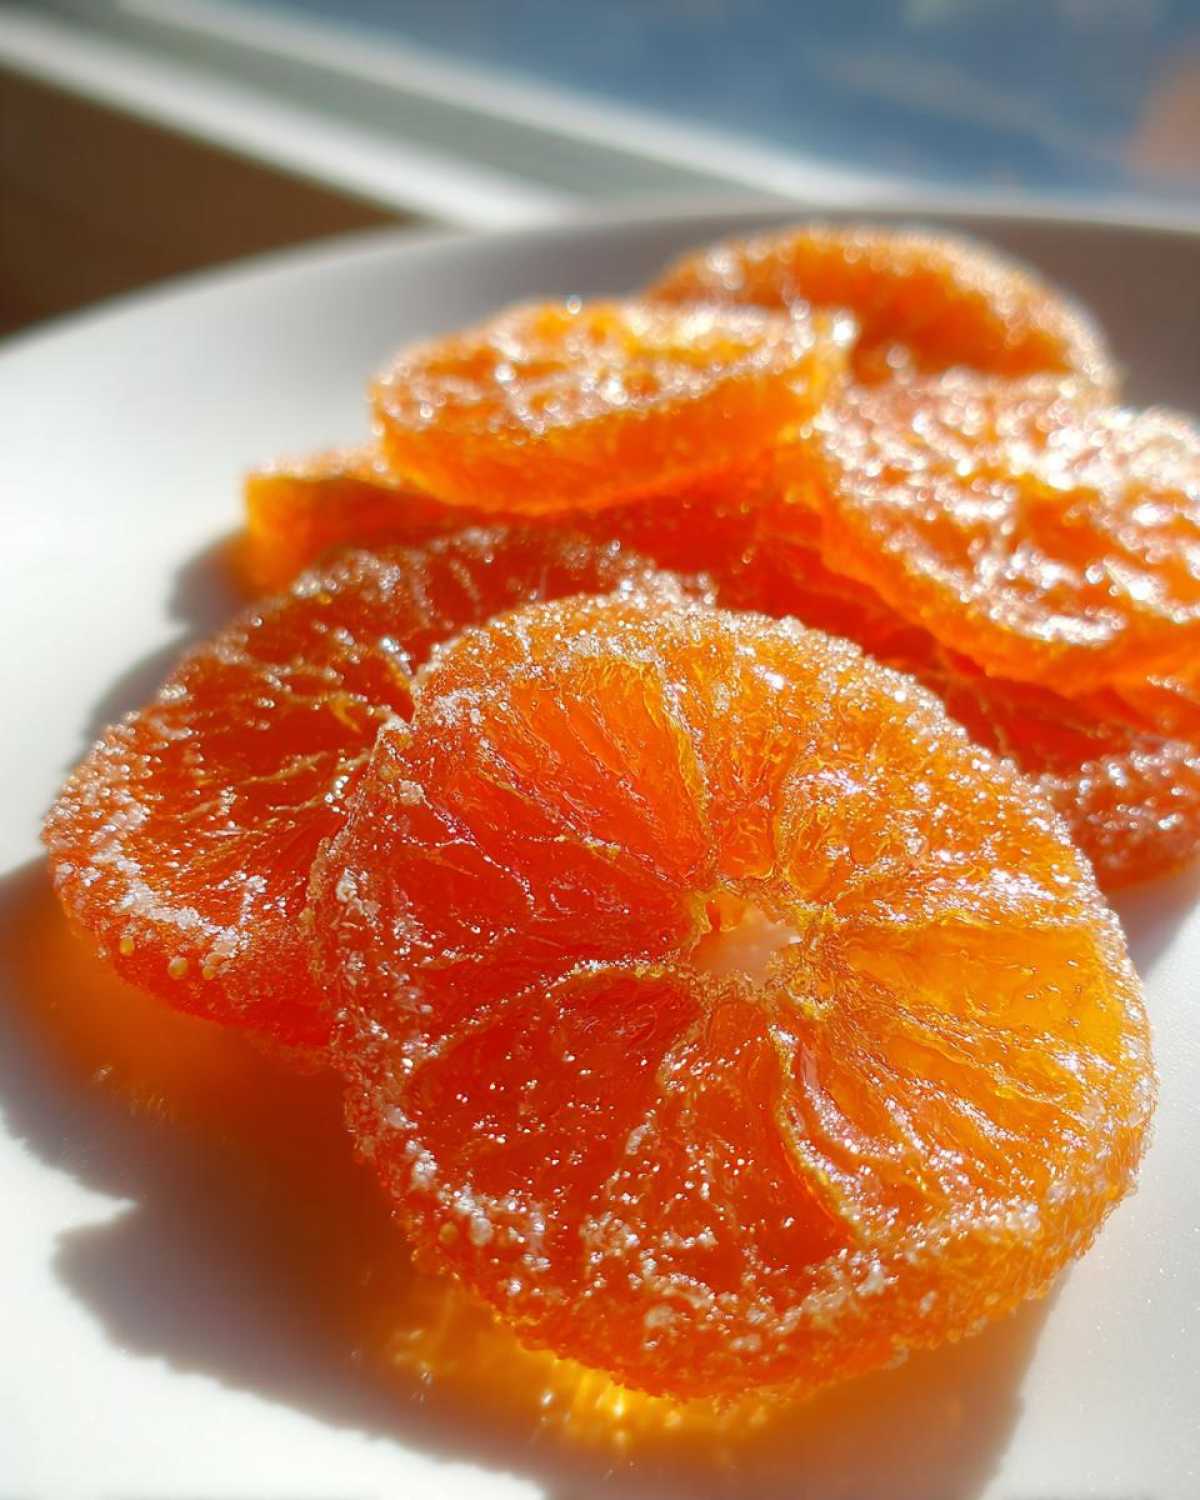
For my winter baking, I absolutely love chopping up a few of these slices and stirring them right into my muffin or scone batter. They bake up beautifully, giving these soft little pockets of citrusy chewiness that contrasts so nicely with the bread!
If you’re making a big holiday spread or just want to impress someone (or yourself!), arrange them artfully around the edge of a cheesecake or a dark chocolate tart. They also look absolutely stunning tucked into the frosting of a simple vanilla layer cake. Seriously, it takes zero extra effort and instantly screams gourmet orange dessert.
And don’t forget breakfast! I crumble a few over my morning oatmeal along with some toasted pecans—it wakes up the whole bowl! If you’re looking for more fun ways to serve these up during the chilly months, you have to check out my ideas for holiday orange treats. They are perfect for centerpieces or easy hostess gifts!
Storage and Shelf Life for Homemade Candied Orange Slices
Once you’ve gone through all that simmering and drying—and trust me, those drying steps are non-negotiable for the best results—you need to make sure you store your beautiful work correctly! We went to all this trouble to make these fantastic preserved citrus slices; we sure don’t want them going soft or moldy after just a few days.
The good news is that because we cooked all the moisture out and saturated them heavily with sugar, these keep really well! Think of the sugar as a natural preservative. You want to avoid the refrigerator at all costs, though. I know that sounds counterintuitive, but the humidity in the fridge is the enemy here and it can make your perfectly dried slices sweat and turn sticky again.
The absolute best place for your finished candied orange slices is in a clean, dry, airtight container left right there on your counter at room temperature. They should stay perfect, chewy, and bright for at least two full weeks! Honestly, if you made them right and they are dried thoroughly, they can often last longer than that, but two weeks is my official promise to you for peak deliciousness.
If you’re storing several layers deep in a jar, I like to always put a small sheet of parchment paper between the layers. This is just an extra insurance step to make sure none of the slices stick together if there’s any slight variation in dryness between the top and bottom layers. For more advanced storage and flavor infusion ideas, take a peek at my thoughts on handling preserved citrus slices!
Frequently Asked Questions About Candied Orange Slices
Why are my homemade candied orange slices bitter?
Oh, that is the worst! If your slices taste bitter, it almost always comes down to that white stuff—the pith. If you leave too much of that spongy white layer on the orange slices before you simmer them, the bitterness will definitely come through, even after soaking in syrup. Also, if you didn’t blanch the slices properly before the sugar bath (which involves a quick boil in plain water first to draw out some of the harsh oils), you can sometimes get a lingering harsh flavor. Try trimming the pith a little thinner next time, or next time, try my sweet and tangy orange slices method which addresses the blanching step!
I followed the instructions, but my candied orange slices are sticking together! How do I prevent this?
Dealing with sticky candy is frustrating! Sticking nearly always means they weren’t dried thoroughly enough. Think about it: if the outer surface is still a little moist when you put them away, the sugar on one slice melts slightly and glues it right to its neighbor. This is especially true if you skip the optional final roll in dry sugar.
If you’ve already done the oven-drying method, give them another hour at 200 degrees F. If they are completely dry but you stored them in a humid area, you might need to separate them and give them a quick re-dry on the rack again before storing them properly in an airtight container. Proper drying is the secret to perfect individual chewy orange snacks!
What do I do with all that leftover sugar syrup? Can I reuse it?
That leftover syrup is liquid gold! It’s been infused with pure orange essence, so don’t throw it away! You absolutely can reuse it, but you need to be careful. You can use it to sweeten iced tea, pour a little over plain yogurt, or use it as a simple syrup for cocktails. If you want to use it again to try making another batch of candied orange slices, I recommend boiling it down hard for about 10-15 minutes to concentrate the sugar back up. You might also want to add another half-cup of fresh sugar to rebuild the density, since the oranges pulled so much sugar out of the initial batch.
Can I use this method for how to make candied oranges using blood oranges or lemons?
Yes, you totally can adapt this for other citrus! That’s the beauty of this simple citrus candy recipe. Blood oranges need slightly less cooking time because their rind is usually thinner than a Navel orange. For lemons, you’ll definitely need to blanch them a couple of times initially because the pith on lemons can be much more intense. If you use lemons, you’ll end up with a sharper, more intense flavor profile perfect for baking garnishes!
Estimated Nutritional Data for Candied Orange Slices
Now we get to the part where I usually tell everyone to just enjoy the treat and not worry too much, because honestly, we added four cups of sugar to fruit, so we know where we are landing! But seriously, for those of you who love tracking everything, I pulled together the estimated nutritional breakdown based on standard ingredient weights. Remember, this is just a ballpark figure, since the exact thickness of your orange slices and how much syrup drains off can change things!
We are basing this on a serving size of just two slices for these candied orange slices. Don’t say I didn’t warn you about the sugar content; these taste like pure candy!
- Serving Size: 2 slices
- Calories: 180 (See? That’s what happens when you combine fruit and sugar syrup!)
- Sugar: 45g (Yep, it’s high, but it’s also what preserves them so beautifully.)
- Carbohydrates: 47g
- Protein: 0g
- Fat: 0g
- Sodium: 2mg
- Cholesterol: 0mg
The biggest takeaway here is what you’d expect: these are a fun, sweet indulgence, not exactly a health food staple! But that’s okay, because when you use them as a garnish for a cheesecake or toss a few into a holiday platter, the serving size is naturally smaller. They are totally vegetarian, though, which is a nice bonus for gift-giving!
Share Your Homemade Candied Orange Slices Creations
Whew! We made it through the simmering, the drying, and maybe even the chocolate dipping! I really hope you had as much fun turning those humble oranges into these glittering, sweet homemade candied orange slices as I do every year. Now, this is the part where I get nosey—in the best way possible, of course!
I absolutely thrive on seeing what you all create in your own kitchens. Did you line up your chocolate dipped candied oranges just perfectly? Did you use them as an edible orange garnish on a special cake? I want to hear all about the process! Don’t be shy!
Please, please, please drop a rating down below—five stars if they made your kitchen smell like a citrus dream! And if you’ve got a minute, leave a comment telling me how yours turned out. If you hit any snags or discovered a new trick for making the best chewy orange snacks, share it so the next baker benefits. You can always zip over to my contact page if you have a huge question!
Happy making! I can’t wait to see your beautiful, glossy creations!
PrintHomemade Candied Orange Slices

Make sweet and tangy candied orange slices using a simple simmering process. These slices are perfect for snacking, garnishing desserts, or giving as gifts.
- Prep Time: 15 min
- Cook Time: 1 hour 15 min
- Total Time: 1 hour 30 min
- Yield: About 30 slices
- Category: Dessert
- Method: Simmering
- Cuisine: American
- Diet: Vegetarian
Ingredients
- 2 large navel oranges
- 4 cups water
- 4 cups granulated sugar
- 1 cup water (for simple syrup adjustment)
Instructions
- Wash the oranges well. Slice them thinly, about 1/8 inch thick. Remove any large seeds.
- In a large saucepan, combine the 4 cups of water and the 4 cups of sugar. Bring to a boil over medium-high heat, stirring until the sugar dissolves completely. This is your syrup.
- Reduce the heat to a gentle simmer. Carefully place the orange slices into the simmering syrup in a single layer. Do not overcrowd the pan; work in batches if necessary.
- Simmer the orange slices for about 45 minutes to 1 hour, turning them occasionally. The slices should become translucent and slightly soft.
- Remove the slices from the syrup using a slotted spoon and place them on a wire cooling rack set over a baking sheet. Let them drain for 30 minutes.
- If you prefer a crystallized coating, gently roll the warm, sticky slices in extra granulated sugar.
- Dry the slices completely. You can air dry them at room temperature for 12 to 24 hours, or bake them in an oven set to 200 degrees Fahrenheit for 2 to 3 hours, flipping them halfway through, until they are dry to the touch but still pliable.
Notes
- For chocolate dipped candied oranges, allow the dried slices to cool completely, then dip half of each slice into melted dark or milk chocolate. Place them back on parchment paper to set.
- Use firm, brightly colored oranges for the best appearance.
- Store finished slices in an airtight container at room temperature for up to two weeks.
Nutrition
- Serving Size: 2 slices
- Calories: 180
- Sugar: 45g
- Sodium: 2mg
- Fat: 0g
- Saturated Fat: 0g
- Unsaturated Fat: 0g
- Trans Fat: 0g
- Carbohydrates: 47g
- Fiber: 1g
- Protein: 0g
- Cholesterol: 0mg
