

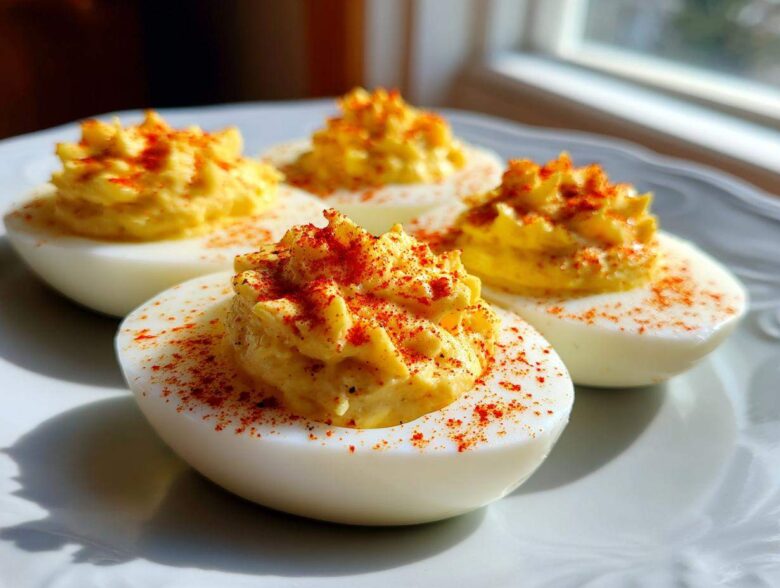
Oh my gosh, planning a party always gives me a little flutter of panic, you know? You’ve got the big stuff figured out—the drinks, the main dish—but what about those bite-sized snacks everyone *actually* crowds around? Trust me, I learned my lesson last Thanksgiving when I showed up with store-bought dip and felt instantly stressed. Never again!
That’s why I am so passionate about this recipe for **deviled eggs**. Seriously, this is it. This isn’t some fancy, modern twist that your Uncle Jerry won’t touch. This is the classic, unbelievably creamy recipe that vanishes first at every single potluck, birthday, or holiday gathering. I once brought three dozen of these to a neighborhood cookout, and someone actually asked me if I was guarding the recipe with my life!
If you want that perfectly smooth, dreamy filling that tastes exactly like a perfect Southern picnic but takes barely any time, stick with me. We are making the best **deviled eggs** you’ve ever tasted, and they are so simple, you’ll wonder why you ever worried about appetizers.
If you want to see the full breakdown of recipes and tips we’ve gathered over the years, feel free to check out our general appetizer inspiration page while you bake!
Why This Classic Deviled Eggs Recipe is Foolproof (Easy Party Appetizers)
I hear you—sometimes organizing food for a crowd feels like a marathon, and you need snacks that deliver big flavor without needing a culinary degree. That’s why these **deviled eggs** are my go-to. They are the ultimate crowd-pleasing snacks because the prep is so straightforward, and honestly, who doesn’t love them?
They might look fancy dusted in paprika, but mastering them is simple. You get that great, rich flavor without spending hours in the kitchen. They truly are top-tier **easy party appetizers**. We’ve managed to create a recipe that results in the prettiest presentation and the best taste, making them perfect **holiday appetizer ideas** or just for a fun Tuesday night!
Check out our other easy bites like the Cranberry Brie Bites if you need more foolproof snack ideas!
Achieving the Ultimate Creamy Deviled Eggs Recipe Texture
The texture is everything when it comes to **deviled eggs**. There’s nothing worse than a dry, crumbly yolk filling, right? My secret to that velvet-like consistency—the ultimate **creamy deviled eggs recipe** texture—is two-fold. First, you have to mash those yolks into dust before anything else goes in. Second, that little splash of vinegar is key; it brightens everything up and helps emulsify the filling so it stays smooth, not gritty.
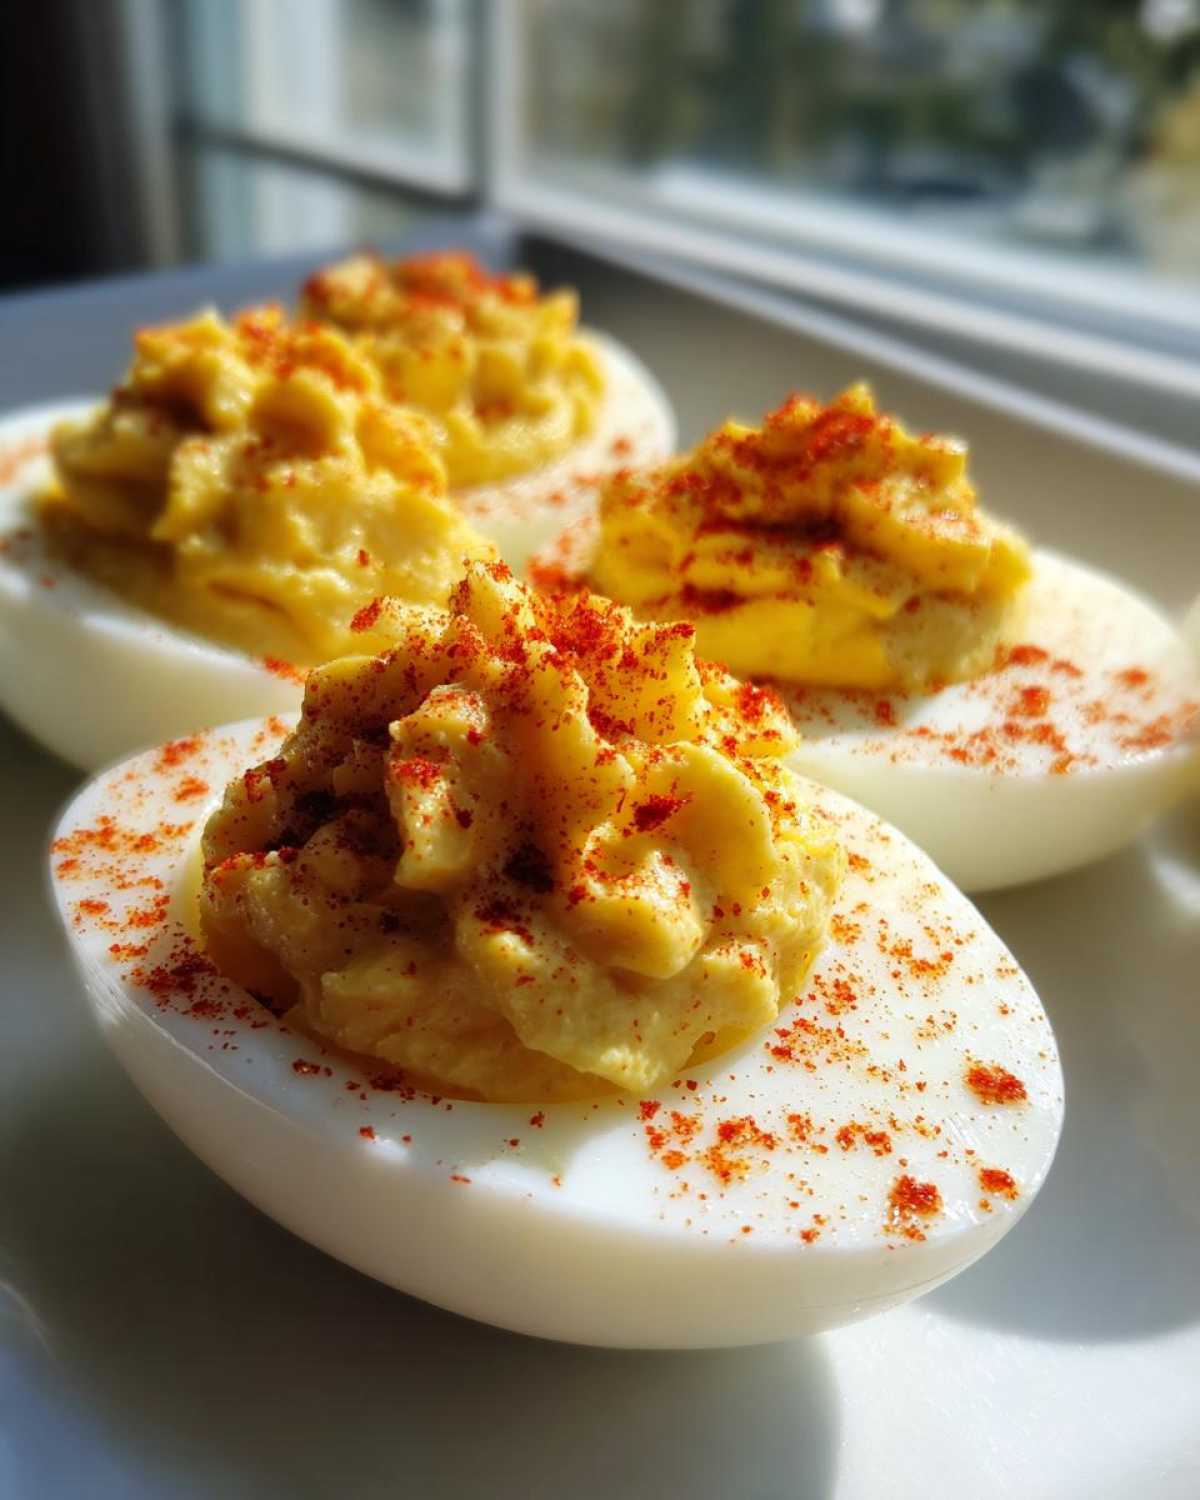
Ingredients for the Best Deviled Egg Filling
Okay, now for the good stuff—the ingredients list! We aren’t making anything complicated here. These are the components for the absolute best, go-to, classic **deviled eggs**. Having your ingredients ready before you start boiling the eggs makes everything flow so much better. Remember to use 12 large eggs because that gives you a good batch size for sharing!
- 12 large eggs
- 1/2 cup mayonnaise (Use the good stuff!)
- 2 tablespoons yellow mustard (Don’t skip this—it’s important for that classic tang.)
- 1 tablespoon white vinegar
- 1/4 teaspoon salt
- 1/4 teaspoon black pepper
- Paprika, for garnish (This is purely for looks, but we live for the visuals!)
If you want to explore a slightly different flavor profile, you can check out how we use honey mustard in our Creamy Honey Mustard Deviled Eggs recipe!
Ingredient Notes and Substitutions for Perfect Deviled Eggs
A few quick tips on ingredient selection can make the difference between a good batch and a legendary one. First, for the eggs themselves, **use eggs that are about a week old**, not the super fresh ones you just bought. Seriously, fresh eggs hate being peeled! The older the shell’s membrane has slightly pulled away, making peeling so much easier—it saves your temper when you’re rushing.
When it comes to the mayo, use your favorite full-fat brand. That fat content is what guarantees that beautiful, rich texture we are aiming for in our **deviled eggs**. If you wanted a tiny twist, you could swap out half the regular mayo for light cream cheese—shove it in the mixer and it disappears into the filling beautifully!
For the mustard, yellow is traditional, but a teaspoon of Dijon adds a nice little background layer of flavor if you have it on hand. Just don’t go overboard with substitutes; the simplicity here is part of what makes these so consistently great.
How to Make Perfect Deviled Eggs: Step-by-Step Instructions
Alright, let’s ditch the stress and talk technique. Following these steps is honestly the best way to learn **how to make perfect deviled eggs** every single time, especially when you’re relying on them to feed a hungry crowd for Thanksgiving or Easter. Timing is critical here, so pay attention to those minutes!
The recipe card shows the whole process is actually really quick once the eggs are cooked. You can find our full recipe breakdown at Best Deviled Egg Filling if you need to reference the amounts later!
Boiling and Cooling Eggs for Easy Peeling
This is where novices usually mess up, but we are pros! Grab your saucepan and put all 12 eggs right in. Cover them with cold tap water—I mean, about an inch of water completely covering the eggs. Put that pan on high heat and wait for it to hit a full, rolling boil. The second it boils hard, take the pan completely off the burner, put the lid on tight, and set a timer for exactly 12 minutes.
Don’t open the lid or peek! After those 12 minutes are up, you have to rush them into the biggest ice bath you can make. Cold water and lots of ice! Let them chill completely, which takes about 10 minutes. This shock cooling is vital—it stops them from overcooking, which keeps your yolks nice and yellow, and it makes the membrane shrink away from the shell. Trust me, perfectly peeled eggs make the rest of the assembly so much less frustrating.
Creating the Smooth and Creamy Deviled Eggs Filling
Once peeled, slice those hard-boiled beauties in half lengthwise. Scoop all those yolks into a bowl. Now, here’s the key to the **creamy deviled eggs recipe** texture: mash those yolks until they are fine powder with a fork *before* you add anything else. No lumps allowed!
Once they look like fine yellow sand, bring in the wet stuff: the mayonnaise, the mustard, the vinegar, salt, and pepper. Mix it all together thoroughly until it’s one unified, smooth mixture—it should look like thick, fluffy frosting. If you followed the boiling steps right, this filling for your **deviled eggs** mixes up like a dream!
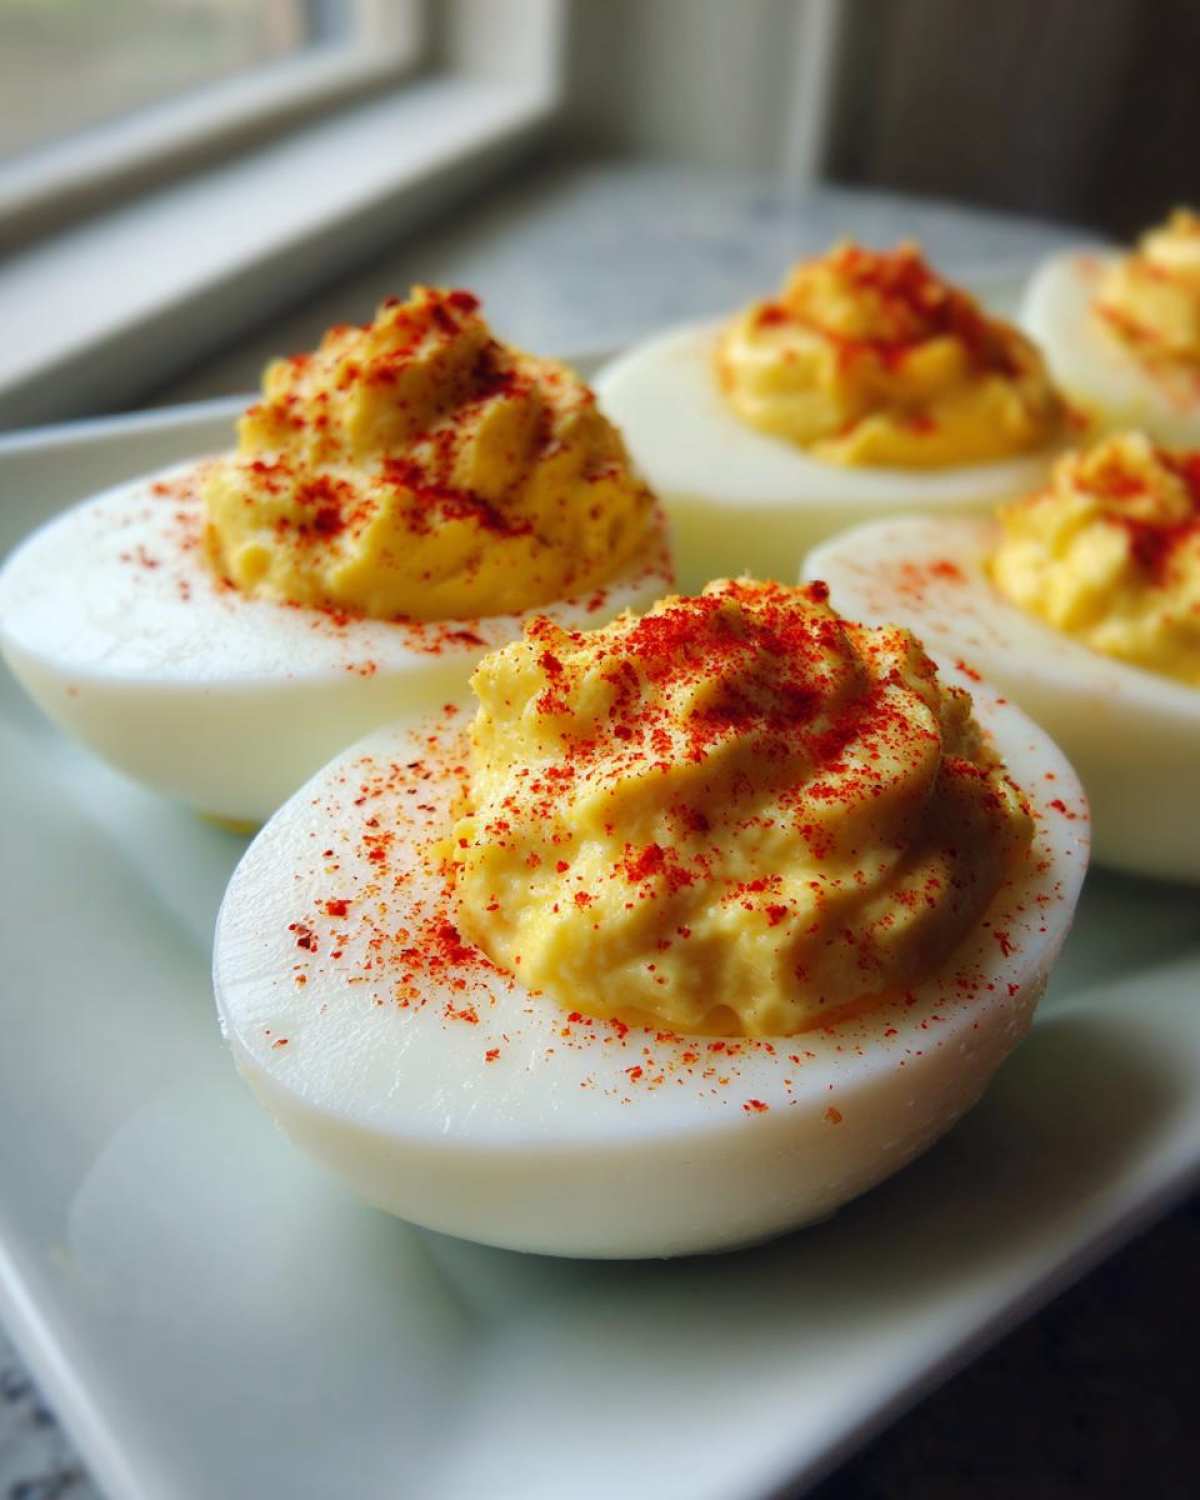
Finally, get that filling back into those egg white cups. I use one of those little teaspoon scoops, but if you want fancy ridges, break out a piping bag! Right before serving, dust them lightly with paprika. Perfection!
Tips for Success When Preparing Deviled Eggs
Even though this recipe for **deviled eggs** is pretty simple, there are always those little insider tricks that take them from *good* to *unforgettable*. I’ve been looking through my own notes, and here are the three main things I always do now that I didn’t do when I first started making them for parties.
First, remember that note about the texture? If you really, truly want the absolute silkiest filling—the kind you see at the best catering events—don’t just mash the yolks with a fork. Take those mashed yolks and push them through a fine-mesh sieve right before you add the mayo and mustard. Yes, it’s an extra minute of work, but wow, it turns the **best deviled egg filling** into something unbelievably smooth. It really elevates the whole experience.
Second—and this is huge for planning **Thanksgiving side dish recipes** or any big meal—you absolutely do not have to assemble these jewels right before serving! You can make the entire yolk filling mixture up to a full day in advance. Just store it covered tightly in the fridge. When you’re ready to serve, you just fill the whites. Keep in mind that the filling shouldn’t sit out too long once assembled, but having the filling ready is a massive time-saver.
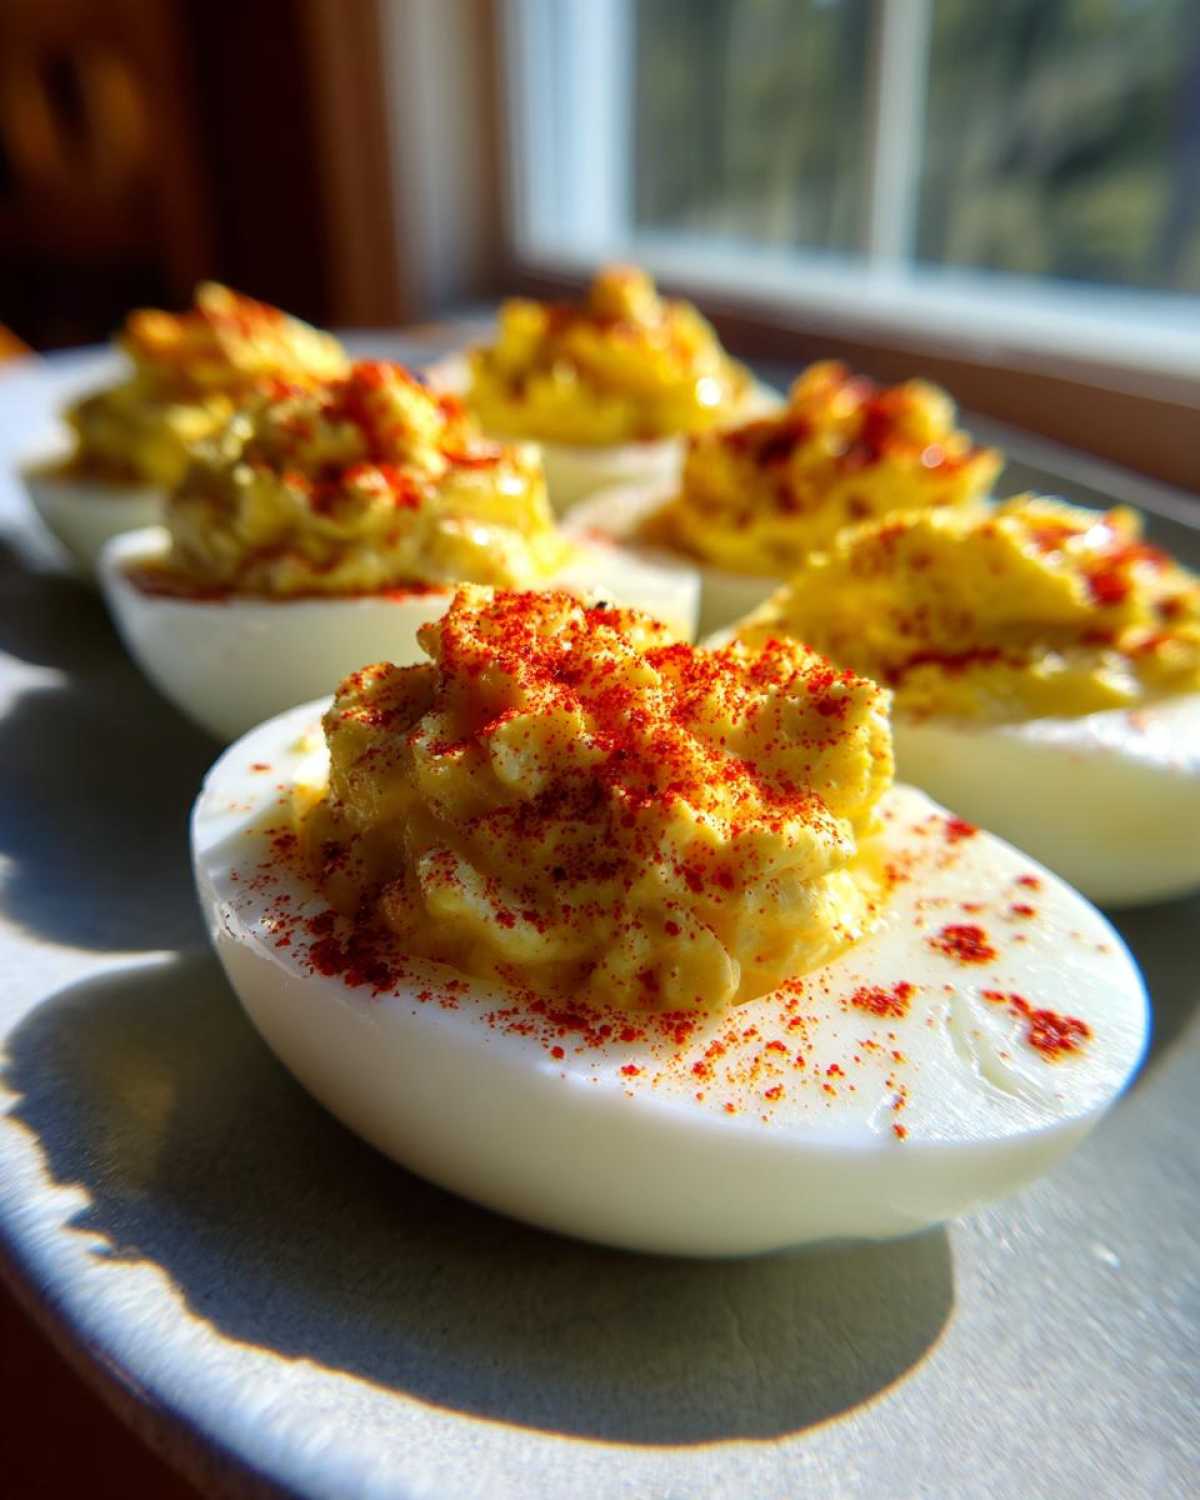
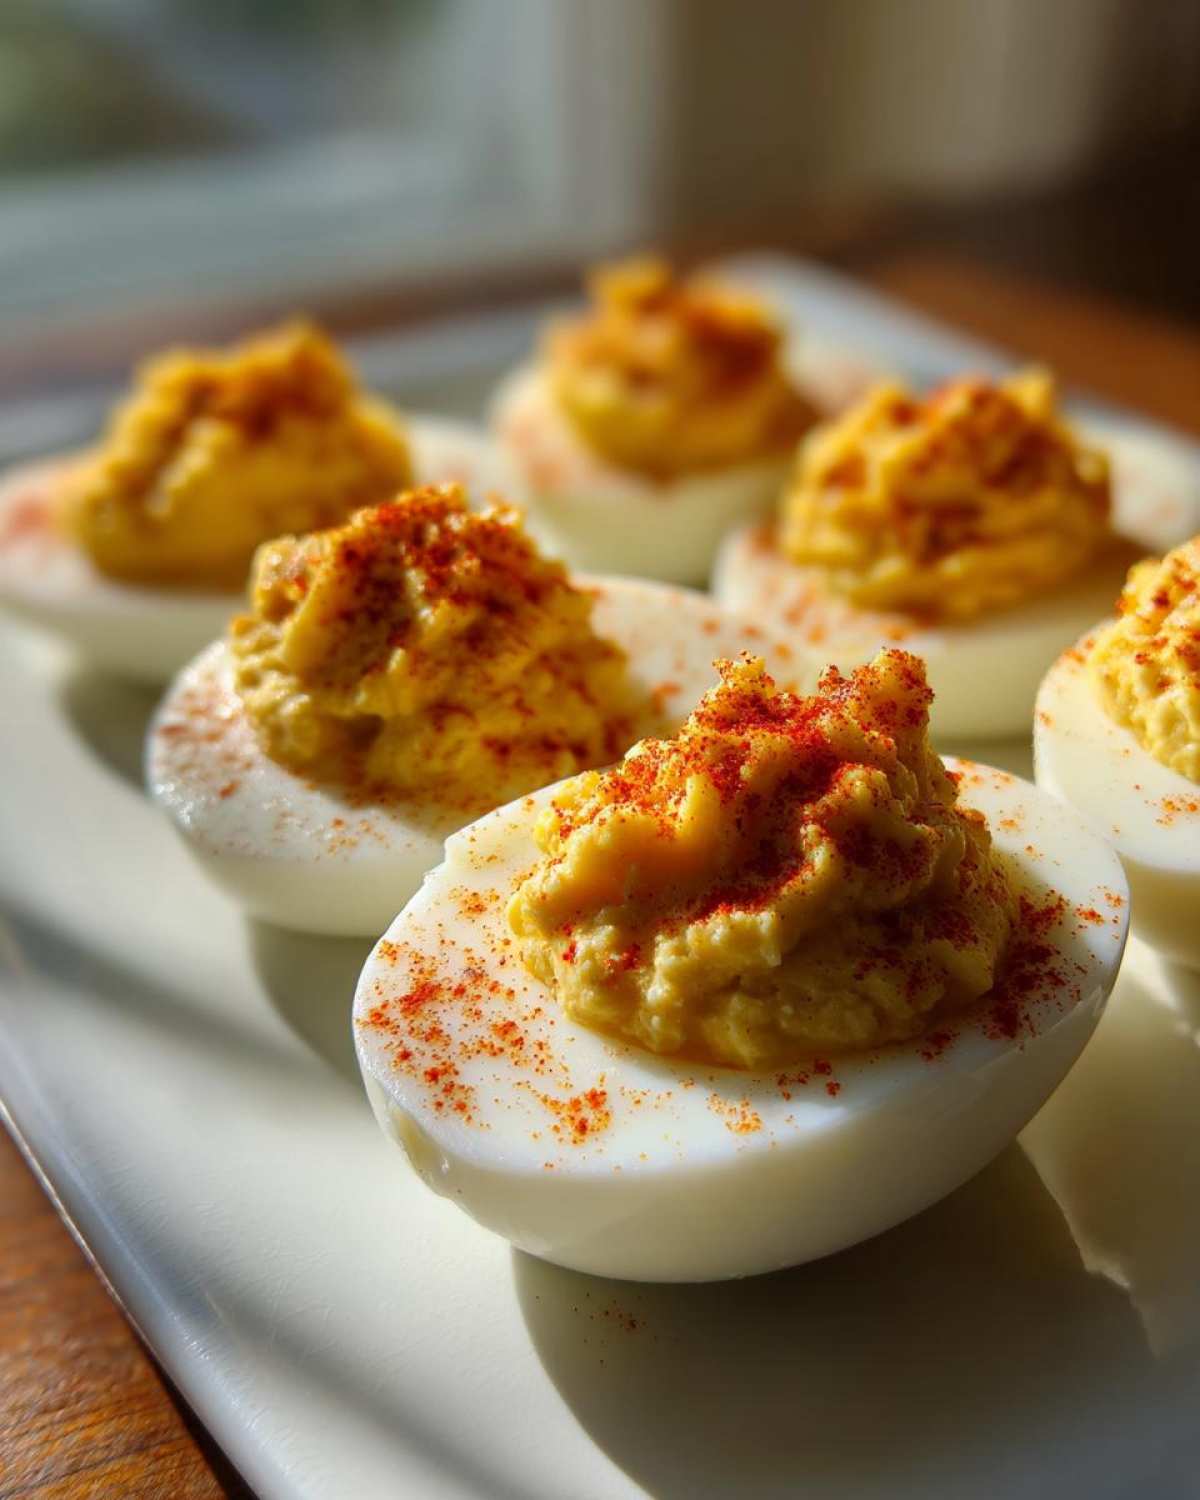
My final tip involves presentation, which is important if you’re serving these as **potluck finger foods**. If you want those perfect, tall swirls of filling, ditch the spoon and use a piping bag fitted with a large star tip. It looks professional, and people go crazy for a perfectly piped egg! For serving, I like to quickly make a small amount of extra filling using just half the vinegar, and I pipe just a tiny dollop on top of the main filling—it’s like a flavor surprise!
To see some of my other favorite recipes that are perfect for gatherings, you should definitely check out our main roundup of Classic Deviled Eggs!
Holiday Appetizer Ideas and Making Deviled Eggs Ahead
I always start planning my **Holiday Appetizer Ideas** about a week before the actual event, but let’s be real—these **deviled eggs** are the ones that save the day every single time. If you’re serving these for Easter brunch or needing a quick addition to your **Thanksgiving side dish recipes**, the absolute best thing you can do is know your timeline.
Since we learned that the filling is the key to success, you can make that creamy mixture (just the yolks mixed with mayo, mustard, etc.) up to 24 hours ahead of time. I put it in an airtight container, and it stays perfect! This makes these essential **make ahead appetizers**. If you’re worried about volume, just remember that for every dozen eggs, you get 24 little bites. If you’re hosting 20 people, double the recipe!
If you’re looking for a really fun, show-stopping way to present them for a big holiday spread, I have a gorgeous tutorial on making a Deviled Egg Wreath—it takes your presentation game up ten notches!
Serving Deviled Eggs for Easter and Thanksgiving Gatherings
When I’m making these for a big gathering like Easter or Thanksgiving, I think presentation matters almost as much as taste. Since the classic paprika garnish is easy, it’s a nice baseline, but you can jazz them up for the holidays!
For Easter, instead of just paprika, try sprinkling a little finely chopped fresh chives or dill over the top. It gives them a lovely spring color. If I make them for Thanksgiving, I usually go for something with a little more warmth—a tiny dusting of smoked paprika instead of the sweet kind, or maybe even a single, tiny slice of candied jalapeno right in the middle. This makes even simple **deviled eggs** feel festive and special for your guests.
When you are dealing with big batches, make sure you have a dedicated serving platter ready earlier in the day. Assembling them onto the platter right before guests arrive means they stay chilled and look their absolute best!
Deviled Egg Variations: From Southern Style to Million Dollar Deviled Eggs
Okay, while I stand by the fact that our classic recipe is the best starting point for delicious **deviled eggs**, I totally get it—sometimes you want to mix things up for your friends or family. Maybe your crowd needs a little more zip, or perhaps you just want to show off a bit! Every good cook needs a few reliable variations in their back pocket, especially when you’re throwing a huge brunch or looking for something new in your rotation of **crowd pleasing snacks**.
We’ve got three fantastic twists that elevate the basic egg without losing that essential creamy factor. One of the most requested styles is definitely the **Southern Style Deviled Eggs**, which usually means leaning heavily on a bit of pickle juice or sweet pickle relish for an extra tangy kick. I love adding about a tablespoon of finely chopped sweet pickle relish right into the yolk mix; make sure you drain it really, really well, or you’ll end up with soupy filling!
Then there’s the luxurious, over-the-top recipe everyone asks about: the **Million Dollar Deviled Eggs**. That name sounds fancy, but honestly, the main secret ingredient is usually cream cheese and sometimes a bit of finely crumbled cooked bacon, if you aren’t serving vegetarians. Subbing out half the mayo for softened cream cheese makes the texture even richer—it’s decadent, but truly divine.
You can find my favorite way to amp up the spice and tang over on our detailed Southern Style Deviled Eggs walkthrough, where we talk about handling those bolder flavors!
Finally, for something a little different that still hits those **tangy deviled eggs** notes, try swapping out the white vinegar entirely for fresh lemon juice. The brightness is amazing, and it pairs beautifully with a sprinkle of smoked paprika instead of the regular sweet kind. No matter which route you take, remember that the foundation of perfectly cooked, smooth yolks is what makes any version of **deviled eggs** a winner!
Storage and Reheating Instructions for Deviled Eggs
So, you’ve made your legendary batch of **deviled eggs**, and now you need to know how to keep them perfect until party time, or maybe you have leftovers (lucky you!). Handling these properly is super important because, let’s face it, they contain mayo and eggs, so we need to be smart about food safety.
Here’s the absolute rule: Assemble them as close to serving time as you can manage. You can prep the shelled eggs ahead, and you can make the filling a day ahead, but once that creamy filling meets the white, they need refrigeration fast.
If you’re chilling the assembled halves, cover the platter tightly with plastic wrap. You need to make sure the wrap doesn’t actually touch the filling—if it does, you’ll smash your hard work! Put a few toothpicks or small dowels in the platter edges to create a little tent over the eggs, then seal it. In the fridge, assembled **deviled eggs** are best eaten within 24 hours. After that, they start to lose their vibrant look and the filling can sometimes ‘weep’ a little liquid.
Now for the question I always get: Can I reheat them? Nope! Don’t even try it. These are meant to be served chilled or at cool room temperature, like all great **picnic food ideas** that you can learn more about on our dedicated picnic ideas page. Heating them up will ruin that beautiful creamy texture we worked so hard to achieve and is just generally unsafe.
If you want to go ahead and get organized early, just make the filling and store it separately. Then, right before you need them, slice your fully cooked and cooled whites, fill them with the cold mix, garnish, and serve them fresh. It’s the best way to guarantee an amazing presentation for your **potluck finger foods**!
Frequently Asked Questions About Deviled Eggs
Why are my deviled egg yolks turning slightly greenish-gray?
Oh, that grey ring! That’s such a common bummer, but it’s easy to fix. That color, technically called ferric sulfide, happens when the egg white cooks for too long or cools down too slowly after boiling. It’s harmless, but it just ruins the lovely yellow color! The key to avoiding this when making your **simple egg recipes** is that super fast ice bath we talked about. That immediate cold shock stops the chemical reaction dead in its tracks. If you notice a little grey, just mash it super well into the filling, and the other ingredients will hide it!
What’s the best way to get thick, pretty mounds of filling in my deviled eggs?
You are asking the right question! If you want those nice, professional-looking swirls, you absolutely must consider using a piping bag. If you don’t have one, you can take any standard zip-top bag, snip a corner off with scissors, and that works like a charm as a temporary piping tool. Make sure your filling is stiff—if it’s too runny, it won’t hold its shape. This is where using the older eggs helps, because you don’t add too much liquid for the binding process, ensuring your **best deviled egg filling** stands up tall and proud.
How long should I boil my eggs for the perfect hard-cooked result?
This is the most important timing detail for any **appetizer for Easter** or beyond! Never boil them for ages. You want a rolling boil, then immediate removal from heat, covered, for *exactly* 12 minutes. Then straight into the ice bath! If you cook them for 15 or 20 minutes, you risk that grey ring and a slightly tougher texture. Twelve minutes is the magic number for that perfect jammy yolk that mashes up beautifully for your **creamy deviled eggs recipe**.
Can I make my halved egg whites look nicer for presentation?
If you notice your egg whites look a little ragged after peeling, you can absolutely clean them up! Once you’ve sliced them open and taken the yolks out, just gently trim any ragged edges with a very sharp paring knife. Think of it like tidying up the edges of a photograph. This little trick makes a huge difference when you are assembling **holiday appetizers** and want everything looking crisp and clean!
For more great tips on keeping things simple while maximizing flavor in your egg dishes, don’t forget to browse our general guide on Simple Egg Recipes!
Estimated Nutritional Information for Classic Deviled Eggs
Because everyone always asks about the nutrition, especially when I bring these delicious **deviled eggs** to a party, I wanted to give you a rough idea of what you’re looking at per serving. Please remember, this is just an estimate based on the ingredients list we used (especially relying on standard mayo). If you use light mayo or add bacon bits for your Southern Style variation, things will change!
Here’s the breakdown per two halves, which is our standard serving size for these **potluck finger foods**:
- Serving Size: 2 halves
- Calories: 90
- Fat: 7g
- Carbohydrates: 0.5g
- Protein: 3g
- Sodium: 110mg
I know, they aren’t exactly a diet food, but they are high protein and low carb, which is great! Honestly, when you are making something this universally loved for your **Thanksgiving side dish recipes**, worrying too much about the exact numbers is pointless. Just make sure you have enough to go around!
PrintBest Classic Deviled Eggs Recipe

Make perfect, creamy deviled eggs every time with this simple, classic recipe ideal for parties and holidays.
- Prep Time: 15 min
- Cook Time: 12 min
- Total Time: 27 min
- Yield: 24 halves
- Category: Appetizer
- Method: Boiling and Mixing
- Cuisine: American
- Diet: Vegetarian
Ingredients
- 12 large eggs
- 1/2 cup mayonnaise
- 2 tablespoons yellow mustard
- 1 tablespoon white vinegar
- 1/4 teaspoon salt
- 1/4 teaspoon black pepper
- Paprika, for garnish
Instructions
- Place eggs in a large saucepan and cover with cold water by one inch.
- Bring the water to a rolling boil over high heat.
- Remove the pan from the heat, cover it, and let the eggs stand for exactly 12 minutes.
- Immediately transfer the eggs to an ice bath to cool completely, about 10 minutes.
- Peel the cooled eggs and slice them in half lengthwise.
- Scoop the yolks into a medium bowl.
- Mash the yolks thoroughly with a fork until fine.
- Add the mayonnaise, mustard, vinegar, salt, and pepper to the yolks.
- Mix until the filling is completely smooth and creamy.
- Spoon or pipe the yolk mixture back into the egg white halves.
- Sprinkle paprika over the top of each deviled egg half before serving.
Notes
- For easier peeling, use eggs that are a week old rather than fresh.
- To achieve the creamiest texture, press the yolks through a fine-mesh sieve before mixing.
- You can make the filling up to 24 hours ahead and store it covered in the refrigerator.
Nutrition
- Serving Size: 2 halves
- Calories: 90
- Sugar: 0.5
- Sodium: 110
- Fat: 7
- Saturated Fat: 2
- Unsaturated Fat: 5
- Trans Fat: 0
- Carbohydrates: 0.5
- Fiber: 0
- Protein: 3
- Cholesterol: 100
