

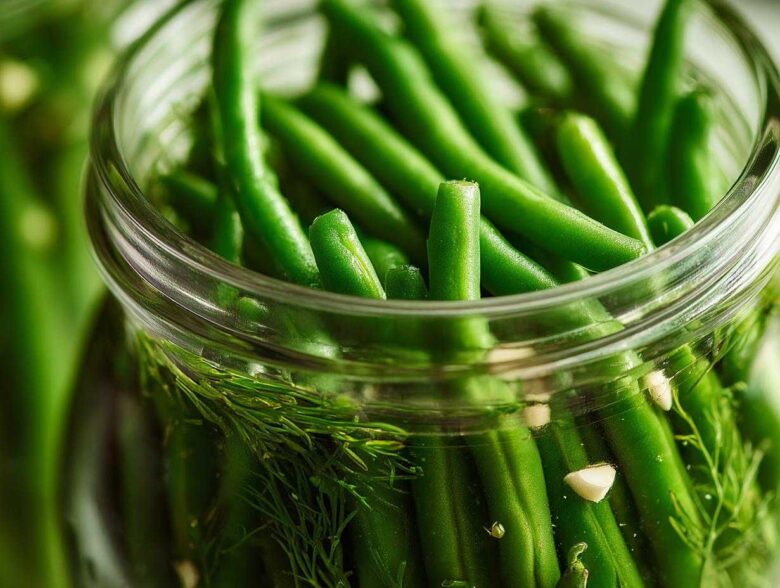
Listen, if you’ve ever made pickles that turned out… well, floppy, you know the feeling of betrayal. I’ve been there! Mushy refrigerator pickles haunt my dreams. But don’t worry, because I finally cracked the code for making truly snappy, flavorful dilly beans that stay crunchy for weeks, and yes, we’re using the super easy refrigerator method. No scary canning required!
This recipe is my absolute favorite way to transform fresh green beans into tangy, garlicky, crave-worthy snacks ready in practically no time. Forget limp vegetables; these dilly beans deliver that satisfying *snap* every single time. You can read more of my pickling adventures over on the main blog page if you’re curious! Trust me, once you nail this quick pickling technique, you’ll be putting everything in vinegar!
Why You Will Love These Refrigerator Dilly Beans
I know you want pickles that pack a punch without needing to babysit a pressure canner all day. That’s why this recipe is gold:
- They’re ridiculously fast! Seriously, you can make these easy dilly beans with minimal cooking time.
- The texture is unbeatable—super snappy and crunchy pickled beans thanks to one little trick coming up later!
- Total customization is allowed. Want heat? Add chili flakes! Need more punch? More garlic it is!
- They are perfect for snacking, and you can see how they fit into your low-carb snacks plan right here.
Essential Ingredients for Perfect Dilly Beans
The magic behind truly great dilly beans lies in using exactly the right things in the right amounts. If you mess up the brine ratio, you’ll end up with weirdly soft beans or beans that taste like salty water. No thanks! Here is what you need to gather up for about two quart jars worth:
- Two pounds of super fresh green beans. Make sure you trim those ends off!
- Four cloves of garlic, and listen closely: they must be peeled and gently smashed. Don’t mince them; smashing releases the oils better.
- One teaspoon of red pepper flakes—this is optional, but if you want those firecracker spicy dilly beans, don’t skip it!
- Four cups of water, plain and simple.
- Two cups of white vinegar. This is important: it absolutely has to be 5% acidity, no less!
- A quarter cup of pickling salt or good kosher salt. Please don’t use iodized table salt; it can make things cloudy.
- Two tablespoons of granulated sugar. Yes, sugar! It balances that sharp vinegar tang.
- And finally, the star: either a quarter cup of fresh dill sprigs or two tablespoons of dried dill seed if you can’t find the fresh stuff.
If you’re aiming for amazing garlic dill beans, just pile in the garlic. If you want the heat, add those flakes! It’s that easy to customize your green beans!
Ingredient Notes and Substitutions for Dilly Beans
Let’s talk specifics for a second, because ingredient quality matters so much in pickling, even with quick pickles. The salt is the big one here. You need pickling salt or kosher salt because they dissolve cleanly and don’t have anti-caking agents that make your brine look murky. When I first started, I tried regular salt once—huge mistake!
Also, regarding the vinegar: stick to 5% acidity. If you use a higher acidity vinegar, your brine ratio will be off, and they won’t taste right. It’s a safety and flavor thing. For the absolute best results for crunchy pickled beans, you want the firmest, freshest green beans you can find. Look for beans that snap when you bend them—that’s the indicator you want!
How to Make Dilly Beans: Step-by-Step Instructions
Okay, let’s get down to business! Learning exactly how to make dilly beans that actually stay snappy is the real win here. This process is quick, but you need to move smoothly when that brine gets hot. Remember, these are refrigerator pickles green beans, so we aren’t doing the scary canning routine, but we still need safety and precision when handling the hot brine.
First things first, clean those beans! Wash those two pounds of green beans really well and trim off both tough ends. You want them looking pristine before they go into the jar. Don’t stress too much about making them mathematically perfect lengths; just trim them well.
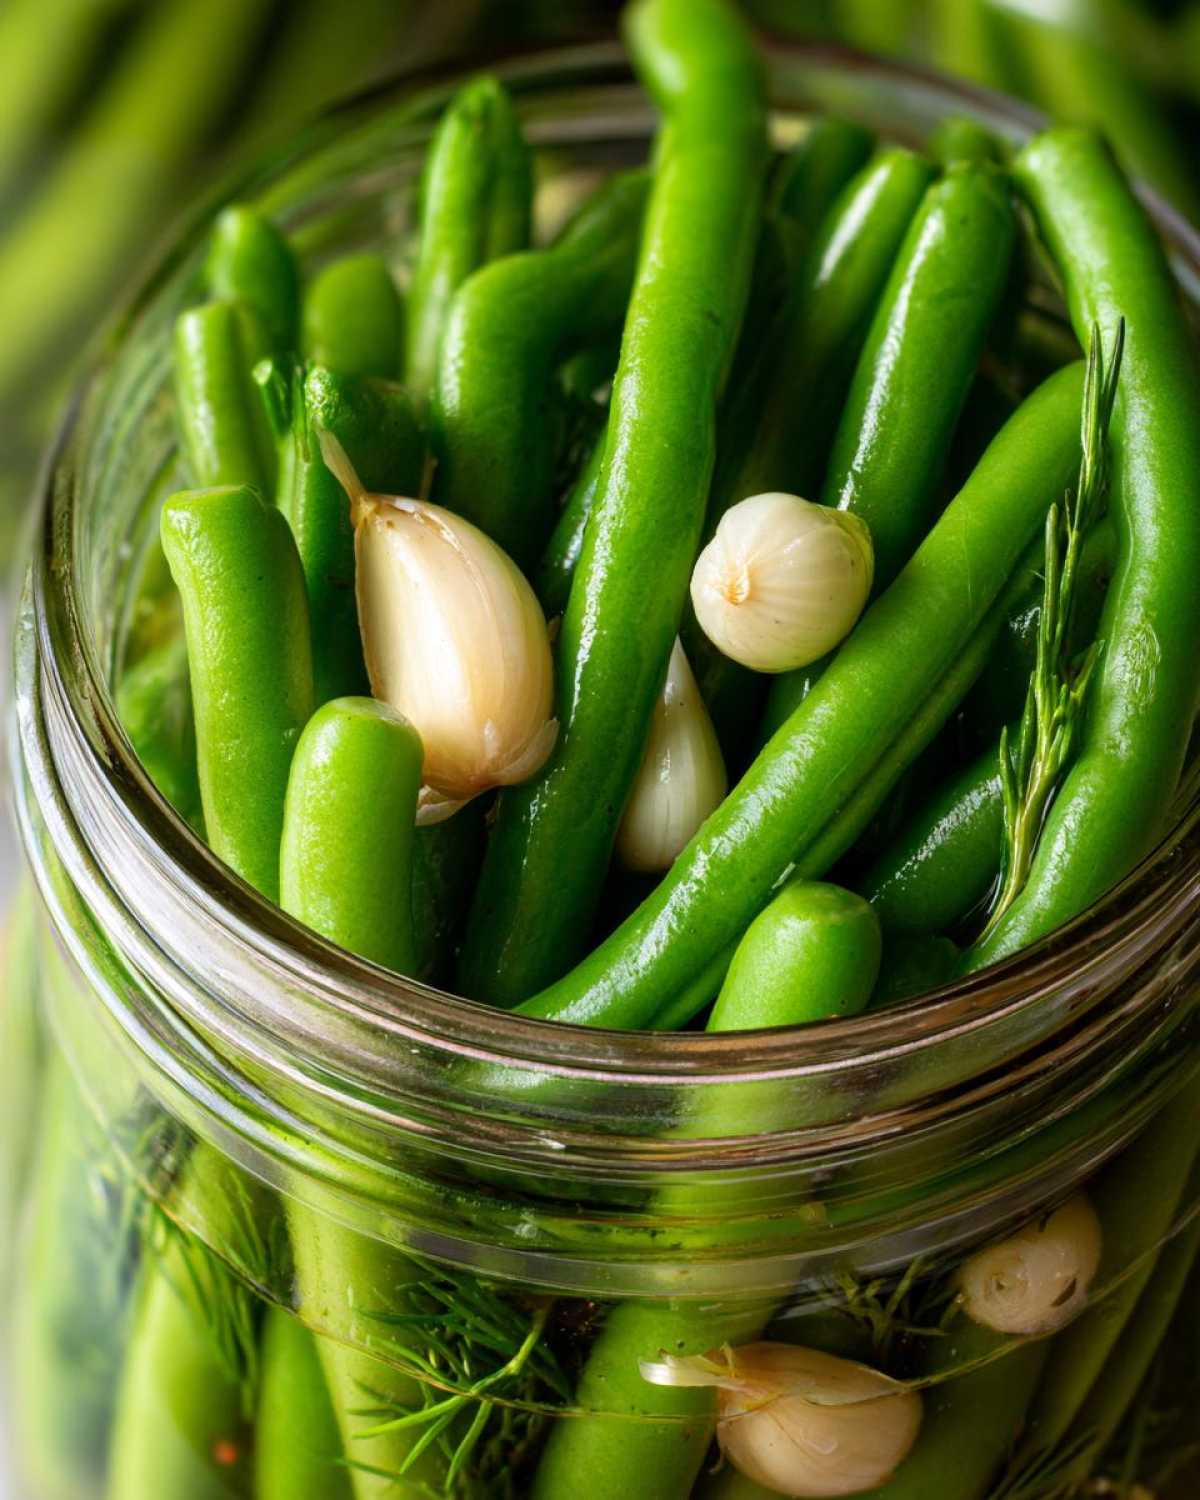
Next, you need to pack them tightly into your two clean quart jars. Make sure you leave about an inch of open space—we call that headspace—at the very top of the jar. Now is the time to drop in your little flavor boosters! If you are making the garlicky version, put two smashed garlic cloves in the bottom of each jar. If you want heat, drop in a half teaspoon of red pepper flakes per jar. The beans should be packed in snuggly!
Now for the brine! Grab a medium saucepan and toss in the water, vinegar, salt, and sugar. Crank that heat up high and bring it to a rolling boil. You have to stir it until you can see that every last grain of salt and sugar has completely vanished. That’s the key to a clear brine, right there.
Achieving the Ultimate Crunch in Your Dilly Beans
If you want the absolute best, most satisfying *snap* when you bite into your pickled green beans, you have to hear me out on the blanching trick. Seriously, this simple step is what separates good dilly beans from the ones that taste like they just sat in the fridge too long. Right after you wash and trim your green beans, dunk them into a pot of boiling water for just one minute. Don’t leave them in there a second longer!
Immediately after that minute, scoop them out and plunge them directly into a giant bowl of ice water. This stops the cooking process instantly and shocks the cells in the bean, making them super firm. Once they are totally chilled—use a slotted spoon to fish them out—you can pack them into the jars. If you skip this, they might still be good, but they won’t be *these* amazing, tangy vegetable pickles!
Brining and Sealing Your Dilly Beans
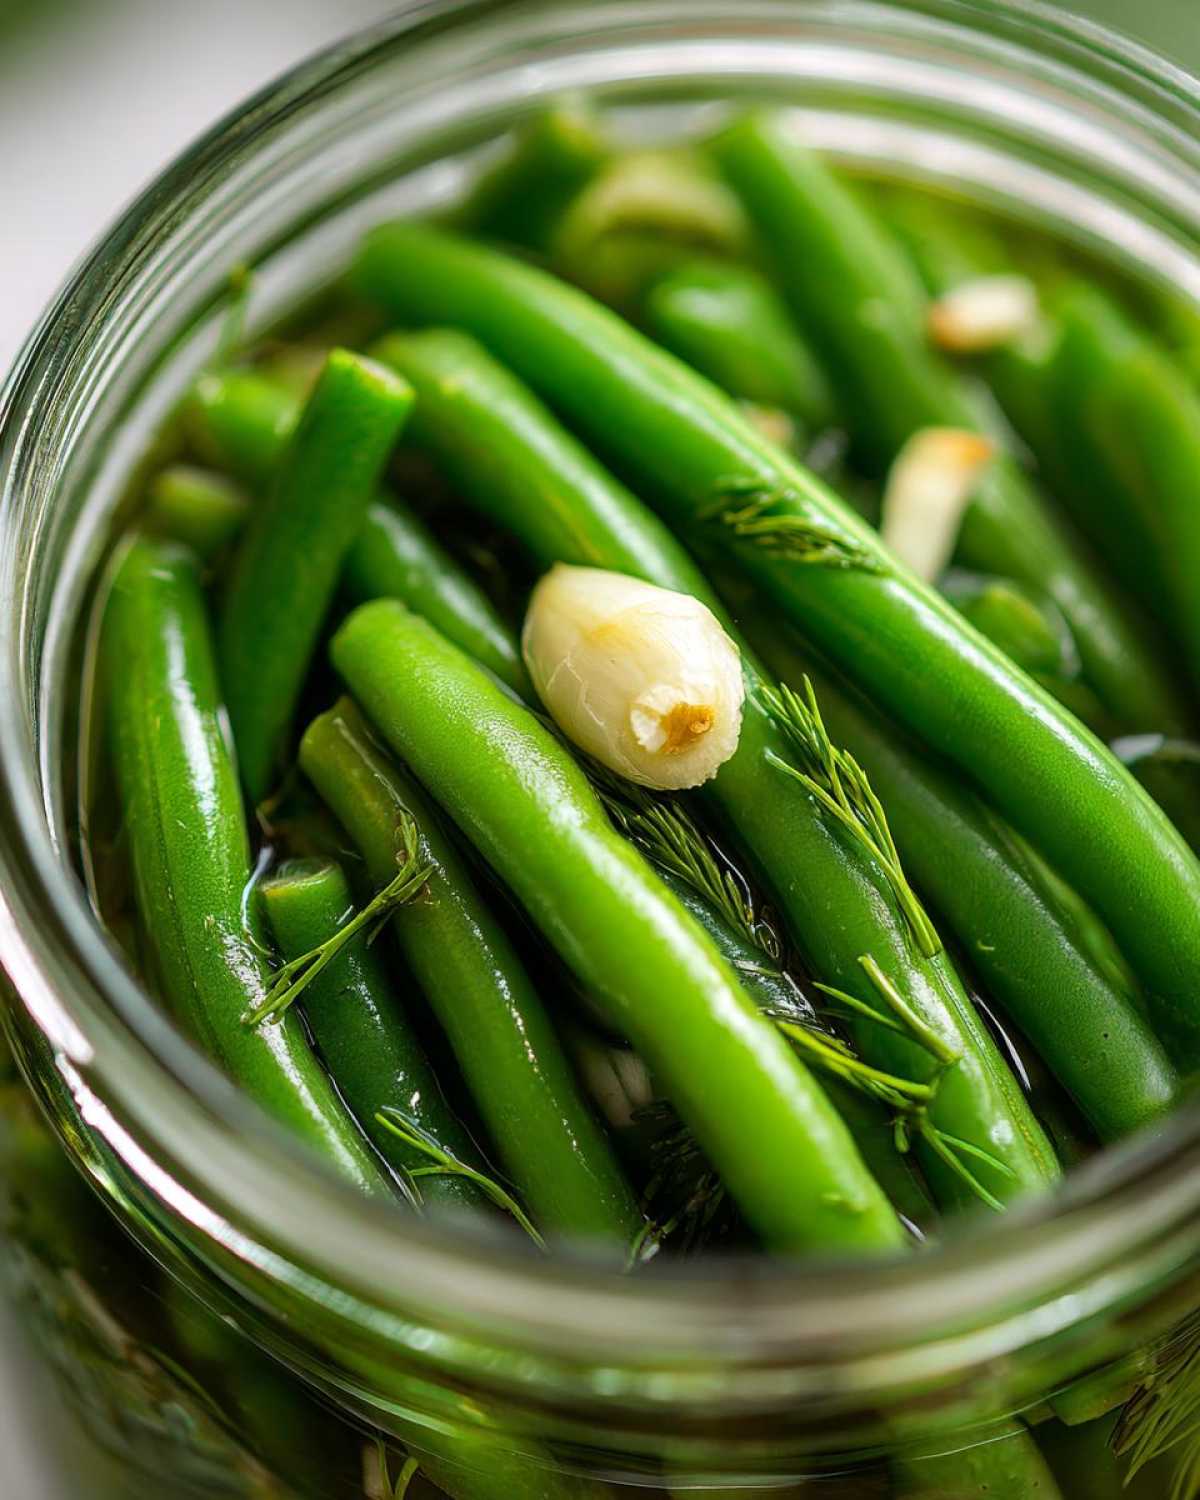
Once your jars are packed and you’ve added your dill sprigs right on top (if you’re using those), it’s time to pour in that glorious, hot brine. Pour slowly, making sure all the beans are completely covered and submerged. Remember that headspace? You need to leave about a half-inch space between the brine surface and the rim of the jar. Don’t overfill it, or the lids might not seal properly once they cool.
Wipe the rims of the jars down with a clean, damp paper towel—I learned the hard way that this step is crucial to prevent any sticky residue from interfering with the seals! Put the lids on tight, but not cranked down like you’re trying to win a strength contest. Now, just let them sit on the counter on a towel or cooling rack for about 30 minutes until they come down to room temperature. After that? Straight into the fridge they go. You can technically snack on them tomorrow, but promise me you’ll wait until day three for the best flavor development on your dill pickle recipe!
Tips for Success When Making Refrigerator Dilly Beans
There are a few little tricks that take these easy dilly beans from good to absolutely unforgettable. My biggest tip, which I mentioned before but needs repeating, is wiping those jar rims down! Seriously, any stray sugar crystal or salt grain on the rim can stop that lid from making a good seal against the glass, and then you’ve got a leaky mess. I learned that the hard way when my fridge started smelling like a deli!
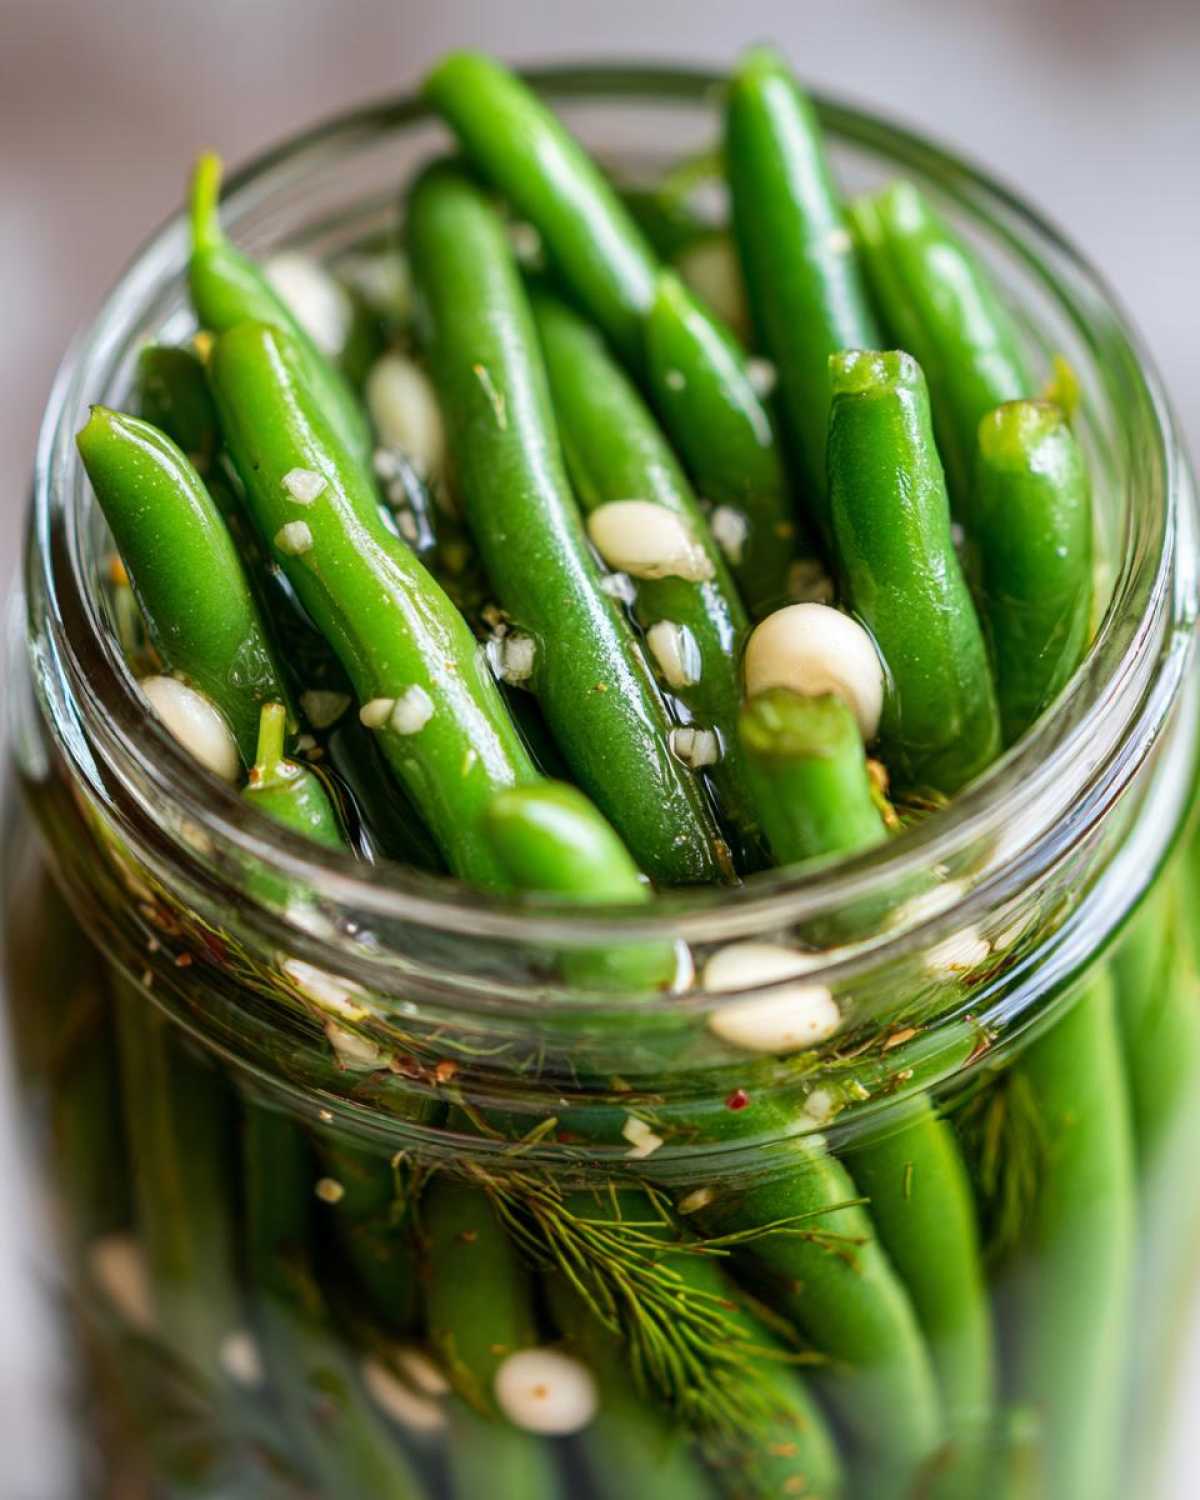
Also, make sure you’re using fresh dill if you can get it. Dried dill seed is great for a deeper flavor profile, but those fresh, fragrant sprigs make the whole jar look like a classic deli offering. When you mix your brine, taste it before you pour! Does it make your eyes water a little? That’s what you want with your vinegar brine pickles—a sharp, forward flavor that will mellow out as the beans soak.
If you’re planning on using these for cocktails or just dipping often, I find that waiting a full three days really lets the garlic and dill marry into the beans perfectly. It’s hard to wait, but these dilly beans are worth the patience. Check out my full dill pickle guide if you want to dive deeper into brine composition!
Storage and Shelf Life for Your Homemade Dilly Beans
Okay, this is the most crucial part of this whole recipe, so listen up! Because we are using the easy refrigerator method—which I love for its simplicity—these are not shelf-stable. That means you absolutely, positively cannot store these dilly beans in the pantry or on a shelf. They have to stay cold!
Pop those jars straight into the fridge once they’ve cooled down on the counter for that initial half hour. If you keep them stored properly in the refrigerator, they stay fantastic for about four to six weeks. I’ve pushed it to eight weeks once or twice, but honestly, they start to lose that perfect *snap* around the five-week mark, so I try to eat them before then!
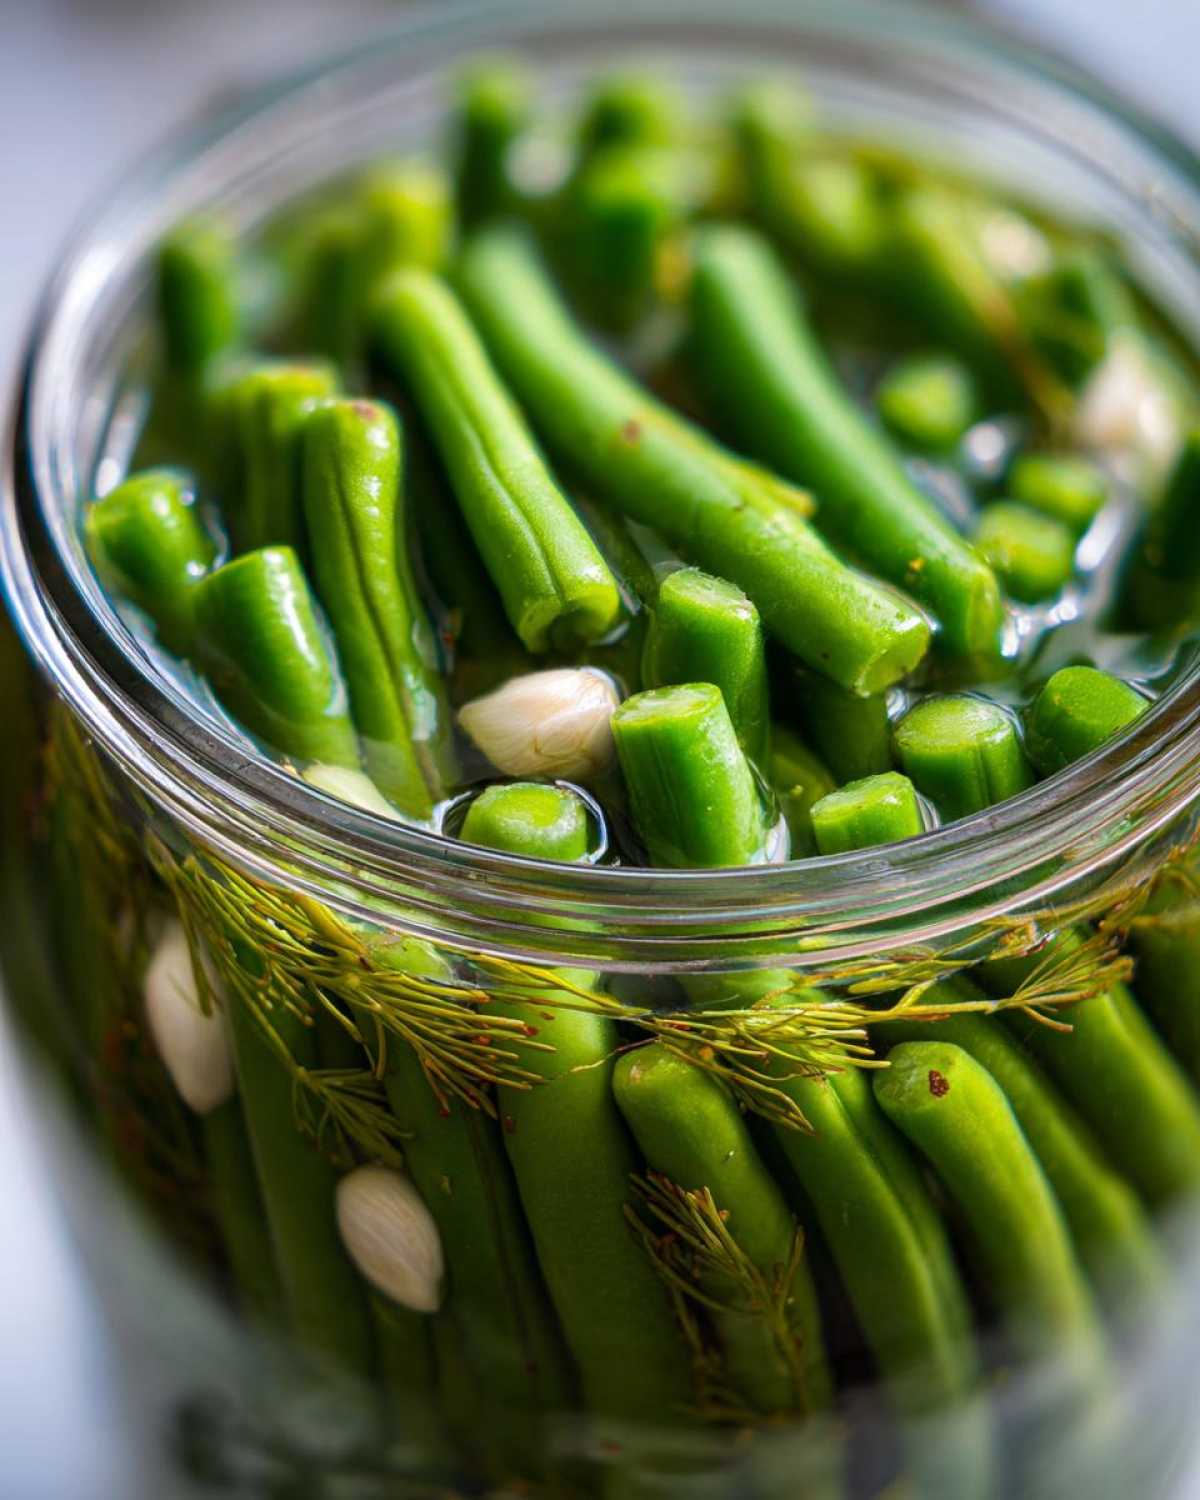
This is the main difference between what we’re making here—quick, easy dilly beans—and what my grandma used to do when she made canned dilly beans. True canning involves a super hot water bath or pressure canner to kill off bacteria and create a vacuum seal for long-term storage in the pantry. We aren’t doing that here! Our method is fast and keeps the beans crispier, but the trade-off is they must stay chilled. Think of these as supercharged fresh vegetables you’ve preserved for a quick snack boost. For more ways to keep your garden veggies delicious long-term, check out my post on preserved green beans!
Serving Suggestions for Tangy Vegetable Pickles
Now that you have these incredible, snappy, homemade dilly beans sitting in your fridge, the real fun begins: eating them! Seriously, it’s hard to stop once you open a jar. They are so much better than anything store-bought, right? They make the absolute best low-key, flavor-packed snack.
If you’re watching your carbs, these are a total lifesaver. They fit right into my low-carb snacking rotation perfectly because they give you that salty, vinegary hit without all the heavy baggage. I often grab a handful straight from the jar when I need something crunchy between meals.
But they aren’t just for snacking solo! These tangy vegetable pickles are surprisingly versatile. They look gorgeous sticking out of a Bloody Mary or a Caesar cocktail—they instantly elevate that drink game! I always make extra just for that purpose during weekend brunches. Don’t be shy about tossing them on a cheeseboard, either.
Those dill spears cut right through the richness of fatty meats or creamy cheeses. Think about serving them alongside roast pork or grilled sausages; the acidity cuts through the fat perfectly. Honestly, once you start making your own pickled green beans, you’ll find uses for them everywhere. They’re your new kitchen secret weapon!
Frequently Asked Questions About Dilly Beans Recipe
I know you probably have a few questions brewing—I certainly did when I first started making batches of these dilly beans! It’s important to get these little details right so you end up with the best flavor and texture possible.
Can I can these dilly beans for long-term storage?
That’s a great question about preservation! To be super clear, this specific dilly beans recipe is geared toward quick pickling using the refrigerator method. If you want to safely store these for months in your pantry, you can’t use this brine ratio or method. True shelf-stable preserved green beans need a very specialized brine recipe and require proper water bath or pressure canning processing times to be safe. For now, keep these delicious guys chilled!
How long until my pickled green beans are ready to eat?
The good news is, you don’t have to wait forever! Technically, you can sneak a *very* tart bean out of the jar after about 24 hours in the fridge. But honestly? That’s not where the flavor is. I highly, highly recommend you give them at least three full days. That waiting period allows the vinegar brine to really penetrate the bean walls. The flavor development after day three is when these quick pickled green beans truly shine, hitting that perfect balance of sour and salty!
How do I make these into spicy dilly beans?
If you’re hungry for more kick, you’re in luck because that’s one of the easiest tweaks you can make to this recipe! Remember when we added the red pepper flakes in the jar? If you want full-on spicy dilly beans, just double or even triple that amount in each jar. I recently made a batch where I added a whole teaspoon of flakes per jar, and wow—they were amazing on burgers! If you look over at my post about quick pickled green beans, I talk more about using dried chiles too, but for this recipe, just more flakes is the way to go!
Nutritional Snapshot of Homemade Dilly Beans
I know some of you are watching macros, and since these are basically just vegetables soaking in vinegar, they are fantastic! It’s so much better making your own preserved green beans because you control exactly what goes in.
Now, keep in mind these numbers are just estimates based on standard measurements. Different brands of salt or vinegar can shift things slightly, so take this as a helpful guide rather than gospel. But looking at these stats, you can see why they are perfect for people following keto friendly vegetables plans!
Here is a quick look at what we are working with:
- Serving Size: About 1/2 cup of beans
- Calories: Just 25—you can’t beat that!
- Fat: Zero! Zilch! Fantastic news for low-fat snacking.
- Carbohydrates: Only 6 grams total.
- Fiber: 2 grams we can count!
- Protein: 1 gram.
- Sugar: About 2 grams (that’s from the tiny bit we added to balance the brine).
- Sodium: Around 350mg—this is the trade-off for all that wonderful salty pickle flavor!
See? Easy, tasty, and packed with flavor without overloading on sugars or fats. Grab a jar of these dilly beans next time you need something crunchy!
Share Your Experience Making Dilly Beans
Alright, friends, that’s it! You’ve got the knowledge, you’ve got the recipe—now go make some glorious, snappy dilly beans! I truly can’t wait to hear how they turned out for you. Did you go with the garlic punches? Did you up the spice until your eyes watered? Don’t be shy about it!
The absolute best part of sharing these recipes is seeing what you all create in your own kitchens. I always love seeing pictures of your jars lined up in the fridge. If you made a batch, please leave a rating right down below this section. Five stars if they had the perfect crunch, right?
If you tried my advice on blanching the beans first, let me know if you noticed the difference in texture! And if you have any brilliant ideas for using up these amazing homemade pickles—maybe you have a killer cocktail idea—drop that note in the comments too. If you ever need to get in touch about a tricky spot in the recipe, you can always find me on the contact page. Happy pickling, and enjoy those crisp, vinegary beans!
PrintEasy Refrigerator Dilly Beans
Make crunchy, tangy pickled green beans using a simple refrigerator method. This recipe includes options for adding garlic or spice.
- Prep Time: 20 min
- Cook Time: 5 min
- Total Time: 25 min
- Yield: 2 quarts
- Category: Side Dish
- Method: Quick Pickling
- Cuisine: American
- Diet: Low Fat
Ingredients
- 2 lbs fresh green beans, trimmed
- 4 cloves garlic, peeled and smashed (optional)
- 1 teaspoon red pepper flakes (optional, for spicy)
- 4 cups water
- 2 cups white vinegar (5% acidity)
- 1/4 cup pickling salt or kosher salt
- 2 tablespoons granulated sugar
- 1/4 cup fresh dill sprigs or 2 tablespoons dried dill seed
Instructions
- Wash the green beans thoroughly and trim the ends. If using fresh dill, wash the sprigs.
- Pack the green beans tightly into two clean quart-sized jars, leaving about 1 inch of headspace.
- If using, place 2 smashed garlic cloves and 1/2 teaspoon of red pepper flakes into the bottom of each jar.
- In a medium saucepan, combine the water, vinegar, salt, and sugar. Bring the mixture to a rolling boil over high heat, stirring until the salt and sugar dissolve completely.
- Carefully pour the hot brine over the green beans in the jars, ensuring the beans are fully submerged. Leave 1/2 inch headspace at the top.
- If using fresh dill sprigs, place one sprig on top of the beans in each jar.
- Wipe the rims clean, seal the jars with lids, and let them cool on the counter for about 30 minutes.
- Transfer the jars to the refrigerator. The dilly beans will be ready to eat in 24 hours, but they taste best after 3 days.
Notes
- For the crunchiest beans, briefly blanch the trimmed green beans in boiling water for 1 minute, then immediately plunge them into ice water before packing them into the jars.
- These refrigerator pickles must be kept in the refrigerator and will last for about 4 to 6 weeks.
- If you prefer a stronger dill flavor, use dill seed instead of fresh dill heads or sprigs.
Nutrition
- Serving Size: 1/2 cup
- Calories: 25
- Sugar: 2
- Sodium: 350
- Fat: 0
- Saturated Fat: 0
- Unsaturated Fat: 0
- Trans Fat: 0
- Carbohydrates: 6
- Fiber: 2
- Protein: 1
- Cholesterol: 0
