

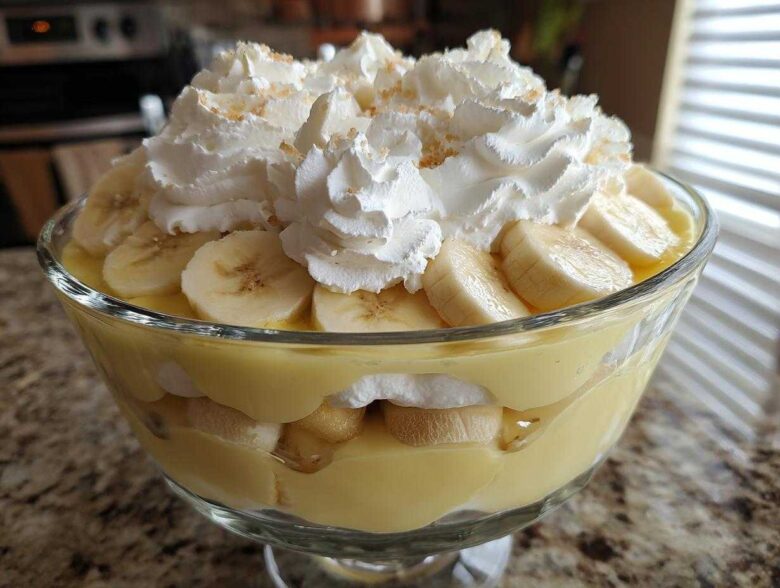
There are desserts, and then there is banana pudding. I’m talking about the kind that instantly makes you close your eyes and sigh, the kind that reminds you of warm Sunday afternoons at Grandma’s house. Sure, you can grab a box mix, but trust me when I say you absolutely must try this recipe made entirely from scratch. This isn’t some flimsy, watery version; this is the definitive, rich, and unbelievably creamy Southern-style banana pudding. The magic lives right in that homemade vanilla custard—it sets up perfectly and melts right into those vanilla wafers. Once you taste this depth of flavor, you’ll never go back to the instant stuff. If you like fuss-free comfort on the stove, you should definitely check out my easy bread pudding recipe, too! It’s truly the ultimate bowl of comfort, and making banana pudding from scratch is superior because of that rich custard base.
Why This Classic Banana Pudding Recipe Delivers Comfort
What makes this recipe the best? It’s all about that texture contrast you just can’t replicate with quick mixes. We are aiming for peak creamy banana dessert perfection here!
- The homemade custard sets up beautifully, giving you that thick, spoon-coating richness.
- The vanilla wafers soften just right—they aren’t mushy disasters, but delicate pillows of sweet cookie flavor.
- That real vanilla extract really separates this from the packet versions; you can taste the quality.
Honestly, this is the pinnacle of Southern comfort food desserts. When you bring this to a gathering, people know you put love into it. If you are looking for other rich, egg-based desserts, you might enjoy my classic French toast recipe, which uses a similar rich custard base!
Gathering Ingredients for the Best Banana Pudding Ever
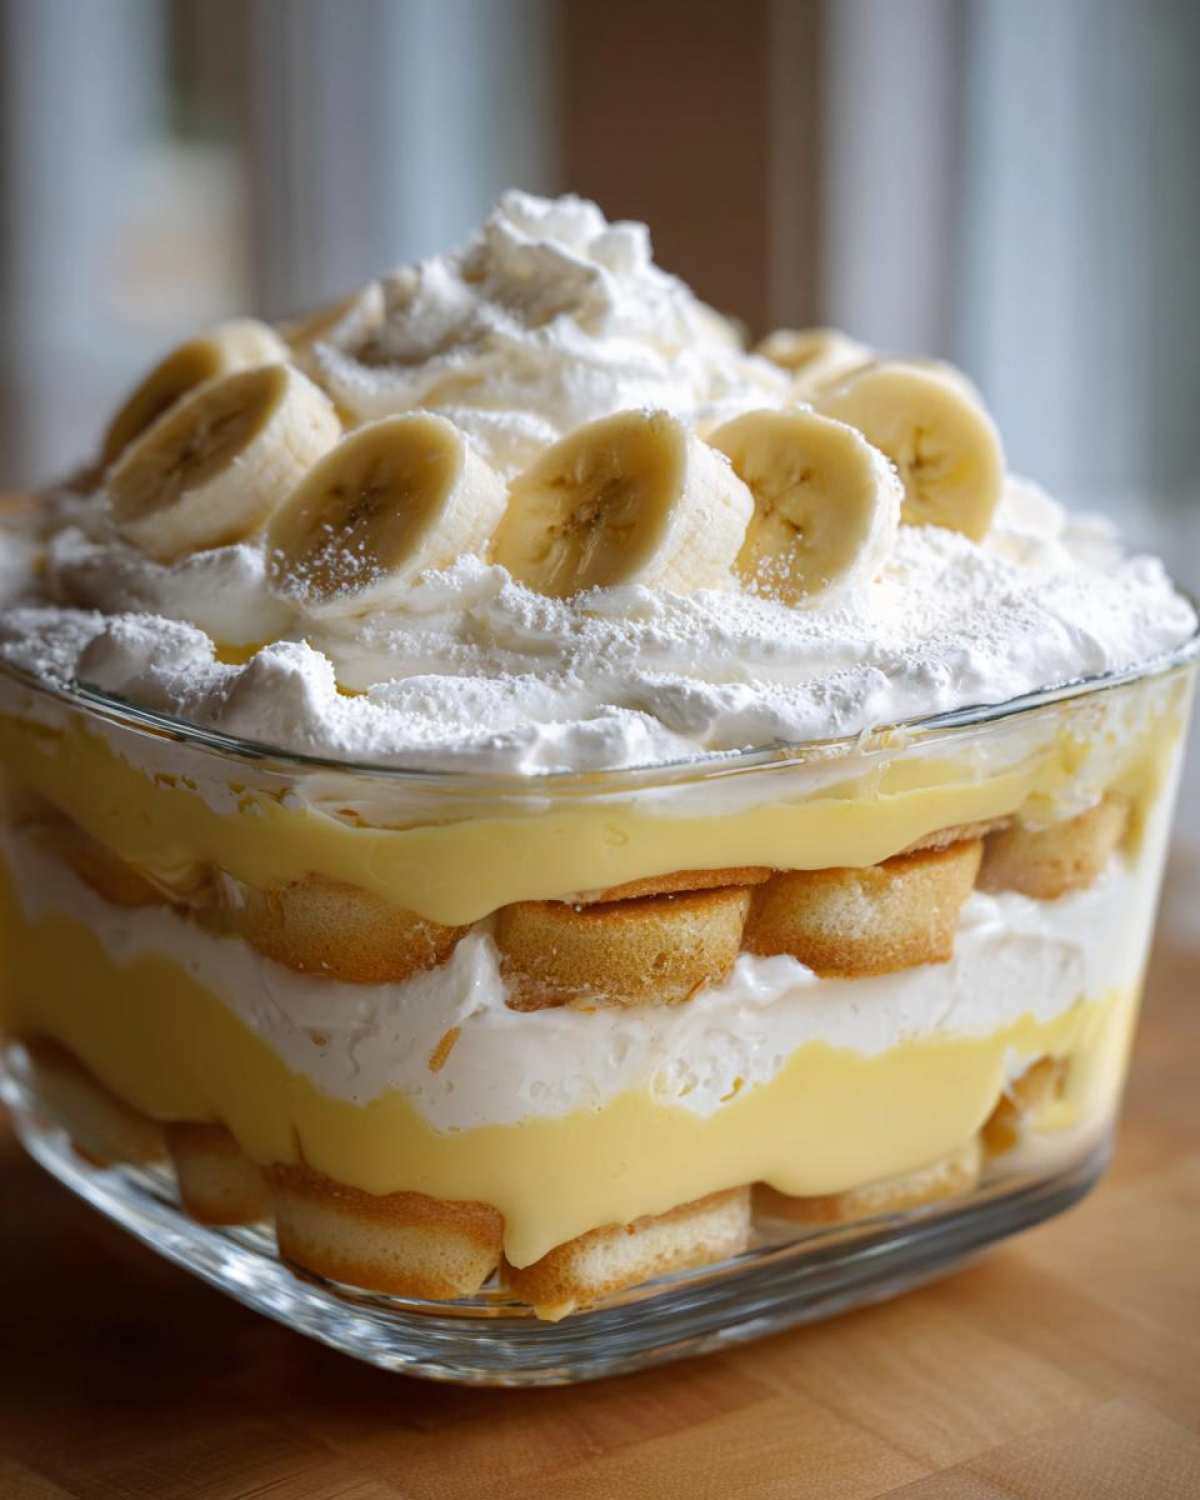
Okay, before we dive into the cooking—this is where the quality really shows, so don’t skimp! Since we are making the full, rich version here, we need components for the custard, things for the topping, and of course, the structural elements. This process builds trust because being exact with ingredients makes this the best banana pudding ever. If you are curious about building flavor in other ways, you should definitely peek at my guide on making classic French toast. It uses a similar technique where precision matters!
For the Homemade Vanilla Pudding Layers
These are the building blocks for that luxurious, creamy banana dessert structure. Everything gets whisked together for that smooth base.
- 1 cup granulated sugar
- 1/4 cup cornstarch (this is our thickening backbone—don’t skip it!)
- 1/4 teaspoon salt
- 1 1/2 cups whole milk
- 3 large egg yolks, lightly beaten (Save the whites for something else, we need these yolks for richness!)
- 2 tablespoons unsalted butter
- 1 teaspoon vanilla extract
For the Topping and Assembly of Banana Pudding
Here is where we bring in the structure and the finishing fluff. Traditional South ern comfort food desserts like this always use the wafer and fresh fruit!
- 1 box (11 ounces) vanilla wafer cookies (Yes, the Nilla Wafers are tradition here!)
- 4 ripe, medium bananas, sliced (Make sure they are ripe—not green, but not totally brown either!)
- 2 cups heavy cream
- 1/4 cup powdered sugar
Step-by-Step Instructions for Perfect Banana Pudding
This recipe takes a little time on the stove, but I promise you, it’s worth every second of standing over the pot. Since we’re making everything from scratch—which means no gummy texture—we need to pay attention to the custard cooking and especially the egg tempering. Don’t rush this part!
If you’re looking for a slightly less hands-on stove dessert but still love that creamy vibe, you might want to check out my guide for easy bread pudding—it’s much more forgiving!
Making the Rich Homemade Vanilla Custard
This is the heart of our classic Southern banana pudding recipe. We build the flavor layer by layer right here. Grab your medium saucepan!
First, in that saucepan, whisk together your sugar, cornstarch, and salt until they look uniform. Now, slowly, slowly whisk in the milk until you have absolutely no lumps left. We are looking for smooth sailing.
Turn the heat on to medium. You have to stir this constantly—seriously, don’t walk away! You’ll cook it until it gets super thick and comes to a full boil. It needs to boil for about a minute while you keep stirring, just to cook out that cornstarch taste fully.
Then comes the tricky, but vital, part: tempering those precious egg yolks. Take about half a cup of that hot custard—just a little bit!—and drizzle it *very slowly* into your beaten egg yolks while you whisk like crazy. If you dump it in too fast, you’ll get scrambled eggs instead of thick custard. Once they are introduced gently, pour that yolk mixture right back into the saucepan.
Return it to low heat, stirring constantly for just two more minutes until it thickens again softly. Don’t let it boil! Once off the heat, stir in the butter and vanilla until melted and smooth. Pour this gorgeous custard into a bowl and here’s a pro trick from my kitchen: press a piece of plastic wrap directly onto the surface. This stops that awful skin from forming while it chills for at least two hours. Patience pays off!
Preparing the Whipped Cream Topping
While the custard is chilling down, whip up your topping! This is simple, fast, and lightens up the whole dessert.
In a clean bowl, whisk the heavy cream and powdered sugar together until you get stiff, beautiful peaks that hold their shape when you lift the whisk. That’s it! Set it aside where it stays cold.
Assembling Your Creamy Banana Dessert Layers
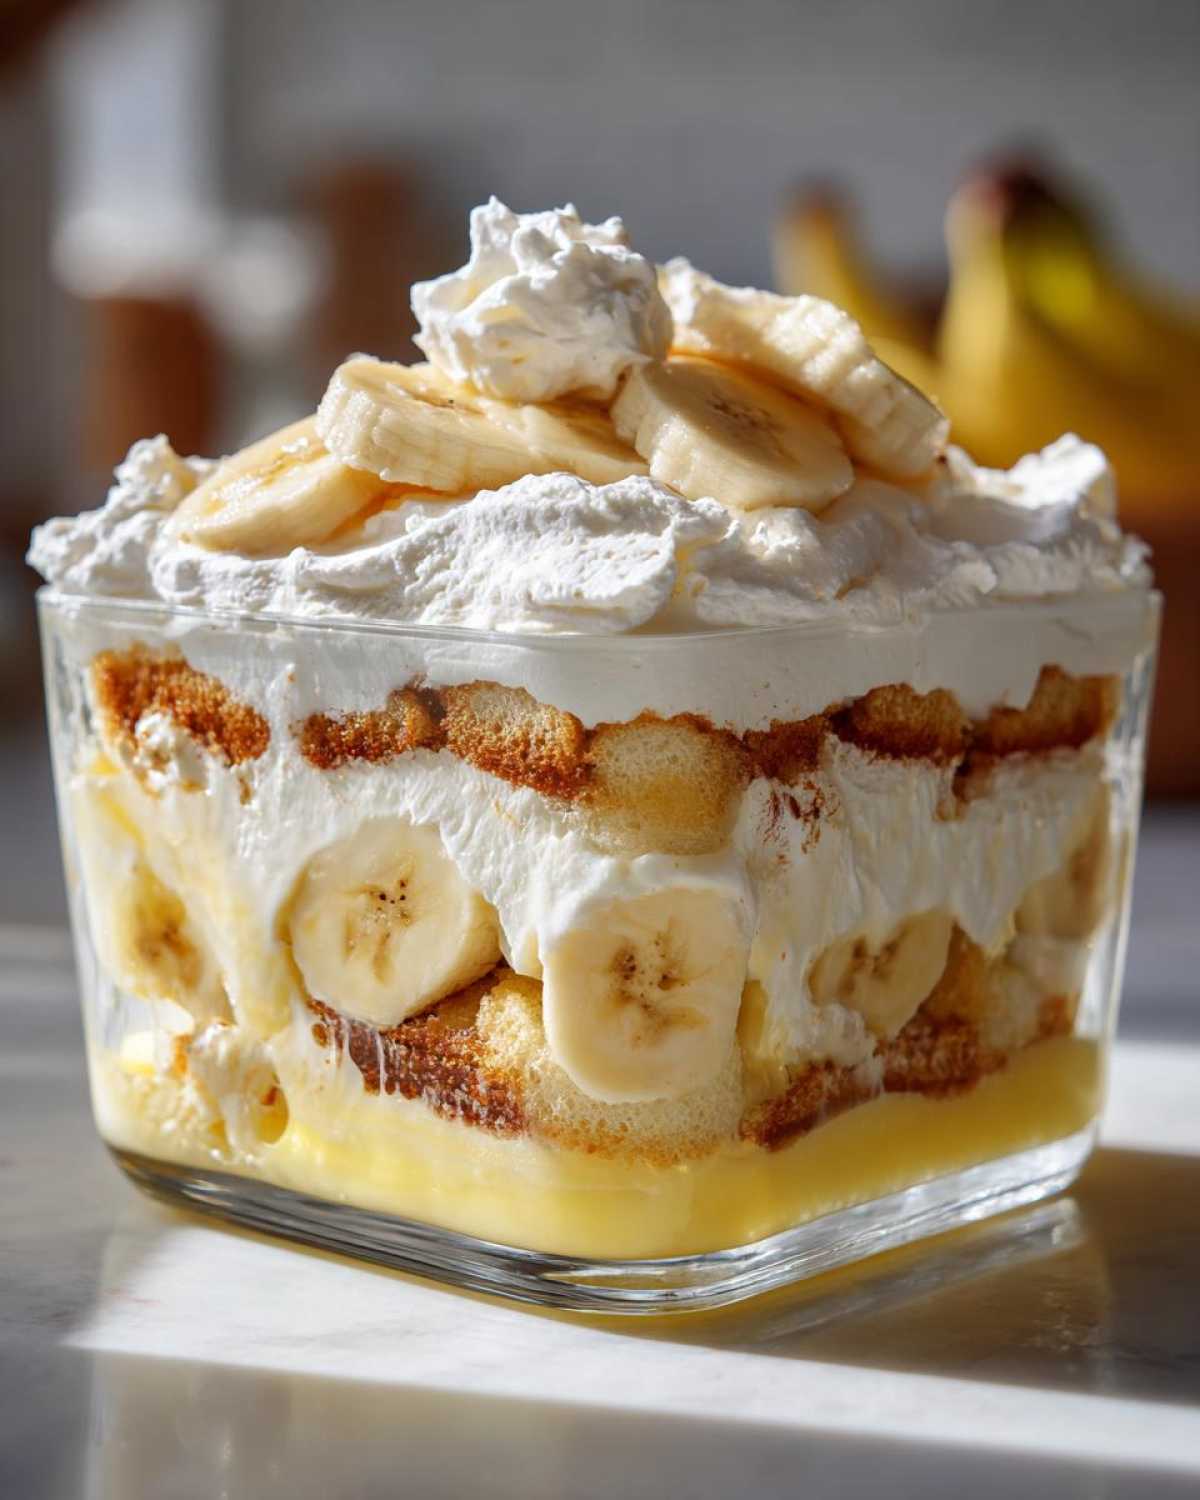
Time for the grand assembly, which shows off why this is a true banana cream layered dessert. Use a trifle dish or a 9×13 pan to show off those pretty stripes.
Start by spreading a *thin* layer of that chilled, thick vanilla custard on the very bottom of your serving dish. This acts like glue.
Next, arrange a solid layer of those vanilla wafers right on top of the custard. Then, spread out as many of your sliced bananas as you can over the wafers. Finally, cover that fruit layer with about one-third of the remaining custard.
Repeat the entire process: wafers, bananas, and then another layer of custard. You want to end up with the last bit of custard being the very top layer before the whipped topping goes on. It’s these layers—custard, wafers, bananas, custard repeats—that make it such a successful banana pudding.
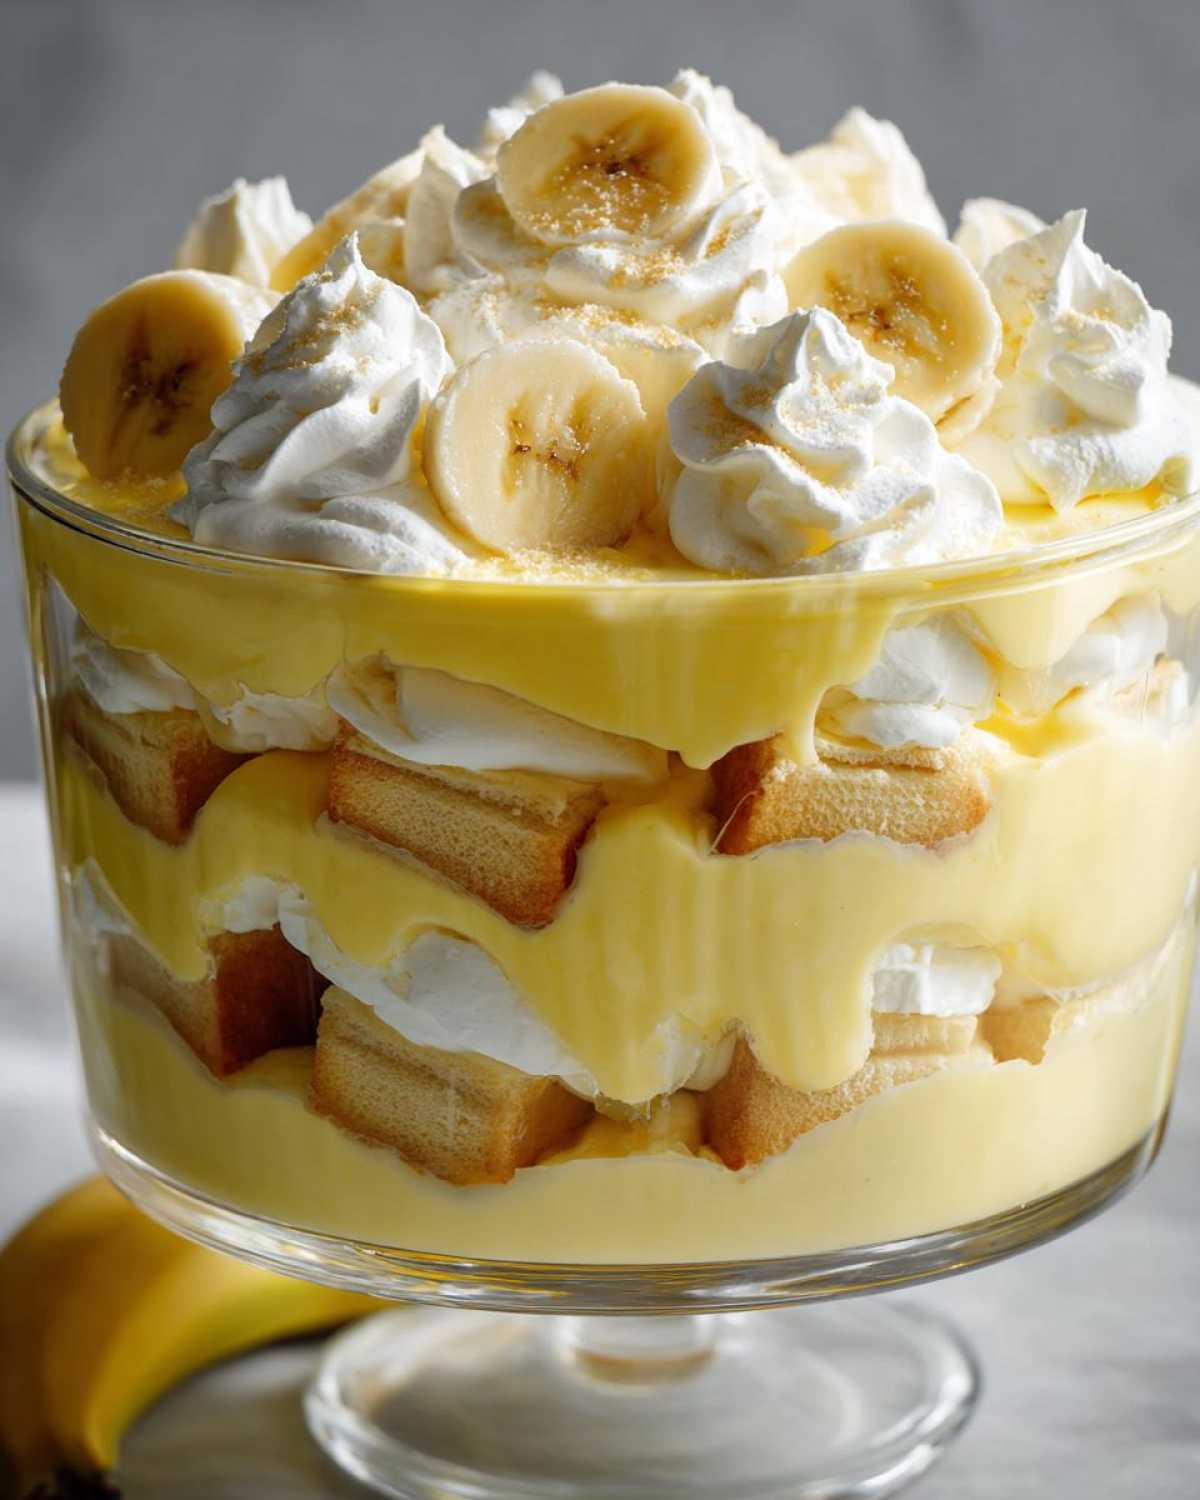
Top the whole thing off by spreading that gorgeous, fluffy whipped cream evenly across the surface. Now, the hard part: chill it for a minimum of four hours, but honestly, overnight is what makes this perfect!
Expert Tips for the Best Banana Pudding Ever
We’ve made the custard, we’ve layered it up. Now, let me share a few little secrets I picked up over years of making this dessert—especially when I was trying to get it ready for summer picnics and needed it to look perfect. Listen closely, because these small steps turn a good creamy banana dessert into a magnificent one.
First up: those bananas. You absolutely must slice them right before you begin assembling the layers, or they turn brown faster than you can say “Oh no!” If you find your bananas are browning a little too fast anyway, try tossing the slices lightly in a teaspoon of lemon juice first. It sounds odd, but the acidity helps hold that fresh, pale color for longer as you work. It’s a lifesaver when assembling.
Remember when I told you to press plastic wrap directly onto that hot custard? That’s non-negotiable for preventing that rubbery skin. But if you forget, or if you notice a tiny layer forming anyway, don’t panic! Just grab a whisk right before you start assembling and whisk the chilled custard vigorously for about 30 seconds. It smooths right out and blends beautifully with the whipped cream later. You’d never know it was almost ruined!
And for the ultimate secret to that melt-in-your-mouth texture, the chilling time is everything. We listed four hours, but if you can manage it, let this sit overnight. That extra time allows the moisture from the custard not only to flavor the bananas but to perfectly soften those crispy Nilla wafer desserts edges. They transform from crunchy cookies into these soft, pudding-soaked pillows. That combination—the creamy custard and the saturated wafer—is what makes this classic banana pudding recipe famous.
If you’re interested in another dessert where chilling time dramatically improves the texture, you should take a peek at my guide on making cream cheese coffee cake; letting that cool completely really locks in the moisture!
Make Ahead Chilled Desserts: Storing Your Banana Pudding
This is honestly one of my favorite things about making this classic banana pudding recipe: it’s the ultimate make ahead chilled dessert. Seriously, you can assemble this beautiful, layered dessert the day before you plan to serve it, and it will be even better the next day. I often make it on a Saturday night so it’s ready for Sunday lunch!
You need a minimum of four hours in the fridge for this to set up properly. When you first assemble it, the custard is cold, the cream is firm, and the wafers still have a bit of snap. But that overnight chill time? That’s when the magic happens.
The moisture from the custard slowly seeps into those vanilla wafers. They don’t dissolve into nothingness, oh no! They become perfectly tender, almost custardy themselves, acting as another wonderful texture layer beneath the fruit. Trust me, that softening is what separates the “good” homemade puddings from the “best.”
When it comes to storage, you need to keep it covered in the refrigerator. Pressing plastic wrap right onto the surface of the whipped cream topping is a good idea if you plan on keeping it for more than 24 hours. This prevents the top from drying out or absorbing any weird fridge smells—we want pure banana goodness only!
If you’re looking for another amazing dish that tastes better the next day, that fudge swirl brownie trifle I made last month is very similar in that regard. Any dessert that relies on cookie or cake layers soaking up moisture just thrives on that extra chilling time. It solidifies this dish as the perfect, stress-free easy family gathering recipe!
Variations on Classic Banana Pudding Recipe
While this recipe is the pinnacle of classic, creamy banana pudding, I totally get that sometimes we need to shake things up a little bit, right? That doesn’t mean ditching the homemade custard, though! We should always honor the effort that goes into that base layer. These little tweaks keep things interesting but still make it feel like that comforting dessert you grew up with. Think of these as fun side quests for your pudding journey.
If you happen to love the mix of spice and fruit, make sure you check out my apple cinnamon rolls recipe. The way those warm spices blend is just magical, and we can capture a little of that feeling here!
Switching Up the Cookie Crunch
For years, it was strictly vanilla wafers—and I still love them! But if you’re feeling adventurous, you can absolutely swap out the wafer layer for something else that complements those sweet bananas. This is a great way to make it feel like a totally new banana dessert for potlucks!
Try using shortbread cookies instead. They have a buttery flavor that really boosts the richness of the custard. When they soften, they become almost sandy in texture, which is amazing! Another fun twist is grabbing some graham crackers. They give it a slightly sweeter, almost deeper base flavor, leaning toward a richer profile.
But here’s a warning: always taste your substitute cookie first! If it’s too aggressively flavored (like chocolate wafers), it will fight the fresh banana flavor, and we definitely don’t want that.
Adding Spice to the Custard
If you want to lean hard into that old fashioned comfort desserts vibe, adding a little warmth to the custard itself can be incredible. You have this beautiful, sweet base, and just a tiny hint of spice elevates it so much.
Right before you pour the tempered egg mixture back into the saucepan (that’s Step 4 in the method), try whisking in about 1/2 teaspoon of ground cinnamon. That earthy warmth pairs so perfectly with the cooked sugar and the fresh bananas. You still taste the vanilla, but it has this lovely, cozy undertone.
You could even try a tiny pinch of nutmeg—not too much, or it can taste heavy—but just enough to give it that “Grandma’s kitchen” aroma while it cooks on the stove. These little additions are what make your version feel totally unique and special!
Texture Twist: Adding a Touch of Crunch
Since this recipe is all about that soft, creamy layering, sometimes people feel like it needs a little textural spike right before serving. This helps keep it on the list of the best banana pudding ever because it hits all the notes—soft, creamy, and slightly crunchy!
If you are making this ahead of time (which I highly recommend for the best wafer soak!), save about half a cup of *unsoaked* vanilla wafers. Right before you serve it, gently press them around the edges of the whipped cream topping, or just sprinkle them right across the top layer.
Another great choice here is toasted pecans or walnuts. Just toast a small handful quickly in a dry pan until fragrant, let them cool completely, chop them roughly, and use them the same way. It adds a lovely nutty undertone and keeps things interesting for the palate.
Serving Suggestions for Your Banana Dessert for Potlucks
Once this stunning, creamy banana pudding is perfectly set up after chilling, the only thing left to do is show it off! Since this recipe makes a big batch, presentation really matters, especially if you’re taking it to a shared meal or a big family party. This stuff disappears fast, so make sure it travels well and looks inviting!
If you’re heading off to a picnic or a church supper, this is definitely my go-to banana dessert for potlucks because it travels relatively well inside a sealed container. If you tried my peach cobbler recipe last week, you know how good comfort food travels; this pudding is similar!
Choosing the Right Vessel for Banana Pudding
The dish you choose can totally change the vibe of your dessert! For maximum impact and gorgeous layering visibility, there is absolutely nothing better than a large, clear glass trifle dish. When you use a deep dish, everyone gets to see those distinct stripes of yellow custard, creamy white topping, sweet brown bananas, and soft wafers. It looks like a masterpiece, even though it came together mostly in the fridge!
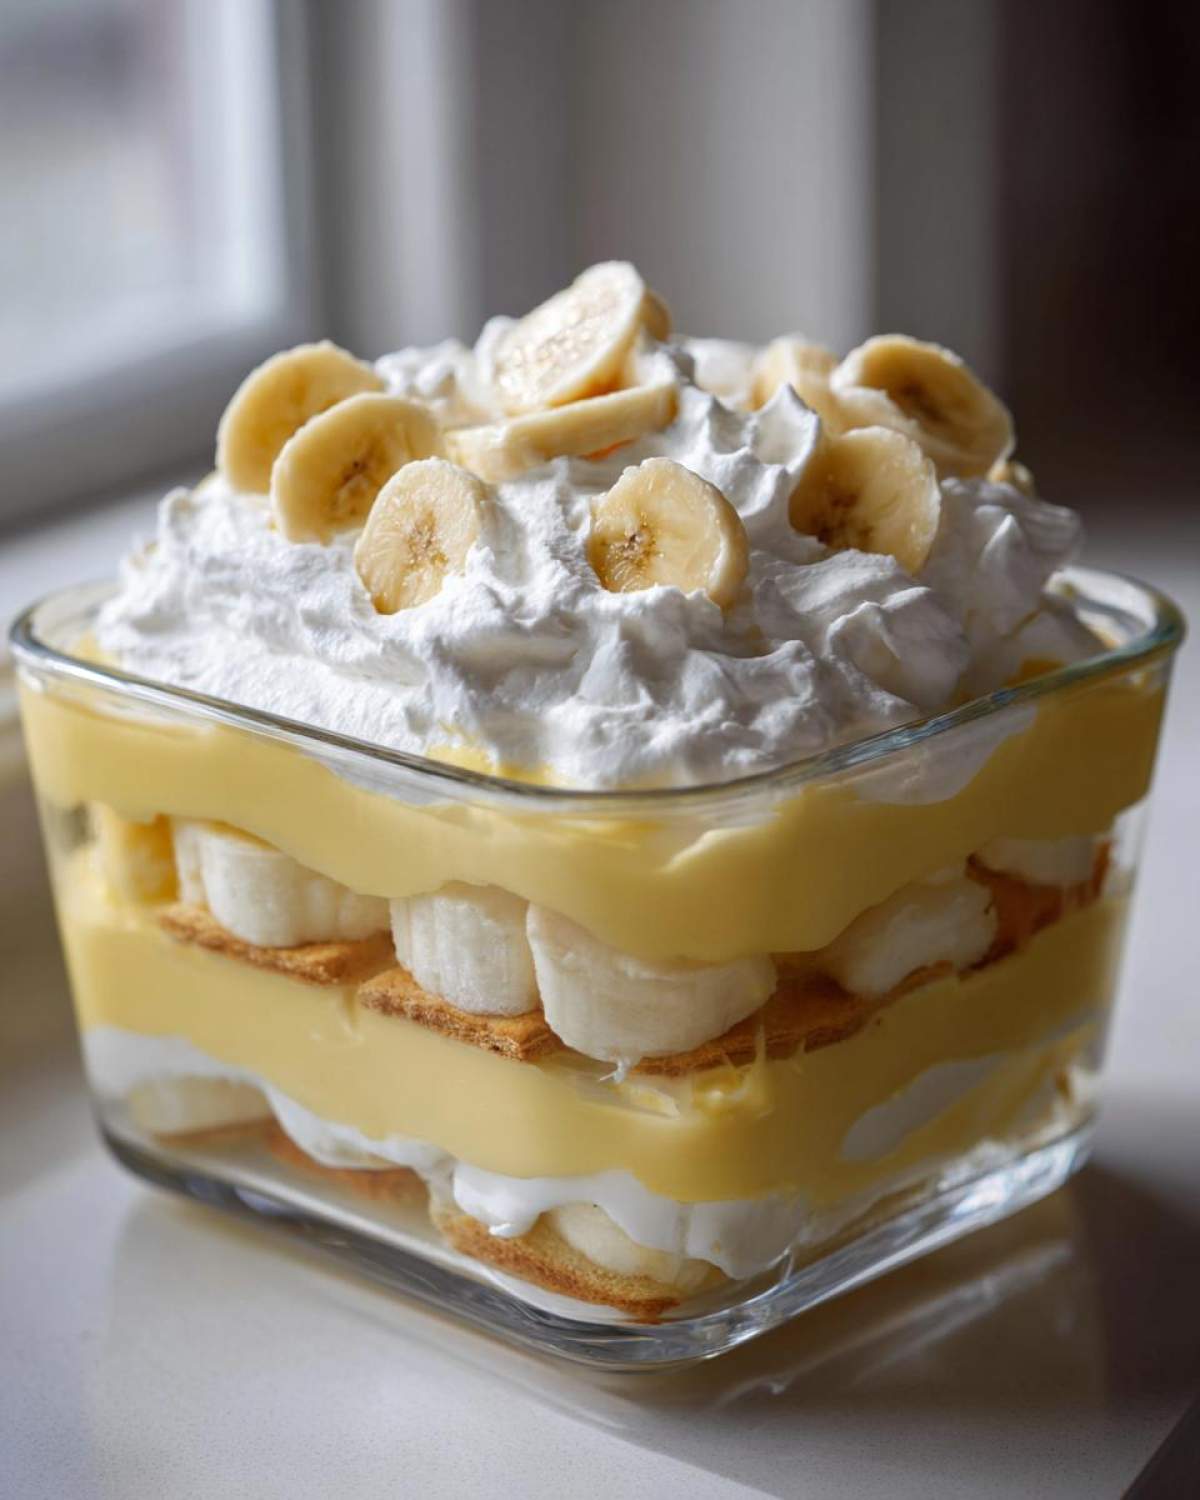
However, glass trifle dishes can be a real pain to transport safely, right? I understand that completely! If you need something sturdier and less breakable, you can absolutely assemble this in a standard 9×13 inch Pyrex baking dish. It still looks lovely when you serve it directly from the kitchen where you made it.
Now, if you want to look extra fancy, or if you need to serve people quickly without worrying about slicing lines, think individual cups! Spooning the assembled pudding mixture into small, clear glasses or even sturdy plastic cups (if you’re taking it outside) is fantastic. This is great for controlling portions and making sure everyone gets the same perfect ratio of custard to banana.
Garnishing for the Final Touch
You’ve got the layers looking perfect, the cream is piped or spread nicely—but don’t stop there! A simple garnish elevates this from “tasty homemade dessert” to “showstopper centerpiece.” This step is especially important since we are serving this creamy banana dessert cold.
My absolute favorite, traditional finish is just a light dusting of freshly grated nutmeg right over the top of the whipped cream. It’s subtle, but nutmeg really brings out the vanilla and egg richness in the custard below without competing with the banana flavor one bit. Use a fine microplane for this—it makes the best, lightest dust!
Another way to add texture without overwhelming the softness is to save a few of those Nilla wafers! Just crumble up about a quarter cup of them and gently sprinkle those pieces around the edges of the whipped topping. This gives someone who wants a tiny bit of crunch a place to go, while keeping the center super soft and perfectly saturated.
If you feel like going a little extra (I always do!), you can also place a few thin slices of fresh banana right on top of the whipped cream border right before serving. This visually screams “banana!” which is perfect for a banana pudding centerpiece, but make sure you do this last minute, or those slices will start to oxidize quickly.
Frequently Asked Questions About Banana Pudding
I figured you might have a few questions! Whenever I share this recipe, people always want to know about substitutions or how to get that incredible, thick texture—especially if they are comparing it to other versions out there. Don’t worry, I have the answers stemming from years of making this!
If you love making things ahead of time, you might really enjoy my super simple recipe for a no-bake banana pudding icebox cake. It’s a wonderful, slightly different, but equally creamy option!
Can I make this banana pudding without using Nilla wafers?
That is such a good question! When people talk about authentic, classic banana pudding, they are usually picturing those soft, almost cake-like results from Nilla Wafers. However, you absolutely can substitute them!
If you want something that offers a bit more buttery flavor, go for simple shortbread cookies. They soften beautifully, although perhaps take an extra hour to get that perfect cushiony texture compared to the thin Nilla wafers. If you use a thicker cookie, you might need to add a tiny splash more milk to your custard during assembly, just to make sure you have enough liquid migrating into that cookie layer. We don’t want dry spots in our Nilla wafer desserts!
How do I ensure my homemade vanilla pudding layers are extra thick?
Oh, this is the key to avoiding a soupy mess! Achieving that thick, luxurious base layer—the kind that looks like the top layer of a proper Magnolia Bakery style pudding—comes down to two things we covered in the steps: the cornstarch and the boiling time.
First, make sure you measure that cornstarch exactly. It’s the primary thickening agent besides the egg yolks. If you are one of those cooks who likes to eyeball things, resist that temptation here! You really want that full 1/4 cup.
Second, and this is crucial: Once the mixture comes to the first boil, you *must* keep it boiling for a full minute while stirring non-stop. That minute cooks out the raw starch taste and allows the starch molecules to fully hydrate and thicken properly. If you pull it off early because you’re nervous about the eggs, you’ll end up with a thin product that stays thin even when chilled, and it won’t achieve the thick texture needed for these rich dessert recipes.
How long does this pudding need to chill before it’s ready?
This is a common snag! You can eat it after two hours of chilling, sure, but it won’t be the best experience. For the best structure, where the custard holds its shape and the wafers have softened just enough to become delightful pillows, you need to let this banana pudding sit for a minimum of four hours. Honestly though, if you can manage to let it chill overnight, that is when it truly sings. That overnight rest is what lets those flavors marry and ensures the wafers are perfectly saturated—that’s true Southern magic right there, making it the ultimate make ahead chilled dessert.
Can I use instant pudding instead of making the custard from scratch?
You can, and I gave a quick note about it in the Tips section, but if you want the absolute richest, most authentic flavor—the one pictured in your mind when you think of Southern comfort food desserts—you must commit to the homemade custard. Instant pudding relies on stabilizers and gums for thickness, and it just doesn’t have that deep, eggy, buttery flavor that comes from cooking real yolks with milk and sugar. If you use instant, it becomes a quick, good-enough dessert; making the custard turns it into an *event*!
Nutritional Estimate for This Banana Pudding
I always like to give a rough idea of what you’re diving into with a big bowl of homemade indulgence like this. Remember, these numbers are estimates based on standard ingredient measurements and brand variations—your actual counts might vary slightly!
- Serving Size: 1 cup
- Calories: 380
- Sugar: 45g
- Sodium: 210mg
- Fat: 18g
- Saturated Fat: 10g
- Unsaturated Fat: 8g
- Trans Fat: 0.5g
- Carbohydrates: 55g
- Fiber: 1g
- Protein: 5g
- Cholesterol: 85mg
Nutritional Estimate for This Banana Pudding
I always like to give a rough idea of what you’re diving into with a big bowl of homemade indulgence like this. Listen, this is absolutely a rich dessert, so keep that in mind when digging in! Remember, these numbers are estimates based on standard ingredient measurements and brand variations—your actual counts might vary slightly depending on how much butter melts into those layers!
- Serving Size: 1 cup
- Calories: 380
- Sugar: 45g
- Sodium: 210mg
- Fat: 18g
- Saturated Fat: 10g
- Unsaturated Fat: 8g
- Trans Fat: 0.5g
- Carbohydrates: 55g
- Fiber: 1g
- Protein: 5g
- Cholesterol: 85mg
Classic Southern Banana Pudding
A rich and creamy Southern-style banana pudding featuring homemade vanilla custard and layers of vanilla wafers and fresh bananas.
- Prep Time: 30 min
- Cook Time: 10 min
- Total Time: 3 hours 40 min
- Yield: 10 servings
- Category: Dessert
- Method: Chilling
- Cuisine: American
- Diet: Vegetarian
Ingredients
- 1 cup granulated sugar
- 1/4 cup cornstarch
- 1/4 teaspoon salt
- 1 1/2 cups whole milk
- 3 large egg yolks, lightly beaten
- 2 tablespoons unsalted butter
- 1 teaspoon vanilla extract
- 1 box (11 ounces) vanilla wafer cookies
- 4 ripe, medium bananas, sliced
- 2 cups heavy cream
- 1/4 cup powdered sugar
Instructions
- Make the vanilla custard: In a medium saucepan, whisk together the granulated sugar, cornstarch, and salt. Gradually whisk in the milk until smooth.
- Cook the custard: Place the saucepan over medium heat. Cook, stirring constantly, until the mixture thickens significantly and comes to a boil. Boil for one minute, stirring constantly. Remove from heat.
- Temper the egg yolks: In a small bowl, whisk the egg yolks. Slowly drizzle about 1/2 cup of the hot custard mixture into the yolks while whisking constantly. Pour the tempered yolk mixture back into the saucepan with the remaining custard.
- Finish the custard: Return the saucepan to low heat. Cook for 2 minutes, stirring constantly, until the mixture thickens again. Do not boil. Remove from heat and stir in the butter and vanilla extract until the butter melts. Pour the custard into a bowl, press plastic wrap directly onto the surface to prevent a skin from forming, and chill for at least 2 hours.
- Prepare the whipped cream: In a separate bowl, beat the heavy cream and powdered sugar with an electric mixer until stiff peaks form.
- Assemble the pudding: In a large glass trifle dish or 9×13 inch baking dish, create the first layer by spreading a thin layer of chilled vanilla custard on the bottom.
- Arrange a layer of vanilla wafers over the custard. Top the wafers with a layer of sliced bananas.
- Spread about one-third of the remaining custard over the bananas. Repeat the layers: wafers, bananas, custard, until all ingredients are used, ending with a layer of custard.
- Spread the prepared whipped cream evenly over the top layer of custard.
- Chill the pudding for at least 4 hours, or preferably overnight, before serving to allow the wafers to soften.
Notes
- For a quicker version, you can substitute the homemade custard with two boxes of instant vanilla pudding mix prepared according to package directions, but reduce the milk slightly for a thicker result.
- Slice the bananas just before assembling to minimize browning.
- You can use store-bought whipped topping instead of making fresh whipped cream if you prefer.
Nutrition
- Serving Size: 1 cup
- Calories: 380
- Sugar: 45
- Sodium: 210
- Fat: 18
- Saturated Fat: 10
- Unsaturated Fat: 8
- Trans Fat: 0.5
- Carbohydrates: 55
- Fiber: 1
- Protein: 5
- Cholesterol: 85
