

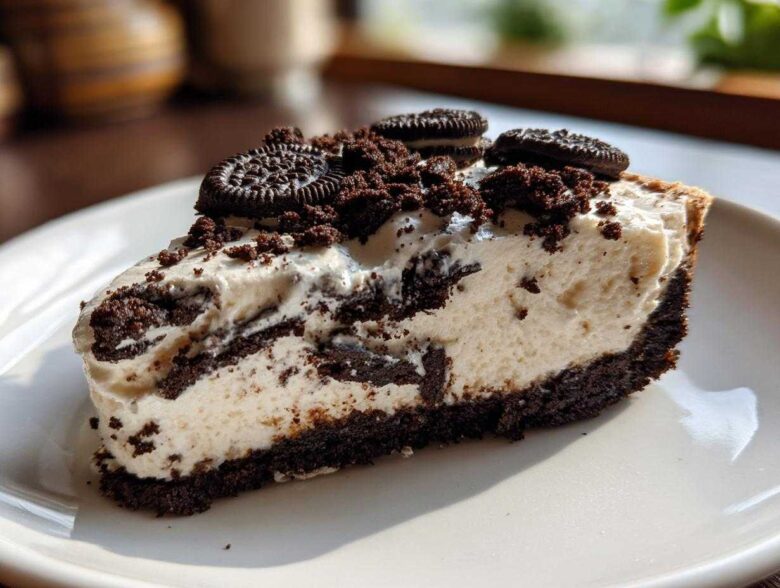
Oh, my gosh, are you ready for a truly decadent, soul-satisfying dessert that requires zero oven time? I swear, summer baking should just be outlawed, or at least made optional, because who needs extra heat when you have this Ultimate No-Bake Oreo Cheesecake? This recipe is my absolute champion, the one I turn to when I need a sure thing that tastes like it took all day. I’m not kidding when I say I’ve made this exact Oreo cheesecake more times than I can count, tweaking the sugar and the folding process until it was just unbelievably creamy and perfect every single time. If you want that rich, signature flavor without worrying about water baths or cracked tops, you’re exactly where you need to be!
Why This No Bake Oreo Cheesecake is the Best Oreo Cheesecake Recipe
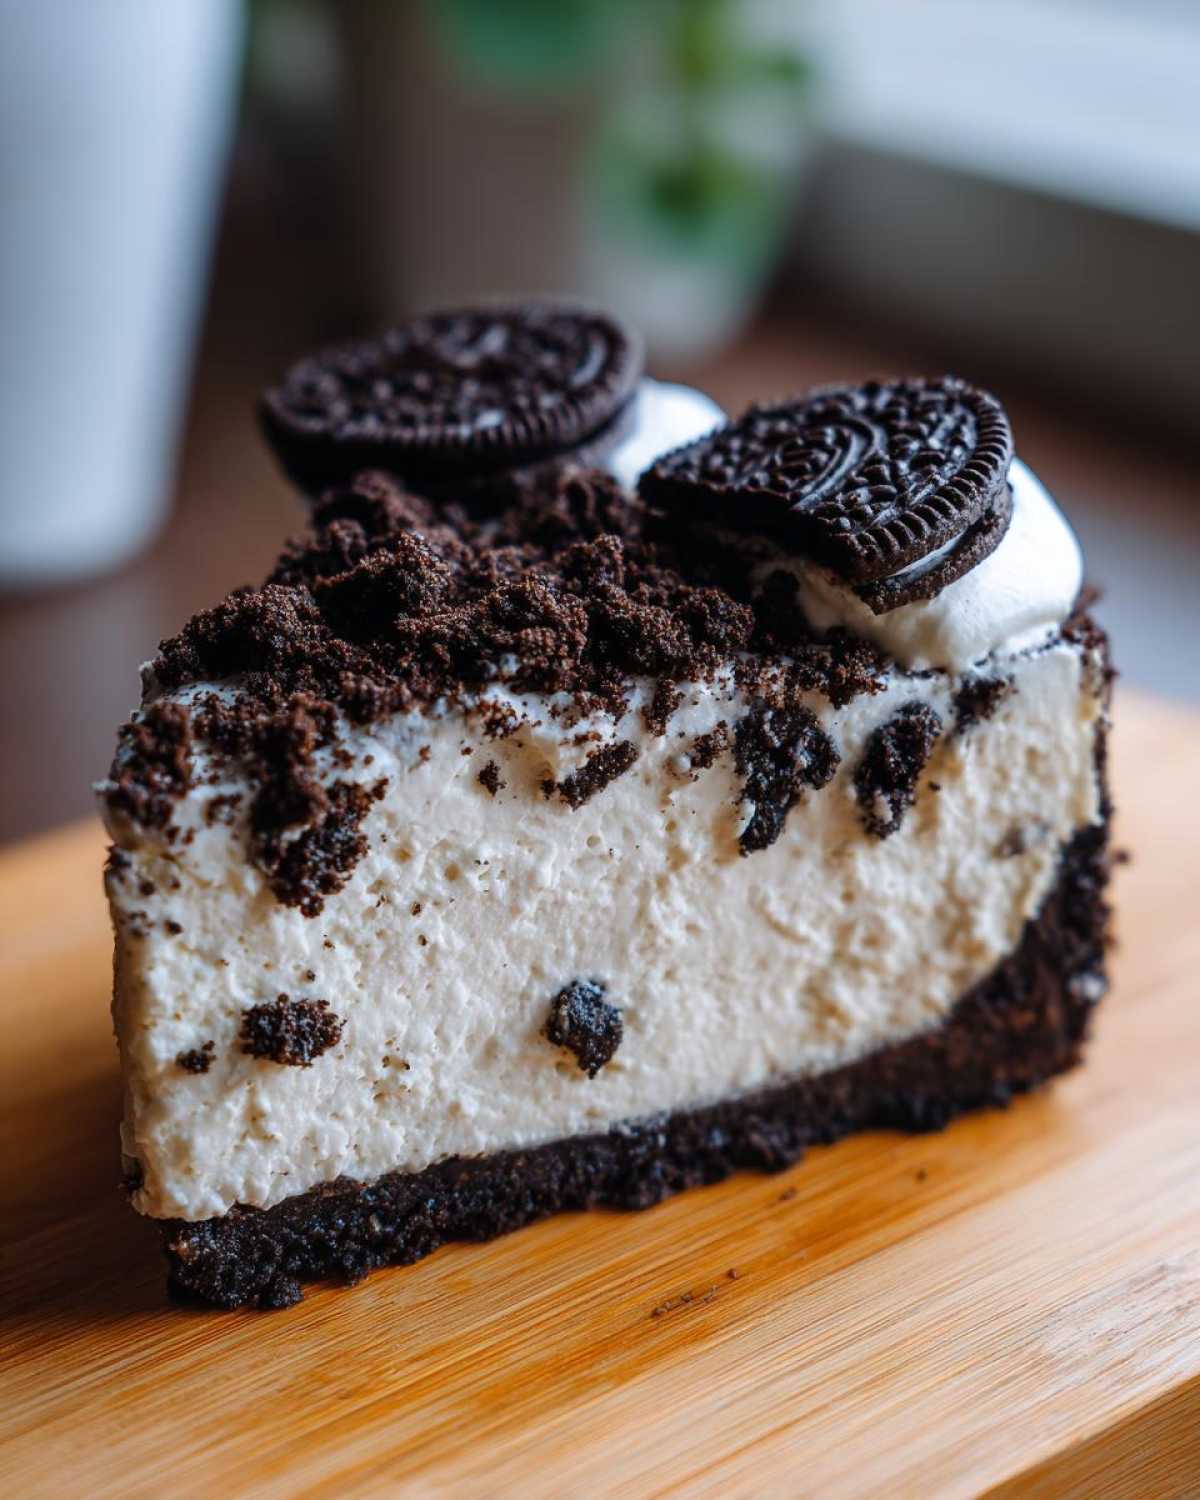
Listen, I’ve seen plenty of cheesecake recipes out there, but honestly, this one just wins every time. It hits that sweet spot between indulgence and simplicity that everyone craves. It’s an Easy Oreo Cheesecake for sure, but it tastes anything but simple. Honestly, the texture is what sells it.
- It delivers that unbelievably Creamy Oreo Cheesecake texture you dream about, even without baking. No surprises, no cracks!
- Setup is lightning fast—we’re talking less than 20 minutes of active work before it goes into the fridge.
- It’s the ultimate crowd-pleaser. Seriously, invite people over and tell them you made something special… they won’t know how quickly you whipped it up!
If you’ve ever been worried about baking a delicate cheesecake, this is your foolproof rescue mission. It’s a guaranteed hit, and if you want to see another fun way to use those cookies, check out my Oreo Cheesecake Brownie Bars!
Ingredients for Your Ultimate No Bake Oreo Cheesecake
Okay, ingredient shopping time! Since this is a no-bake recipe, we don’t need to worry about temperature stability during baking, but we absolutely must focus on smoothness. That’s why I insist on full-fat cream cheese here; please, don’t swap it out if you want that amazing, rich Creamy Oreo Cheesecake texture. Also, make sure your cream cheese is actually soft—like, leave it out for an hour soft. Cold cream cheese hates mixing and causes lumps, and we simply can’t have lumpy dreams!
For the Oreo Crust Dessert
This crust section is so easy it almost doesn’t need instructions, but these are the things you need for that perfect chocolate base:
- 1 1/2 cups crushed Oreo cookies (that’s about 25 cookies, give or take a few that get eaten while measuring!).
- 1/4 cup unsalted butter, melted—make sure it’s just melted, not hot.
Now, for an expert nudge: the source recipe calls for chilling this crust, which is great. But for an extra sturdy base that tastes baked, you can totally cheat and press this mixture into your pan and bake it at 350°F for about 8 minutes. You just have to let it cool completely before pouring in the filling. It’s optional, but I love that little extra crunch!
For the Creamy Oreo Cheesecake Filling
Get ready for the mixture that melts in your mouth. Remember: room temperature cream cheese is your best friend here. If you want to make this even better, check out my guide on classic cream cheese frosting—the base technique is very similar!
- 3 (8 ounce) packages full-fat cream cheese, softened completely.
- 1 1/2 cups powdered sugar (sift it if you’re feeling fancy, but honestly, I usually don’t bother).
- 1 teaspoon vanilla extract—use the good stuff!
- 1/4 cup milk (any kind works, but whole milk is richest).
- 1 (12 ounce) container frozen whipped topping, thawed completely in the fridge overnight.
Step-by-Step Instructions for the Easiest Oreo Cheesecake
Okay, now for the fun part! Don’t let the list of ingredients scare you; putting this No Bake Oreo Cheesecake together is seriously faster than ordering takeout. We’re going to work in three simple stages: crust, filling, and chilling. If you mess up the chilling time, you’ll end up with a delicious, but very sloppy, mess, so grab your calendar now!
Preparing the Oreo Crust Dessert Base
First things first, let’s get that base set up in your 9-inch springform pan. Take your 1 1/2 cups of crushed Oreos and mix them really well with the 1/4 cup of melted butter. It should look like wet sand when you’re done. Now, and this is important for a clean slice later, you want to press this mixture down firmly. I use the back of a flat measuring cup to really pack it in there evenly across the bottom. Don’t be shy; press it tightly!
Once it’s packed, put that pan straight into the fridge. We need it to firm up a bit before we add the creamy stuff—set a timer for 15 minutes. Seriously, stick to that chill time! If you’re interested in other quick, handheld desserts, you should check out my Easy Peanut Butter Pie Recipe for ideas!
Creating the Silky Creamy Oreo Cheesecake Filling
While the crust is chilling, grab your big mixing bowl. Beat that softened cream cheese by itself until it’s completely smooth. You want zero bumps hiding in there! Next, slowly start adding that powdered sugar while the mixer is going low. Once that looks uniform, pour in your milk and vanilla extract and mix until everything is beautifully creamy.
Here’s the crucial part for achieving that airy, Creamy Oreo Cheesecake texture: the whipped topping. Make sure it’s fully thawed! Gently fold the whipped topping into the cream cheese mixture using a spatula. I mean *gently*! If you mix too hard, you knock all the air out, and suddenly you’re back to a dense, heavy dessert. Stop folding the moment you don’t see any more white streaks.
Now, carefully spread this cloud-like filling right over that chilled crust. Smooth the top out nicely with your spatula.
Chilling and Finishing Your Oreo Cheesecake
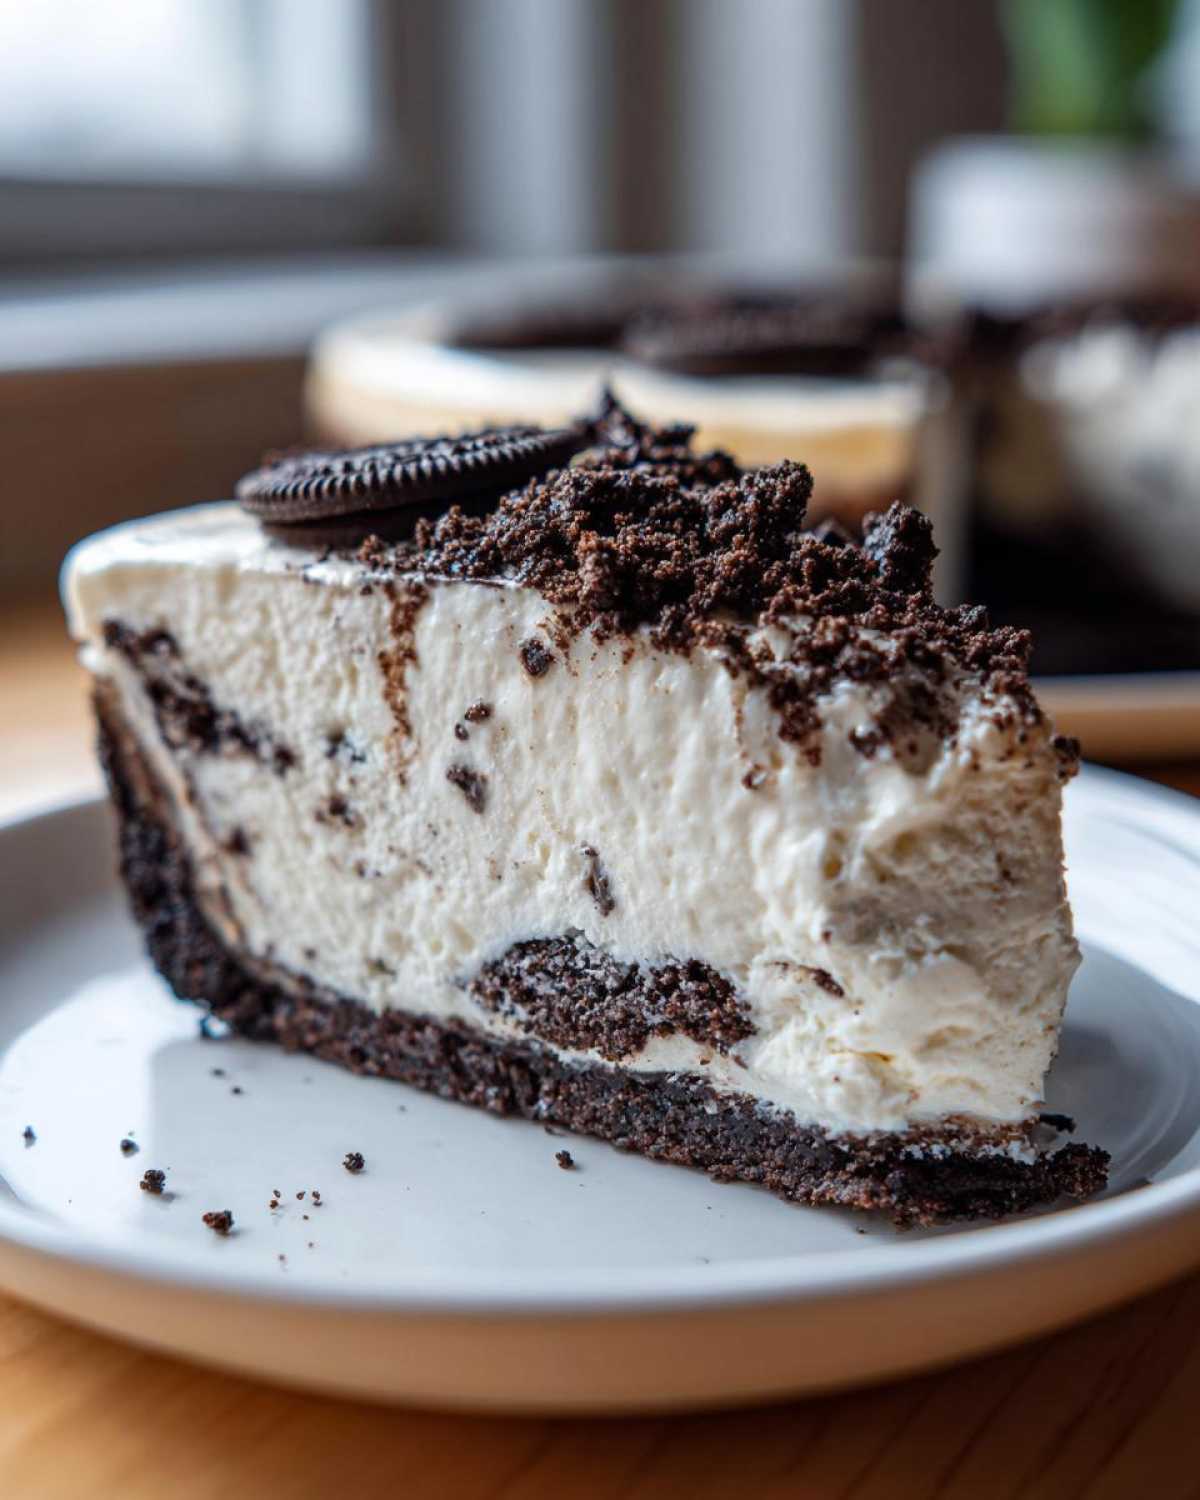
This is the hardest part: waiting. You absolutely must cover the whole pan loosely with plastic wrap—try not to let the wrap touch the topping of the filling—and pop it into the refrigerator. It needs a minimum of 6 hours to set up correctly so it stays firm when sliced. Trust me on this: overnight is always better for the best sliceability!
When it’s time to serve, take it out and sprinkle that final cup of crushed Oreos over the top. It looks so dramatic and delicious! Then, very carefully, release the sides of your springform pan. If the sides feel stuck together, run a thin, warm knife gently around the edge just once; it helps release everything cleanly.
Tips for the Perfect Homemade Oreo Cheesecake
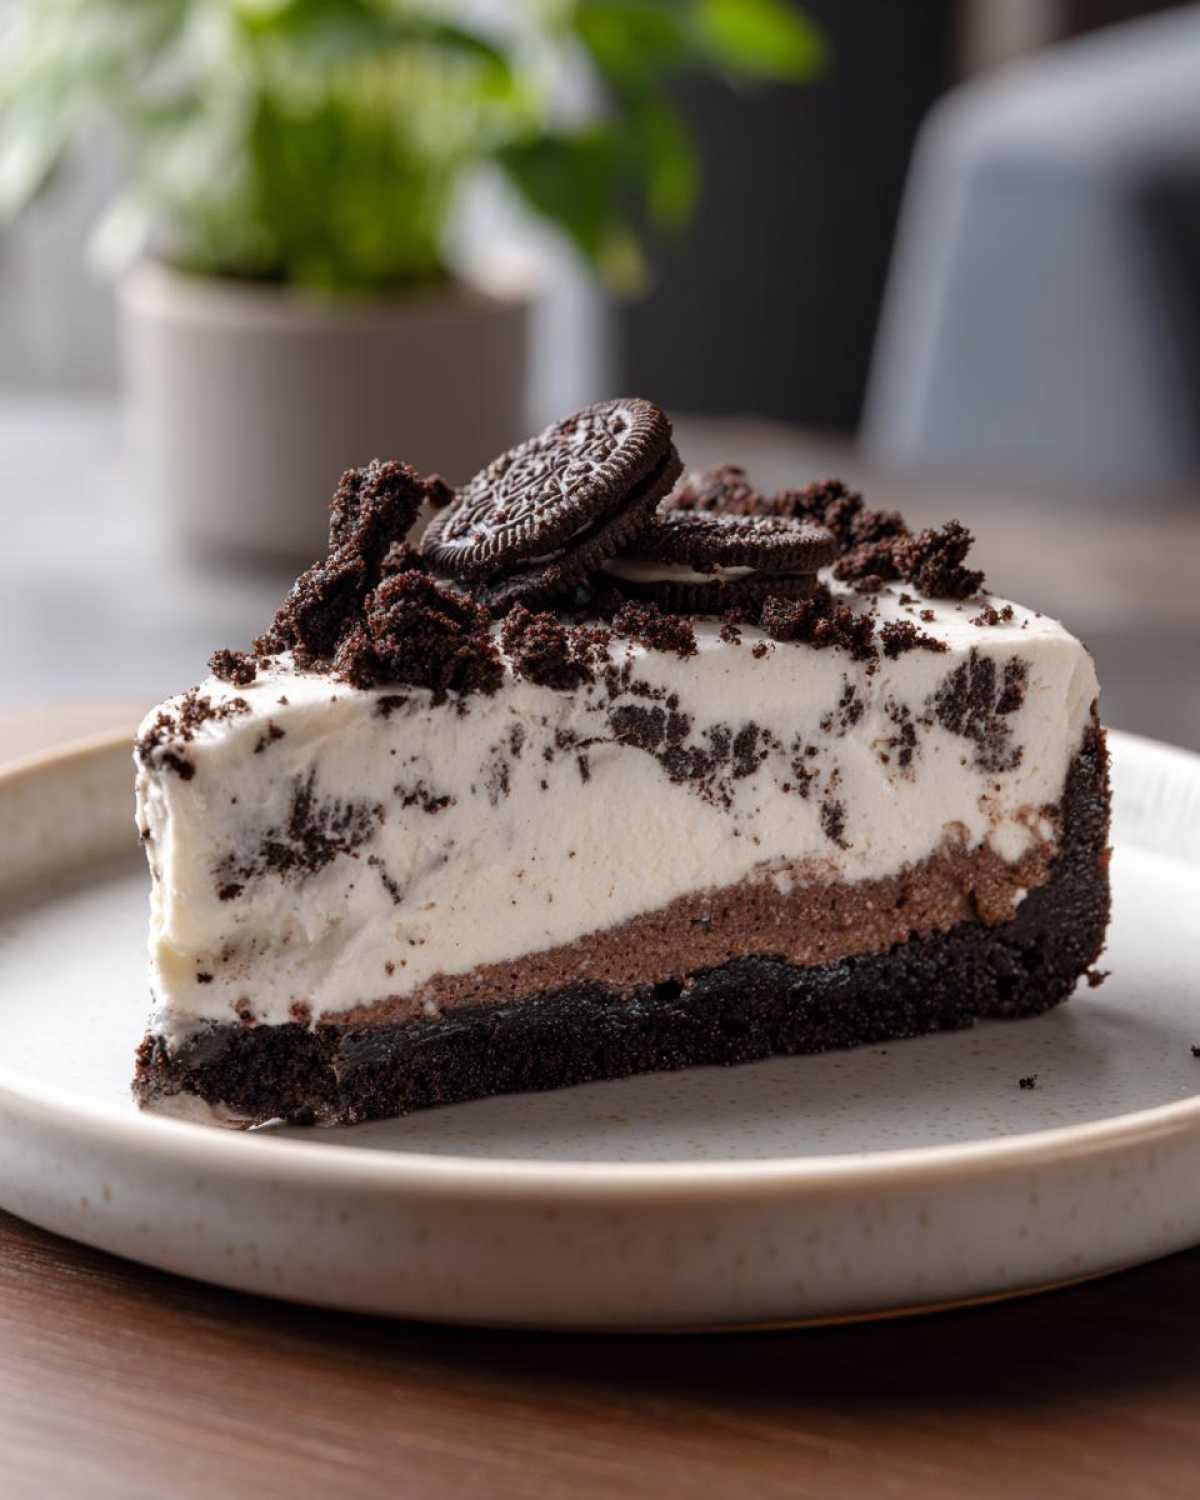
Even though this is a no-bake recipe, a few little tricks will take your Homemade Oreo Cheesecake from great to legendary. My biggest tip, which I learned the hard way on a hot day, is about the filling consistency. If your filling seems a little too soft when you go to chill it, pop the whole pan into the very coldest part of your freezer for about 30 minutes. It firms it up just enough before its long chill session.
Speaking of chilling, don’t rush the big wait! Six hours is the absolute minimum. If you cut into it too early, you’ll tear up that beautiful crust and the filling will look sad and runny. We want that silky structure!
When it’s time to reveal your masterpiece, that springform pan can sometimes stick right where the filling meets the metal. Here’s my secret: before you even try to unlatch it, take a thin knife, dip it in hot water, dry it quickly, and gently run it around the inside edge where the filling meets the pan wall. Do this once—carefully!—and then unbuckle the ring. You should get a perfectly clean release every time. It’s small steps like these that make all the difference, just like in my cream cheese coffee cake!
Oreo Dessert Ideas and Variations for Your Oreo Cheesecake
Just because we are calling this the Ultimate No-Bake Oreo Cheesecake doesn’t mean you can’t get creative! This base is perfect for experimenting with flavors. If you’re a coffee lover like me, you absolutely have to try adding about one teaspoon of instant espresso powder right into the filling mix with the vanilla. It gives the whole dessert a fantastic mocha depth that pairs miraculously with the chocolate cookie. It’s one of my favorite Oreo Dessert Ideas for adult parties.
Or maybe you’re tired of pure dark chocolate? Don’t forget you can swap out the traditional Oreos for Golden Oreos in the crust and even fold some in for a delightful contrast! That’s a completely different, lighter look, but just as delicious. You could even crush up some mint Oreos for a refreshing twist. If you need another impressive layered dessert idea, check out my recipe for the Fudge Swirl Brownie Trifle—it uses a similar lazy-make delicious factor!
Serving Suggestions for This Indulgent Cheesecake
Because this Oreo Cheesecake really is incredibly rich and satisfying, sometimes I like to break up that deep chocolate flavor with something bright. It helps make it feel less heavy after a big meal. A scattering of fresh raspberries or maybe some tart strawberries on the side offers a wonderful pop of color and acidity!
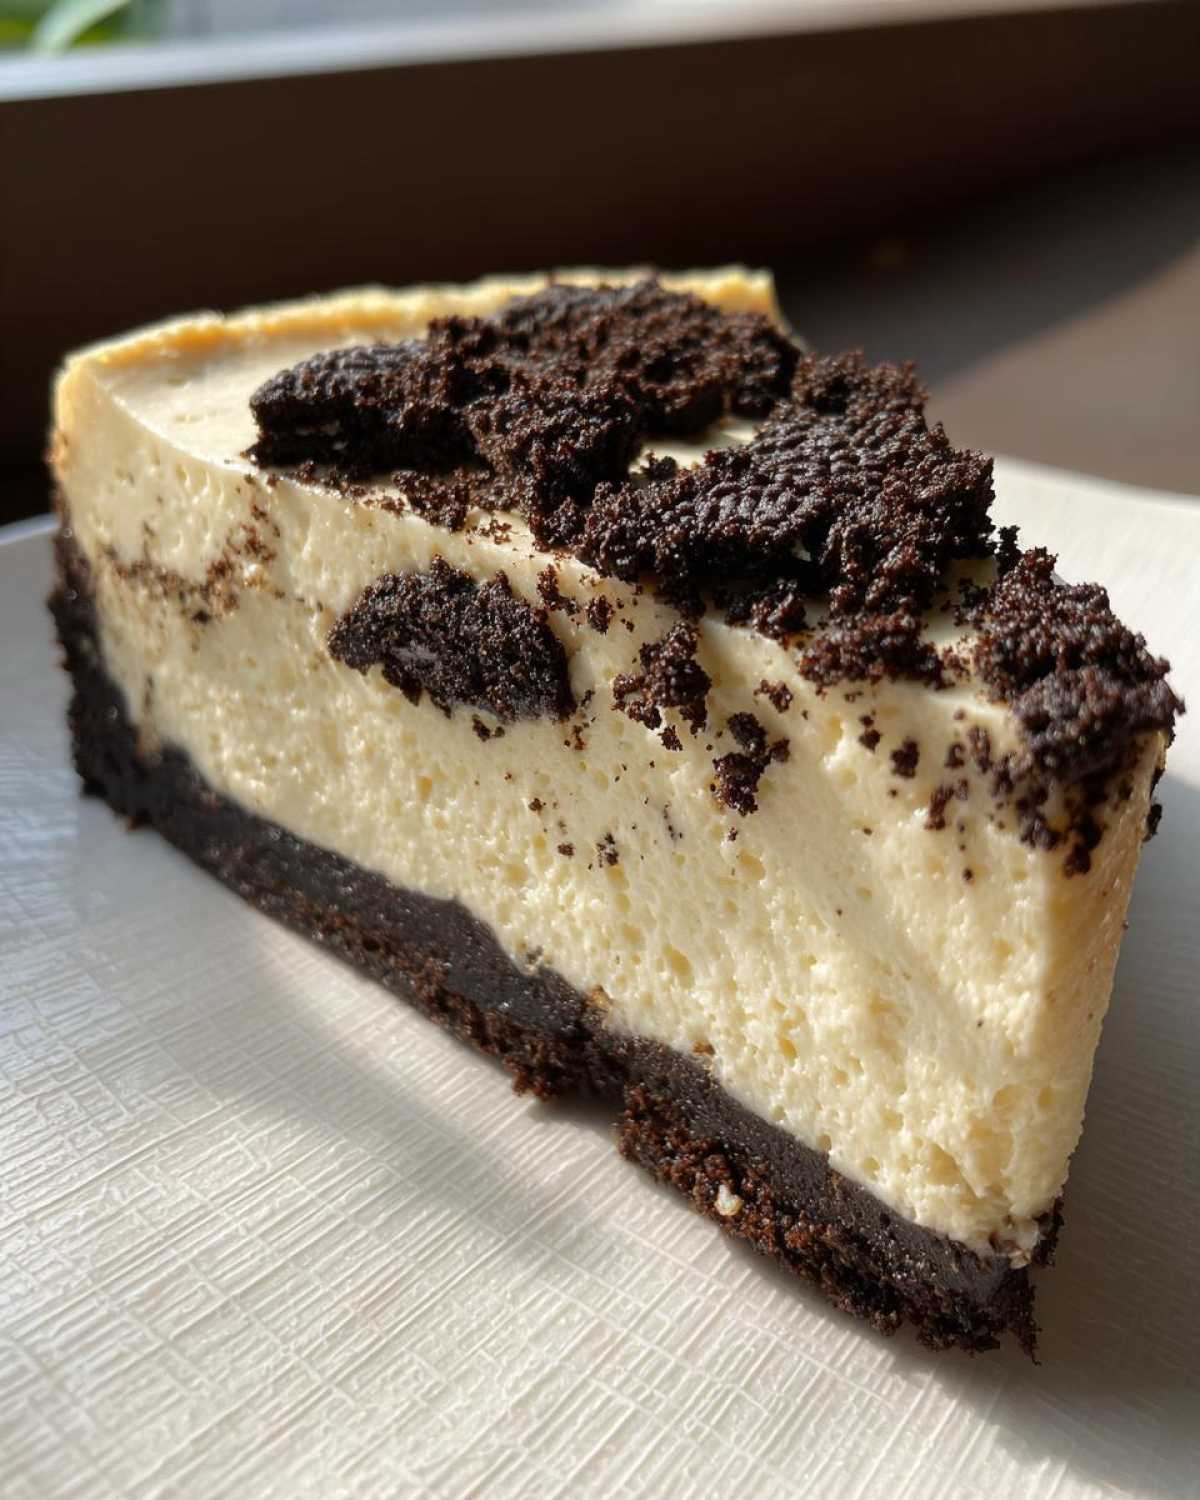
If you’re serving this at a gathering—which, let’s be honest, it’s the perfect Party Dessert Recipe—a very light, thin drizzle of high-quality melted dark chocolate sauce looks incredibly fancy. It’s so simple, but it really elevates the presentation. Or, you could serve it alongside some slightly tart things, like my recipe for dark chocolate dipped clementines for a citrus cut-through!
Storage and Reheating Instructions for Leftover Oreo Cheesecake
Because this is a marvelous No Oven Dessert, we don’t need to worry about reheating it at all! In fact, you shouldn’t reheat it—just keep it cold for the best texture. The longer it sits chilled, the firmer and silkier that filling gets, so don’t fight that firmness!
You need to cover the pan tightly with plastic wrap or foil before it goes back into the fridge. If you’ve already taken it out of the springform pan, transfer the slices to an airtight container. Honestly, this Oreo Cheesecake holds up beautifully for about 3 to 4 days when stored properly in the refrigerator. If you want other ideas for making baked goods last, check out my tips for keeping things fresh in my Easy Moist Date Nut Bread Recipe!
Frequently Asked Questions About the Oreo Cheesecake Recipe
Can I use a different pan size for this Oreo Cheesecake?
Yes, you totally can, but you have to adjust the chilling time! A standard 9-inch springform pan is perfect for this amount of filling. If you use a smaller, deeper pan, you must increase the chilling time to ensure it sets all the way through—maybe aim for 8 hours instead of 6. If you decide to go bigger, like a 9×13 inch pan, it will spread out more, making it thinner, so it will set much faster, maybe only requiring 4 hours of chill time. Keep in mind that thinner layers chill quicker!
What if I don’t have frozen whipped topping? Can I use real heavy cream?
You absolutely can use heavy whipping cream instead of the thawed whipped topping; it makes an even richer filling, though it requires an extra step. You’ll need about 2 cups of heavy cream. You’ll whip this cream separately until you get stiff peaks—just like making stabilized whipped cream—and then you gently fold that into your cream cheese mixture. It results in what I truly think is the Best Oreo Cheesecake texture, but make sure you get those peaks firm so they don’t deflate during folding!
How do I guarantee a super clean slice when serving?
I touched on this a little bit earlier, but it’s worth repeating because it’s crucial for presentation! First, don’t skip the minimum 6-hour chill time; that’s non-negotiable for firmness. Second, after you unlatch and remove the springform ring, take a long, sharp knife and dip it into very hot water. Wipe it clean and dry immediately, then slice the cake. Wipe the knife clean and reheat it every single time you cut a slice. This keeps the edges of the filling from sticking to the blade and makes every slice look professional. It’s the secret to gorgeous servings of any no-bake pie or cheesecake!
Can I make this Oreo Cheesecake recipe ahead of time?
Oh, yes! This is one of the major perks! Because it’s a no-bake recipe, making it ahead of time actually helps the flavors meld and the filling firm up even more deeply. I usually make mine on a Friday afternoon if I plan to serve it Saturday night. Just make sure you keep it covered tightly (plastic wrap is essential to keep it from absorbing fridge odors) and refrigerated. It still holds up beautifully for 3 or 4 days!
Estimated Nutritional Data for One Slice of Oreo Cheesecake
Okay, so if you’re like me, you’re probably not even looking at the nutrition facts when you’re about to devour something this amazing, but my legal team—okay, fine, my *sense of responsibility*—tells me to throw a little disclaimer in here just in case! Also, since this Oreo Cheesecake is completely homemade, the exact numbers can swing wildly depending on how much butter you let the crust soak up or if you used a lighter whipped topping.
Please consider everything listed here, or any estimated data you see elsewhere, as just a guideline. This is an indulgent dessert, not a diet snack, and frankly, it tastes best when you aren’t counting the calories! If you are worried about that, maybe check out my privacy policy over at my privacy policy page to see if we need to adjust your expectations for dessert indulgence!
PrintUltimate No-Bake Oreo Cheesecake
Make a rich, creamy Oreo cheesecake without turning on your oven. This recipe uses simple ingredients for a foolproof, indulgent dessert.
- Prep Time: 20 min
- Cook Time: 0 min
- Total Time: 6 hr 20 min
- Yield: 10 servings
- Category: Dessert
- Method: No Bake
- Cuisine: American
- Diet: Vegetarian
Ingredients
- 1 1/2 cups crushed Oreo cookies (about 25 cookies)
- 1/4 cup unsalted butter, melted
- 3 (8 ounce) packages cream cheese, softened
- 1 1/2 cups powdered sugar
- 1 teaspoon vanilla extract
- 1/4 cup milk
- 1 (12 ounce) container frozen whipped topping, thawed
- 1 cup crushed Oreo cookies, for topping
Instructions
- Mix the 1 1/2 cups of crushed Oreos with the melted butter. Press this mixture firmly into the bottom of a 9-inch springform pan. Chill the crust for 15 minutes.
- In a large bowl, beat the softened cream cheese until smooth.
- Gradually beat in the powdered sugar until fully combined.
- Mix in the vanilla extract and milk until the mixture is creamy.
- Gently fold in the thawed whipped topping until no streaks remain. Do not overmix.
- Spread the cream cheese mixture evenly over the chilled crust.
- Cover the cheesecake loosely with plastic wrap and refrigerate for at least 6 hours, or preferably overnight, until firm.
- Before serving, sprinkle the remaining 1 cup of crushed Oreos over the top. Release the springform side carefully.
Notes
- For a firmer crust, bake the butter and cookie mixture at 350°F for 8 minutes, then cool completely before adding filling.
- Use full-fat cream cheese for the best creamy texture.
- If you prefer individual servings, press the crust into the bottom of cupcake liners or small glasses and chill for 4 hours.
Nutrition
- Serving Size: 1 slice
- Calories: 450
- Sugar: 35
- Sodium: 320
- Fat: 30
- Saturated Fat: 18
- Unsaturated Fat: 12
- Trans Fat: 0.5
- Carbohydrates: 42
- Fiber: 1
- Protein: 5
- Cholesterol: 95
