

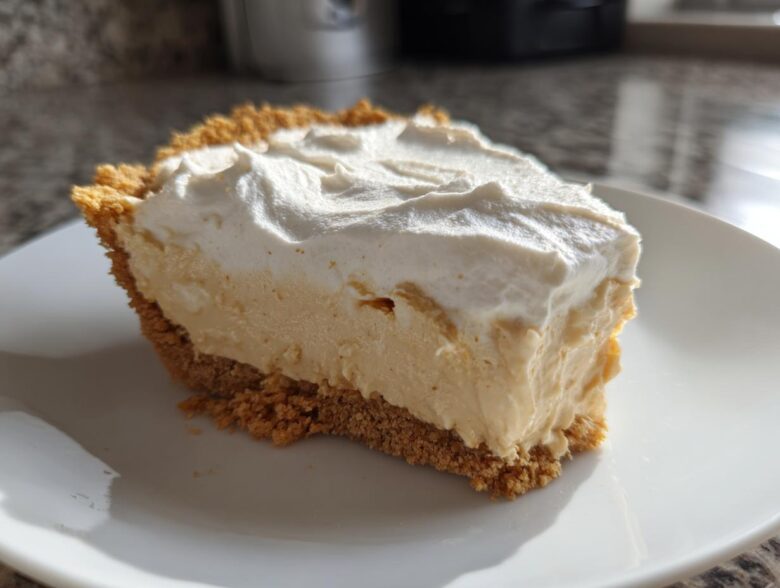
Oh my gosh, are you looking for that dessert that secretly blows every other dessert out of the water, but takes almost no effort? Because I have found it! When Lena or Anya ask me, Sasha, to whip something up fast for a gathering, this is what I reach for. Forget turning on the oven; this ultimate No-Bake Creamy Peanut Butter Pie is pure magic. Seriously, this recipe is what happens when I’m feeling energetic, I pull out the blender, and I just *know* something amazing is going to happen.
This is, without a doubt, the best peanut butter pie you will ever taste. It’s rich, it’s incredibly creamy, and it disappears at every single party we bring it to. If you’re ever looking for more inspiration from our kitchen, you can always check out the rest of our adventures over on the Savor Sensations blog! Trust me, this recipe is your new secret weapon for making everyone think you spent hours in the kitchen when really, you were chilling in the living room!
Why This No Bake Peanut Butter Pie Recipe is Your New Favorite
When I put flavors together, I go for impact, and this No Bake Peanut Butter Pie delivers every single time. It’s not just yummy; it’s smart baking for busy people! If you need a showstopper that doesn’t require heating up the kitchen, this is for you. You can trust this recipe; it’s become a staple when we need something fast to take over to a friend’s house. See some of our other super quick ideas for dinner over on our quick dinner page if you’re looking for savory!
Quick Peanut Butter Dessert Ready in Minutes
Seriously, the active prep time is just about 20 minutes! We are talking about one of the best No Oven Desserts you can ever make. You mix the crust, press it in, whip up the filling, and that’s it. The oven stays cold.
Achieving the Perfect Creamy Peanut Butter Pie Texture
That texture is everything, right? The key to that ridiculously smooth mouthfeel is balancing the rich peanut butter with softened cream cheese and—shhh—the thawed whipped topping. It turns into this light yet totally decadent cloud. It’s the definition of Creamy Peanut Butter Pie.
Gathering Ingredients for Your Easy Peanut Butter Pie Recipe
Okay, getting ready to make this wonder is almost as fun as eating it! Since this is a no-bake recipe, the quality of what you start with really matters, especially that peanut butter. I always tell Lena and Anya to buy a good, classic creamy brand—the kind that holds its shape. If you need to reach out with baking questions, don’t hesitate to hit up our contact page!
For the Graham Cracker Crust Pie Base
This is what gives the pie that perfect crunch against the smooth filling. You’ll need:
- 1 1/2 cups graham cracker crumbs
- 1/4 cup granulated sugar (for the crust, just a little sweet boost!)
- 6 tablespoons unsalted butter, melted
For the Rich Peanut Butter Cream Pie Filling
This is where the decadence lives! Make sure your cream cheese is good and soft and that you let your whipped topping thaw completely.
- 1 (8 ounce) package cream cheese, softened
- 1 cup creamy peanut butter (for the main base)
- 1 cup powdered sugar
- 1 teaspoon vanilla extract
- 1 (12 ounce) container frozen whipped topping, thawed (or homemade whipped cream if you’re feeling fancy!)
- 1/2 cup creamy peanut butter (reserved for that extra layer!)
- Optional Topping: Chocolate syrup or chopped peanut butter cups (don’t forget these!)
Step-by-Step Instructions for No Bake Peanut Butter Pie
Okay, here is where the magic really happens! Since this is the Easy Peanut Butter Pie Recipe we need to move fast, but we also need to be gentle so we don’t deflate all that lovely air we’re whipping in there. Pay close attention to the chilling step; that’s the secret to getting those gorgeous, clean slices for your guests. If you need to pop back here for a refresher, feel free to bookmark our blog page!
Creating the Buttery Graham Cracker Crust
First things first, we make the base! In a medium bowl, just mix those graham cracker crumbs with the sugar and the melted butter. You want it to look like wet sand—that means it’s perfect. Press that sandy mix *firmly* into the bottom and up the sides of your pie plate. I mean firmly, press it down there so it holds up later! Then, shoot it into the freezer while you tackle the filling.
Assembling the Creamy Peanut Butter Filling Layers
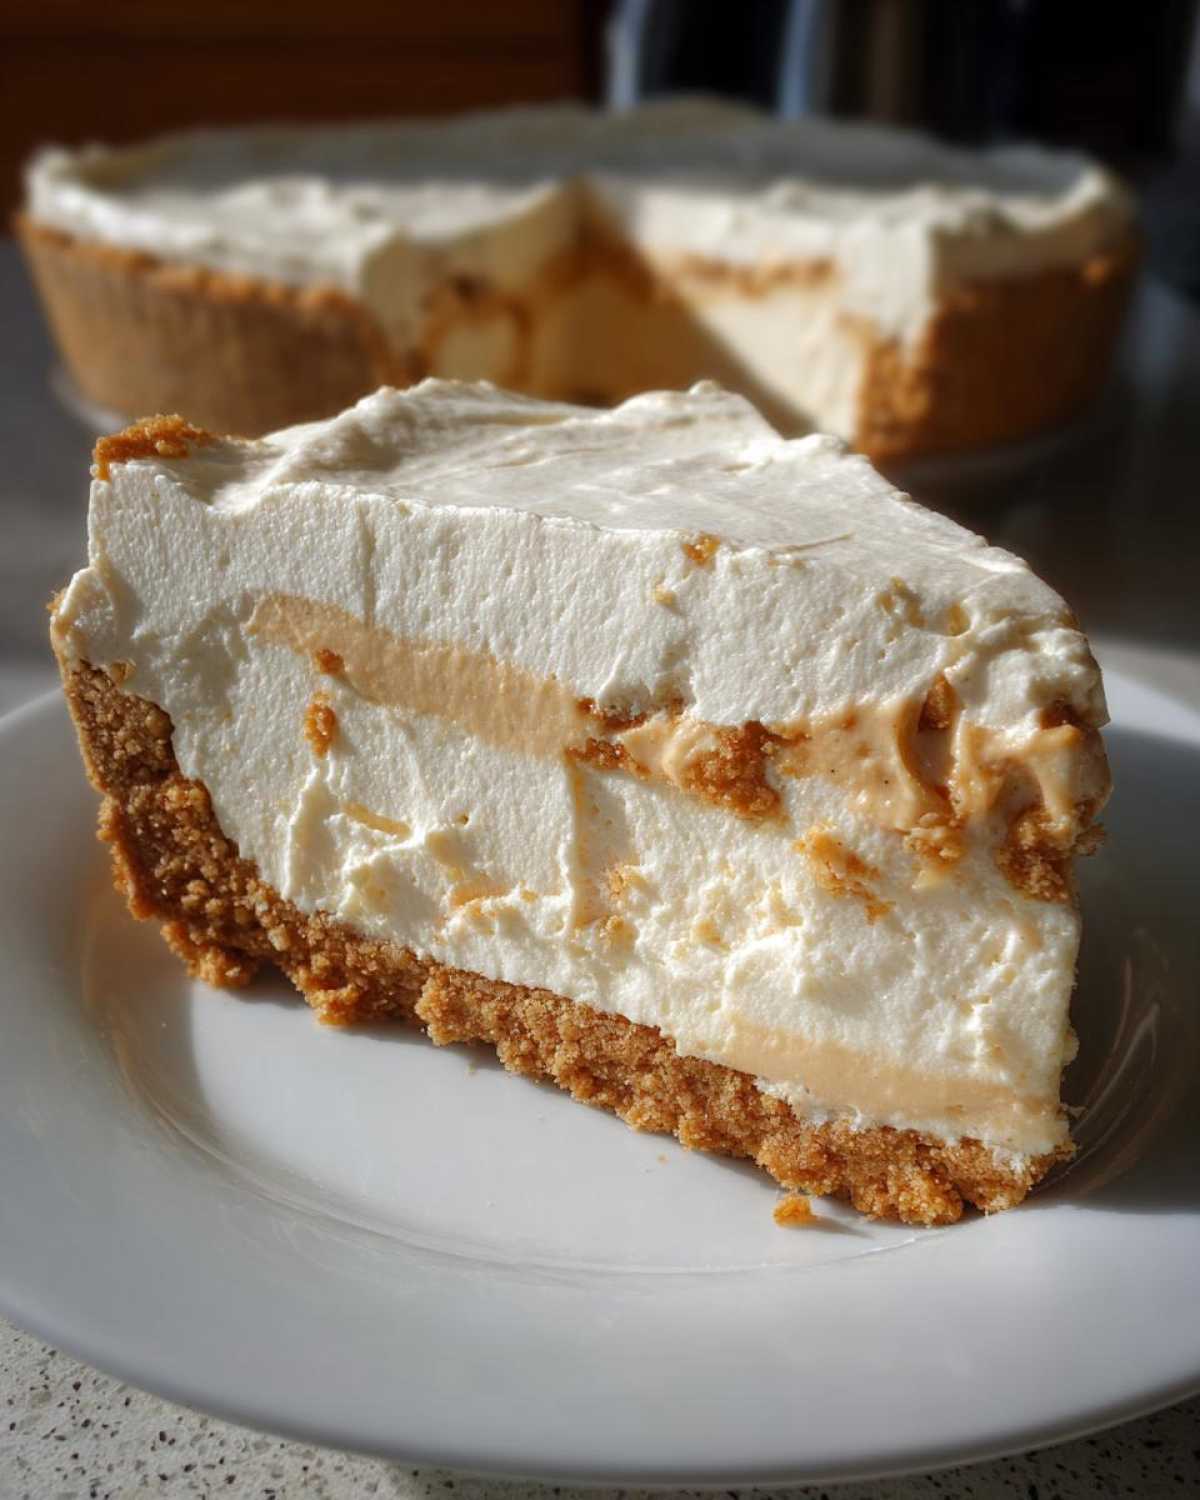
Grab your big bowl! Beat that soft cream cheese until it’s totally smooth—no lumps allowed if you want that Creamy Peanut Butter Pie texture. Then beat in the main cup of peanut butter, powdered sugar, and vanilla. Now for the very important step: gently fold in that thawed whipped topping. I mean gently! We want to keep all that fluffiness for the airy texture. Spread half that mixture in the crust. For the next layer, mix that extra 1/2 cup of peanut butter with just a tiny bit of the remaining whipped topping until it’s smooth, then dollop it over the first layer and spread it gently. Top with the rest of the filling.
Chilling and Finishing Your Homemade Peanut Butter Pie
This is non-negotiable, the most important instruction! Once the top layer is smoothed out, cover it loosely and pop this beauty into the refrigerator. We need a minimum of 4 hours, people! If you can let it hang out overnight, even better—it sets up perfectly solid then. Once it’s firm, you can drizzle that chocolate or crush those peanut butter cups on top right before you slice it. Look at that professional-looking Homemade Peanut Butter Pie!
Tips for Success with Your Peanut Butter Pie
Since this is such a straightforward recipe, the real fun comes from customizing it a little bit! Don’t be scared to make little tweaks—that’s usually how I come up with the next big idea. I’ve pulled together a few pointers to make sure your Peanut Butter Pie is the dreamiest pie ever served!
Crust Variations: Graham Cracker Crust Pie vs. Oreo Crust Peanut Butter Pie
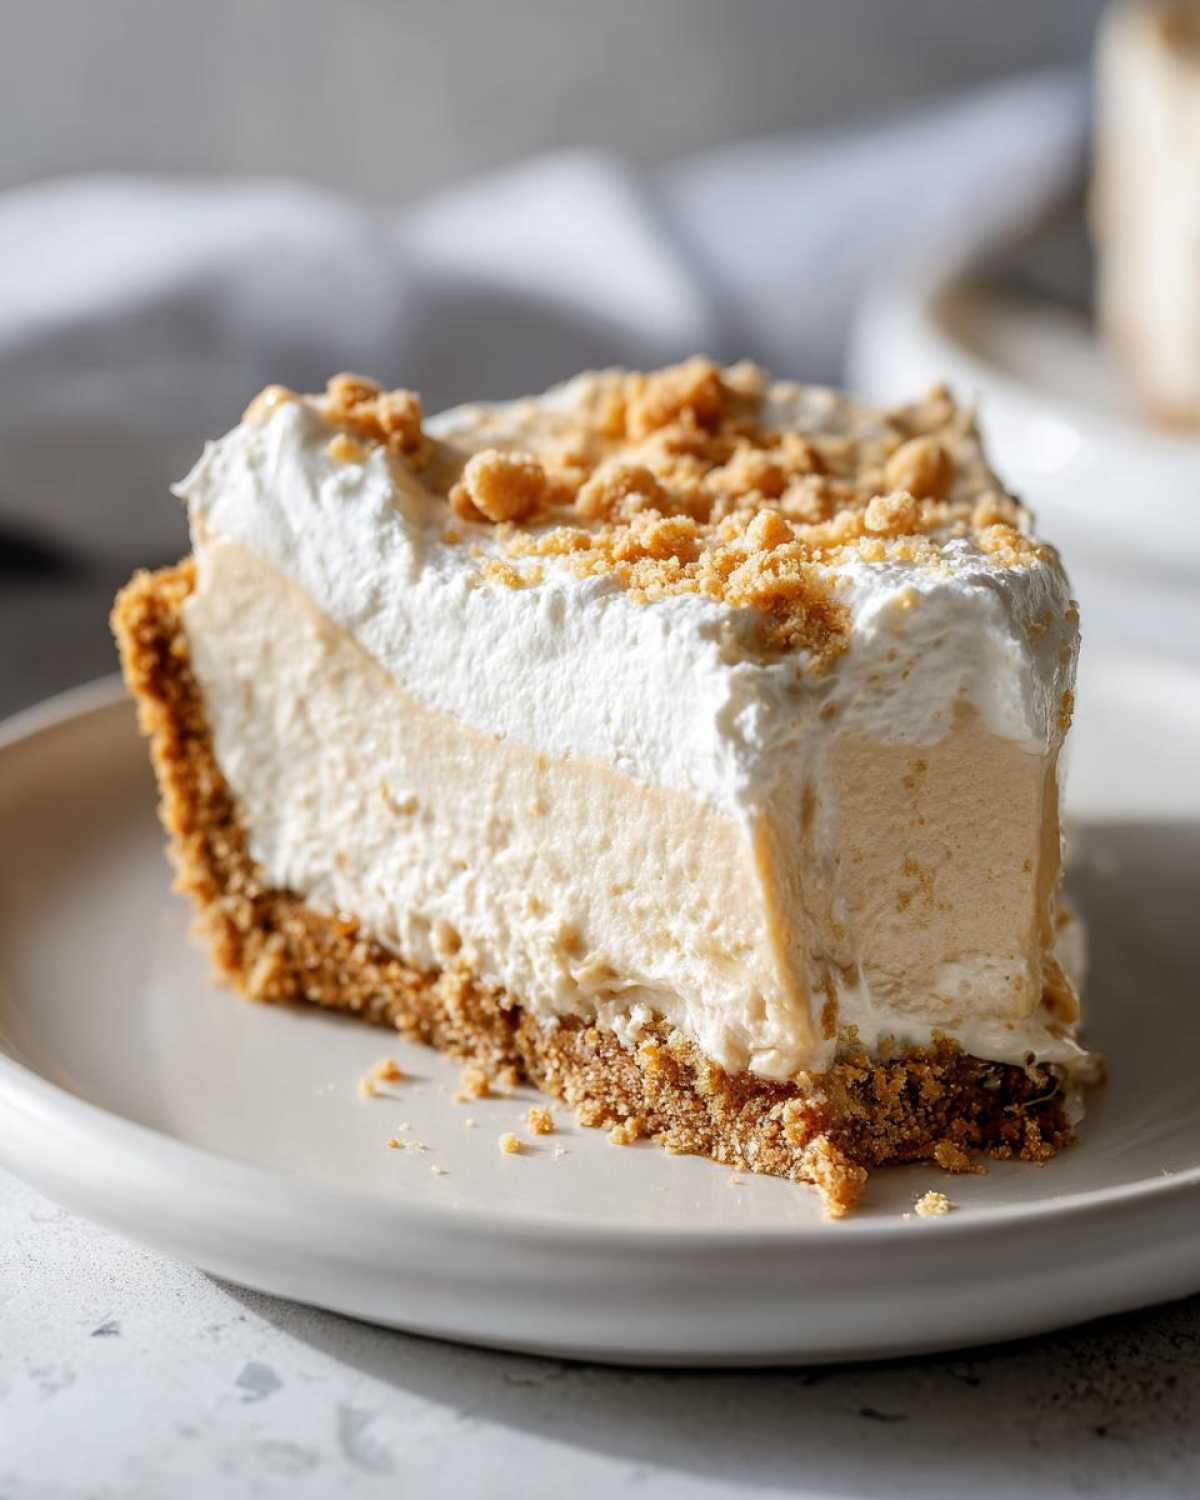
If you’re not feeling the classic graham cracker vibe, you absolutely have a backup plan! If you want a darker, slightly richer base for that classic Sweet and Salty Pie feeling, swap in Oreos. You’ll need about two cups of finely crushed cookies, and remember to omit the sugar you’d put in the graham cracker crust! Just mix the crumbs with the melted butter and press it down. Easy!
Make Ahead Dessert Recipes: Storing Your Peanut Butter Pie
This is where the pie really shines as a Crowd Pleaser Dessert—it’s designed to be made ahead! You can totally prepare this pie a day or two before you need it, which is a lifesaver when entertaining. It keeps beautifully covered in the fridge for up to three days. Check out some of our other reliable make ahead dessert recipes if you like planning your cooking!
Peanut Butter Pie Toppings and Serving Suggestions
Presentation is everything, especially when you’ve made something this decadent! We already mentioned sprinkling chopped peanut butter cups or drizzling chocolate syrup—and yes, you absolutely should do that. But since this is such a Rich Dessert Pie, sometimes I like a little zing to cut through all that sweet, salty creaminess.
Try serving a slice with a small dollop of fresh raspberry jam or a tiny spoonful of tart cherry preserves on the side. The fruitiness is amazing against the peanut butter flavor. It makes the whole Peanut Butter Dessert feel fancy, even though it took us 20 minutes to whip up! If you love that contrast, you should check out our chocolate chip zucchini bread recipe for more sweet and unexpected pairings!
Frequently Asked Questions About This Creamy Peanut Butter Pie
I always get asked a bunch of questions about this pie because everyone wants their batch to turn out just right. It’s all about texture and stability when you don’t use the oven! Here are the things folks ask me most often about achieving the perfect slice of this Creamy Peanut Butter Pie.
Can I use natural peanut butter in this Easy Peanut Butter Pie Recipe?
Oh, honey, please don’t! When I say creamy, I mean that classic, stabilized peanut butter that doesn’t separate. If you use the drippy, natural kind, it has too much oil and it frankly messes up the structure of the filling. You’ll end up with a sloppy mess instead of a sliceable Easy Peanut Butter Pie Recipe!
How long does the No Bake Peanut Butter Pie need to set?
Remember how I stressed that chilling is essential? Four hours is the absolute bare minimum to get a sliceable pie. But honestly, if you’re making this for a big gathering or you want those picture-perfect clean edges, let it hang out overnight! The longer it chills, the firmer and more satisfying your first slice of No Bake Peanut Butter Pie will be.
Can I make this a Peanut Butter Dessert with a baked crust?
Well, sure, you could mess with tradition! This recipe is designed to be totally no-bake, which keeps things simple. If you wanted to try a fully baked pastry crust, you totally could, but you’d have to make sure it was fully cooled before adding your filling. With this rich filling, though, the Graham Cracker Crust Pie is the way to go—it just holds everything together so well!
If you have other burning questions about making this dessert, feel free to shout over at the blog!
Nutritional Estimate for Your Peanut Butter Pie Slice
I know we are making an indulgent, decadent dessert here, so we aren’t aiming for “light,” but I always like to give you a ballpark idea of what’s in a slice of this incredible Peanut Butter Pie. Remember, this is just an estimate based on the ingredients listed above—brands matter, y’all! If you need to dive into the specifics or check out our policies on recipe data, you can read more over on the disclaimer page.
- Serving Size: 1 slice
- Calories: 450
- Sugar: 35g
- Fat: 30g
Share Your Best Peanut Butter Pie Creations
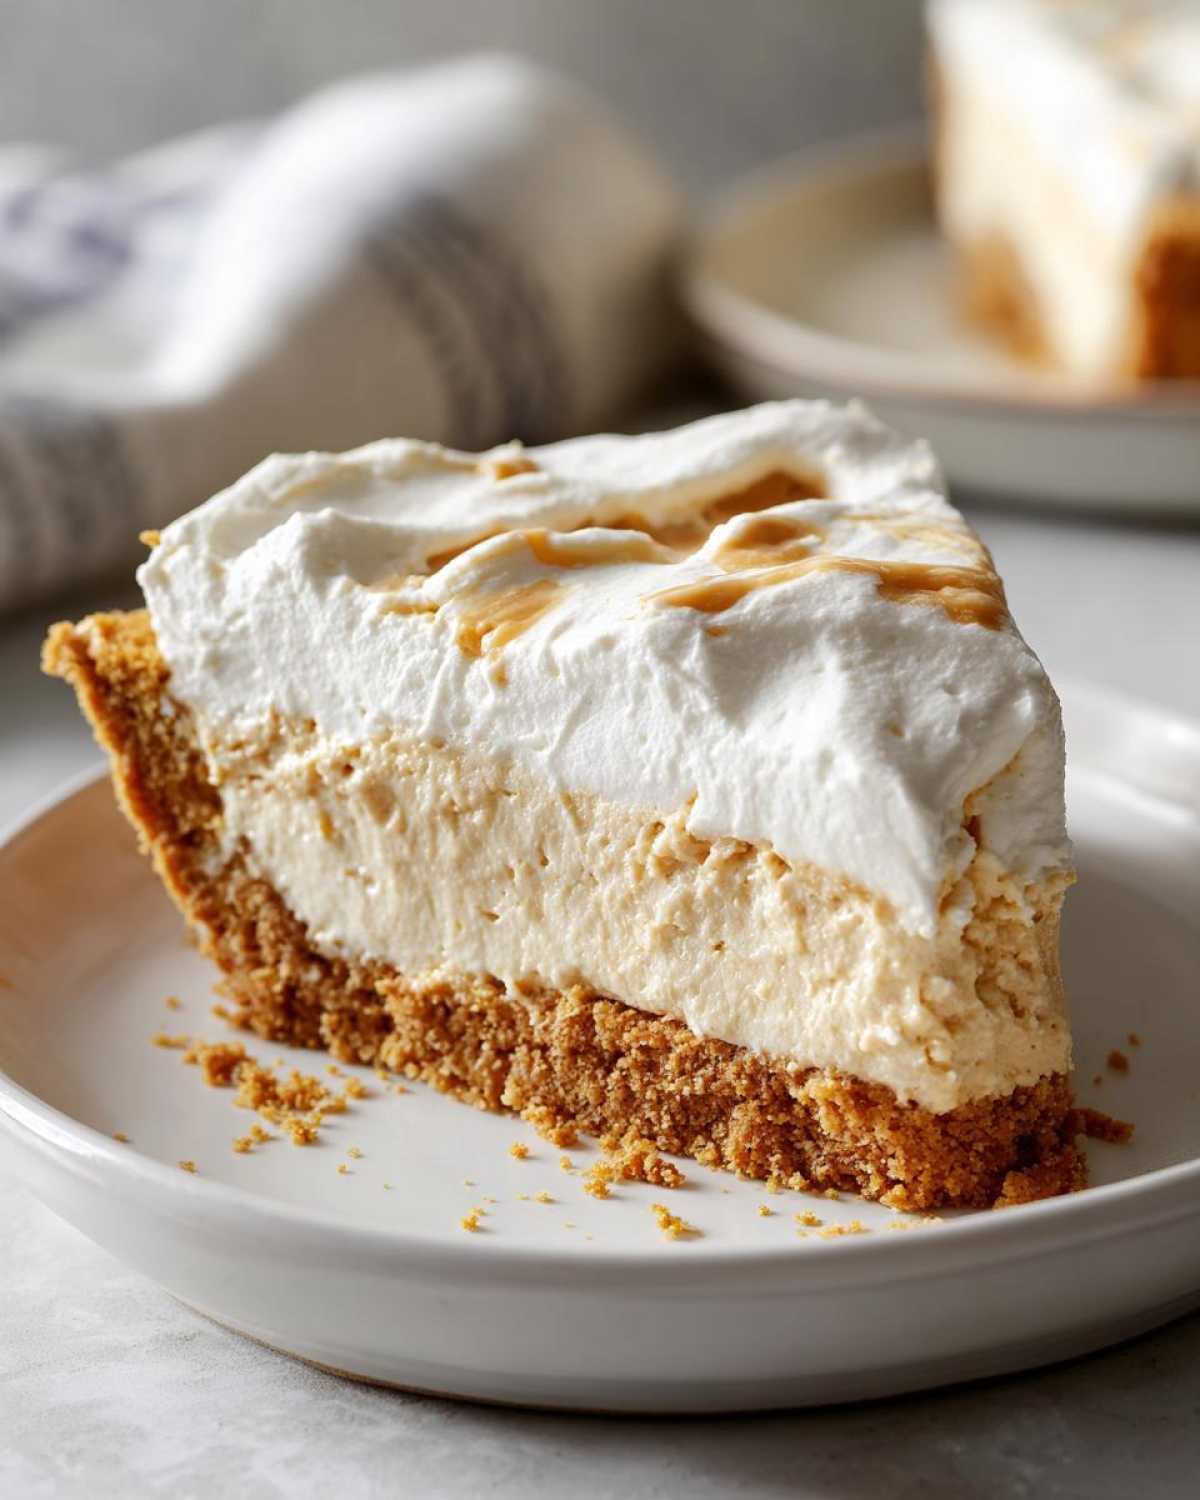
That’s it! You are now armed with the secret to the absolute best, easiest, most satisfying peanut butter pie ever! Now I need to see your stunning slices! Go ahead and make this incredible Peanut Butter Dessert, leave us a rating below, and definitely send us pictures over on the contact page. We absolutely love seeing what you create in your kitchen!
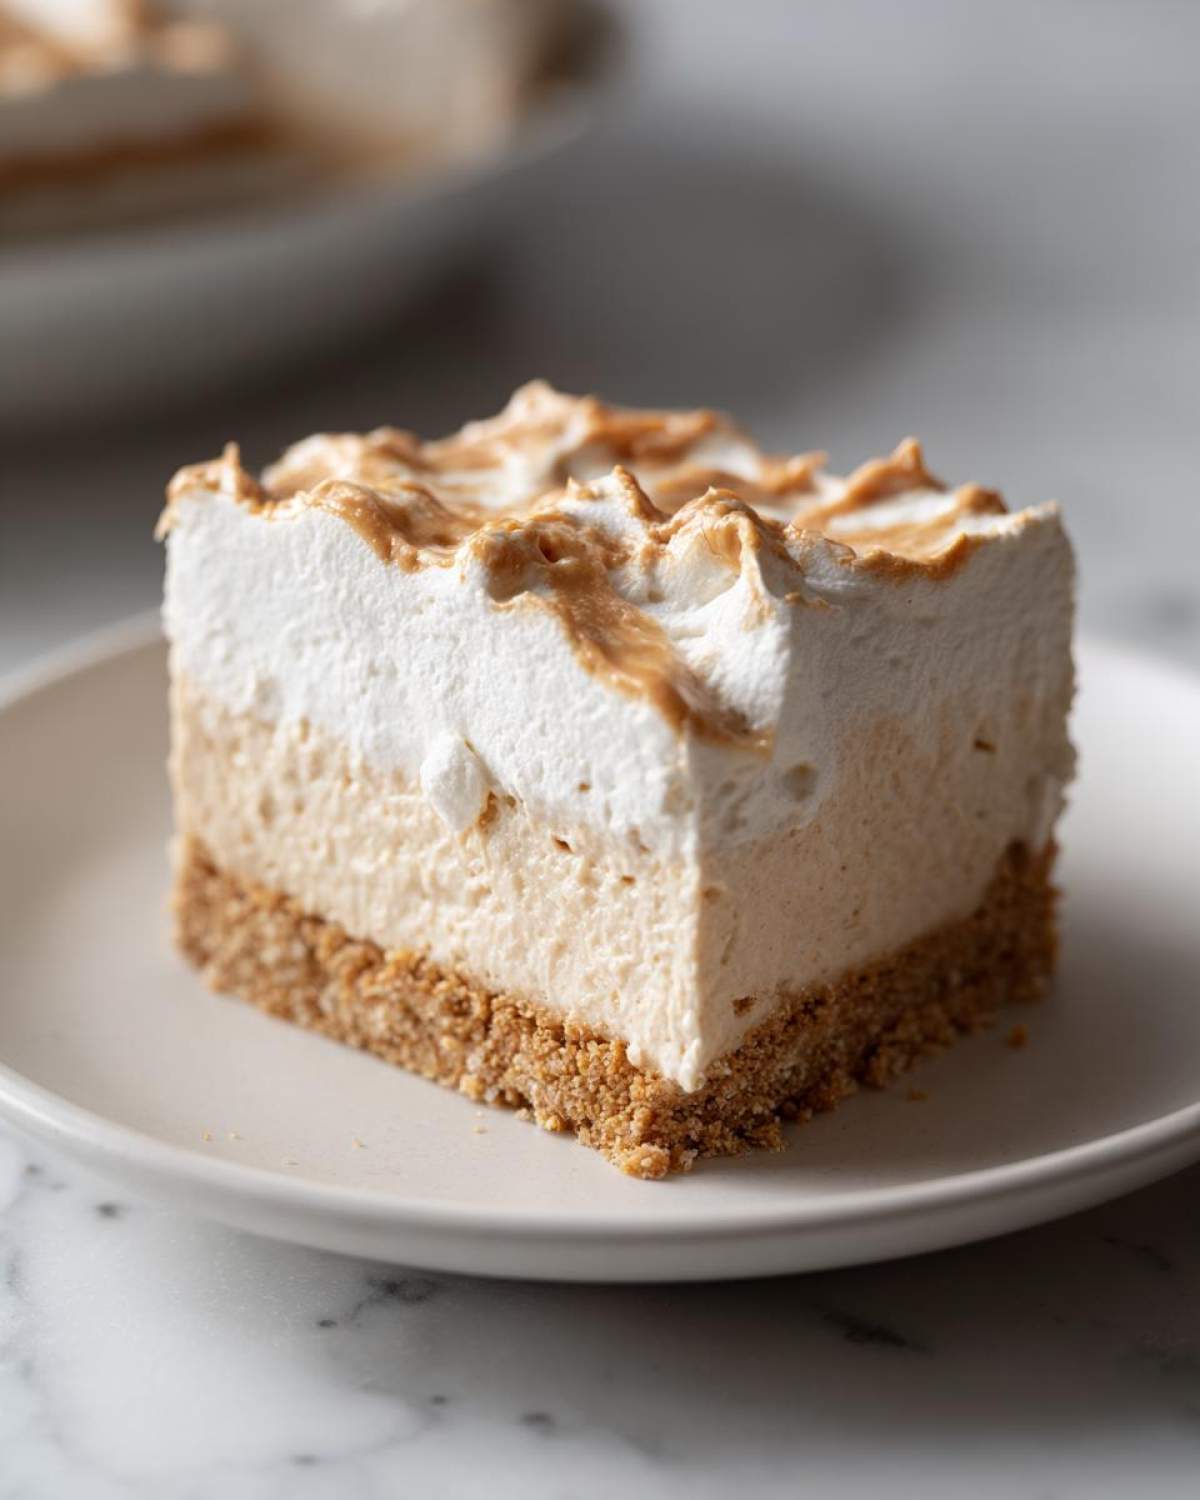
Easy No-Bake Creamy Peanut Butter Pie
You need a simple, rich dessert that everyone loves? This no-bake peanut butter pie comes together fast with a buttery graham cracker crust and a creamy, decadent filling. It is the perfect crowd pleaser for any gathering.
- Prep Time: 20 min
- Cook Time: 0 min
- Total Time: 4 hr 20 min
- Yield: 8 servings
- Category: Dessert
- Method: No-Bake
- Cuisine: American
- Diet: Vegetarian
Ingredients
- 1 1/2 cups graham cracker crumbs
- 1/4 cup granulated sugar (for crust)
- 6 tablespoons unsalted butter, melted
- 1 (8 ounce) package cream cheese, softened
- 1 cup creamy peanut butter (use your favorite brand)
- 1 cup powdered sugar
- 1 teaspoon vanilla extract
- 1 (12 ounce) container frozen whipped topping, thawed (or homemade whipped cream)
- 1/2 cup creamy peanut butter (for filling boost)
- Optional Topping: Chocolate syrup or chopped peanut butter cups
Instructions
- Prepare the crust: In a medium bowl, mix the graham cracker crumbs, 1/4 cup granulated sugar, and melted butter until the mixture resembles wet sand.
- Press the crumb mixture firmly and evenly into the bottom and up the sides of a 9-inch pie plate. Place the crust in the freezer while you prepare the filling.
- Make the filling: In a large bowl, beat the softened cream cheese until it is smooth. Add 1 cup of creamy peanut butter, 1 cup of powdered sugar, and vanilla extract. Beat until the mixture is fully combined and creamy.
- Gently fold in the thawed whipped topping until no streaks remain. Do not overmix.
- Spread half of the peanut butter filling evenly into the chilled graham cracker crust.
- In a small bowl, mix the remaining 1/2 cup of creamy peanut butter with 2 tablespoons of the whipped topping until smooth. Dollop this mixture over the first layer of filling. Gently spread it to create a second layer.
- Top the pie with the remaining whipped topping, smoothing the top surface.
- Chill the pie in the refrigerator for at least 4 hours, or until firm. This step is essential for a clean slice.
- Before serving, drizzle with chocolate syrup or sprinkle with chopped peanut butter cups if you like. Slice and serve your homemade peanut butter pie.
Notes
- For an Oreo crust, substitute 2 cups of finely crushed Oreo cookies (filling removed) for the graham crackers.
- If you want a sweeter, richer filling, you can substitute the 1/2 cup of peanut butter used for the second layer with peanut butter chips melted into the whipped topping.
- This pie is a fantastic make ahead dessert; it holds up well in the refrigerator for up to three days.
Nutrition
- Serving Size: 1 slice
- Calories: 450
- Sugar: 35g
- Sodium: 280mg
- Fat: 30g
- Saturated Fat: 10g
- Unsaturated Fat: 20g
- Trans Fat: 0g
- Carbohydrates: 40g
- Fiber: 2g
- Protein: 8g
- Cholesterol: 35mg
