

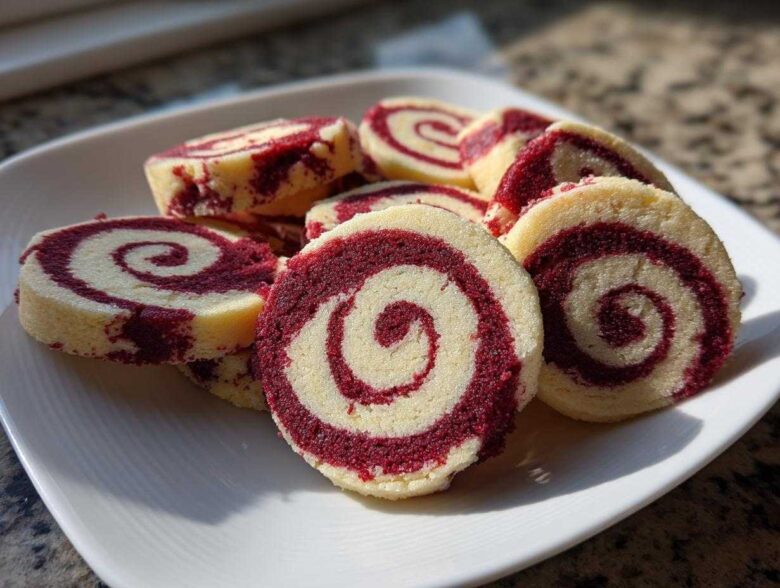
Oh, you HAVE to make these for the holidays! Seriously, nothing beats walking into a kitchen that smells like vanilla and Christmas, and these cookies are the absolute star of any festive platter. People think making beautiful, tight swirls is this super difficult technique, but trust me, it’s not! When I first tried them years ago, I was convinced I’d end up with one giant pink-and-white blob, but I was shocked—I nailed that perfect spiral on the very first try. Learning how to make perfect pinwheel cookies is a staple skill for holiday bakers. This recipe gives you that gorgeous visual appeal because it’s a simple slice-and-bake method, but they taste heavenly rich and buttery. Get ready for compliments!
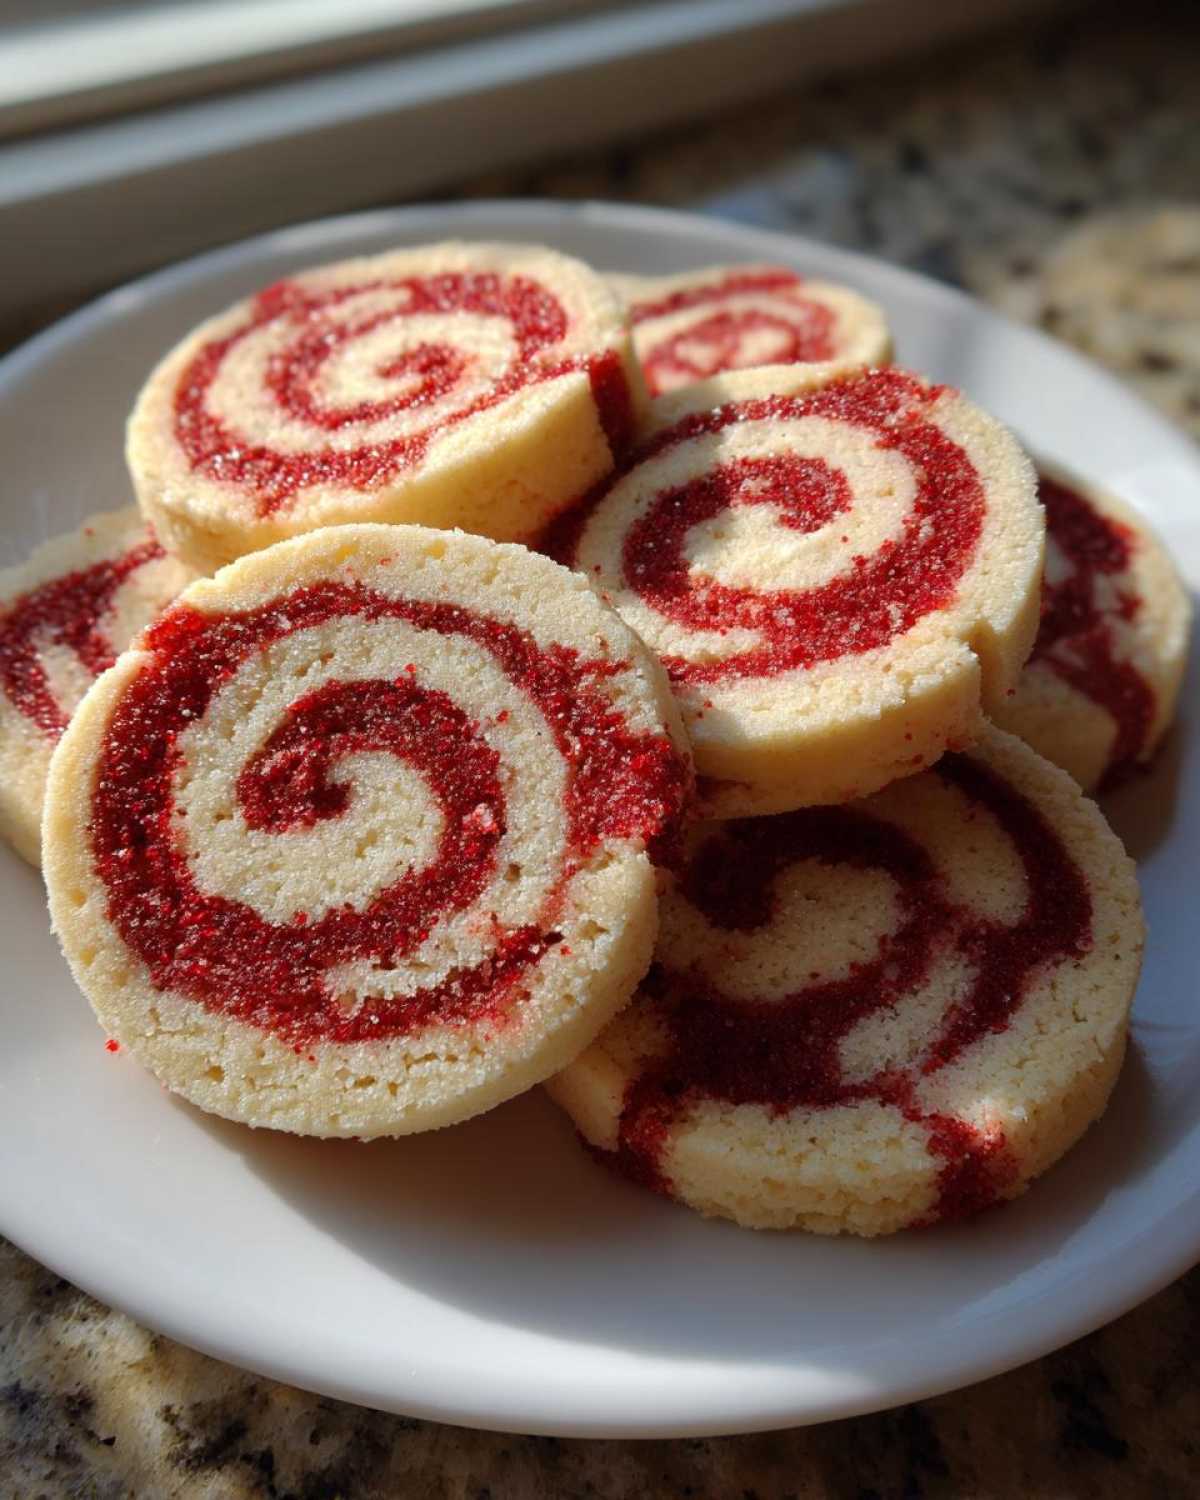
Why This is the Best Pinwheel Cookie Recipe for Holiday Baking
Look, when you’re baking for parties, you need reliable recipes, and that’s what we have here! These are the ultimate slice and bake cookies, meaning you can make the dough days ahead of time, tuck it into the fridge, and then just slice off rounds whenever you need them. Talk about stress reduction during the holidays! Plus, everyone assumes these gorgeous **buttery swirl cookies** took you hours of fussy work, but because it’s just two doughs layered together, they are secretly such **easy festive cookies** to whip up.
Achieving the Perfect Swirl in Your Pinwheel Cookies
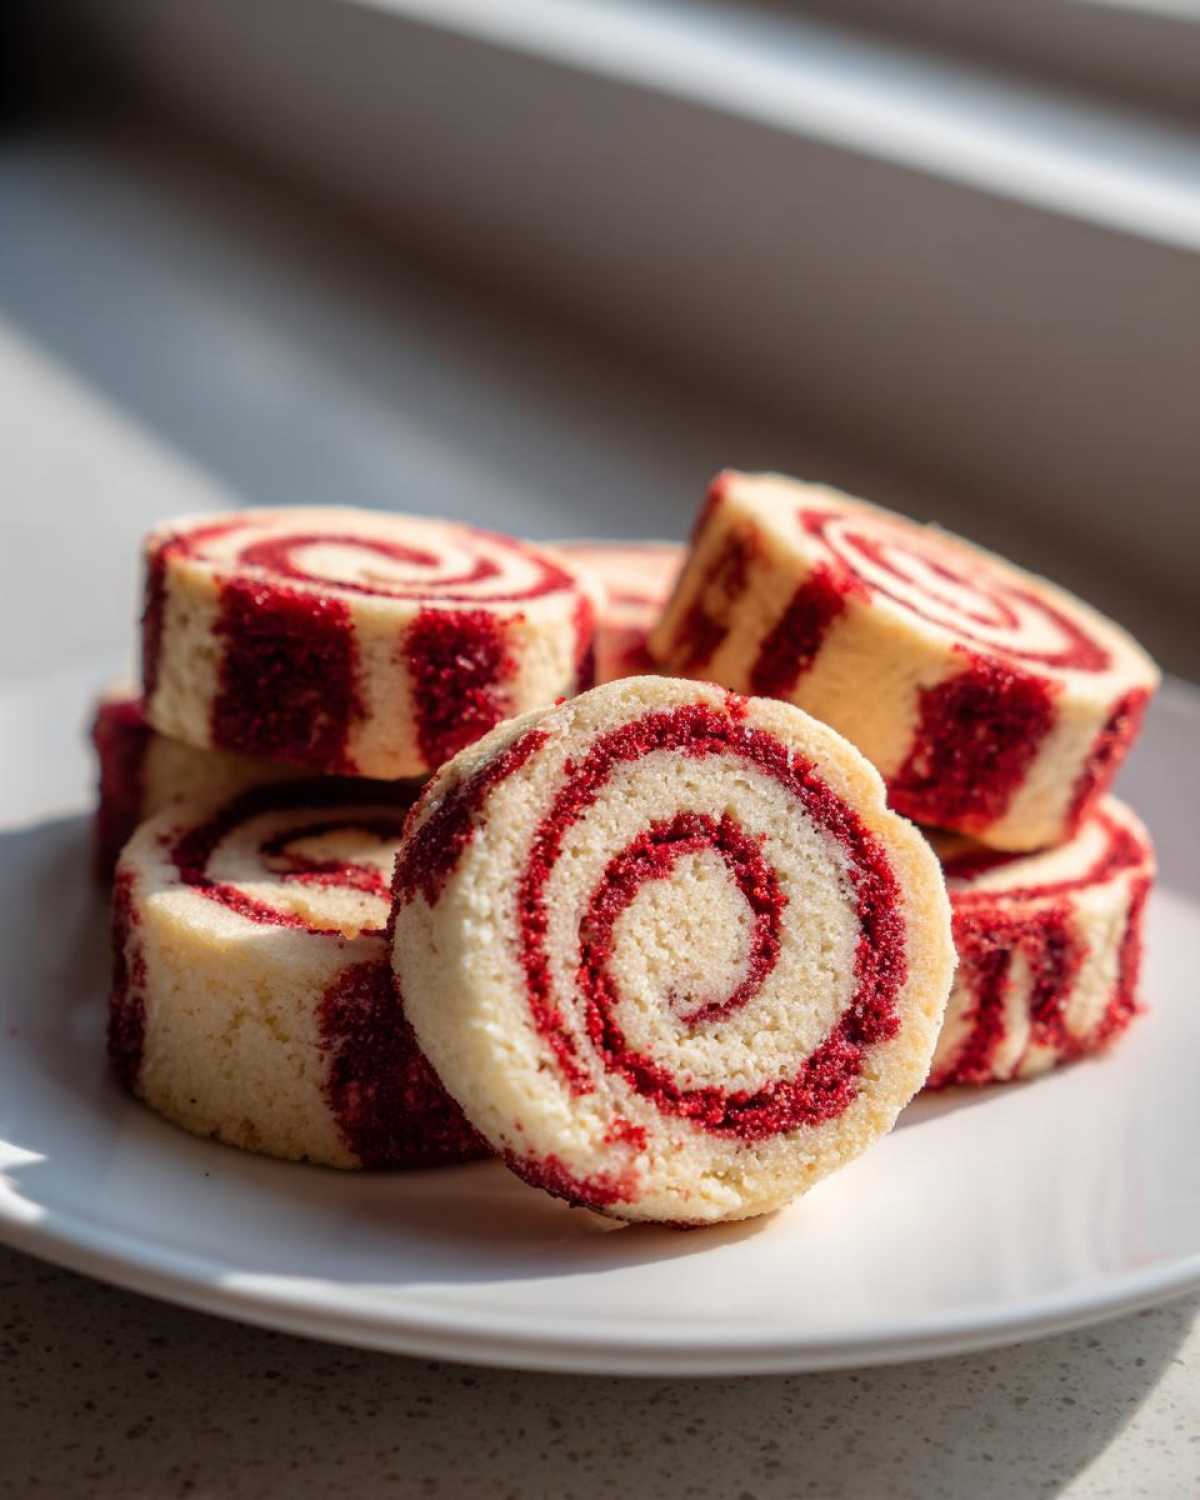
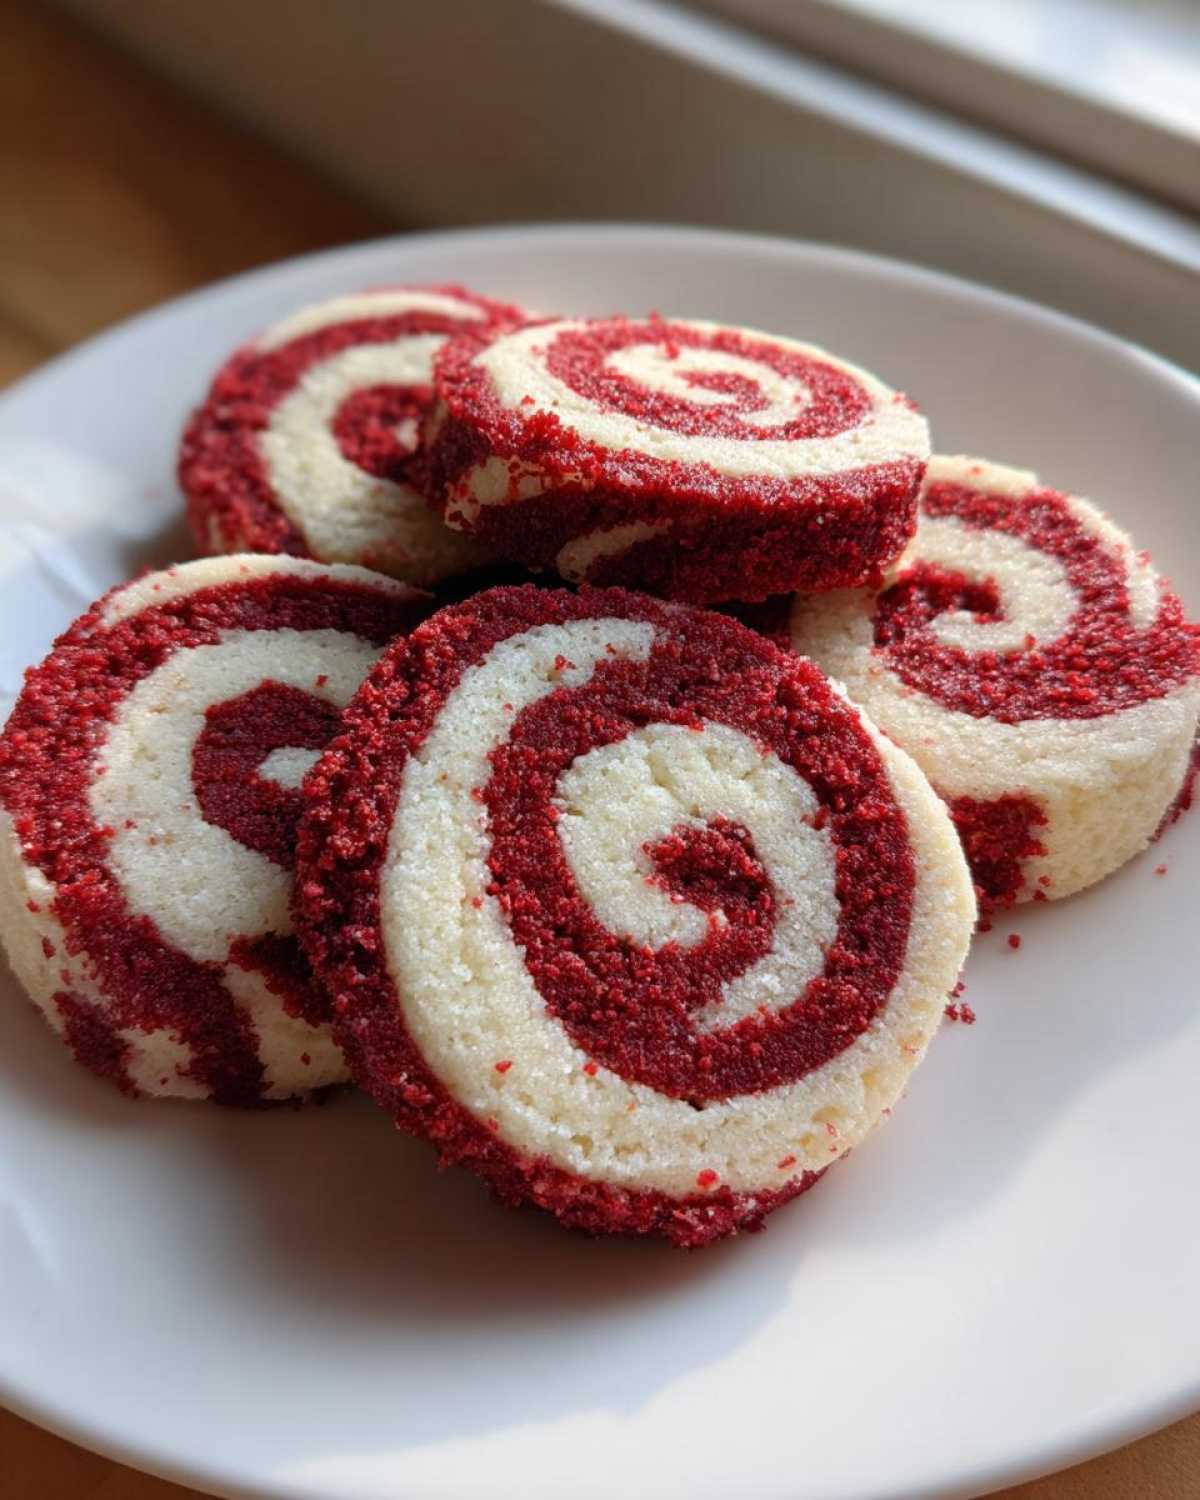
The secret to that stunning spiral isn’t in the mixing, it’s all about the chilling! You absolutely must chill that dough log for at least three hours—do not try to cheat this step. Chilling solidifies the butter so that when you slice into it, the red and white doughs hold their shape perfectly instead of bleeding into a muddy mess. Roll that log as tightly as you possibly can; that pressure creates the tightest swirl you’ll ever see. Trust me, tight rolling equals stunning cookies!
Ingredients Needed for Classic Pinwheel Cookies
You probably have most of this in your pantry already! The beauty of these **swirled cookie recipes** is they rely on simple, delicious basics. We’re using two sticks of soft, unsalted butter—please don’t swap that out, we need that pure, buttery flavor, right? Make sure you have those two big eggs ready to go in. For flavor, a teaspoon of vanilla is standard, but I always sneak in half a teaspoon of almond extract too; it really makes the sugar cookie base shine.
Now, for the vibrant part! You’ll need red food coloring. My biggest tip here, which seriously elevates these from good to great, is to use a *gel* food coloring rather than the liquid kind you might use for Easter eggs. Gel gives you that intense, deep red color without adding extra liquid to your dough. Too much liquid means your dough gets soft, ruins the roll, and then you’re back to square one! Here’s the list:
- 2 1/2 cups all-purpose flour
- 1 teaspoon baking powder
- 1/2 teaspoon salt
- 1 cup (2 sticks) unsalted butter, softened
- 1 1/2 cups granulated sugar
- 2 large eggs
- 1 teaspoon vanilla extract
- 1/2 teaspoon almond extract
- Red food coloring (gel preferred, remember!)
Step-by-Step Pinwheel Cookie Tutorial: Mastering the Roll
Okay, this is where we turn simple ingredients into stunning art! If you’ve made other swirled cookie recipes before, you’ll recognize some of these steps, but pay close attention to the layering. This whole process is what makes these the best **slice and bake cookies** around. We’re going step-by-step so you can’t go wrong. Follow this **pinwheel cookie tutorial** precisely, and you’ll be amazed at the results!
Mixing the Buttery Base Dough
First things first: we need that beautiful, pale foundation. Make sure your butter is soft—not melty, just soft enough for your finger to sink in a little. Beat that butter and your sugar together until it’s really light and fluffy; that fluffiness is what gives the cookie its lovely crumb later on. Once that looks good, beat in your eggs one by one. Then, add your vanilla and that secret weapon, the almond extract. It just adds that little *zing* that makes people ask what your special ingredient is!
Creating and Chilling the Pinwheel Cookie Log
Now we divide! Split your vanilla dough exactly in half. Leave one half plain, and then work that gorgeous red coloring into the second half until it’s completely uniform. Lay your vanilla piece out between two sheets of plastic wrap and roll it gently into a 9×12 inch rectangle—think about the size of a standard sheet of paper, but flat. Do the exact same thing with the red dough. Gently peel the top layer of plastic off the red dough and perfectly layer it right on top of the vanilla. Press them together lightly so they stick!
Here comes the moment of truth! Starting from one of the long sides, you have to roll this layered dough up very tightly, like rolling a jelly roll, but make sure it’s compact. Wrap that log back up in plastic wrap and pop it into the fridge. I mean it: chill that dough for at least three hours. If you try to slice it too early, the swirl will smear, and you’ll lose that beautiful pattern. Patience pays off here, I promise!
Baking and Cooling Your Pinwheel Cookies
Alright, after all that rolling and waiting, we finally get to the fun part! Preheat your oven to 375 degrees F. This temperature is key for getting crispy edges without turning the center hard. Line a couple of baking sheets with parchment paper—this stops any sticking, which is a lifesaver when you’re pulling these beautiful cookies off.
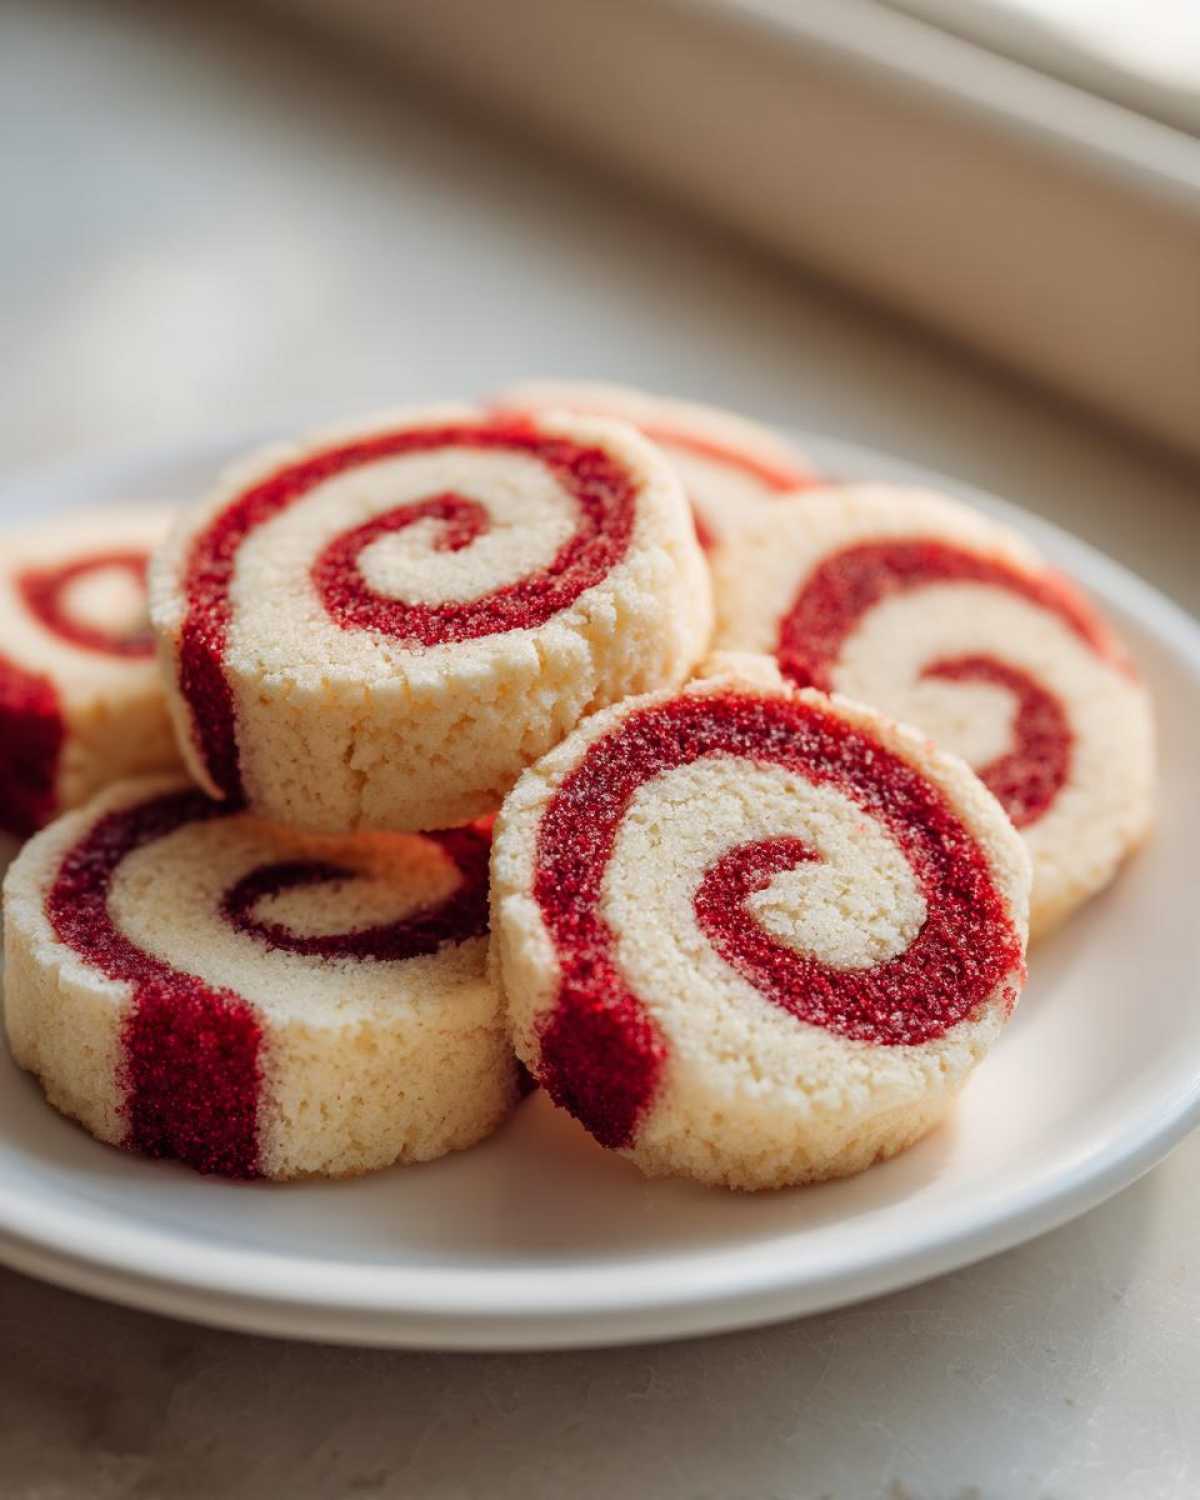
Take that firm dough log out and slice it into rounds that are about 1/4-inch thick. I like to arrange them about two inches apart on the sheet because they do spread just a tiny bit. Now, bake them for 8 to 10 minutes. Watch them closely! If they are in for too long, those beautiful swirls might look pale in the middle but taste dry. You want the edges to look set, but the center should still look pale, almost underdone. As soon as you pull them, leave them right there on the baking sheet for about five minutes—this lets them firm up again before you move them. Then, carefully slide them onto a wire rack to cool completely. If you move them too soon, they can droop!
Tips for the Most Beautiful Pinwheel Cookies
Even though this recipe is super reliable, I always have a few extra tricks up my sleeve to make sure they look magazine-worthy every single time we bake them for Christmas. Remember how I mentioned gel coloring? That’s the first big win for beautiful, vibrant colors in your **pinwheel cookies** without messing up the dough texture.
If you really, really want that professional, tight spiral—the kind that looks almost impossible—you can chill the log longer than the minimum three hours. Seriously, if you can manage it, wrap it up really well and forget about it in the back of the fridge for up to 24 hours. That extra firmness gives you razor-sharp slices when you cut them!
Also, don’t be afraid to play with the flavor profile! For a real kick on those chilly days, try making **peppermint pinwheel cookies**. You just swap out about a quarter teaspoon of that almond extract for peppermint extract. It gives the white dough a wonderful minty freshness that pairs perfectly with the buttery base. If you want more inspiration for minty treats, check out my recipe for rich chocolate peppermint mousse because mint and chocolate are just magic together. These little twists guarantee your cookies stand out on any platter!
Making Pinwheel Cookies Part of Your Holiday Cookie Platter Ideas
Honestly, making **pinwheel cookies** isn’t just about baking; it’s about presentation! These cookies look spectacular next to plain shortbread or dark chocolate cookies because that vibrant swirl just pops. They are absolutely essential when you’re putting together those big **holiday cookie platter ideas** for the office party or your family gathering. Make sure you bake plenty, because people always grab the cookies that are the most visually interesting first!
I love arranging them in concentric circles on a big silver platter. It really highlights that beautiful spiral design that you worked so hard to perfect. If you need other things to fill out that platter, you should check out how I use citrus in my winter recipes; these cranberry orange muffins are amazing warm or cold and look so festive!
Variations Beyond Red and White Pinwheel Cookies
While red and white is the classic Christmas go-to, don’t limit yourself! You can make these fun year-round. For Christmas, try swapping the red dye for a beautiful emerald green. And if you are reading this in February, you absolutely must try making **Valentine’s Day swirl cookies** by using pink and deep red! The exact same recipe works like a charm; you just swap out the holiday colors for your preferred romantic shades. It’s so easy to adjust the color for any event.
Storage and Reheating Instructions for Pinwheel Cookies
Since these are fantastic **slice and bake cookies**, you get dual storage options, which is just so handy! If you have leftover dough log, wrap it extra tight in plastic wrap and it stays perfectly good in the fridge for up to a week. You can even freeze that log for up to three months—just thaw it overnight in the fridge before slicing. For the baked cookies, keep them in an airtight container at room temperature. They stay soft for nearly a week, but if you want them to last longer for a big gathering, you can freeze the baked rounds, too! Just let them thaw completely before serving.
If you’re looking for other make-ahead ideas for the holidays, you should check out my dark chocolate dipped clementines recipe—they are so easy to store and look elegant!
Frequently Asked Questions About Pinwheel Cookies
I know when I’m trying a new **swirled cookie recipe**, I always have a million little questions swirling around my own head! It’s completely normal to want to tweak things or troubleshoot potential issues before you even start mixing. Hopefully, these answers help clear up any last-minute worries so you can focus on getting those gorgeous swirls just right!
Can I make these chocolate vanilla swirl cookies instead?
Oh, absolutely! If you want that rich dark flavor, take about a quarter cup of the flour measurement out of the vanilla dough and substitute it with good quality unsweetened cocoa powder. Then you just have a plain vanilla dough and a dark chocolate dough swirling together! Yum!
Why are my pinwheel cookies spreading too much?
This is almost always one of two things, trust me! First and foremost, if they spread, the dough didn’t chill long enough. That tight log is essential for keeping their shape once they hit the heat. The second reason is if your oven temperature ran a little low. Always check your oven with a separate thermometer, especially when baking **Christmas sugar cookies**!
Nutritional Estimates for These Buttery Swirl Cookies
Now, I know we’re baking these beauties for fun, not for a health competition, but sometimes it’s helpful to see the numbers! Remember, since these are homemade and use real butter and sugar, they are definitely a treat. These estimates are based on the recipe yielding about 3 dozen cookies, so eating just one of these **buttery swirl cookies** is a nice, modest indulgence.
Please know these are just my best guesses! The brand of flour or the exact amount of sugar you use in your kitchen will change it slightly, so think of this as a general guide. If you want to see how other rich treats stack up, check out my recipe for cream cheese coffee cake for comparison!
- Serving Size: 1 cookie
- Calories: 135
- Sugar: 11g
- Fat: 7g
- Protein: 2g
- Carbohydrates: 17g
Classic Christmas Two-Tone Pinwheel Cookies
Make beautiful, buttery slice-and-bake pinwheel cookies perfect for holiday cookie exchanges, featuring a tight red and white swirl.
- Prep Time: 30 min
- Cook Time: 10 min
- Total Time: 3 hours 40 min
- Yield: About 3 dozen cookies
- Category: Dessert
- Method: Baking
- Cuisine: American
- Diet: Vegetarian
Ingredients
- 2 1/2 cups all-purpose flour
- 1 teaspoon baking powder
- 1/2 teaspoon salt
- 1 cup (2 sticks) unsalted butter, softened
- 1 1/2 cups granulated sugar
- 2 large eggs
- 1 teaspoon vanilla extract
- 1/2 teaspoon almond extract
- Red food coloring (gel preferred)
Instructions
- In a medium bowl, whisk together the flour, baking powder, and salt. Set aside.
- In a large bowl, beat the softened butter and sugar with an electric mixer until light and fluffy. Beat in the eggs one at a time, then mix in the vanilla and almond extracts.
- Gradually add the dry ingredients to the wet ingredients, mixing on low speed until just combined.
- Divide the dough evenly into two separate bowls. Leave one bowl plain. Add several drops of red food coloring to the second bowl and mix until the color is uniform.
- Place each dough color between two sheets of plastic wrap. Roll each portion into a rectangle approximately 1/4 inch thick. The dimensions should be about 10 inches by 12 inches.
- Place the vanilla dough rectangle on your work surface. Place the red dough rectangle directly on top of the vanilla dough, aligning the edges. Gently press them together.
- Starting with one long edge, tightly roll the layered dough into a compact log. Wrap the log tightly in plastic wrap.
- Chill the dough log in the refrigerator for at least 3 hours, or until firm enough to slice easily.
- Preheat your oven to 375 degrees F. Line baking sheets with parchment paper.
- Remove the dough from the refrigerator and unwrap it. Slice the log into 1/4-inch thick rounds.
- Place the cookie slices about 2 inches apart on the prepared baking sheets.
- Bake for 8 to 10 minutes, or until the edges are lightly set but the centers are still pale. Do not overbake.
- Let the cookies cool on the baking sheet for 5 minutes before transferring them to a wire rack to cool completely.
Notes
- Use gel food coloring for the most intense red color without adding excess liquid to the dough.
- For a tighter swirl, chill the dough for longer, up to 24 hours.
- If you want a peppermint flavor, substitute 1/4 teaspoon of the almond extract with peppermint extract.
Nutrition
- Serving Size: 1 cookie
- Calories: 135
- Sugar: 11
- Sodium: 65
- Fat: 7
- Saturated Fat: 4
- Unsaturated Fat: 3
- Trans Fat: 0
- Carbohydrates: 17
- Fiber: 0
- Protein: 2
- Cholesterol: 35
