

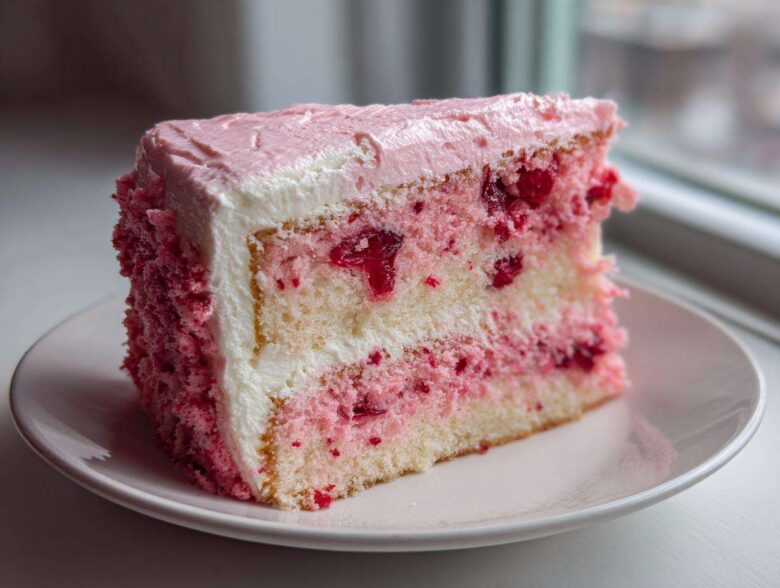
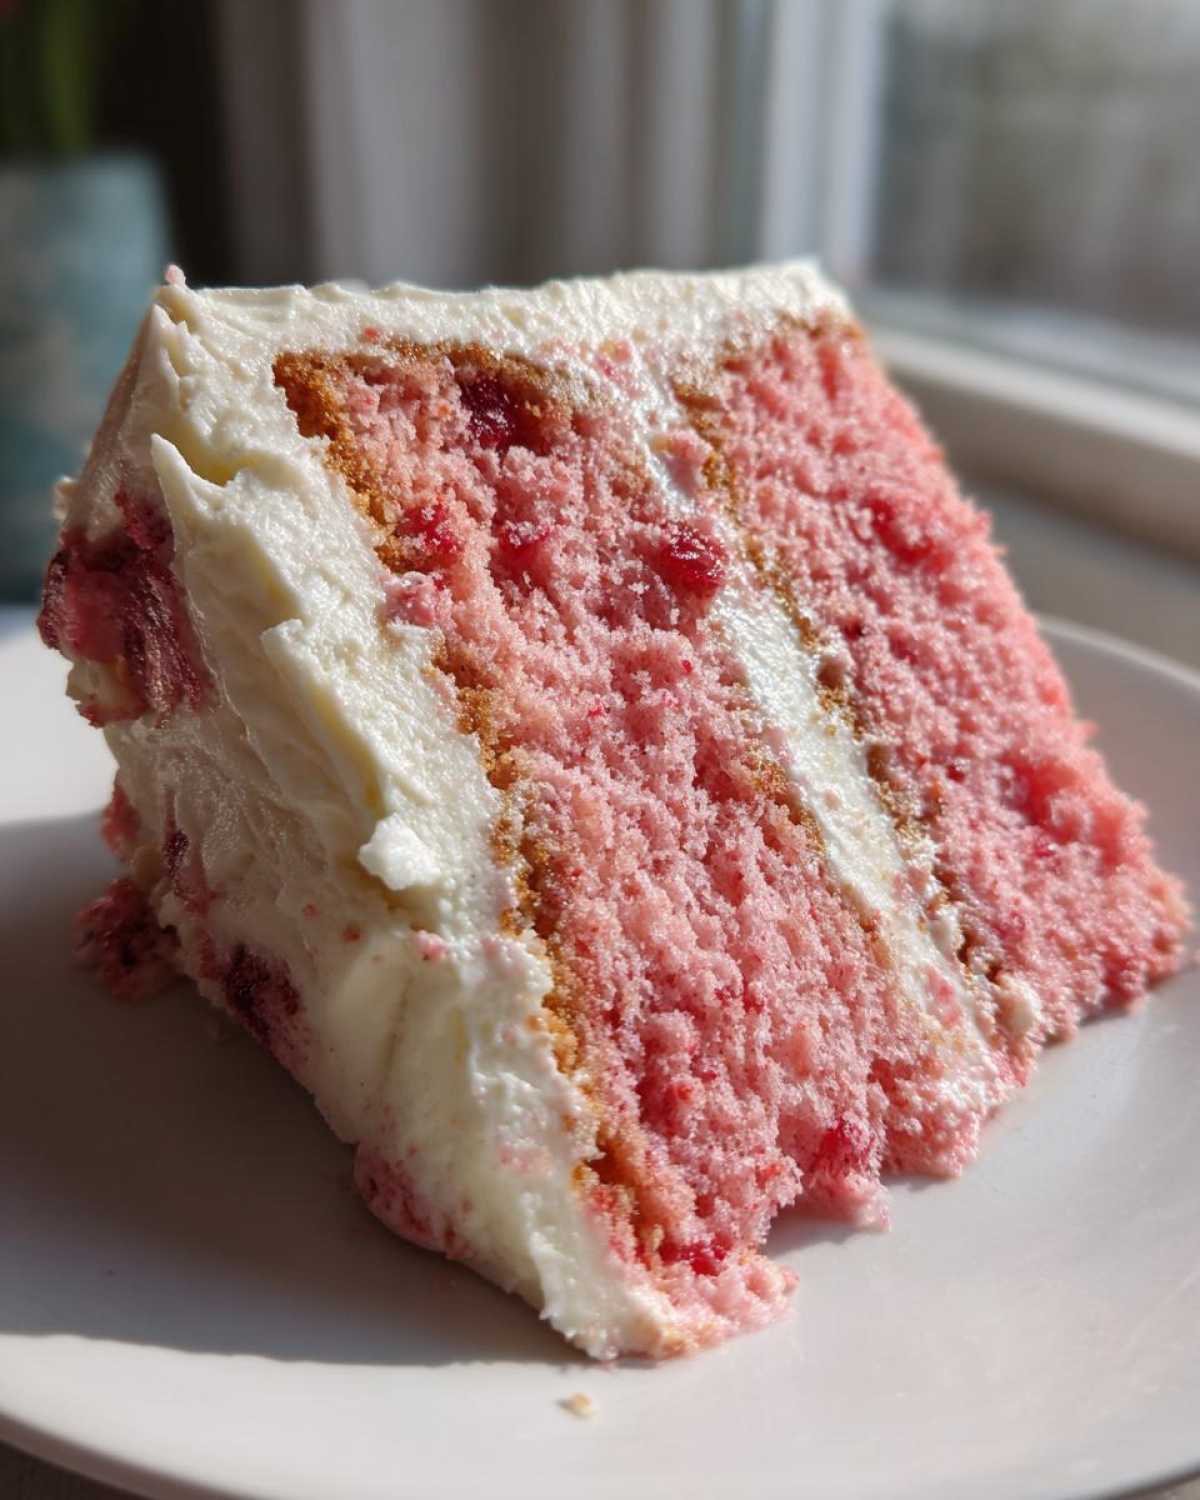
Oh, you know those flavors that just whisk you right back to childhood parties? For me, that’s the gorgeous, slightly artificial pink of the ultimate **cherry cake**. Forget those dry, crumbly versions you sometimes find out there! I’ve finally perfected what I think is the best cherry cake recipe, entirely from scratch, that is reliably moist and ridiculously fluffy every single time. This isn’t just dessert; this is pure, nostalgic celebration baked into layers. This homemade cherry cake uses a little trick with the juice to get that perfect hue! If you struggle with dry layers in general, maybe check out my guide on making the perfect moist vanilla cake, but trust me, this cherry version kicks it up a notch.
Why This Homemade Cherry Cake Recipe Stands Out
What makes this particular cherry cake recipe the only one you’ll ever need? Honestly, it’s the texture magic combined with that unmistakable flavor. I spent ages trying to find a balance that didn’t involve a box mix, and I finally landed on this formula.
- We achieve a perfectly moist cherry cake texture thanks to the buttermilk and the soaking juice from the cherries.
- That fantastic, nostalgic look comes from using the *real* juice, giving us a vibrant pink color without any weird artificial dye overload.
- No flimsy buttercream here! We top this beauty with a rich, tangy classic cream cheese frosting that just sinks into the crumb beautifully.
It’s a stunning centerpiece, but it’s secretly so easy to pull off from scratch.
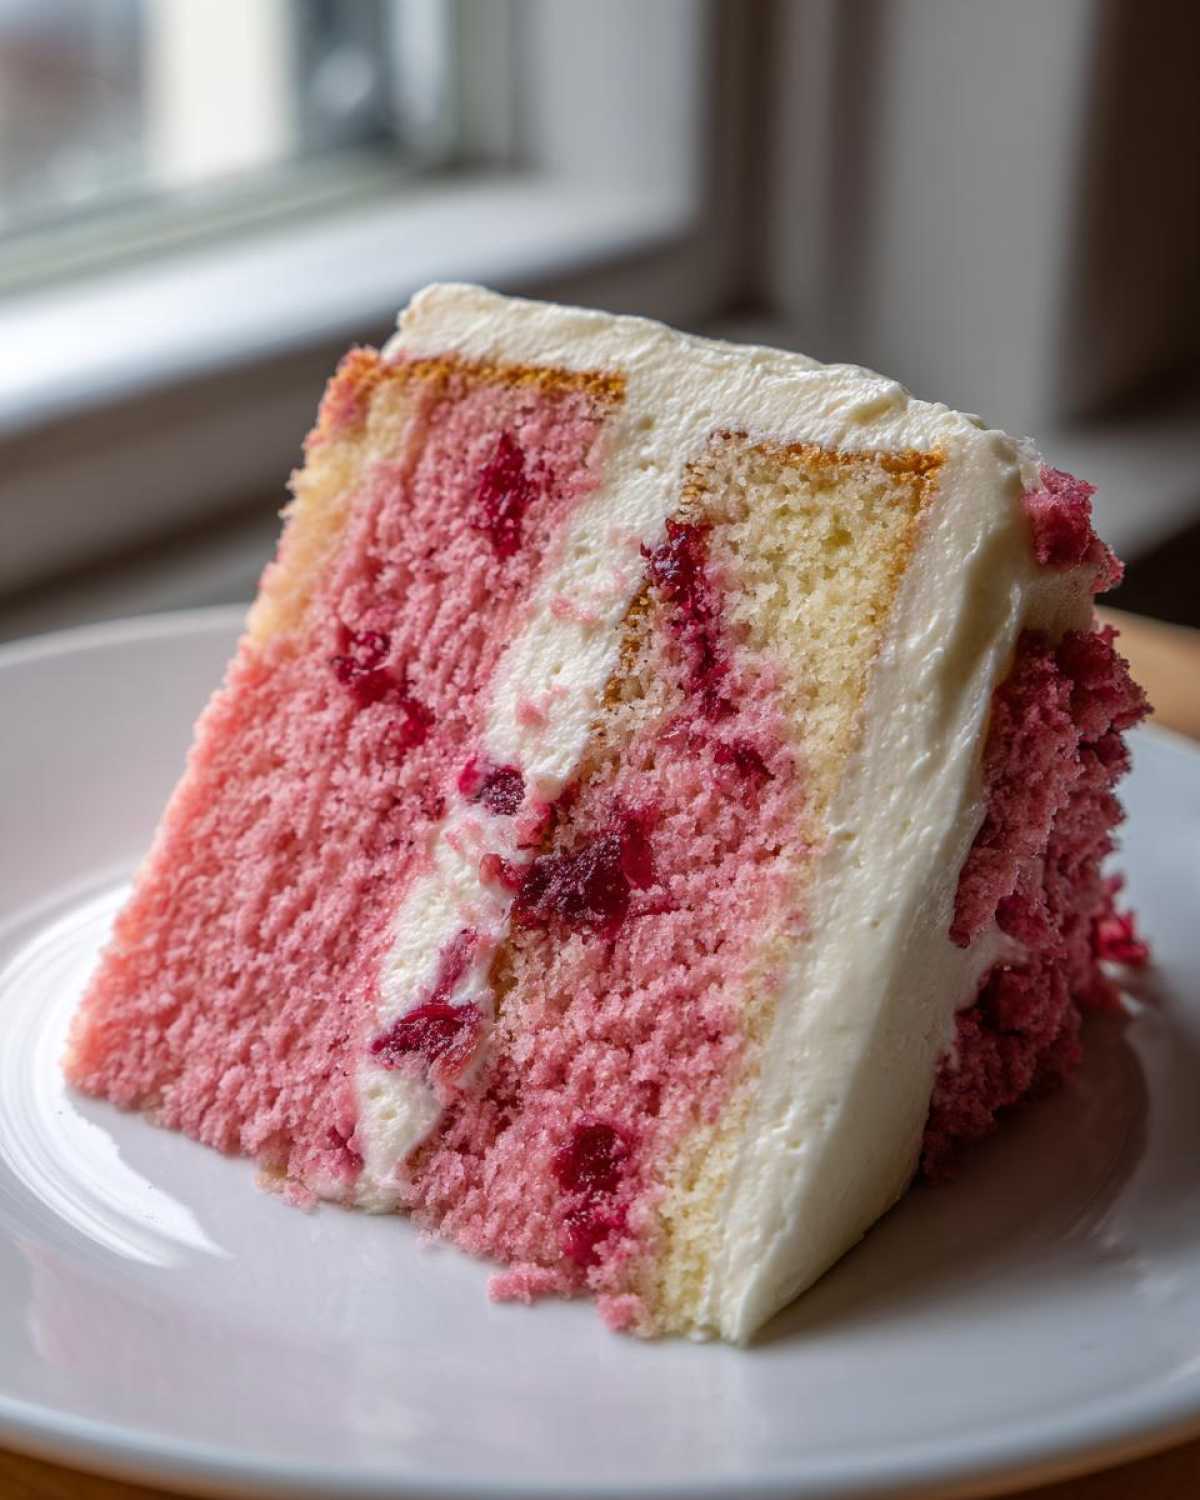
Gathering Ingredients for Your Cherry Cake
Alright, let’s get down to business! A truly superior cherry cake recipe starts with paying attention to the details of these ingredients. We want maximum moisture, so everything needs to be perfectly room temperature where specified. I’ve broken this down into the two main components: what goes into the pink layers, and what makes that dreamy frosting decadent.
Before you even start measuring, make sure you’ve got your maraschino cherries ready. The juice is liquid gold for this cake, and the cherries themselves need prepping! If you want to check out my go-to frosting method separately, I’ve got a whole breakdown on the best classic cream cheese frosting recipe, but here are the amounts we need for this specific cake.
For the Moist Cherry Cake Batter
This is where the magic for our ultra-moist layers happens! The combination of buttermilk and that bright cherry juice is non-negotiable for the texture we’re aiming for in this scratch made cherry cake.
- 1 3/4 cups all-purpose flour
- 1 1/2 cups granulated sugar
- 1 teaspoon baking soda
- 1/2 teaspoon salt
- 1/2 cup unsalted butter, softened (Not melted! It needs to be soft enough to dent easily.)
- 2 large eggs, separated by room temperature
- 1 teaspoon vanilla extract
- 1 cup buttermilk (This is key for tenderness!)
- 1/2 cup maraschino cherry juice (drained directly from the jar)
- 1/2 cup finely chopped maraschino cherries, thoroughly drained
- 1/4 cup halved maraschino cherries (for the batter)
- 1 cup all-purpose flour (This is extra, strictly for dusting so the cherries don’t sink!)
For the Cherry Cream Cheese Frosting
This frosting is thick, tangy, and the almond note really pushes the cherry flavor forward in a wonderful way. Make sure your cream cheese and butter are both softened!
- 1 cup powdered sugar, sifted if clumpy
- 1/2 cup unsalted butter, softened
- 4 ounces cream cheese, softened
- 1 teaspoon almond extract (smell that? It’s perfection!)
- 1–2 tablespoons milk or cream (You’ll add this slowly to get the perfect spreadable consistency.)
Step-by-Step Instructions: How to Make Cherry Cake
Making this amazing cherry cake from scratch is more straightforward than you might think! We’re going for that classic bakery style, so pay attention to how you mix—it’s the secret sauce for keeping the layers fluffy and light. Don’t rush the cooling process, or the frosting will turn into a pink puddle, and nobody wants that.
Preparing the Cherry Cake Layers
First things first, get that oven warmed up to 350 degrees F (175 degrees C) and get your 8-inch pans greased and floured. Seriously, don’t skip that prep work!
In one bowl, whisk together your first batch of dry stuff: the 1 3/4 cups flour, sugar, baking soda, and salt. In your big mixing bowl, cream that 1/2 cup of softened butter until it looks pale. Then, beat in your eggs one by one, making sure each one is fully incorporated before adding molasses, followed by the vanilla.
Now for the liquids: whisk the buttermilk and the wonderful, pink maraschino cherry juice together in a separate little bowl. This is where our color starts, wow!
We’re using the alternating method here for the best texture—it keeps the gluten happy. Add about a third of your dry mix to the butter, mix gently. Then pour in half the buttermilk mixture, mix. Keep alternating until all the dry ingredients and liquids are in, **always ending with the dry**. Mix only until you see no more white streaks. Overmixing this batter kills the fluff!
Here’s the crucial E-E-A-T step for a perfect cherry chip cake: In a small, separate dish, toss your finely chopped, drained cherries with that reserve 1 cup of flour until they’re all dusty. This coating stops them from sinking to the bottom! Gently fold these floured cherries right into your batter.
Divide that beautiful pink batter evenly between your two prepared pans. You’re practically there!
Baking and Cooling the Cherry Cake
Pop those pans into the preheated oven for about 30 to 35 minutes. How do you know when they’re done? Stick a wooden pick right into the center—if it comes out clean, success! Watch them carefully towards the end, as these moist cakes can go from perfect to overdone fast.
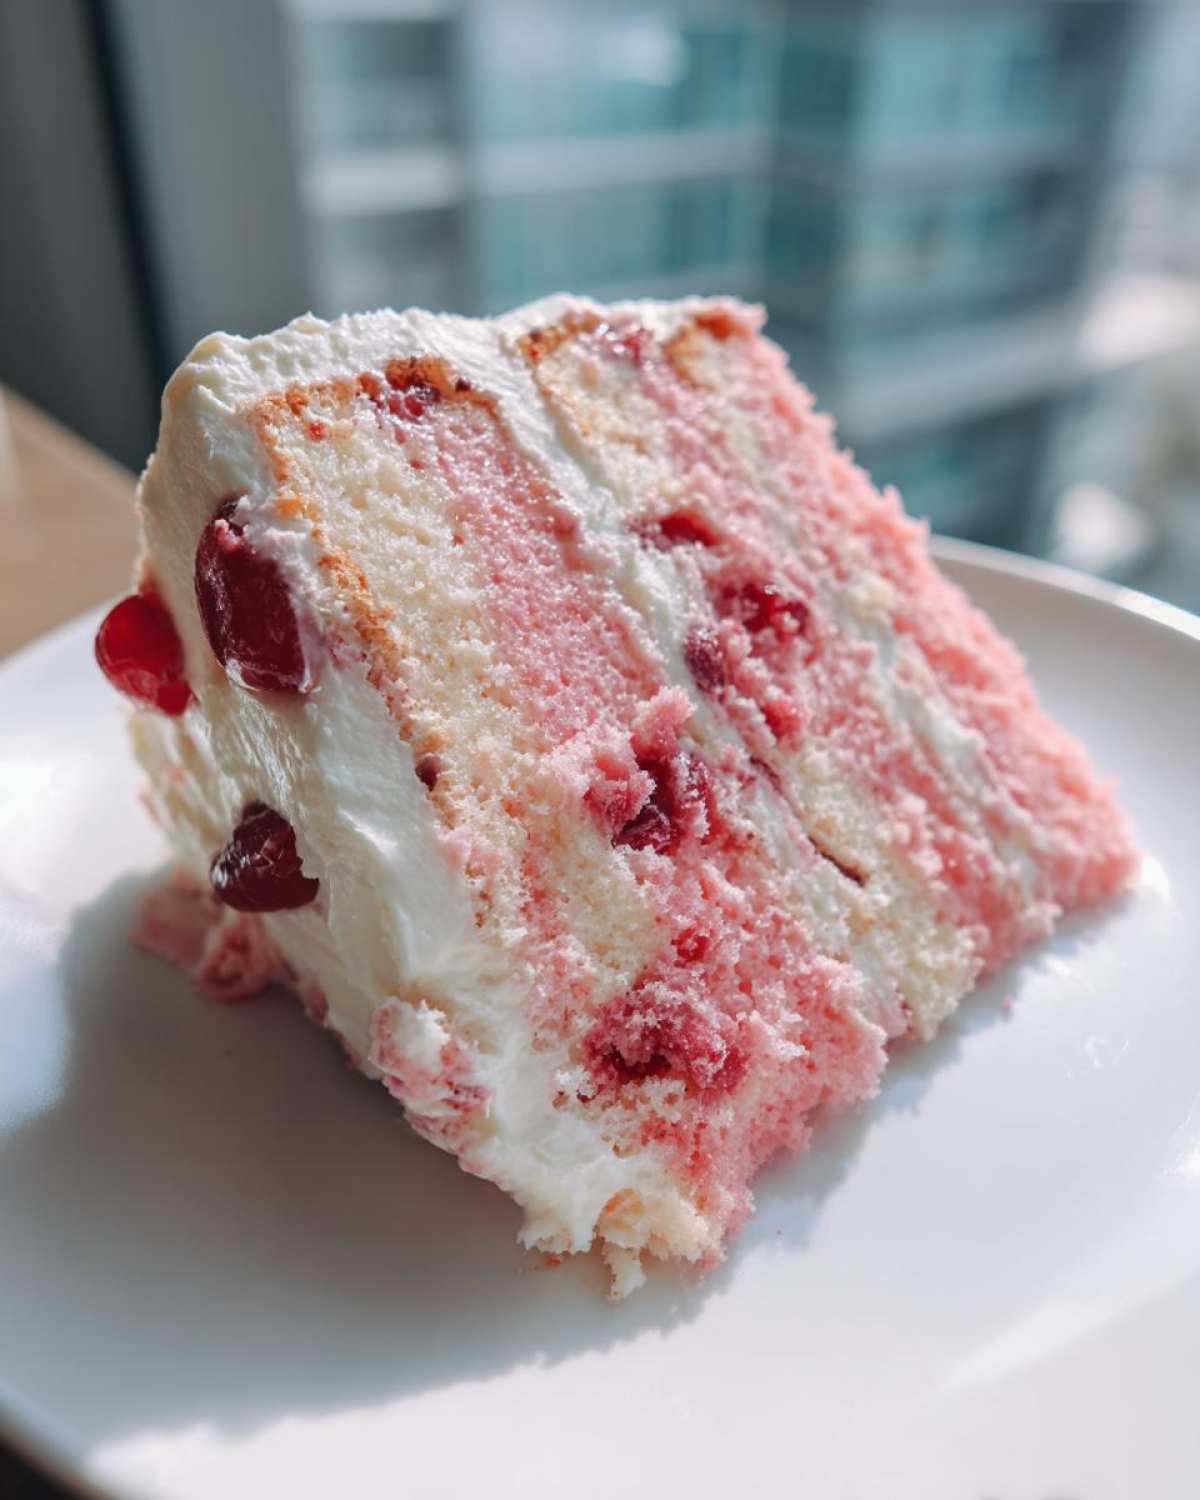
This is the hardest part: Let them hang out in the pans for exactly 10 minutes before you carefully invert them onto a wire rack. They have to cool completely. I mean bone-dry to the touch, room temperature cool. If you frost them warm, you’ll be crying over melted frosting, and trust me, I’ve been there. If you want cute little cakes, you might check out my moist fluffy cupcake guide for tips, but cooling is universal!
Assembling Your Finished Cherry Cake
While the layers cool, whip up that cherry cream cheese frosting. Beat your cream cheese and softened butter until they look fluffy and light—get tons of air in there. Slowly add the powdered sugar, then the almond extract. Add the milk or cream just a teaspoon at a time until it’s soft enough to spread nicely without dragging the cake layers.
Once everything is totally cool, place your first layer down. Don’t be shy with the frosting—spread a generous, even layer across the top. Place the second layer on top, and then tackle the sides and top of your beautiful cherry layer cake. For a true look, pile those halved maraschino cherries right on top for garnish.
Tips for the Best Moist Cherry Cake
Look, even with the best cherry cake recipe, a little extra know-how goes a long way to making sure your cake is stunning. I’ve tweaked this dozens of times, and a few things always make the difference between a great cake and an absolute showstopper.
First off, let’s talk about those gorgeous cherries. They seem determined to sink straight to the bottom of your pan, don’t they? That’s why step one in the tips section of the recipe tells you to dust them with flour! That dry flour coating creates just enough friction to keep them suspended throughout your beautiful moist cherry cake layers while baking. Don’t skip that!
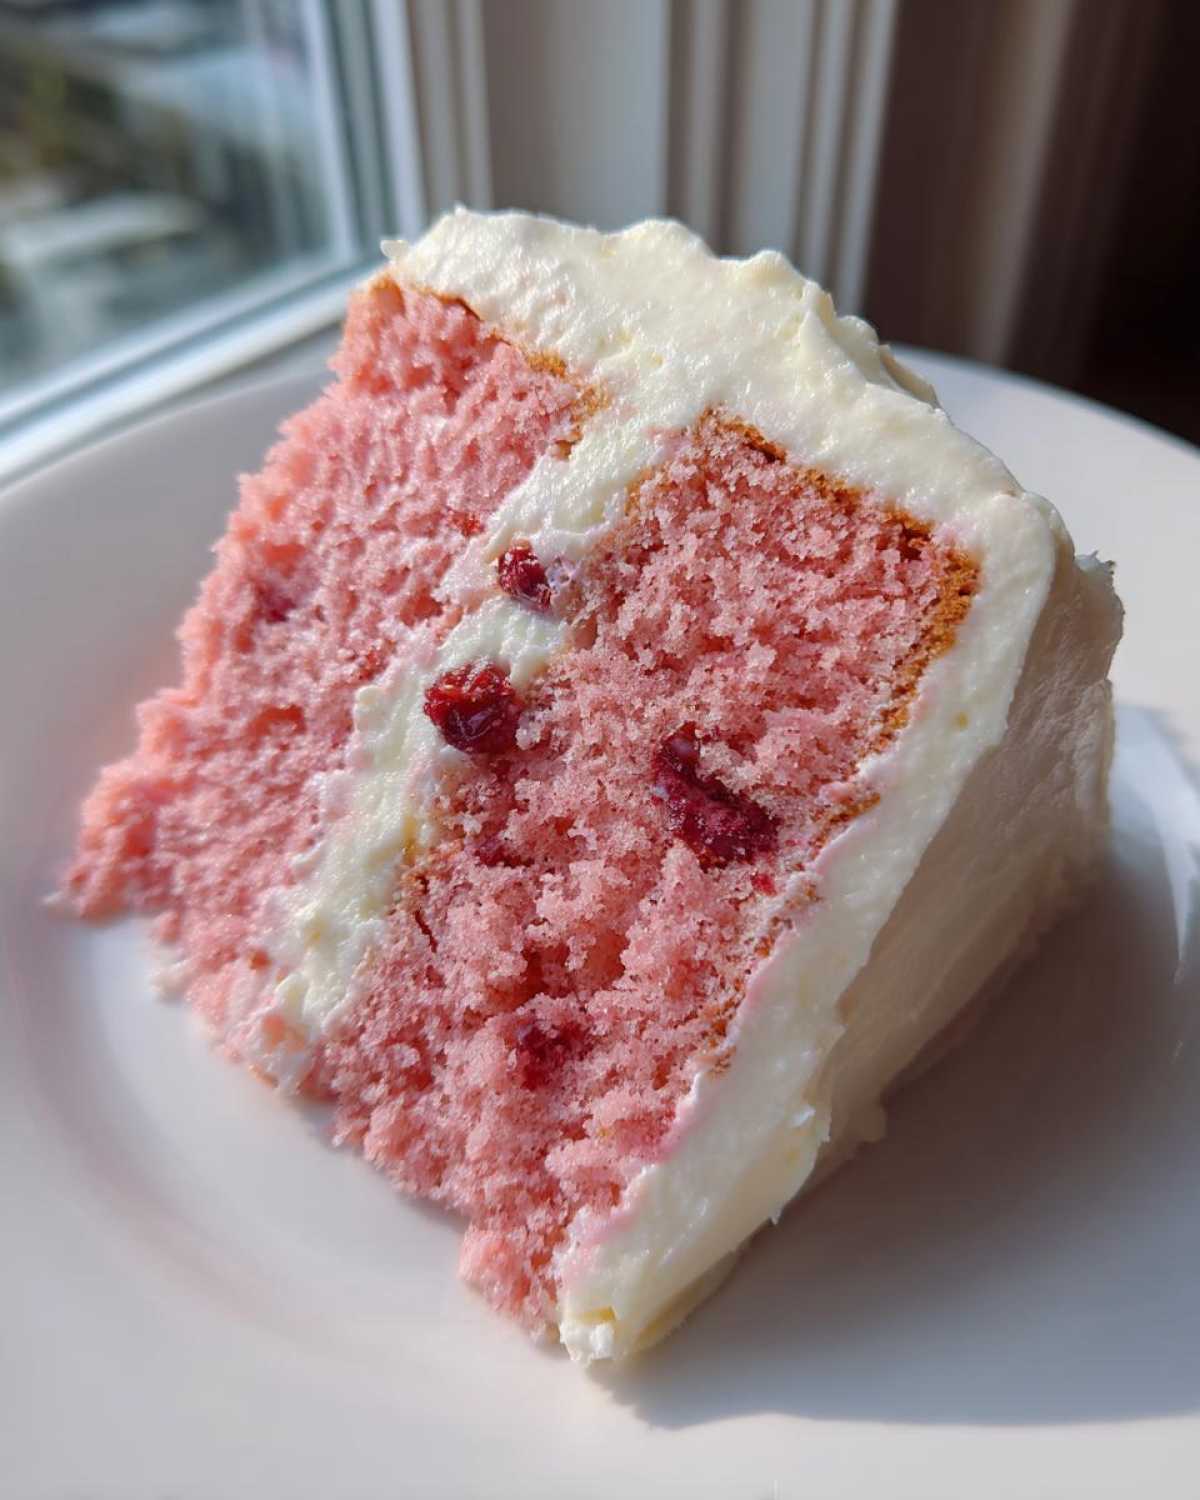
If you want to really punch up the flavor, I sometimes substitute about half the buttermilk with extra cherry juice—it makes the cake intensely flavorful. If you prefer a taller, more dramatic presentation, I’ve had great success baking this batter in three 6-inch pans instead of two 8-inch ones. Just watch your time; they might need a couple of extra minutes in the oven. For more great moisture secrets, you might want to peek at my philosophy over on my classic carrot cake recipe notes since the texture goals are similar!
Variations on the Classic Cherry Cake
Part of the fun of getting this scratch made cherry cake recipe down pat is knowing you can play with it later! This cake is so structurally sound that it handles variations like a champ. If you’ve already mastered the two-layer deal, it’s time to start experimenting with flavor twists.
For instance, if you love that bold almond flavor I put in the frosting, why not double down? Swap half a teaspoon of the vanilla extract in the cake batter for almond extract alongside the juice. You end up with an amazing cherry vanilla cake that tastes sophisticated but is still super easy.
Nuts are another awesome addition! I almost always add about half a cup of finely chopped pecans or even slivered toasted almonds right there with the floured cherries. They give you that satisfying little crunch against the fluffy cake.
Now, if you’re feeling artistic, you absolutely have to try a cherry swirl cake. You just reserve about a quarter cup of the pink batter *before* you fold in the cherries. Then, you layer the plain batter and the cherry batter into the pans, gently swirling them with a butter knife just once or twice before baking. You get those gorgeous natural ribbons of color! For my all-time favorite pastry experiments, I always look back at my notes for those apple cinnamon rolls because the mixing techniques often overlap!
Serving Suggestions for Your Cherry Layer Cake
Once you finally step back and admire that gorgeous, pink, slightly shimmering cherry layer cake, you’re going to want to serve it up right! This isn’t just an everyday dessert; this beauty screams celebration. It’s one of those perfect celebration cake ideas that feels both nostalgic and brand new.
Because the cake itself is so flavorful and the cherry cream cheese frosting is rich, you don’t need a ton of fuss alongside it. Sometimes, less is truly more!
Simple Garnishes that Elevate
If you didn’t use the halved cherries on the top of the cake during assembly, now is the time to add them! Nothing looks better than glistening, bright red halves dotted across the white frosting. Also, a light dusting of powdered sugar right before serving offers a lovely contrast against the pink tint of the cake peeking out from underneath.
For an extra bit of decadent texture, you can sprinkle some lightly toasted, slivered almonds around the base edge of the cake. They catch the light beautifully and add a nice crunch that contrasts the softness of the crumb. I often do this just before presenting it on the table.
Pairing Drinks with Your Cherry Cake
When thinking about what to serve alongside this cherry cake, you want something that cleanses the palate without overpowering that delicate almond and cherry flavor profile. Skip anything overly heavy!
For non-alcoholic options, a light, slightly tart beverage is perfect. I absolutely love serving this with a homemade lemonade, especially if you can spike it a little—check out my recipe for sparkling raspberry lemonade; the tart raspberry cuts through the sweetness of the frosting perfectly. If you’re serving it in the evening, a glass of chilled Prosecco or a very light Moscato complements the fruitiness wonderfully.
Honestly, a simple cup of hot, freshly brewed black coffee works wonders too, especially if you’re serving this after a big holiday meal. The slight bitterness of the coffee really makes the complex flavors of the homemade cherry cake pop!
Storing and Keeping Your Cherry Cake Fresh
Okay, you’ve done the hard work, and now you have this magnificent, slightly pink, fluffy creation. We absolutely have to protect this masterpiece! Storing a moist cherry cake like this correctly is crucial so those beautiful layers stay tender and the frosting doesn’t get weird.
Since we used a cream cheese frosting on our cherry cake, we can’t just leave it sitting on the counter for days like we might with a pure buttercream frosting. Cream cheese is sensitive, so if you aren’t planning on devouring the whole cake within a few hours of icing it, the fridge is your best friend.
Refrigeration Tips for Leftover Cherry Cake
When you need to store the leftover slices or the remaining half of this stunning cherry layer cake, seal is the magic word. Pop the cake—or tightly wrap individual slices in plastic wrap—before putting it in the refrigerator. This keeps the cake from drying out and stops it from absorbing any weird fridge smells (like last night’s tuna casserole!).
The downside of the fridge is that cold tends to mute flavor and firm up the texture, making it a bit denser. Don’t panic! The best way to serve cold cake is to let it sit out on the counter for about 30 to 45 minutes before slicing. That little bit of time lets the butter soften up again, bringing back that incredible, fluffy texture we worked so hard for in the batter.
Freezing Your Homemade Cherry Cake
If you’re hoping to save some of this homemade cherry cake for a future celebration—maybe next month’s party—freezing is absolutely achievable! The key here is double-layer protection before chilling.
- Make sure the cake layers are completely frosted. Yes, you freeze it frosted!
- Wrap the entire cake tightly in two layers of plastic wrap, ensuring you get a good seal all the way around to prevent freezer burn.
- Then, wrap that plastic-covered cake again in a layer of aluminum foil.
This combination keeps air and moisture locked out. Your cherry cake can stay happily frozen for up to two months. When you want to bring it back to life, unwrap it completely while it’s still frozen and let it thaw slowly in the refrigerator overnight. Then, just like with refrigerated cake, let it sit at room temperature for about 45 minutes before serving.
How to Gently Reheat a Slice
Sometimes, you just want that warm, comfort-food feeling, right? If you’re just looking to warm up a single slice of pink cherry cake, the microwave is faster, but you have to be strategic so you don’t accidentally cook it again!
Place your slice on a microwave-safe plate. Here’s the trick: drape a slightly damp paper towel over the top of the slice. This traps steam, preventing the cake from getting tough. Heat it in very short bursts—maybe 10 to 15 seconds maximum. It should be just warmed through, not piping hot. This technique works wonders for bringing back the moisture in a slice that might have been hiding in the fridge a little too long!
Frequently Asked Questions About This Cherry Cake Recipe
I know you might have a few little nagging questions floating around, especially if you’re planning on making this magnificent cherry cake for a big event! I always get asked the same things about the color, the texture, and the fuss involved in making it totally from scratch. Let’s clear those up so you can bake with total confidence!
Can I use fresh or frozen cherries instead of maraschino cherries in this cherry cake recipe?
That’s a great question, and honestly, you can use fresh cherries, but it totally changes the game! Fresh or frozen cherries (thawed and drained) bring way more moisture and a deeper, but less sweet, tart flavor to the party. The trade-off is that you lose that iconic, bright, slightly sweet flavor profile that only the maraschinos provide.
If you use fresh cherries, you’ll need to skip using their juice for the liquid, so you’ll have to substitute that with extra buttermilk—which means your beautiful pink cherry cake color will likely turn into a pale, soft beige or cream color, not the classic vibrant pink we love!
How do I ensure my homemade cherry cake is perfectly pink?
This is the easiest secret of all! That beautiful, unmistakable pink hue isn’t from food coloring, which I try to avoid when possible. The color naturally comes directly from that liquid you pour out when you open a jar of maraschino cherries!
In this homemade cherry cake recipe, we use half a cup of that preserved juice. It’s a wonderful, rich red that blends beautifully with the white flour and butter, yielding that signature rosy color. Keep an eye on it as it bakes; it deepens slightly, but you’ll know it’s right when you see that lovely tint!
Is this scratch made cherry cake considered a vintage cherry cake?
Oh, absolutely! I totally consider this a **vintage cherry cake**! When you look at those classic 1950s and 1960s church socials and potluck desserts, the cherry chip cake—often called a wedding cake by some because it was so popular for celebrations—was king. It’s that nostalgic vibe, the combination of the light almond scent mingling with the cherry, and the specific shade of pink that just screams old-school charm.
Because we are making this completely from scratch, the quality is infinitely better than the vintage versions sometimes had to settle for, but the spirit is definitely the same. If you’re looking for a shortcut version that still hits that nostalgic note, you might want to check out my notes on an easy cake mix cherry cake, but this recipe captures that classic feeling perfectly.
Estimated Nutritional Snapshot for This Cherry Cake
Now, listen up—I always like to give you guys a little peek at what we’re dealing with nutritionally, even if I’m not a registered dietitian! When you eat something this delicious, it’s good to know what you’re having. Remember, these numbers are just my best estimation for one glorious slice of this cherry cake. Since we’re whipping this up in our own kitchens, the exact brands of butter or sugar you use could tweak things just a bit.
The richness comes from that butter and cream cheese combo, so don’t be shocked by the fat content—it’s what makes the crumb so tender! For more details on how these recipes are assessed generally, you can always check out my site’s nutritional information disclaimer page.
Here is the estimated breakdown for one serving of this incredible cherry layer cake:
- Serving Size: 1 slice
- Calories: 410
- Sugar: 45 grams
- Sodium: 250 mg
- Total Fat: 20 grams
- Saturated Fat: 12 grams
- Carbohydrates: 58 grams
- Protein: 4 grams
- Cholesterol: 85 mg
It’s definitely a treat, but when it tastes this much like a celebration, it’s worth every single bite! Enjoy your slice!
PrintHomemade Cherry Chip Layer Cake
A recipe for a moist and fluffy layer cake featuring real maraschino cherries, resulting in a classic pink cake perfect for celebrations.
- Prep Time: 25 min
- Cook Time: 35 min
- Total Time: 60 min
- Yield: 12 servings
- Category: Dessert
- Method: Baking
- Cuisine: American
- Diet: Vegetarian
Ingredients
- 1 3/4 cups all-purpose flour
- 1 1/2 cups granulated sugar
- 1 teaspoon baking soda
- 1/2 teaspoon salt
- 1/2 cup unsalted butter, softened
- 2 large eggs
- 1 teaspoon vanilla extract
- 1 cup buttermilk
- 1/2 cup maraschino cherry juice (from the jar)
- 1/2 cup finely chopped maraschino cherries, drained
- 1/4 cup maraschino cherries, halved (for batter)
- 1 cup all-purpose flour (for dusting cherries)
- 1 cup powdered sugar (for frosting)
- 1/2 cup unsalted butter, softened (for frosting)
- 4 ounces cream cheese, softened (for frosting)
- 1 teaspoon almond extract (for frosting)
- 1-2 tablespoons milk or cream (for frosting consistency)
Instructions
- Preheat your oven to 350 degrees F (175 degrees C). Grease and flour two 8-inch round cake pans.
- In a medium bowl, whisk together the 1 3/4 cups flour, sugar, baking soda, and salt.
- In a large bowl, cream the softened butter until light. Beat in the eggs one at a time, then add the vanilla extract.
- In a separate bowl, whisk together the buttermilk and cherry juice.
- Alternate adding the dry ingredients and the wet ingredients to the butter mixture, beginning and ending with the dry ingredients. Mix until just combined. Do not overmix.
- In a small bowl, toss the finely chopped cherries with the 1 cup of flour until coated. Gently fold these floured cherries into the cake batter.
- Divide the batter evenly between the prepared pans.
- Bake for 30 to 35 minutes, or until a wooden pick inserted into the center comes out clean. Let the cakes cool in the pans for 10 minutes before inverting them onto a wire rack to cool completely.
- Prepare the frosting: Beat the powdered sugar, butter, and cream cheese until smooth. Add the almond extract and milk/cream one tablespoon at a time until you reach a spreadable consistency.
- Once the cakes are completely cool, frost the layers and the outside of the cake. Garnish with the halved maraschino cherries.
Notes
- To prevent the cherries from sinking to the bottom of the cake, dust them lightly with flour before adding them to the batter.
- For a stronger cherry flavor, use a little less buttermilk and substitute the missing liquid with extra cherry juice.
- If you prefer a taller cake, you can bake this recipe in three 6-inch pans instead of two 8-inch pans, adjusting the baking time slightly.
Nutrition
- Serving Size: 1 slice
- Calories: 410
- Sugar: 45
- Sodium: 250
- Fat: 20
- Saturated Fat: 12
- Unsaturated Fat: 8
- Trans Fat: 0
- Carbohydrates: 58
- Fiber: 1
- Protein: 4
- Cholesterol: 85
