

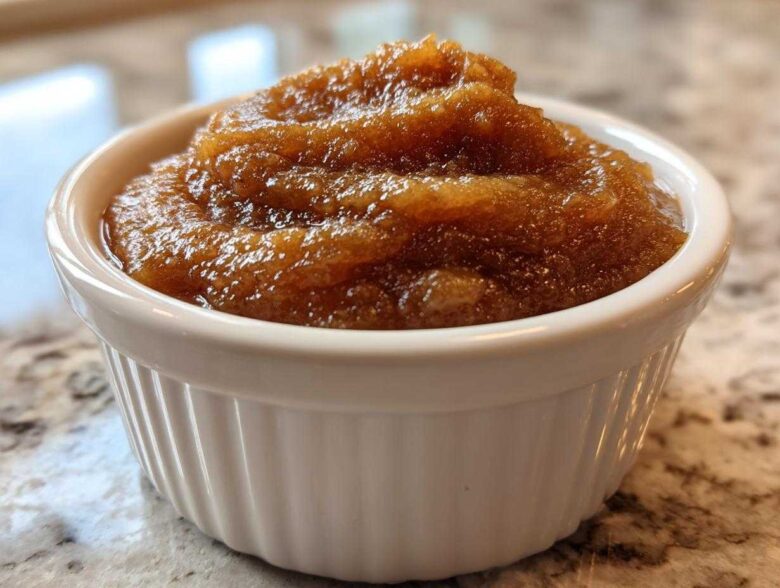
Oh my goodness, when that crisp autumn air hits, I immediately start dreaming about spices—cinnamon, cloves, the whole warm kitchen vibe! I bet you feel it too. If you want the most amazing, hands-off way to capture fall in a jar, you have to try making pear butter. Forget standing over a stovetop for hours stirring; we’re going straight to the slow cooker for this one.
This homemade pear butter recipe is my absolute favorite because it means I can toss everything into the Crockpot in the morning, smell that unbelievable aroma all day long, and by dinner, I have jars of rich, thick, perfectly spiced spread ready to go. Seriously, the slow cooker does all the heavy lifting for us, giving us a texture so smooth and a flavor so deep, you’d swear you slaved away all day. I promise, once you smell this cooking, you’ll never go back to the fussy methods!
Before we get deep into the magic, if you’re looking for another great way to use up those fall treasures, check out my rustic spiced pear galette recipe—it’s divine!
Why This is the Best Slow Cooker pear butter Recipe
Honestly, I don’t mess around when it comes to big batches of preserves, and this slow cooker method beats everything else for pear butter. The beauty here is the hands-off nature. You get incredible flavor development without having to stand guard over a bubbling pot all afternoon. It’s the perfect way to handle a huge haul of ripe pears!
- Minimal stirring required—the cooker blends everything beautifully while it cooks low and slow.
- The long cooking time lets those warm spices really sink deep into the fruit.
- It results in that ideal, thick texture that makes it such a wonderful easy fruit butter spread.
If you’re gearing up for your big batch cooking, make sure you check out my guide on fall canning projects—you’ll want to make extra of this!
Gathering Ingredients for Your pear butter
You won’t need anything wild here, which is why I love it for busy weekends. We start with a whole 4 pounds of pears, and look, they absolutely need to be ripe. Bartlett or Bosc are my go-tos because they break down perfectly. Remember to peel them, core them, and cut them into quarters before they hit the pot. It seems like a lot of prep, but trust me, running the blender later is much easier than peeling cooked fruit!
Next up, we lean into the warmth. We use real brown sugar—none of that white sugar business here—because the molasses adds so much depth that complements the pears. Then, we hit it with the spice trio: cinnamon, cloves, and just a tiny pinch of nutmeg. And always, always vanilla extract at the end to round everything out. It’s simple, but the quality of those ripe pears really shines through the spices.
Step-by-Step pear butter Instructions (Slow Cooker Method)
Alright, here is where the real magic happens, and it requires almost no effort from you! First things first, we toss those prepared pears—peeled, cored, and quartered—right into the basin of your slow cooker. Don’t hold back! Follow that up by pouring in the brown sugar and the half cup of water. This water helps keep things from scorching early on, especially before the fruit releases its own juices. We’re making this spiced pear butter instructions smooth sailing from the jump.
- Toss in all your spices: the cinnamon, cloves, nutmeg, and that splash of vanilla extract. Give it a good stir, making sure the sugar starts to dissolve a little.
- Cover the pot. Now, you have two options here which are both fantastic. You can set it to Low for 6 to 8 hours, which gives you the deepest flavor, or if you need it sooner, High for about 3 to 4 hours works too.
- Once the cook time is up, you need to check for tenderness. Stick a fork in there. If it squishes easily like warm butter—that’s fantastic! If you have any resistance, just put the lid back on for another hour. We need those pears totally broken down before we blend them.
- If you’re cooking while juggling other things, check out how I simplify my kitchen routine with my slow cooker pumpkin spice casserole—it’s all about setting it and smelling it!
Once they are fork-tender, carefully transfer that fragrant, gorgeous mess to your blender, or just use your immersion stick right in the slow cooker pot—whichever is easier for you! Puree it until it’s completely smooth. Trust me, that smell right there is intoxicating! This is the foundation for a beautiful homemade pear butter recipe.
Achieving the Perfect Consistency for pear butter
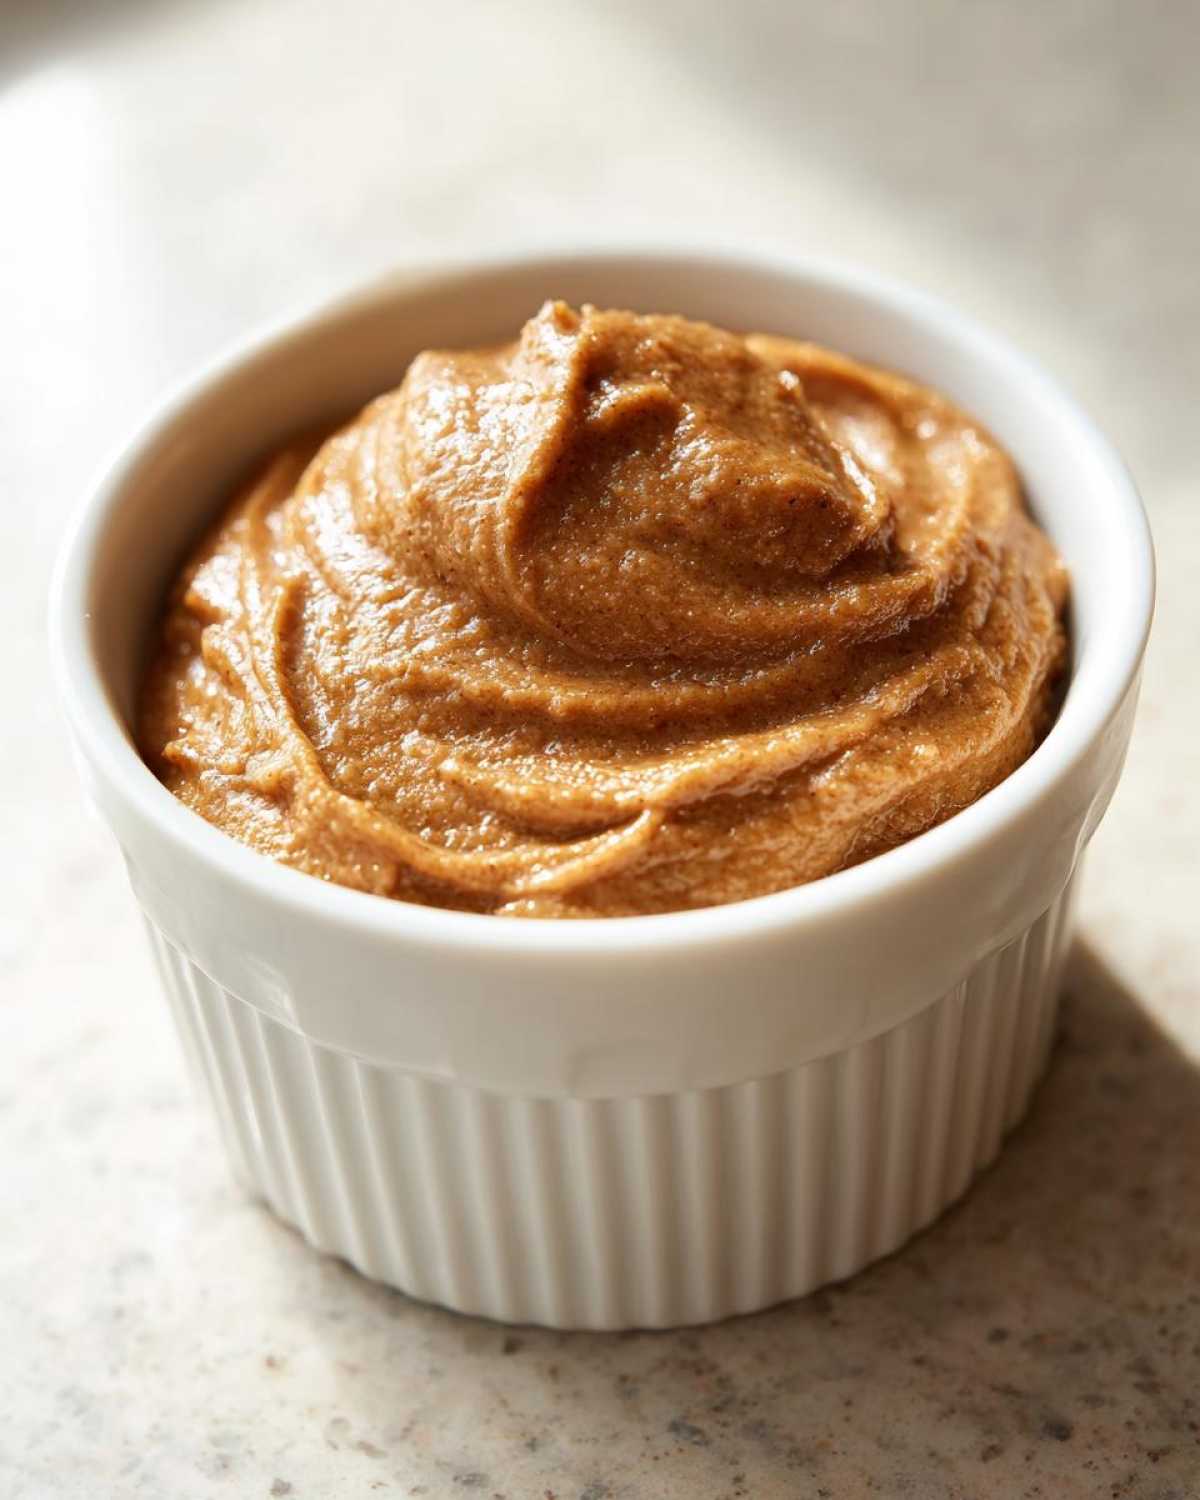
This is the most important part if you want a spread that clings perfectly to your morning biscuit and isn’t runny. Even after blending, slow cooker pear butter can sometimes be a little looser than a stovetop jam. That’s why we finish it on the stove! Transfer that smooth puree into a wider, heavy-bottomed saucepan.
You’re going to simmer this gently over medium-low heat. You need to stir it pretty frequently so it doesn’t catch the bottom and scorch—and nobody wants burnt fruit butter spread! It’s done when it coats the back of your spoon heavily, and when you drag a spatula through the middle, the trail takes a second or two to fill back in. This reduction step is what turns it from a thick sauce into true, spreadable pear butter. It might take 20 minutes or maybe 40, just watch it closely!
How to Can pear butter for Long-Term Storage
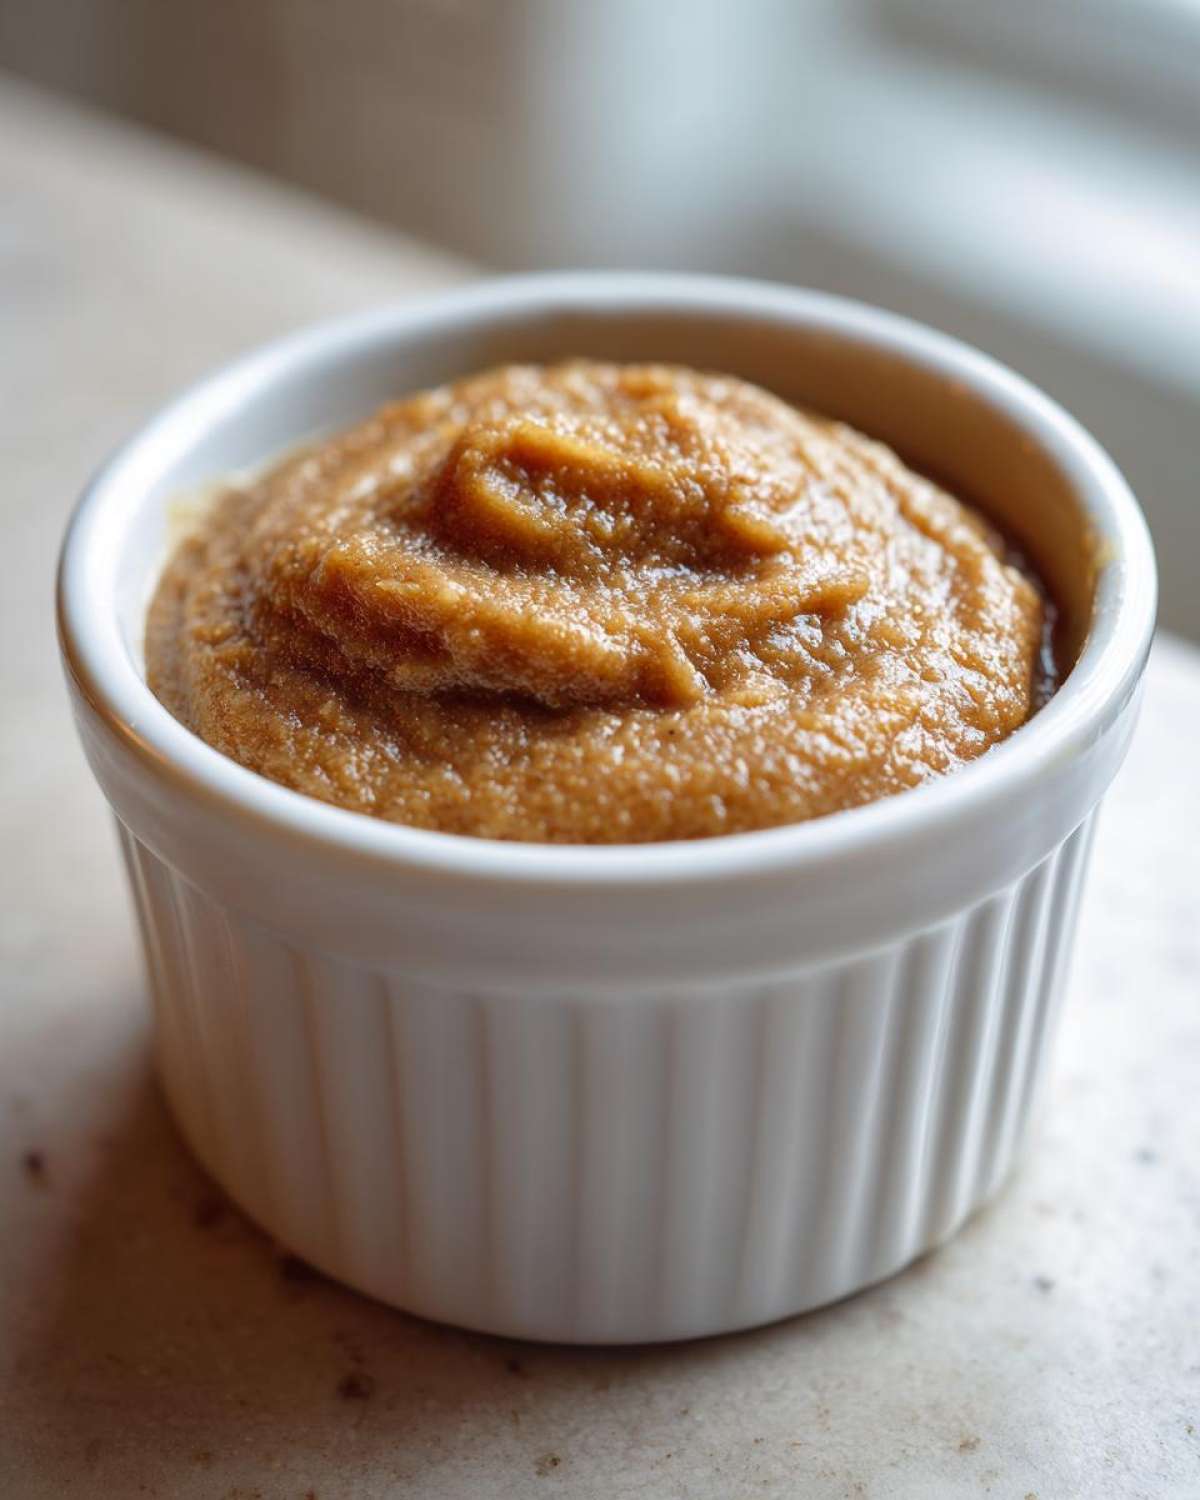
Listen, if you made a huge batch of this gorgeous pear butter, you are absolutely going to want to save some for gifts or for eating months down the road when you realize you’re out of jars! Canning is the way to go, and honestly, it’s not nearly as scary as everyone makes it out to be. Safety first, especially with lower-acid fruits like pears. Make sure your glass jars and lids are sterilized and piping hot when you start filling them. That’s rule number one.
Once your pear butter has reduced to that perfect thick consistency we talked about, ladle it hot, hot, hot into those sterile jars. You must leave exactly 1/4 inch of space at the top—that’s the headspace, and it’s crucial for a proper seal. Don’t overfill it, or the lids might pop off when they cool down!
Wipe the rims clean—any sticky residue will stop it from sealing right. Center your lids, tighten them finger-tip tight, and then put the whole shebang into a boiling water canner. Keep them boiling for a full 10 minutes to process them safely. Seeing those lids seal tight as they cool down? That’s the best feeling! It means you’ve got shelves full of beautiful, safe Autumn fruit preserves ready whenever you need them.
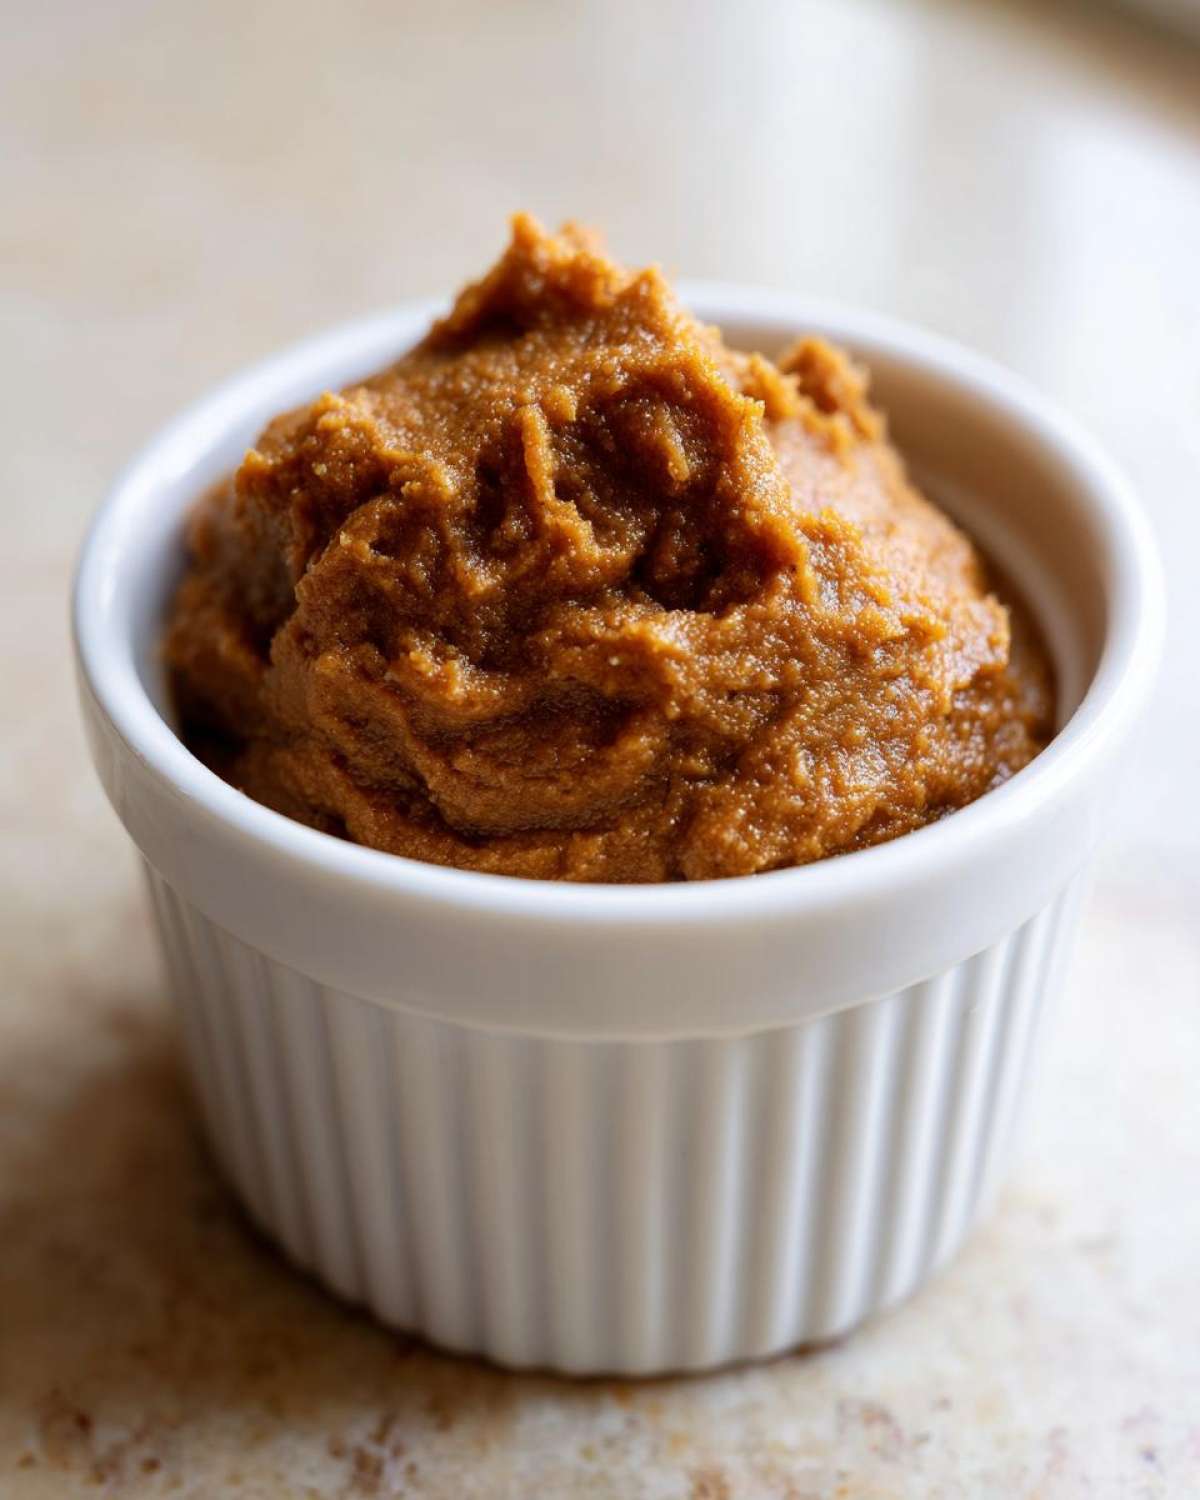
If you want to read up more on the actual boiling process from start to finish, I covered all the safety ins and outs when I did my peach jam; you can review my notes on the homemade peach jam stovetop canner method!
Tips for Making the Best Homemade pear butter Recipe
Since we are using the slow cooker, we have a little more wiggle room than traditional simmering methods, but choosing the right fruit is still everything. You absolutely must use ripe pears. If I try this with pears that are too firm—even Bartlett—the final product feels a little grainy, no matter how long I blend it! They need to be soft enough to happily surrender to the heat.
One time, I was low on brown sugar, so I decided to swap about a quarter cup with pure maple syrup, just to see what happened. Oh, it turned out incredible! It gave the pear butter a slightly lighter color but added this beautiful, nutty undertone that paired perfectly with the cloves. It was a happy accident, showing you can tinker a bit!
If you want to amp up the spice, don’t be shy about adding a tiny bit more cinnamon or even a dash of allspice. Just taste as you go during that final reduction stage. If you get curious about adding other flavors, maybe a touch of fresh lemon zest brightens it up! For more fall spice inspiration, take a look at my apple cinnamon rolls recipe—same flavor profile, different outcome!
Creative Serving Suggestions for Your pear butter Spread
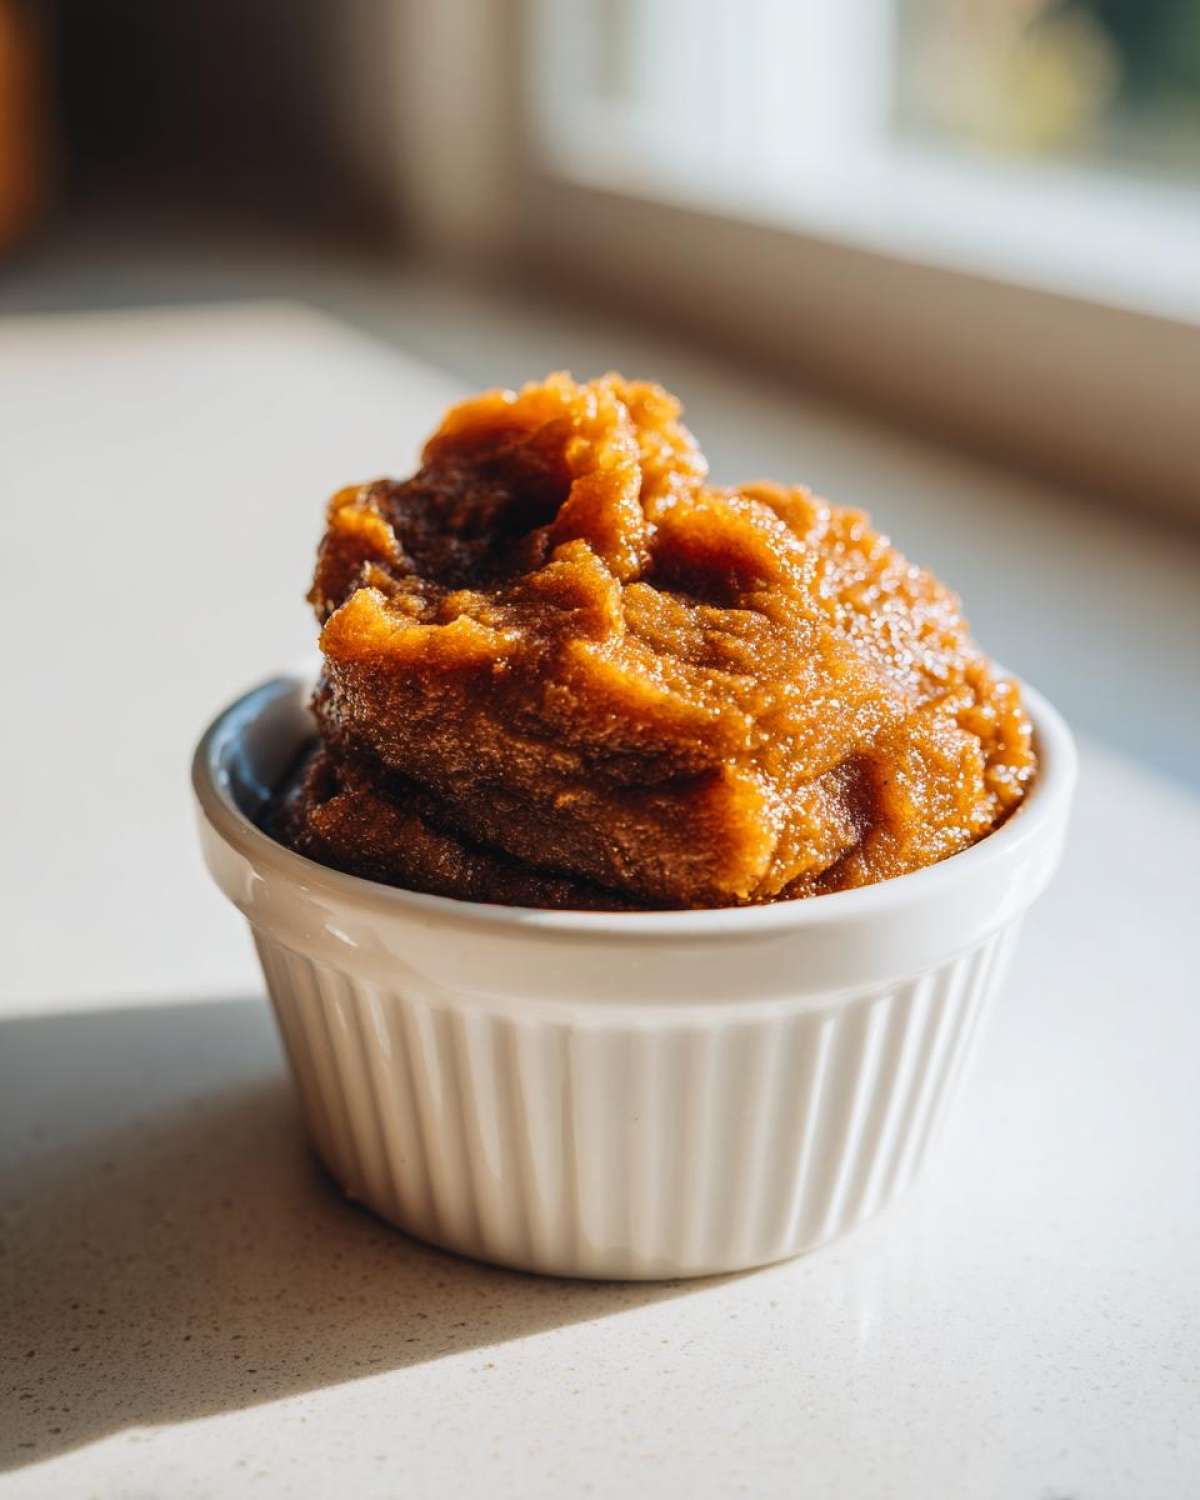
Now that you have this beautiful jar of golden perfection, what exactly are you going to do with it? The options are endless, I swear. Forget just toast, although, yes, slathered on a warm English muffin? Perfection. This pear butter spread is brilliant at boosting everyday breakfasts. I especially love stirring a big dollop into my morning yogurt or mixing it into my oatmeal—it makes for such a hearty and flavorful start to the day. Try it in my warm pear cranberry oatmeal recipe when you need a cozy boost!
But don’t stop at breakfast! This is your new favorite savory companion, too. It’s amazing melted slightly over baked brie or mixed with cream cheese for a fantastic dip for crackers. For grown-up snacking, pair a dollop with sharp cheddar or even blue cheese on a cracker—seriously transformative! You can see how I use pears in savory dishes with my blue cheese pear crostini recipe, too. It just proves that these breakfast fruit spreads can work any time of day.
Variations on Classic pear butter
While this basic pear butter recipe is spectacular all on its own, your creativity is the limit here! If you want to pump up the warmth, I highly recommend grating in about a teaspoon of fresh ginger when you add your spices. It gives it a wonderful little bite that sneaks up on you. It’s amazing how much flavor a tiny addition makes!
You know people always ask me about making an apple pear butter blend, and it’s so easy! Just swap out half of your pears for firm apples—like Granny Smiths for a little tartness—and reduce the water just a touch, since apples hold a bit more moisture. For a little kick that reminds me of my ginger peach jam, try stirring in a tiny shake of allspice along with the cloves. Keep it simple, keep it warm!
Storing Leftover pear butter and Reheating
So, what if you don’t can everything right away? No problem at all! If you just made a batch and popped it into regular airtight jars, tuck them into the fridge. That fresh pear butter will stay perfectly good for about three weeks—which means you should probably clear some shelf space now!
If you did the sealing process right, though, those canned jars are happy sitting in your cool pantry for a whole year. Just double-check that seal before you open one up next year to use it on pancakes!
Frequently Asked Questions About pear butter
Got questions swirling around like spices in the pot? That’s totally fine! You know I learned everything through trial and error—mostly error—so let me save you some time. Making this fantastic pear butter is easy, but if you need guidance on converting the method or perfecting your gifts, I’ve got you covered. If you’re familiar with my Instant Pot methods for other things, like my Instant Pot Mexican Street Corn, you know I love efficiency!
Can I make this pear butter without a slow cooker?
You absolutely can! If you don’t have a slow cooker handy, we can certainly manage a fantastic batch of stovetop pear butter. The method is similar, but this is where you have to pay attention. You’ll just put everything into one big, heavy-bottomed pot and cook it on low heat. The key is constant, gentle stirring, especially during the last hour of cooking and the reduction phase.
You usually cook the pears until tender uncovered (maybe three to four hours), and then you transfer it to blend. After blending, skip the slow cooker step and go straight to simmering on the stovetop over medium-low heat until it thickens up like we talked about. It takes a bit more stirring, but the end result is just as wonderful!
How do I make this a holiday food gifts option?
Oh, this is one of my favorite things to do in late November! This pear butter makes the absolute best holiday food gifts. If you can it successfully, you’re already ahead—just make sure to use pretty jars! I usually find small, half-pint jars, give the outside a gentle wipe down (no sticky fingerprints allowed!), and then I get creative with the lid.
Instead of the standard lid insert, I often cut out a circle of pretty flannel or burlap—something autumnal or festive—and secure it with a piece of twine or a festive colored ribbon tied into a bow. Attach a little tag that says “Homemade Spiced Pear Butter” and maybe a note to use it on warm scones. People absolutely rave about these homemade gifts!
Is this a good recipe for using up overripe pears?
Yes, yes, and a thousand times yes! This recipe is perfect for those pears that looked great at the market but are suddenly developing soft spots on your counter. Overripe pears are fantastic because they are sweeter and break down way faster than those rock-hard ones, which means less cooking time overall. You might even be able to cut back on that brown sugar, which is always nice!
The only thing you need to watch out for is any actual bruising or sliminess inside. If you cut them open and find a brown, mushy spot, just scoop that part out and toss it. We are aiming for sweet mushy, not rotten mushy! Once you blend it all up, no one will ever know they were saved from the compost bin!
Share Your Homemade pear butter Creations
Whew! We made it through a full batch of the best pear butter ever. Now that you’ve got jars of that warm, spiced goodness sitting on your counter, I just have to know—what do you think?
Did it fill your house with that incredible autumn perfume? Did you use it on the first batch of homemade biscuits, or did you manage to squirrel away a jar to give away as a gift?
I absolutely love seeing what you all create in your kitchens! Please take a moment to leave a rating right down below. It really helps other folks know this easy fruit butter spread is foolproof. And if you posted a photo of your beautiful canned jars or how you served your pear spread recipe, tag me! You can always drop me a line or share your snaps directly when you visit my contact page. Happy spreading, friends!
PrintEasy Slow Cooker Spiced Pear Butter
Make a thick, spiced pear butter using your slow cooker. This recipe is simple and yields a flavorful spread perfect for toast or gifting.
- Prep Time: 25 min
- Cook Time: 8 hours
- Total Time: 8 hours 25 min
- Yield: About 4 half-pint jars
- Category: Preserves
- Method: Slow Cooking
- Cuisine: American
- Diet: Vegetarian
Ingredients
- 4 lbs ripe pears, peeled, cored, and quartered
- 1 cup brown sugar, packed
- 1/2 cup water
- 1 tablespoon ground cinnamon
- 1 teaspoon ground cloves
- 1 teaspoon vanilla extract
- 1/4 teaspoon ground nutmeg
Instructions
- Place the peeled, cored, and quartered pears into the slow cooker.
- Add the brown sugar and water to the slow cooker.
- Stir in the cinnamon, cloves, vanilla extract, and nutmeg.
- Cover the slow cooker and cook on low for 6 to 8 hours, or on high for 3 to 4 hours, until the pears are very soft.
- Carefully transfer the cooked pear mixture to a blender or use an immersion blender to puree until smooth.
- For a thicker butter, transfer the puree to a large saucepan. Simmer over medium-low heat, stirring often, for 20 to 40 minutes until the mixture reduces and thickens to your liking.
- If canning, ladle the hot butter into sterilized jars, leaving 1/4 inch headspace. Wipe rims and process in a boiling water bath for 10 minutes.
- Cool jars completely before storing. If not canning, store in an airtight container in the refrigerator for up to 3 weeks.
Notes
- Use firm, ripe pears for the best flavor. Bartlett or Bosc work well.
- If you prefer a less sweet spread, reduce the brown sugar by 1/4 cup.
- For a gift, tie a piece of fabric over the lid of a canned jar and attach a ribbon.
- You can substitute apple sauce for some of the water if you want a slight apple pear blend.
Nutrition
- Serving Size: 2 tablespoons
- Calories: 85
- Sugar: 18
- Sodium: 2
- Fat: 0.1
- Saturated Fat: 0
- Unsaturated Fat: 0
- Trans Fat: 0
- Carbohydrates: 22
- Fiber: 1.5
- Protein: 0.2
- Cholesterol: 0
