

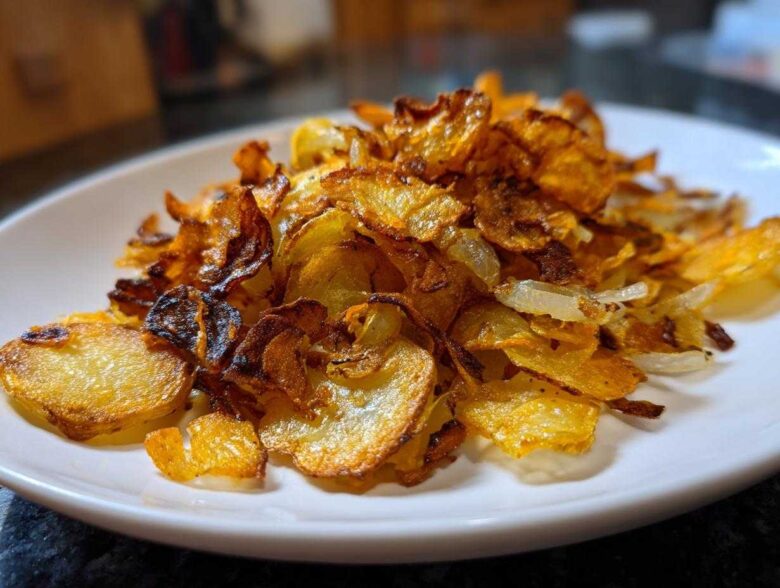
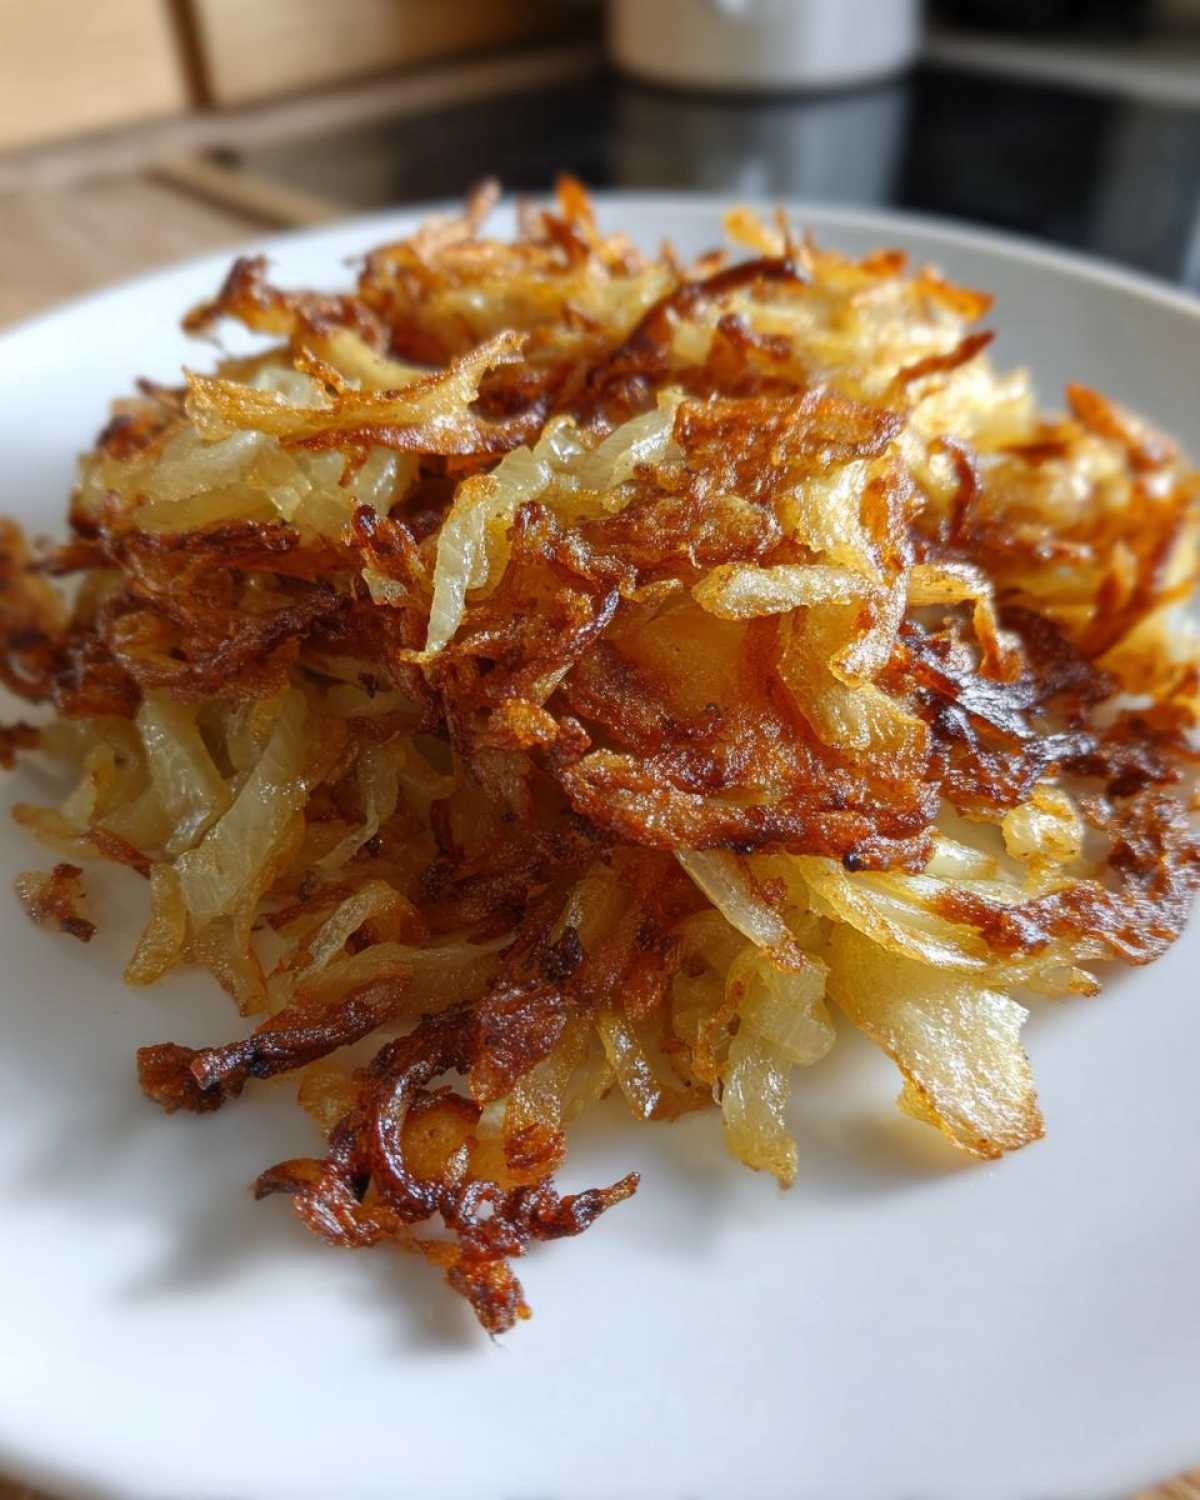
Oh, listen to me, friend. If you’ve ever dreamed of potatoes that shatter slightly when you bite them, yet practically melt in the middle—the kind you swear must have been deep-fried in some secret oil—you’ve come to the right place. Forget everything you think you know about soggy, bland skillet potatoes! This recipe right here? These are my ultimate **fried potatoes**, the real deal, Southern style, cooked slow and low right in a heavy skillet with slices of sweet yellow onion.
The trick, the absolute game-changer, is the prep work. I learned the hard way that if you skip soaking those slices in cold water and then patting them bone-dry, you’re just steaming your spuds, not frying them. Once you master that soak-and-dry rhythm, you’ll be churning out the most magnificent **pan fried potatoes** your family has ever tasted. They make the best **breakfast potatoes** imaginable!
Why You Will Make These Crispy Fried Potatoes Again and Again
Oh boy, let me tell you why this is going straight to the top of your list. These aren’t just any potatoes, these are practically life-changing! I’m talking about achieving that glorious result that separates the amateurs from the pros.
- That perfect texture you chase: seriously **tender inside crispy outside potatoes** every single time, just like a good diner serves them.
- The flavor complexity that comes from using bacon grease—or rich butter—plus sweet, caramelized onions. It turns a simple **classic potato side dish** into comfort food heaven.
- This is the ultimate **fried potatoes recipe** because it proves you don’t need a deep fryer to get that golden crust. We’re talking simple, honest **pan fried potatoes** magic.
- They cook up relatively fast! You’ll have these brilliant **skillet potatoes** ready in under 45 minutes, making them perfect for a weekend breakfast or a quick dinner accompaniment.
Seriously, when you nail that soak step outlined before, these **southern fried potatoes** become your new go-to. I think you’re going to love how easy they are to manage!
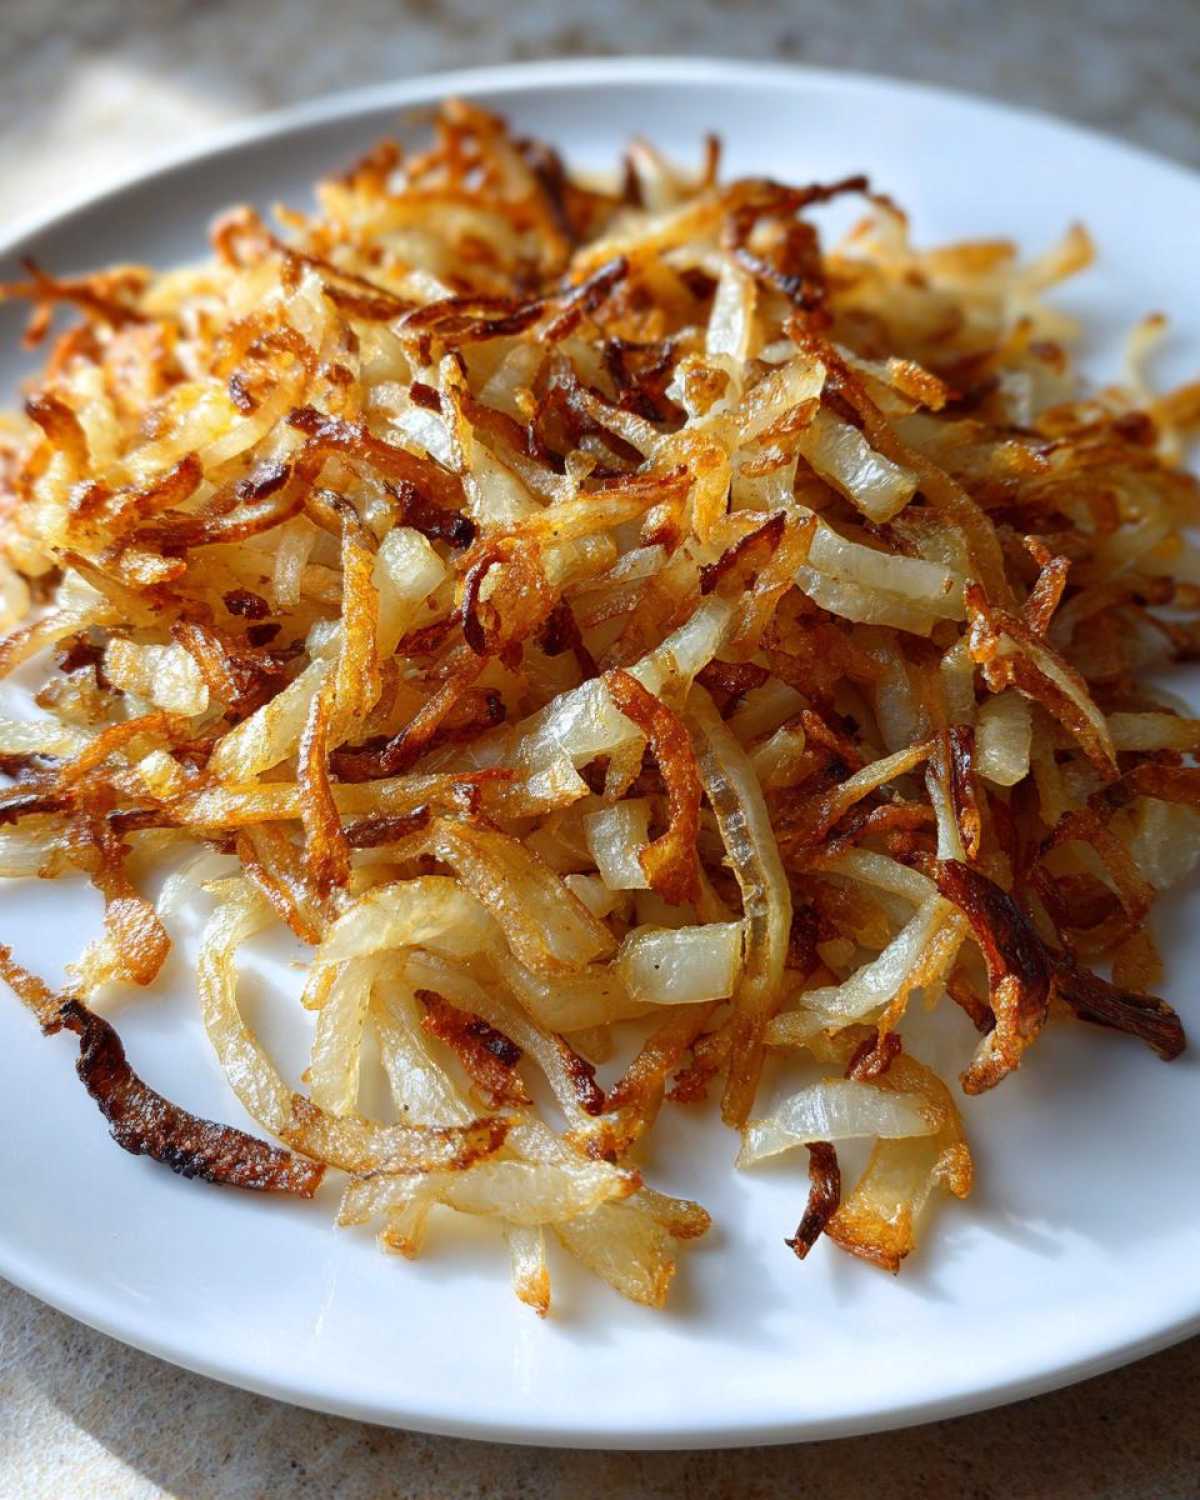
Essential Ingredients for Perfect Pan Fried Potatoes
You only need a few, simple things for this recipe, but please promise me you’ll stick to what I’ve listed. When we are aiming for those sublime **crispy fried potatoes**, the quality and type of ingredient matter more than the number of them! You can’t skimp here; it’s all about tradition.
First off, we need the right potatoes. I insist on Russets for this kind of pan-frying. They have that perfect starch content that browns up beautifully on the outside while staying soft and fluffy inside, making them the right choice for any great **fried potatoes** recipe. Don’t try to use waxy new potatoes here; they just won’t behave!
Here’s the shortlist of what you need for about four servings of glorious **classic potato side dish**:
- Three large Russet potatoes. Make sure you peel these guys—we want smooth eating!
- One medium yellow onion. We want these sliced nice and thin so they melt right into the background, adding sweetness, not becoming crunchy boulders.
- Four tablespoons of the good stuff for fat. Now, if you have rendering bacon grease left over from breakfast? Use that! It’s got that distinct **southern fried potatoes** flavor magic. If not, really good quality unsalted butter works just fine.
- A teaspoon of salt and a half teaspoon of good black pepper. That’s it! We let the potato and the fat do the talking.
See? Super simple. But making sure those Russets are thin and that your fat is hot enough before they hit the pan? That’s where the real secret lives.
The Best Fried Potatoes Method: Step-by-Step Instructions
Alright, this is the main event! I truly believe that if you follow my process here, you’ll create the best **fried potatoes** you’ve ever made at home. If you want that beautiful restaurant-quality crisp, you have to pay attention to the beginning steps. I always use my heavy cast iron skillet for this—the heat retention is just unmatched for getting that deep golden crust!
Prepping Potatoes for Maximum Crispiness
Do not skip this part, ever! We need to get rid of excess starch, and that means a good soak. Take your thin potato slices and cover them entirely with cold water for a solid 15 minutes. This washes away the surface starch that usually turns our potatoes gummy. After the soak, drain them really well. Now, here is critical: you must pat them paper-towel dry until your hands get tired. Seriously, they need to be **bone dry** to achieve that **tender inside crispy outside potatoes** result we are aiming for.
Pan Frying to Achieve Golden Fried Potatoes
Next, get your fat heating up over medium heat—we want it shimmering! Carefully lay your dried potato slices into that hot skillet. Don’t crowd them; if they touch too much, they steam! Let them sit there, undisturbed, for a good 8 to 10 minutes. You are basically building the crust here. Once the bottoms are deeply golden and you see those beautiful edges forming, go ahead and flip them. This initial browning is what makes these **pan fried potatoes** so addictive!
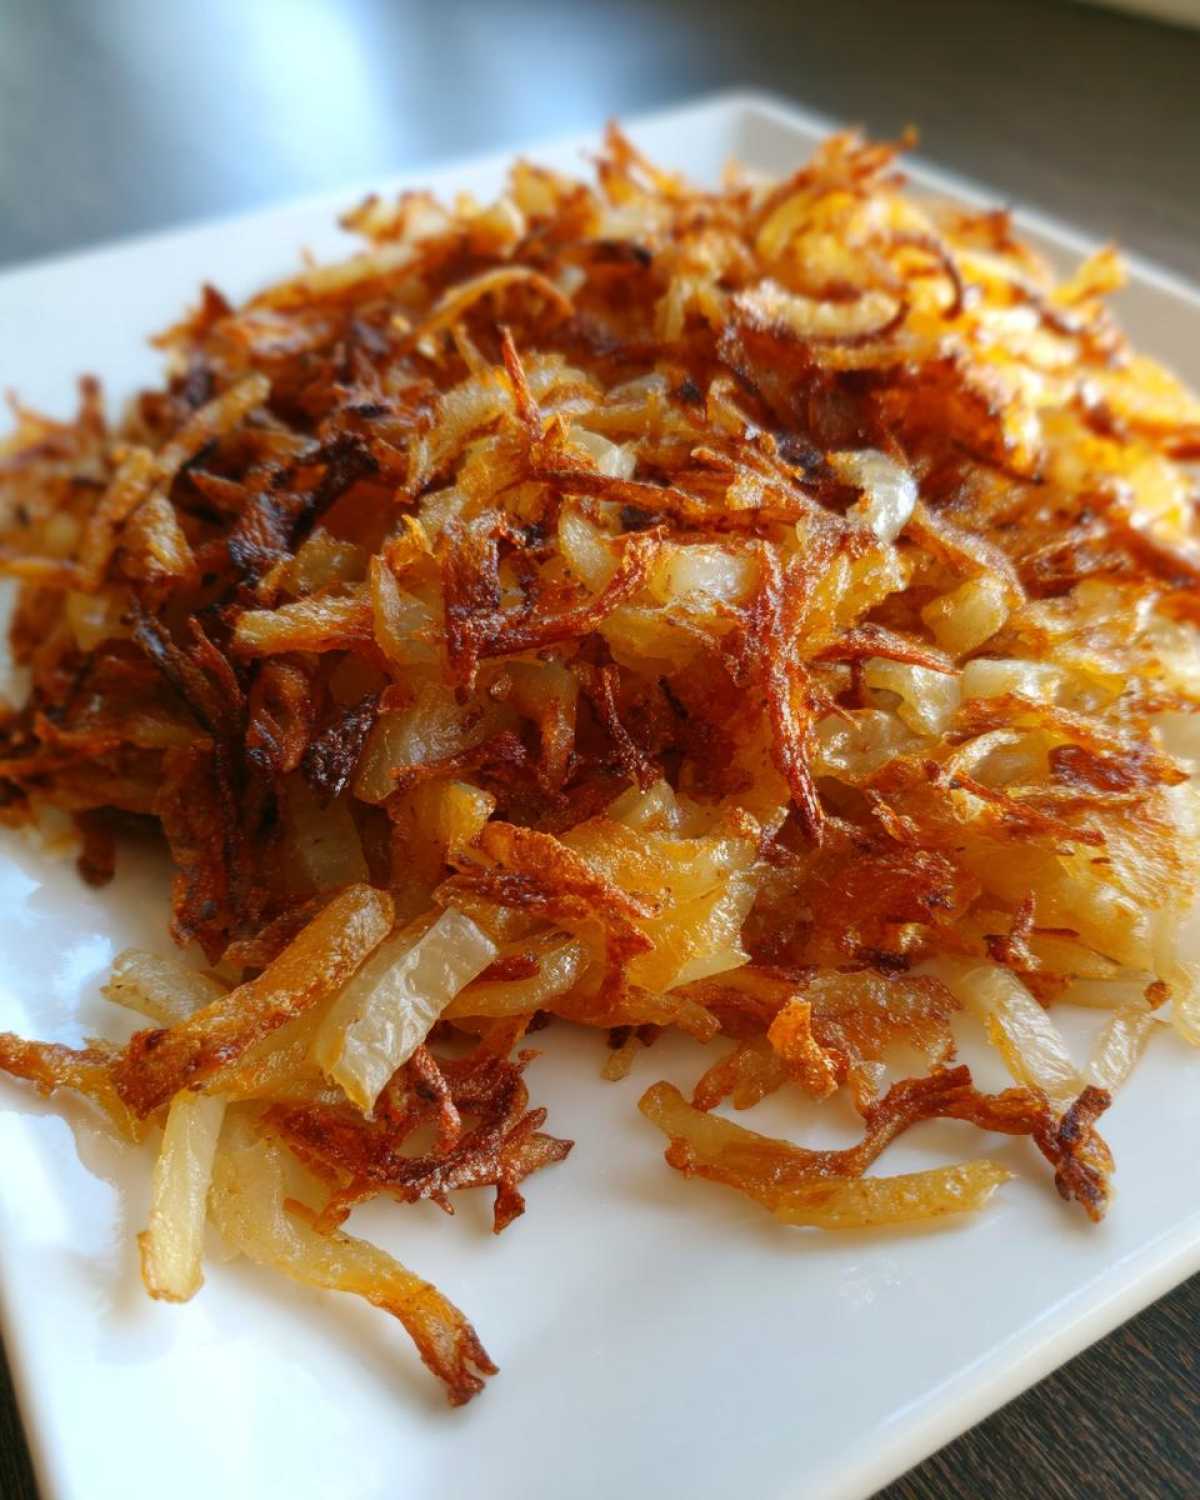
Finishing the Southern Fried Potatoes with Onions
After that second short cook time, it’s time to bring in the flavor players. Toss in your thinly sliced onions. Now, we turn the heat down slightly to medium-low. This is critical so the onions cook gently and the potatoes don’t burn before they soften inside. Continue cooking, stirring every few minutes, for another 10 to 15 minutes. You’re finished when the potatoes mash easily with a fork and the onions are sweet and jammy. A final sprinkle of salt and pepper, a quick stir, and you can check out the amazing results!
Expert Tips for Perfect Pan Fried Potatoes Every Time
Even if you follow the steps exactly, sometimes you need that little extra nudge to make these **fried potatoes recipe** truly legendary, right? I’ve picked up a few tricks over the years—especially when trying to get those fussy Russets to behave perfectly in the skillet. Trust me, these details are what separate good **skillet potatoes** from *great* ones.
If you are really struggling with starchiness, or if you just want to go straight to crunchy town, try a quick parboil first. Drop those slices into salted, boiling water for just three minutes, drain, and then proceed immediately to drying them out. It gives them a head start! Also, and I can’t stress this enough for consistent heat, use a cast iron skillet. It holds its temperature so much better than thin aluminum pans.
Here’s my authority tip: Wait until the very end to add your salt and pepper. If you salt too early, it can actually start drawing moisture out of the potatoes prematurely, killing that beautiful crisp development we worked so hard for during the main cook! See more great ideas for potato perfection, like my Roasted Garlic Parmesan Potatoes, for your next meal!
Variations on Classic Fried Potatoes
Now that you have mastered the ultimate **fried potatoes** technique—the soaking, the drying, the patience!—you’re probably wondering how else you can dress these beauties up. Sometimes you just want a flavor shift from the classic onion base, right? Luckily, these little spuds are incredibly adaptable. We can change the cut, boost the seasoning, or even change the cooking method entirely if we need a slightly lighter approach.
Don’t feel like you have to stick just to sliced potatoes either! If you cut the Russets into small, uniform cubes instead of thin slices, you end up with what most folks call **home fries recipe** style, or really delicious **diner style potatoes**. They take a touch longer to cook through, but the little crispy corners on every cube are just divine! Keep that skillet hot and keep stirring occasionally so they brown evenly.
Making Garlic Herb Potatoes
This is my go-to variation for making these **fried potatoes** feel a little fancier when I serve them alongside something besides breakfast, like my Garlic Herb Butter Roast Chicken. The key here is timing: we don’t want the herbs to burn!
Once your potatoes are tender inside and beautifully browned, and you’ve added your onions (if you want them), turn the heat down to low. Now, sprinkle in about a teaspoon of dried thyme or half a tablespoon of finely chopped fresh rosemary, and maybe a couple of minced garlic cloves if you’re feeling bold. Stir it all together gently for just one or two minutes until you can really smell that amazing **garlic herb potatoes** aroma flooding your kitchen. That’s it! The residual heat is enough to toast the herbs without scorching them.
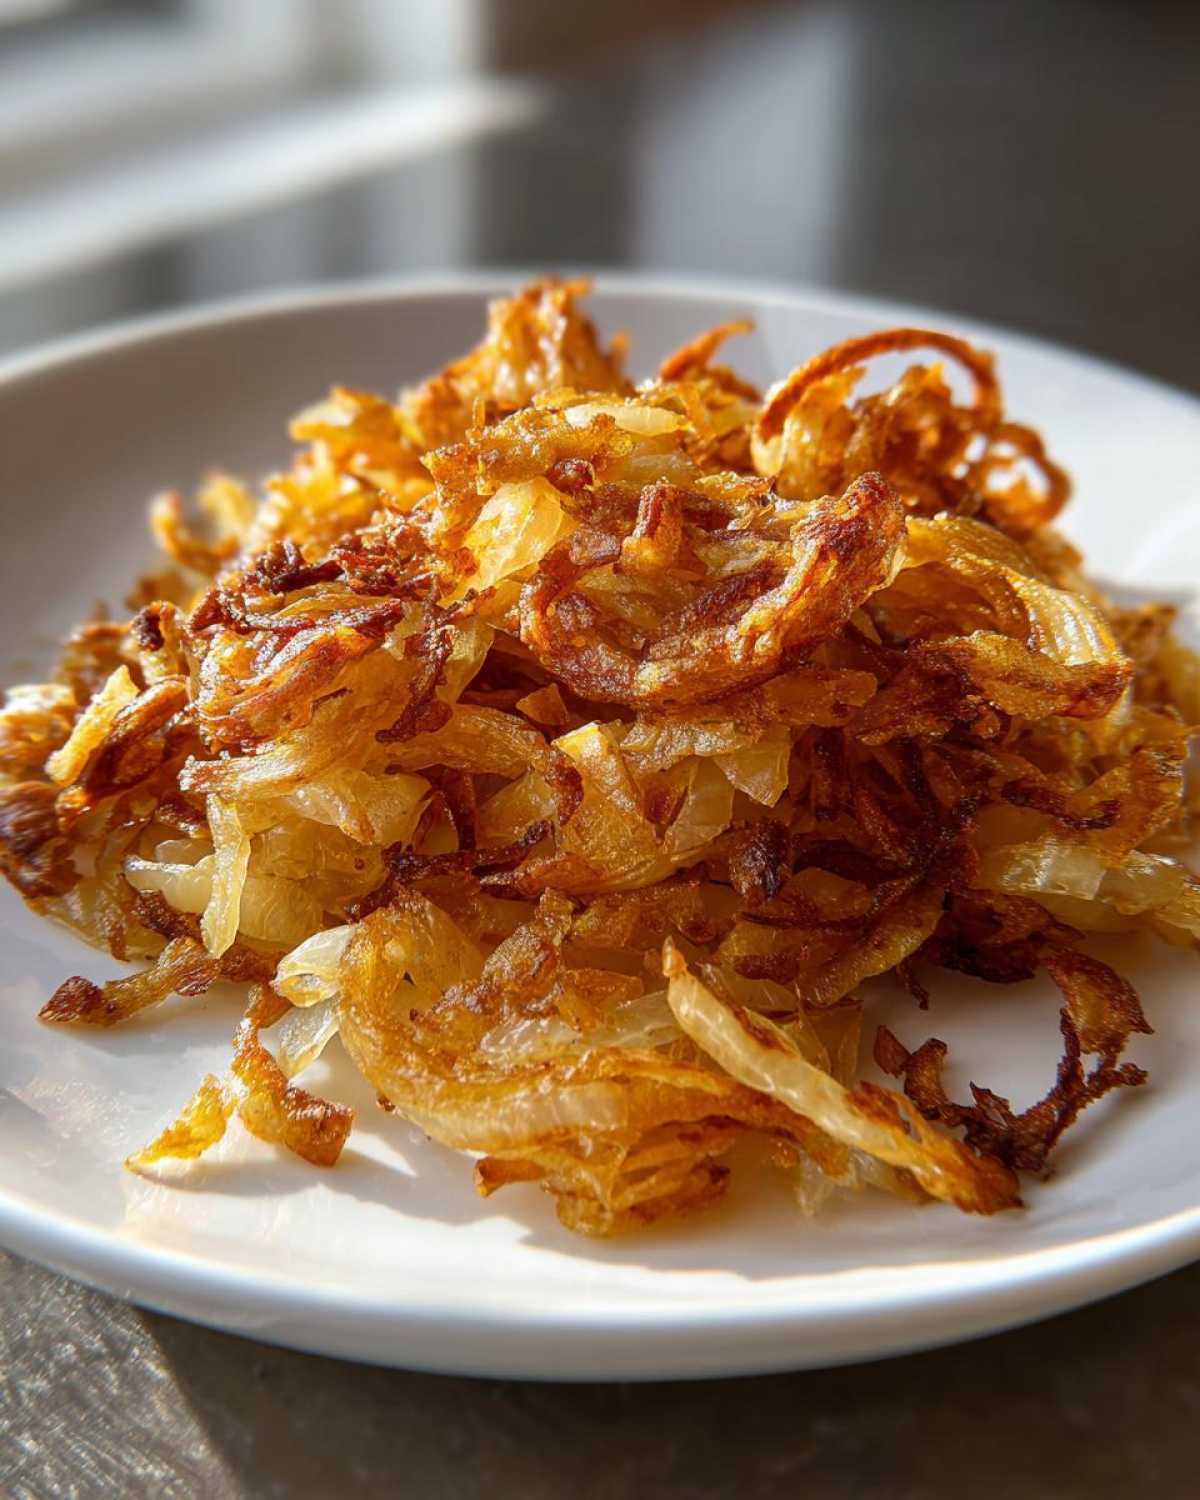
And hey, if you are having a busy week and just can’t manage the stovetop fuss, you can absolutely translate this whole concept to the oven! I’ve included a quick note on how to do **oven fried potatoes** in the main article, but basically, toss your prepped potatoes and onions with the fat and seasoning, spread them on a baking sheet, and bake at 425°F until done. It’s a different texture, but still heavenly!
Serving Suggestions for Your Fried Potatoes
When I pull a batch of these perfectly crisp **fried potatoes** off the stove, I always have to resist eating them all standing right over the sink! They are so versatile, which is part of why they are such a beloved **classic potato side dish** in our house. Honestly, they work equally well for a lazy weekend breakfast as they do next to a hearty weeknight meal.
For breakfast, it’s almost a crime not to serve them alongside perfectly fried eggs or maybe some thick-cut bacon. If you’re making a big brunch, these potatoes are the perfect savory counterpoint to something sweet, like my amazing Classic French Toast. They just soak up that extra bit of runny yolk so nicely—wow!
But don’t stop at breakfast, okay? These make fantastic **potatoes for dinner** too. They are hearty enough to stand up to a big pot roast or maybe some simple grilled steak. If you’ve made those **garlic herb potatoes** variation we discussed, they go brilliantly next to baked pork chops. They bring that lovely country **comfort food sides** vibe to any plate, making even a Tuesday night feel a little special. Just make sure you serve them right away while they are piping hot and screaming crispy!
Storage and Reheating Fried Potatoes
Okay, so you’ve managed to have leftovers—which, honestly, is a minor miracle because these **fried potatoes** disappear so fast here at my house! But if you do manage to have some glorious, crispy potato and onion mixture left over, we need to talk about storing them properly so they don’t turn into mush overnight. Remember, we are trying to maintain that **classic potato side dish** quality, even the next day!
When you store them, make sure they’ve cooled down completely first. Put the cooled potatoes and onions in an airtight container. You don’t want any extra air in there introducing moisture. Pop that container right into the fridge! They stay good for about three or four days, usually. They are definitely best eaten the day they’re made, but honestly, a good reheat can bring them back to life nicely.
Now, for reheating—this is my biggest strict rule: **Never use the microwave!** I know I know, it’s fast, but the microwave is the absolute death of crispiness. It turns everything steamy and soft. Instead, your best bet is getting a little bit of fat back into a hot skillet—just a teaspoon of butter or oil will do.
Spread the cold potatoes back into that hot skillet over medium heat. Let them sit undisturbed for a few minutes on the first side until you hear them start to sizzle again and that bottom crust reforms. Then you can stir them gently to heat them through. If you want them extra crispy, you can toss them under the broiler for just a minute or two after they’ve heated up, but watch them like a hawk so they don’t burn!
Frequently Asked Questions About Making Fried Potatoes
Whenever I share this **fried potatoes recipe**, people always have a few questions about things they’ve struggled with in the past. Cooking potatoes can be tricky because they look done on the outside but are still rock hard inside! Don’t worry, I’ve tackled the most common issues right here. If you have more questions, just pop over to my main blog and leave a comment!
What is the secret to crispy fried potatoes?
That secret is a two-part dance, friend! First, you absolutely must soak those sliced potatoes in cold water for at least 15 minutes. That gets rid of the excess surface starch. But the *real* secret weapon is step number one in the instructions: you have to **pat them completely dry** afterward. I mean truly dry, like you’re worried you erased the potato itself! Moisture turns the hot fat into steam, and steam equals soggy potatoes. Dry potatoes hit hot fat equals crunch!
Can I use oil instead of bacon grease for these breakfast potatoes?
Yes, you totally can! If you aren’t a fan of bacon or just don’t have any rendered fat on hand, a neutral oil like canola or vegetable oil works just fine for getting a nice crisp. However, if you’re going for true **southern fried potatoes** flavor, bacon grease is where it’s at. It adds a savory, smoky depth that butter or veg oil just can’t match. If you use just butter, make sure it’s clarified butter or simply use a mix of butter and oil so the milk solids don’t burn before the potatoes are done.
What is the difference between home fries and pan fried potatoes?
That’s a great question because people use those terms interchangeably sometimes! Generally speaking, my recipe here, with the thin slices, falls squarely into the **pan fried potatoes** category, sometimes called ‘country fried’ or ‘hash browns’ if they are shredded differently. **Home fries** usually refer to potatoes that are cut into small cubes or chunks, often slightly pre-cooked (like boiling or steaming) before they hit the skillet to finish frying. Either way, both aim for that lovely mix of soft interiors and browned, crisp edges, but we’re sticking to the slice shape for this particular recipe!
Nutritional Estimate for Skillet Potatoes
Now, I always feel a little weird talking nutrition when it comes to perfectly crispy, fat-cooked **skillet potatoes** because, let’s be honest, these are pure comfort food! But I know some of you appreciate knowing what you’re working with, especially if you’re tracking macros or trying to keep things balanced.
Below is the general estimate based on my simple **fried potatoes** recipe using the standard fat amount listed. Please remember, these are just ballpark figures, and your actual numbers will look different depending on if you used bacon grease versus butter, or how much salt sneaks its way onto your plate!
- Serving Size: 1 serving
- Calories: 250
- Fat: 14g (mostly unsaturated if you used better fats!)
- Saturated Fat: 5g
- Trans Fat: 0g
- Carbohydrates: 30g
- Fiber: 3g
- Sugar: 2g (that’s the onion sweetness shining through!)
- Protein: 4g
- Sodium: 450mg (always adjust this number based on your seasoning!)
- Cholesterol: 15mg
Keep in mind that if you skip the bacon grease and lean heavily towards olive oil, or load up on extra seasoning, some of these numbers will shift. But for a hearty side dish that brings so much joy, I think that’s a pretty good estimate for our beloved **pan fried potatoes**!
PrintCrispy Southern Fried Potatoes with Onions

Prepare classic, crispy pan-fried potatoes with tender insides, cooked with sliced onions in a skillet.
- Prep Time: 15 min
- Cook Time: 30 min
- Total Time: 45 min
- Yield: 4 servings
- Category: Side Dish
- Method: Pan Frying
- Cuisine: American
- Diet: Vegetarian
Ingredients
- 3 large Russet potatoes, peeled and thinly sliced
- 1 medium yellow onion, thinly sliced
- 4 tablespoons bacon grease or unsalted butter
- 1 teaspoon salt
- 1/2 teaspoon black pepper
Instructions
- Place the sliced potatoes in a bowl and cover them completely with cold water. Let them soak for 15 minutes, then drain well and pat them very dry with paper towels. Drying the potatoes is key for crispiness.
- Heat the bacon grease or butter in a large, heavy-bottomed skillet over medium heat until shimmering.
- Add the dried potato slices to the hot skillet in a single layer if possible; work in batches if necessary to avoid overcrowding.
- Cook the potatoes undisturbed for 8 to 10 minutes until the bottoms are golden brown and crispy.
- Flip the potatoes and cook for another 5 minutes.
- Add the sliced onions to the skillet. Stir gently to combine with the potatoes.
- Reduce the heat to medium-low. Continue cooking, stirring occasionally, for another 10 to 15 minutes, or until the potatoes are tender throughout and the onions are soft and lightly browned.
- Season with salt and pepper. Stir one final time before removing from heat.
- Serve immediately as a breakfast side or dinner accompaniment.
Notes
- For extra crispiness, you can briefly parboil the potato slices for 3 minutes before soaking and drying them.
- If you prefer a diner style, cut the potatoes into small cubes instead of thin slices.
- Use a cast iron skillet for the best heat retention and browning.
Nutrition
- Serving Size: 1 serving
- Calories: 250
- Sugar: 2
- Sodium: 450
- Fat: 14
- Saturated Fat: 5
- Unsaturated Fat: 9
- Trans Fat: 0
- Carbohydrates: 30
- Fiber: 3
- Protein: 4
- Cholesterol: 15
