

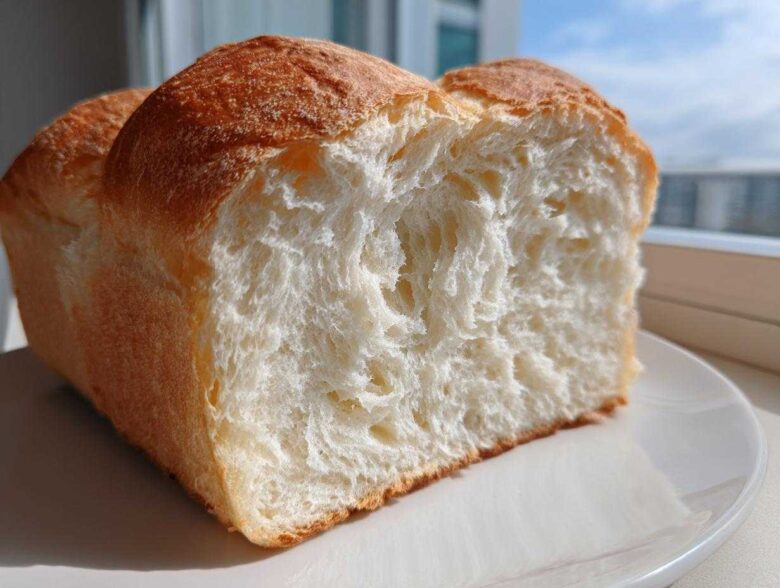
Forget dry, crumbly loaves! I’m going to let you in on the secret to achieving that melt-in-your-mouth, cloud-like softness you only usually find in fancy Asian bakeries. We are making the EASIEST and softest condensed milk bread you’ll ever face down in your own kitchen, I promise. I spent almost six months tweaking the hydration and the yeast proofing until I had a recipe that was practically foolproof, even for my nervous friends just starting out with yeast. That secret ingredient, the sweetened condensed milk, doesn’t just add a lovely, gentle sweetness; it gives the finished loaf a luxurious, rich flavor that regular milk bread just can’t touch. If you loved the way that whole wheat loaf turned out, you’ll absolutely adore this one. Get your mixing bowls ready!
Why This Sweetened Condensed Milk Bread Recipe Delivers Ultimate Softness
Honestly, the texture on this condensed milk bread is what separates it from every other loaf I’ve tried. That velvety interior isn’t an accident, folks; it’s the magic combination of rich fat and sugar packed into that can of condensed milk. It keeps the crumb incredibly soft long after you bake it. Trust me, once you try this, you won’t go back to plain milk bread!
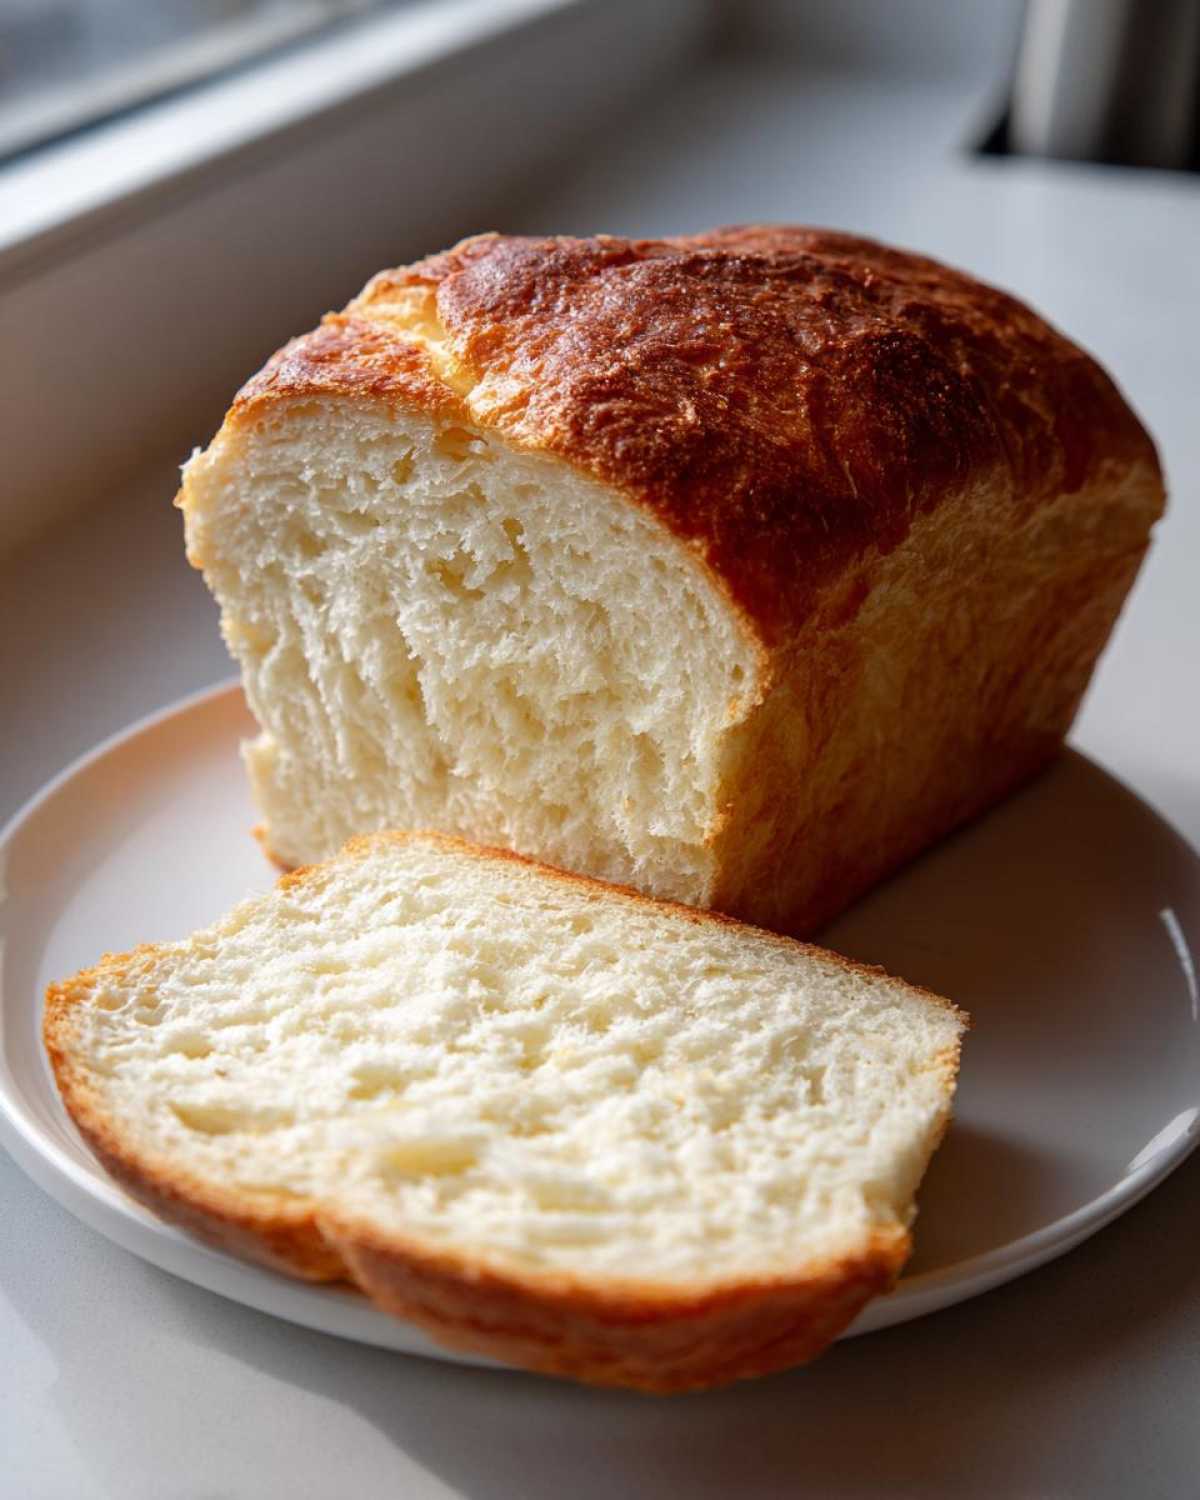
- It creates a true Tender Crumb Bread that practically dissolves in your mouth.
- You get that gorgeous Bakery Style Bread at Home look without any fussy techniques.
- The condensed milk locks in moisture like nothing else.
Don’t forget to check out my secrets for an even simpler milk bread variation if you need a quick fix later this week!
Key Attributes of Our Easy Milk Bread
So, what does this mean for you? It means you don’t have to be a master baker to achieve truly epic results! We are focusing on three main things here when making this condensed milk bread loaf.
First, we are aiming for exceptional fluffiness—the kind that makes you want to pat the side of the bread just to see it spring back. Second, the sweetness level is just *perfectly sweet*; it’s great for toast in the morning but savory enough that it doesn’t taste like cake. And lastly, I designed this to be so easy! If you can mix something in a bowl, you can manage this Easy Yeast Bread recipe. It’s really designed for beginners!
Gathering Ingredients for Your Fluffy Homemade Bread
Okay, let’s talk about what you need! Don’t stress, because this list is surprisingly short, which is great for anyone trying to achieve fluffy homemade bread without running to the store five times. When you grab your sweetened condensed milk, make sure it’s the *sweetened* kind—the regular evaporated milk just won’t give you that richness or the necessary sugar boost to make this recipe shine. Everything else is pretty standard pantry stuff, which helps this qualify as an Easy Milk Bread!
We need one cup of warm milk, the yeast, flour, sugar, salt, softened butter, and one lonely egg. Keep everything measured out, and you’ll fly through the mixing process.
Ingredient Notes and Substitutions for Condensed Milk Bread
The most crucial part of getting a good rise on this condensed milk bread is the temperature of your liquids. I cannot stress this enough: your milk has to be warm, not hot—think baby bath water, around 105°F to 115°F. If it’s too hot, it kills the yeast, and you end up with a brick instead of a cloud!
If, somehow, you are completely out of sweetened condensed milk (which would be a tragedy for this recipe!), you could try replacing the condensed milk AND the granulated sugar with about 3/4 cup of regular granulated sugar mixed with 1/4 cup of heavy cream. But honestly, you lose a lot of that beautiful depth of flavor and moisture. If you decide to try mixing your own spread after baking, I highly recommend checking out this wonderful tahini maple butter recipe to slather on top once it cools!
Step-by-Step Instructions for Perfect Condensed Milk Bread
Now for the fun part—turning simple pantry items into the fluffiest loaf imaginable! Since this is such a rich dough, we are using the machine for kneading, but don’t worry if you only have hands; I’ll tell you the timing difference below. We start by waking up that yeast in the warm milk and condensed milk mix. You need to let it sit for a good 5 to 10 minutes until it looks foamy. That foam means your yeast is happy and ready to lift this Soft Bread Recipe up high!
Next, toss the dry goods—flour, sugar, and salt—into your mixing bowl. Then, add the yeast mixture, the softened butter, and that single egg. If you’re using a stand mixer, use the dough hook and mix it low until it pulls together into a shaggy ball. Then, bump up the speed slightly and let it churn for about 6 to 8 minutes until the dough is buttery smooth. This part is critical for that amazing piece of easy yeast bread!
Once kneaded, oil your bowl beautifully, plop the dough in, turn it over once, cover it up, and stick it somewhere warm. We need this dough to rise until it’s doubled—that usually takes 1 to 1.5 hours, depending on how cozy your kitchen is.
Kneading and First Rise for Tender Crumb Bread
If you’re kneading by hand, don’t panic when it feels sticky at first! Keep working it on the lightly floured surface. You’ll need to commit a full 10 to 12 minutes of elbow grease to develop the gluten properly. The dough should stop clinging to your hands and feel supple and elastic. Once doubled, gently punch the air out—that’s called degassing! This step helps create that beautiful, tight structure needed for a true Tender Crumb Bread.
Shaping and Final Proofing of the Sweet Bread Loaf
After degassing, shape the dough into a nice tight log. The tighter you roll it, the more uniform your final slice will be! Place that log carefully into your greased 9×5 inch loaf pan. Cover it loosely again—we don’t want a skin forming—and let it chill out for its final nap. This second rise is shorter, maybe 30 to 45 minutes. You’re looking for it to peek about an inch over the rim of the pan. If it rises too high before baking, it might crash in the oven, so watch that height!
Baking Your Sweet Condensed Milk Bread Loaf
Phew! We’ve mixed, we’ve kneaded, we’ve waited patiently for the rising—now it’s time for the glorious finale! Preheating your oven is always the first order of business before that final proofing time is up. You want it to be roaring hot and ready to go at 350°F (175°C) when your dough peaks.
Slide that beautifully puffed loaf into the center rack. Most people just guess when their bread is done, but if you want that truly Tender Crumb Bread texture, you need to check the temperature, just like the pros do! The baking time is usually around 30 to 35 minutes. You’ll know it’s looking perfect when that top is a deep, gorgeous golden brown—the color you aim for in any Sweet Bread Loaf.
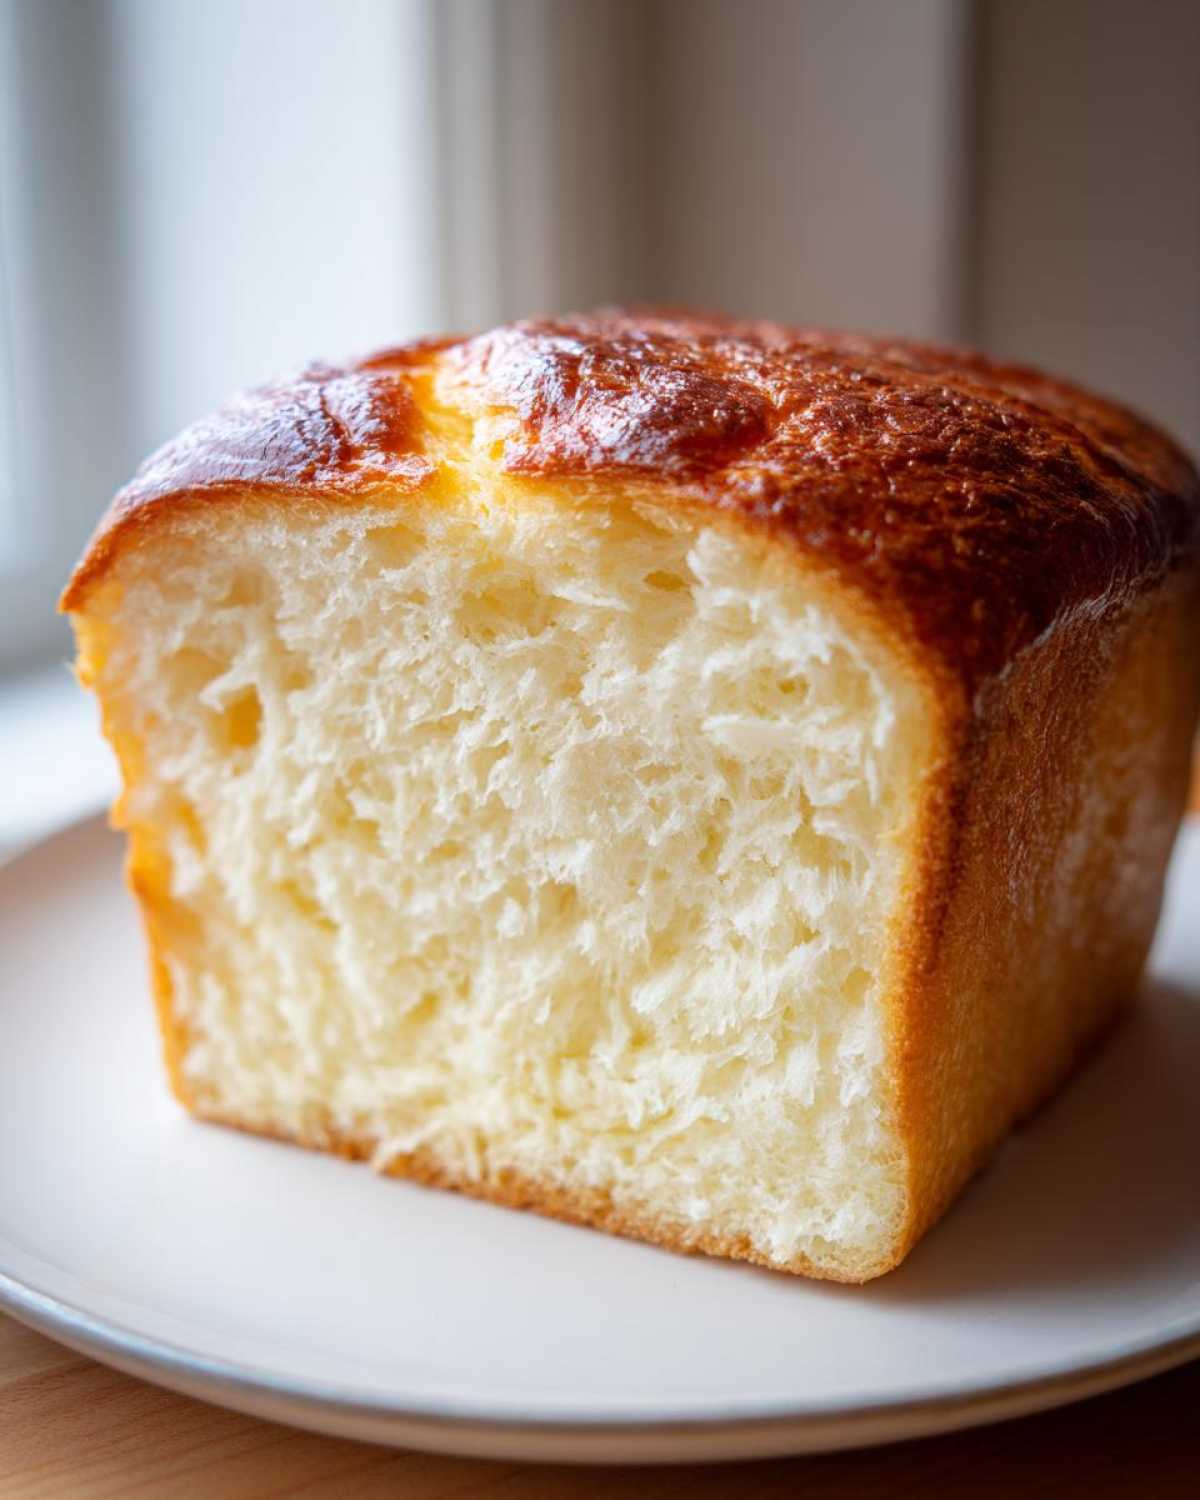
But for absolute certainty, pull it out quickly and pierce the center with a digital thermometer. You are aiming for an internal temperature of 200°F (93°C). Anything significantly lower and you risk density; anything higher and you risk drying out that beautiful, soft crumb we worked so hard for!
And here’s a huge pro tip: Once you pull it out, you must remove the bread from the hot pan right away! If you leave that Sweetened Condensed Milk Bread sitting in the metal pan, the residual heat keeps cooking the bottom, and you end up with a weirdly dense, soggy bottom crust. Just turn the loaf out onto a wire cooling rack immediately. That rack allows air to circulate all around it. If you don’t have a rack, just prop the loaf up slightly on something so air can get underneath. This final cooling step is non-negotiable for achieving that airy texture you see in the best bakery-style sweets!
Variations: Making Condensed Milk Rolls
One of the best things about this highly adaptable dough is that it’s just as happy sitting in a big loaf pan as it is being portioned out into individual, puffy rolls! If you don’t need a whole loaf for slicing sandwiches, turning this recipe into Condensed Milk Rolls is the way to go for an amazing breakfast treat. It’s such a simple switch!
After you’ve completed the first rise and punched the air out, instead of shaping it into one log for the loaf pan, you’re going to divide that beautiful dough. The notes say to cut it into 12 equal pieces. I usually just eyeball it, but if you want perfect uniformity, a kitchen scale is your friend here! Roll each piece into a tight little ball. They don’t have to be perfect spheres, but try to make them relatively uniform so they all bake evenly.
Now, ditch the loaf pan! Grab a standard 9×13 inch baking dish, grease it really well, and arrange those 12 dough balls inside. Give them a little space because they are going to smoosh together into the softest pull-apart bread you can imagine. This creates those irresistible Homemade Sweet Rolls!
Cover the dish loosely and let them proof for their final rise—this one is faster, about 30 minutes. They should look pillowy and touching slightly. Then, pop them into the oven at the same temperature, 350°F (175°C), but the baking time drops significantly. Since they are smaller and have more surface area exposed, they usually bake through in just 18 to 20 minutes. You want that beautiful golden top! If you’re looking for another incredible roll recipe to try later, you absolutely have to check out these apple cinnamon rolls—they are incredible when the weather cools down!
Tips for Success with Sweetened Condensed Milk Bread
Getting this Sweetened Condensed Milk Bread to reach peak fluffiness takes just a few little secrets I’ve picked up over the years. These aren’t complicated steps; they are just about being mindful while you work! You want your loaf to rival any gorgeous bakery treat you’ve ever seen, right?
First off, let’s talk about the weather. Yeast is so sensitive to the environment, which can be frustrating when you’re just starting out with baking. If your kitchen is really dry and cool, your rises will take forever—sometimes an hour longer than expected! If you notice your yeast isn’t bubbling up during the activation stage, it usually means the room is too chilly. Find the warmest spot—maybe near a pilot light or in a turned-off oven with the light on—to help it along. Don’t rush it, or you compromise the flavor development!
My absolute favorite trick for that picture-perfect golden-brown crust is using a little wash at the end. Right before the loaf goes into the oven, mix about a tablespoon of extra condensed milk with a teaspoon of water. Then, just brush this lightly over the entire top surface. It melts beautifully into that crust, giving you a wonderfully shiny, slightly richer top that really seals in the moisture. It’s a simple step, but it makes the end result look professionally finished!
Also, remember when I said the butter needs to be *softened*? That means it should easily give way if you press it, but it shouldn’t look greasy or melted. If your butter is too cold, it won’t properly emulsify when you cream it with the sugar in Step 2, meaning the air bubbles won’t form properly. Those air bubbles are what give you that beautiful lift and the airy texture in your Soft Bread Recipe!
Serving Suggestions for Your Rich Flavor Bread
Once this incredible condensed milk bread has cooled completely—and trust me, fighting the urge to slice it hot is part of the journey—you realize you’ve made something so versatile. It’s sweet enough for dessert spreads but sturdy enough to handle hearty toppings. This isn’t just bread; it’s a base for so many wonderful meals!
My go-to, absolutely classic way to enjoy a slice of this Sweet Bread Loaf is super simple: sliced thick and toasted until just golden, then generously smeared with good quality salted butter. The slight saltiness cuts through the richness of the condensed milk perfectly. It’s simple, but wow, it tastes like heaven.
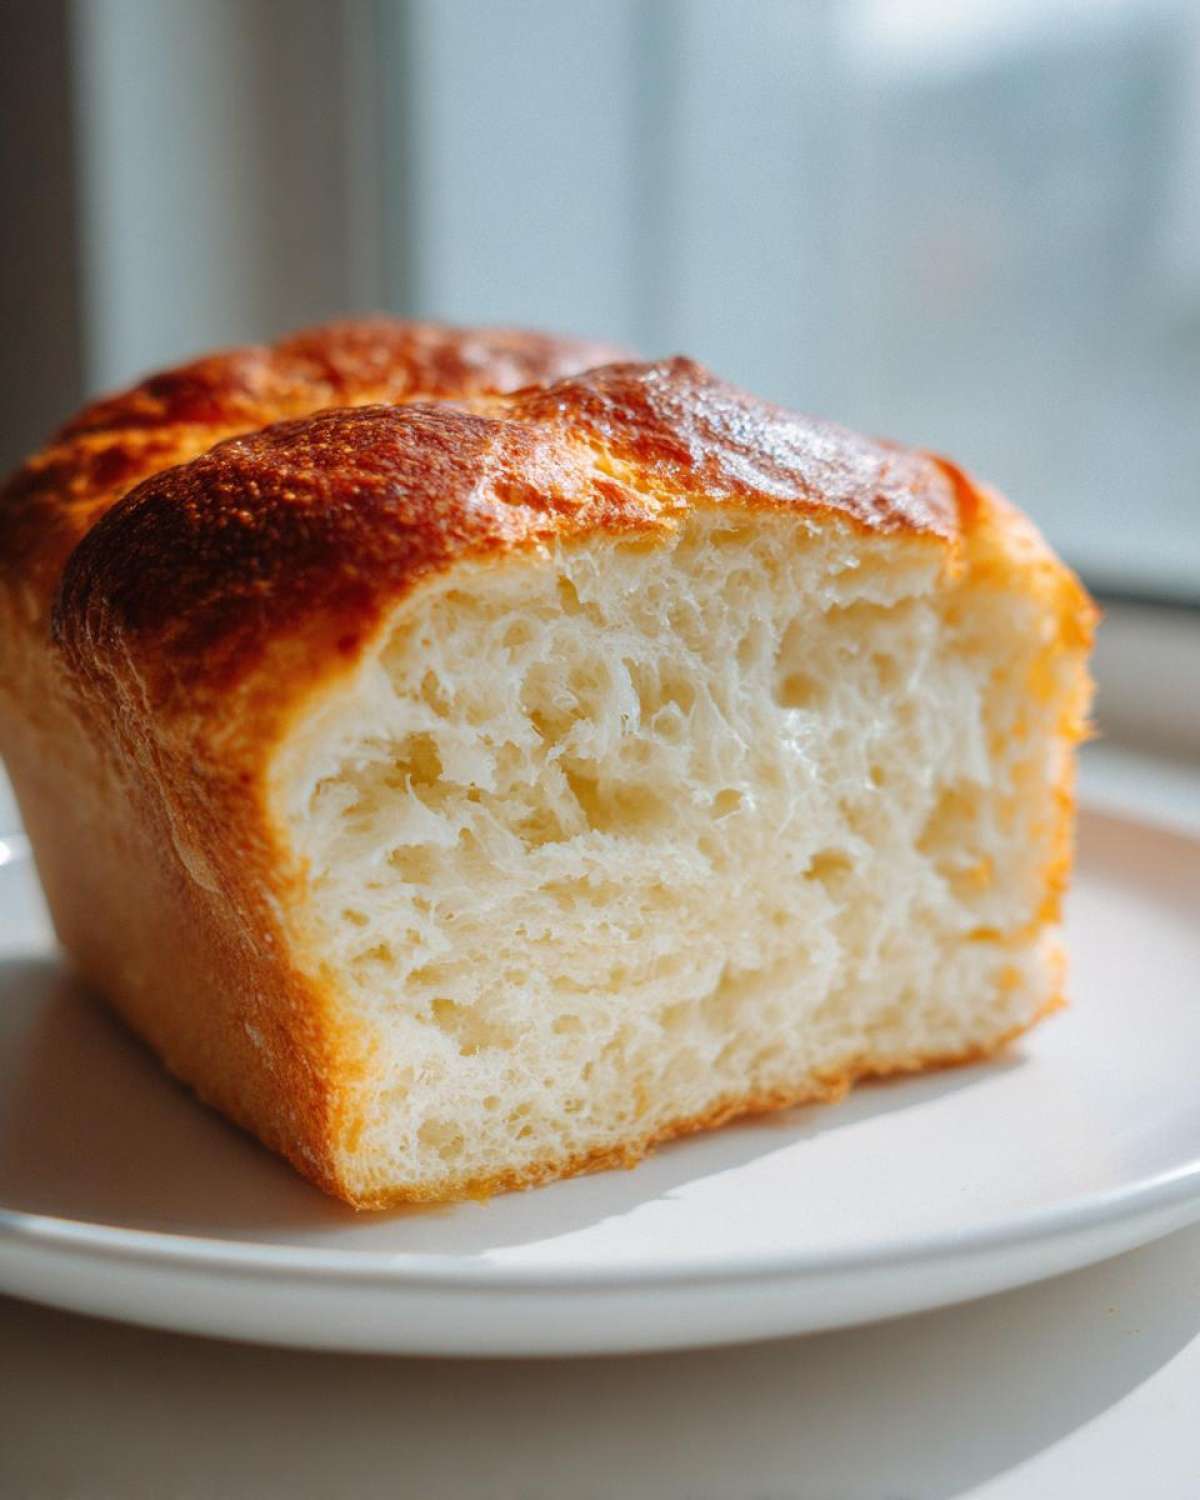
But why stop there? Because this bread has such a great structure and a touch of sweetness, it makes the most phenomenal French toast! Seriously, forget using stale white bread; tear off a slice of this Soft Bread Recipe, soak it in your favorite custard mix—I always use extra vanilla in mine—and fry it up. It gets crispy on the outside but stays unbelievably fluffy inside. You can find my favorite custard ratios over at my classic French toast recipe page!
If you manage to save any of your Fluffy Homemade Bread for dinner, try using it as a side! It’s fantastic for dipping into thick, creamy soups like tomato bisque or butternut squash. That light sweetness plays surprisingly well against savory, pureed vegetables. It’s a little unexpected element that elevates a simple meal. Honestly, sliced thin, it also makes the dreamiest grilled cheese sandwich, especially if you use a sharp cheddar!
Storage and Making Ahead with Your Soft Bread Recipe
Even though this Soft Bread Recipe is so tender, it tends to disappear fast! But if—and this is a big *if*—you actually manage to have leftovers of your beautiful condensed milk bread loaf, storage is key to keeping that fluff factor alive.
First off, forget the fridge! Refrigeration is basically the enemy of soft bread because it forces the starches to crystallize faster, turning your dreamy loaf stale overnight. Keep your cooled loaf tightly wrapped in plastic wrap or tucked inside a bread box at cool room temperature. Because this loaf is rich with milk fats, it should keep beautifully soft for a good 3 to 4 days this way. If you see any mold forming, though, toss it immediately!
Now, if you’re worried about it lasting that long, freezing is your best friend! I always slice the entire loaf before freezing it. Once fully cooled, wrap the slices tightly in plastic wrap, then slip them into a heavy-duty freezer bag, squeezing out as much air as possible. This method lets you pull out just one or two slices whenever you need a quick, slightly sweet breakfast treat.
Here’s the best part about freezing: reheating is super simple! If you take a slice out of the freezer, you can pop it directly into the toaster. It comes out tasting almost exactly like it did the day you baked it. If you’re reheating a whole half-loaf, just wrap that section loosely in foil and let it warm up in a 300°F oven for about 10 minutes. It steams itself back to life!
For making ahead, while the main recipe doesn’t call for an overnight retard, you absolutely *can* use this same dough to prep for the next day. After you finish kneading (Step 4), place the dough in the oiled bowl, cover it tightly, and pop it straight into the refrigerator for up to 24 hours. This cold, slow fermentation builds even more incredible depth of flavor! Just make sure you let it sit on the counter for about an hour before shaping it for that second proof. If you have leftover bread ends after you’ve eaten the best slices, you can always turn them into an amazing old-fashioned bread pudding!
Frequently Asked Questions About Condensed Milk Bread
I know baking bread can sometimes feel a little intimidating, especially when you are aiming for that super light, fluffy perfection. But honestly, this condensed milk bread recipe is designed to be your new best friend. I get asked the same few questions all the time, so let’s get those little worries ironed out right here. Hopefully, this gives you the confidence boost you need to tackle this recipe and enjoy some incredible Fluffy Homemade Bread!
Can I make this condensed milk bread without a stand mixer?
Oh goodness, absolutely! You don’t need a fancy machine to make magnificent bread. When I first started learning how to make this Easy Yeast Bread, I only had a big wooden bowl and my own two hands! If you skip the stand mixer and opt to mix by hand, just be prepared to put a little more effort in during the kneading stage.
Remember, the machine did about 8 minutes of work for us. If you are kneading by hand on the counter, you need to commit to that full 10 to 12 minutes until the dough is smooth and passes the windowpane test—when you stretch a small piece of dough, it should stretch thin enough to see light through it without tearing right away. It takes more time, but the results are just as rewarding when you achieve that wonderfully Tender Crumb Bread through hard work!
How do I ensure my bread is perfectly sweet and not too sweet?
That is such a valid concern! Because we are using sweetened condensed milk, some folks worry their whole Sweet Bread Loaf will taste like dessert, but that’s not the case at all. The recipe includes a half teaspoon of salt and 1/4 cup of granulated sugar along with the condensed milk.
This ratio is carefully balanced. The salt is crucial because it cuts against the high sugar content, keeping the final product grounded. It results in a bread that’s richer and sweeter than standard sandwich bread, making it perfect for that Sweet Breakfast Bread role you want it for—think slightly sweet toast or an amazing base for cinnamon sugar toast!
If you find your family prefers less sugar on average, I wouldn’t mess with the condensed milk itself (because that affects texture), but perhaps scale the granulated sugar down to just 2 tablespoons instead of 1/4 cup. Trust me, you want that subtle richness the full amount provides, though!
Why is my loaf dense instead of fluffy?
Ugh, the dread of the collapsed loaf! Density is usually caused by one of two things, and both relate back to the yeast not doing its job properly. The most common culprit is the temperature of your liquid when you proofed the yeast. If the milk was too hot, it killed those little yeast guys before they could even start multiplying. If it was too cold, they just woke up sluggishly and didn’t create enough lift.
The second reason is usually insufficient proofing time. You have to let that dough double after the first mix! If you rush it because you’re eager to get to the baking stage, you won’t have enough gas built up in the dough structure. Make sure you see that clear doubling, and then make sure it rises until it just crests over the pan edge for the second rise. A little patience here leads to that incredible lightness you see in high-end bakery-style bread at home!
Estimated Nutritional Data for This Sweet Sandwich Bread
Listen, because we are using sweetened condensed milk—which is basically milk plus a lot of sugar and fat—this isn’t exactly going to be a diet loaf! But hey, everything in moderation, right? This bread is made with love, and that means it’s rich. I need to be super clear here: these numbers are just my best estimates based on standard ingredient calculations for one slice of the finished Sweet Sandwich Bread loaf.
If you happen to use a different brand of condensed milk or slightly different flour amounts, your numbers might wiggle around a touch, so take these as a good guideline rather than gospel. It’s just a way to keep track of what we’re putting into these gorgeous, fluffy slices!
- Serving Size: 1 slice
- Calories: About 180
- Fat: Roughly 4 grams (and yes, much of this delightful fat comes from that beautiful butter and milk solids!)
- Carbohydrates: Around 30 grams
- Sugar: Approximately 10 grams (this is where the condensed milk really kicks in!)
- Protein: A solid 5 grams per slice.
It’s a satisfying slice of Rich Flavor Bread that pairs perfectly with butter or jam. Don’t sweat the numbers too much; just enjoy the fact that you made this incredible, soft bread entirely from scratch!
Share Your Fluffy Condensed Milk Bread Creations
Alright, my friend, the oven timer has dinged, the cooling rack is loaded, and you’ve finally sliced into the softest condensed milk bread loaf ever known to humankind! Now what? I absolutely live for seeing your results! You put in the work, you smelled up your house with that incredible sweet aroma, and now I want to see the fluffy reward!
Please, please, please hop down to the comments section below and tell me everything! Did it turn out perfectly soft? Did you try the roll variation? Was this the easiest yeast experience you’ve ever had? Your feedback truly helps other bakers who might be nervous about diving into this recipe for the first time. Did you notice the difference that rich, condensed milk flavor made?
If you snapped a picture—and I highly suspect you did, because this bread photographs like a dream—I’d be thrilled if you shared it online! Tag me on your favorite platform; I love seeing your kitchen successes. Think about using some of those great hashtags like #FluffyHomemadeBread or #SweetSandwichBread. You can also browse all my latest kitchen adventures over at my main recipe blog page!
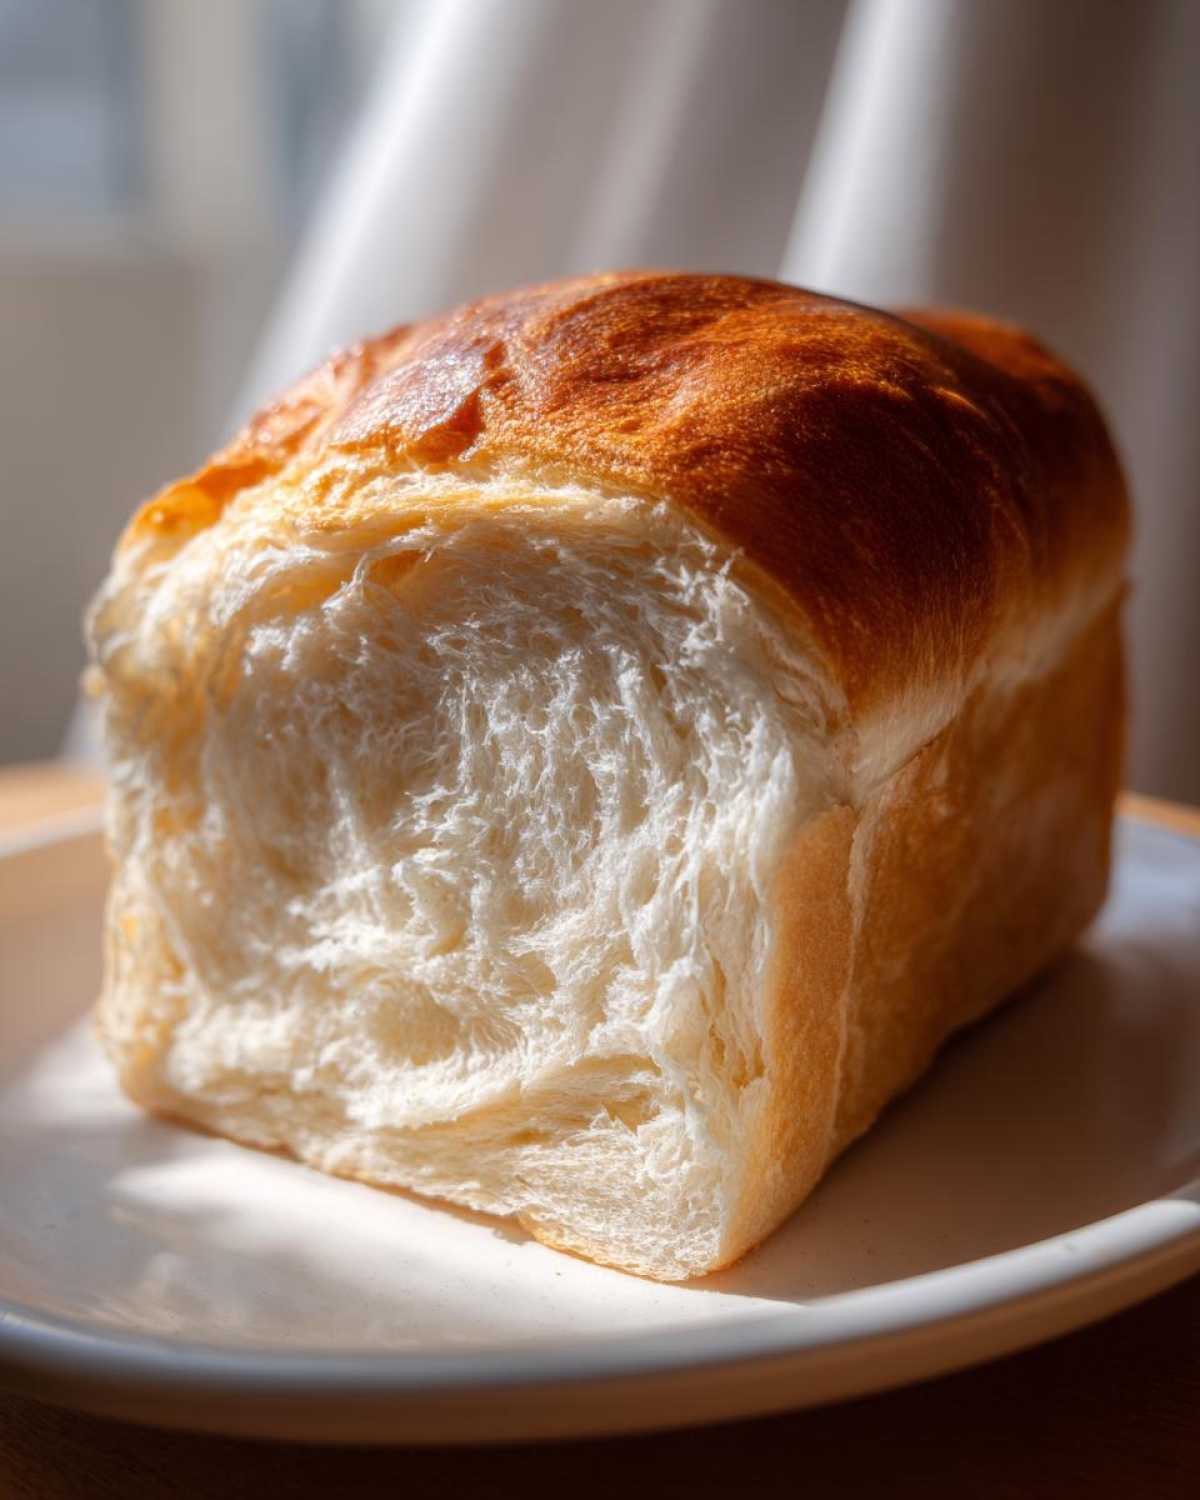
This journey to the perfect Soft Bread Recipe is so much more fun when we share the process. Don’t be shy! Whether you followed the instructions to the letter or made a little twist of your own, drop a rating for the recipe on a scale of 1 to 5 stars right below this paragraph. I’m already looking forward to reading your notes and seeing those gorgeous golden loaves!
PrintFluffy Sweetened Condensed Milk Bread Loaf
Make a very soft and slightly sweet bread loaf using sweetened condensed milk for a rich flavor and tender crumb. This recipe is easy for beginners.
- Prep Time: 20 min
- Cook Time: 35 min
- Total Time: 155 min
- Yield: 1 loaf (about 12 slices)
- Category: Baking
- Method: Yeast Baking
- Cuisine: American
- Diet: Vegetarian
Ingredients
- 1 cup warm milk (about 105-115°F)
- 1/4 cup sweetened condensed milk
- 2 1/4 teaspoons active dry yeast
- 3 cups all-purpose flour, plus more for dusting
- 1/4 cup granulated sugar
- 1/2 teaspoon salt
- 4 tablespoons unsalted butter, softened
- 1 large egg
Instructions
- Combine the warm milk and sweetened condensed milk in a small bowl. Sprinkle the yeast over the top and let it sit for 5 to 10 minutes until foamy.
- In a large bowl or the bowl of a stand mixer, whisk together the flour, sugar, and salt.
- Add the yeast mixture, softened butter, and egg to the dry ingredients.
- Mix on low speed with a dough hook until a shaggy dough forms. Increase the speed to medium-low and knead for 6 to 8 minutes until the dough is smooth and elastic. If mixing by hand, knead on a lightly floured surface for 10 to 12 minutes.
- Place the dough in a lightly oiled bowl, turning once to coat. Cover the bowl with plastic wrap and let it rise in a warm place for 1 to 1.5 hours, or until doubled in size.
- Gently punch down the dough. Shape it into a log and place it in a greased 9×5 inch loaf pan.
- Cover the pan loosely and let the dough rise again for 30 to 45 minutes, or until it has risen about 1 inch above the rim of the pan.
- Preheat your oven to 350°F (175°C).
- Bake for 30 to 35 minutes, or until the top is golden brown and the internal temperature reaches 200°F (93°C).
- Remove the bread from the pan immediately and let it cool completely on a wire rack before slicing.
Notes
- For rolls, divide the dough into 12 equal pieces after the first rise, shape into balls, and place them in a greased 9×13 inch baking dish. Allow them to proof for 30 minutes before baking at 350°F for 18-20 minutes.
- You can brush the top of the loaf with a little extra condensed milk mixed with water before baking for a shinier crust.
Nutrition
- Serving Size: 1 slice
- Calories: 180
- Sugar: 10
- Sodium: 150
- Fat: 4
- Saturated Fat: 2.5
- Unsaturated Fat: 1.5
- Trans Fat: 0
- Carbohydrates: 30
- Fiber: 1
- Protein: 5
- Cholesterol: 25
