

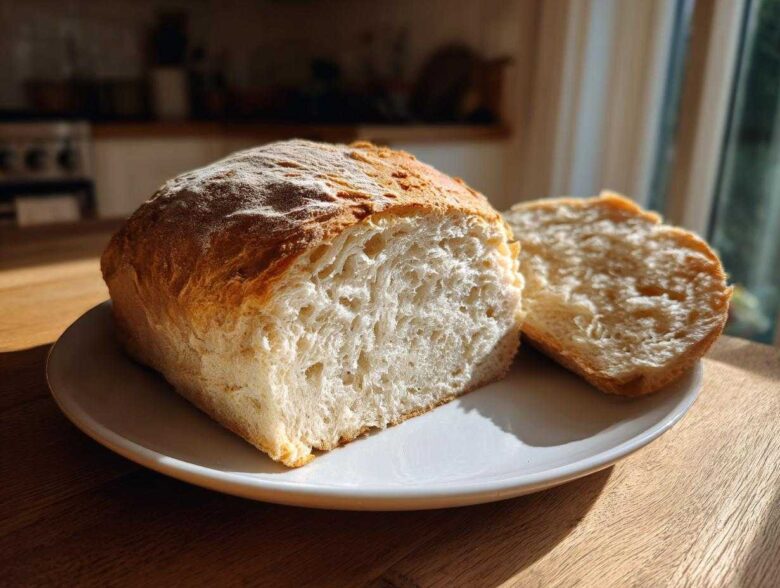
Oh my goodness, there is truly nothing that beats the smell of bread baking, right? Especially when it’s that hearty, earthy scent wafting from a loaf of whole wheat bread fresh out of the oven. Forget that stuff in plastic bags—we’re making the real deal here! This recipe is my absolute winner for a soft, yet wonderfully hearty loaf that’s so simple, even a baking novice can tackle it. When I get excited in the kitchen, sometimes measuring goes out the window—that’s Sasha’s vibe! But trust me, I’ve measured this recipe down to the tiny grains so you get that perfect texture every single time. Get ready for seriously good homemade bread!
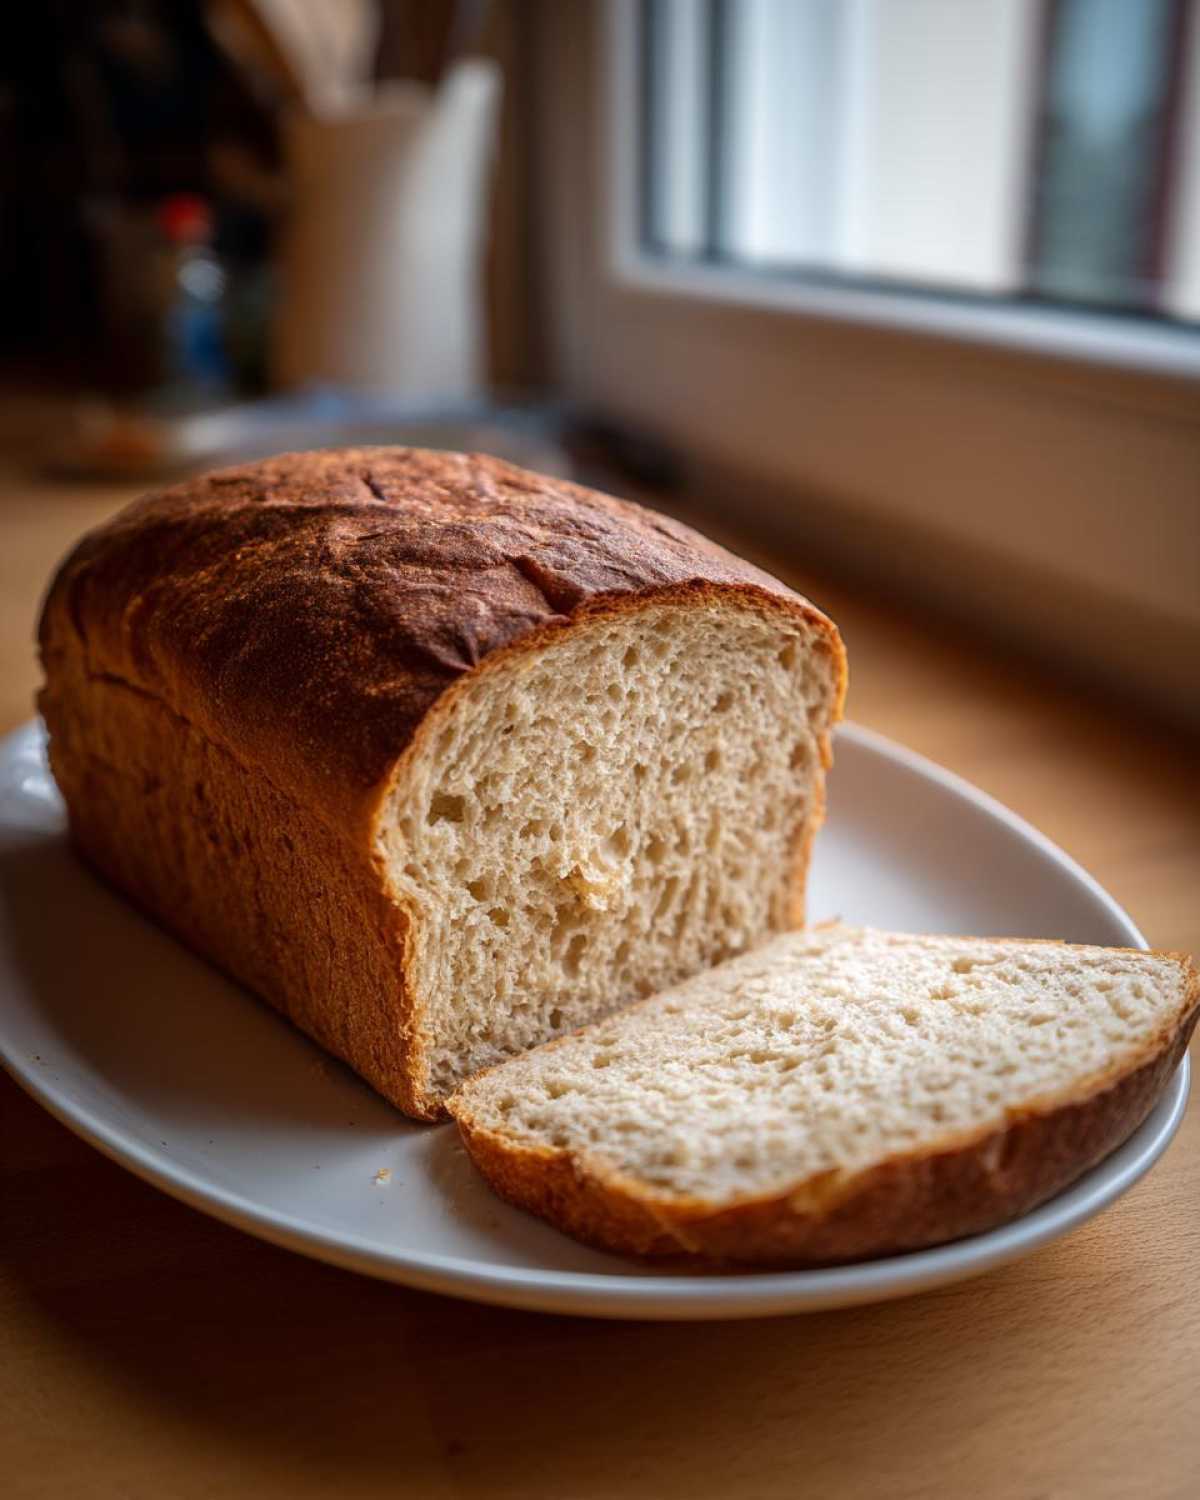
Why This Homemade Whole Wheat Bread Recipe Works (Sasha’s Tips)
I know what you’re thinking: whole wheat bread is always dense and heavy, right? Well, not this one! When Anya and I first started testing Sasha’s approach to baking, we realized she has this amazing knack for making tough doughs behave. This recipe is successful because we pay attention to the tiny details that make a huge difference in the final crumb structure. Keep these things in mind, and you’ll be thrilled with your loaf.
- We use just the right amount of oil to keep the dough tender while baking.
- We never under-knead, which is crucial for structure, especially with whole grains.
- We only use actively blooming yeast, because dead yeast means a flat sad disc instead of a tall loaf.
If you want to dive deeper into why we love certain techniques around here, check out more of our kitchen secrets!
Achieving Softness in Your Whole Wheat Bread
The softness really comes down to two things we nailed in the process. First, using water that’s just right—not too hot, or you kill the yeast; not too cold, and the yeast won’t wake up happy! We aim for that sweet spot between 105 and 115 degrees F for the initial mix. Second, you absolutely have to knead it long enough. When you punch that shaggy mass and work it until it’s smooth and elastic—that’s gluten developing. That gluten is the stretchy framework holding all the good fluffy air in!
Tips for the Perfect Rise in Your Whole Wheat Bread
The rise is where the flavor deepens, especially in a hearty whole wheat bread like this. Whole grains love warmth, so find the absolute coziest spot in your house for that first rise. Seriously, I’ve turned my oven light on before (with the door off!) just to give the bowl a little heat bubble. If your kitchen is chilly, the dough will just sit there forever sulking in the corner. Give it that warmth, and it doubles right up, ready for baking!
Gathering Ingredients for Your Easy Whole Wheat Bread
Shopping for this recipe is so stress-free—it’s basically pantry staples! You absolutely don’t need fancy, expensive stuff to make amazing whole wheat bread. Because we rely on texture here, those few core ingredients have to be right. When I grab my ingredients, I make sure I have everything neatly laid out before I even think about turning on the mixer. It saves a huge mess later, trust me!
Ingredient Specifications and Notes
Let’s talk specifics, because this is where the magic starts to sneak in. For the yeast, you need exactly 2 and 1/4 teaspoons of active dry yeast. If you can only find instant, you can usually skip the blooming step, but I always recommend blooming it first just to be sure your yeast is ready to party. Also, your warm water has to hit that 105 to 115 degree window. If you get it hotter—say, 130—you’ve just made warm water soup for your yeast, and it won’t ever grow. Finally, be sure you’ve got the full 4 glorious cups of whole wheat flour ready to go!
Step-by-Step Instructions for Perfect Whole Wheat Bread
Okay, time to roll up our sleeves! Baking your own whole wheat bread doesn’t have to be scary. It’s just chemistry in a bowl, and we have the cheat sheet right here. I follow these steps exactly, especially because whole wheat flour can be a little stubborn compared to plain white flour. Don’t rush the rises, that’s my main plea to you! A little patience here buys you a fantastic, sturdy slice later on. If you ever need a little distraction while you wait for the dough to work its magic, check out Anya’s amazing french toast recipe—it uses day-old bread perfectly!
Activating the Yeast and Mixing the Whole Wheat Bread Dough
First things first: wake up that yeast! Pour your warm water—remember, 105 to 115 degrees, maybe you want to use a candy thermometer just this once?—and stir in your honey. Sprinkle that yeast right on top. You have to let it sit until it gets foamy, like a little bubbly cappuccino on top. That foam is proof positive that your yeast is alive and ready to make your bread rise! Once it’s happy and bubbly, that’s when we move on to mixing in the oil, salt, and the whole heap of flour. Keep mixing with your spoon or the dough hook until it just starts pulling away from the sides and looks like a rough, shaggy mess. It won’t look pretty yet, don’t panic!
Kneading and the First Rise for Your Whole Wheat Bread
Now, the workout begins! Turn that shaggy dough onto a well-floured surface. You need to knead this for a solid 8 to 10 minutes by hand, or 6 to 8 minutes in the mixer. I know my arms get tired, but this is non-negotiable for a successful loaf. Kneading develops the gluten—those beautiful stretchy strands that give the bread its structure so it doesn’t just crumble. Once it feels smooth and elastic, tuck it into an oiled bowl, cover it up tight, and stick it somewhere warm. Give it a good 1 to 1 and a half hours to double in size. This slow first rise builds that deep, nutty flavor everybody loves about homemade bread. Pop over to this link if you want more ideas while you wait!
Shaping, Second Rise, and Baking the Loaf
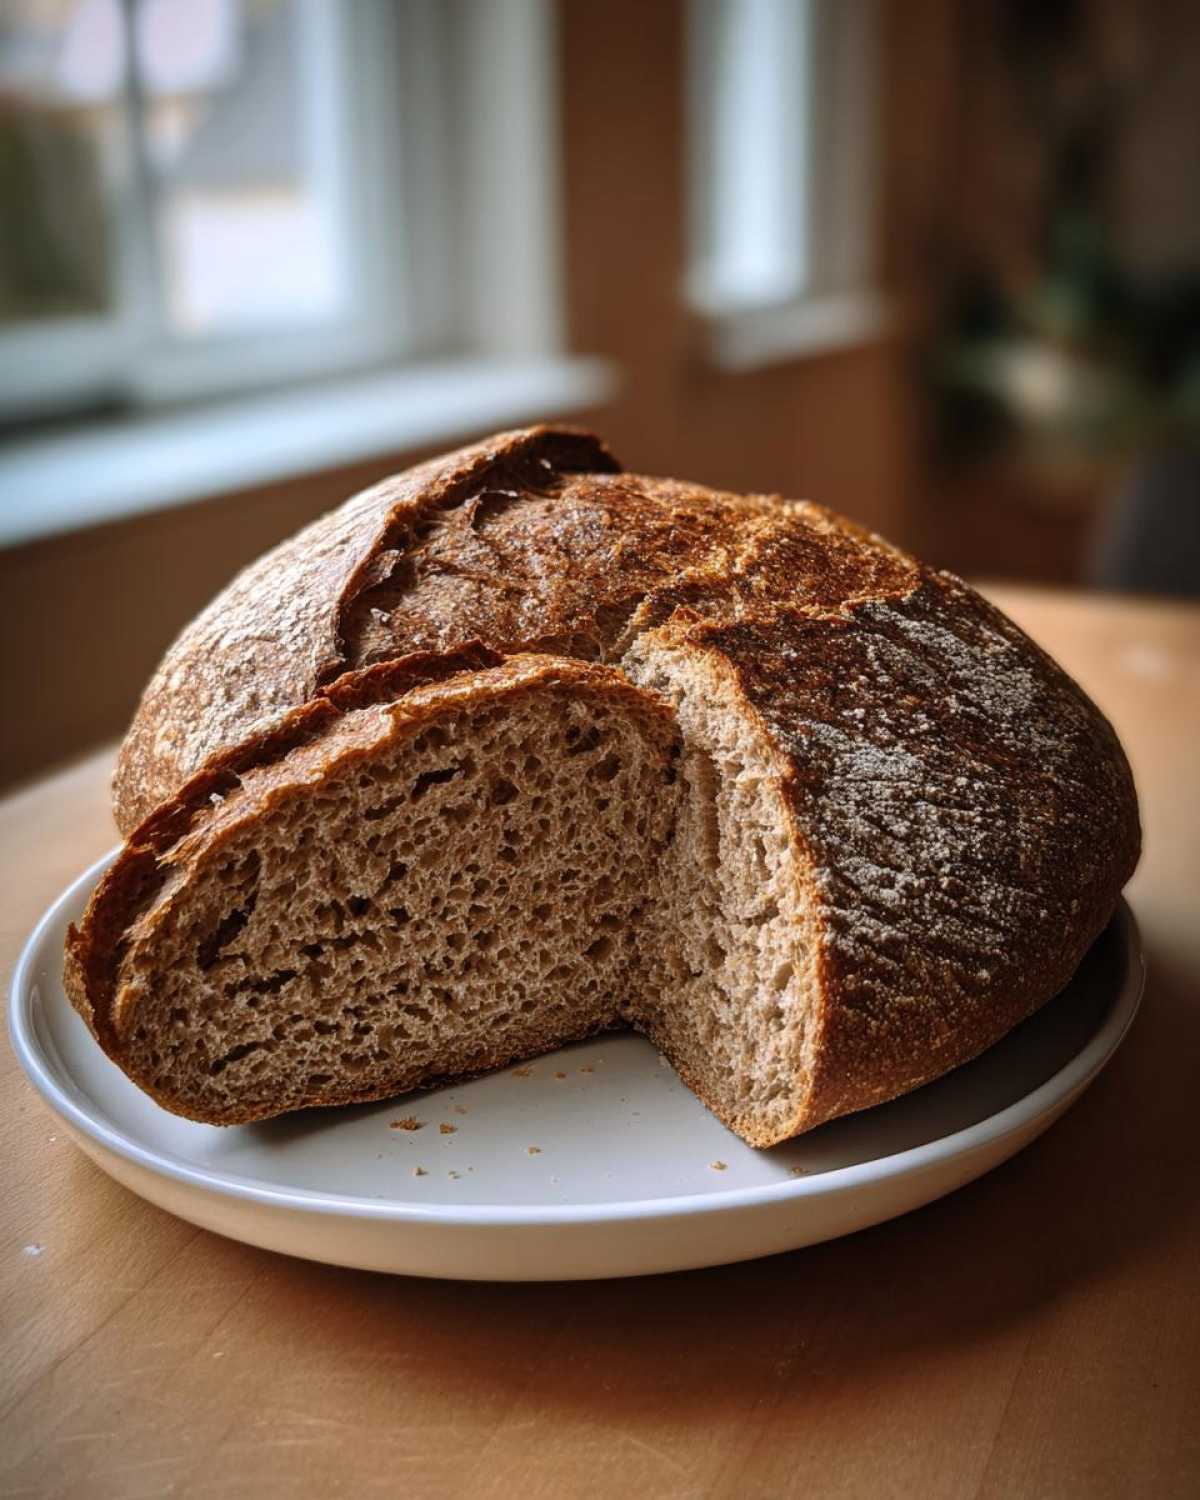
When it’s doubled, give that dough a gentle punch right in the center to release all that air we worked so hard to incorporate. Now, shape it into a neat little log and tuck it snug into your greased 9×5 loaf pan. Cover it loosely—we don’t want a skin to form—and let it proof a second time for about 30 to 45 minutes. You know it’s ready when it crowns about an inch over the top edge of the pan. Preheat your oven to 375 degrees F toward the end of that second rise, so it’s perfectly hot when the bread is ready. Bake it for 30 to 35 minutes until the crust is gorgeously golden brown and your internal thermometer reads 200 degrees F. Remember to pull it out right away and let it cool completely on a rack! Seriously, wait for it to cool before slicing, or you’ll end up with gummy bread.
Ingredient Substitutions for Your Whole Wheat Bread
We all run out of things sometimes, don’t we? And trying to make a recipe work with what you have on hand is part of the fun of home baking! While this recipe is designed around those specific amounts for the best whole wheat bread texture, I totally get wanting to make swaps. I always say, if you’re going to ditch an ingredient, know *why* you’re doing it a certain way. These adjustments can change the rise or the crust, so proceed with curiosity!
Sweetener Swaps in Whole Wheat Bread
Our recipe calls for honey or maple syrup, and honestly, either works beautifully because they both add that subtle deep sweetness that white sugar just doesn’t have. If you use brown sugar instead, you might notice a slightly denser crumb because of the moisture difference, but it’s still delicious! If you really love sweet bread—maybe you’re making it just for morning toast—you can sneak in up to 1/4 cup of honey, just like the recipe notes suggest. More honey means a slightly softer texture, which is a lovely bonus for a sandwich loaf!
Flour Adjustments for Whole Wheat Bread
Here’s where I get a little protective of the recipe. Because we are aiming for a *hearty* loaf that’s reliably soft, I really push for using all 4 cups of whole wheat flour here. If you substitute too much of that whole wheat flour with all-purpose flour, you lose that signature nutty flavor and the wholesome texture that makes this whole wheat bread so satisfying. If you must substitute, maybe swap out a half-cup at most, but if you want the rustic texture from this type of loaf, stick to the whole wheat!
Tips for Success When Baking Whole Wheat Bread
Baking is all about practice, but a few little tricks can save you hours of frustration when you’re working with whole grains. If you follow the steps exactly, you’re already golden, but these four pro-moves—which I learned mostly by messing up batches for Sasha!—will guarantee you get the softest, most perfectly textured whole wheat bread every single time.
First, handle that dough gently after the first rise. Whole wheat flour absorbs more liquid, which means the gluten structure can be a little more delicate. When you punch it down, be slow and deliberate, not aggressive! We want to tuck the air in, not smack it out. For more great baking insights, feel free to check out our other adventures in the kitchen.
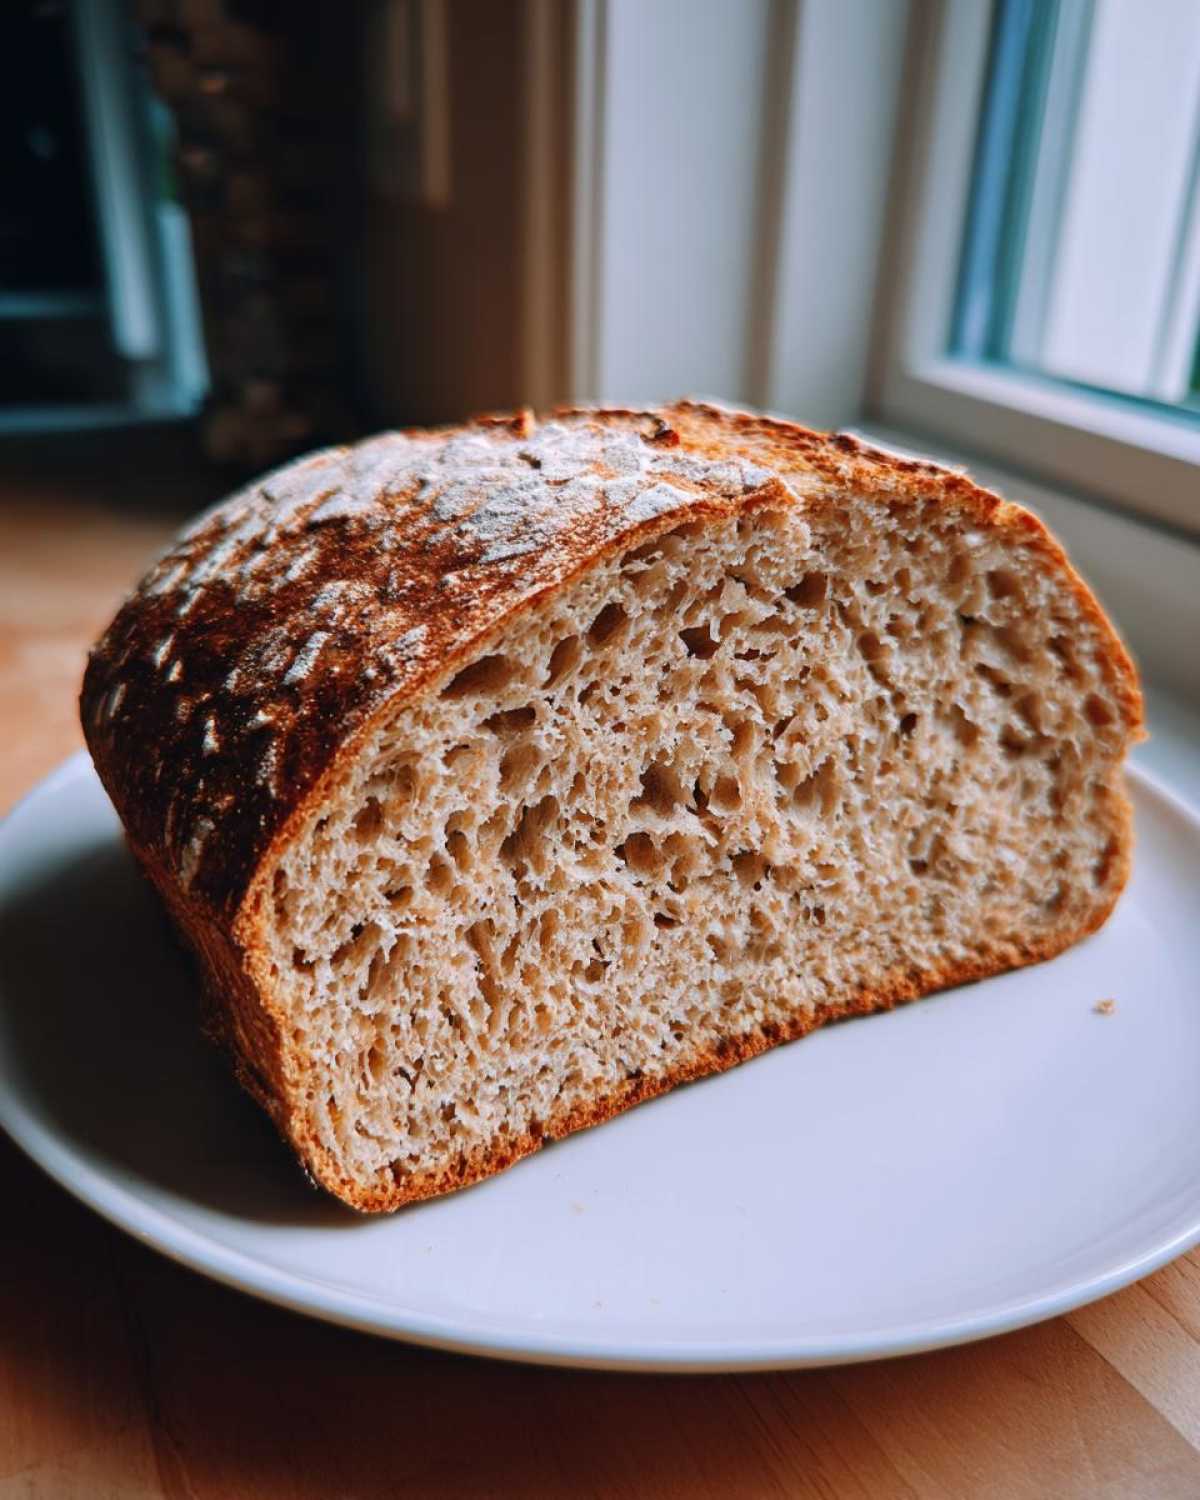
Second, about that cooling step: I know the smell is driving you crazy, but you *must* let this bread cool completely on a wire rack before you even think about slicing it. If you cut into it while it’s steaming hot, all that interior moisture rushes out, and you end up with a gummy, dense crumb. It’s agony, but waiting five minutes feels like forever when the loaf looks that good!
Third, if you’re using a dark metal pan, you might want to drop the oven temperature down by 10 degrees or pull the bread out a minute early. Dark pans soak up more radiant heat, and whole wheat crusts can go from golden to burnt surprisingly fast. We want golden brown, not black edges!
And finally, if you have extra—which is rare around here—don’t be afraid to wrap your fully cooled loaf tightly in foil before freezing. A good homemade loaf freezes beautifully, and you can bring it right back to life just by popping the foil-wrapped loaf into a 350-degree oven for about 10 minutes. It tastes almost identical to when it first came out! For general rustic bread ideas, take a peek at this source.
Storing Your Freshly Baked Whole Wheat Bread
This is where I have to take a deep breath and exercise the hardest kind of patience: the cooling wait! If you slice into this gorgeous, hearty loaf right when it comes out of the oven, I promise you’ll be bummed. As I mentioned before, all that steam and moisture needs time to redistribute evenly within the loaf, otherwise, you end up with a gummy texture, and we worked too hard for that!
Once cooled completely—and I mean completely, maybe an hour on the wire rack—you need to store it properly. Since this recipe uses olive oil instead of a ton of butter, it stays reasonably soft longer than some other lean doughs. For bread you plan to eat within two or three days, just tuck it into a clean paper bag on the counter. The paper lets it breathe just enough so the crust doesn’t get soggy, but it keeps that tender interior from drying out too fast.
If you know you won’t finish the entire loaf within three days, slicing it first and then freezing the rest is the way to go. Once sliced, stack those pieces between sheets of plastic wrap or parchment paper, pop them into a heavy-duty freezer bag, and freeze flat. It’s a lifesaver for quick toast in the morning! When you want one slice, just pop it directly into the toaster from frozen—it comes out perfect every time.
Serving Suggestions for Hearty Whole Wheat Bread
Now that you’ve conquered the baking process, the big question is: what are you doing with all this glorious whole wheat bread? Honestly, I’m usually sneaking slices while it’s still slightly warm, just buttered because that’s the best way, period. But this hearty loaf is so much more versatile than just snack food!
First off, sandwiches! This loaf has enough structure to hold up to anything you throw at it. Think thick slices piled high with turkey and cheese, or maybe something rich and saucy. This bread is the perfect partner for dunking. I mean, imagine using these sturdy slices to soak up the last bit of that creamy sauce from Anya’s tuna casserole. It just doesn’t fall apart like flimsy white bread does.
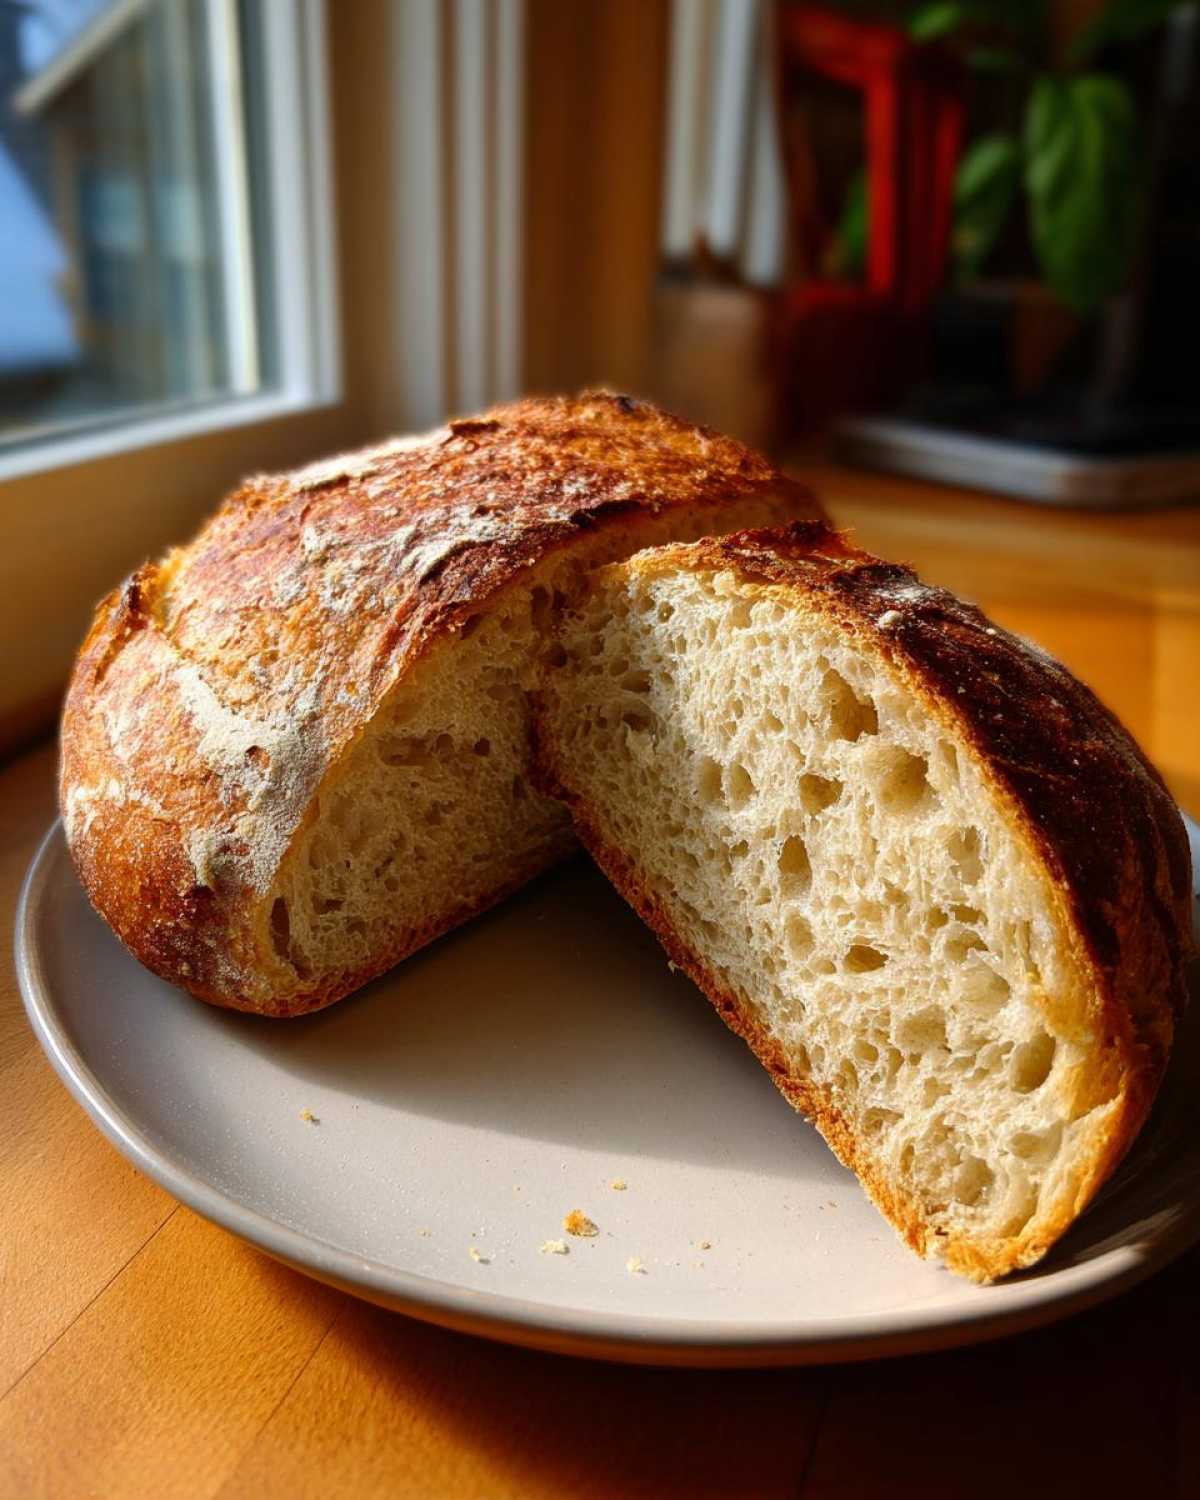
For toast lovers, this is your new favorite. A quick turn in the toaster gives you that perfect balance—crispy edges with a slightly chewy center. It holds up beautifully to avocado, eggs, or even just a smear of good quality jam. If you need inspiration for keeping that bread fresh for all your toast adventures, check out these other great tips over here.
And don’t forget soups and chilis! When the weather gets chilly, having a homemade loaf like this ready to go transforms a simple bowl of soup into a full, cozy meal. I love cutting thick strips, brushing them lightly with olive oil, and baking them just until crisp—homemade croutons that put any store-bought version to shame!
Frequently Asked Questions About Making Whole Wheat Bread
It’s totally normal to have questions when you dive into baking from scratch! Whole wheat flour certainly behaves a little differently than the white stuff, and I’ve certainly had learning curves over the years! Here are a few things Anya, Lena, and I hear most often when people are trying out their first loaf of whole wheat bread using this recipe.
Can I use bread flour instead of whole wheat flour for this whole wheat bread?
Oh, you absolutely *can*, but you’re going to get a very different result! Bread flour has higher protein, which means it develops a really strong gluten structure, leading to a lighter, chewier texture—think airy pizza crust or soft sandwich bread. This recipe is specifically designed around the heartiness and slightly heavier density you get from using 100% whole wheat flour. If you swap it out, you’ll end up with a loaf that is much lighter, less nutty in flavor, and it won’t have that satisfying, wholesome weight we love. For this formula, I really recommend sticking to the whole wheat!
Why is my dough not doubling in size?
This is the classic baker’s sigh moment, isn’t it? When your dough just sits there looking stubborn, nine times out of ten it’s a temperature issue or dead yeast. Double-check Step 1: Did you use water that was too hot? Water above 120 degrees F basically zaps your yeast, leaving you with no power for the rise. If you confirmed the temperature was correct (105-115°F), then the yeast itself might be old. Always check that bloom! If you don’t get that nice foamy layer in 10 minutes, dump that batch and grab a fresh packet of yeast. Also, is your kitchen cold? Dough needs warmth, so if it’s winter, find that one spot on the counter where the sun hits, or even use the oven with just the light on for a cozy environment.
Estimated Nutritional Snapshot of This Whole Wheat Bread
We all love knowing what we’re putting into our bodies, especially when we’re baking something wholesome from scratch. Since every oven and every brand of whole wheat flour is slightly different, remember these numbers are our best educated guess based on the specific ingredients we use in our kitchen. Think of this as a wonderful starting point for tracking your **whole wheat bread** consumption!
When I look at this breakdown, I’m so happy we use whole grains—look at that fiber content! It’s a hearty loaf, which means you feel satisfied after just one slice. For more detailed thoughts on how we approach nutrition alongside flavor, feel free to check out our other posts.
- Serving Size: 1 slice
- Calories: 150
- Sugar: 3 grams
- Sodium: 200 mg
- Fat: 3 grams (mostly unsaturated fats!)
- Carbohydrates: 28 grams
- Fiber: 4 grams
- Protein: 6 grams
Because we aren’t loading this up with extra sugar or tons of butter, it keeps things manageable while still tasting absolutely incredible. It’s the perfect base for any sandwich you can dream up—you can find some fantastic ideas for piling on the fillings over at this site!
PrintEasy Homemade Whole Wheat Bread: Soft and Hearty Loaf

You can bake soft, hearty whole wheat bread at home with this simple recipe. Enjoy the comforting aroma and delicious flavor of fresh-baked bread perfect for sandwiches or toast.
- Prep Time: 20 min
- Cook Time: 35 min
- Total Time: 2 hours 5 minutes
- Yield: 1 loaf
- Category: Baking
- Method: Baking
- Cuisine: American
- Diet: Vegetarian
Ingredients
- 2 cups warm water (105-115 degrees F)
- 2 tablespoons honey or maple syrup
- 2 1/4 teaspoons active dry yeast
- 4 cups whole wheat flour
- 1 teaspoon salt
- 2 tablespoons olive oil
Instructions
- In a large bowl, combine the warm water and honey. Sprinkle the yeast over the top and let it sit for 5 to 10 minutes until foamy. This shows your yeast is active.
- Add the olive oil, whole wheat flour, and salt to the yeast mixture.
- Mix the ingredients with a wooden spoon or a stand mixer with a dough hook until a shaggy dough forms.
- Turn the dough out onto a lightly floured surface. Knead for 8 to 10 minutes until the dough is smooth and elastic. If you are using a stand mixer, knead on medium-low speed for about 6 to 8 minutes.
- Lightly grease a large bowl with olive oil. Place the dough in the bowl, turning it once to coat. Cover the bowl with plastic wrap or a clean kitchen towel.
- Let the dough rise in a warm place for 1 to 1 1/2 hours, or until it has doubled in size. This first rise develops the flavor.
- Gently punch down the dough to release the air. Shape the dough into a loaf and place it in a greased 9×5 inch loaf pan.
- Cover the loaf pan loosely and let the dough rise again in a warm spot for 30 to 45 minutes, or until the dough has crowned about 1 inch over the rim of the pan.
- Preheat your oven to 375 degrees F (190 degrees C) during the last 15 minutes of the second rise.
- Bake for 30 to 35 minutes, or until the crust is golden brown and the internal temperature reaches 200 degrees F.
- Remove the bread from the pan immediately and let it cool completely on a wire rack before slicing. This step is important for the texture.
Notes
- For a softer crust, brush the top of the loaf with melted butter immediately after removing it from the oven.
- If you want a slightly sweeter loaf for toast, increase the honey to 1/4 cup.
- This recipe makes a fantastic base for homemade bread that is wholesome and delicious.
Nutrition
- Serving Size: 1 slice
- Calories: 150
- Sugar: 3
- Sodium: 200
- Fat: 3
- Saturated Fat: 0.5
- Unsaturated Fat: 2.5
- Trans Fat: 0
- Carbohydrates: 28
- Fiber: 4
- Protein: 6
- Cholesterol: 0
