

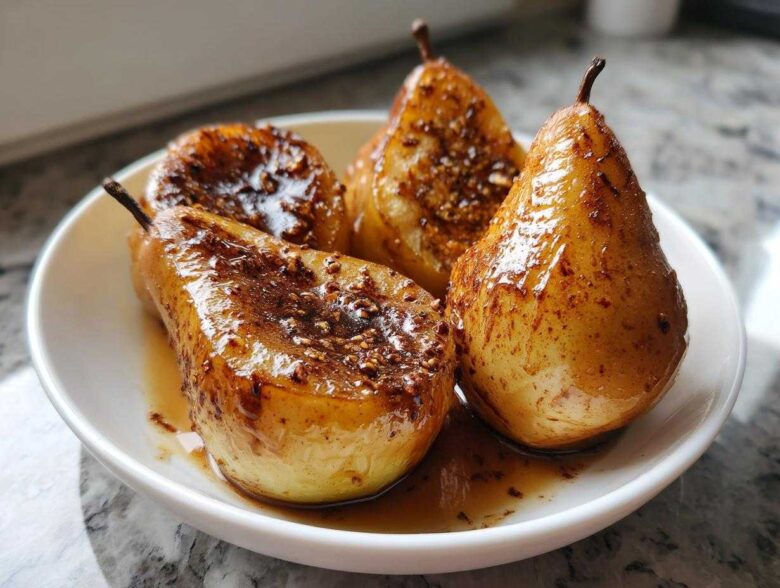
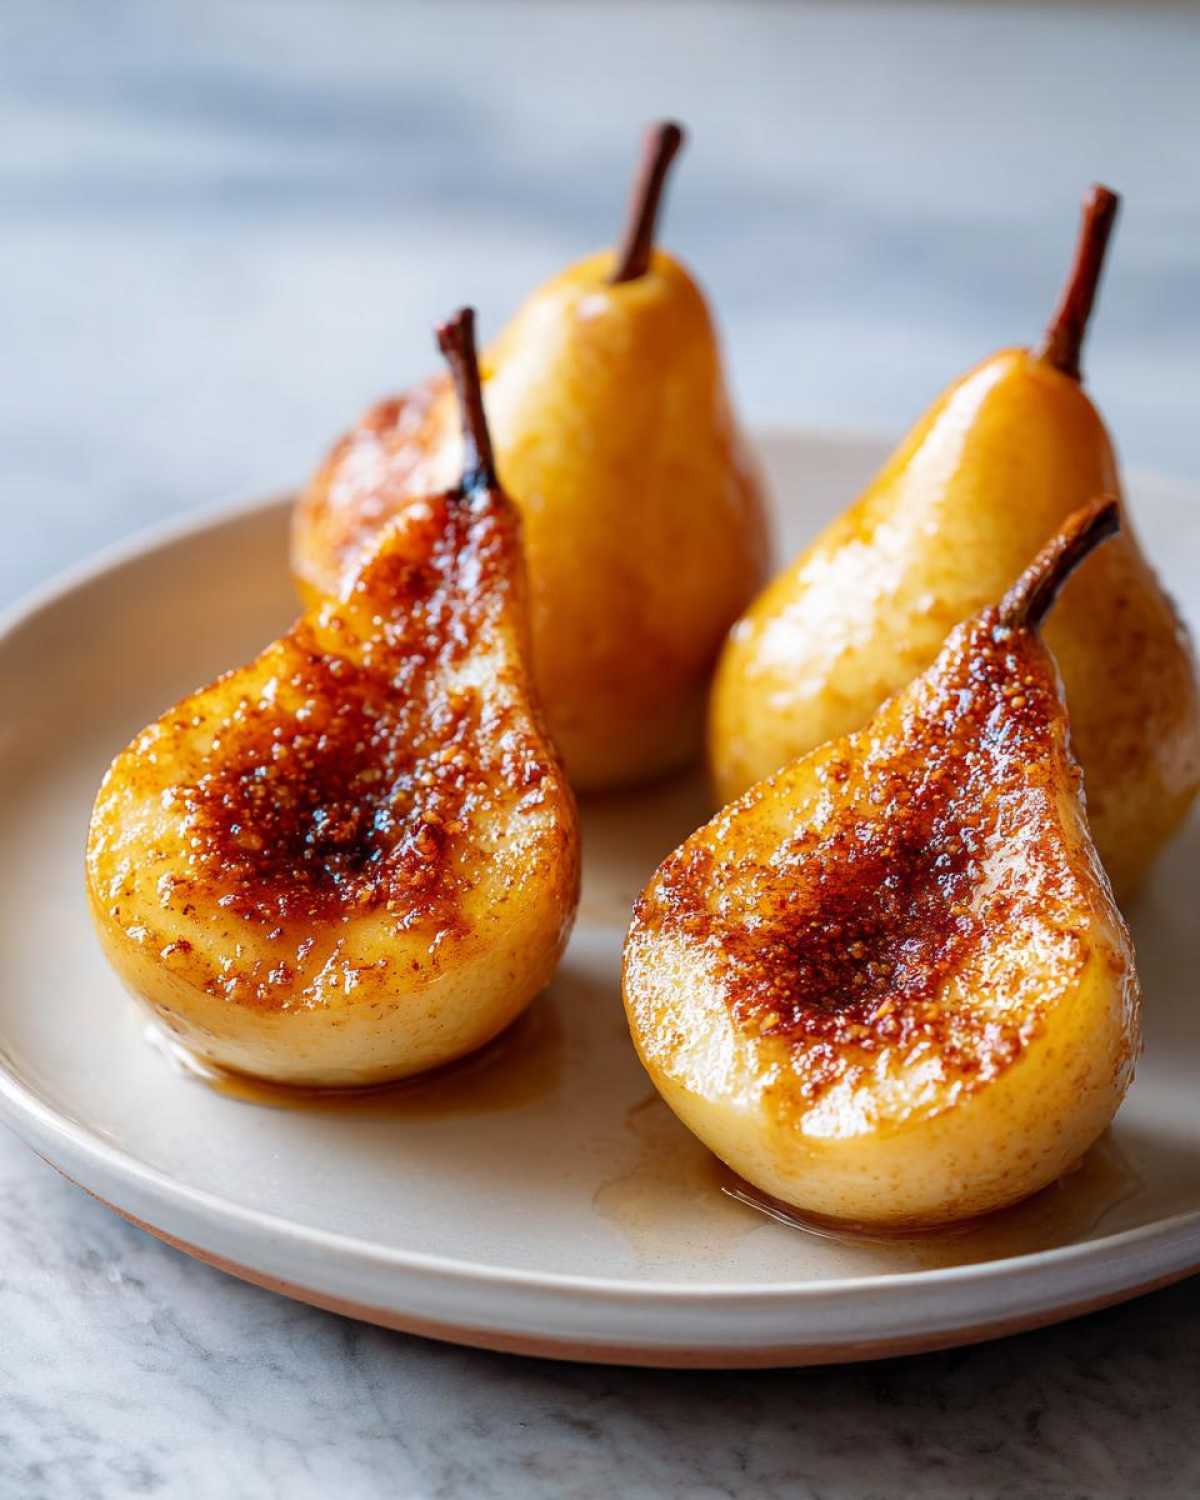
You know those nights when the air just bites a little? Maybe it’s chilly outside, or maybe you just need something wonderfully warm and comforting that requires almost zero effort. Forget complicated baking projects! I am telling you right now, these **baked pears** are my absolute go-to when I need an elegant dessert that tastes like straight-up coziness. Seriously, this recipe is the definition of a low-effort dessert that pays off big time.
I often make these for casual weeknight treats, but they were the star dessert during Thanksgiving last year when my oven was packed with turkey and stuffing. They fill the kitchen with that incredible smell of cinnamon and caramelized honey. If you’re looking for something similar later on, check out my rustic spiced pear galette recipe! They turn out perfectly tender every single time—it’s magic, I swear. If you need a simple, sweet fix that feels gourmet, stick with me. You won’t regret making this simple pear dessert.
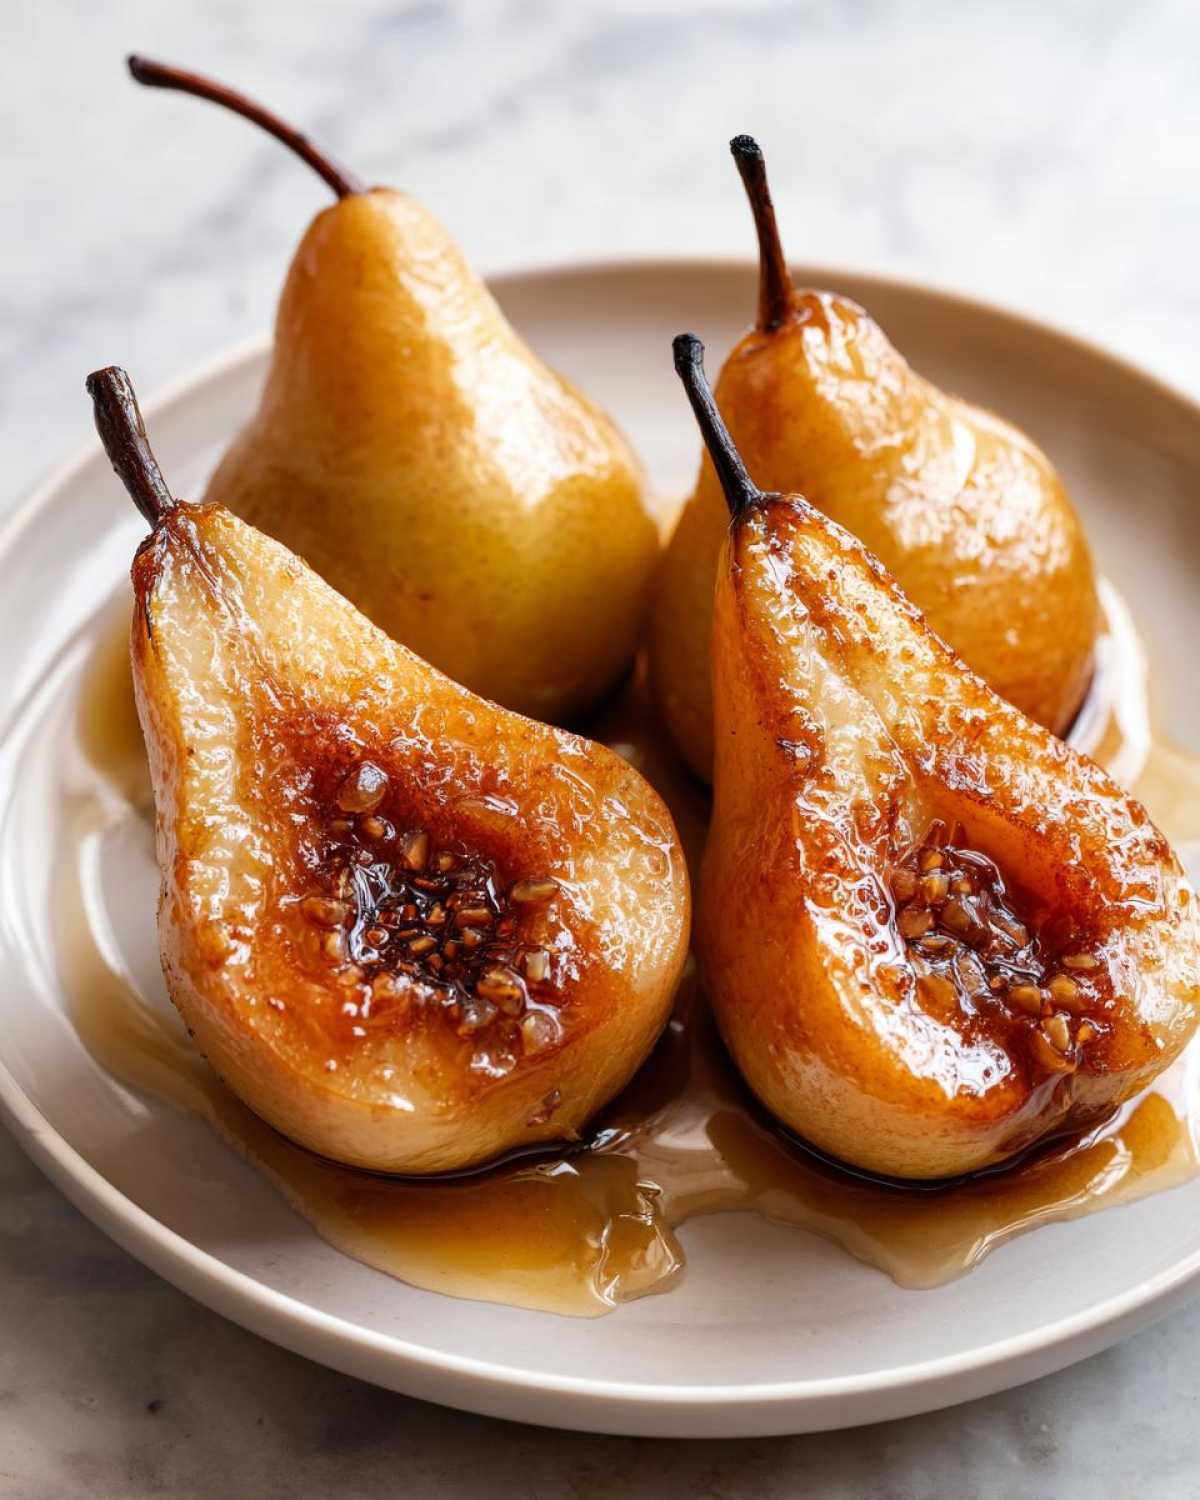
Why You Will Love These Easy Baked Pears
- They are insanely easy! With just 10 minutes of prep, you get an incredibly satisfying end to any meal.
- The texture is spot-on—they become perfectly tender and buttery without completely turning to mush.
- The classic combination of honey and cinnamon is foolproof. It’s like a hug in a bowl, making them the ultimate cozy baked fruit.
- These work beautifully for any occasion, from a Tuesday night indulgence to an elegant holiday baked fruit centerpiece.
- They are naturally low in fat and packed with fiber, hitting that satisfying sweet spot where dessert feels relatively healthy.
Honestly, you just can’t beat the simplicity that leads to this kind of flavor payoff.
Gathering Ingredients for Classic Cinnamon Honey Baked Pears
Before we start roasting, let’s look at what you need for these spectacular **baked pears**. The secret to a beautiful result, one that doesn’t collapse into mush, is using the right pear! I always grab Bosc or Anjou because they stay firm and hold that gorgeous shape when baked. You want them to be ripe but still quite firm to the touch. Consistency is key here, trust me!
We aren’t using much, just enough rich flavor to complement the fruit. If you need inspiration for another fruit, my recipe for baked cinnamon-spiced apples uses similar elements. Now, let’s check our pantry.
Essential Components List
Here is the simple list of everything that goes into making these delicious:
- Four firm pears (Bosc or Anjou recommended, please!)
- Four tablespoons of glorious, pure honey
- Two tablespoons of unsalted butter, which you’ll want to cut into four little pats
- One teaspoon of ground cinnamon—don’t skimp on this!
- A quarter cup of water to keep things steamy down below
- A quarter cup of chopped walnuts if you want some crunch!
Step-by-Step Instructions for Tender Baked Pears
Okay, now for the fun part—turning those beautiful pears into the most tender **baked pears** you’ve ever had! This process is really straightforward, which is why I keep coming back to it. It’s my secret weapon for quick, elegant holiday desserts. Just stick to these steps, and I guarantee you’ll get that soft, yielding texture we’re aiming for.
First things first, get your oven warmed up to 375°F (190°C) and grease up a smallish baking dish. Don’t skip the greasing! Then we prep the fruit. Wash them, cut them right down the middle lengthwise, and now comes the scooping. You need to scoop out the core and seeds, but I want you to think of that hole as the perfect little cup we’re creating for the flavor bombs. This big, hollowed-out well is what allows the honey and butter to soak right into the center, giving you that flavor saturation from the inside out.
Preparation and Core Filling
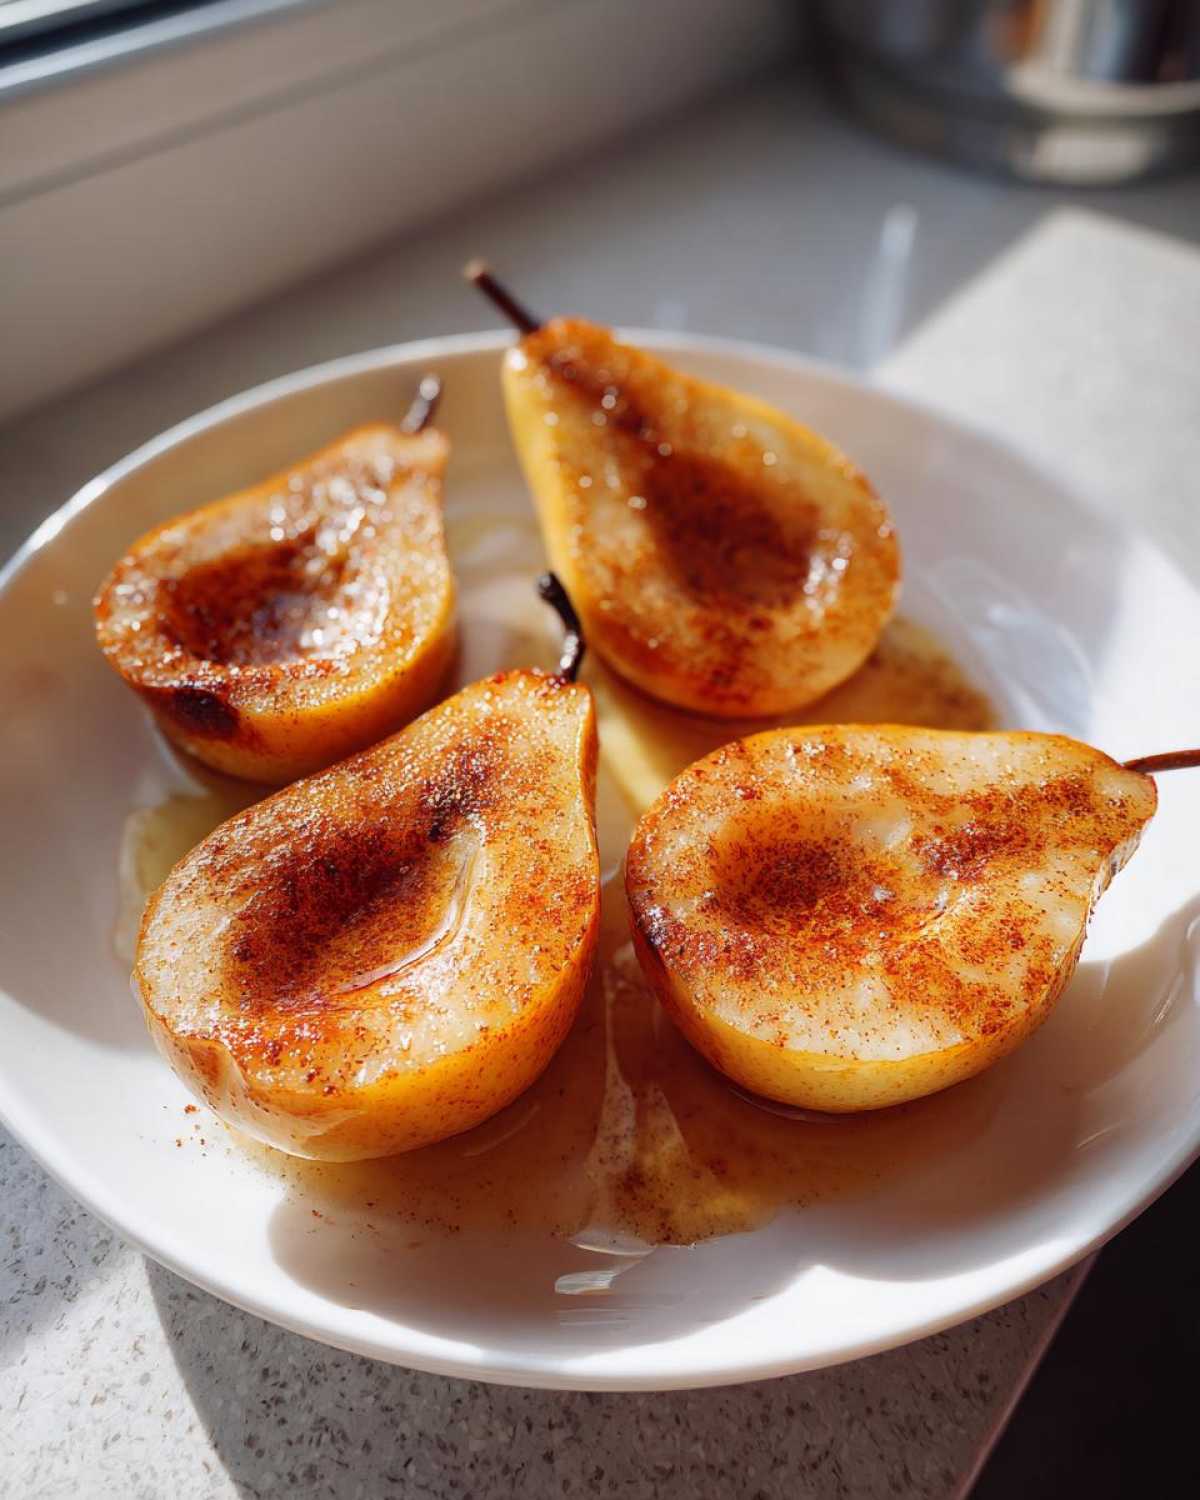
Once you have your four halves sitting cut-side-up in the dish, it’s time to load them up! Take your little pats of butter and drop one right into the center cavity of each pear half. Then, drizzle about one tablespoon of honey over the top of each one. Sprinkle that lovely cinnamon evenly over everything. See? We are building layers of flavor here, and it’s already gorgeous!
Baking and Finishing the Baked Pears
This next step is critical for creating steam, which is what keeps them unbelievably tender. Pour that quarter cup of water into the bottom of the baking dish *around* the fruit, not on top of them. Now, slide them into the oven for about 30 to 40 minutes. You need to check them after about 25 minutes. If the tops look like they are browning too fast, just tent them loosely with foil—that’s my little trick for even cooking! Halfway through, I always take a spoon and baste the pears with that luscious pan juice. If you are using those optional walnuts, sprinkle them over the tops for the last 5 minutes of baking so they toast up nicely. When they are fork-tender, they are done! Serve these delicious, **easy baked pears** warm. If you love what you see here, you might also adore my apple cinnamon rolls recipe!
Tips for Perfect Baked Pears Every Time
Baking fruit can sometimes feel intimidating, but honestly, once you know a few little secrets, it’s a breeze! Don’t panic if your pears look like they might be browning too quickly during the bake time. If you notice the edges getting dark around the 20-minute mark, I immediately grab a sheet of aluminum foil and loosely drape it over the dish. This shields the tops while letting the steam do its job underneath, ensuring they cook all the way through without burning. Perfection takes just a tiny bit of babysitting!
Also, remember that pear ripeness matters so much. If you use pears that are rock hard, they might take 15 extra minutes to soften. If you use pears that are already super soft, they might go from tender to soup in seconds. You want that perfect middle ground—firm enough to handle being sliced and cored, but soft enough that you can easily press a fork into the side.
Ingredient Swaps and Variations
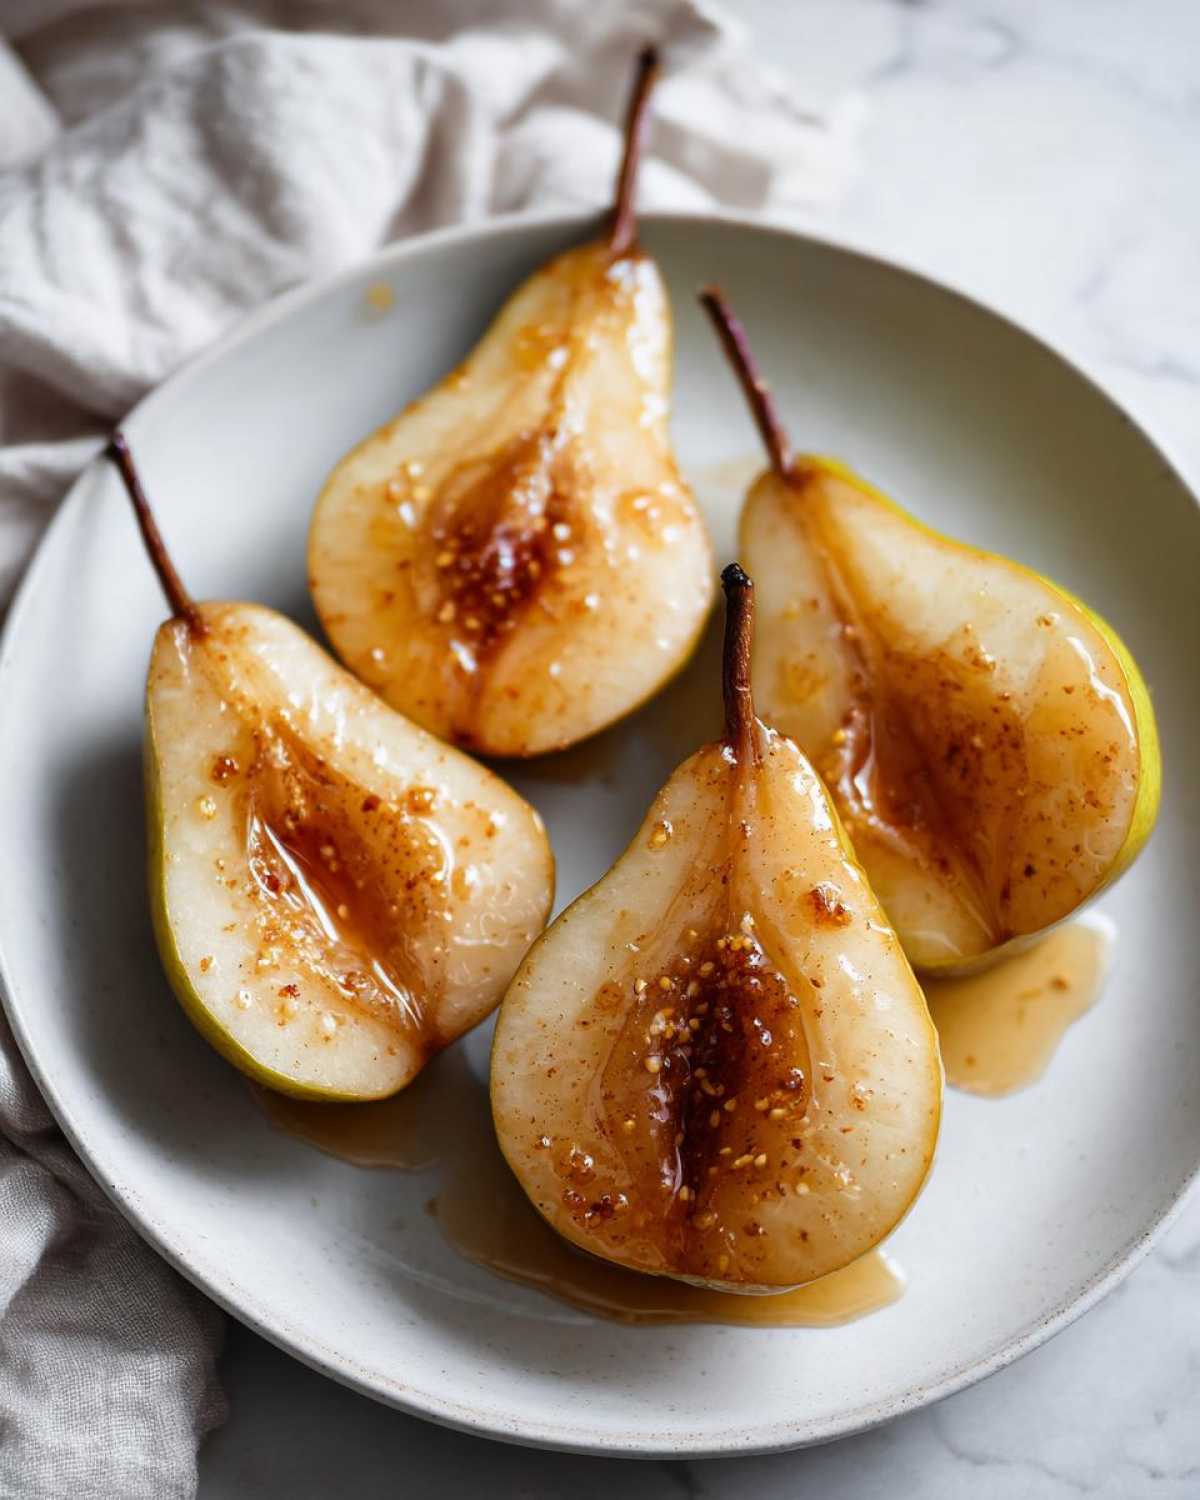
While I adore honey for that classic caramelized flavor, don’t feel locked into it! If you’re out of honey or just want something different, maple syrup is a fantastic, easy swap. I’ve used it many times in my maple-glazed baked donuts recipe, so I know the flavor holds up beautifully with cinnamon.
Now, for the truly adventurous among us who like a little snap of savory with their sweet treat: you absolutely must try the savory deviation! If you leave out the cinnamon and honey, you can instead fill that little core well with about an ounce of soft goat cheese and a few dried cranberries. It bakes up into this amazing, slightly tangy, gorgeous bite. It turns a simple fruit dessert into something truly gourmet, and it pairs wonderfully with a sharper wine at a dinner party.
Serving Suggestions for Your Warm Fruit Dessert
Now that you have achieved those perfectly tender **baked pears**, the hardest part is over! Serving them warm is truly the way to go, as the heat melts the butter and honey into this divine, irresistible sauce. My absolute favorite way to enjoy this warm fruit dessert is with a huge scoop of good vanilla bean ice cream—the contrast between the hot spiced pear and the melting cold cream is just heaven.
If morning breakfast is more your style, use some plain Greek yogurt instead of ice cream; it adds a lovely tang! For an extra indulgent finish, drizzle a little thick caramel sauce over the top. Or, if you are feeling fancy, check out how I make my creamy mascarpone mousse—a dollop of that atop the pear is seriously restaurant-worthy!
Storage and Reheating Instructions for Baked Pears
Don’t you hate when decadent flavor has to end? Luckily, these simple baked pears keep beautifully, which is great because sometimes I make an extra batch just for my afternoon snack the next day! For storage, just let them cool down completely after you pull them out of the oven. Once they are room temperature, transfer the pears and any leftover sauce into an airtight container. You can keep these nestled in the fridge for about three to four days. They hold up much better than you might think, maintaining most of that wonderful tender texture.
Reheating is key to bringing back that fresh-from-the-oven warmth. I really don’t recommend the microwave unless you are utterly desperate, since it can sometimes make the fruit a little rubbery too fast. The absolute best method, in my opinion, is to pop them back into a low oven—set it to about 300°F (150°C). If you cover the container or dish loosely with foil, just heat them for about 10 to 15 minutes until they are piping hot all the way through. That gentle heat warms them evenly and brings back that luscious, saucy texture.
If you’re looking for other ways to use up fruit yield, I have an amazing peach cobbler recipe that handles leftovers wonderfully, though these spiced pears are usually gone way too fast for me to worry about storing them for long!
Frequently Asked Questions About Baked Pears Recipe
Can I make these baked pears ahead of time?
Absolutely! That’s one of the best parts about this simple pear dessert. You can prepare the pears, place them in the baking dish, and cover them tightly with plastic wrap. Keep them refrigerated for up to a full day before you plan on serving them. When it’s time, just pop them into that preheated oven and add about 5 to 10 extra minutes to your baking time since they are starting out cold. They still come out beautifully tender!
What is the best type of pear for baking?
I always rely on Bosc or Anjou pears for my recipes, especially when I want to make sure I get those perfect roasted pears that don’t turn to complete mush. These varieties have a slightly firmer structure, which means they hold up to the heat exceptionally well while still softening beautifully. Bartlett pears are sweeter, but they tend to break down much faster, so watch them like a hawk if you decide to use those!
Are baked pears considered a healthy baked fruit option?
Yes, compared to most traditional desserts, these **healthy baked pears** are a fantastic choice! They are naturally vegetarian and low in fat because we are only using a tiny bit of butter. The bulk of the sweetness comes from natural honey. Of course, how ‘healthy’ they are depends on how much honey you drizzle on top! But hey, you are getting plenty of fiber from the fruit itself, so enjoy that warm fruit dessert guilt-free!
Nutritional Estimates for Simple Pear Dessert
I wanted to give you a general idea of what’s in one serving of this simple pear dessert, but remember these numbers are estimates. They change depending on the size of your pears and exactly how much honey you drip onto the tops! I always use the lower estimate for honey just to be safe when calculating my own intake. If you are exploring other delicious recipes, feel free to check out my main blog page for more kitchen adventures!
- Serving Size: 1 pear half
- Calories: 220
- Sugar: 30g (Mostly natural fruit sugars and honey)
- Sodium: 5mg
- Fat: 10g (Mostly from the butter)
- Saturated Fat: 6g
- Carbohydrates: 35g
- Fiber: 7g
- Protein: 1g
Please take these numbers as a rough guide! We cook to enjoy ourselves, and these estimations are just a helpful tool, not a strict rule for eating this amazing dessert.
Share Your Experience Making These Baked Pears
I truly hope you pull these **baked pears** out on a chilly evening soon! They are just the perfect, low-stress comfort food dessert that always impresses. When you make them, please come back and leave me a rating below—seriously, five stars for that cinnamon honey glaze! I also love seeing your pictures. Let me know in the comments what you served them with, whether it was ice cream or yogurt. Happy baking, and let’s keep sharing the joy of this cozy baked fruit!
Nutritional Estimates for Simple Pear Dessert
I wanted to give you a general idea of what’s in one serving of this simple pear dessert, but remember these numbers are estimates. They change depending on the size of your pears and exactly how much honey you drip onto the tops! I always use the lower estimate for honey just to be safe when calculating my own intake. If you are exploring other delicious recipes, feel free to check out my main blog page for more kitchen adventures!
- Serving Size: 1 pear half
- Calories: 220
- Sugar: 30g (Mostly natural fruit sugars and honey)
- Sodium: 5mg
- Fat: 10g (Mostly from the butter)
- Saturated Fat: 6g
- Carbohydrates: 35g
- Fiber: 7g
- Protein: 1g
Please take these numbers as a rough guide! We cook to enjoy ourselves, and these estimations are just a helpful tool, not a strict rule for eating this amazing dessert.
Share Your Experience Making These Baked Pears
I truly hope you pull these **baked pears** out on a chilly evening soon! They are just the perfect, low-stress comfort food dessert that always impresses. When you make them, please come back and leave me a rating below—seriously, five stars for that cinnamon honey glaze! I also love seeing your pictures. Let me know in the comments what you served them with, whether it was ice cream or yogurt. Happy baking, and let’s keep sharing the joy of this cozy baked fruit!
If you have questions down the road, don’t hesitate to reach out via my contact page. Happy cooking!
PrintClassic Cinnamon Honey Baked Pears
Make tender, warm baked pears sweetened with honey and spiced with cinnamon. This is an easy and comforting fruit dessert.
- Prep Time: 10 min
- Cook Time: 40 min
- Total Time: 50 min
- Yield: 4 servings
- Category: Dessert
- Method: Baking
- Cuisine: American
- Diet: Vegetarian
Ingredients
- 4 firm pears (Bosc or Anjou recommended)
- 4 tablespoons honey
- 2 tablespoons unsalted butter, cut into 4 pieces
- 1 teaspoon ground cinnamon
- 1/4 cup water
- 1/4 cup chopped walnuts (optional)
Instructions
- Preheat your oven to 375°F (190°C). Lightly grease a small baking dish.
- Wash the pears. Cut each pear in half lengthwise. Use a melon baller or small spoon to carefully scoop out the core and seeds.
- Place the pear halves cut-side up in the prepared baking dish.
- Place one small piece of butter into the center cavity of each pear half.
- Drizzle 1 tablespoon of honey over the tops of the four pear halves.
- Sprinkle the ground cinnamon evenly over all the pears.
- Pour the 1/4 cup of water into the bottom of the baking dish; this prevents sticking and creates steam.
- Bake for 30 to 40 minutes, or until the pears are tender when pierced with a fork. Basting them with the pan juices halfway through helps.
- If using walnuts, sprinkle them over the pears during the last 5 minutes of baking.
- Serve warm.
Notes
- For a richer flavor, substitute maple syrup for honey.
- If you prefer a savory twist, omit the cinnamon and honey, and instead fill the core with 1 ounce of soft goat cheese and a few dried cranberries before baking.
- If the pears brown too quickly, loosely cover the dish with aluminum foil for the remainder of the baking time.
Nutrition
- Serving Size: 1 pear half
- Calories: 220
- Sugar: 30
- Sodium: 5
- Fat: 10
- Saturated Fat: 6
- Unsaturated Fat: 4
- Trans Fat: 0
- Carbohydrates: 35
- Fiber: 7
- Protein: 1
- Cholesterol: 25
