

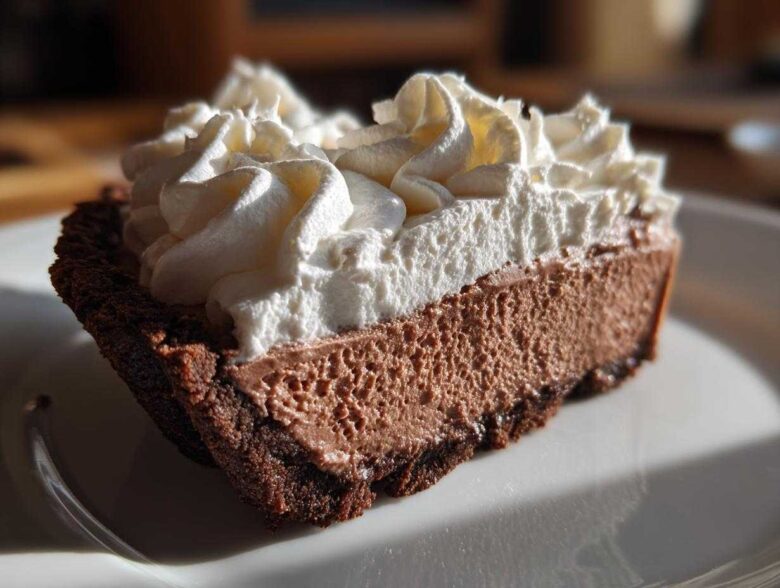
Oh my gosh, are you ready to talk about the ultimate showstopper that requires exactly zero trips to the oven? Seriously, I used to think that truly decadent, light-as-air desserts meant hours of whisking egg whites over a double boiler, but I was so wrong! This chocolate mousse pie is where I finally cracked the code for that perfect, creamy texture that melts in your mouth beautifully. I’m sharing my secret for an Easy No-Bake Chocolate Mousse Pie recipe that is so rich, but somehow stays perfectly light. Mastering that airy texture was a journey, trust me—I’ve collapsed more mousse fillings than I care to admit! But this method, which relies on stabilizers and careful folding, is foolproof. I even have a way to make the crust so crisp you won’t believe it didn’t see any heat. You absolutely have to try this; it’s perfect for impressing company or just treating yourself right now. If you’re also obsessed with incredible mousse desserts, you might want to take a peek at my iced cappuccino mascarpone mousse recipe for another light-as-a-cloud treat!
Why This Easy No-Bake Chocolate Mousse Pie is Your New Favorite Dessert
I’m telling you, this is the recipe that changed my dessert game! It combines maximum impact with minimal effort, which is exactly what we busy cooks need. Forget the hassle of tempering eggs or waiting for your oven to preheat. You just mix, chill, and wow the crowd. This chocolate mousse pie is my go-to when I need something elegant but I’m short on time.
- It’s miraculously no bake! Yes, you read that right—no oven stress whatsoever.
- The texture is pure magic: incredibly creamy chocolate pie that feels light, not heavy.
- It’s a wonderful make ahead pie recipe, meaning you can stress less on party day.
- The chocolate wafer crust is just the perfect salty, crunchy counterpoint to the smooth filling.
It’s foolproof, decadent, and handles beautifully when sliced. If you want a real crowd-pleaser that tastes like you spent all day on it, this is it. Speaking of rich chocolate heaven, you might want to save my recipe for the fudge swirl brownie trifle for later!
Key Features of Our Creamy Chocolate Pie
The absolute best part is how we achieve that incredible texture. We’re not just beating heavy cream here; we’re folding in a light meringue, which is what guarantees that signature light and airy dessert feel. It cuts beautifully, holds its shape perfectly straight out of the fridge, and has that rich, deep chocolate flavor you dream about. It’s truly a refined dessert disguised as an easy weeknight treat!
Gathering Ingredients for Your Decadent Chocolate Mousse Pie Recipe
Okay, listen up, because the secret to making this taste like a ridiculously fancy bakery creation—a true rich dark chocolate pie—is using quality ingredients and treating them right. Since this is no-bake and relies so much on the texture of the filling, every item matters! We need fantastic chocolate for that deep flavor, and we need the right agents to keep our homemade chocolate mousse filling fluffy rather than dense. Don’t skimp on the chocolate; it’s the star here!
When gathering everything, remember that the egg whites absolutely must be at room temperature so they whip up into that gorgeous, stiff meringue we need later. Also, make sure your heavy cream is ice cold for both the mousse base and the topping whip. I usually keep both cartons in the freezer for about ten minutes before I start mixing—just be careful not to freeze them solid!
Crust Components: Creating the Oreo Crust Pie Base
For the base, we keep it simple and chocolatey. You’ll need about a cup and a half of chocolate wafer crumbs—I love Nabisco wafers for this—or, if you’re using Oreos, here’s my trick: don’t bother scraping out the filling! If you use the whole cookie for your crumbs, just cut back slightly on the added melted butter. The oils in the filling help bind it up nicely for a sturdy oreo crust pie foundation that won’t crumble when you cut it.
The Light and Airy Homemade Chocolate Mousse Filling
This is where the magic happens! We need bittersweet chocolate, roughly 8 ounces chopped small so it melts perfectly smooth with just a touch of hot water. We also bring in our cold heavy cream for whipping, vanilla, sugar, and those two room-temperature egg whites. It’s this combination—the whipped cream providing volume and the eggs providing lift—that guarantees that wonderful light and airy dessert collapse when you bite into it.
Stabilized Whipped Cream Topping Pie Ingredients
You can’t just top a perfect mousse with regular whipped cream; it’ll weep everywhere! So, for the topping, we whip a fresh cup of heavy cream with powdered sugar and vanilla. I always mention adding a little stabilizer, like gelatin, in the tips section because you want those beautiful swirls to hold their shape until the last slice is served. If you don’t stabilize it, it’s fine, but you might want to keep the leftovers close to that serving time!
If you want to check out some intensely chocolaty baked goods while you’re gathering supplies, my recipe for chili chocolate nut clusters is amazing for a spicy kick!
Step-by-Step Instructions for the No Bake Chocolate Pie
Alright, let’s get this no bake chocolate pie assembled! Because there’s no baking involved, the crucial steps are making sure the base is solid and that we don’t deflate all the lovely air we’re about to create in that filling. Pay attention to the chilling times—they are non-negotiable if you want that pristine slice!
Preparing and Chilling the Chocolate Wafer Crust
First things first, we need that foundation set. You’re going to combine your chocolate wafer crumbs, that small bit of sugar, and the melted butter. Mix it right in the pie plate using your fingers or the back of a measuring cup until it feels evenly damp, almost like wet sand. Press, press, press! I mean it—press it firmly into the bottom and right up the sides of that 9-inch pie plate. If you leave any weak spots, the rich mousse filling will just seep right through later. Pop that in the fridge for a solid 30 minutes to firm up while you start the filling.
Making the Rich Dark Chocolate Pie Mousse Filling
This is the part that requires your softest touch! Melt your chopped bittersweet chocolate with exactly 1/4 cup of hot water—this dissolves it beautifully. Stir until it’s shining and smooth, then let it hang out for a few minutes to cool down slightly so it doesn’t melt our whipped cream later. While that cools, whip your first cup of cream to soft peaks. Then, whip those room-temp egg whites with the sugar until you get some beautiful, stiff, glossy peaks—that’s your meringue!
Now, the folding happens in stages. Fold the slightly cooled chocolate into the whipped cream gently. Then, the most critical part: gently fold the meringue into the chocolate-cream mixture. Don’t stir it vigorously! Seriously, I learned the hard way—overmixing kills all the air, and you end up with a dense chocolate brick instead of a fluffy mousse. Fold just until you see no more white streaks left. Be patient!
Assembling and Setting the Chocolate Mousse Pie
Once your crust is nice and firm, pour all that beautiful mousse filling right in there and smooth the top with an offset spatula. It will look gorgeous, but don’t be tempted by the fridge door! This pie needs time for the chocolate and dairy to set up properly around all those air pockets. You need a minimum of 6 hours for a sliceable, perfect chocolate mousse pie, but honestly, if you can make it overnight, you’ll have the most structurally sound and creamy dessert possible. We’ll worry about the topping right before serving!
If you are looking for more no-bake magic, definitely check out my recipe for the no-bake turtle pie—it’s gooey perfection!
Tips for the Ultimate Chocolate Dessert Success
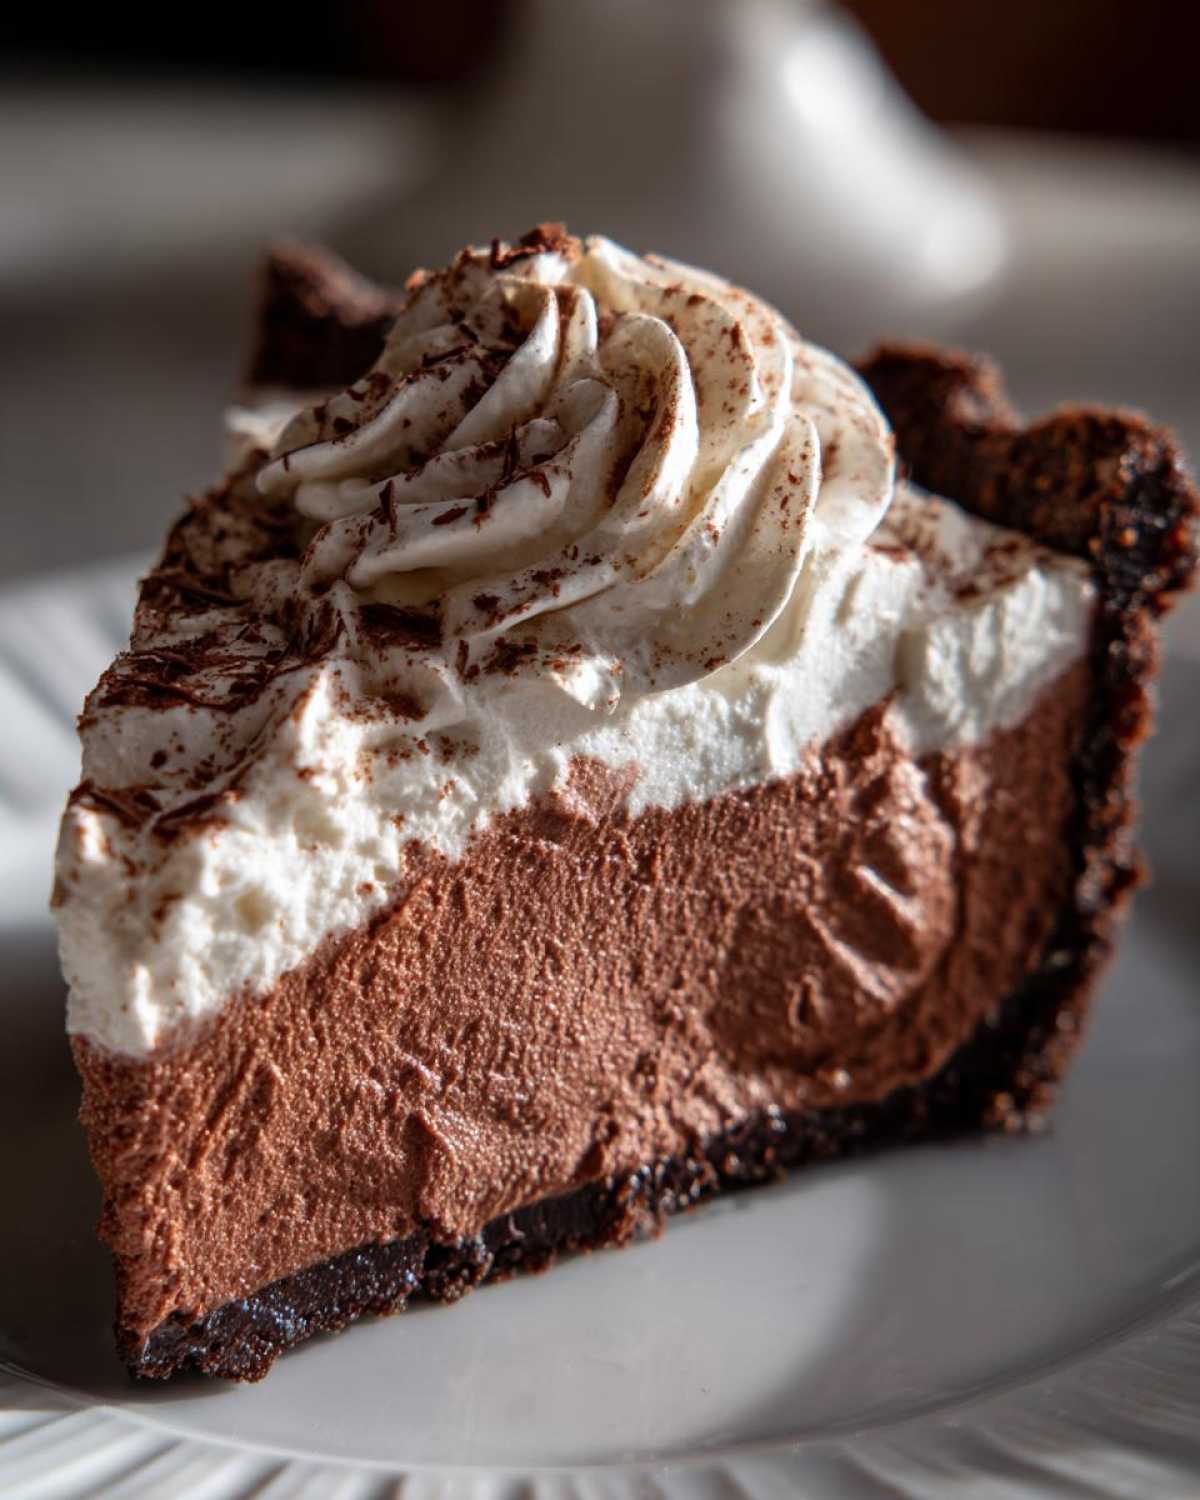
Getting this ultimate chocolate dessert right is all about paying attention to those small details that lift a good pie picture into an absolute showstopper. I’ve made enough of these to know exactly which steps can spell the difference between a dreamy mousse and a slightly deflated disappointment. These are the little secrets I’ve gathered over trial and error!
Achieving Perfect Light and Airy Dessert Texture
Remember how I talked about folding? It bears repeating because it’s that important for achieving that beautiful, cloud-like texture similar to what you find in a classic french silk pie style dessert. When you bring your chocolate-cream mixture and your stiff meringue together, you must use a rubber spatula and a gentle cutting motion. Basically, you slice down the center of the bowl, scrape along the bottom, and bring the mixture up and over the top. Do this slowly until you can no longer see stark white streaks of egg white. A few tiny flecks are fine—they will blend as the pie chills—but more importantly, you are preserving all that air you worked so hard to whip in.
Also, make sure your chocolate base isn’t hot when you introduce it to the whipped cream. If it’s too warm, it will melt the delicate air bubbles right out of the cream, and that’s how we lose the light texture. Let it cool down slightly past body temperature before incorporating it.
Stabilizing the Whipped Cream Topping Pie
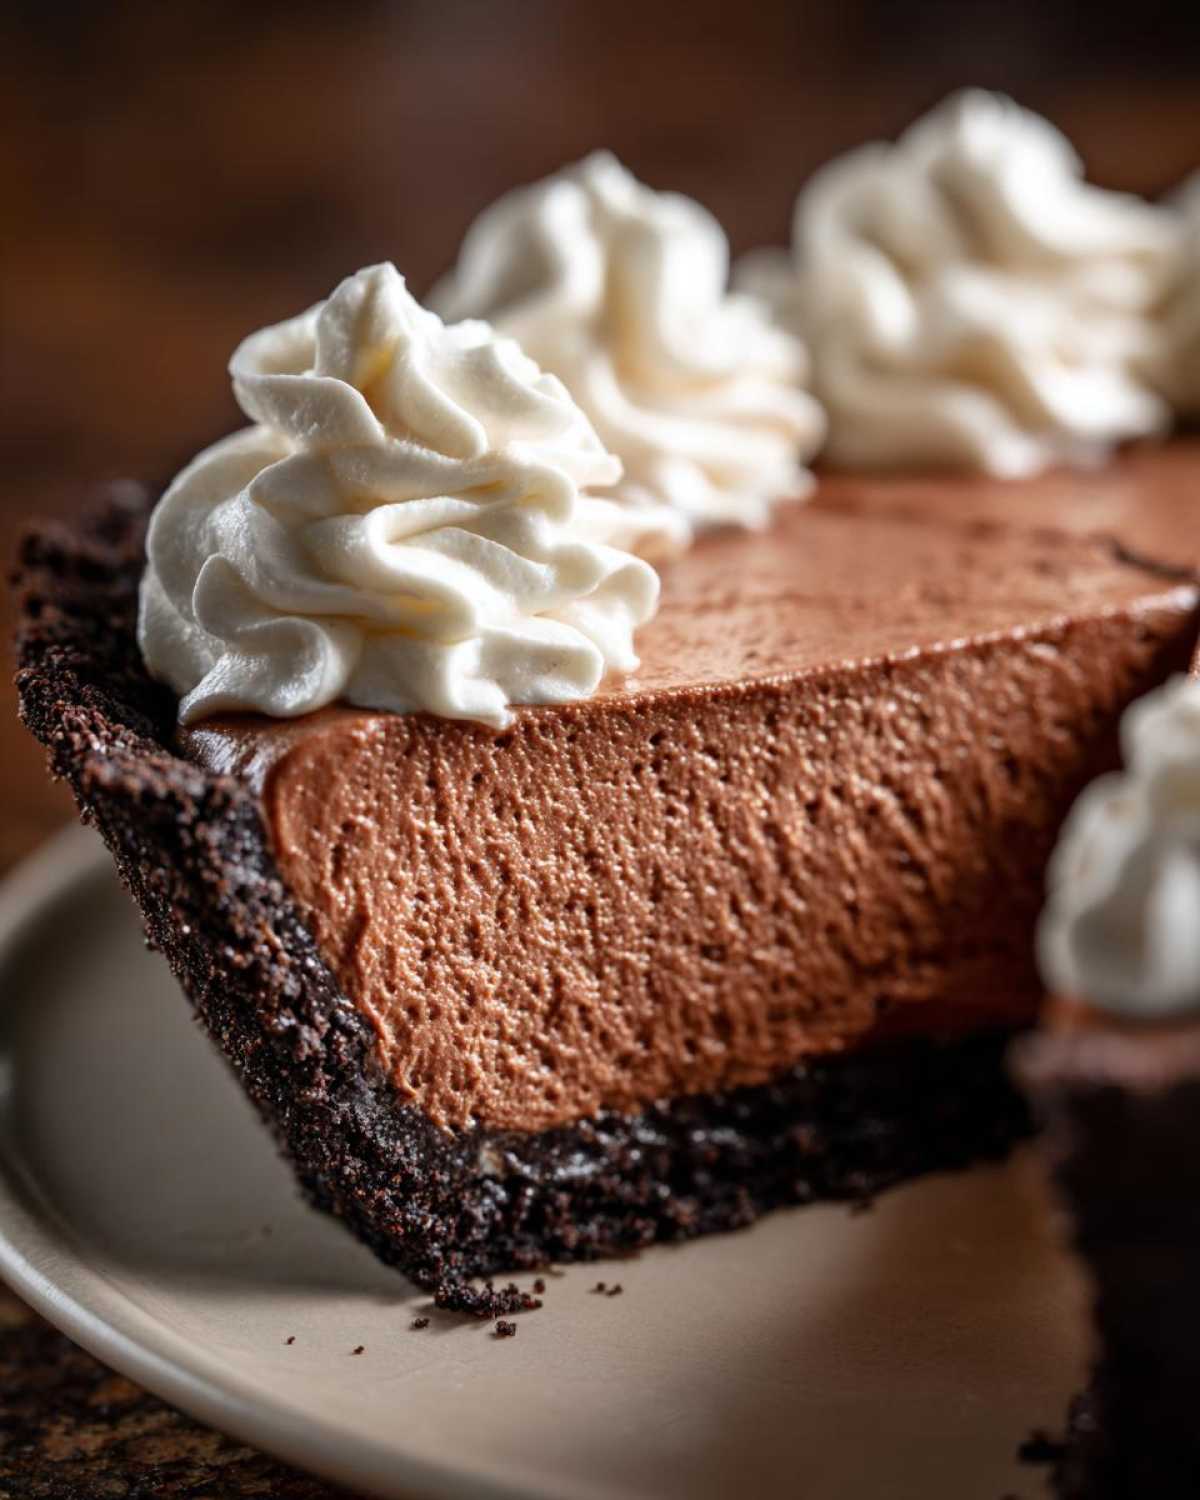
Those professional-looking swirls on top of the pie? They stay perfect because of stabilization! If you leave your whipped cream topping (which we do for this whipped cream topping pie) out for too long, it starts to weep or droop, especially if your kitchen is warm. My back-up cheat sheet mentioned using gelatin, and honestly, it’s a lifesaver for presentation.
To do this, take one teaspoon of unflavored gelatin and sprinkle it over two tablespoons of really cold water in a tiny bowl. Let it sit for about five minutes until it ‘blooms’ (it gets jiggly). Then, microwave that little bowl for just 5 to 10 seconds until it’s completely liquid—it should be clear, not bubbling! Let it cool down just a little bit, and then slowly drizzle it into your heavy cream while you are whipping it with the powdered sugar. It firms up beautifully as the cream stiffens, holding those peaks tall and proud until you serve the very last slice. If you love rich, chocolatey pairings, you should check out my dark chocolate dipped clementines recipe!
If you’re looking for other ways to sneak chocolate into your baking, you simply must try my chocolate chip zucchini bread—it’s moist year-round!
Variations for Your Chocolate Mousse Pie
I love that we’ve nailed down the classic version of this chocolate mousse pie, but half the fun of baking is making it your own masterpiece, right? Don’t feel tied down to just the chocolate wafer crust or simple vanilla in the mousse. This recipe is so sturdy from its chilling time that it welcomes some fantastic customizations. Think of this base structure as your canvas for whatever chocolate craving hits you next!
Crust Swaps for Your Chocolate Mousse Pie
If Oreos or chocolate wafers aren’t doing it for you today, we have some great swap-outs! You could go with a traditional graham cracker crust, but I often find that a buttery shortbread crust offers a lovely sandy texture that is less intense than the chocolate cookie. It lets the dark chocolate mousse really shine through without any competition. Another spectacular option, especially if you’re keeping things low-carb-ish, is a nut crust.
Just pulse almonds or pecans in the food processor until they are finely chopped, mix them with a little melted butter and maybe a tiny splash of maple syrup for binding. It adds this amazing toasted dimension. Just make sure whatever crust you pick, you press it firmly—that’s the key to an easy slice!
Flavor Twists for the Creamy Chocolate Pie Filling
This is where your creamy chocolate pie gets a huge personality upgrade! Since the mousse is basically pure, glorious chocolate folded with air, any complementary flavor you add to the melted chocolate stage will carry beautifully. You absolutely must try adding a teaspoon of instant espresso powder to the melted chocolate right before you mix it in. It doesn’t make it taste like coffee, but it deepens the chocolate flavor tenfold—it’s my secret weapon for making it taste richer than it actually is. Trust me, it makes it taste like it came from a five-star French pastry shop!
For a grown-up version, especially good for holiday gatherings, a splash of liqueur right into the chocolate while it’s still warm is heavenly. A teaspoon or two of Grand Marnier (orange) is fantastic, or Kahlúa blends in seamlessly! You could even try swapping out the vanilla extract for almond extract if you want something a little unexpected. If you want even more intense flavor combinations, you might love my recipe for the rich chocolate peppermint mousse!
Serving Suggestions for This Special Occasion Desserts
Now that you have your absolutely perfect, chilled, and set chocolate mousse pie, it’s time for the grand reveal! Since this is one of our favorite special occasion desserts, presentation has to be top-notch, even if the actual work was minimal. The secret to making this look like you hired a pastry chef is all in the topping and the plate arrangement. Don’t just plop it on a paper plate!
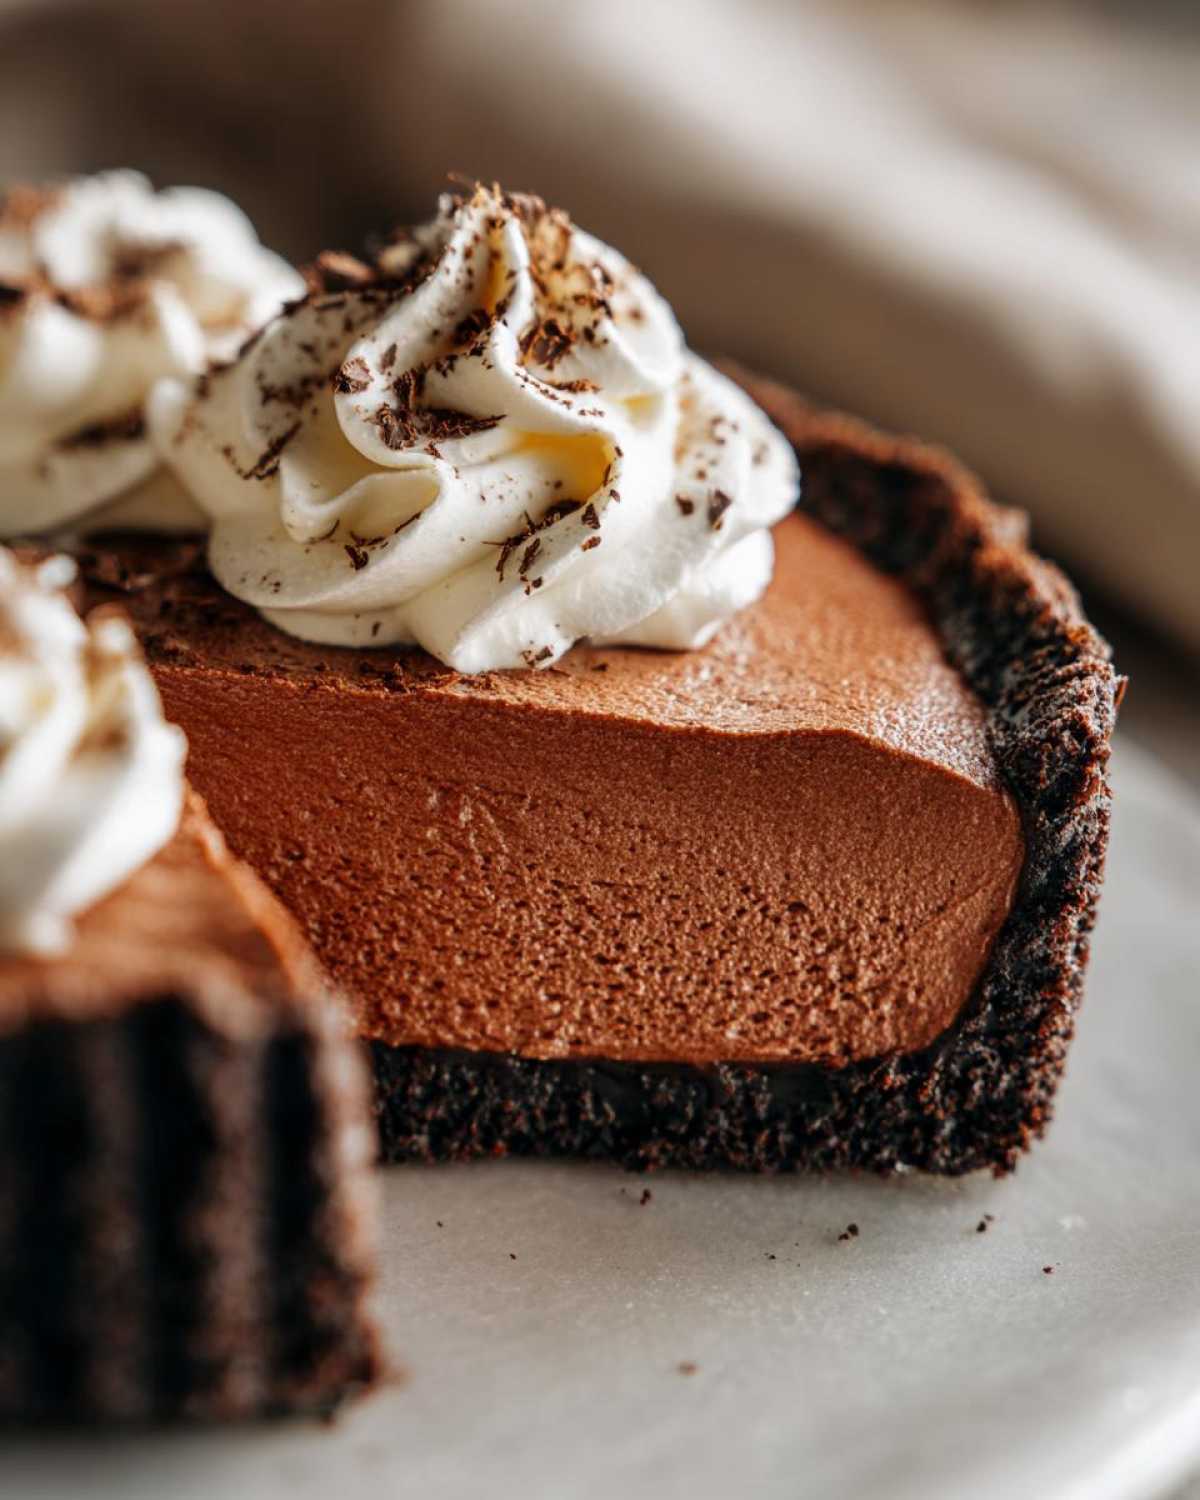
Always apply that stabilized whipped cream topping right before you serve it, as close to presentation time as possible. I use a large offset spatula to create dramatic, swooping peaks all over the top. Don’t worry about perfection here—texture and movement look way more appealing than a flat, smooth surface. Then, you must garnish!
For simple elegance, dust the entire top with high-quality unsweetened cocoa powder using a fine-mesh sieve. It gives you this dusty, velvety look that screams rich and decadent. If you’re feeling extra fancy, use a vegetable peeler to create long, delicate curls of dark chocolate and scatter them artfully over the whipped cream. A few fresh raspberries or tiny mint leaves on the side of the slice also add a necessary pop of color against all that dark brown goodness.
When it comes to pairings, forget heavy things! This pie is so creamy and rich already that it needs something bright as a counterpoint. A delicate, slightly tart fruit sauce is divine—think raspberry or cherry drizzled lightly around the edge of the plate. If you’re serving it after a heavy meal, a small glass of something slightly acidic or herbal works well. I love pairing a slice with a tiny espresso or maybe even a light, floral herbal tea instead of heavy coffee. It cleanses the palate beautifully. It’s amazing how adding a little bit of freshness elevates the entire dish! If you’re looking for other impressive fruit-based desserts that always steal the show, check out my recipe for peach cobbler with fresh peaches!
Storage and Make Ahead Pie Recipes for Your Chocolate Mousse Pie
One of the absolute best qualities of this chocolate mousse pie is that it totally belongs in the “Hello, make ahead pie recipes category!” Having a dessert ready and waiting in the fridge is a lifesaver, especially when you’re hosting a busy holiday or big family dinner. Because this is a no-bake dessert based on chilled dairy and chocolate setting up, storage is really straightforward, but you have to treat that beautiful mousse filling gently.
Once you’ve topped it with the whipped cream (which you absolutely should do the day you serve it for the best look), cover the entire pie plate loosely with plastic wrap. Make sure the wrap isn’t actually touching that gorgeous whipped topping, or you’ll end up with messy condensation spots. You can keep the entire finished pie in the refrigerator for up to two days. Honestly, the texture is usually best on day one or two, when the mousse is super firm and cold. After that, the cream starts to soften just a tiny bit, but it still tastes heavenly!
Now, if you prefer to prep the whole thing ahead of time—crust and filling—but want to save the fresh whipped cream topping for later, that’s easy too! Fill the chilled crust with the mousse and cover it tightly. It will hold perfectly in the fridge for up to three days *undecorated*. When you’re ready to serve, just make a fresh batch of stabilized whipped cream (remember that gelatin trick!) and top it right before slicing. You don’t want to try freezing this pie, though. While the crust and chocolate base might survive, the air pockets we created in the mousse filling will separate when they thaw, leaving you with something closer to a chocolate pudding than a light, airy dessert. Keep it cold, keep it covered, and enjoy the make-ahead ease!
If you’re looking for other creamy desserts that store wonderfully in the fridge, you should definitely look into my creamy eggnog panna cotta recipe—it’s another elegant make-ahead winner!
Frequently Asked Questions About This No Bake Chocolate Pie
I know sometimes seeing all those steps in a complex-sounding recipe like this no bake chocolate pie can bring up questions, so let’s clear up the minor stuff so you can just focus on enjoying this amazing dessert! I’ve gathered the most common things people ask me when they try making their first creamy chocolate pie.
Can I use regular chocolate chips instead of chopped bittersweet chocolate for the homemade chocolate mousse filling?
You totally can, but you might see a slightly different result with the texture and the taste, so I always caution people here! Chocolate chips have stabilizers in them designed to help them keep their shape when baked in cookies. Because of those additives, they don’t always melt down into that gorgeously smooth, glossy liquid we need for the silkiest homemade chocolate mousse filling base. If you must use chips, chop them up finely and make sure the water you add is piping hot to encourage them to melt fully. Also, if you use semi-sweet chips instead of bittersweet, your final pie will be noticeably sweeter, which might crowd out the deep chocolate flavor we are going for!
Is this recipe truly a light and airy dessert, or is it dense?
This is my favorite question because it gets right to the heart of why this recipe works! I promise you, it is genuinely a light and airy dessert. It never turns out heavy or solid like a fudge bar. The lightness comes from two sources working together: first, the heavy cream is whipped to soft peaks to incorporate air, and second—and this is the real trick—we gently fold in that stiff meringue made from the egg whites. That meringue acts like tiny little trapped balloons throughout the mousse, keeping everything lifted and airy once it sets. As long as you fold gently, you will have that cloud-like texture every single time!
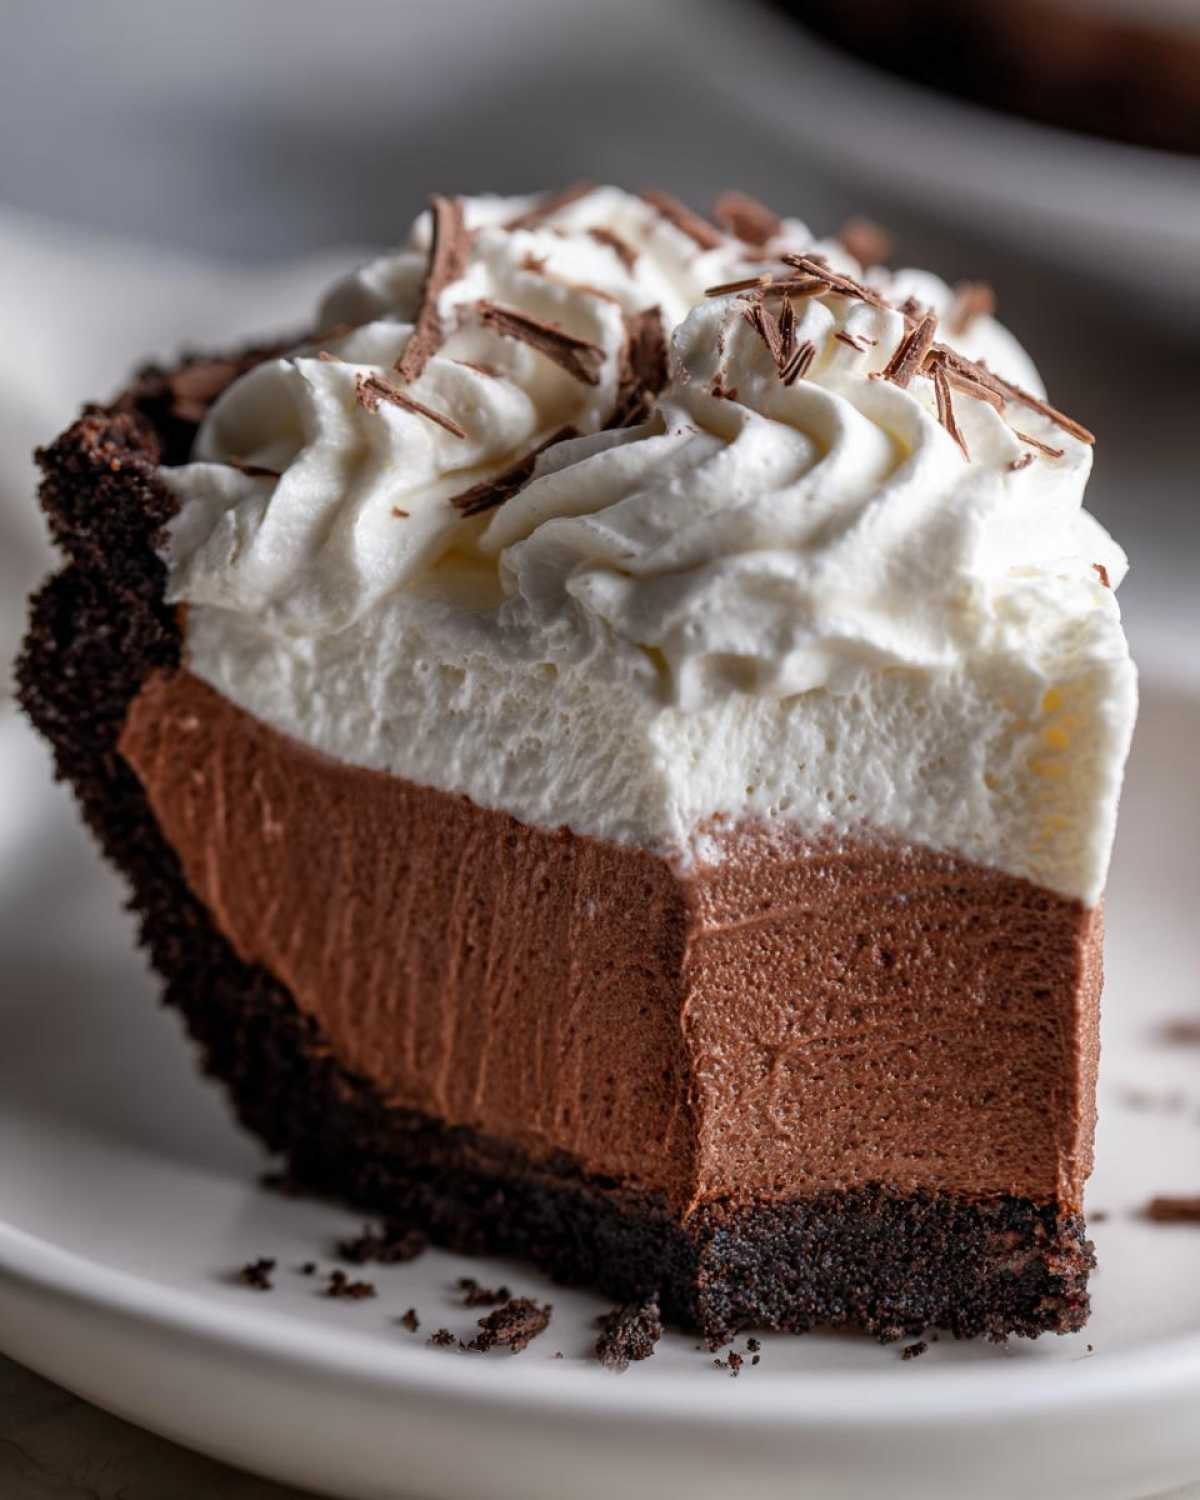
What is the best way to slice a creamy chocolate pie cleanly?
Ah, the dreaded messy slice trauma! We’ve all been there, pulling a slice out and watching the filling ooze everywhere. For this beautiful creamy chocolate pie, the secret weapon is HEAT. Before you plan to cut the pie, boil some water and fill a tall glass. You’re going to dip a long, thin, sharp knife into that hot water, wipe it completely dry with a paper towel, and then make your first slice. The heat melts the chocolate and fats just enough to glide through cleanly without dragging the filling. Wipe the knife clean and reheat it for every single slice. It sounds fussy, but it gives you those beautiful, sharp edges that make the pie look so professional!
If you are looking for another recipe that benefits from a hot knife trick (hello, custards!), you absolutely have to try my recipe for classic French toast!
Share Your Decadent Mousse Dessert Experience
I am practically buzzing waiting to hear what you think of this decadent mousse dessert! Seriously, I want to see your creations! This chocolate mousse pie is one of those desserts that just begs to be shared. Did you use the Oreo crust or try a nutty variation? How did your homemade whipped cream topping turn out?
Please, please tell me how it went! Drop a star rating right down below so other bakers can see how much you loved this easy treat. Snap a photo of your finished pie—especially those perfect slices—and tag me on social media. I flip out every time I see one of my recipes making someone’s special occasion even sweeter. Don’t be shy, your feedback helps so much with keeping these recipes perfect for everyone!
If you’re looking for more culinary adventures or just want to browse all the new recipes coming out of my kitchen, you can always head straight to the main recipe index!
PrintEasy No-Bake Chocolate Mousse Pie

A rich, creamy, and light chocolate mousse pie made without baking, featuring a crisp chocolate wafer crust and a stabilized whipped cream topping.
- Prep Time: 30 min
- Cook Time: 0 min
- Total Time: 6 hours 30 min
- Yield: 8 servings
- Category: Dessert
- Method: No-Bake
- Cuisine: American
- Diet: Vegetarian
Ingredients
- 1 1/2 cups chocolate wafer crumbs (or Oreo crumbs, filling removed)
- 1/4 cup granulated sugar
- 6 tablespoons unsalted butter, melted
- 1 cup heavy cream, cold (for mousse)
- 8 ounces bittersweet chocolate, chopped
- 1 teaspoon vanilla extract
- 1/4 cup hot water
- 1/4 cup granulated sugar (for meringue)
- 2 large egg whites, room temperature
- 1 cup heavy cream, cold (for topping)
- 2 tablespoons powdered sugar (for topping)
- 1/2 teaspoon vanilla extract (for topping)
Instructions
- Prepare the crust: Mix chocolate wafer crumbs, 1/4 cup sugar, and melted butter until evenly moistened. Press the mixture firmly into the bottom and up the sides of a 9-inch pie plate. Chill in the refrigerator for 30 minutes.
- Melt the chocolate: Place chopped bittersweet chocolate in a heatproof bowl. Pour 1/4 cup hot water over the chocolate and let it sit for 2 minutes, then stir until smooth. Stir in 1 teaspoon vanilla extract. Let cool slightly.
- Whip the mousse base: In a separate bowl, whip 1 cup of cold heavy cream until soft peaks form. Set aside.
- Make the meringue: In a clean, grease-free bowl, beat the egg whites until foamy. Gradually add 1/4 cup sugar and continue beating until stiff, glossy peaks form.
- Combine the mousse: Gently fold the slightly cooled melted chocolate mixture into the whipped cream until just combined. Then, gently fold the meringue into the chocolate-cream mixture until no white streaks remain, keeping the mixture light.
- Fill the pie: Pour the mousse filling into the chilled crust. Smooth the top with a spatula. Refrigerate for at least 6 hours, or preferably overnight, until the filling is firm.
- Prepare the topping: Before serving, whip the remaining 1 cup of cold heavy cream with 2 tablespoons powdered sugar and 1/2 teaspoon vanilla extract until stiff peaks form.
- Finish the pie: Spread or pipe the whipped cream over the chilled pie. Garnish with chocolate shavings if desired. Slice and serve cold.
Notes
- For a firmer crust, you can bake the crust at 350 degrees F for 8 minutes before chilling.
- To stabilize the whipped cream topping, add 1 teaspoon of unflavored gelatin dissolved in 2 tablespoons of cold water to the cream before whipping.
- Use high-quality dark chocolate for the best flavor in the mousse.
Nutrition
- Serving Size: 1 slice
- Calories: 450
- Sugar: 35g
- Sodium: 180mg
- Fat: 32g
- Saturated Fat: 18g
- Unsaturated Fat: 14g
- Trans Fat: 0.5g
- Carbohydrates: 38g
- Fiber: 3g
- Protein: 6g
- Cholesterol: 95mg
