

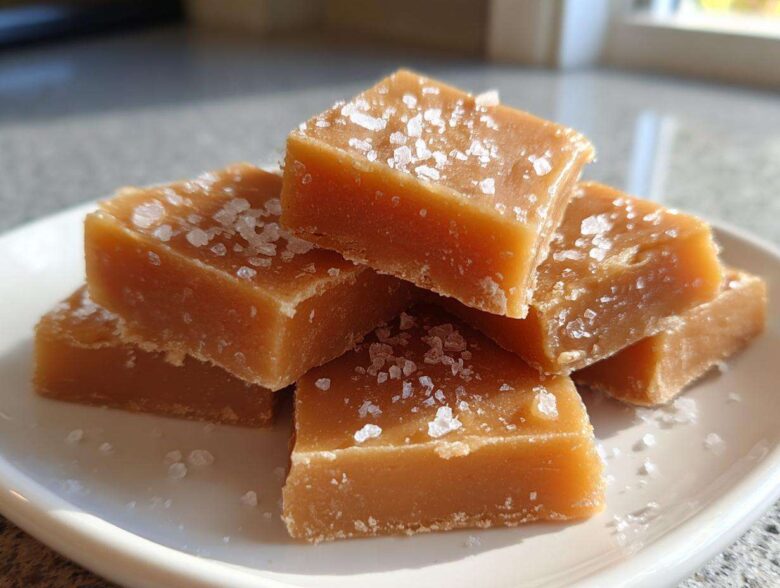
I used to think that true, melt-in-your-mouth, soft and chewy caramel was only found at fancy candy shops, or maybe something my rich aunt brought out at Christmas. Buying caramels was easy, sure, but I always felt like something was missing! Trust me when I say that mastering the candy thermometer totally changed everything for my holiday baking—nothing beats that buttery, rich flavor when you make it yourself.
This recipe is my absolute favorite because it’s a two-for-one deal! You get these incredible, perfectly chewy squares of homemade caramel candy, and whenever I finish a batch, I always scoop out a little extra base to turn into the most luscious, quick homemade caramel sauce. That topping is perfect for drizzling over the best salted caramel apple pie, or just sneaking a spoon of straight from the jar. You won’t believe how easy soft and chewy caramels can be!
We’re using simple ingredients here, but the technique is what makes these taste gourmet. Forget those hard, jaw-breaking candies; we are aiming for pure buttery goodness. If you’ve been scared to try candy making before, this is the batch that’ll make you say, “Wow, I made that!”
Why This is the Best Homemade Caramel Recipe (Soft and Chewy Perfection)
So, why are these my go-to? Because this is truly an easy homemade caramel recipe that delivers exactly what you want: soft and chewy caramels that practically dissolve on your tongue. We aren’t messing around with a 3-ingredient sauce here—we’re making real candy!
The secret weapon, and I can’t stress this enough, is the candy thermometer. You can try guessing about the temperature, but when you’re dealing with sugar, you need precision. Getting that temperature exactly right is how we guarantee that melt-in-your-mouth texture every single time, skipping all the frustration of hard candy.
The little bit of extra fuss using the thermometer pays off when you serve these up. Plus, you get that amazing bonus sauce later! It’s fantastic poured over no-bake turtle pie, too.
Essential Ingredients for Homemade Caramel
You only need a handful of items, but make sure they are ready to go before the heat turns on! We rely on quality here for that buttery caramel sweets flavor.
- We need two cups of granulated sugar—that’s our base.
- Light corn syrup is non-negotiable; it keeps the sugar from turning grainy on us.
- The heavy cream has to be warmed up first! I just microwave mine for about 30 seconds. And it must be heavy cream, not half-and-half.
- Butter needs to be cut into pieces and waiting patiently by the stove.
- Vanilla extract and a good spoonful of sea salt finish up the flavor profile.
Gathering Supplies for Your Homemade Caramel Candy
Before we even think about turning on the heat, let’s talk about what you need, because rushing this part leads to scorched sugar, and nobody wants scorched sugar. Trust me on this one—my first attempt was a disaster because I used the thinnest pot I owned!
The most important tool here is your candy thermometer. Seriously, if you’re trying this beginner caramel recipe without one, you’re praying to the candy gods, and sometimes they don’t listen! We need accuracy when we are making things from scratch.
You absolutely must have a heavy-bottomed saucepan. This distributes the heat evenly, which is your number one defense against burning the sugar, especially when it gets super hot. A light or thin pan will create hot spots, and suddenly your whole batch tastes like charcoal.
Also, get your pan ready *before* you start cooking. For the candy, I prep my 8×8 inch dish by lining it completely with parchment paper, making sure it hangs over the sides a little bit. That overhang creates handles so you can easily lift the whole slab out later, which is a lifesaver when you are dealing with sticky, fresh candy.
Step-by-Step Instructions to Make Soft and Chewy Homemade Caramel
Alright, time to get serious about making this homemade caramel! We’re following the recipe precisely because sugar doesn’t negotiate. First up, you combine the sugar and the corn syrup in that heavy-bottomed pot we talked about. We cook this over medium heat, stirring until everything is dissolved, which is really crucial for a smooth pull.
Once it starts boiling, stop stirring instantly. Now we wait for the thermometer to climb. We want it to hit 245 degrees Fahrenheit first. This is where we introduce the butter and cream. Here’s my big tip: when you take the pot off the heat to pour in that warmed cream, pour it in slowly and whisk like crazy! If you dump it all in at once, the temperature shock can cause the sugar to seize up and crystallize. Don’t let that happen! I know we are making candy, but knowing about other savory cooking techniques, like how careful you have to be when slow-cooking caramelized onions, helps you understand the need for low and slow heat when mixing ingredients.
Once the cream and butter are mixed in smoothly, we put it back on low heat and cook it again until we hit that magical 248°F mark. That’s the key reading for our final soft and chewy caramels consistency.
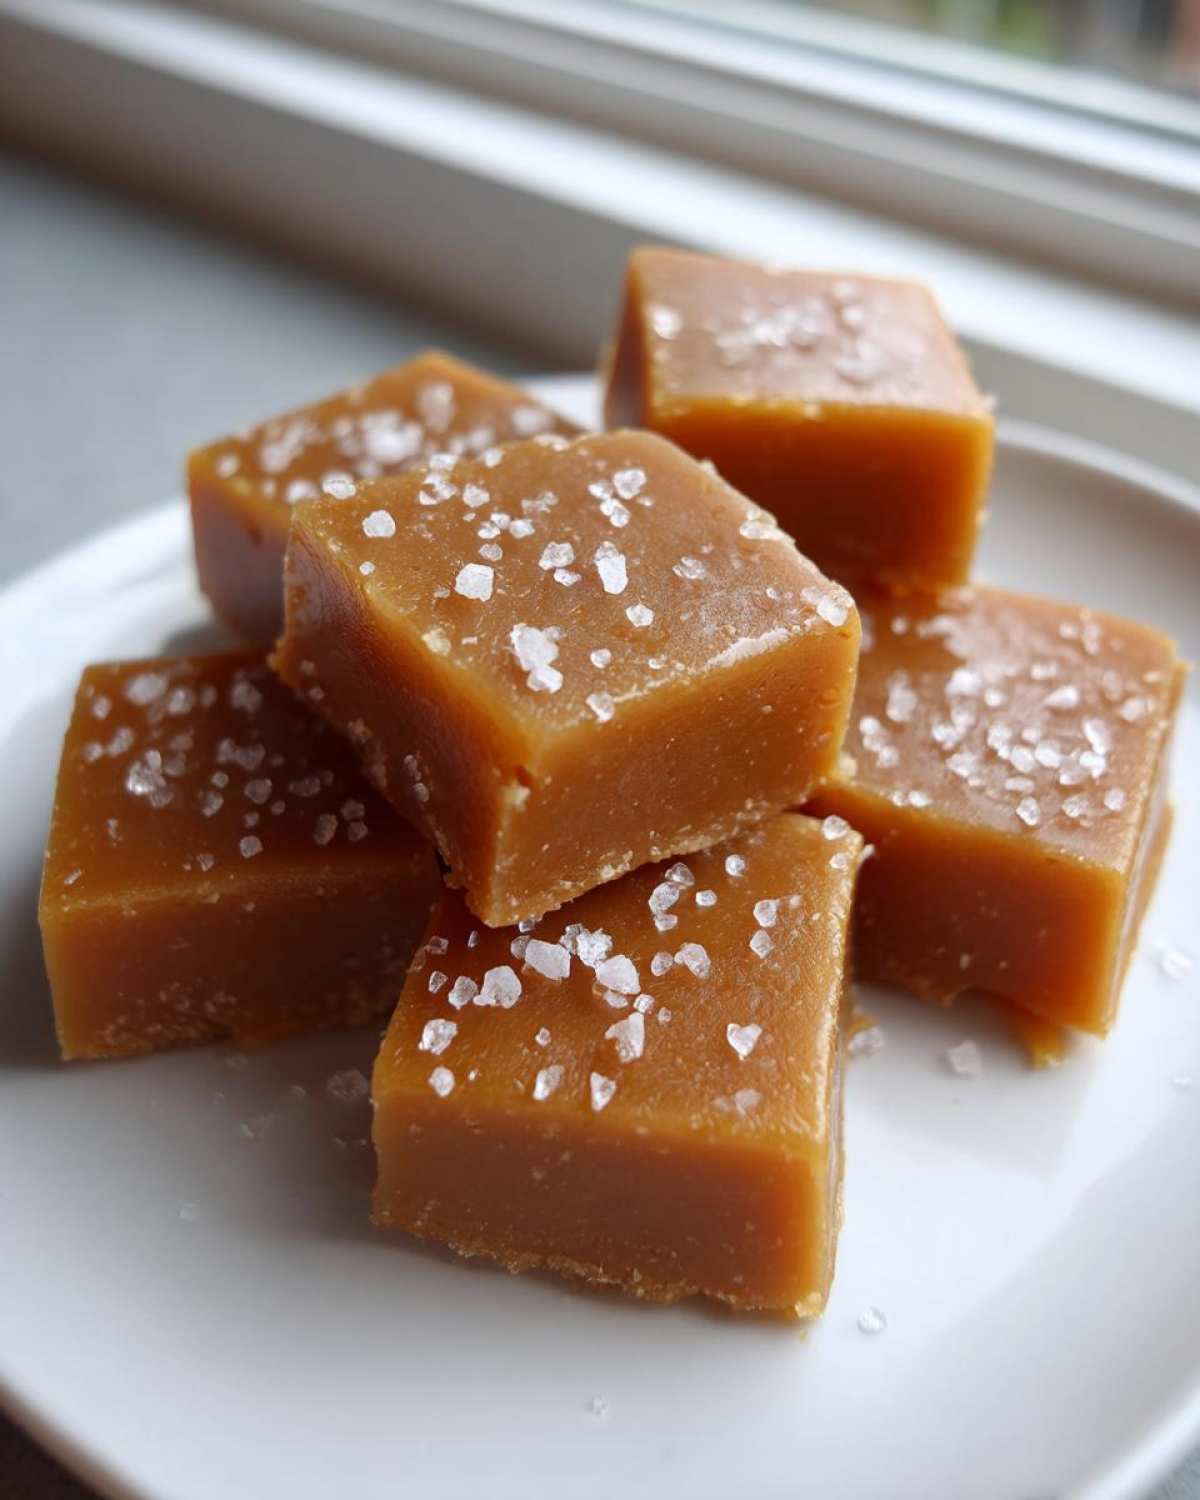
Reaching the Perfect Temperature for Homemade Caramel
That 248°F reading puts us firmly in the firm-ball stage, which is exactly what makes the candy chewy instead of brittle. If you’re looking at your thermometer and it seems stuck, just keep the heat low and let it happen. Patience is your friend here!
Now, if your thermometer decides to take a vacation just when you need it most—don’t panic! Remember that note in the recipe? We can test it the old-fashioned way. Drop a tiny bit of the bubbling mixture into a glass of ice water. If it stiffens immediately into a soft, pliable ball that you can roll between your fingers, bingo! It’s ready. If it dissolves, keep cooking a little longer and test again.
Finishing and Setting Your Homemade Caramel Candy
Once it hits that perfect temperature, take it off the heat and quickly stir in your vanilla and that teaspoon of sea salt. Taste it quickly before you pour—it’s your last chance to adjust the saltiness! Then, move fast and pour that gorgeous, thick liquid into your prepared 8×8 pan. Don’t scrape the bottom of the pot; we just want the smooth stuff!
Immediately give the top a light sprinkle of flaky sea salt. That’s what makes them look polished and adds that lovely salty crunch. Now, this is the hardest part of the whole process for me: you have to walk away. Let it cool completely at room temperature for at least four hours! If you cut it while it’s even slightly warm, you’ll just end up with salty caramel puddles.
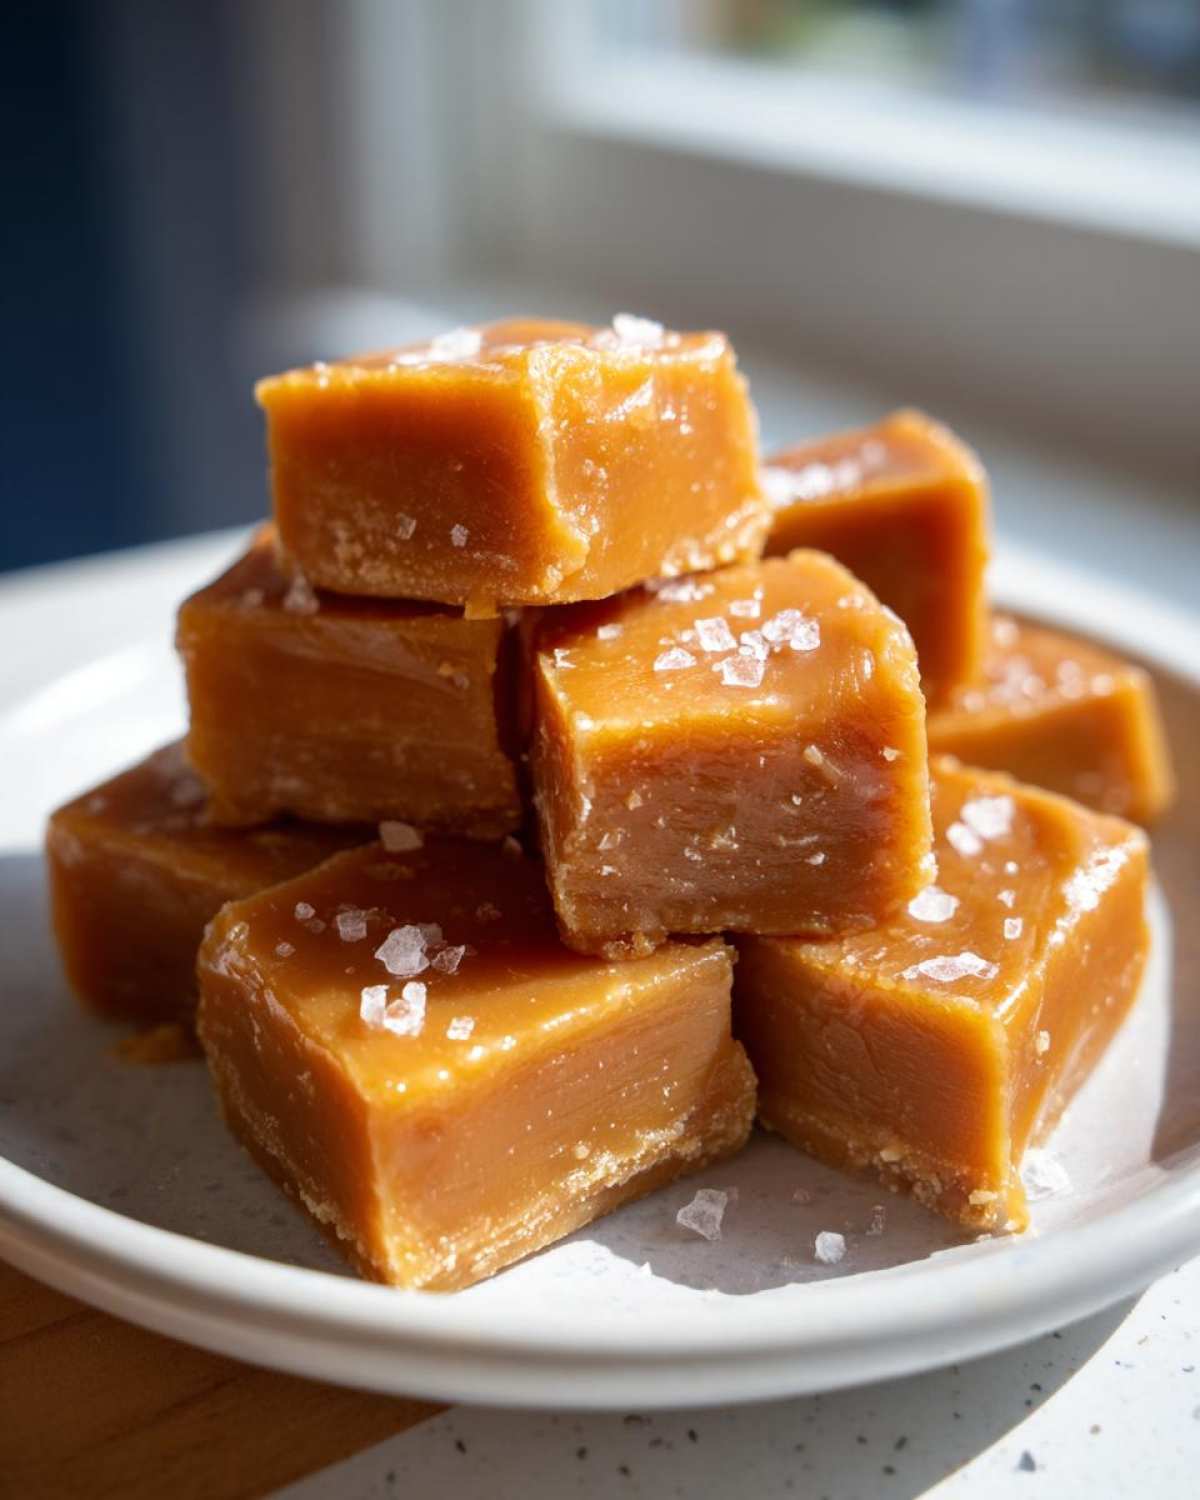
Transforming Leftover Base into Quick Homemade Caramel Sauce
Okay, once you’ve poured most of that beautiful, soft mixture into your candy pan, don’t forget that we have a little bonus waiting for us! This is how we get that amazing quick homemade caramel sauce without making a separate batch. You need to carefully scoop about one cup of that hot, finished base into a separate heatproof bowl or jar.
This is where the magic happens for drizzlers and coffee lovers! Because the candy base is thicker, we thin it out slightly to get the perfect, pourable consistency. Just whisk in one or two extra tablespoons of heavy cream until it looks silky smooth. If you want it runnier for your morning caramel brown sugar latte, add a little more cream. It sets up beautifully when chilled, but it’s incredible drizzled warm over ice cream too. See? You essentially made two incredible things from one pot of glorious homemade caramel!
Tips for Success with Your Beginner Caramel Recipe
So, you’ve made it through the cooking part, which is fantastic! Now that you have mastered a truly no fail caramel tutorial, let’s talk about a few things I’ve learned over the years to keep the process smooth from start to finish. Because really, we all want those buttery caramel sweets to turn out perfect every time.
Remember that note about the cream temperature? It bears repeating. If you add cold cream to hot sugar, the temperature drops too fast, and you risk sugar crystals forming everywhere—that’s crystallization for you! Always make sure that heavy cream is warm. I usually pour it into a small measuring cup and microwave it for 30 seconds right before I need it. It doesn’t have to be boiling, just warm enough not to shock the sugar.
Also, when the caramel is cooking after the cream goes in, you need to stir frequently but not constantly. You’re encouraging that heat to be even. If you see the sides of the pot looking darker than the middle, gently sweep your heatproof spatula around the edges to bring those darker bits into the center. This keeps the cooking even, ensuring a consistent texture across all your candies.
And what if, despite all your care, you see some grainy bits starting to form? Don’t toss it! Sometimes a tiny bit of crystallization happens. You can try adding a teaspoon of water and stirring gently until the crystals dissolve back into the syrup. If that fails, you can strain the whole batch through a fine-mesh sieve into a clean pot before the final cook. It’s a little extra work, but it saves your homemade caramel batch!
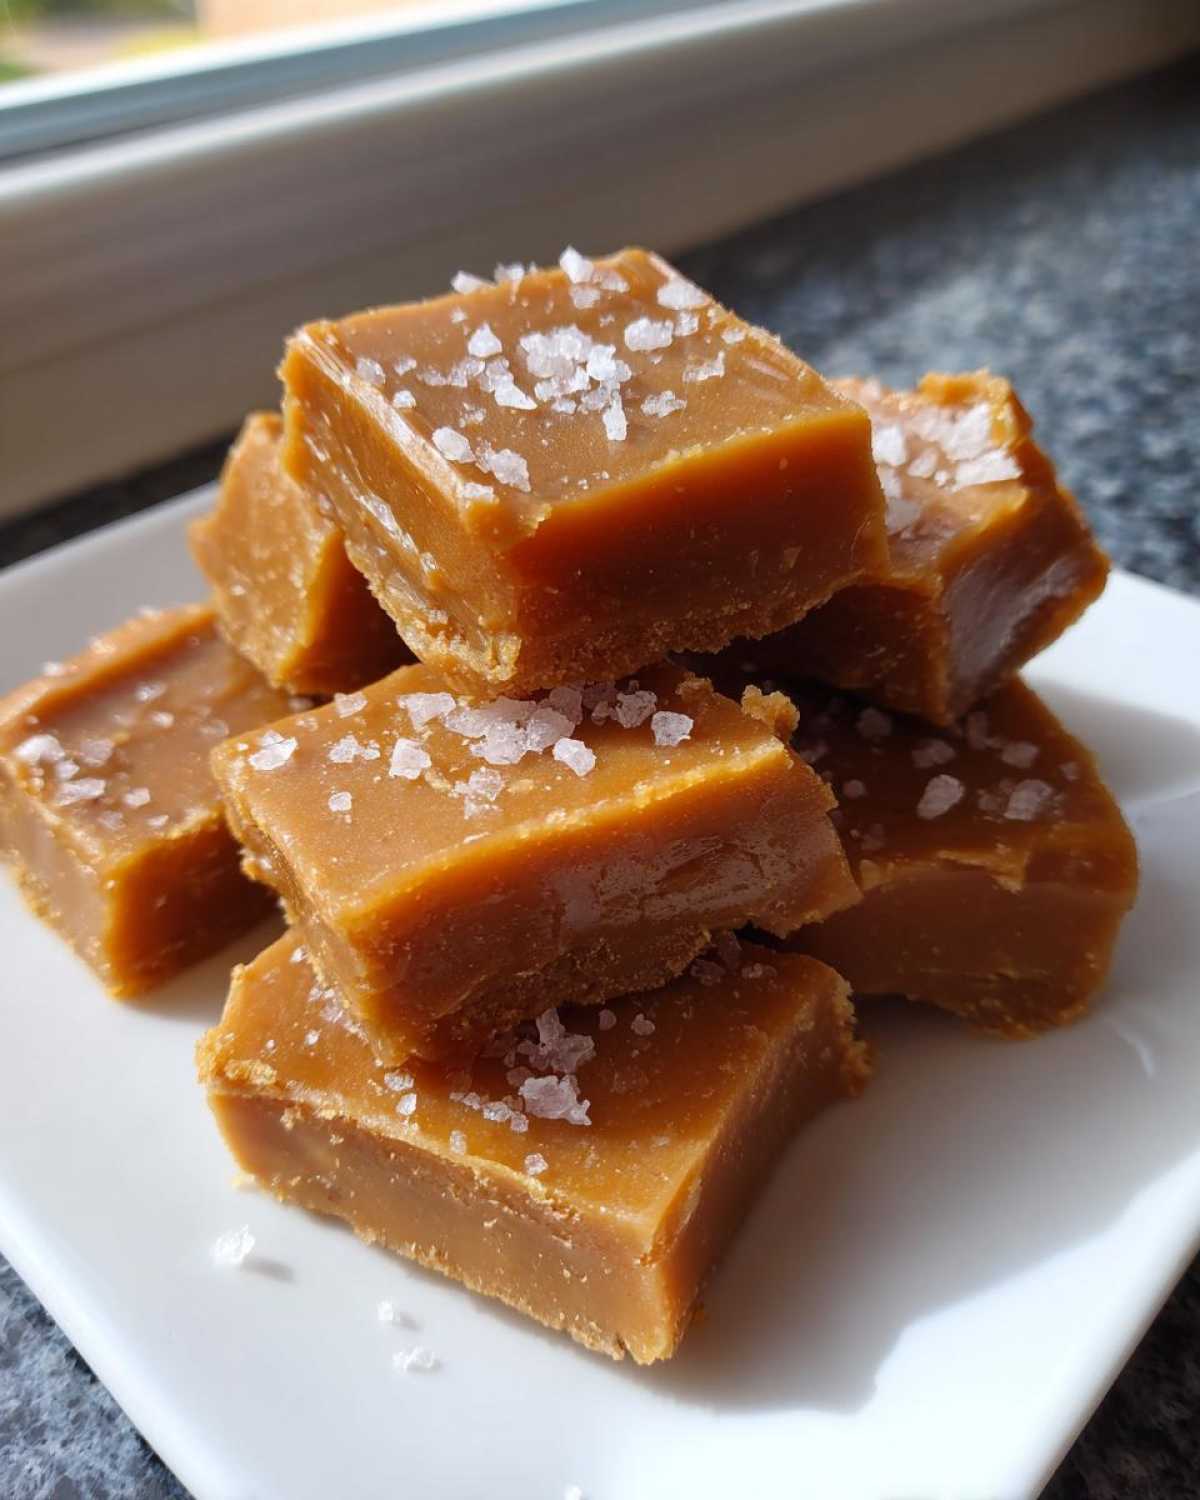
These little checks make all the difference between a good batch and a show-stopping batch. Seriously, these tips help you level up from just ‘making caramel’ to creating gourmet flavor, perfect for pouring over things like my maple caramel matcha latte!
Serving Suggestions for Homemade Caramel Topping
Now that you’ve got this incredible, velvety caramel topping for ice cream, the fun really begins! Honestly, I’ve nearly finished batches of sauce just eating it warm with a spoon while standing over the sink. Don’t judge—you might do it too!
But if you want to be civilized, you have so many options. This sauce is fantastic warmed up slightly and drizzled generously over vanilla ice cream. It solidifies just enough when it hits the cold surface to give you that great textural contrast.
It’s sublime in coffee. Stir a tablespoon into your morning brew or use it as the base for a decadent latte. The way the slight bit of sea salt cuts through the sweetness is just gorgeous with coffee flavor.
And of course, you can’t forget baked goods! It makes a fantastic finishing touch on brownies, straight out of the oven, or dolloped on top of pancakes. If you’re making a quick dessert, try using it in place of traditional glaze on something like my apple cinnamon rolls. It just elevates everything instantly. Think apples, pumpkin, or even just dipping pretzels in it. It’s so versatile once you have those homemade caramels base ready to go!
Storage and Reheating Instructions for Homemade Caramel
Okay, you’ve got your gorgeous, chewy squares and that dreamy sauce. Now, how do we keep them perfect? The storage depends entirely on which version you’re dealing with, so we have to treat them differently.
For the candies, wrapping is key because they are magnets for moisture or anything else in the air, which can make them stick together. I always cut my homemade caramel squares and wrap each piece individually in small squares of wax paper. Then, I pop those wrapped candies into an airtight container. They are pretty happy sitting on the counter at cool room temperature for a couple of weeks, especially if your kitchen isn’t too warm. If you plan on keeping them past two or three weeks, pop the airtight container into the fridge, but let them come to room temperature for about an hour before eating so they get that perfect chew back.
The sauce is slightly different. Because we add a little extra cream to give it that pourable texture, it needs refrigeration sooner rather than later. Store your leftover caramel topping in a clean jar with a tight lid. It will firm up a lot in the fridge—that’s normal because of all the butter and cream we used!
When you want to use that chilled sauce, don’t just microwave the whole jar! That can make the sugars break down weirdly. A gentle reheat is best. Scoop out the amount you need into a small, microwave-safe bowl and heat it in short 10-second bursts, stirring vigorously in between each blast. This gentle encouragement gets the sauce smooth and velvety again without scorching. If you want to use a lot of sauce, heating it gently over very low heat on the stovetop while stirring continually works perfectly to bring it back to that gorgeous, flowy texture!
Frequently Asked Questions About Making Caramel From Scratch
When you tackle how to make caramel from scratch, folks always have little worries creeping in! That’s totally normal when you’re dealing with hot sugar. Here are a few of the questions I get asked most often about these homemade caramels.
If stored properly, those little soft and chewy caramels should last quite nicely for about three weeks at cool room temperature in an airtight container, especially if you wrapped them individually like I suggested. If you are aiming for maximum freshness, especially if they’re part of your big holiday candy stash, the fridge is your best friend, but remember to let them warm up just a touch before diving in!
And yes, crystallization can happen, but remember that super detailed section on why that happens? Usually, it’s because of agitation or temperature shock! If you follow the method above, you’ll have a very no fail caramel tutorial on your hands, and crystallization should be very rare.

Can I use brown sugar instead of granulated sugar in this homemade caramel recipe?
That’s a great question! While you absolutely *could* substitute some brown sugar in here, I really advise against swapping it all out for this particular recipe if you want that classic, buttery flavor. Brown sugar has molasses in it, which means it adds a deeper, more intense caramel or toffee flavor. More importantly for the candy, the molasses lowers the sugar’s boiling point slightly!
If you use all brown sugar, your candy won’t reach that necessary 248°F as easily, and you might end up with something closer to a super thick, grainy fudge rather than a soft chew. Stick to the granulated sugar for the main body of the candy, and use a drizzle of the sauce over something like my maple glazed baked donuts for that richer flavor hit instead!
What happens if my caramel crystallizes?
Crystallization is when the sugar forms large, crunchy crystals instead of that smooth candy texture. It’s usually a disaster, but don’t throw it out yet! If you catch it early, sometimes adding a tablespoon or two of water and gently heating it while stirring until those rough edges dissolve can save it. If it’s already set in the pan and it’s crunchy, sadly, that batch is better suited for crumbling over cookies than eating straight, but it will still work as a very grainy sauce base!
Can I make homemade caramel without corn syrup?
This is probably the number one question I get when people look at making candy from scratch. The corn syrup is there because it’s an invert sugar—it actively works to prevent the regular sugar from recrystallizing. If you skip it, you need to substitute it with an equivalent amount of another invert sugar, like golden syrup or glucose. You can try honey, but it will taste strongly of honey! Trying to do this with just sugar and water usually results in a hard, brittle candy that shatters when you bite it, not your goal of melt in your mouth caramels.
Making Gourmet Homemade Candy for Gifting
If you’ve mastered the soft and chewy caramels, you know you’ve created something truly special—and that makes them the perfect caramel candy for gifting! I always make a double batch around the holidays just for wrapping up for neighbors and teachers. Presentation makes all the difference here.
As I mentioned, wrap those individual squares in small squares of wax paper; it looks so much more thoughtful than just dumping them in a zipper bag. Tie them up with simple twine and a little gift tag. If you want to elevate them to truly gourmet homemade candy status, layer them with parchment inside small, cute boxes. This is how you skip the store and make something truly memorable!
You can check out some other fun ideas for making treats shine when you visit my general guide on gourmet homemade candy tips. Remember, you need that full four hours to set, so plan your baking schedule accordingly! Making these candies ahead of time is a huge win for busy holiday baking schedules.
PrintSoft and Chewy Homemade Salted Caramel Candy and Sauce
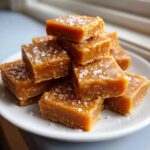
Make soft, chewy salted caramel candies from scratch. This recipe also shows you how to easily turn the leftover candy base into a rich caramel sauce perfect for drizzling.
- Prep Time: 15 min
- Cook Time: 30 min
- Total Time: 4 hours 45 min
- Yield: About 40 candies and 1 cup sauce
- Category: Dessert
- Method: Stovetop Cooking
- Cuisine: American
- Diet: Vegetarian
Ingredients
- 2 cups granulated sugar
- 1 cup light corn syrup
- 1 cup heavy cream, warmed
- 1 cup unsalted butter, cut into pieces
- 1 teaspoon vanilla extract
- 1 teaspoon sea salt, plus more for topping
Instructions
- Line an 8×8 inch pan with parchment paper and lightly grease the paper.
- In a heavy-bottomed saucepan, combine the sugar and corn syrup. Cook over medium heat, stirring constantly until the sugar dissolves and the mixture begins to boil.
- Stop stirring once boiling begins. Continue to cook until the mixture reaches 245 degrees Fahrenheit on a candy thermometer. This is the firm-ball stage.
- Remove the pan from the heat. Carefully and slowly pour in the warm heavy cream while whisking constantly. The mixture will bubble vigorously.
- Return the pan to medium-low heat. Add the butter pieces and stir until the butter is completely melted and incorporated.
- Continue cooking, stirring frequently, until the mixture reaches 248 degrees Fahrenheit. This is the firm-ball stage for chewy caramels.
- Remove from heat. Stir in the vanilla extract and 1 teaspoon of sea salt.
- For Candy: Immediately pour the mixture into the prepared 8×8 inch pan. Sprinkle the top lightly with extra sea salt. Let it cool completely at room temperature for at least 4 hours, or until firm. Cut into squares.
- For Sauce: Pour about 1 cup of the hot caramel mixture into a separate heatproof jar or bowl. Whisk in 1 to 2 tablespoons of extra cream if needed to reach your desired sauce consistency. Store refrigerated.
Notes
- Use a heavy-bottomed pan to prevent scorching the sugar mixture.
- Always warm the heavy cream before adding it to the hot sugar mixture to prevent the sugar from seizing.
- If you do not have a candy thermometer, the mixture is ready for the candy stage when a small drop hardens immediately in ice water.
Nutrition
- Serving Size: 1 square candy
- Calories: 130
- Sugar: 18g
- Sodium: 45mg
- Fat: 6g
- Saturated Fat: 4g
- Unsaturated Fat: 2g
- Trans Fat: 0g
- Carbohydrates: 20g
- Fiber: 0g
- Protein: 0g
- Cholesterol: 20mg
