

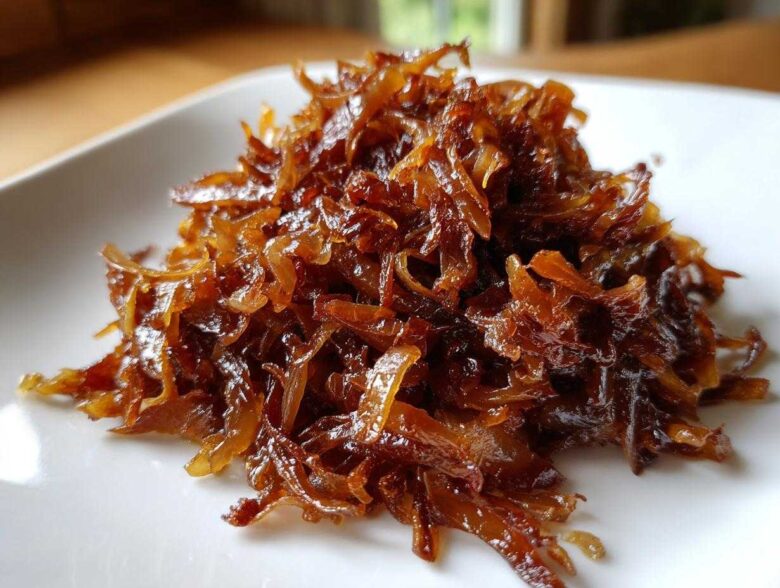
You know, sometimes cooking is just pure alchemy! Taking something sharp, pungent, and maybe a little annoying—like raw onions—and turning it into this deep, jammy swirl of sweet flavor? It’s honestly one of my favorite kitchen tricks. I’m Sasha, and when Lena or Anya are worried about exact measurements, I just trust the process. This guide is all about learning the best way to cook onions to unlock that incredible, deep flavor, creating perfect caramelized onions that are just begging to be eaten straight from the pot. If you’ve been looking for that easy onion recipe that turns any sandwich into something gourmet, stick with me. We are going low, we are going slow, and we are going to make magic! If you want to explore more of our kitchen adventures, you can always check out the rest of our posts over at Savor Sensations.
Why You’ll Love This Guide to Caramelized Onions
Honestly, mastering this process is a game-changer. Before I learned how to do this correctly—and I mean correctly—my onions were either soggy or burnt. No thank you! This method is foolproof, and once you see how dramatic the transformation is, you’ll be hooking them up to every meal. You need these on hand all the time; they become such a necessary kitchen staple onions!
Key Benefits of Mastering Caramelized Onions
- You learn the best way to cook onions sweet without resorting to fake shortcuts. We draw out the real flavor, baby!
- Incredible versatility! These deep flavor onions work in everything from dips to sauces.
- Reliable results every single time because we preach low and slow. No more guessing games about when they are done.
- You master the technique for amazing caramelized onions, which is the foundation for so many gourmet side dishes.
- You gain a super easy, budget-friendly way to instantly elevate something as simple as a burger or toast.
Gathering Ingredients for Perfect Caramelized Onions
Okay, let’s talk supplies! Unlike some recipes that want you to measure things with tweezers, this one sticks to the basics, but you need the right ones. If you use sad little onions, you’re going to get sad, un-caramelized results. Trust me on this one; the quality of the onion matters when you’re aiming for that deep flavor onions magic.
Here is exactly what you need gathered up before we even think about turning on the stove:
- 4 large yellow onions, thinly sliced—I mean uniform slices, people!
- 2 tablespoons unsalted butter—Must be real butter for the richness, don’t even try to argue!
- 1 tablespoon olive oil—Helps the butter not burn right away.
- 1 teaspoon salt—This is crucial for drawing out that initial moisture!
- 1 teaspoon sugar (optional, but I sneak it in for faster browning sometimes!)
- 1/4 cup water or vegetable broth—This is for scraping up those tasty brown bits later when we deglaze.
Ingredient Notes and Potential Swaps
For the absolute best results and achieving the best way to cook onions sweet, stick with large yellow onions. They have the perfect balance of sweetness and structure. If you’re trying to keep this entirely vegan, you can absolutely skip the butter and just use two tablespoons of good olive oil or vegan butter substitute. You might need a tiny bit more patience, but the caramelized onions will still be divine. Remember, we’re building flavor here, not speed, though we’ll talk speed later!
How to Caramelize Onions: The Low and Slow Technique
Okay, this is where the real transformation happens! I follow this to the letter because rushing onions is like trying to rush a good conversation—it just doesn’t stick. We need to draw out all those natural sugars gently. If you’re looking for alternatives, I know some people try to make quick caramelized onions, but trust me, the depth you get from truly slow cooking onions is worth the wait. If you want to see more of our kitchen philosophy about trusting the process, check out our other kitchen staples over on Savor Sensations. This is how you truly learn how to caramelize onions properly!
The Initial Softening Stage for Caramelized Onions
First up, heat your big, heavy pan over medium-low. We’re not searing steak here, so keep that flame shy! Melt your butter and oil until it shimmers. Now, dump in all those beautiful slices and hit them with the salt. That salt is your best friend right now; it starts pulling out the water content immediately. For the first 15 minutes, just let them chill out. Stir them every five or seven minutes so they soften up nicely and release their liquid. Don’t even worry about color yet; we’re just evaporating water!
Developing Deep Flavor Onions: Browning Phase
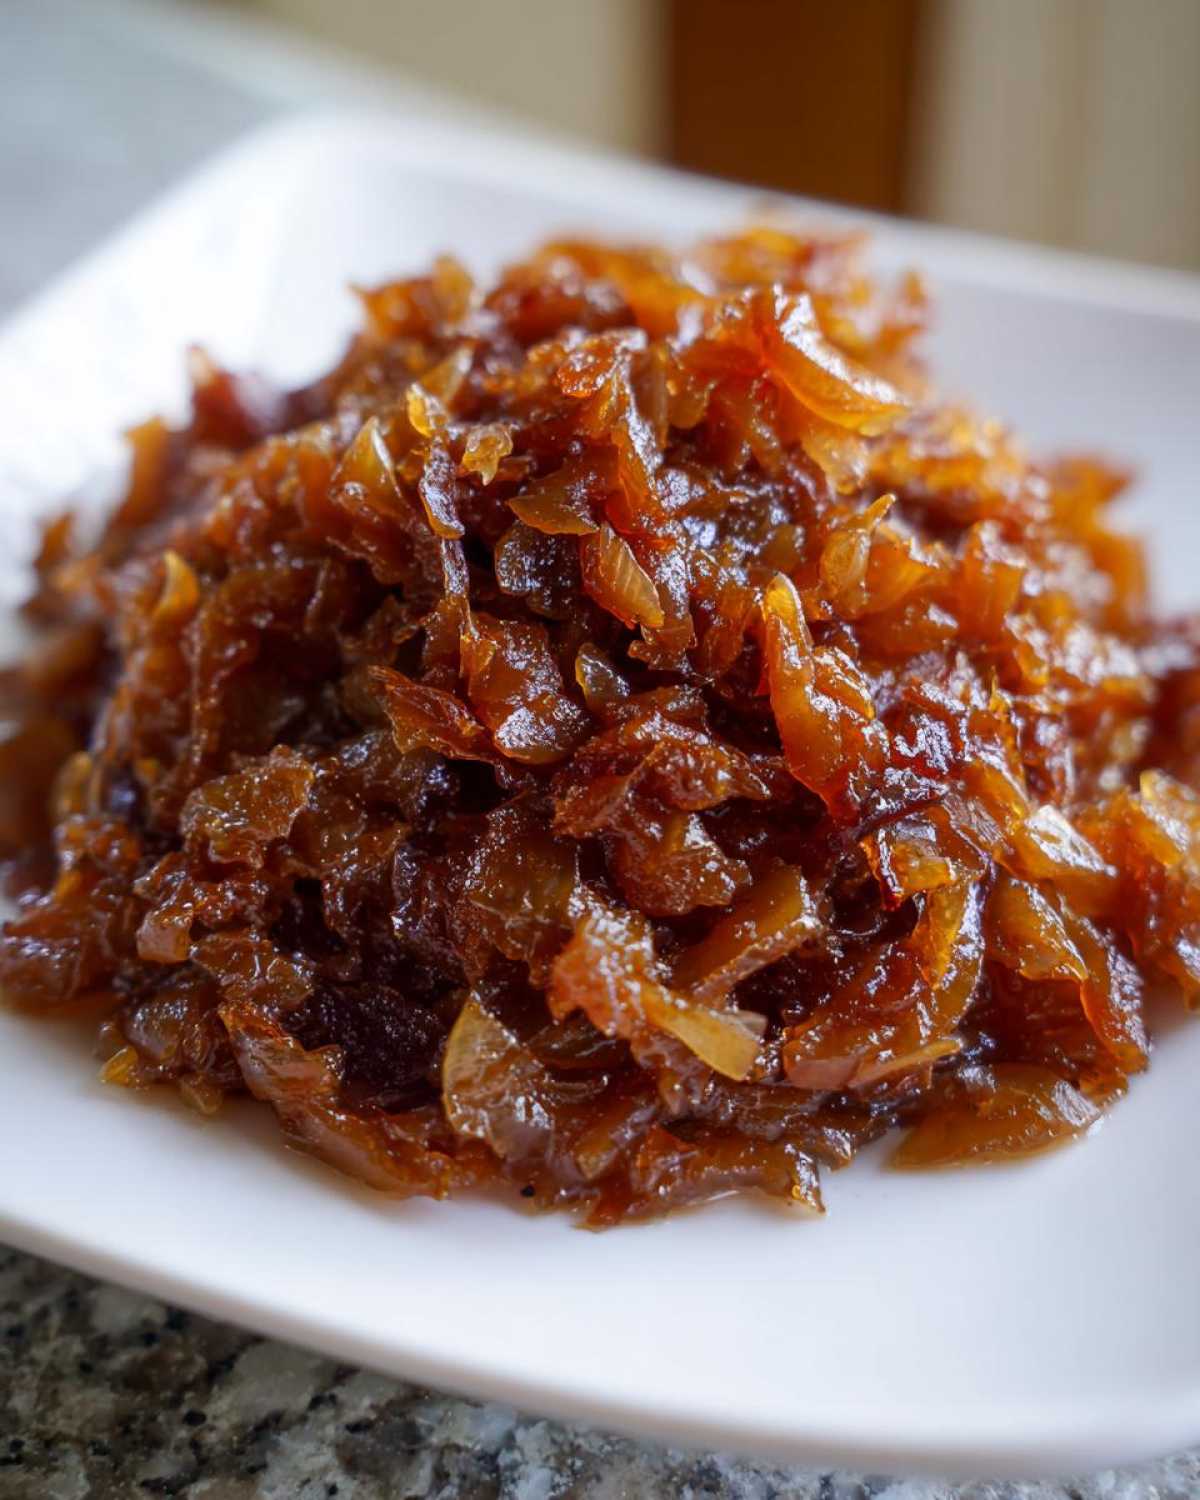
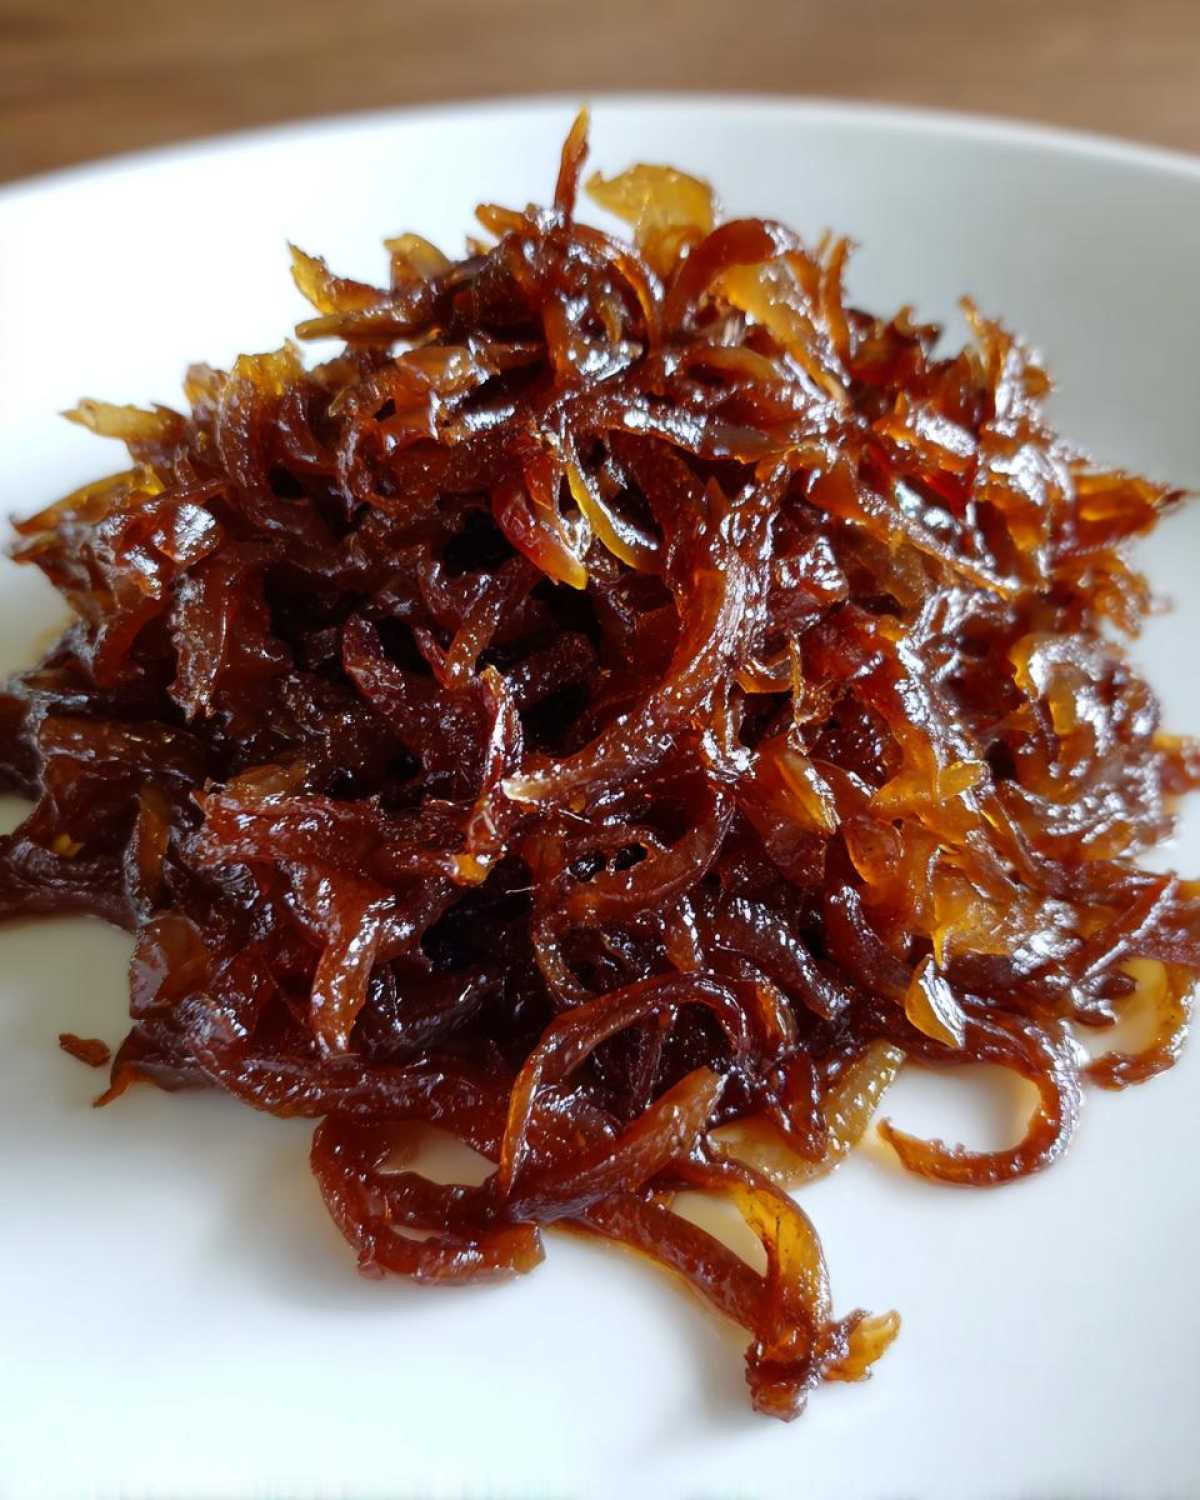
Once they start shrinking and looking a little pale gold—maybe around the 20-minute mark—that’s when things get exciting. If you are using that optional teaspoon of sugar, toss it in now! This helps speed things along just a hair. Now, you need to be present, stirring every three to five minutes because they go from gold to mahogany surprisingly fast. See those little brown bits sticking to the bottom of the pan? That’s the fond, and it’s pure gold! When that happens, splash in a tablespoon of broth or water and scrape it up immediately. Those scrapings are pure essence and give you the richest deep flavor onions possible. Keep going until they are deep brown and jammy. If you need a little boost, I sometimes add a tiny pinch of baking soda here—it’s a quick onion hack that helps them brown beautifully, but don’t forget to deglaze really well if you do that!
If you want to see my detailed process from the start, feel free to hop back to the main guide overview, but once these onions hit that deep brown color, throw them on a sheet pan to cool. You’ve done it!
Troubleshooting Common Issues When Making Caramelized Onions
If your onions aren’t cooperating, don’t panic! This happens to everyone, even me when I get distracted by a good podcast. The biggest mistake people make with caramelized onions is turning the heat up too high. If they are burning black before they get soft, your pan is way too hot. Remember, we want slow cooked onions, not incinerated ones!
If they just sit there looking pale for what feels like forever—you might need the sugar boost or a tiny bit of baking soda to encourage that browning chemically. These little cooking tips for onions save rookies all the time. The key is constant, gentle scraping and patience. If you see dark spots forming, immediately add a splash of liquid to stop the heat from scorching the sugars that have already developed. That fond is what gives you that amazing savory sweet onion flavor!
Using Your Homemade Caramelized Onions: Savory Sweet Onion Topping Ideas
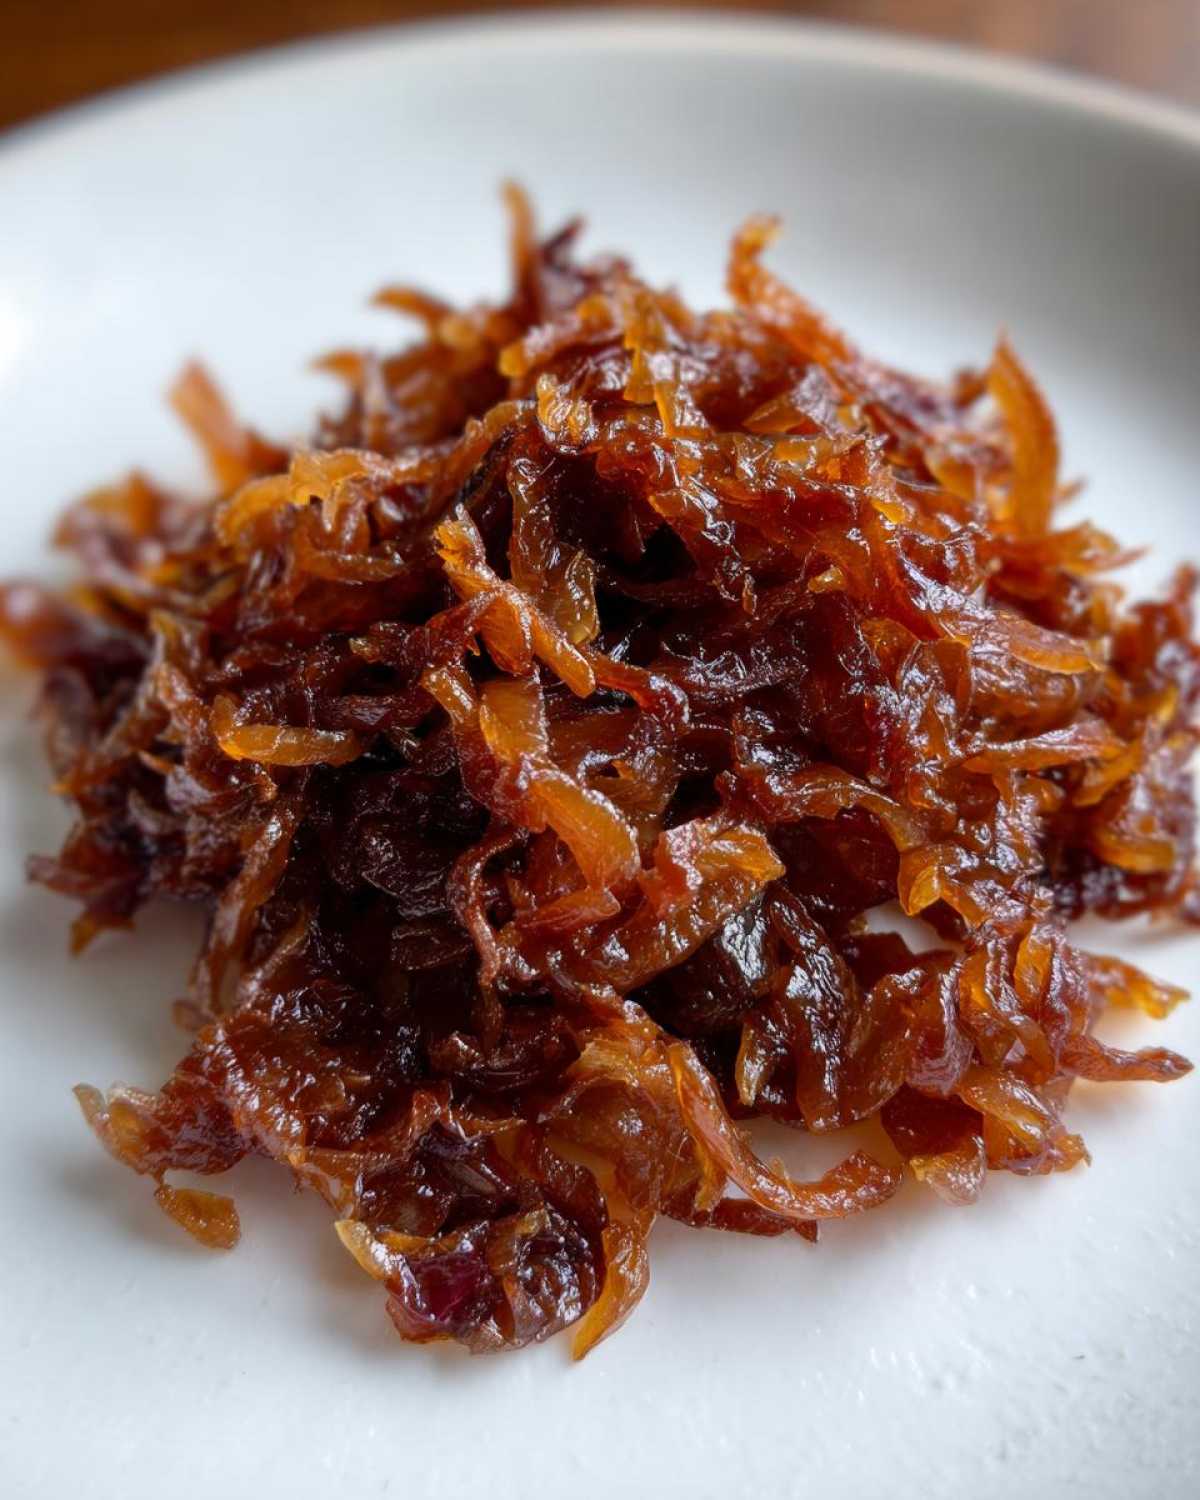
Whew! You made them! Now what? These glorious caramelized onions are way too good to just eat with a fork standing over the stove (though I’ve definitely done that). They become the perfect secret weapon to punch up almost any meal. They are definitely that high-value ingredient that takes your cooking from basic to truly impressive.
Creating a Creamy Onion Pasta Ingredient Base
My favorite way to use a big batch is in pasta. You can whisk your beautiful onions directly into a basic cream sauce made from scratch, or use them as the base for a fantastic creamy pasta alternative. They melt right in! They become this unbelievable, rich depth, acting as the ultimate creamy onion pasta ingredient.
The Best Caramelized Onion Dip Recipe Hack
If you’re having people over, stop what you’re doing and make a dip! Mixing these beauties with softened cream cheese or even mixing them into a base like my spinach dip base is pure genius. You can also kick it up with some Brie or Gruyère for a baked version—I saw this amazing take on a Brie and Caramelized Onion Dip that totally blew my mind! It’s the ultimate crowd-pleaser because the onions handle all the heavy lifting on the flavor front.
Simple Onion Topping for Burgers
Don’t forget the classics! If you are grilling burgers or even just making a quick grilled cheese sandwich, these are the move. They pile up beautifully and provide that gorgeous, sticky, sweet onion topping everyone craves. Seriously, ditch the raw rings and make this next time you’re making an onion topping for burgers. It’s the easiest way to ensure you end up with those amazing, savory sweet onion flavors in every bite!
Variations: From Homemade Onion Jam to Vegan Caramelized Onion Recipes
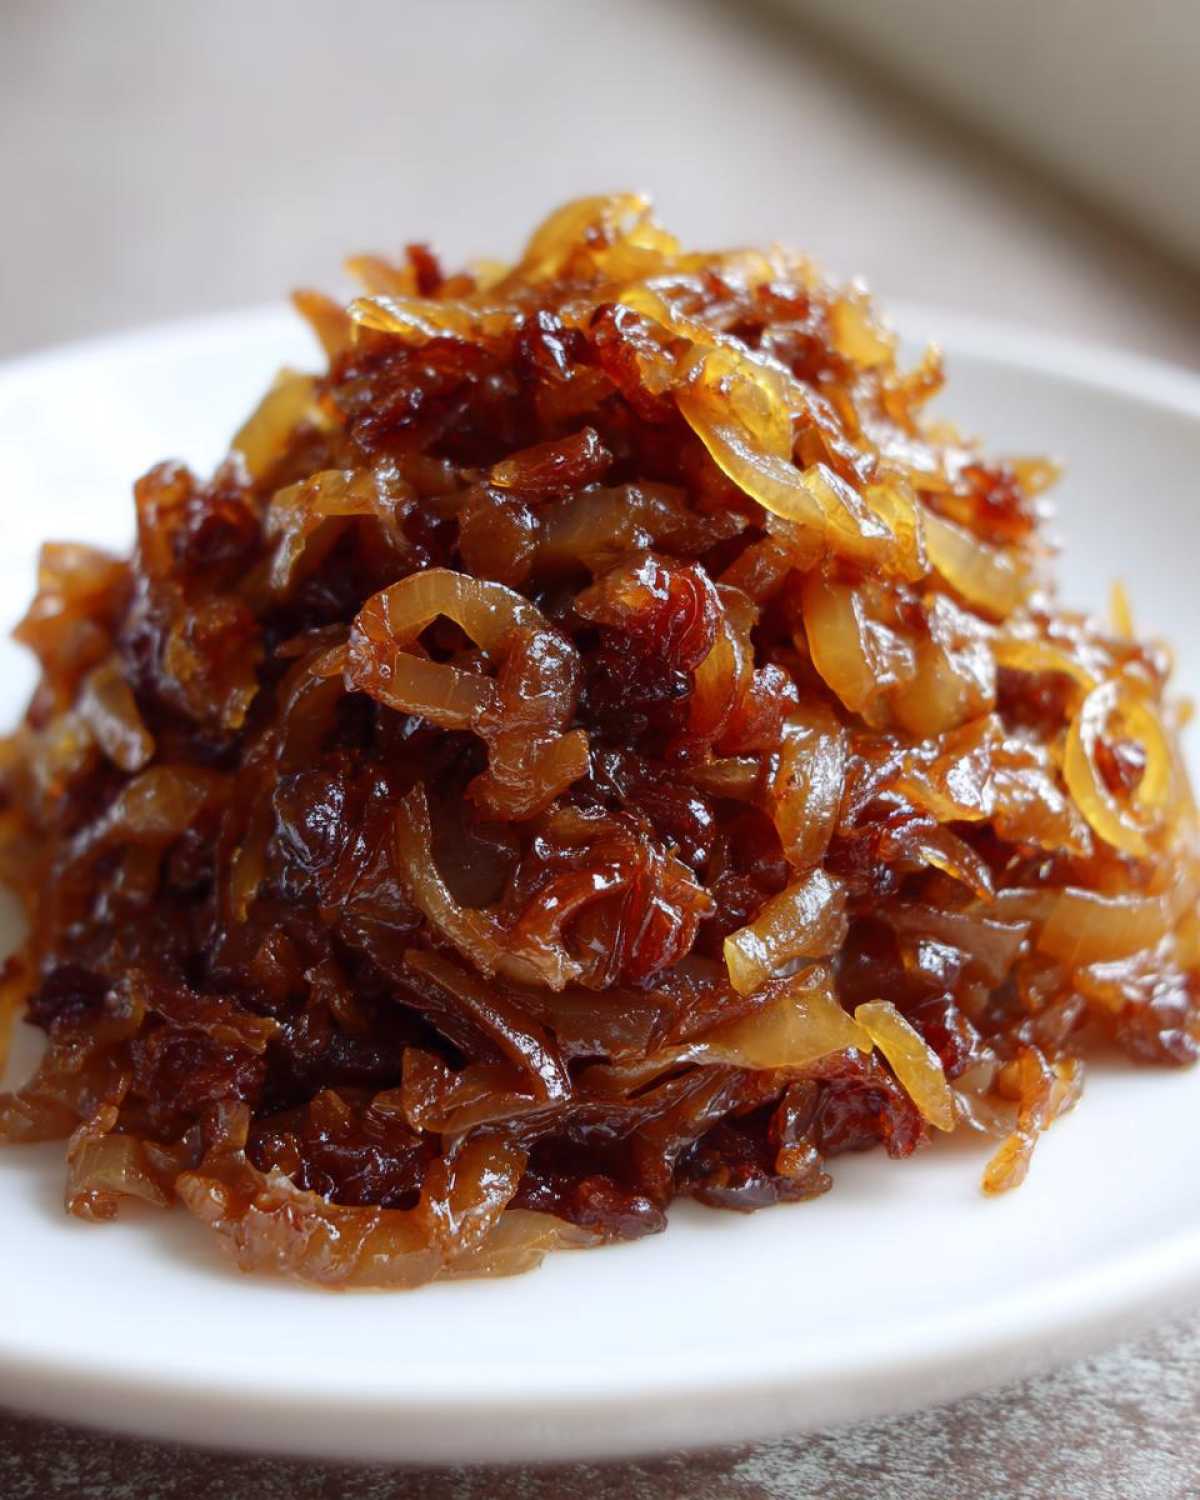
Okay, so you’ve nailed the basic technique, and now you’re looking for fun ways to use these sweet beauties? That’s my kind of thinking! We can definitely stretch this simple base into some truly spectacular things. If you want something a bit thicker and spreadable—perfect for cheese boards or glazing meats—you can turn these into a gorgeous homemade onion jam. Just cook them down until they are almost jammy, and then add a splash of balsamic vinegar and maybe a tiny bit of brown sugar (if you didn’t already) right at the end to get that sticky texture.
And for my plant-based pals, don’t you worry! You can totally stick with the vegan version we discussed earlier, using only oil instead of butter. Those results are fantastic as the base for dishes like that incredible creamy vegan caramelized onion pasta I saw online. See? We can pivot to meet everyone’s needs! If you are feeling adventurous after mastering this, you might even want to try something completely wild like my chocolate clusters next!
Storage and Make-Ahead Tips for Caramelized Onions
This is honestly one of my favorite parts about making a big batch! Since this recipe takes a little while, you absolutely should double it (or triple it!). These slow cooked onions are fantastic straight away, but they are even better the next day. Once they are completely cool, pop them into an airtight container in the fridge. They stay perfectly good for about a week, making them a reliable kitchen staple onions supply!
And yes, they totally freeze beautifully! Lay them flat on a baking sheet to freeze first so they don’t turn into one giant onion brick. Then transfer them to a freezer bag. You can store them for up to three months. Thaw them overnight, and they are ready to use immediately!
Frequently Asked Questions About Caramelized Onions
We’ve covered the technique, but I know you might still have some burning questions! It took me ages to get this right, so let’s clear up any last bits of confusion so you can move on to making that incredible caramelized onion dip recipe you’re dreaming about!
Can I speed up the process to make caramelized onions faster?
I totally get wanting a quick onion hack, especially on a busy weeknight. As I mentioned back in the browning phase, sometimes I cheat just a tiny bit by adding a pinch of baking soda along with the salt right at the start. That alkaline powder helps break down the onions faster, which speeds up the caramelization dramatically. However, my biggest warning: it changes the texture slightly! You won’t quite get that deep, jammy texture you get from the proper, slow cooked onions. So, yes, you can speed it up, but you sacrifice a bit of that ultimate richness.
What is the difference between sautéed onions and caramelized onions?
This is key! Sautéed onions are cooked quickly over medium or medium-high heat just until they soften and start turning translucent or maybe light golden. They still have a bit of bite and sharpness left. Caramelized onions, though? That’s a completely different beast. We cook them for 40 minutes or more on low heat, which allows the natural sugars to break down completely. This process creates that incredible sweetness and deep umami flavor. If you don’t cook them low and slow, they’ll just burn before they truly caramelize. For the ultimate experience, check out some of the detailed tips people have shared over at Running to the Kitchen!
What kind of onion yields the sweetest result?
For general purposes and getting that standard, deeply satisfying savory sweet onion flavor, the large yellow onion is your absolute best friend. They have the perfect amount of sugar content to start with. If you happen to find Vidalia onions or Walla Wallas at the market, they are naturally sweeter, so they might even caramelize a little faster while still giving you that amazing sweet onion topping result!
Estimating Nutritional Data for Caramelized Onions
Now, let’s talk numbers! I know that for some people, tracking nutrition is super important, and Anya always insists we give people a snapshot of what they’re eating. Since we used butter and olive oil—and let’s be real, I usually end up pouring in a splash more oil than the recipe calls for because I love how shiny the onions get—these numbers are just an estimate, okay? They really depend on how much fat you decide to use when you make your caramelized onions. I calculated this based on the suggested measurements for about a quarter-cup serving.
If you look at the nutrition info, you’ll notice the sugar content is higher than you might expect for just onions, but remember, the whole point of caramelization is concentrating those natural sugars! It’s all about balance, right? Here’s what our easy onion recipe generally shakes out to be:
- Serving Size: 1/4 cup
- Calories: 85
- Fat: 5g (and most of that is the good fat from the olive oil mixture!)
- Saturated Fat: 2g
- Carbohydrates: 10g
- Sugar: 9g (This is the transformed onion sugar, not added refined sugar!)
- Fiber: 2g
- Protein: 1g
- Sodium: 250mg (This depends hugely on how much salt you add, so watch that if you’re counting sodium intake!)
Keep in mind that if you use this as a topping for something like my French Onion Pasta Sauce, those numbers change drastically once you add the cream and cheese. These estimates reflect the onions themselves after achieving that glorious savory sweet onion flavor!
The Ultimate Guide to Perfect Caramelized Onions: From Sharp to Sweet
Learn the simple technique to transform sharp raw onions into deeply sweet, savory caramelized onions. This guide covers the best way to cook onions for maximum flavor, creating a versatile kitchen staple for dips, pasta, and toppings.
- Prep Time: 10 min
- Cook Time: 40 min
- Total Time: 50 min
- Yield: About 1.5 cups
- Category: Side Dish
- Method: Stovetop Sauté
- Cuisine: General
- Diet: Vegetarian
Ingredients
- 4 large yellow onions, thinly sliced
- 2 tablespoons unsalted butter
- 1 tablespoon olive oil
- 1 teaspoon salt
- 1 teaspoon sugar (optional, for faster browning)
- 1/4 cup water or vegetable broth (for deglazing)
Instructions
- Prepare the onions: Peel and slice the onions thinly and uniformly. Uniform slicing helps them cook evenly.
- Start the heat: Place a large, heavy-bottomed skillet over medium-low heat. Add the butter and olive oil. Wait until the butter melts and coats the pan surface.
- Add onions and salt: Add all the sliced onions to the skillet. Sprinkle with salt. Stir to coat the onions evenly with the fat.
- Initial cooking: Cook the onions slowly, stirring every 5 to 7 minutes. For the first 15 minutes, the onions will soften and release moisture. Do not rush this stage; keep the heat low to prevent burning.
- Browning phase: After about 20 minutes, the onions will start to shrink and turn pale gold. If you are using sugar, add it now. Continue cooking, stirring every 3 to 5 minutes. The goal is slow caramelization, drawing out the natural sugars.
- Deep color development: Continue cooking for another 15 to 25 minutes. The onions will turn deep golden brown and develop a rich, sweet flavor. If brown bits stick to the bottom of the pan (fond), add a tablespoon of water or broth and scrape them up; this adds depth to the flavor.
- Finish: Once the onions reach a deep mahogany color and are jammy in texture, remove the pan from the heat. Your perfect caramelized onions are ready to use as a savory sweet onion topping or as a base for other recipes.
Notes
- For a quick onion hack, add 1/2 teaspoon of baking soda with the salt; this speeds up the browning process but can slightly alter the final texture.
- These slow cooked onions freeze well. Cool them completely, place them in an airtight container, and freeze for up to three months.
- Use these onions as a base for French onion pasta sauce or mix them with cream cheese for a caramelized onion dip recipe.
Nutrition
- Serving Size: 1/4 cup
- Calories: 85
- Sugar: 9
- Sodium: 250
- Fat: 5
- Saturated Fat: 2
- Unsaturated Fat: 3
- Trans Fat: 0
- Carbohydrates: 10
- Fiber: 2
- Protein: 1
- Cholesterol: 5
