

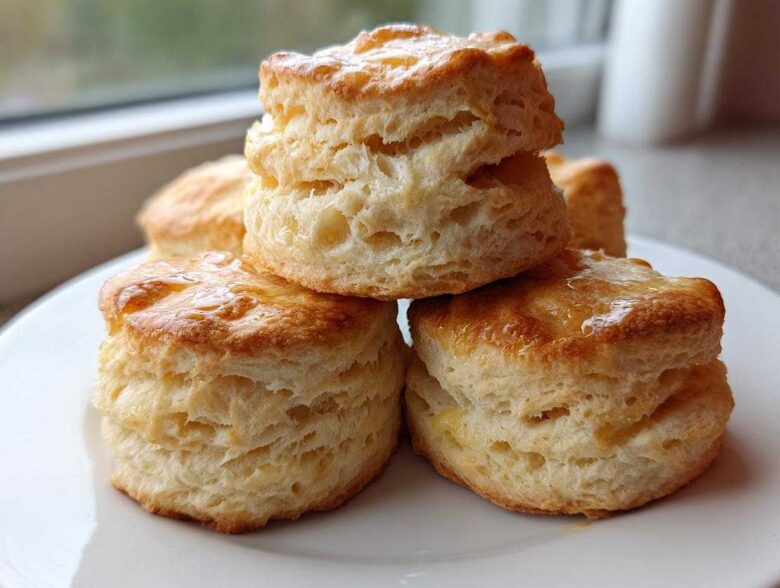
Oh my gosh, are you ever just craving that perfect bread? I mean the kind that smells like a Sunday morning, melts instantly on your tongue, and absolutely begs for a smear of good strawberry jam or, let’s be honest, drowned in sausage gravy? If you’ve ever tried making **buttermilk biscuits** and ended up with sad, flat hockey pucks, stop right there. I have cracked the code to getting those unbelievably fluffy, tall, and flaky beauties every single time. This isn’t just another recipe; this is the one I pull out when I need true Southern comfort baking to save the day. Trust me, mastering the technique behind these classic delights is easier than you think, and once you nail it, you’ll never go back to those canned tubes again! If you thought amazing texture was hard, wait until you see how easy it is to adapt this skill for something like moist buttermilk cornbread!
Why These are the Best Fluffy Buttermilk Biscuits You Will Ever Make
I’m not kidding when I say this technique transforms humble flour and butter into something magical. These aren’t just good biscuits; they are restaurant-quality, truly melt in your mouth biscuits. The real reason they win every time is because we focus on the structure, not just the taste.
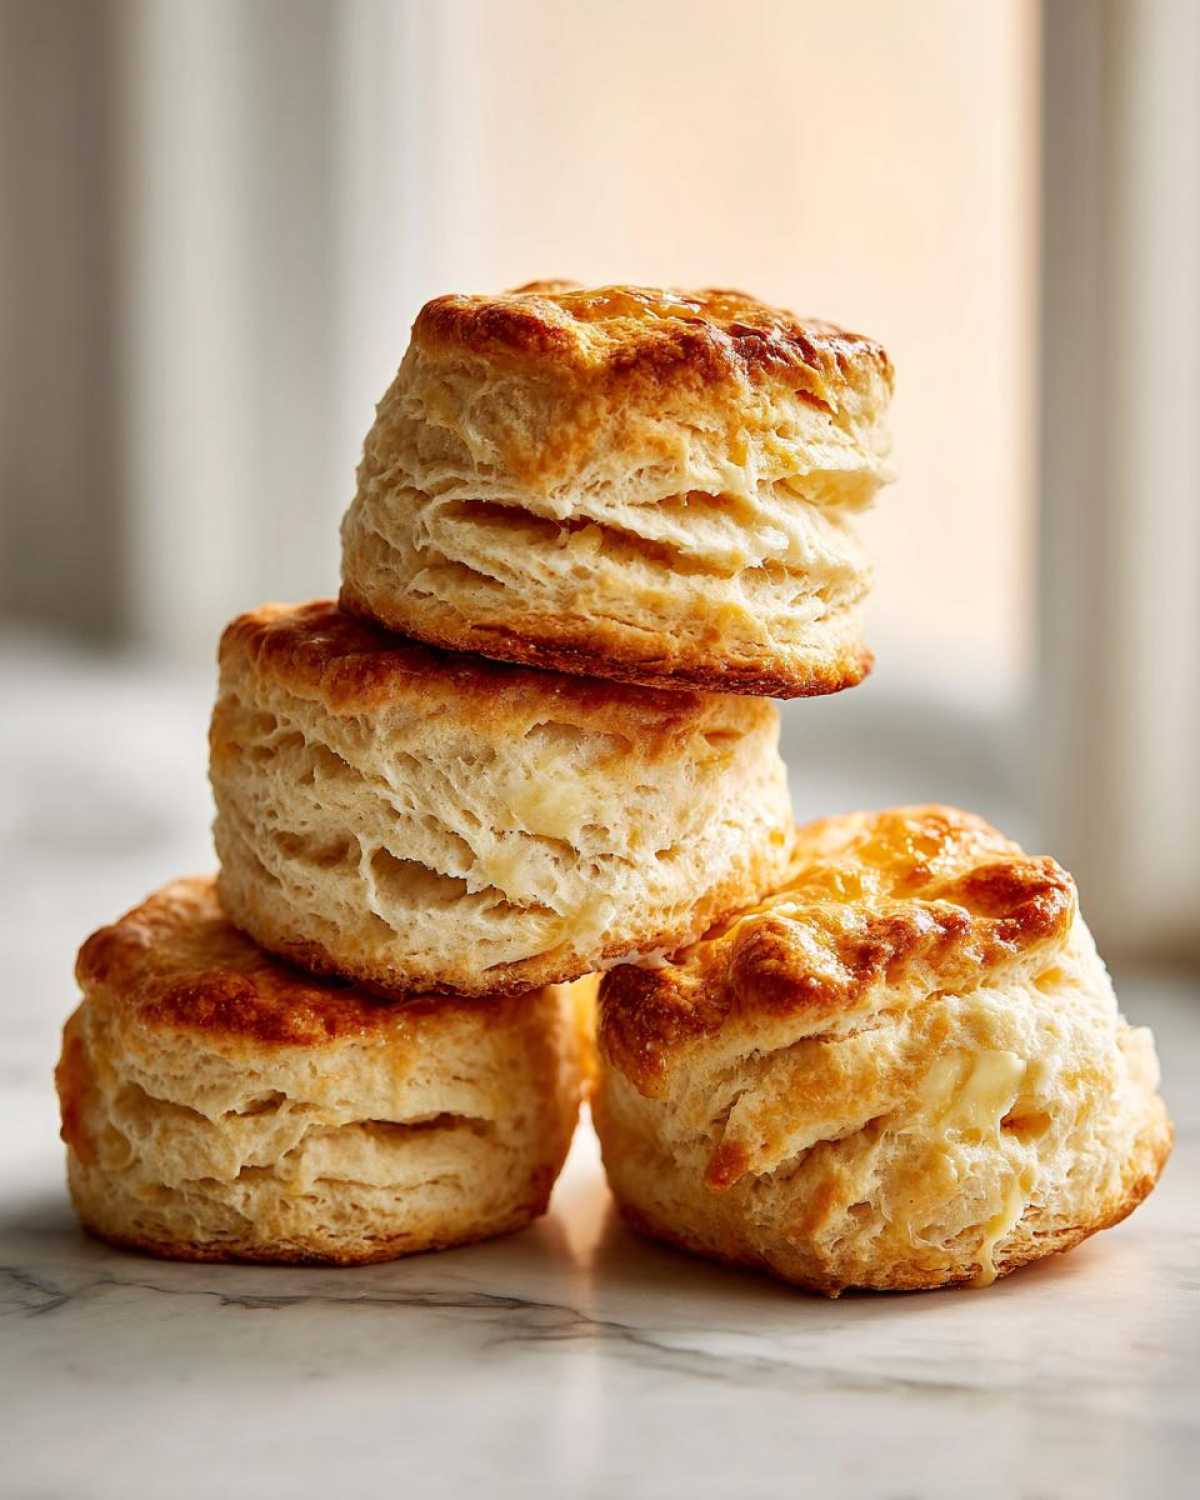
- They rise sky-high—we’re talking serious altitude.
- The interior is ridiculously light and airy.
- They stay incredibly soft and are the perfect tender biscuit recipe.
Achieving Superior Flaky Layers in Buttermilk Biscuits
Forget flat bottoms! Flakiness comes from two things: keeping the butter unbelievably cold and those simple folding steps. When that cold butter hits the hot oven, it creates tiny pockets of steam. Those steam pockets push the dough layers apart, giving you that tall, flaky texture you dream about. It’s science, but way more fun.
Perfect Buttermilk Biscuits for Beginners
I know baking from scratch can look intimidating, but I promise you, this is the best biscuit recipe for beginners. The dough handles itself beautifully, provided you don’t play with it too much. Overworking is the enemy here! Follow the steps exactly, keep everything cold, and you’ll look like a seasoned Southern baker.
Essential Ingredients for Classic Buttermilk Biscuits
The beauty of these wonderful buttermilk biscuits is that they rely on just a few pantry staples—but every single one needs to be exactly right. Don’t try substituting major players here, especially when you’re aiming for melt-in-your-mouth tenderness! If you are new to baking with buttermilk, you’re in for a treat because that little bit of acid does wonders for the rise. My sister used regular milk once when she ran out and her biscuits were flatter than a pancake—you need that tang!
Here is what you need to gather up:
- Two full cups of all-purpose flour—scoop it gently into your measuring cup, don’t pack it down!
- One tablespoon of baking powder and one little teaspoon of baking soda for the lift.
- One teaspoon of plain salt to bring out all the flavor.
- Half a cup, which is one stick, of very cold unsalted butter, cut into small cubes. I mean rock hard cold; just take it out of the freezer five minutes before you need it.
- Three-quarters of a cup of cold buttermilk, plus extra for brushing the tops later on.
Having these on hand means you are halfway to serving up some incredible breakfast baking ideas that taste like they came straight from a Southern kitchen!
Ingredient Notes and Substitutions for Perfect Buttermilk Biscuits
This is where folks sometimes mess up, so listen closely! The success of these buttermilk biscuits hinges entirely on temperature. That half-cup of butter? It absolutely must be freezing cold. If it melts before it hits the dry mix, you just get greasy dough, not those glorious flaky layers. I use my pastry blender like a madwoman to get those pea-sized butter chunks incorporated quickly before the warmth from my hands transfers over. Don’t dawdle!
The buttermilk needs to be just as chilly. If yours is sitting out getting cozy, go pop it back in the fridge for ten minutes. Now, about substitutions—because life happens! If you run out of real buttermilk—and trust me, you’ll want to have some—the easiest fix for this tender biscuit recipe is simple: take your regular milk, add about three-quarters of a teaspoon of white vinegar or fresh lemon juice to every three-quarters of a cup of milk, stir, and let it sit for about five minutes. It curdles right up! That sour tang is what reacts with the baking soda to give you that fantastic rise.
Step-by-Step Instructions for Fluffy Buttermilk Biscuits
Ready to bake? This is where the magic happens, and honestly, it flies by! Getting these buttermilk biscuits done only takes about thirty minutes total, which is why they’re one of my favorite things for a quick weekend breakfast. The most important thing to remember during this whole process is speed and gentleness. Preheat your oven to 425 degrees F right now so it’s ready when the dough is. Line a baking sheet with parchment paper—trust me, clean-up is a breeze! Then we jump straight into the dry ingredients.
Preparing the Dough for Maximum Flaky Layers in Buttermilk Biscuits
First, whisk that flour, baking powder, baking soda, and salt in a big bowl. Now for step three: adding the cubes of icy cold butter. You need to cut that butter in using your fingertips or a pastry blender until the mixture looks like coarse crumbs, ideally with some pea-sized bits still visible. Those chunks are future layers! Next, pour in the cold buttermilk and mix only until it *just* comes together. We want shaggy dough, not smooth dough. Then, gently turn it out. This dough needs a little help with the flaky layers baking technique, so gently pat it into a rectangle, fold it like a business letter (in thirds), turn it, and repeat that folding and rolling one more time until you have about a 3/4 inch thickness. That’s how you build height!
Cutting and Baking Your Buttermilk Biscuits
Once the dough is patted out to about 3/4 inch thick again, grab your 2-inch biscuit cutter. Here’s the huge secret: you must cut straight down—don’t twist the cutter at all! Twisting seals those delicate edges we just worked so hard to create, which stops them from rising tall. Place your cut biscuits close together on the sheet if you want soft sides, or spread them out if crispy edges are your jam. Brush the tops very lightly with a tiny bit more buttermilk, and slide them into that hot oven for 12 to 15 minutes. Keep an eye out until they are gloriously golden brown! We love getting them into the oven fast so the heat can get to work creating that signature fluffy texture, perfect for enjoying with recipes from my warm Southern baking collection.
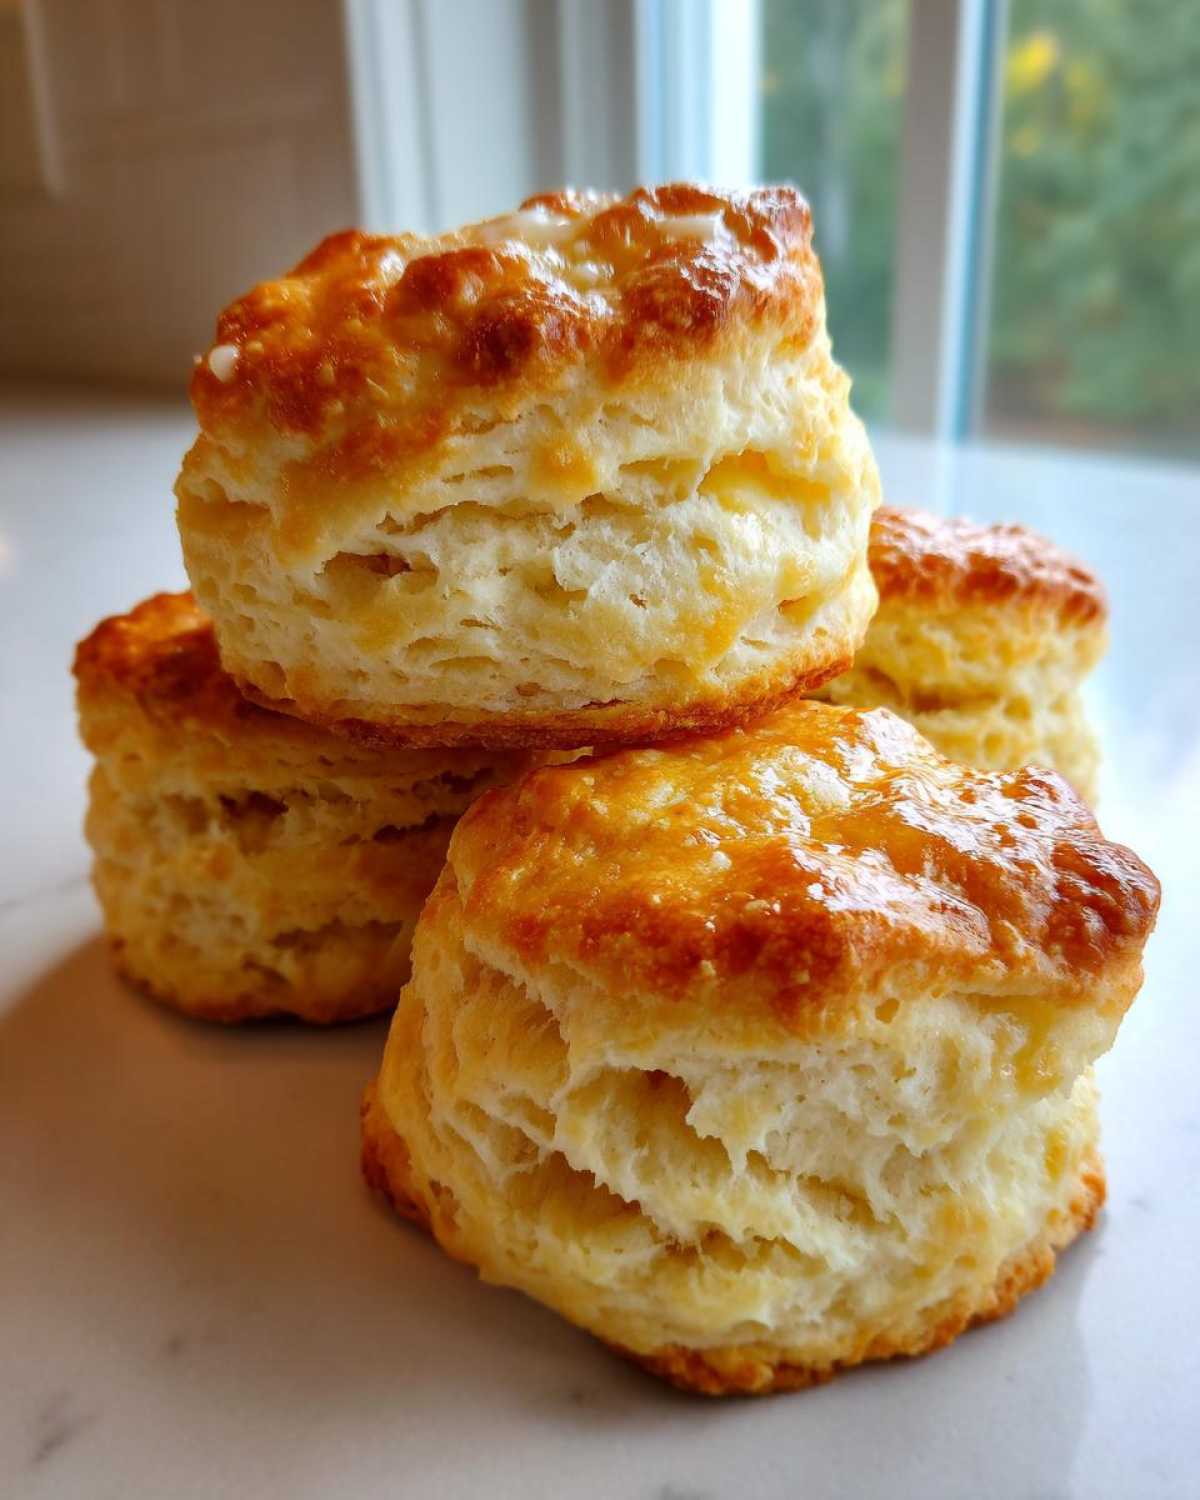
Tips for Making Southern Buttermilk Biscuits Every Time
Okay, even though this is the ultimate recipe, I still have a couple of tricks up my sleeve to guarantee success, especially when I’m feeling rushed. If I know I need some truly towering Southern buttermilk biscuits, I swear by a quick freeze. After you cut them out—remembering that crucial straight-down cut—pop the whole tray into the freezer for about ten minutes before they go in the oven. That extra blast of cold guarantees the butter is still perfectly firm when it hits the heat, giving you maximum lift!
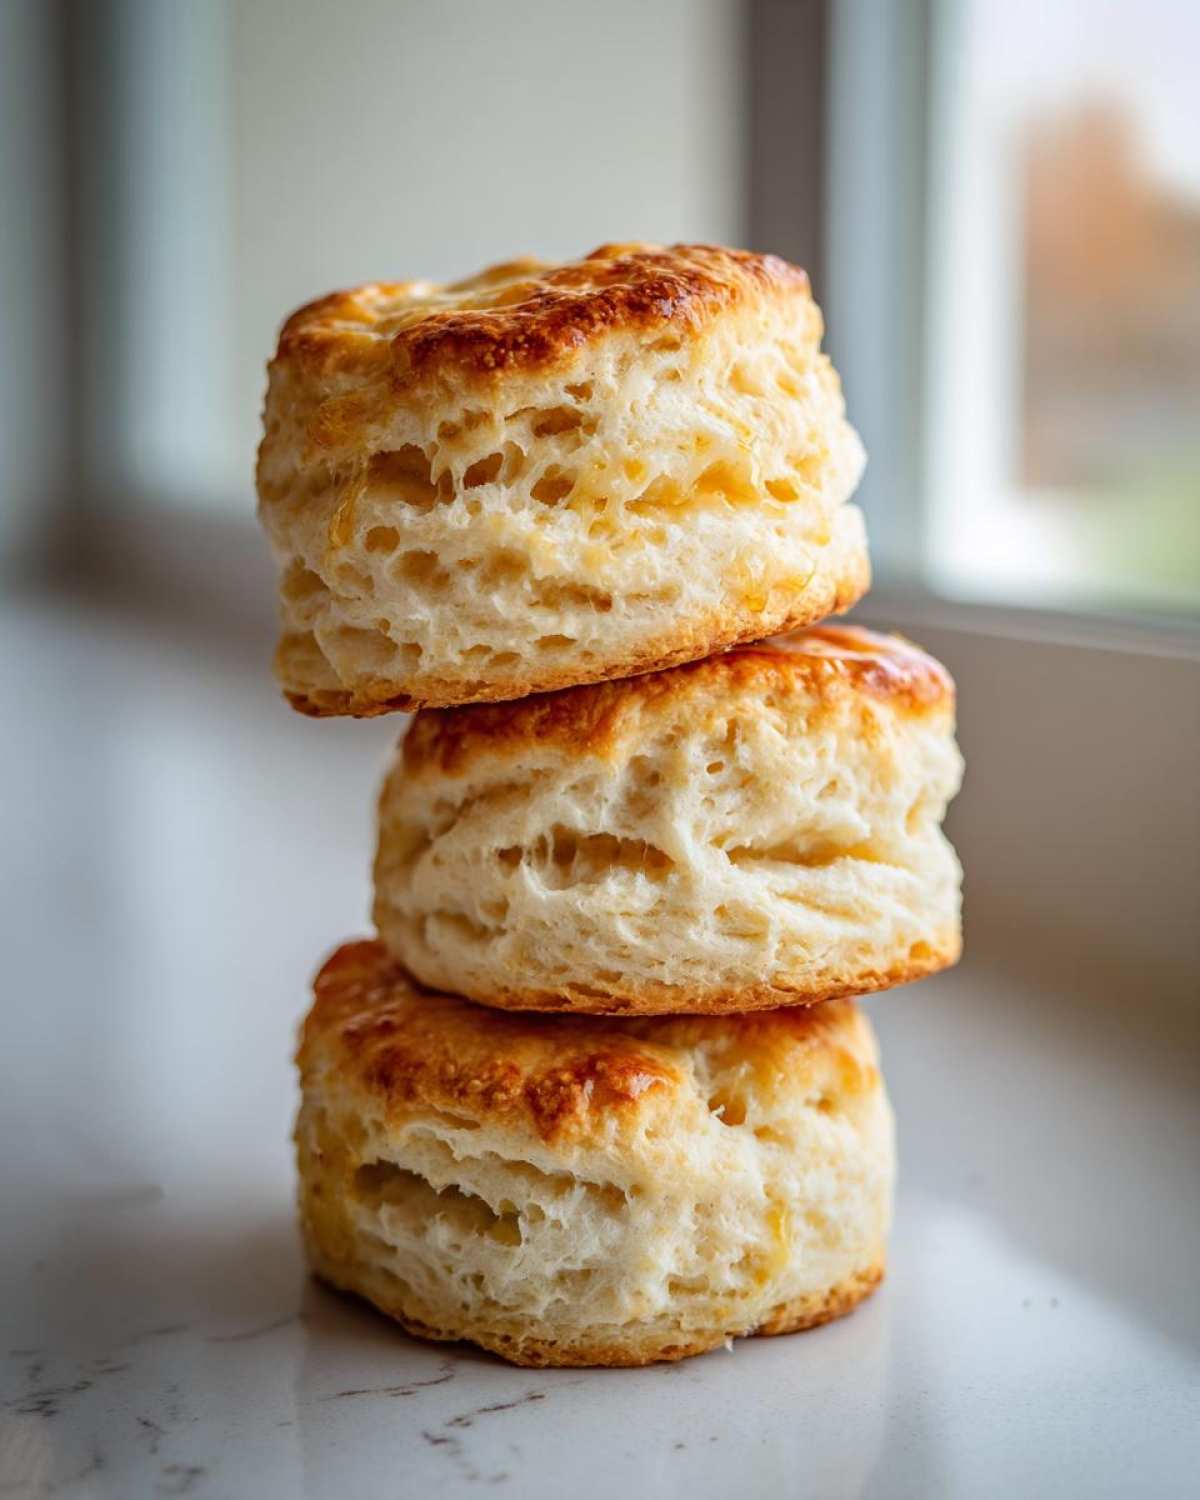
I remember the first time I tried this recipe on my own; I was twisting that biscuit cutter like crazy because I thought it was helping release the dough. Nope! I ended up with low, dense discs. When my Aunt Carol saw them, she just gently picked up my cutter, showed me how my hand should grip it firmly but lightly, and said, “Cut clean, darling, don’t mangle the edges.” It was a total game-changer! These little techniques are what turn a good bread into a truly unforgettable classic American side dish.
Serving Suggestions for Your Tender Biscuit Recipe
Now that you have the most incredible, fluffy, and buttery buttermilk biscuits imaginable, the only question left is: what are you going to eat them with? Honestly, they are perfect just warm from the oven with a swipe of salt butter, but we usually go big when we make these!
For a true comfort food recipe experience, you absolutely must slather them with homemade sausage gravy. That soft, absorbent texture is made for soaking up rich, savory sauce—you can find my favorite way to make that classic topping right here for your biscuits for gravy needs.
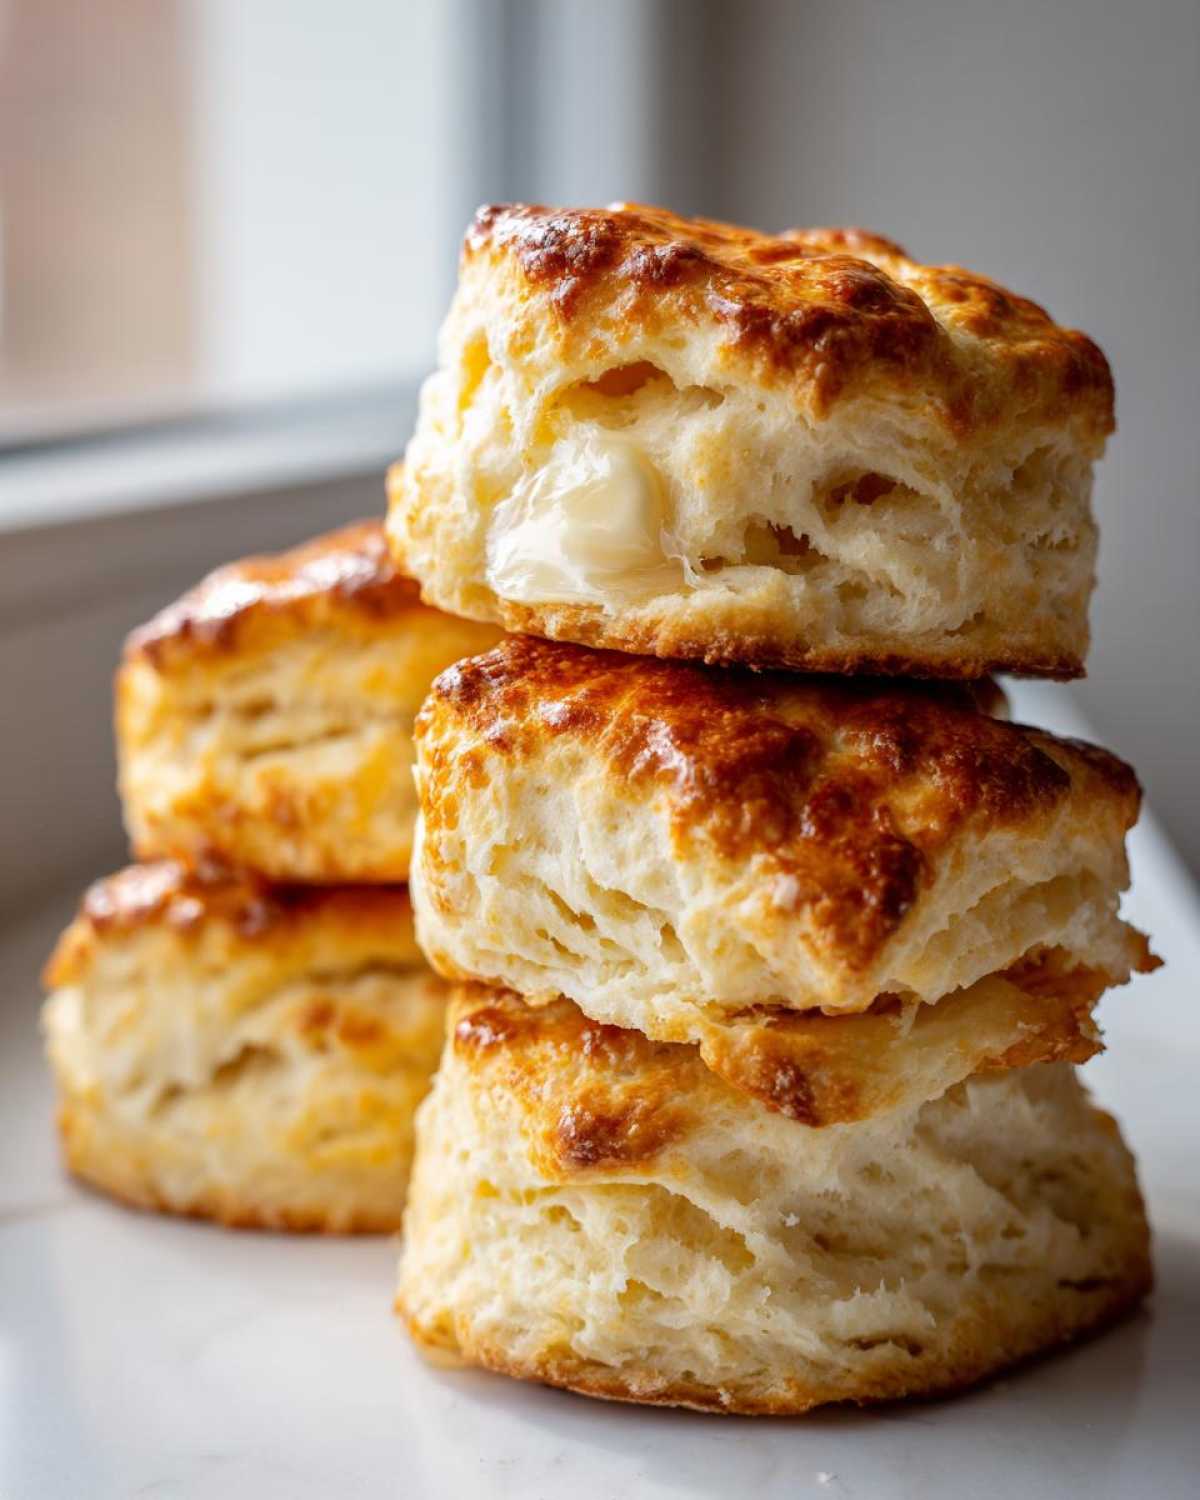
But don’t stop there! These are also the perfect companion for breakfast spreads like blackberry jam or simple honey. They even work perfectly as a stand-in for dinner rolls alongside stew or fried chicken. Seriously, these are your go-to classic American side dish year-round.
Storage and Make Ahead Tips for Buttermilk Biscuits
Luckily, these buttermilk biscuits hold up really well, which is great for planning ahead! I love making a double batch on Saturday so I don’t have to stress during the busy week. For short-term storage, keep them in an airtight container at room temperature for up to two days. If you wrap them tightly in foil, they stay softer longer because they trap some residual steam.
If you want to tackle the make ahead biscuits challenge, wrapping unbaked cut biscuits tightly in plastic wrap and freezing them solid is the way to go. When you want breakfast, just brush them with buttermilk and pop them straight from the freezer into the 425-degree oven—they might need an extra minute or two of baking time. Reheating is easy, too: just toss one or two in the microwave for about 12 seconds, or wrap them in foil and briefly warm them in a 350-degree oven until that buttery scent comes back!
Frequently Asked Questions About Buttermilk Biscuits
Can I use regular milk instead of buttermilk for these biscuits?
You sure can, but you have to help it along! Regular milk is missing that acidity that reacts with the baking soda to give you that big, beautiful rise in your buttermilk biscuits. That’s why the trick I mentioned before—adding a tiny bit of vinegar or lemon juice to regular milk and letting it sit—is so important. It curdles up, mimics buttermilk, and ensures your biscuits still get wonderfully fluffy. Don’t skip that little rest time, though!
What makes these buttermilk biscuits so much fluffier than others?
It boils down to two main things in this recipe. First, that butter has to be rock solid—like you just pulled it from the glacier! When cold fat melts quickly in the high heat of the oven, it sends up steam, which physically separates the dough layers. Second, the folding technique we use (folding the dough over on itself a couple of times) intentionally builds those vertical layers. That’s the secret to true height and that beautiful, airy, fluffy buttermilk biscuits texture.
Can I use a food processor for this tender biscuit recipe?
You *can*, and it will certainly be fast, but I always warn people about using a processor for a tender biscuit recipe like this. If you use one, you have to pulse it *very* carefully just until the butter looks like little peas mixed in with the flour. The danger is that the machine works too quickly and heats up the butter from the friction, or it processes the flour too much, developing gluten way too fast. If you over-process, you end up with tough biscuits, no matter how cold your ingredients were!
I always prefer mixing by hand or sticking to a pastry blender. It just gives you a better feel for when the mixture is truly ready. If you are looking for more amazing recipes to make for your weekend breakfast, check out all the inspiration I have over on my breakfast baking ideas page!
Nutritional Estimates for Your Homemade Buttermilk Biscuits
I always want to look at this part with a grain of salt, you know? Since these are from scratch biscuits made with real butter and whole ingredients, they aren’t exactly low-calorie, but wow, are they worth every single bite! Please remember these numbers are just an estimate based on the ingredients listed above and how many servings you divide them into. If you eat two or three at a time—and who hasn’t?—the numbers obviously change but the joy stays the same!
For one of these stunning **buttermilk biscuits** (based on 8 servings), here’s the general breakdown:
- Serving Size: 1 biscuit
- Calories: About 250 wowzers!
- Fat: Roughly 13 grams (hey, that’s all that wonderful butter making them so rich!)
- Saturated Fat: Around 8 grams
- Carbohydrates: About 29 grams
- Protein: About 5 grams
- Sugar: Just 2 grams (mostly natural from the milk/butter)
- Sodium: Around 450mg
They make for a fabulous, hearty component of your breakfast baking ideas. Enjoy them guilt-free; they are truly classic comfort food!
PrintFluffy and Flaky Southern Buttermilk Biscuits
A classic recipe for tender, buttery buttermilk biscuits with distinct flaky layers, perfect for beginners.
- Prep Time: 15 min
- Cook Time: 15 min
- Total Time: 30 min
- Yield: 8 biscuits
- Category: Breakfast
- Method: Baking
- Cuisine: American
- Diet: Vegetarian
Ingredients
- 2 cups all-purpose flour
- 1 tablespoon baking powder
- 1 teaspoon baking soda
- 1 teaspoon salt
- 1/2 cup (1 stick) very cold unsalted butter, cut into small cubes
- 3/4 cup cold buttermilk, plus extra for brushing
Instructions
- Preheat your oven to 425 degrees F. Line a baking sheet with parchment paper or lightly grease it.
- In a large bowl, whisk together the flour, baking powder, baking soda, and salt.
- Add the cold butter cubes to the flour mixture. Use a pastry blender or your fingertips to cut the butter into the flour until the mixture resembles coarse crumbs with some pea-sized pieces of butter remaining.
- Pour in the cold buttermilk. Stir gently with a fork until the dough just comes together. Do not overmix.
- Turn the dough out onto a lightly floured surface. Gently knead the dough 3 or 4 times until it forms a shaggy mass.
- Pat or roll the dough into a rectangle about 3/4 inch thick. Fold the dough into thirds, like a letter. Turn the dough 90 degrees and repeat the rolling and folding process one more time to create layers.
- Pat or roll the dough again to a thickness of about 3/4 inch.
- Use a 2-inch biscuit cutter to cut straight down through the dough. Do not twist the cutter, as this seals the edges and prevents rising. Place the cut biscuits close together on the prepared baking sheet for softer sides, or slightly apart for crispier sides.
- Brush the tops lightly with extra buttermilk.
- Bake for 12 to 15 minutes, or until the biscuits are golden brown on top and cooked through.
- Serve warm with butter, jam, or gravy.
Notes
- Keep your butter and buttermilk as cold as possible for the flakiest results.
- For extra height, place the cut biscuits in the freezer for 10 minutes before baking.
- If you do not have buttermilk, mix 3/4 cup of regular milk with 3/4 teaspoon of white vinegar or lemon juice and let it sit for 5 minutes before using.
Nutrition
- Serving Size: 1 biscuit
- Calories: 250
- Sugar: 2
- Sodium: 450
- Fat: 13
- Saturated Fat: 8
- Unsaturated Fat: 5
- Trans Fat: 0
- Carbohydrates: 29
- Fiber: 1
- Protein: 5
- Cholesterol: 35
