

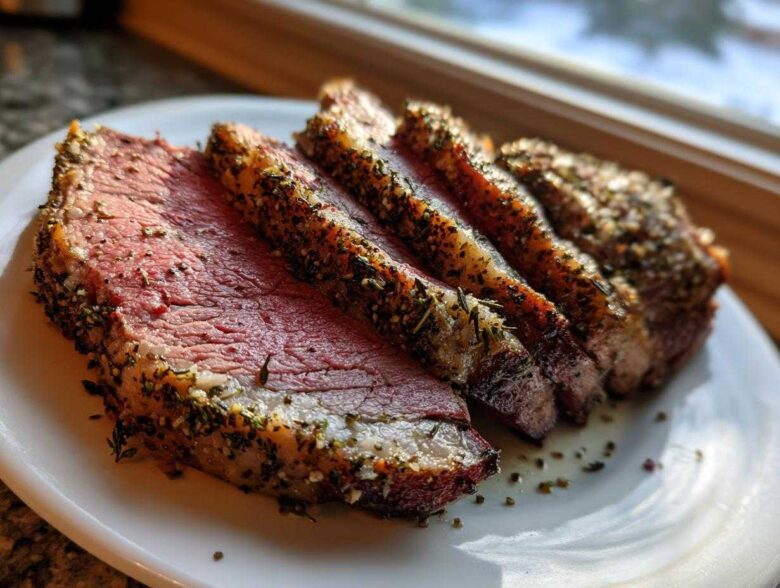
Listen, hosting for the holidays can feel like a high-stakes game, especially when the main event is a massive cut of beef. I used to get total sweats just thinking about carving into a beautiful, expensive roast centerpiece. But I finally cracked the code! Forget those dry, disappointing roasts you see sometimes. This isn’t just any recipe; this is the foolproof guide to making an incredible herb-crusted rib roast that everyone will talk about for months. Seriously, after years of trial and agonizing over thermometers, I figured out the dance between high heat and slow cooking needed to guarantee that perfect medium-rare every single time.
If you’ve ever wanted to nail that impressive beef dish that looks like it came straight from a world-class steakhouse, you’re in the right place. We’re making magic happen with simple preparation and zero guesswork. Check out my step-by-step guide for the ultimate garlic herb prime rib roast recipe to get started!
Why This Herb-Crusted Rib Roast is Your Go-To Holiday Roast Centerpiece
There’s just something about placing a massive, perfectly browned piece of beef on the table that changes the entire vibe of dinner, right? This rib roast isn’t just food; it’s a statement! I spent way too much nervous energy on previous holiday roasts before I settled on this technique, and trust me, it works. It truly delivers that show-stopping look paired with unbelievably juicy flavor.
Why should you trust this method for your next big meal? Because it promises everything you want in a celebration roast without the usual panic:
- It’s truly foolproof. Once you get the initial sear right, the temperature reduction handles the hard part for you.
- You get that coveted perfect medium rare roast all the way through—no more gray sad edges!
- The herb crust is vibrant, aromatic, and locks in flavor. It gets beautifully crisp while the inside stays tender.
- Your guests will think you spent all day wrestling with chefs and thermometers, but you know the secret is just patience and knowing your oven!
I promise, if you follow these steps, you’ve found your new signature herb-crusted pork loin roast recipe substitute for special occasions!
Gathering Ingredients for Your Perfect Medium Rare Roast
Okay, before we even think about turning on the oven, we have to talk about the raw materials. You can’t make a show-stopping rib roast without high-quality stuff! This recipe is built around an aromatic backbone—that herb crust you saw—so every component needs to be top-notch. Pay special attention to the butter; it needs to be perfectly softened, not melted, so it can hold onto all those herbs and garlic. We’re not just seasoning the outside; we’re making it absorb greatness!
Getting the seasoning paste just right is half the battle for achieving that juicy beef roast texture. You need precision here, especially with the salt and pepper ratio. I’ve linked my guide on garlic herb butter roast chicken if you want to see more uses for this amazing buttery paste!
The Essential Components for the Garlic Herb Butter Roast
For this recipe to shine, you absolutely need a good slab of beef. We are aiming for a 1 (5-7 lb) standing rib roast, ideally with 2-3 ribs attached. That size helps keep the center perfectly tender. Be sure to have 1/2 cup of unsalted butter—and I mean butter, not the stuff in tubs! Let it sit on the counter for a couple of hours so it’s truly softened. You’ll also need 4 cloves of garlic, minced very finely—don’t use powder for the fresh garlic, we need that punch! Along with that, grab your kosher salt, black pepper, dried thyme, dried rosemary, and garlic powder. Don’t skimp on the fresh meat; this is your moment!
How to Cook Rib Roast: Step-by-Step Oven Roasted Beef Mastery
Now comes the part where we turn our gorgeous ingredients into the most stunning rib roast you’ve ever seen! This method, using two different oven temperatures, is my secret weapon for getting that incredible crust and the perfect medium rare roast inside. Cooking a large cut of beef seems intimidating, but I promise, if you trust your thermometer and follow these steps, you’ll be carving like a pro. Don’t worry about making a mess; it’s all part of the fun when you’re working with this much flavor! We’ll be using the drippings later to make an incredible sauce, so keep that pan handy!
Preparing the Standing Rib Roast for Seasoning
First thing’s first: timing is everything! Take that beautiful standing rib roast out of the fridge at least two to three hours before you plan to start cooking. It needs time to warm up, or the middle will stay cold while the outside cooks too quickly. Once it’s tempered, pat the whole thing aggressively dry with paper towels—seriously, get it dry! Moisture fights crispy crusts, and we want that sear!
Creating and Applying the Herb Rub
While the beef is warming up, whip together that herb butter rub we planned. Just mix that softened butter with the minced garlic, rosemary, thyme, garlic powder, salt, and pepper until it’s gooey and uniform. Grab your roast and rub that glorious paste all over everywhere. Don’t be shy! That layer of herbs is what protects the surface and builds flavor as we cook. Then, place the roast fat-side up on a rack inside your roasting pan. A little drizzle of olive oil over the top helps everything adhere beautifully.
The Two-Temperature Roasting Method for a Juicy Beef Roast
Here is the critical science part for a truly tender roast beef! Preheat your oven way up high to 450 degrees Fahrenheit. We are going to blast that roast for 15 quick minutes. This searing step builds the foundation for that amazing outer layer. Once those 15 minutes are up? Drop the temperature immediately down to 325 degrees Fahrenheit. Now, this is where the thermometer comes to life. You continue roasting until the internal temperature hits exactly 125 degrees Fahrenheit when inserted into the thickest part of the meat—make absolutely sure you aren’t touching any bones! Hitting 125°F means you are perfectly on track for medium-rare results.
The Crucial Resting Period Before Carving
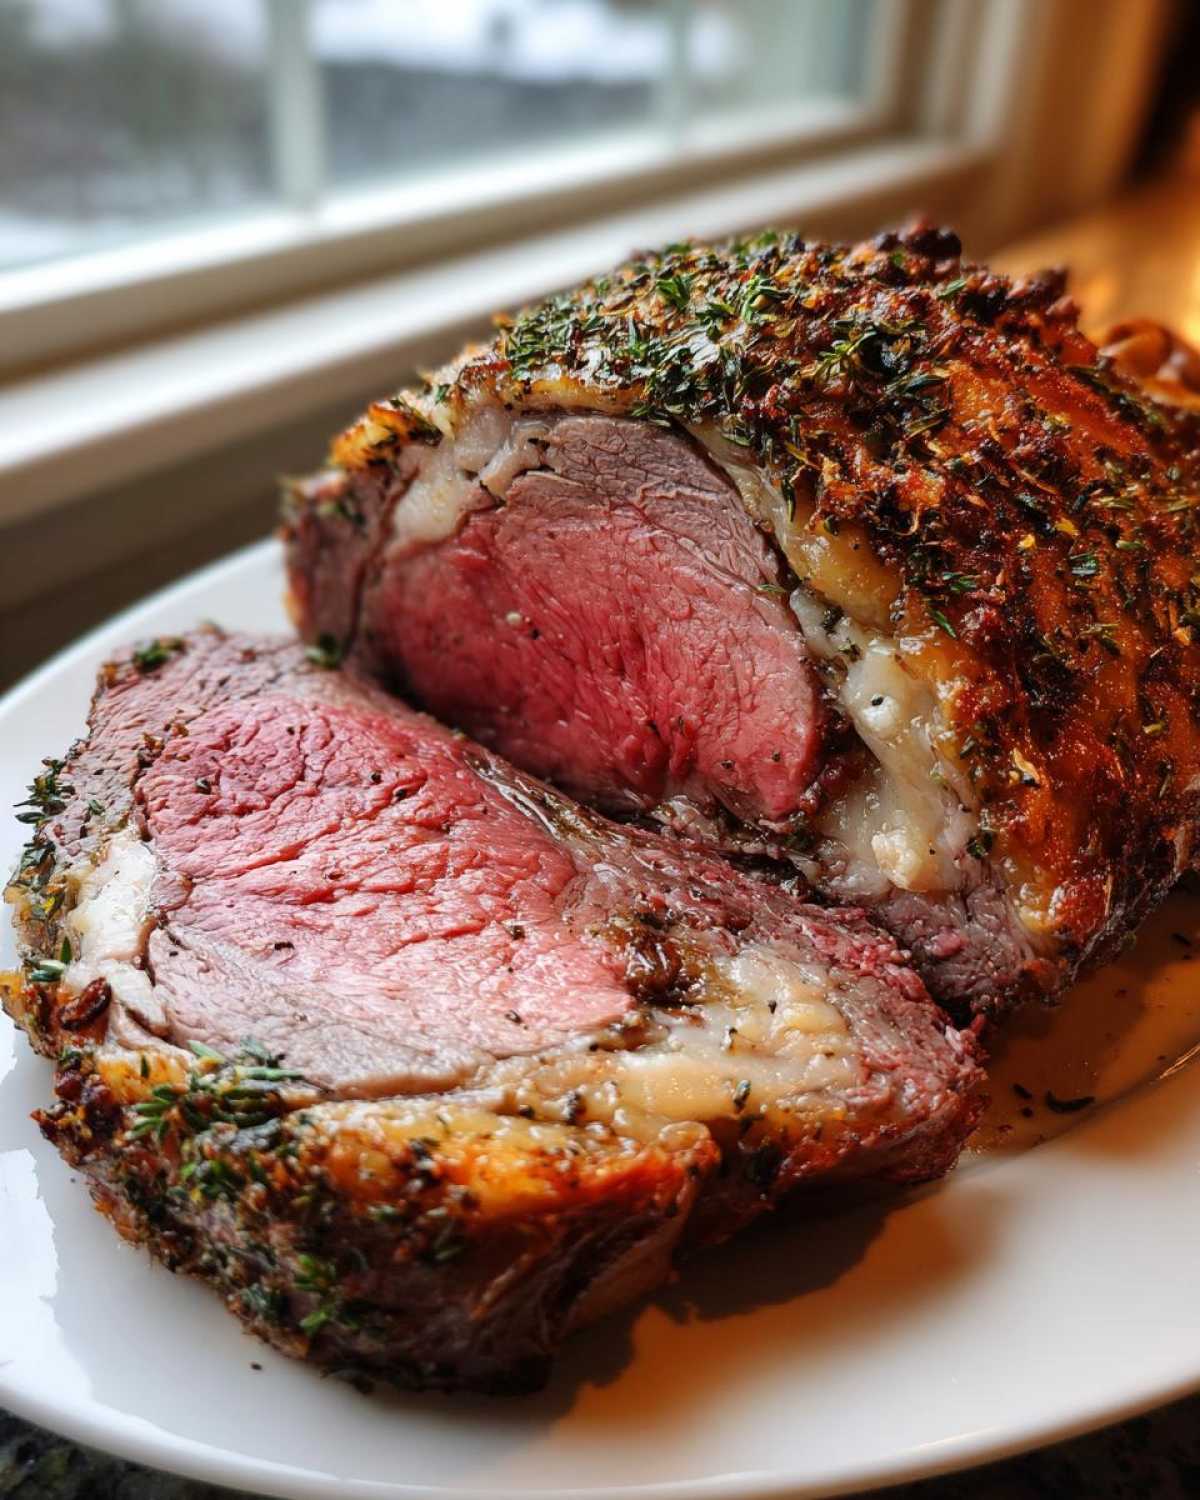
When that thermometer screams 125°F, pull that magnificent beef out! Do *not* even think about slicing it yet. Cover it loosely with foil and let it rest for a minimum of 20 full minutes. Seriously, set a timer. This resting allows the compressed juices inside to redistribute back into the meat fibers. If you cut it early, all that savory moisture just runs out onto the cutting board! When you check it again after resting, it will have climbed up another 5 to 8 degrees, landing you right around 130°F to 135°F—that textbook, beautifully juicy beef roast finish!
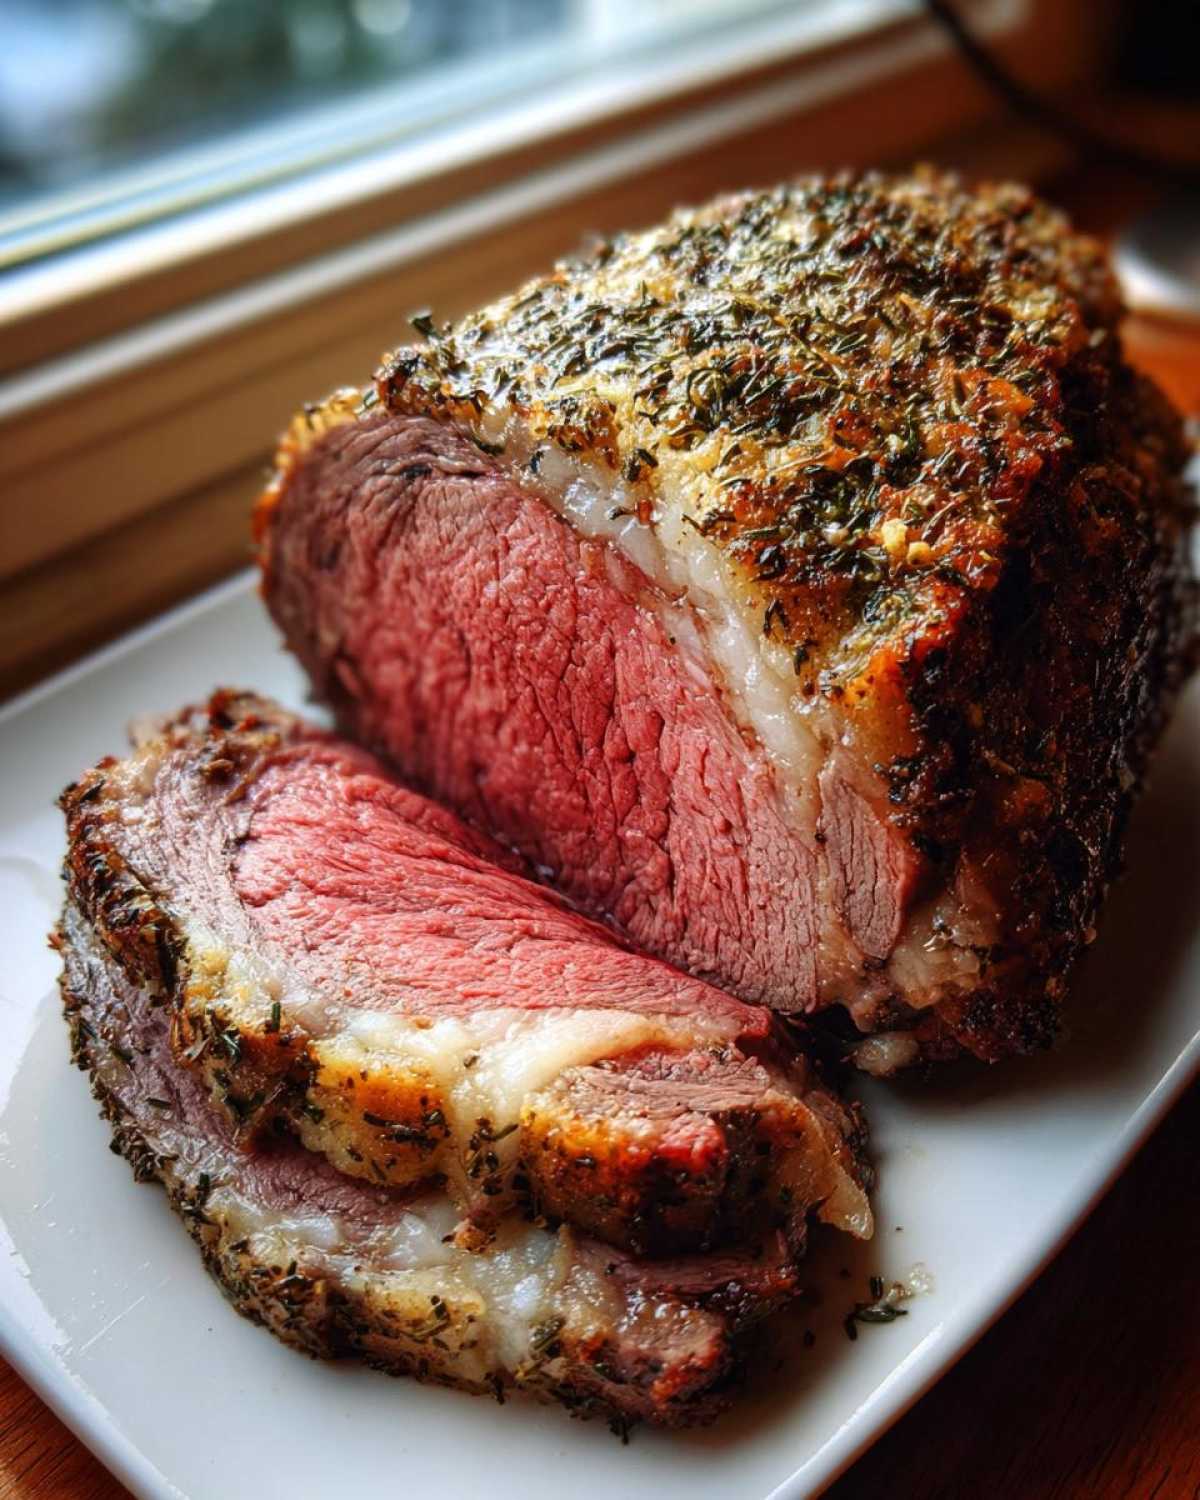
If you are looking for more inspiration on cooking larger cuts, I have a great beef barley winter stew recipe that uses secondary cuts if you want a cozier meal later in the week!
Expert Tips for the Best Rib Roast Technique
Even with a reliable recipe, mastering your first (or tenth!) rib roast involves a few little tricks I’ve learned the hard way. These aren’t complicated steps, but knowing these insider details really elevates your final product and proves you know the best rib roast technique. They are the difference between ‘good’ and ‘spectacular.’
First up, think about those bones! If you have a great relationship with your butcher, ask them to separate the bones from the roast, give the meat a quick rub, and then tie the bones right back onto the roast using some butcher’s twine. This sounds like extra work, but it makes carving so much easier later without sacrificing any of that insulated moisture the bones provide during cooking. When it’s time to serve, you just snip the twine and the bones slide right off!
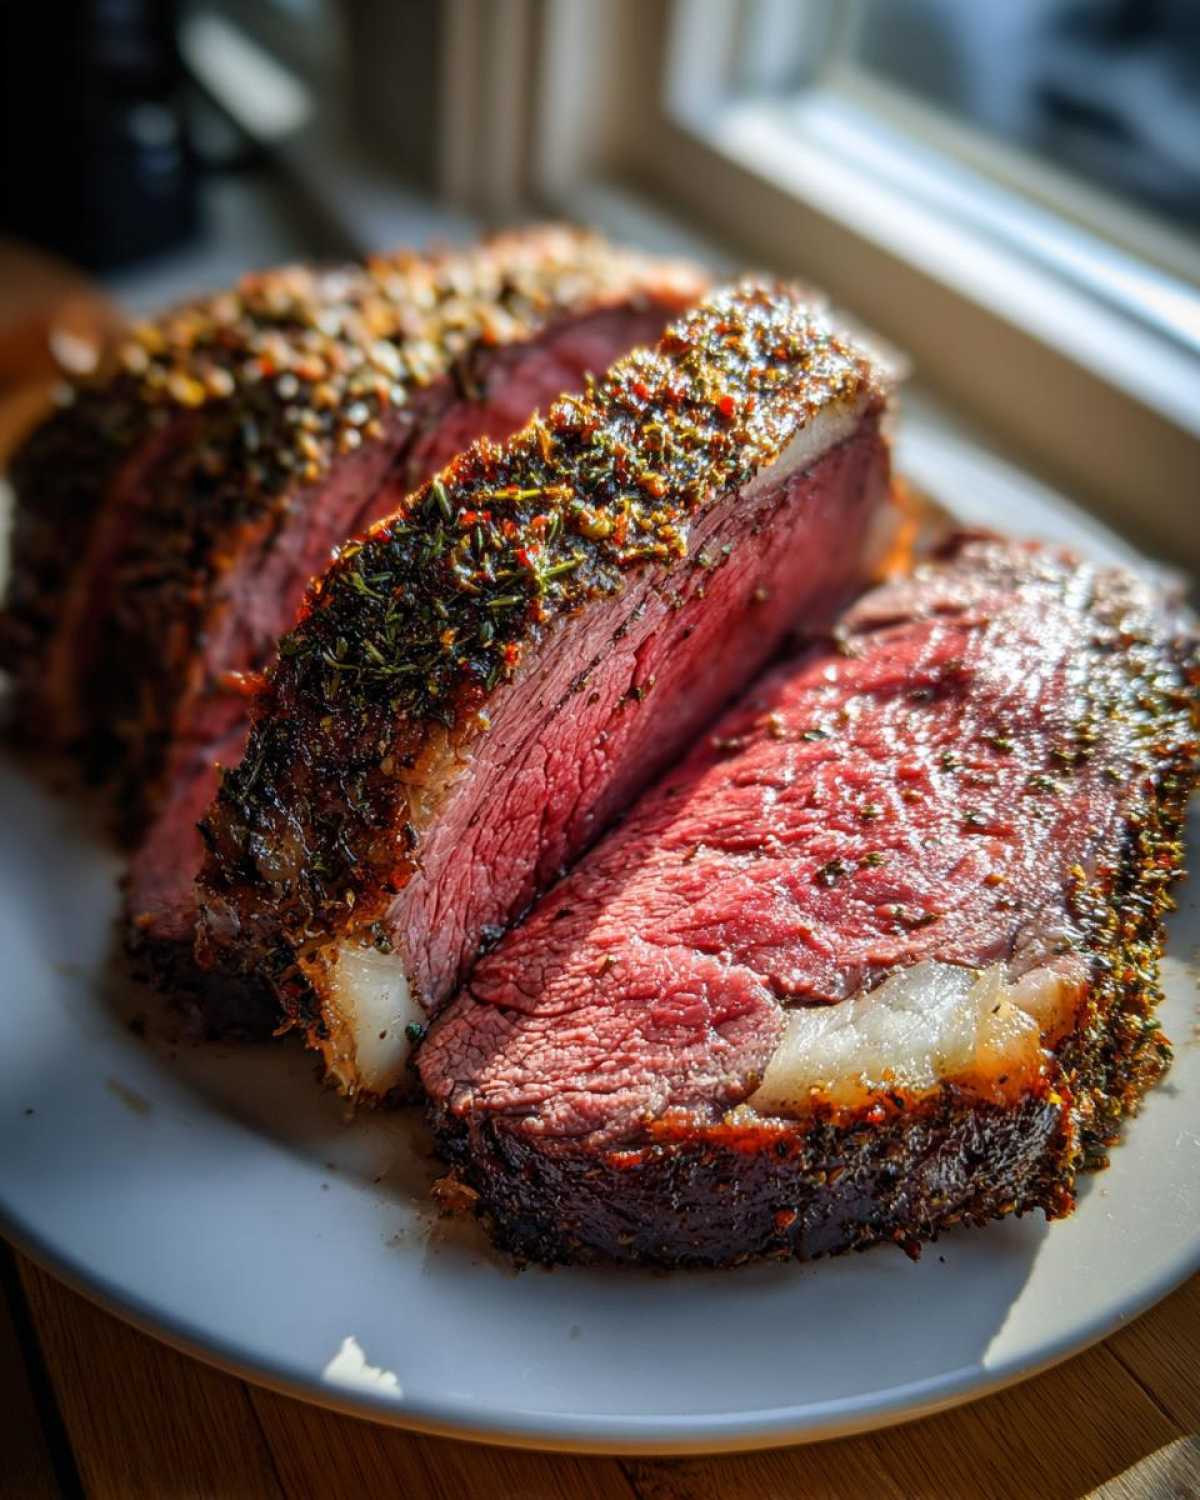
Now, let’s talk crust insurance. If you want a texture that absolutely shatters when you touch it, you can use the broiler trick. Right after the roast hits that 125°F internal temperature and before you cover it to rest, pop it under a preheated broiler for just 2 to 3 minutes. But listen to me: stand right there! Broilers get angry fast, and we want a deep golden color, not charcoal. We aren’t looking to cook it more; we are just crisping the surface, making that herb crust sing. For more pointers on achieving a flawless exterior, check out my roast beef with herb rub guide!
Serving Suggestions for Your Celebration Roast
Okay, you’ve pulled off the most glorious rib roast ever—now we need sides worthy of such a massive star! This kind of rich beef demands hearty, comforting companions. Forget fussy tiny appetizers; we need robust flavors that stand up to that incredible herb crust.
First, you absolutely must use those drippings left in the pan. A simple, quick red wine reduction sauce elevates the whole plate instantly. Just simmer some flavorful beef broth and a splash of dry red wine in the pan drippings over medium heat until it’s thick enough to coat the back of a spoon. That’s homemade gravy that tastes like a million bucks!
For veggies, I always lean into something earthy. My favorite roasted root vegetable medley works perfectly because those slightly sweet roasted carrots and parsnips balance the savory beef saltiness. And honestly, you cannot serve a big beef roast without fluffy, crispy Yorkshire puddings! They are perfect carriers for any extra juices you might have left over after carving. Keep it traditional, keep it delicious, and keep it simple so the roast remains the undisputed star of your celebration roast!
Storing and Reheating Leftover Tender Roast Beef
Even if you host the most epic dinner party, there are usually a few glorious slices of that tender roast beef left over—and that’s a good thing! It means you get to enjoy this incredible meal again tomorrow without having to cook anything. When dealing with a roast this good, you want to treat the leftovers right so they don’t turn dry and sad in the fridge.
First, make sure the roast has cooled down a bit before you store it, but don’t let it sit on the counter for hours! You want to get it tucked away within two hours of it finishing its rest. Slice whatever you think you’ll eat over the next few days, and store those slices tightly wrapped in an airtight container. Honestly, it’s safe in the fridge for about three to four days—any longer and you should think about freezing it.
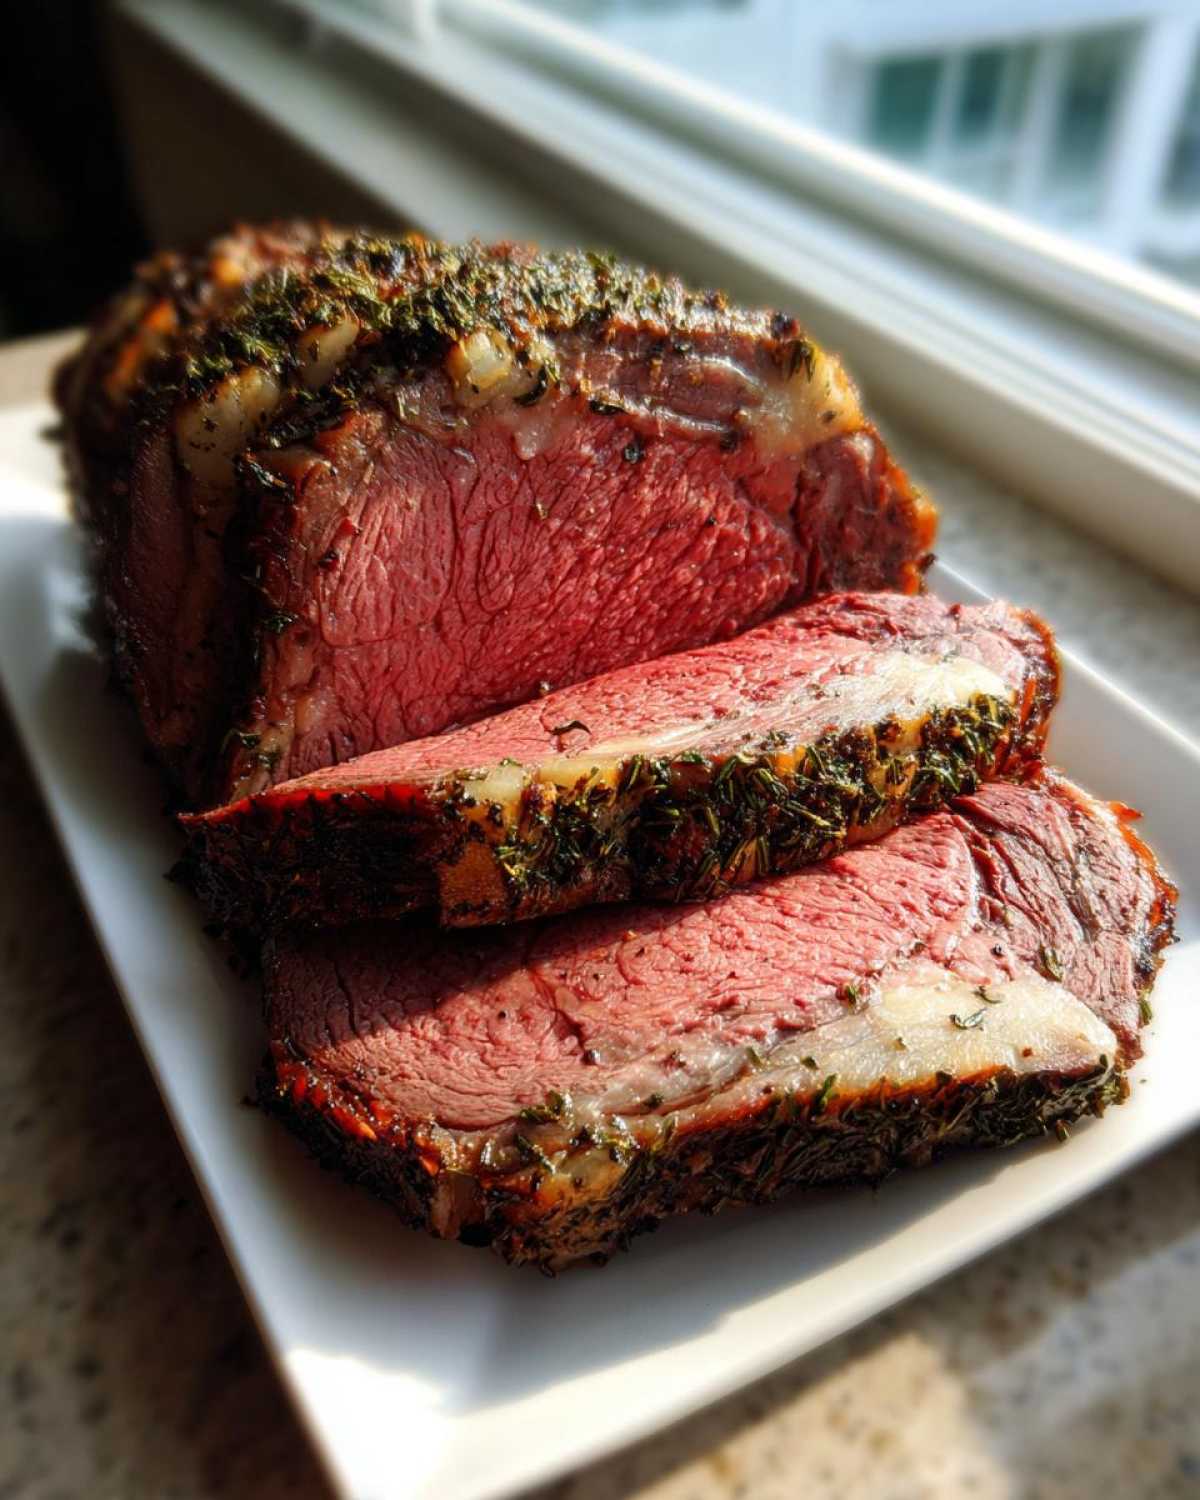
When it’s time for round two, forget the microwave! That’s a recipe for disaster if you want to keep that medium-rare texture. The trick for reheating slices is gentle, low heat. I like to place the slices in a small baking dish, add just a splash of beef broth or even a little leftover gravy to the bottom, cover it tightly with foil, and pop it into a 300-degree oven for about 10 minutes. Just enough heat to warm it through without cooking it further. If you’re looking for another fantastic, hands-off beef recipe for feeding a crowd, you have to check out my slow-cooker pot roast tender meal guide!
Frequently Asked Questions About Cooking a Rib Roast
I know when you’re eyeing a big, beautiful piece of meat like this, questions pop up fast. That’s totally normal! When you’re making a Holiday Roast Centerpiece, you want zero uncertainty. I’ve gathered up the ones I hear most often, so you can cook with total confidence. Remember, knowledge is what gets you that perfect medium rare roast!
What is the difference between a Standing Rib Roast and Prime Rib?
This is the biggest one, and honestly, it trips everyone up! In the real world, there isn’t a difference. They are the exact same cut of beef—the primal rib section. The term ‘Prime Rib Roast’ generally refers to the quality grade (Prime), which is the highest grade given by the USDA. When you buy a ‘Standing Rib Roast,’ you are typically getting those ribs still attached, which is what we used here for our rib roast because the bones help insulate and flavor the meat!
How long should I rest my rib roast after cooking?
You absolutely cannot skip this step, ever. I know when you smell that roast cooking, you’re starving, but you need patience! Aim for a minimum of 20 minutes resting time. If you’re cooking a monster 8-pounder, you might even push that to 30 minutes. This allows the internal juices, which get pushed to the center by all that heat, to relax and flow back throughout the entire roast. This resting is what guarantees you get that tender roast beef instead of a pile of dry meat slices. This process is called carryover cooking, and it’s essential!
What internal temperature defines a Perfect Medium Rare Roast?
Ah, the magic number! For the absolute best results, you need to pull your roast out of the oven when your meat thermometer hits exactly 125 degrees Fahrenheit. That’s the sweet spot before resting. Don’t worry, it will keep cooking while it sits under the foil. Once you check it after resting for 20 minutes, it should have climbed to about 130 to 135 degrees Fahrenheit, which is exactly what chefs aim for in a gorgeous, juicy, perfect medium rare roast. For a full chart on all temperatures, take a peek at my beef cooking temperatures guide!
Nutritional Estimate for This Herb Crusted Roast
Okay, I know sometimes the focus needs to be on flavor, but a quick look at the numbers helps, right? This information is just a ballpark estimate based on the ingredients we used in this specific herb crusted roast recipe. Since we are dealing with specialty cuts and homemade butter rubs, the final numbers can shift a bit based on the exact fat content of your beef and butter.
Here’s a general breakdown per 5-ounce serving size after the roast has finished cooking and resting:
- Calories: About 450
- Protein: Around 40g
- Fat: Roughly 30g (with 14g saturated)
- Carbohydrates & Sugar: Zero!
- Sodium: About 350mg
Just remember, these figures are always just an estimate! Enjoy that rich, flavorful beef guilt-free, knowing you cooked it perfectly yourself!
Share Your Impressive Beef Dishes Success
Whew! We did it! You have now mastered the art of cooking an absolutely stunning, foolproof rib roast. I mean, I am already picturing this beautiful impressive beef dish sitting proudly on your table—the aroma alone must be amazing right now! You absolutely crushed it, and I really want to hear all about it.
Did you get that perfect medium-rare gradient we talked about? Did your herb crust turn out beautifully crisp? Don’t keep this success story a secret! Please hop down into the comments below and let me know how your holiday roast centerpiece turned out. Rate the recipe for the next person who is nervous about tackling this huge cut of meat!
It would make my entire week if you shared a photo of your carved roast on social media—tag me so I can shower you with praise! If you’re looking for more amazing, tested-and-true recipes that make any day feel like a celebration, you can always browse the rest of my kitchen adventures over at the main blog page. Happy carving, friend!
PrintFoolproof Herb-Crusted Prime Rib Roast (Standing Rib Roast)
A simple guide to cooking a tender, juicy prime rib roast with an aromatic herb crust, achieving a perfect medium-rare finish every time.
- Prep Time: 20 min
- Cook Time: 180 min
- Total Time: 200 min
- Yield: 6-8 servings
- Category: Main Course
- Method: Oven Roasting
- Cuisine: American
- Diet: Low Lactose
Ingredients
- 1 (5-7 lb) standing rib roast, 2-3 ribs
- 4 tablespoons kosher salt
- 2 tablespoons black pepper
- 2 tablespoons dried thyme
- 1 tablespoon dried rosemary
- 1 tablespoon garlic powder
- 4 cloves garlic, minced
- 1/2 cup unsalted butter, softened
- 2 tablespoons olive oil
Instructions
- Remove the roast from the refrigerator 2 to 3 hours before cooking to allow it to come to room temperature. Pat the entire surface dry with paper towels.
- Preheat your oven to 450 degrees Fahrenheit.
- In a small bowl, mix the softened butter, minced garlic, thyme, rosemary, garlic powder, salt, and pepper to create the herb butter rub.
- Rub the herb butter mixture evenly over the entire surface of the roast.
- Place the roast, fat side up, on a rack in a roasting pan. Drizzle lightly with olive oil.
- Roast at 450 degrees Fahrenheit for 15 minutes.
- Reduce the oven temperature to 325 degrees Fahrenheit. Continue roasting until the internal temperature reaches 125 degrees Fahrenheit for medium-rare (this usually takes about 13-15 minutes per pound after the initial blast). Use a meat thermometer inserted into the thickest part of the meat, avoiding bone.
- Remove the roast from the oven when it hits 125 degrees Fahrenheit. Tent loosely with foil and let it rest for at least 20 minutes before carving. The internal temperature will rise to about 130-135 degrees Fahrenheit during resting.
- Carve the roast into thick slices against the grain.
Notes
- For easier carving, ask your butcher to remove the bones and tie them back onto the roast with butcher’s twine. Remove the twine before serving.
- If you prefer a crispier crust, you can briefly place the roast under the broiler for the last 2-3 minutes of cooking, watching carefully to prevent burning.
- Use the drippings in the roasting pan to make a simple red wine reduction sauce or gravy.
Nutrition
- Serving Size: 5 oz cooked
- Calories: 450
- Sugar: 0
- Sodium: 350
- Fat: 30
- Saturated Fat: 14
- Unsaturated Fat: 16
- Trans Fat: 0
- Carbohydrates: 0
- Fiber: 0
- Protein: 40
- Cholesterol: 140
