

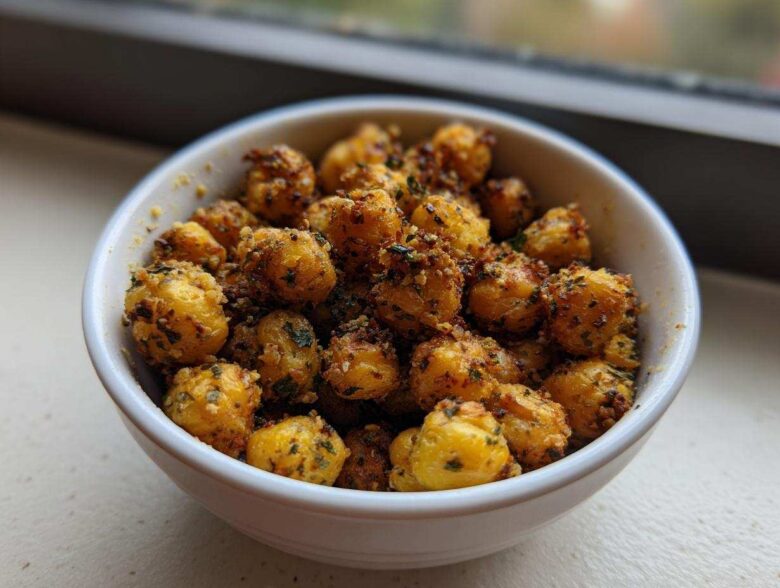
I don’t know about you, but sometimes I just need something crunchy. Like, I *really* need that satisfying snap when I’m reaching for a healthy snack instead of chips. I spent way too many weeks dealing with sad, slightly mushy chickpeas that just refused to crisp up in my air fryer. They ended up tasting roasted, sure, but not truly crunchy! Trust me when I say I’ve been through a few batches of disappointment, but I finally nailed the technique for perfectly snappy, savory goodness.
That’s why I’m so excited to share my absolute best recipe for Air Fryer Crispy Garlic Herb Chickpeas. After many trials, I perfected the drying method for true crunch, and the flavor combination here? It’s unbelievably good—savory, herby, and totally addictive. You’re going to want to make these for your next lunch prep! If you want more kitchen wisdom, check out what I’ve been up to over on my main recipe resource page for inspiration.
Why This Air Fryer Crispy Garlic Herb Chickpeas Recipe Works (E-E-A-T)
This recipe skips all the fuss, but it delivers genuine, bar-setting crispiness—that’s why I stand by it! Most recipes fail because they rush the drying process or use too much oil, which just steams the poor things rather than frying them. My method locks in that incredible garlic and herb punch while ensuring a satisfying crunch right out of the basket. Seriously, once you try this technique, you won’t go back to oven roasting. It’s quick, easy, and makes a fantastic addition to your rotation of healthy air fryer snacks.
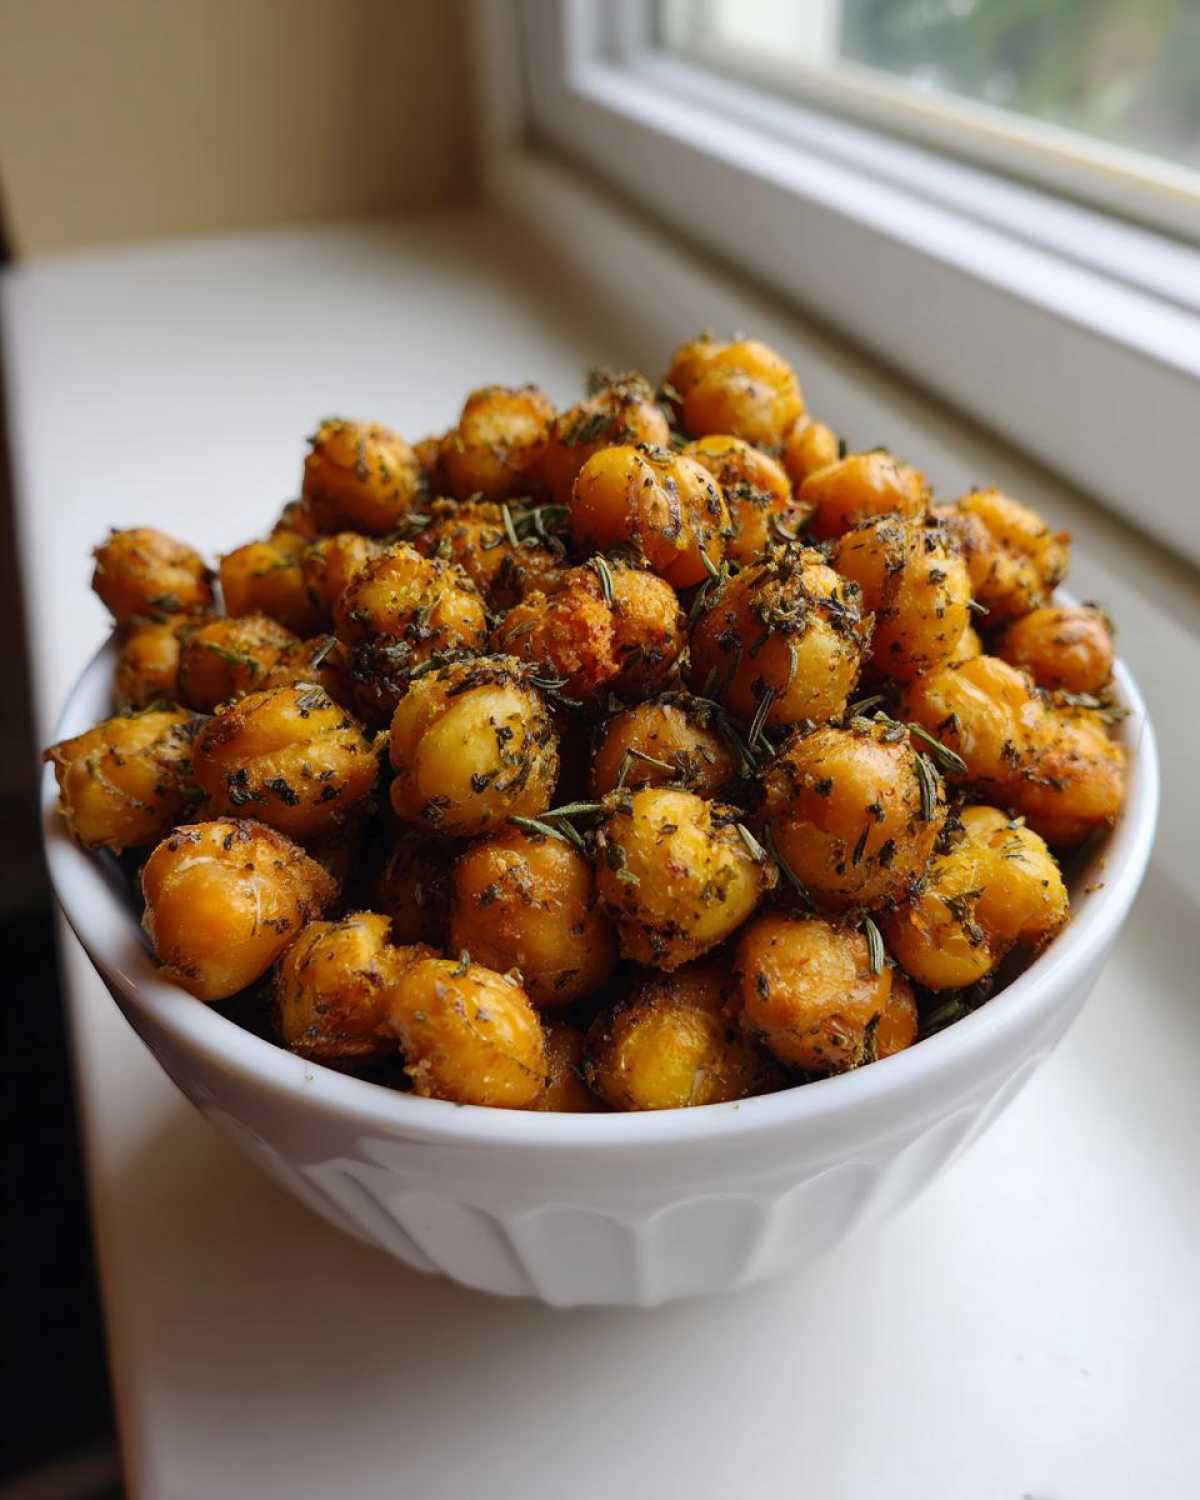
The Secret to Truly Crispy Air Fryer Chickpeas Recipe
Look, if you take away only one piece of advice from me today about making chickpeas crispy in the air fryer, let it be this: *dry them like your life depends on wiping down a counter*. I cannot stress this enough! If the skins or the beans themselves have any moisture left after rinsing, that water turns to steam the moment it hits the hot air. Steam equals softness. We want golden, snappy shells, not sad, chewy ones. I use a stack of paper towels and press down firmly, sometimes even laying them out on a towel for five minutes to air dry a bit before tossing them.
Gathering Ingredients for Air Fryer Crispy Garlic Herb Chickpeas
Okay, getting started is the easiest part! Honestly, this whole recipe is built around pantry staples, which means you can probably whip these up right now without even running to the store. That’s my favorite kind of recipe, isn’t it? But pay close attention to that drying step we just talked about, because the ingredients themselves are simple, but the preparation matters!
Before you dive into the seasoning mix, make sure you have your chickpeas ready to go. You’ll need one standard 15-ounce can, rinsed really well under cold water. Then, you need to pat them absolutely bone dry. We’re talking zero drips!
Here’s what else you need to grab for the perfect batch of Air Fryer Chickpeas Recipe to reach that true crunch:
- 1 (15-ounce) can chickpeas, rinsed and thoroughly dried—I mean it!
- 1 tablespoon olive oil (just a nice coating is all you need).
- 1 teaspoon garlic powder (this brings that savory kick).
- 1/2 teaspoon dried oregano (classic herb flavor).
- 1/2 teaspoon dried thyme (adds depth to the herbs).
- 1/4 teaspoon salt (taste this later, you can always add more!).
- 1/4 teaspoon black pepper (freshly ground is always best, if you have it).
That’s all there is to it! A little bit of oil to help the herbs stick, and your favorite savory spices. You’ll see later how these herbs blend together to make the ultimate best air fryer chickpea seasoning.
Step-by-Step Instructions for Air Fryer Crispy Garlic Herb Chickpeas
Alright, now that we’ve got our ingredients lined up and we’ve mentally committed to drying those beans properly, let’s get these into the machine! Timing is everything in the air fryer world, and we want to hit that sweet spot where they’re perfectly golden but not scorched by accident. Remember, we are aiming for how to make chickpeas crispy in air fryer territory here, not just lightly warmed beans!
Preparation: Drying and Seasoning Your Chickpeas
First things first, the rinse! Take those canned chickpeas and dump them into a fine-mesh strainer. Run them under cold tap water for a good minute. You want that cloudy liquid gone. Now comes my personal step for ultimate success: drying. After you pat them down aggressively with paper towels, I always grab an old, clean cotton kitchen towel that doesn’t shed lint. I wrap the rinsed chickpeas up loosely in the towel and gently roll them back and forth in my hands. This helps separate any stubborn skins—which, by the way, you can totally fish out if you want extra crunch, but honestly, I skip it for speed!
While the beans are air-drying for a moment, mix up your seasoning. Grab a small bowl—no need to dirty a big one!—and toss in your garlic powder, oregano, thyme, salt, and pepper. Just use a little fork to mix it until it’s all one uniform color. Then, put your dried chickpeas back into your mixing bowl. Drizzle that tablespoon of olive oil over them and toss until they are barely coated. They shouldn’t look drenched; just shiny! Now sprinkle on your seasoning blend and toss one last time until every single little guy is dusted evenly with that garlic herb magic.
Air Frying Technique for Maximum Crunch in Your Air Fryer Crispy Garlic Herb Chickpeas
We have to preheat! Seriously, don’t skip this. Set your air fryer to 380°F (195°C) and let it run for about three minutes while you finish seasoning. This ensures the moment those seasoned chickpeas hit the basket, they start cooking immediately. Go ahead and place your seasoned chickpeas right into that hot basket. The golden rule here is: Do not overcrowd the basket! If they’re piled up, they steam. If they overlap too much, they won’t crisp evenly. Cook in one layer, which might mean two batches if you’re building up a big snack supply. Don’t worry; we have tips for that later!
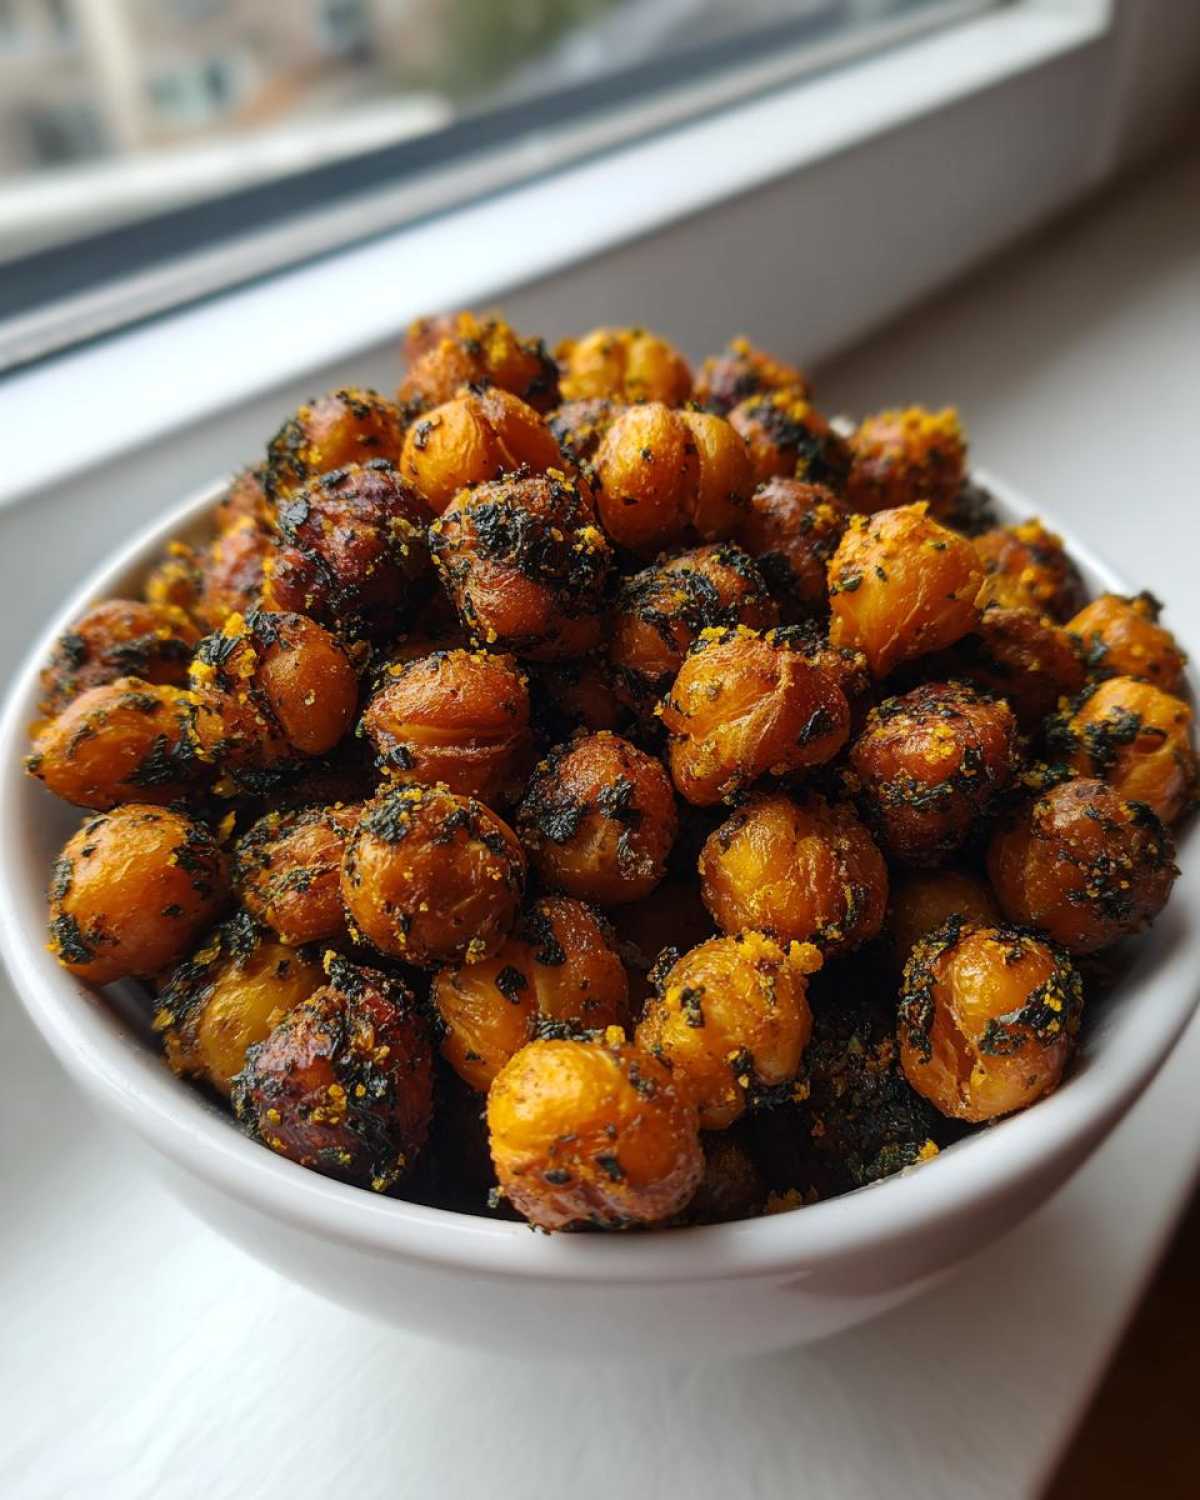
Set your timer initially for 12 minutes. At the 5-minute mark, pull that basket out and give it a really vigorous shake. I mean, lift it up and really toss those legumes around. Put it back in and cook for another 5 minutes, then shake again. This constant movement is what guarantees they crisp up on all sides. When they’re finally done, they should look golden brown, feel hard to the touch, and if you shake the basket, you should hear a really satisfying rattling sound—that’s the sound of crispiness! Pull them immediately and let them cool on a plate.
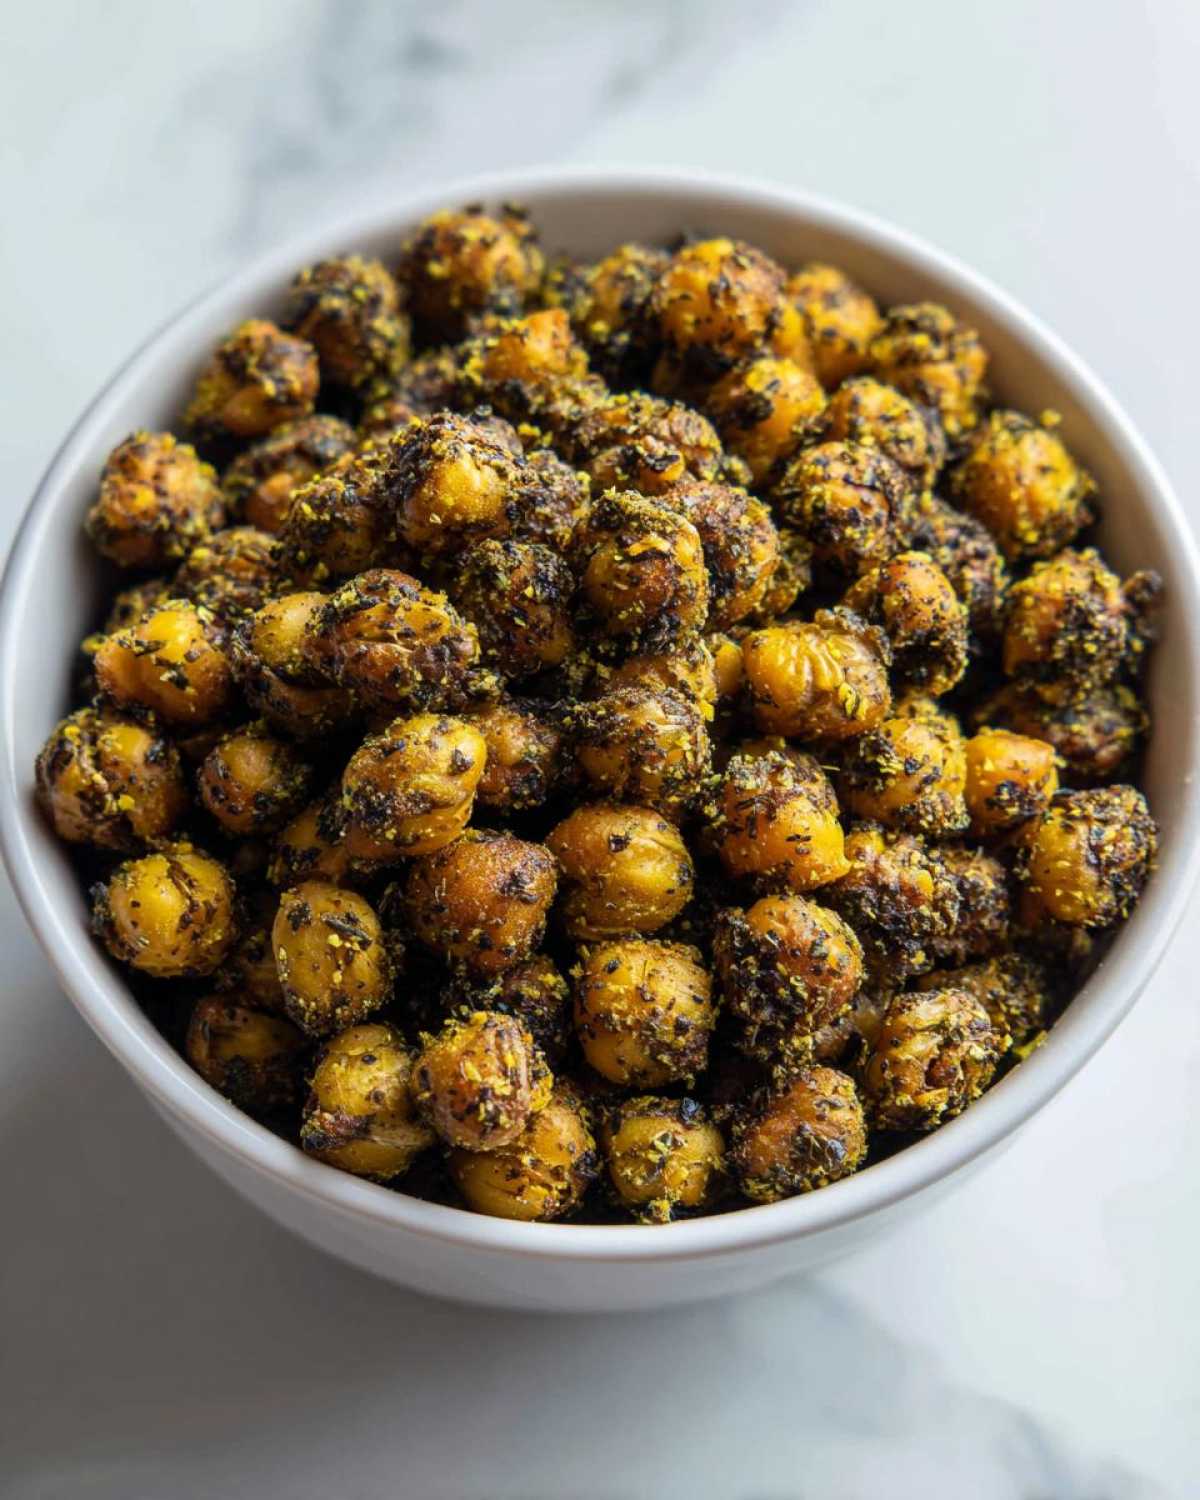
Tips for the Best Air Fryer Crispy Garlic Herb Chickpeas
So, your chickpeas came out crunchy—yay! But maybe you’re wondering how to make them even better next time, or maybe they were just a *little* soft and you need the fix. I’ve learned a few tricks over the years that make this seasoning blend really sing and stop any sogginess before it starts. Remember, air frying is all about managing heat and moisture, and it often means cooking in smaller batches than you think you should!
The biggest pitfall when making any crispy roasted chickpeas air fryer recipe is thinking you can jam too much into the basket at once. If you pile them in, the air can’t circulate properly around them. That hot air needs to hit every single surface to dehydrate them correctly. If you’re making a big batch for weekly meal prep, you absolutely must cook them in two or even three separate rounds. It takes an extra 15 minutes, but I promise you, the crunch is worth the wait!
Ingredient Notes and Substitutions for Garlic Herb Chickpeas Snack
I mentioned the basics, but feel free to play dress-up with these little protein bombs! If you want a slightly different flavor profile for your garlic herb chickpeas snack, try adding about 1/4 teaspoon of onion powder alongside the existing garlic powder. It just gives the savory baseline an extra layer of depth, kind of like that secret ingredient in restaurant flavorings.
You can definitely swap out the oil if you need to, though olive oil is great because it has a decent smoke point for this moderate temperature. Avocado oil works wonderfully too! My absolute favorite splurge, which makes them taste totally decadent, is the Parmesan variation mentioned in the notes. If you want to try that—and you totally should—wait until the chickpeas have been air frying for about 10 minutes and look mostly dry. Then, toss them with 3/4 teaspoon of grated Parmesan cheese (the powdery stuff works best) and pop them back in for the last 2 to 3 minutes. Cheese burns fast, so don’t add it too early!
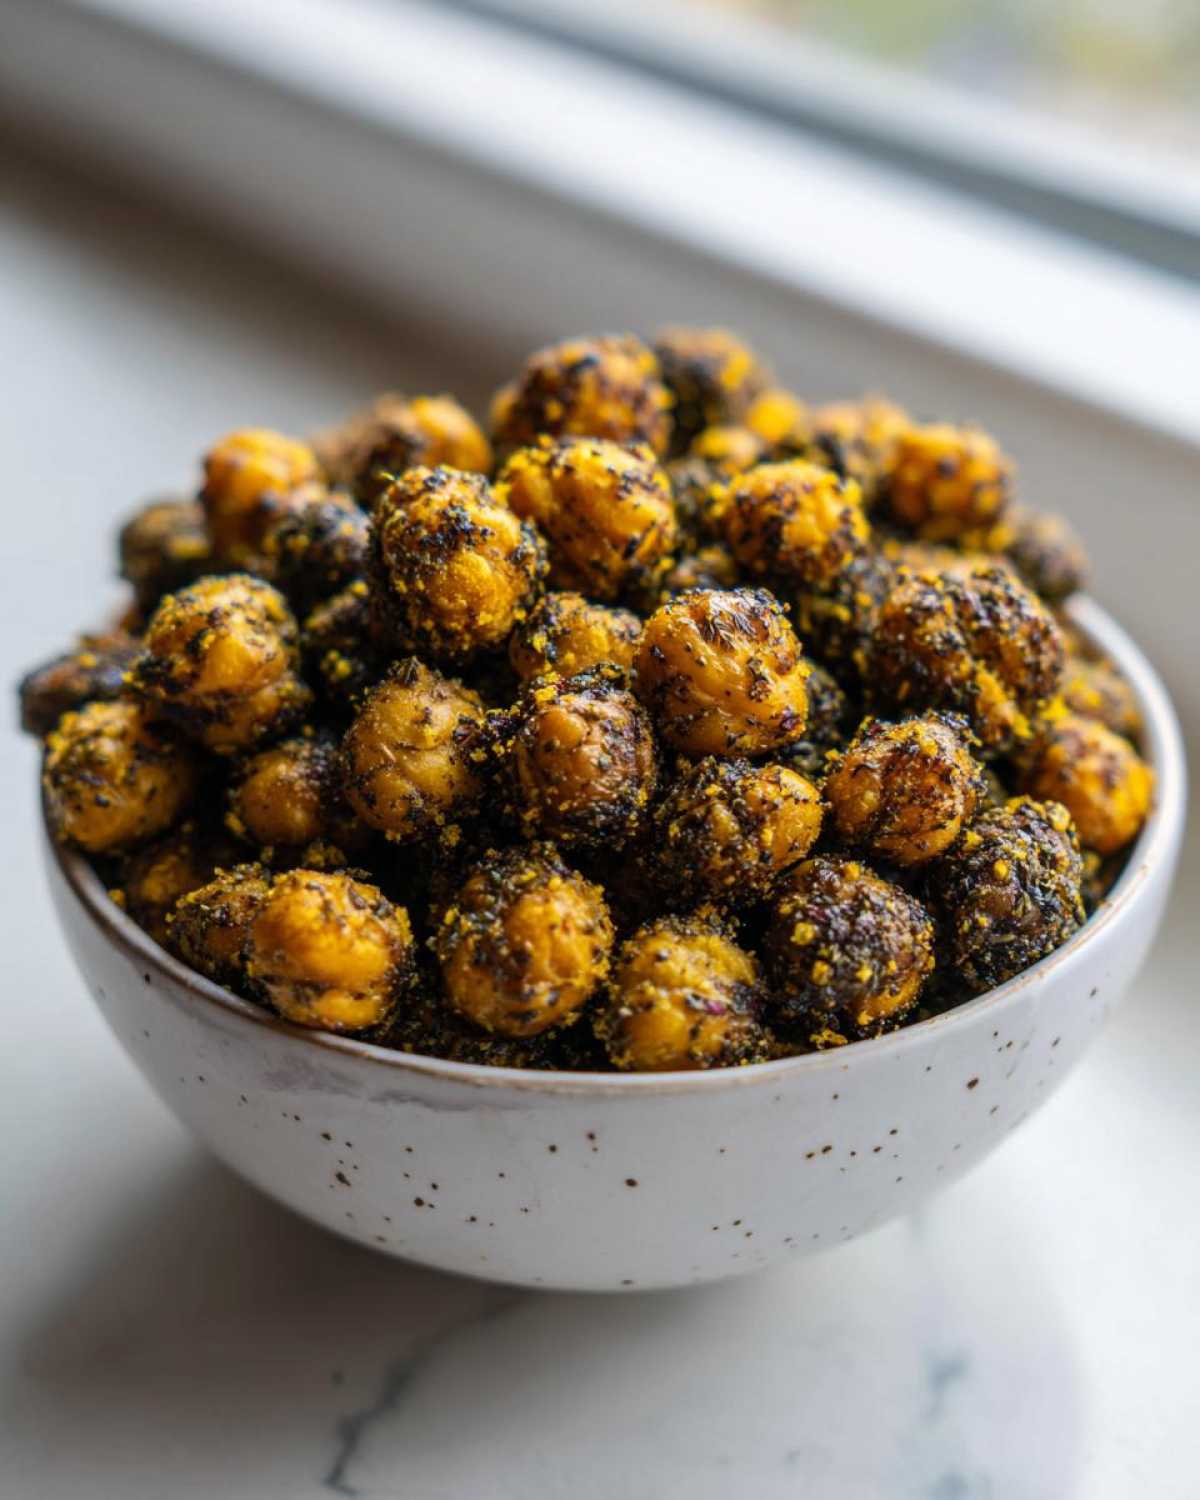
Also, a quick note: this recipe is designed for canned chickpeas because they are already soft and ready to dry out. Trying to use genuinely dried chickpeas (the kind you have to soak overnight) requires an entirely different pre-cooking step, usually boiling them first, so stick to the can for this quick recipe, okay?
Serving Suggestions for Your Crispy Savory Chickpeas
The best part about having a batch of these crunchy bites ready to go is how versatile they are! Sure, I could eat the entire batch straight from the basket while standing over the sink—I’m not judging if you do that too! But they really shine when you use them strategically. They’re a powerhouse of savory flavor, perfect for tossing straight onto a simple green salad right before serving. Think about a quick weeknight salad; suddenly, because of these little guys, it feels like a Mediterranean masterpiece!
If you’re making soup, ditch the crackers! These are fantastic sprinkled over a creamy tomato soup or even a hearty lentil stew. They add that much-needed textural contrast. You can also use them as a fantastic, high-protein crunch for grain bowls. Just make a double batch next time, because once your family discovers how great these are as a quick chickpea topping recipe, they disappear fast!
Storage and Reheating for Air Fryer Crispy Garlic Herb Chickpeas
Okay, let’s talk about the hard truth: these crunchy vegan chickpeas are truly at their peak crispiness within about 3-4 hours of coming out of the air fryer. That crispness is volatile! If you seal them up right away in an airtight container while they’re still warm, you’ve just trapped condensation, and boom—soggy chickpeas galore, which is the opposite of what we worked so hard for!
So, if you are making these ahead of time for meal prep, here is my advice. Let them cool completely—and I mean completely, room temperature—and then store them in a paper bag. Seriously, a simple brown paper lunch bag works wonders. The paper allows any residual moisture to escape slowly while still keeping the spices from falling off everywhere. It keeps them nice and crunchy for a good 24 hours, usually.
If you must use a container, make sure it’s completely airtight but leave the lid slightly ajar for the first hour, or just use the container in the fridge if you’ve had them longer than a day. They won’t be *as* crisp, but they’ll prevent mold, which is worse!
What if they’ve gone a little soft on day two? Don’t panic! You can absolutely revive them. It’s super easy thanks to the air fryer magic. Just spread the cooled-down chickpeas back into your empty basket in a single layer. Pop them back into the preheated 380°F (195°C) air fryer for about 3 to 5 minutes. Give them a shake halfway through. They’ll crisp right back up, good as new! Trust me, reheating them is faster than making a new batch, so don’t throw out the leftovers!
Frequently Asked Questions About Making Air Fryer Chickpeas Crispy
I get so many questions about these little crunchy snacks, especially from folks who’ve had issues getting them truly crisp before. It’s understandable; it’s a tricky balance! Here are the top things people ask me when trying to perfect their air fryer vegetarian protein game.
Why are my chickpeas still soft after air frying?
Ah, the classic soft chickpea problem! Nine times out of ten, this is about moisture, moisture, moisture. If they are soft, it means one of two things happened: either you didn’t dry them quite thoroughly enough before seasoning, or you overcrowded the basket. If they are piled up, they steam instead of crisp. Try cutting your batch size in half next time and ensure you shake them vigorously every five minutes. They need that space!
Can I use dried beans instead of canned for this Air Fryer Crispy Garlic Herb Chickpeas recipe?
For this specific recipe, please stick to canned chickpeas! The beauty of this recipe is how fast it is—it’s designed for the ease of pre-cooked beans. If you started with dry chickpeas, you’d have to soak them overnight and then boil them until they were *al dente*, then cool them completely, and then dry them. It becomes a whole other project! Keep this recipe for pantry-ready cans for a super quick garlic herb chickpeas snack.
Can I make Air Fryer Crispy Garlic Herb Chickpeas without oil?
You *can*, but I really wouldn’t recommend it if you’re after genuine crispiness. The olive oil does way more than just help the seasoning stick—it acts as a crucial heat transfer medium. Without it, the spices tend to burn onto the surface before the inside has a chance to dry out properly, or worse, the seasoning doesn’t adhere at all. You need that light coating to get that perfect shattering texture we’re aiming for in this crispy roasted chickpeas air fryer preparation.
What is the best temperature for Crispy Roasted Chickpeas Air Fryer?
The sweet spot for maximum crunch without burning the herbs is definitely 380°F (195°C). If you go much lower, they might take too long and dry out without developing that signature golden crust. If you go much higher, like over 400°F, those lovely garlic and herb spices will scorch before the chickpea interior fully dehydrates. Sticking to that mid-range temperature while ensuring you shake them regularly is the secret weapon for perfect dehydration!
Estimated Nutritional Data for Air Fryer Crispy Garlic Herb Chickpeas
Look, I’m a cook, not a nutritionist, and getting these little crunchy guys figured out took up all my brain space! But since these are such a fantastic, healthy swap for regular snacks, I wanted to give you a rough idea of what you’re eating. This is based on the recipe yielding two servings, using the canned chickpeas and olive oil we discussed.
Keep in mind that these numbers are just estimates, okay? If you load up on extra salt or use a different, heavier oil, those values are going to shift on you. But generally speaking, these satisfy that salty craving while keeping the protein and fiber high. This information is why I love them so much as a regular part of my routine!
- Serving Size: 1/2 cup
- Calories: About 180
- Protein: 8g
- Fat: 6g (Mostly healthy unsaturated fats here!)
- Carbohydrates: 26g
- Fiber: 7g (That’s a ton of fiber in one small serving!)
- Sugar: Only 2g (All natural!)
- Sodium: Around 250mg
If you’re watching sodium, that’s the one number to keep an eye on, since canned beans can vary a bit. Always give them a good rinse!
Share Your Air Fryer Chickpea Creations
Now, it’s your turn! I’ve given you all my secrets for achieving that perfect, shatteringly crisp texture with the best garlic and herb blend. Honestly, seeing your successes is the best part of sharing these recipes with you all. I really want to know if you managed to get that crunch we talked about!
Did you make a double batch for your simple dried chickpea recipe meal prep this week? Did you use the Parmesan switch-up? Please, tell me everything in the comments below! Drop a rating—was it a five-star crunch experience for you? And if you snap a photo of your finished Air Fryer Crispy Garlic Herb Chickpeas looking golden and perfect, share it on social media and tag me. I love seeing my kitchen experiments popping up in yours. Happy crunching!
PrintAir Fryer Crispy Garlic Herb Chickpeas

Make perfectly crispy, savory chickpeas in your air fryer using a simple garlic and herb seasoning blend. These are great for snacking or topping meals.
- Prep Time: 5 min
- Cook Time: 15 min
- Total Time: 20 min
- Yield: 2 servings
- Category: Snack
- Method: Air Frying
- Cuisine: American
- Diet: Vegan
Ingredients
- 1 (15-ounce) can chickpeas, rinsed and thoroughly dried
- 1 tablespoon olive oil
- 1 teaspoon garlic powder
- 1/2 teaspoon dried oregano
- 1/2 teaspoon dried thyme
- 1/4 teaspoon salt
- 1/4 teaspoon black pepper
Instructions
- Rinse the canned chickpeas well under cold water. Pat them completely dry using paper towels or a clean kitchen cloth. This step is crucial for crispiness.
- In a medium bowl, toss the dried chickpeas with the olive oil until lightly coated.
- In a small bowl, mix together the garlic powder, oregano, thyme, salt, and pepper.
- Sprinkle the seasoning mix over the oiled chickpeas and toss again until the spices adhere evenly.
- Preheat your air fryer to 380°F (195°C) for 3 minutes.
- Place the seasoned chickpeas in a single layer in the air fryer basket. Do not overcrowd the basket; cook in batches if necessary.
- Air fry for 12 to 15 minutes, shaking the basket vigorously every 5 minutes to promote even browning and crisping.
- The chickpeas are done when they are golden brown and crunchy throughout.
- Remove from the air fryer and let them cool slightly before serving or storing.
Notes
- Drying the chickpeas completely is the most important step for achieving a truly crispy texture.
- For extra flavor, you can add 1/4 teaspoon of onion powder to the seasoning mix.
- If you prefer a Parmesan flavor, substitute 1/2 teaspoon of the herbs with grated Parmesan cheese, adding it during the last 3 minutes of cooking.
Nutrition
- Serving Size: 1/2 cup
- Calories: 180
- Sugar: 2
- Sodium: 250
- Fat: 6
- Saturated Fat: 1
- Unsaturated Fat: 5
- Trans Fat: 0
- Carbohydrates: 26
- Fiber: 7
- Protein: 8
- Cholesterol: 0
